


Good morning, friends!!
Once again it’s a new release day at Heartfelt Creations. Sweet Pea collection is up for sale. The beautiful bright shades of Sweet pea make me happy. It’s one of my favorite flowers.
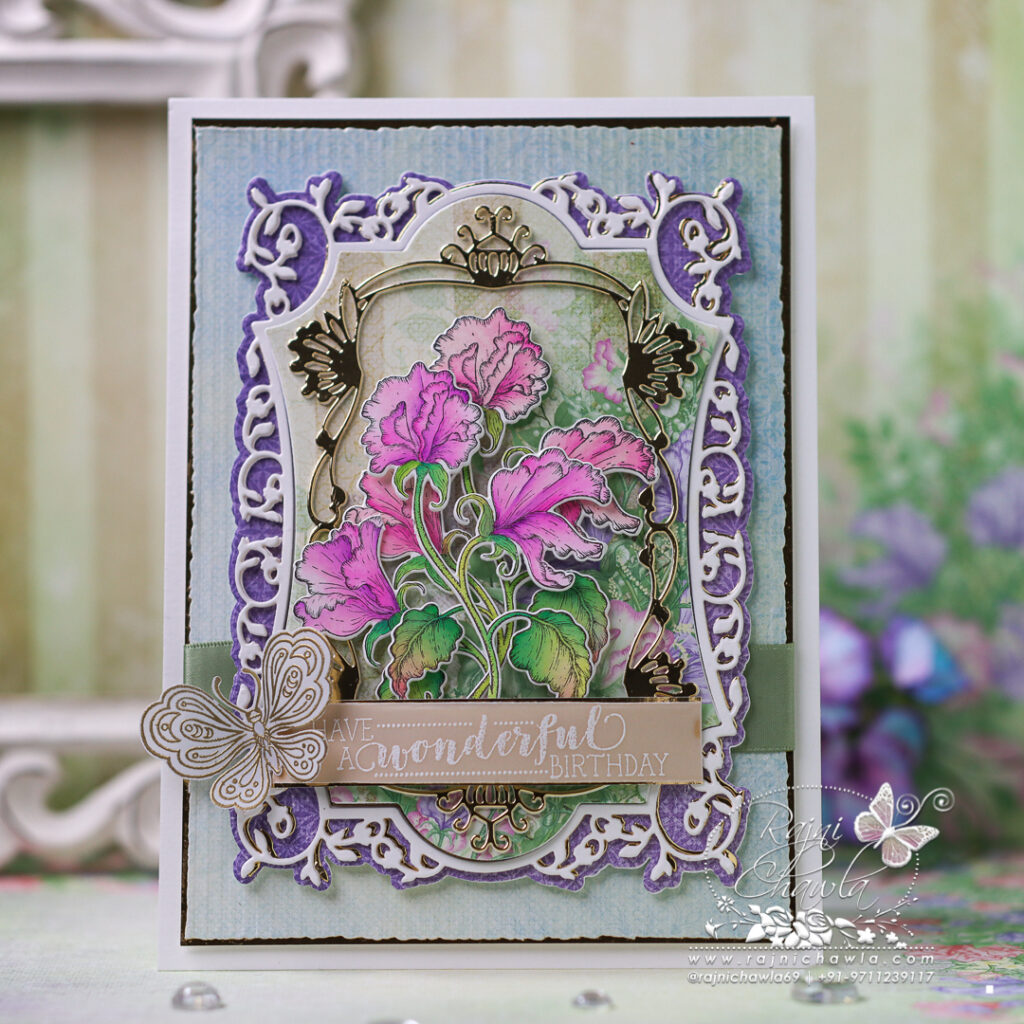
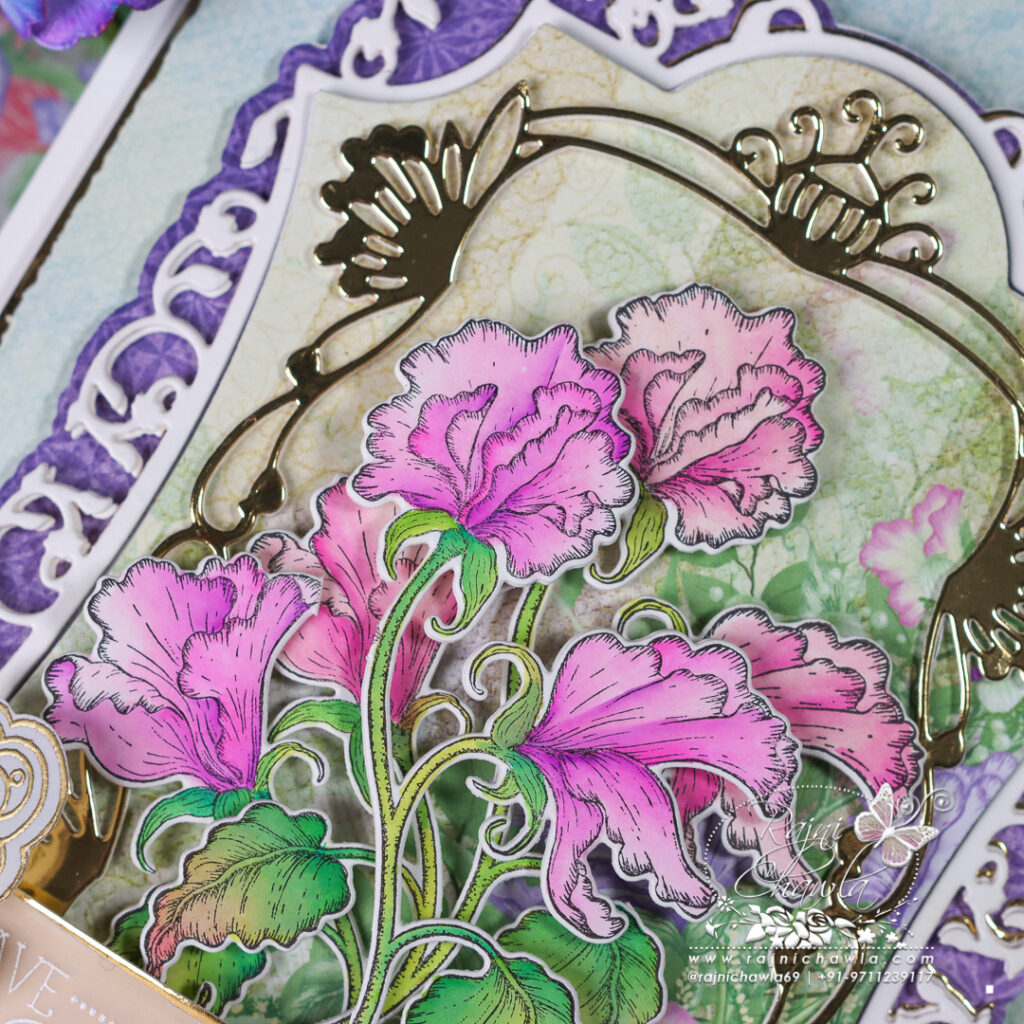
Here is my first inspiration using Sweet Pea Collection. I have focused on painted Sweet peas images from the collection.
HCD1-7392 Vining Sweet Pea Die
HCPC-3981 Vining Sweet Pea Cling Stamp Set
HCDP1-2137 Sweet Pea Paper Collection
HCD2-7384 Fancy Classic Rectangle Frame Die
HCPC-3843 Special Birthday Sentiments Cling Stamp Set
HCPC-3943 Delightful Daffodil & Butterfly Cling Stamp Set
HCD1-7341 Delightful Daffodil & Butterfly Die
HCGP1-488 Luxe Gold Cardstock
EP100 Opaque Embossing Powder – White
359760 Embossing Powder – Gold
478594 Zig Clean Color Real Brush Markers – 48 Pack
18002 Rajni Chawla’s Vellum Flowerite – 10 Sheets
Other Supplies Required: Smooth white cardstock, Watercolor brush, Score Board, Die Cutting Machine, Versamark Ink, Funnel Tray, Foam dots, Deckled Edged Paper Trimmer
The ready card base from smooth white cardstock measures, 5 1/2″ by 8 1/2″. Choose the designer paper from Sweet Pea Paper Collection and cut to size measuring 4 3/4″ by 7 3/4″ and cut it using deckled edge paper trimmer. Glue the panel on Luxe Gold cardstock creating a sleek border of 1/16″ on all the sides. Layer the panel on the ready card base using double-sided tapes for extra dimensions.
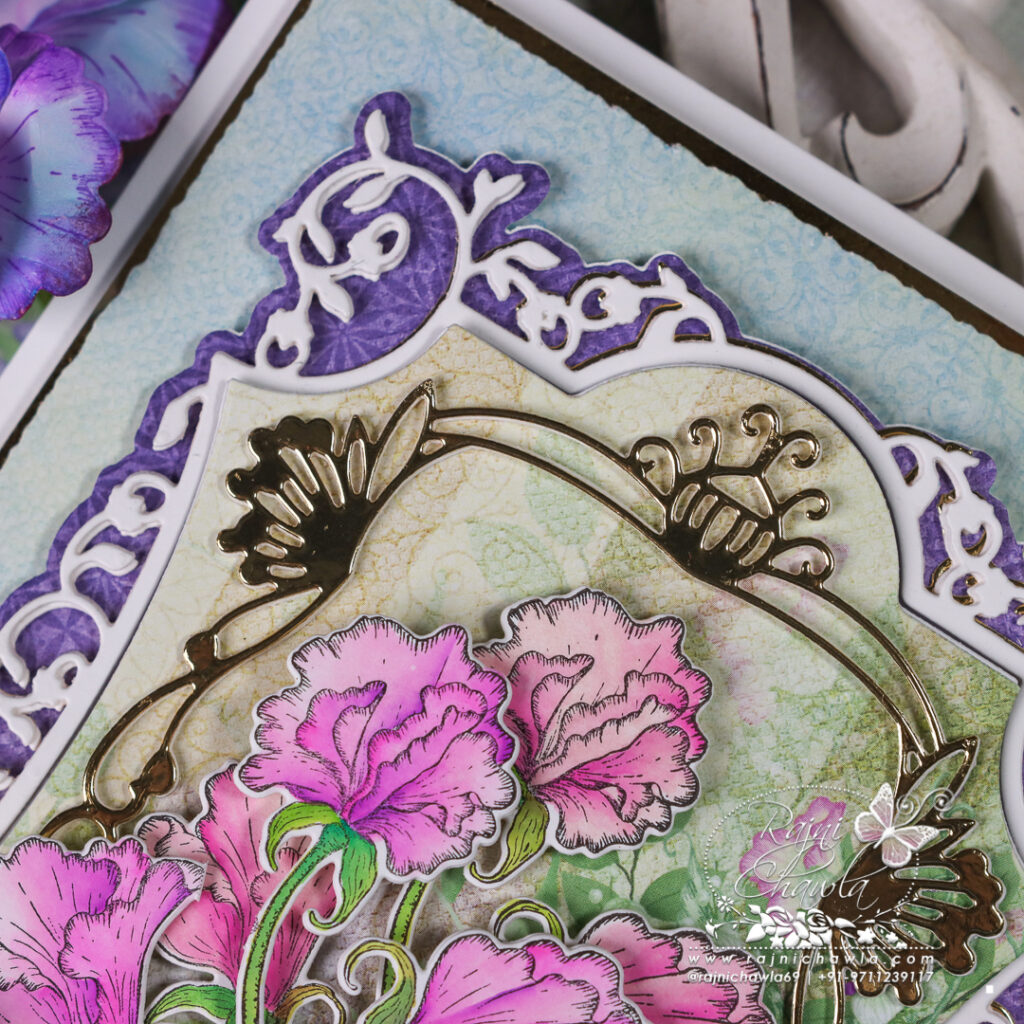
Cut the fancy frame, one each from white and luxe gold cardstock using Fancy Classic Rectangle Frame Die. Glue them together creating a gold shadow. Also, cut the cover of the fancy frame from a deep purple cardstock from the same paper collection and glue the frame on top. Next, choose the coordinating pattern paper from the same collection and cut the inner window. Layer the window on the frame using double-sided tape. Cut the inner frame using luxe gold cardstock and glue it as shown.
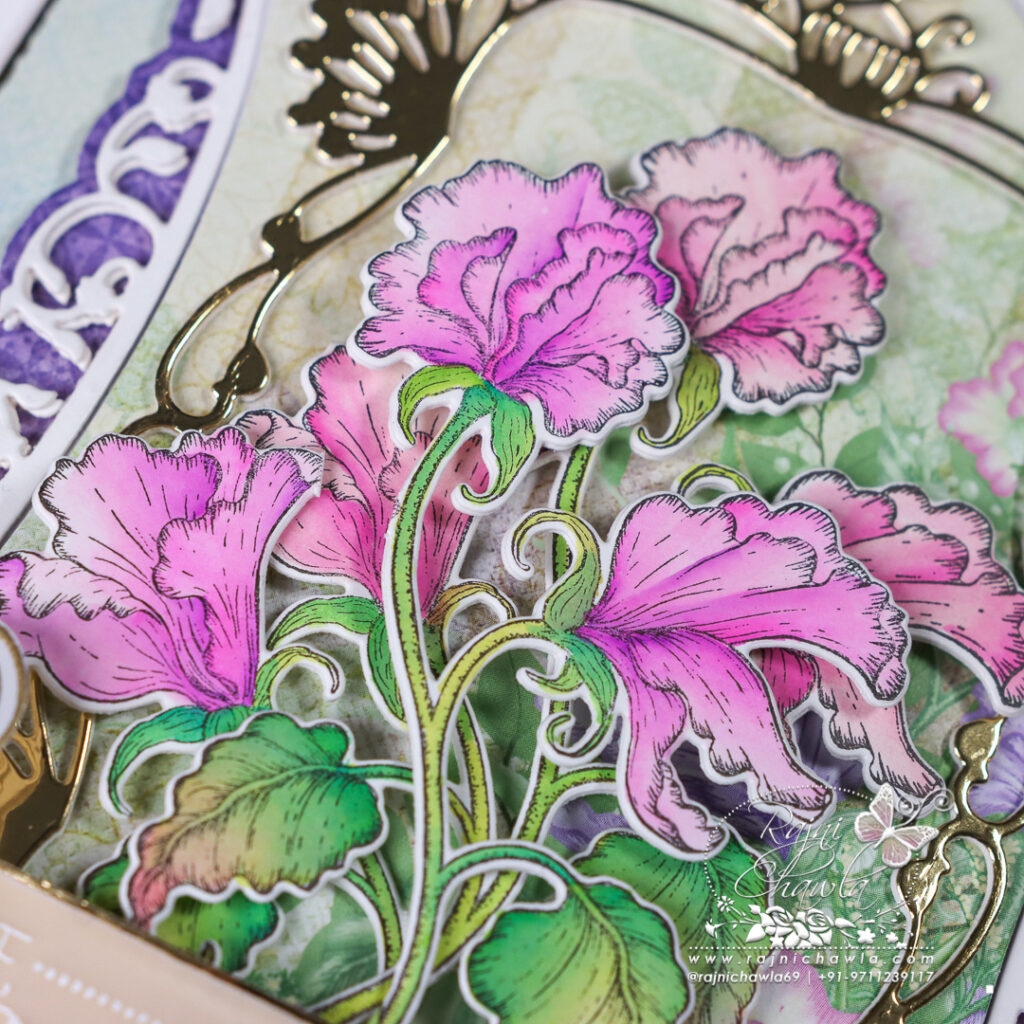
On smooth white cardstock, stamp the images from the Vining Sweet Pea Cling Stamp Set with black archival ink and paint them using Zig Clean Clear Brush Markers. Cut the images using their coordinating dies. Cut and paste an extra layer of die-cut to add extra strength to the painted images.
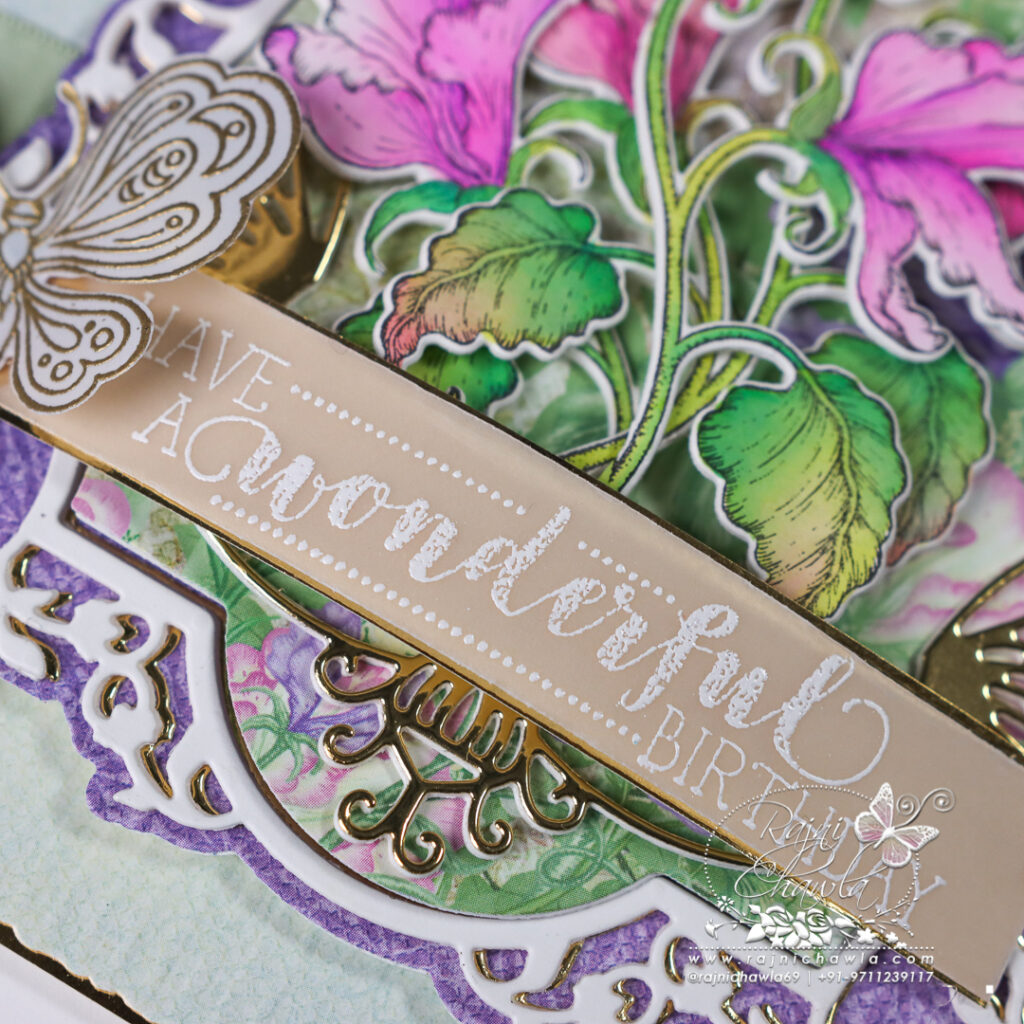
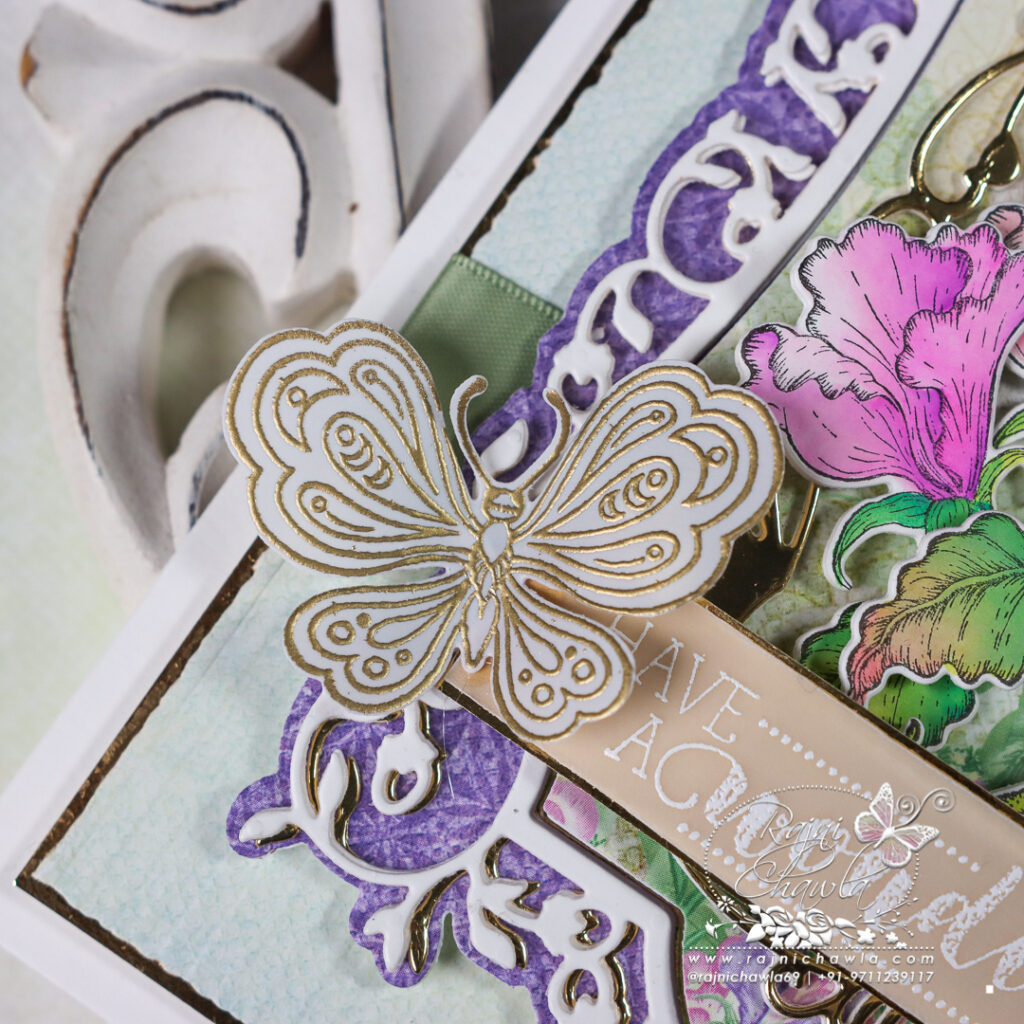
Stamp the butterfly image from Floral Butterfly Accents Cling Stamp Set with Versafine on Rajni Chawla’s Vellum Flowerite and sprinkle gold heat embossing powder. Dust extras and heat set the image using a heat tool. Cut the butterfly using its coordinating die. Shape the butterfly with your hands. Also, white heat emboss the sentiment from Special Birthday Sentiments Cling Stamp Set on Rajni Chawla’s Vellum Cardstock and glue a strip of luxe gold behind the vellum strip.
Once all the elements are ready, assemble the card as shown.
Another absolute beauty my friend! Love it!