


Good Morning Friends….
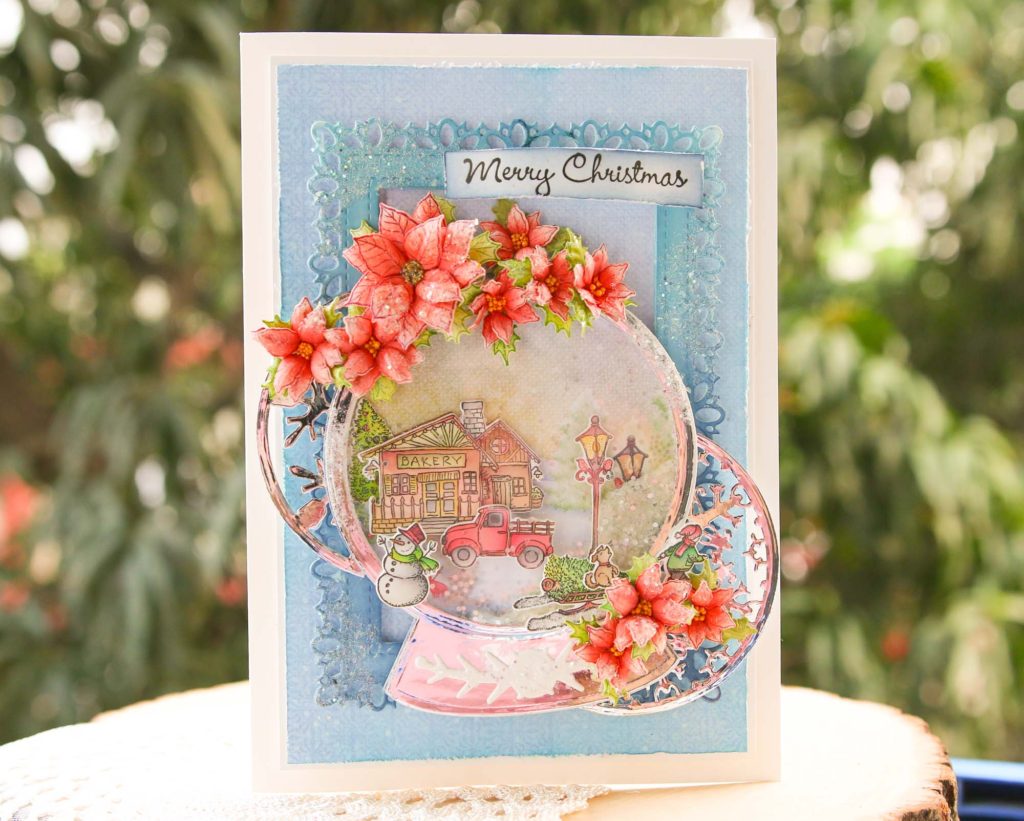
Today’s the day the Festive Winterscapes Collection becomes available to everyone! Do you love creating Christmas cards with a variety of scenes, but don’t seem to have enough to fully capture the cozy winter season? Here I have a beautiful Chrismas shopping card to share.


Supplies from Heartfelt Creations:
HCD1-7311 Festive Winterscapes Die
HCD1-7312 Woodsy Winterscapes Die
HCD1-7313 Festive Snowglobe Die
HCPC-3921 Festive Winterscapes Cling Stamp Set
HCPC-3922 Woodsy Winterscapes Cling Stamp Set
HCDP1-2118 Festive Winterscapes Paper Collection
HCPC-3881 Christmas Poinsettia & Holly Cling Stamp Set
HCD1-7249 Christmas Poinsettia & Holly Die
HCD2-7191 Intricate Swirl Frames Die
HCPP1-475 Deluxe Flower Shaping Paper Pack of 50 – White
409311 Color In Watercolor Brush – Fine
478455 Zig Clean Color Real Brush Markers – 36 Pack
409311 Color In Watercolor Brush – Fine
RACP468 Ranger Archival Ink Pad – Jet Black
159723 Designer Dries Clear Adhesive
PGM15016 Rajni Chawla’s Frosting Powder
DDOTS Double Dots 100pc. -3D Foam Circles
RACP461 Ranger Archival Ink Pad – Vermillion
368771 Scor-Tool
Other Products Used: Smooth White Cardstock, Die Cutting Machine, Glitter Balls, Foam Tape, Acetate Sheet, silver metallic cardstock
Videos Referred: https://youtu.be/3K3j7I16JBI
Instructions: The ready side-fold card from smooth white cardstock measures, 53/4″ by 8 1/2″. Choose the paper from the designer paper collection, Cottage Garden Collection, and cut to size measuring 51/4″ by 8″. Distress all the sides with sharp scissors or paper distressing tool. To create an extra interest, tear the paper and roll them inwards to have some extra distressed looks.
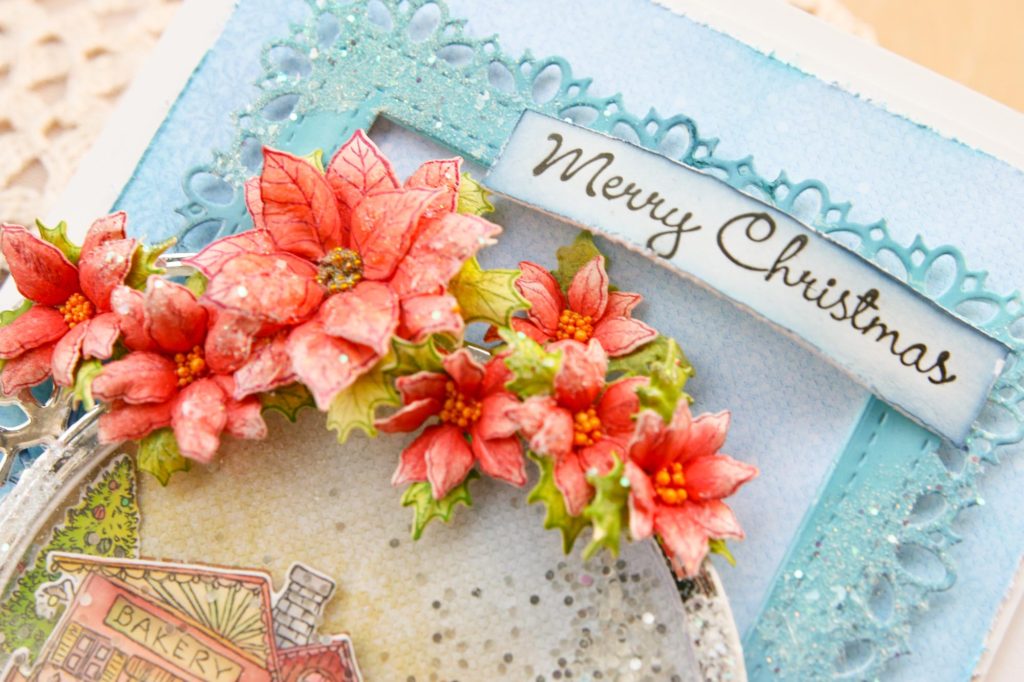
Next, prepare the front panel using Intricate Swirl Frames Die. Cut 2 frames from the same and stack them together. Color the frame front using Cobalt Blue and Aquamarine Blue Archival Inks. Layer the frames on the card front using double-sided tape, as shown.
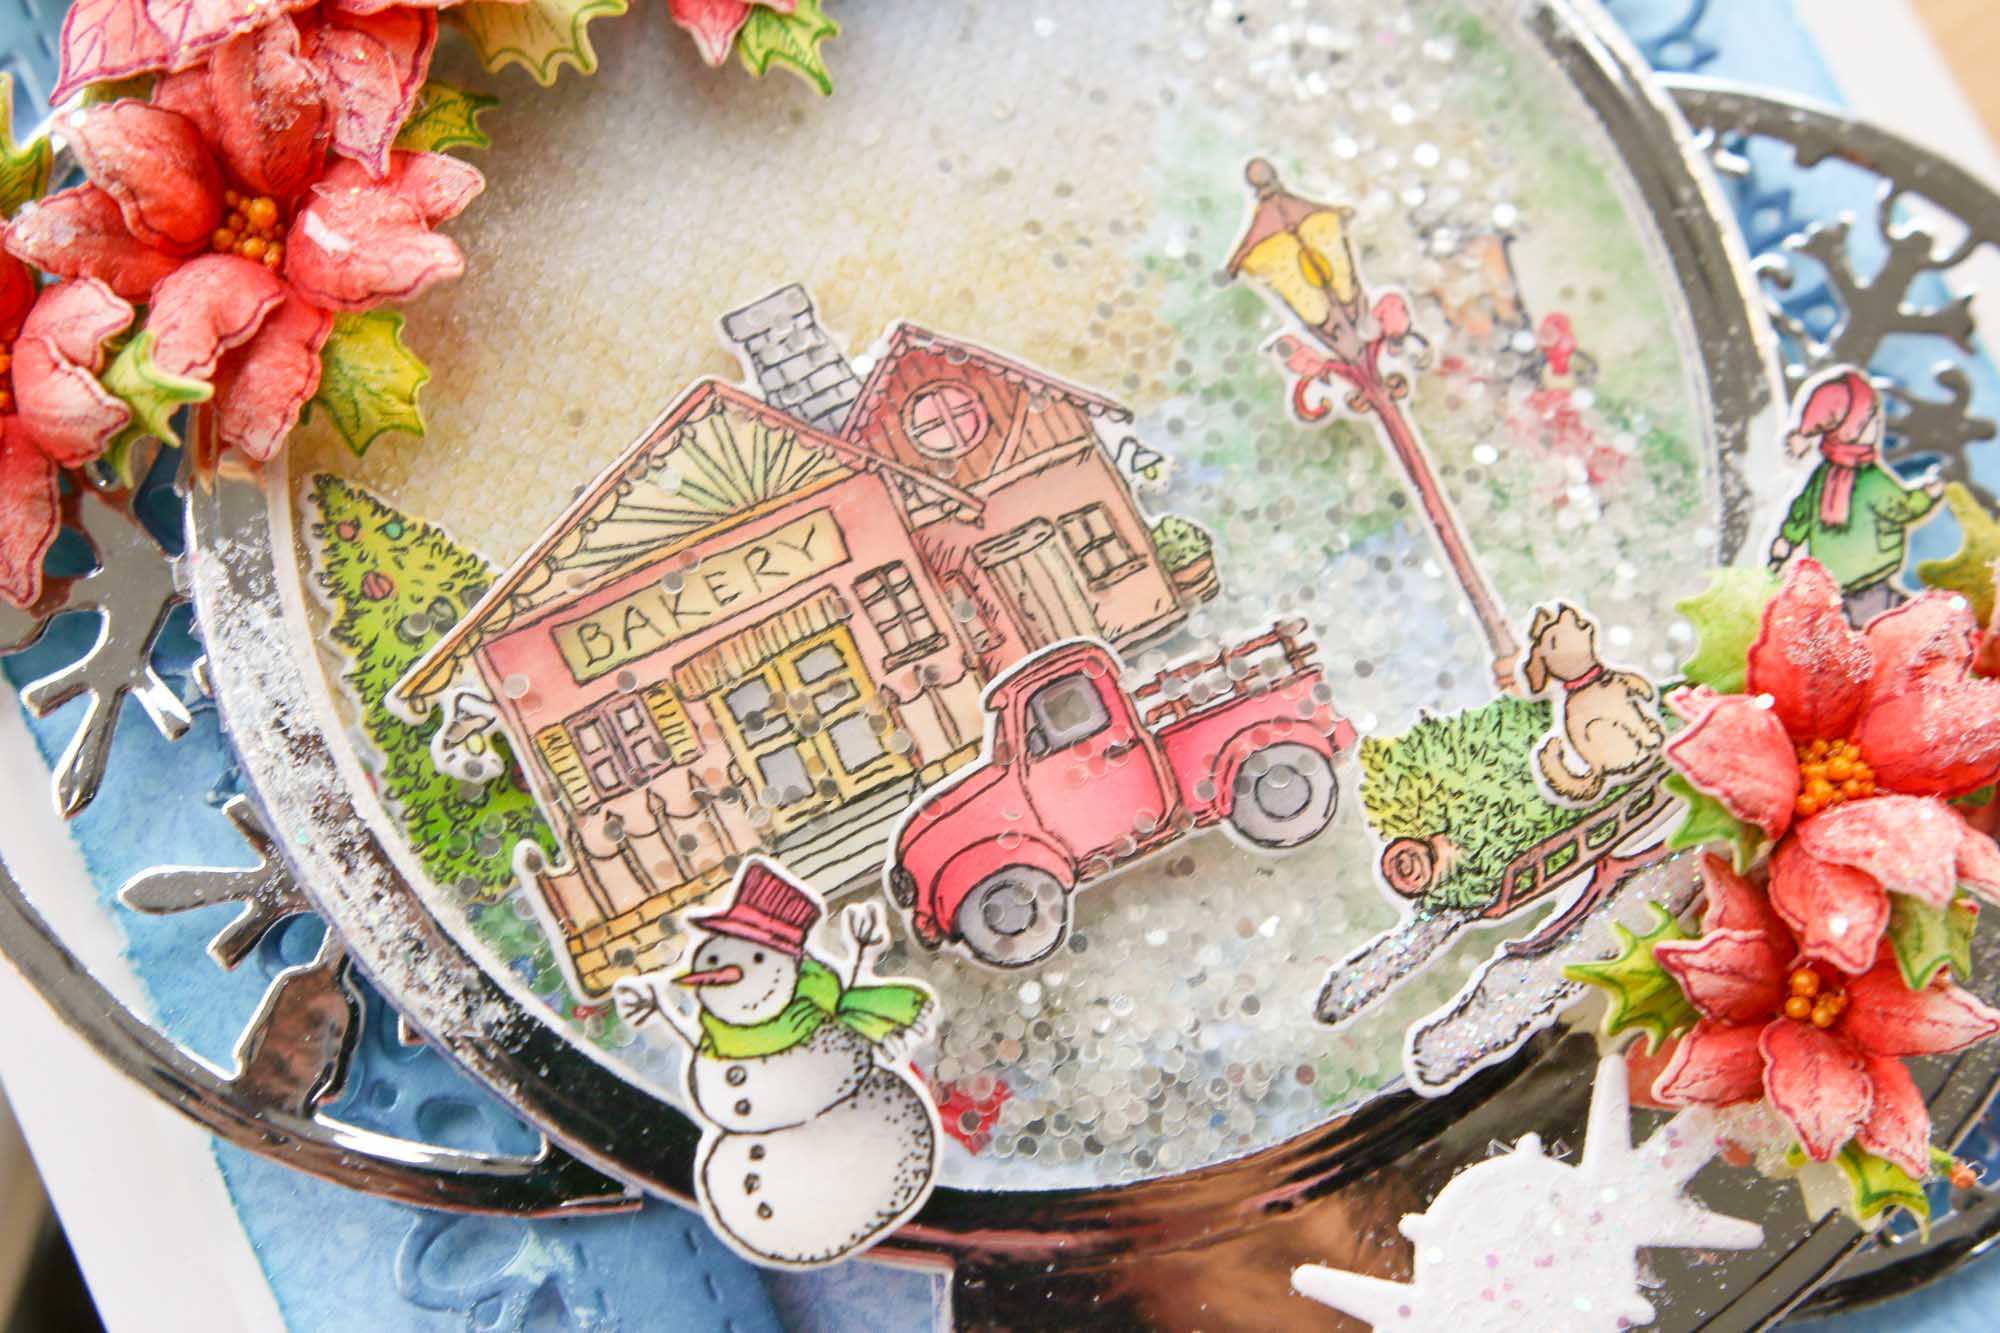
Stamp the elements from Festive Winterscapes Cling Stamp Set and Woodsy Winterscapes Cling Stamp Set using black archival ink on smooth white cardstock, paint the images using Zig Clean Clear Brush Markers and then cut them using their coordinating dies.
To prepare the shaker snow globe, Cut 5 frames of the globe from white cardstock, 1 frame using Luxe Silver Cardstock, One solid globe from the pattern paper to create the scene, and one solid acetate piece to create the window. Stack all the white frames using strong glue and adhere to the solid globe cut using pattern paper at the back. Layer all the required painted elements in the globe and add put a few shaker elements of your choice. Next, adhere the acetate window to the silver frame and finally close the window using strong glue.
Cut a snowflake accent from the same die and cut it into 2 halves. Adhere these on the backside of the shaker globe as shown. Adhere the globe on the ready card front using Glue Dots.
Stamp a couple of Poinsettias using Christmas Poinsettia and Holly Cling Stamp Set using Geranium red archival ink and cut them using their coordinating dies. Color all the Poinsettias using Vermillion Red Archival Ink and shape them using its coordinating mold. Glue the petals to form beautiful Poinsettias and add golden glitter ball to the center using an adhesive that dries clear.
Once all the elements are ready, assemble the card as shown and complete the card by adding sentiment tags and an extra glitter for detailing.
Beautiful card Rajni! Your coloring is gorgeous and I love how you used the dies!