


Today’s the day the Elegant Centerpiece dies become available to everyone! Stylish and versatile, the Elegant Centerpiece Dies are magnificent for creating that one of its kind, jaw-dropping-shaped cards, decorative accent pieces, or embellishments on your favorite paper crafting projects! Add a unique flair to your cards or add elegant decor to any paper crafting project.
Here is my second card for the day.

Supplies from Heartfelt Creations:
HCD1-7367 Simple Centerpiece Die
HCD1-7370 Simply Elegant Centerpiece Die
HCDP1-2131 Rustic Sunflower Paper Collection
HCPC-3911 Wisteria Petals Cling Stamp Set
HCD1-7295 Wisteria Petals Die
HCPC-3952 Floral Butterfly Accents Cling Stamp Set
HCPC-3952 Floral Butterfly Accents Cling Stamp Set
HCD1-7203 Ornamental Tags Die
HCPC-3844 For My Friend Sentiments Cling Stamp Set
HCD1-7193 Leafy Accents Die
HCPC-3835 Leafy Accents Cling Stamp Set
HCGP1-488 Luxe Gold Cardstock
HCS1-457-1 Pastel Pearl Stamens-Small
18002 Rajni Chawla’s Vellum Flowerite – 10 Sheets
HCPP1-475 Deluxe Flower Shaping Paper Pack of 50 – White
RACP436 Ranger Archival Ink Pad – Leaf Green
RACP482 Ranger Archival Ink Pad – Olive
RACP487 Ranger Archival Ink Pad – Bright Tangelo
RACP005 Ranger Archival Ink Pad – Sunflower
RACP468 Ranger Archival Ink Pad – Jet Black
RACP399 Ranger Archival Ink Pad – Carnation Red
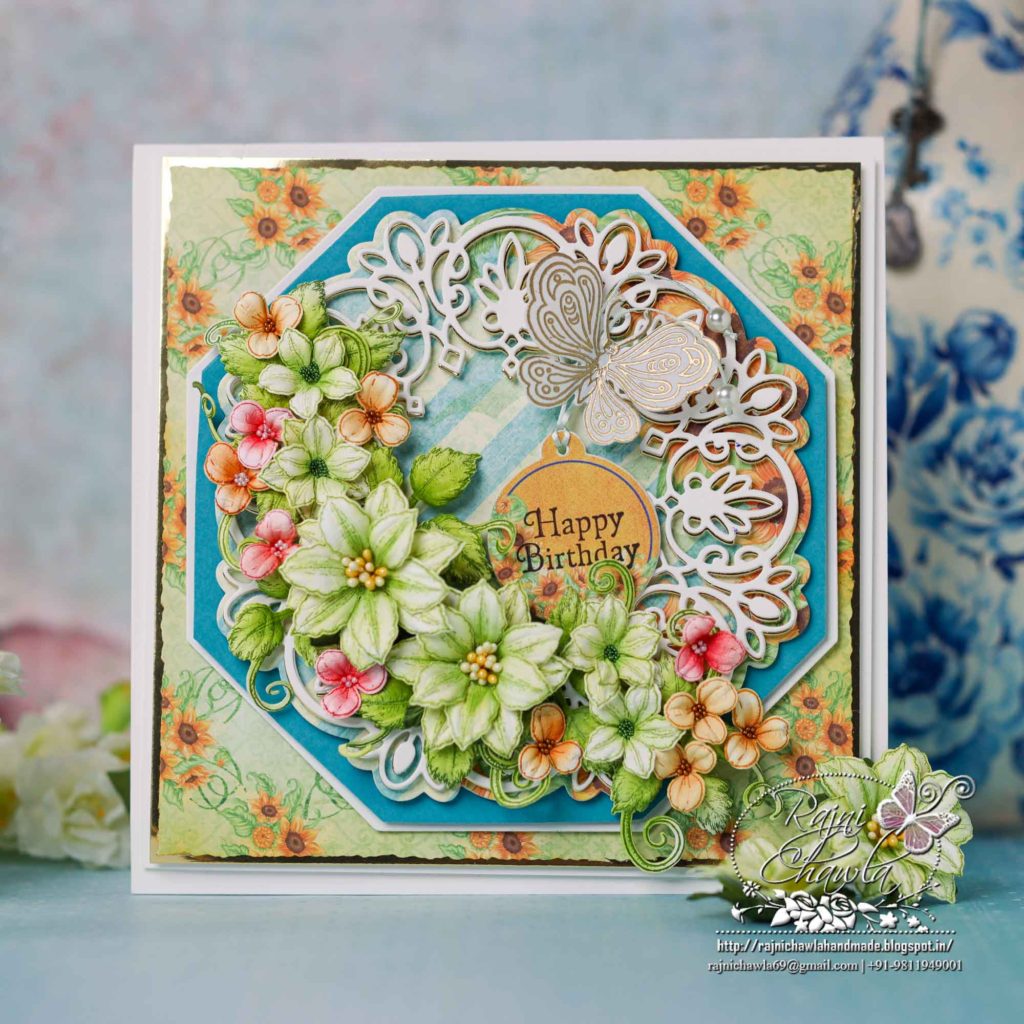
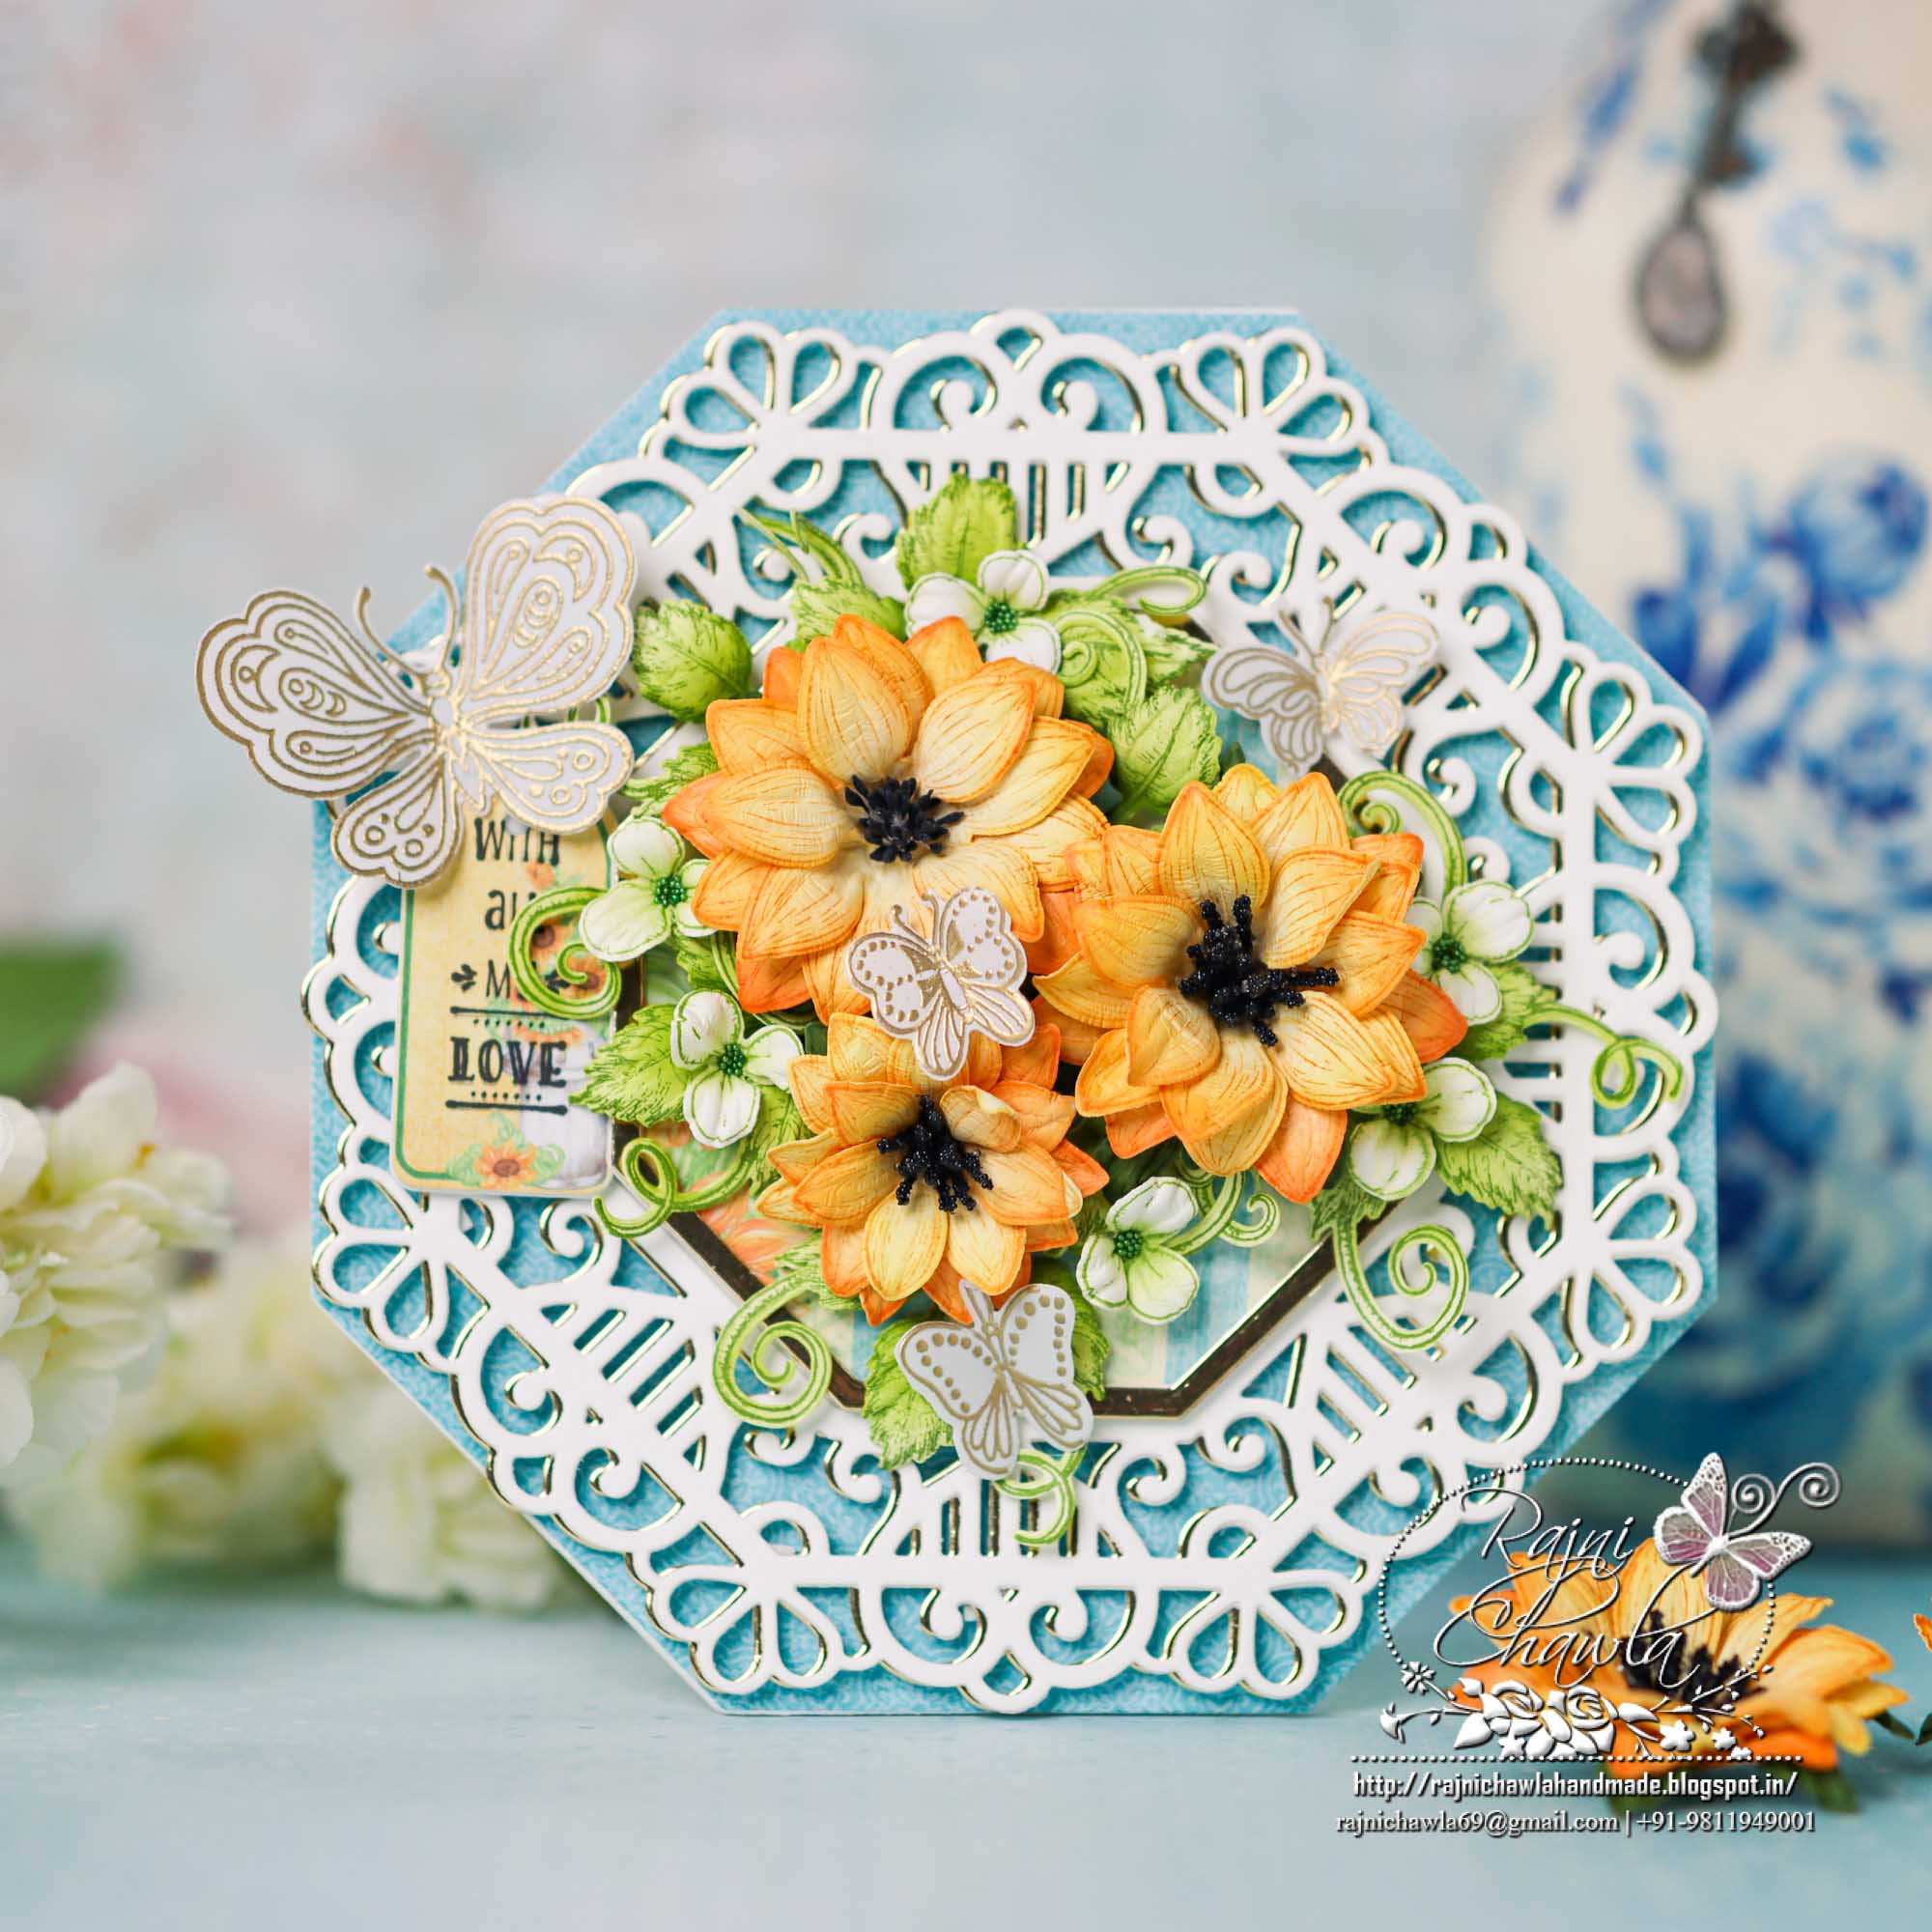
The ready top fold card measures, 7″ X 7″. For making the card base you will need two pieces of cardstock measuring 7″ X 7″ and 7 1/2″ X 7″. Score the second piece on 1/2″ and crease well using a bone folder, making a hinge. Add glue on the hinge and secure the first piece on top.
Choose the pattern paper from the Rustic Sunflower designer paper collection and chop it to 6 1/2″ X 6 1/2″ using a deckled edge paper trimmer. Layer the panel on Luxe Gold cardstock making a golden border of 1/16″ on all four sides.
Cut 2 solid panels using Simple Centerpiece die, one from white cardstock and one from teal color cardstock. Cut the teal one on the marked edges and make it a bit short and prepare a layered twin colored panel. Finally, layer it on the card front as shown.
Cut 2 pieces of die cuts from Simply Elegant Centerpiece Die, one from Luxe Gold and another from white cardstock. Glue both of them together keeping the golden one on the bottom, a little off-centered to create shadows. Layer the die-cut on the card front using tiny glue dots.
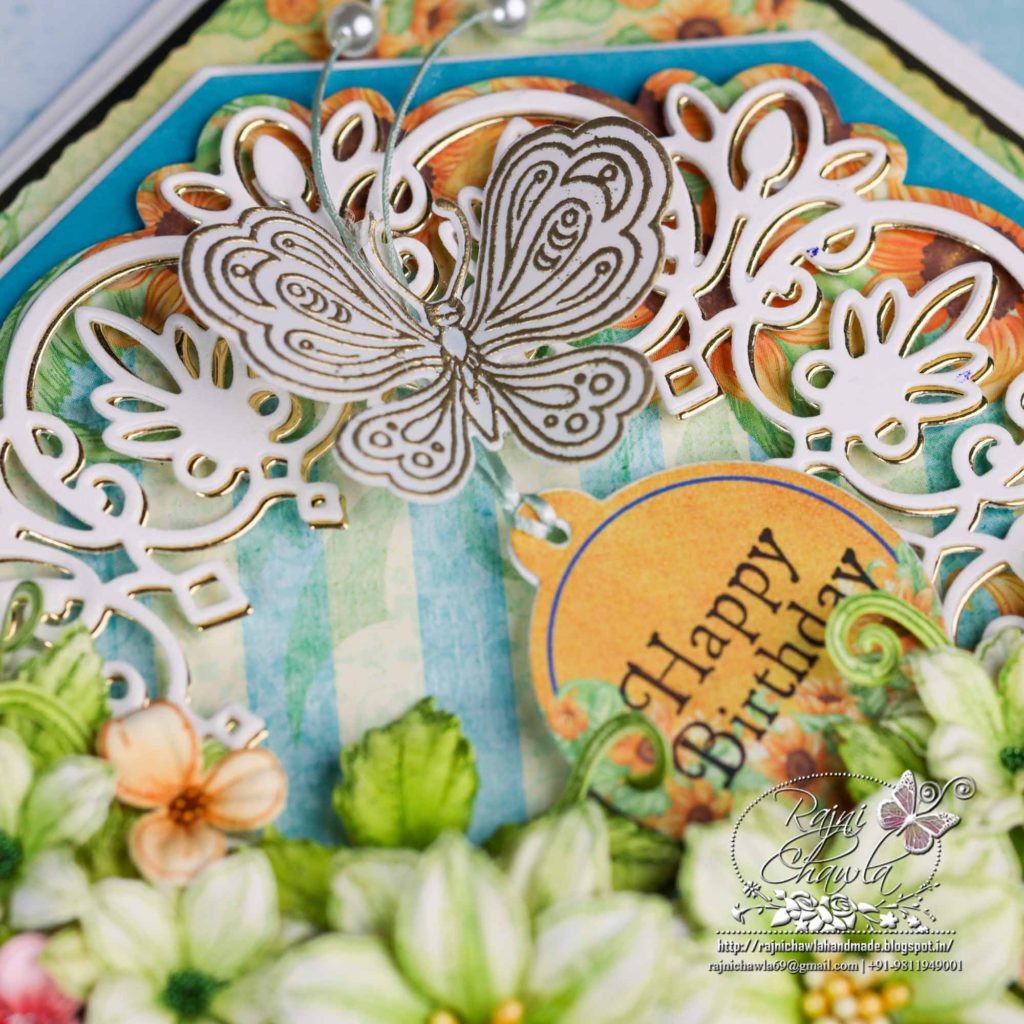
Stamp the butterfly image from Floral Butterfly Accents Cling Stamp Set with Versafine on Rajni Chawla’s Vellum Flowerite mand sprinkle gold heat embossing powder. Dust extras and heat set the image using a heat tool. Cut the butterfly using its coordinating die. Shape the butterfly with your hands.
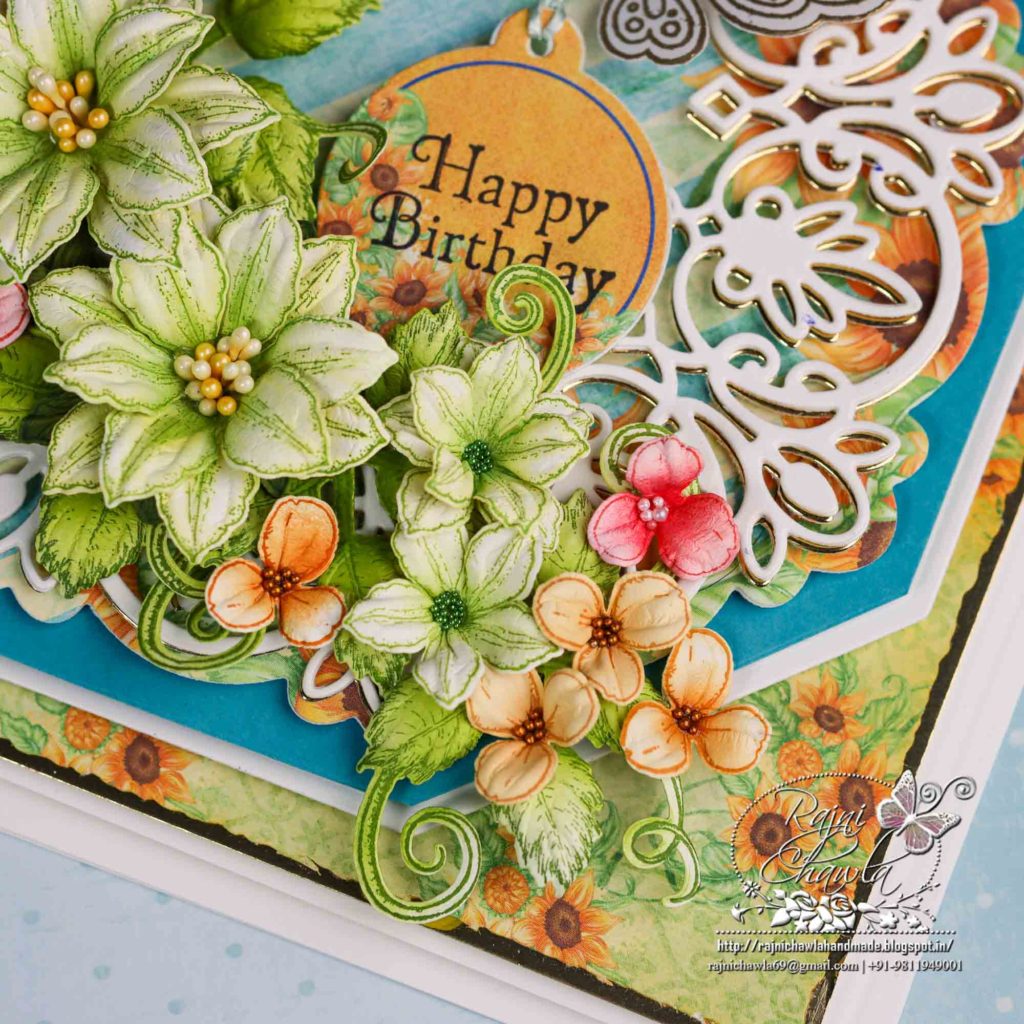
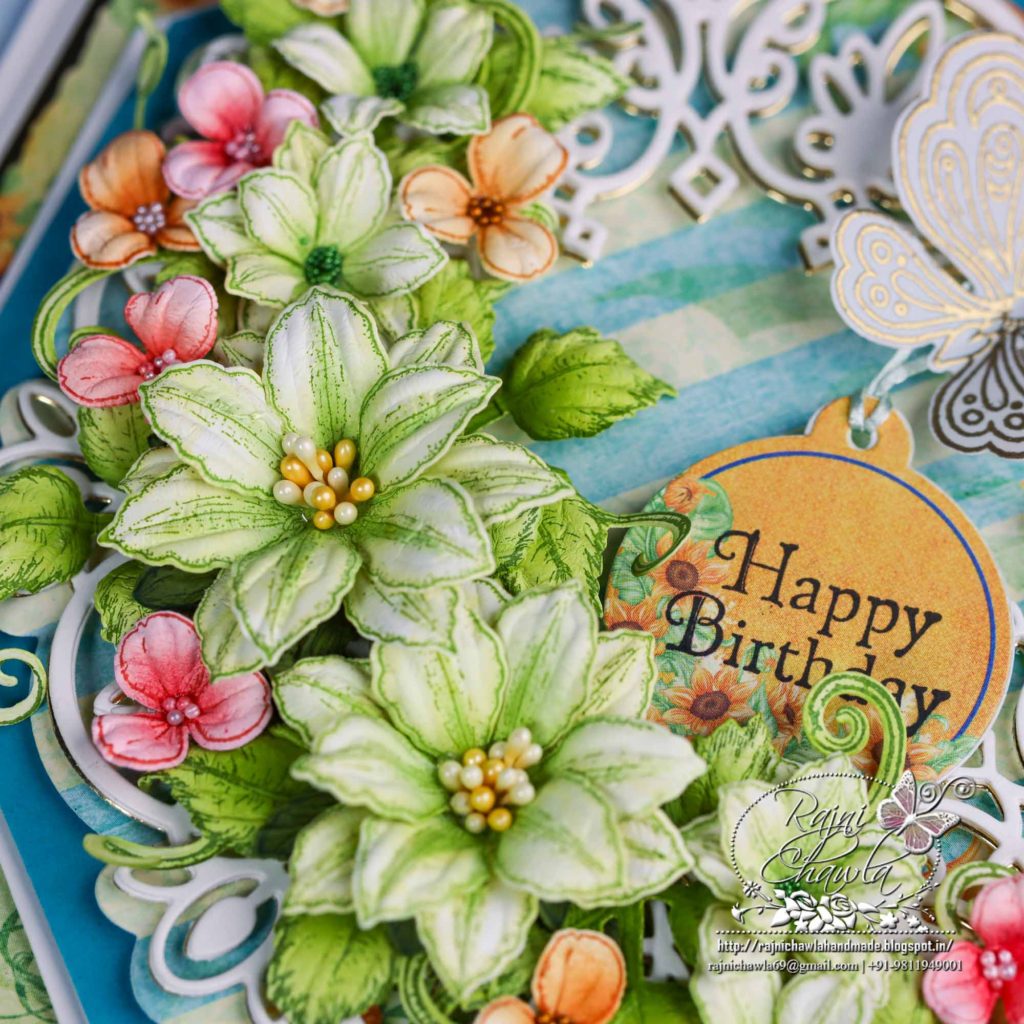
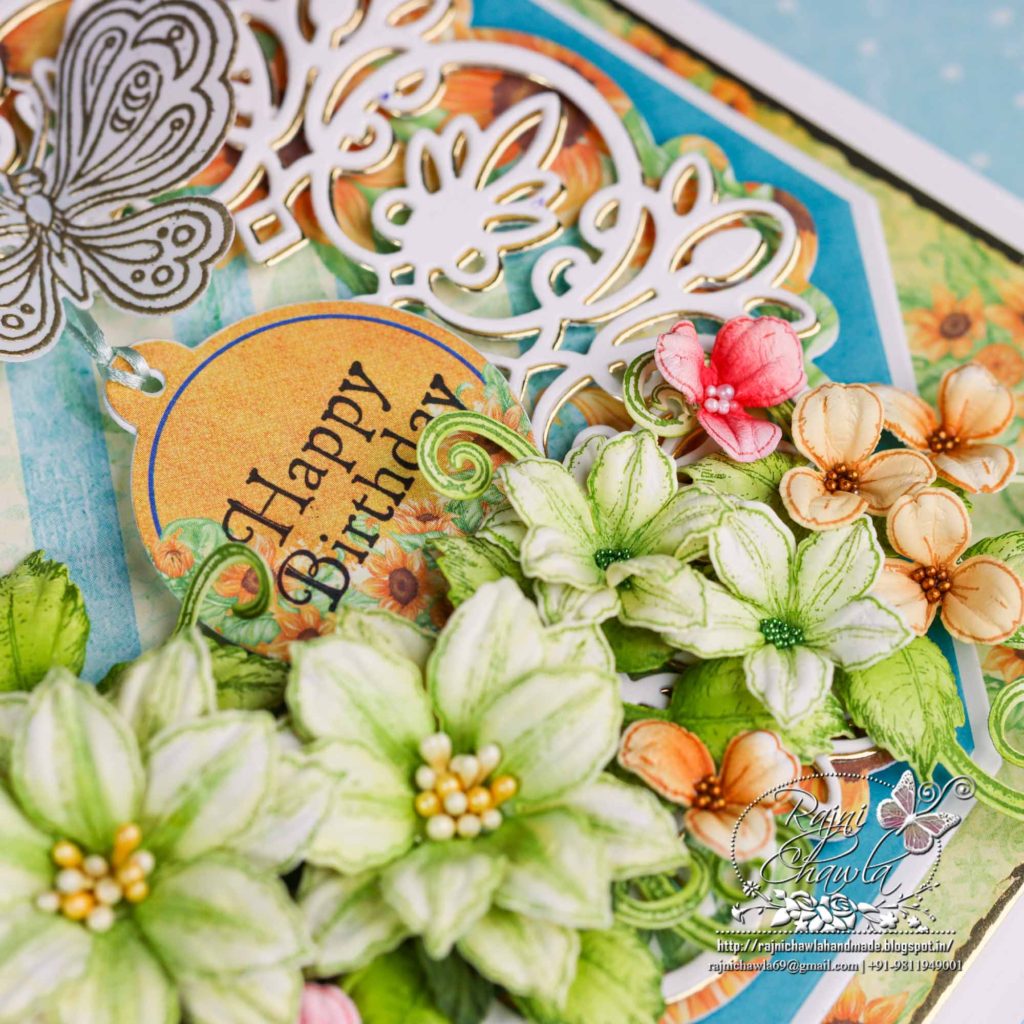
For Clematis Flower, Stamp 6 pieces of large and 6 pieces of medium-sized Clematis flowers using Leaf Green Archival ink on Flower shaping paper and cut them using their coordinating dies. Color the flowers using the same ink and shape them using the Deluxe flower shaping kit. Prick the holes in the center and secure the pollens with a heat tool. Prepare 3 large and 3 medium-sized flowers. Stamp one petal each of one size smaller sized petal from the same set using Library green/ Cobalt Blue archival ink on green color cardstock and cut them using coordinating dies. Using the crushing technique, create calyx and complete the flower securing them behind each flower for the complete flower look.
Stamp 2 sets of leaves using Leafy Accent stamp and Olive Green Archival ink and cut them using its coordinating die. Color the leaves using the same inks and shape them using a deluxe flower shaping kit.
Stamp, cut, and color a few wisteria flowers using Bright Tangelo and Carnation Red Archival inks and shape them using a flower shaping kit. Add flower pollens using a glossy accent and use these flowers as fillers.
Once all the elements are ready, make a small floral display using all flowers, fillers, and foliage. Complete the card by adding sentiment tag cut using Ornamental Tag Die. The sentiment is stamped from For My Friend Sentiments Cling Stamp Set using Jet Black Archival ink.
Absolutely gorgeous and my friend. Love the colors and the beautiful clematis!