


Good Morning all…
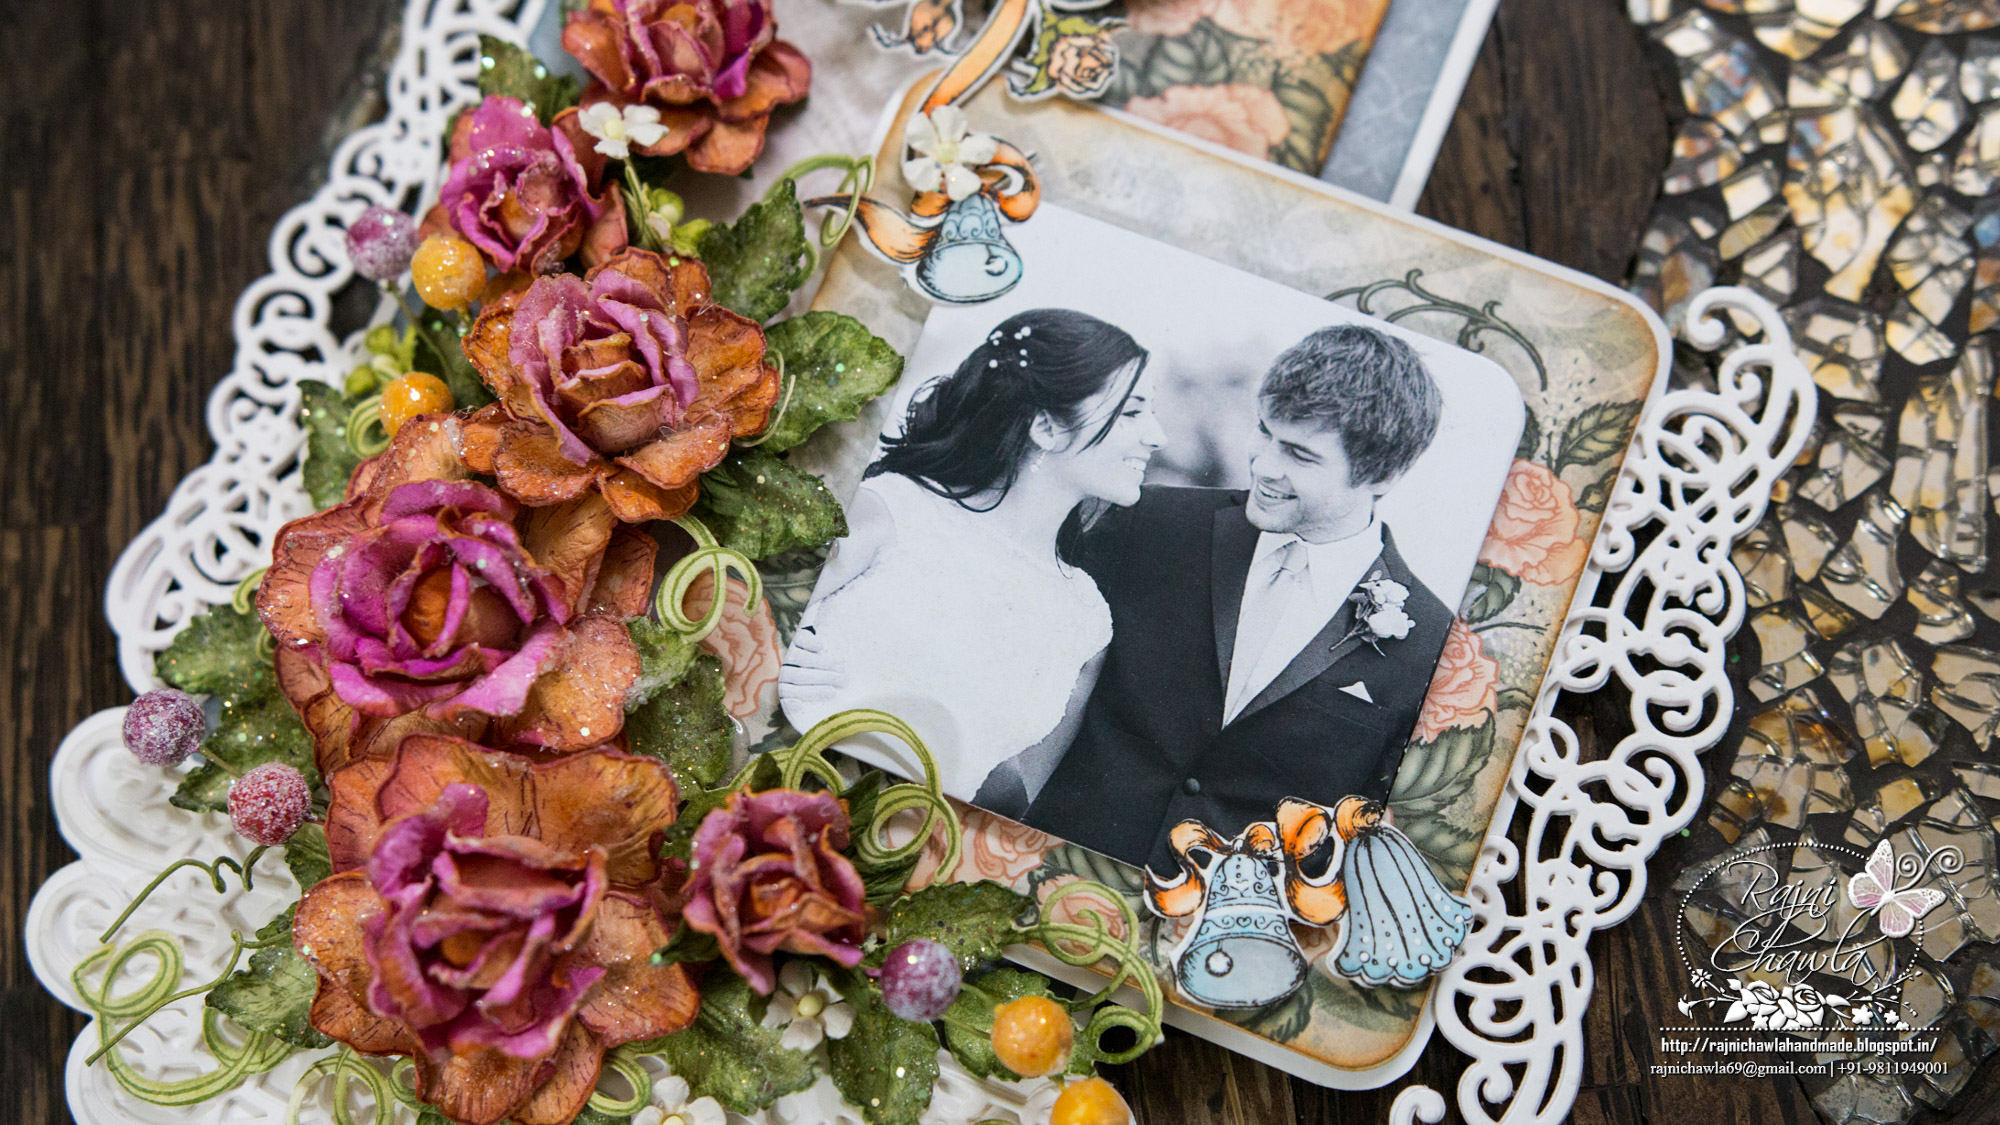
Second Wednesday and we at Heartfelt Creations are back again with an another amazing new collection…Classic Wedding Collection. It was really fun creating wedding projects using new set of wedding stamps and dies. I have created a beautiful wedding project using Ellen’s wedding picture. Don’t forget to check out amazing work by other dt’s on Heartfelt Creations blog.
Church bells ring out and there’s an excitement in the air! Loved ones have gathered together to celebrate two hearts joined in friendship being united in love! Beautiful roses provide a classic and romantic décor while soft music lends to the ambiance as the bride and groom beam seeing one another for the first time on their wedding day! Preserve those special “Happily Ever After” memories with the new Classic Wedding Collection by Heartfelt Creations. Filled with romantic imagery of stately church bells, classic roses, and fanciful doves, this softly hued paper collection is sure to add to the nostalgia and romance of these precious moments while showcasing memories of such a special day. Soft peaches, pinks, greens and blue tones lend a timeless and elegant backdrop to graceful swirls, lace-like elements and romantic script! Commemorate the special occasion with dreamily illustrated cling stamp sets depicting glorious heart shaped rose wreaths, elegant church bells, beautiful wedding rings and a delicate image of a bride and groom, complete with coordinating dies perfect for embellishing bridal shower, wedding or anniversary creations! Five marvelous sentiments are included to ensure you have the perfect well wishes to complete your bridal or anniversary card or scrapbook layout! Add a touch of splendor and sophistication with either of the two intricate and impressive lace like dies included in this sentimental collection! So, please rise…and join us in celebrating those special moments that represent “Always and Forever”!


Products from Heartfelt Creations:
HCPC-3789 Classic Wedding Bells Cling Stamp Set
HCD1-7143 Classic Wedding Bells Die
HCD1-7144 Decorative Medallion Die
HCDP1-279 Classic Wedding Paper Collection
HCD1-7110 Classic Rose Die
HCPC-3752 Classic Rose Cling Stamp Set
HCPC-3753 Classic Rose Vines Cling Stamp Set
HCD1-7111 Classic Rose Vines Die
HCD2-750 Cut Mat Create 1B Die
HCD2-751 Cut Mat Create 2A Die
PGM15016 Rajni Chawla’s Frosting Powder
PGM15015 Rajni Chawla’s Crystal Clear
HCDA2-450 Stack and Store Daubers-Pack of 30
159723 Designer Dries Clear Adhesive
71082 ColorBox Fluid Chalk Ink Pad – Harvest
71032 ColorBox Fluid Chalk Ink Pad – Dark Peony
HCST1-401 Deluxe Flower Shaping Kit
Other Products Used: White chipboard, Smoothe white cardstock, Distress Ink Pumice Stone, Sticky Adhesive Sheet, Spellbinder’s Classic Circle die, Funnel Tray, Zig Clean Clear Brush Markers, Archival Ink, Plum, Library Green, Olive Green and Fern Green, Twine, Fancy Beads, Hot Glue.
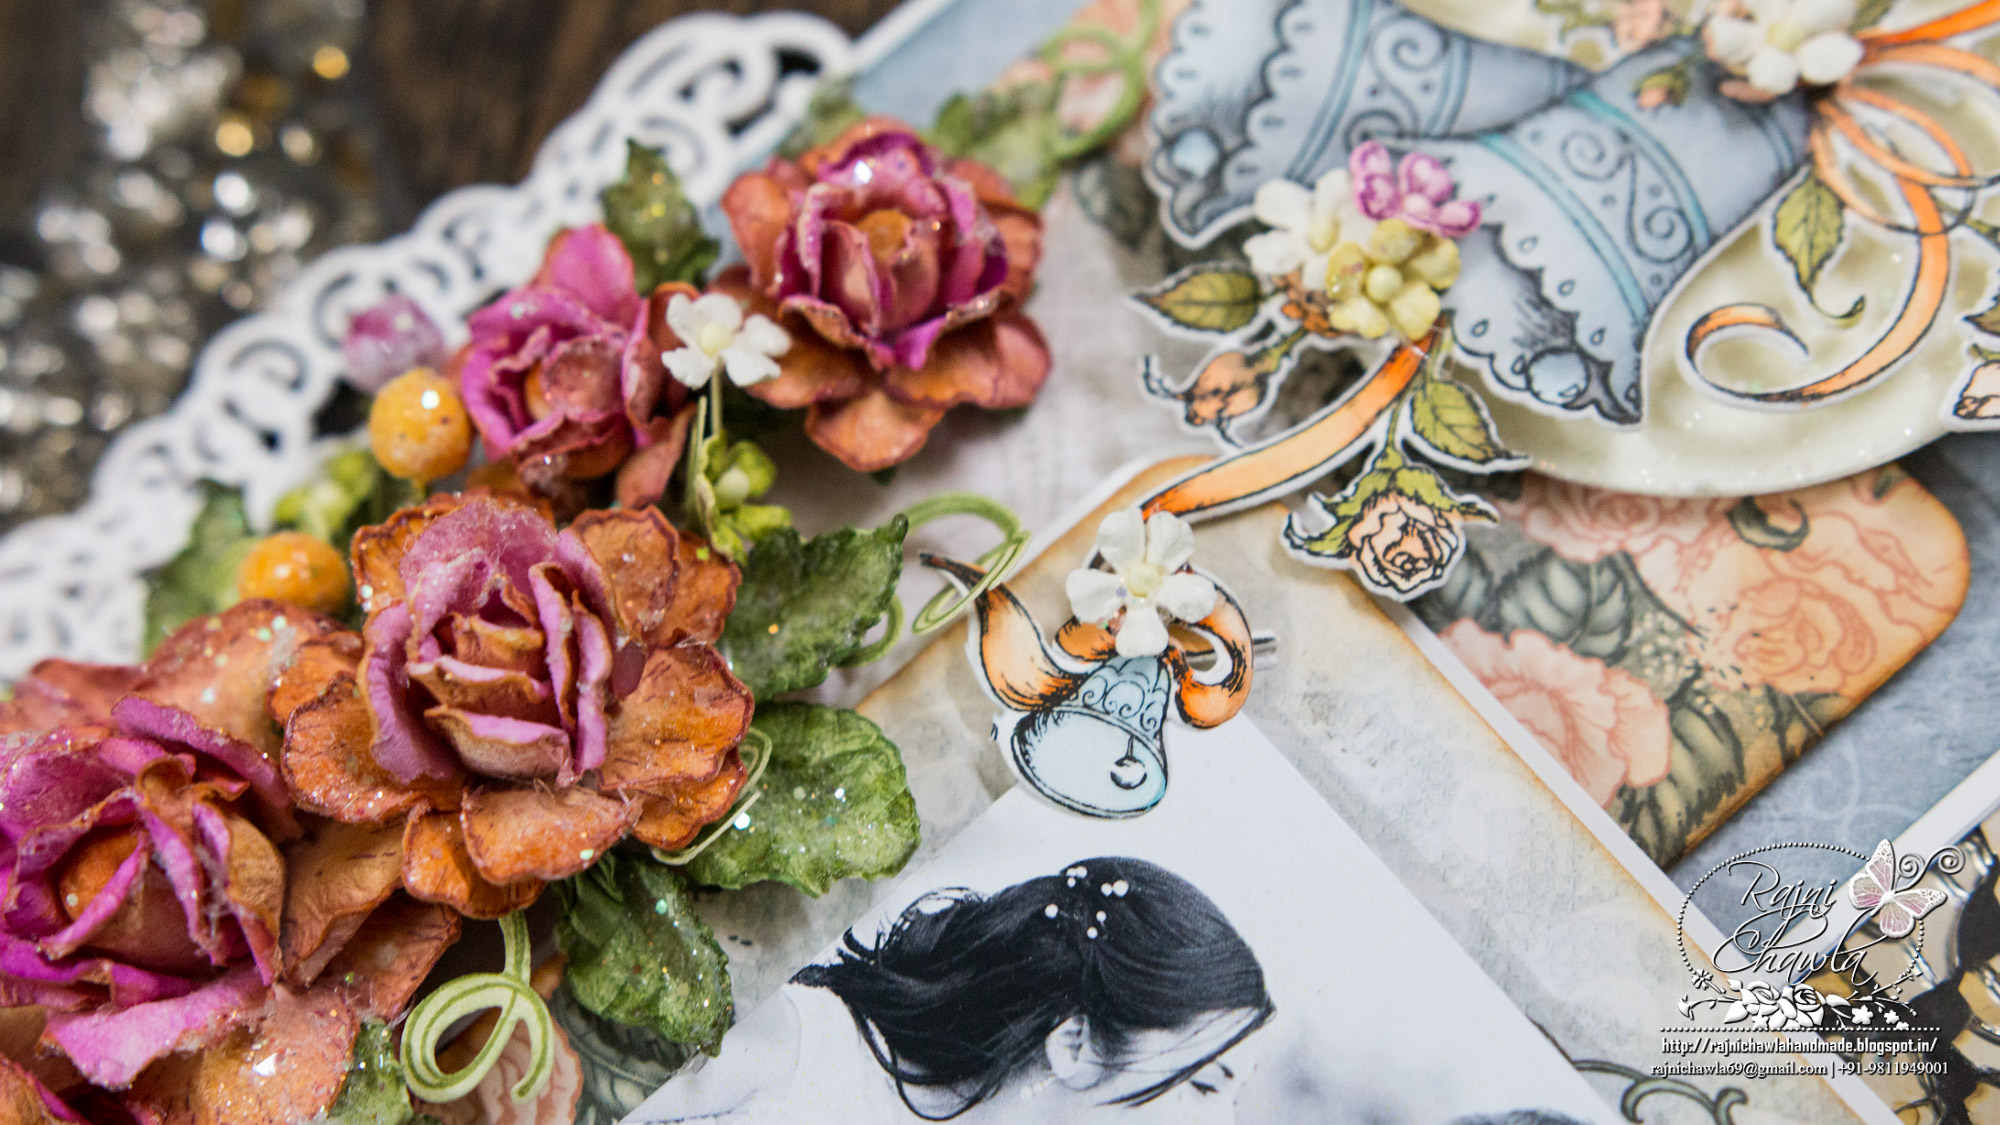
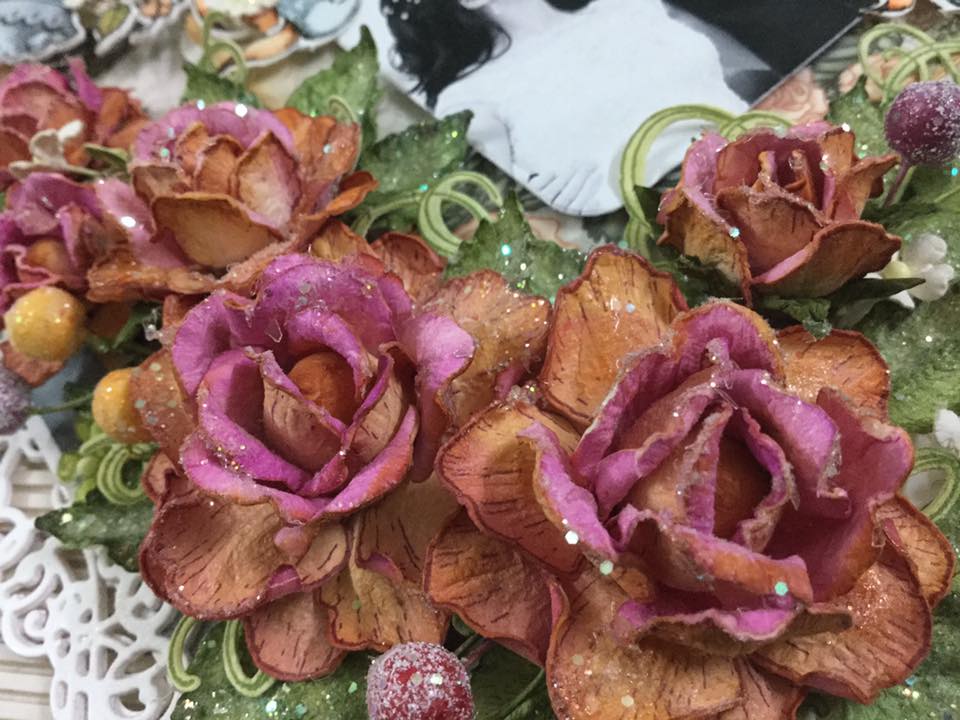
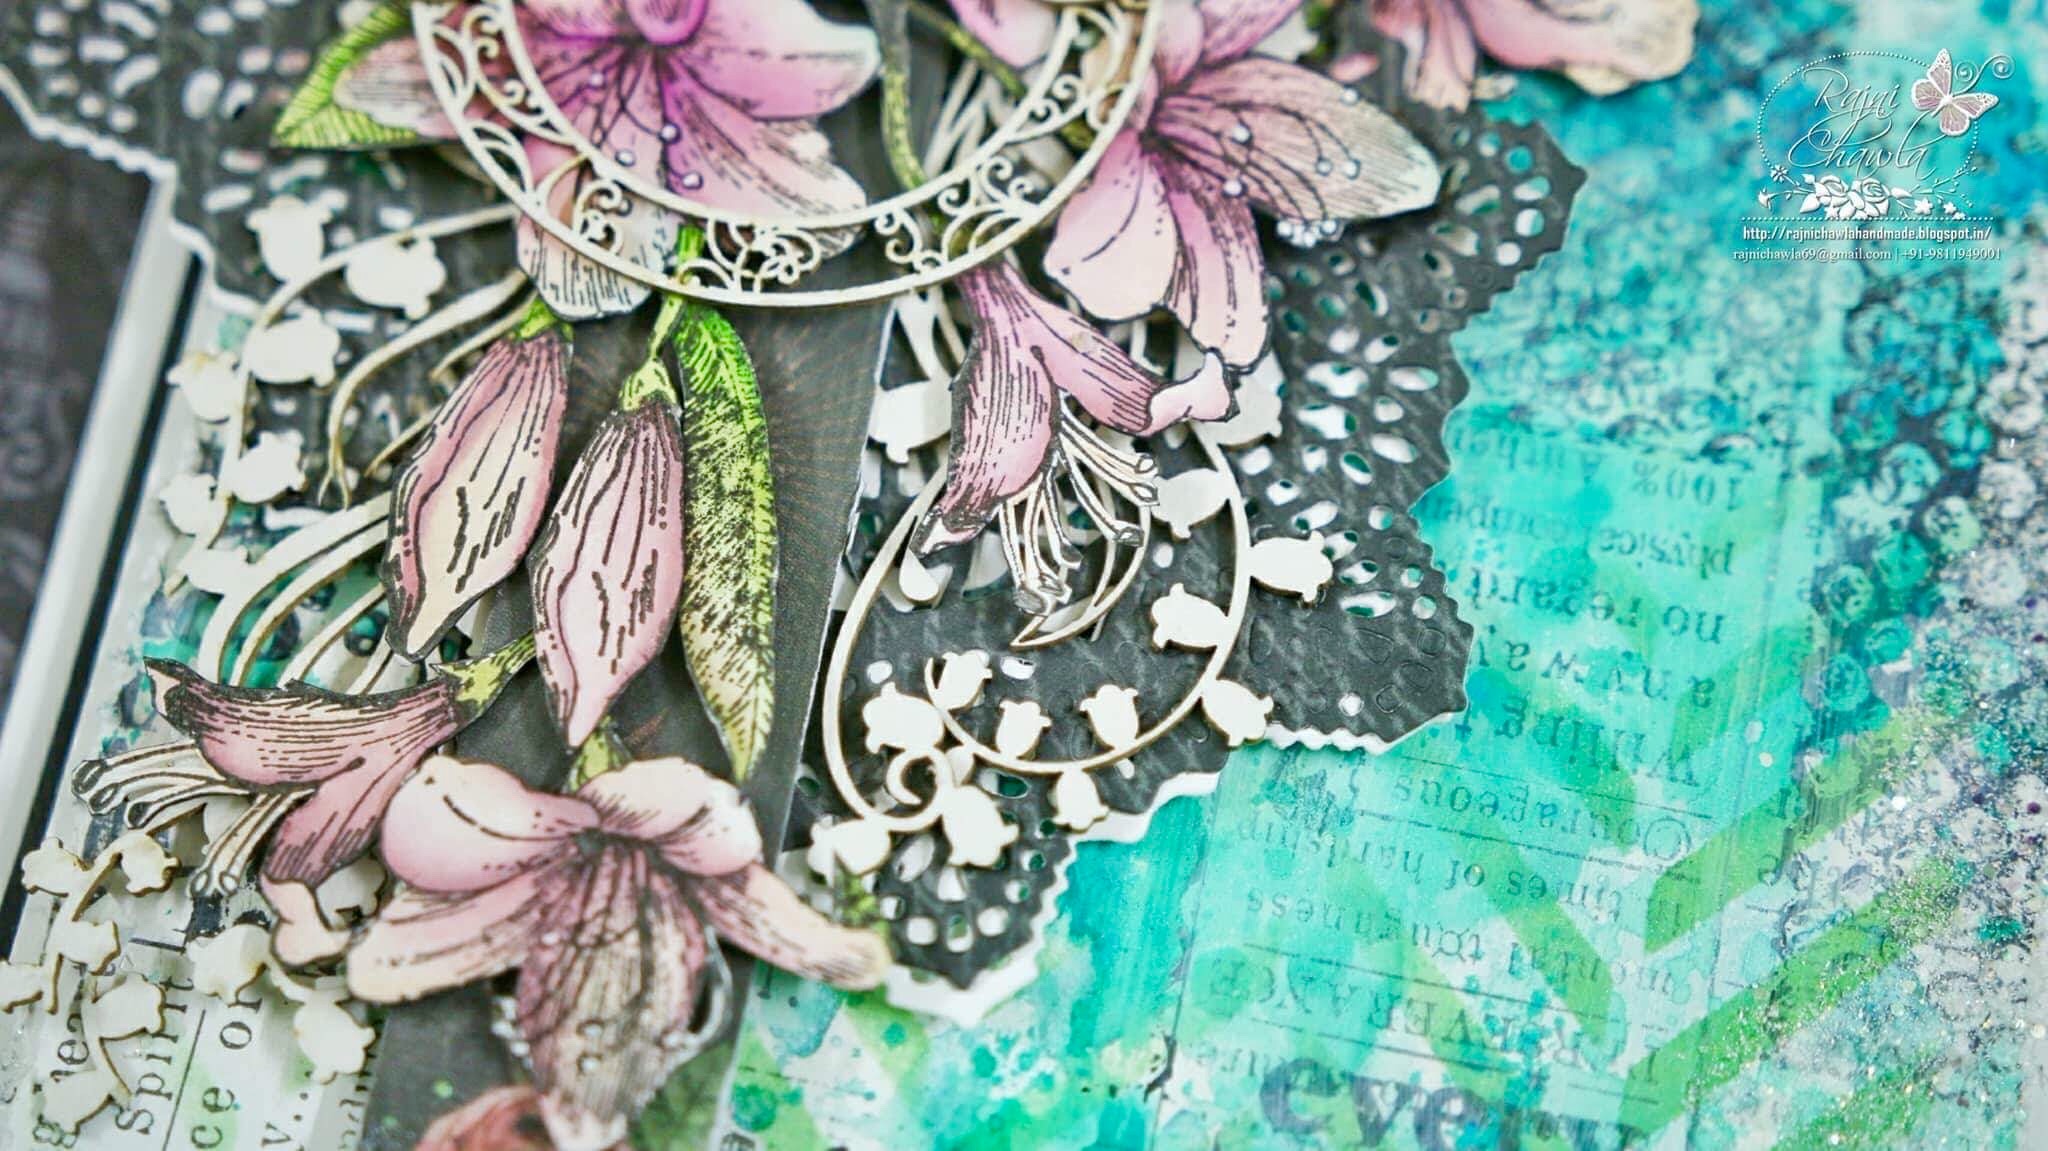
Instructions: For shaping roses and leaves, refer to Emma’s Video ( https://www.youtube.com/watch?v=Z8P070kC3oo) I have stamped the rose images with archival Plum and used Color Box, Harvest and Dark Peony to paint my roses. The leaves are stamped with Library Green and painted using Fern Green and Olive Green. The flowers and leaves are then dressed up using Frosting Powder and Crystal Clear.
For the panel, I have cut a thick white chipboard measuring 4 1/2 ” by 7 1/2″. Cut a designer paper little smaller than the chipboard and distress the edges using Pumice Stone.Mat it on the chipboard using any glue that dries clear. For Top and Bottom panel, cut 4 pieces of Decorative Medallion Die and stick 2 die cuts together to create the top and bottom panels. Stick the white base underneath both the panels. Cut a Long orange Panel using Cut Mat Create 1B Die from the designer paper. and layer it in the center. Cut another square panel using Cut Mat Create 2A Die and Mat it on a thick white cardstock. Layer it on the right edge of the main panel as shown. Choose a picture, die cut it and adhere it to the square panel. I have used a wedding picture of Ellen and her Husband.
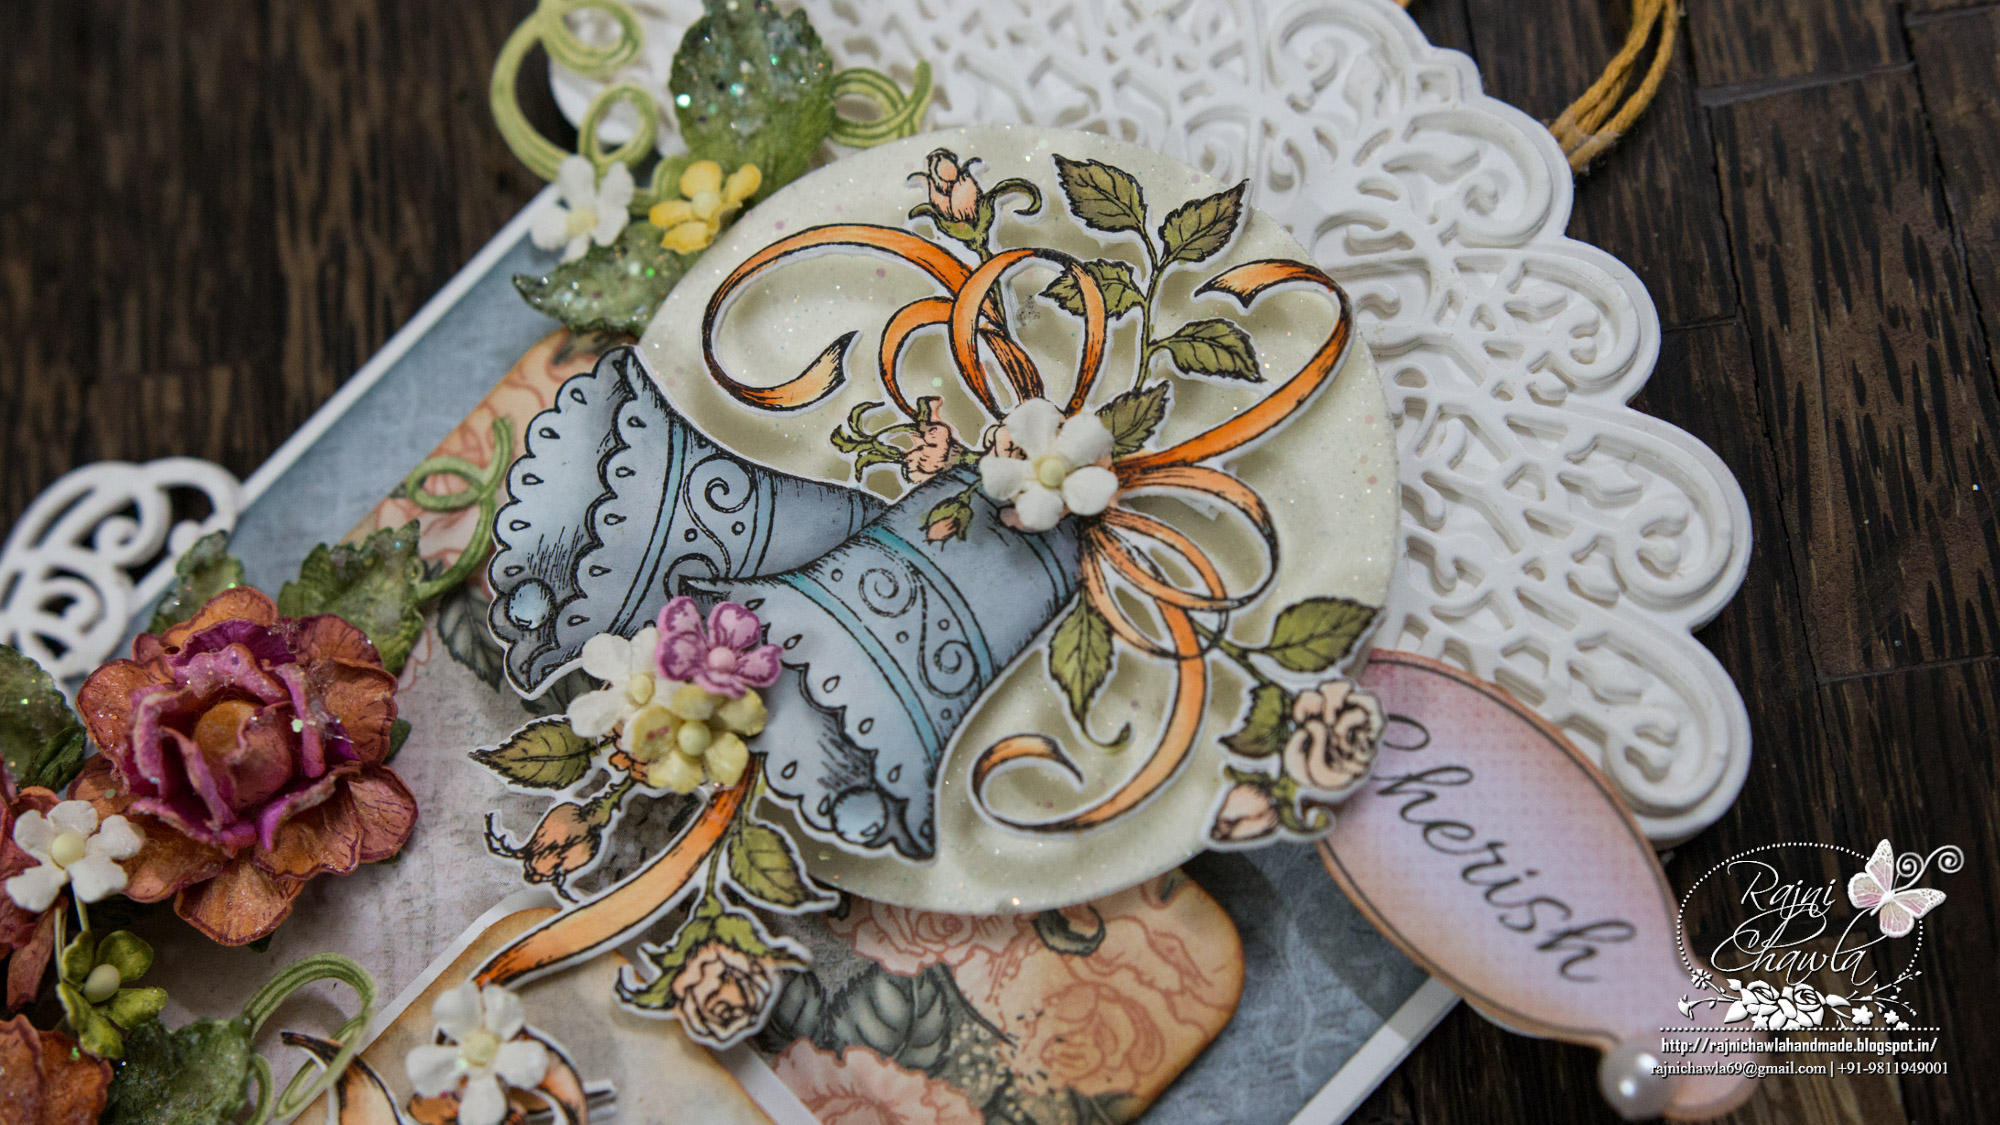
For the wedding bells images, I have stamped the images with Black Archival on smooth white card stock and painted them using Zig Clean Clear Brush Markers. The bells are a layer with foam tapes on the circular die cut which is cut using Spellbinder’s Classic Circle Die. A double-sided adhesive sheet is first adhered on a paper and then passed through the die cutting machine using Classic Circle Die. Remove the release paper and add Crystal Clear Powder. Rub it with ur fingers and dust extras in the funnel tray.
Once all the elements are ready, decorate the panel as shown. a long beaded danglers are added from the back and adhered using hot glue to add extra beauty to the project. To finish the project add a loop on the top and add a sentiment from the paper collection.
Rajni you really are a inspiring crafter just love this Hugs S xx
Such a pretty creation mam! Love the flowers and the touch of string of beads!
Your roses are super gorgeous! I love your design, just a beautiful display!
This is absolutely beautiful Rajni!!! Love, love, love your gorgeous roses!!!
…as always a BEAUTY….hugs
So Stunningly Beautiful… Those roses are so Gorgeous!