Good Morning Friends….
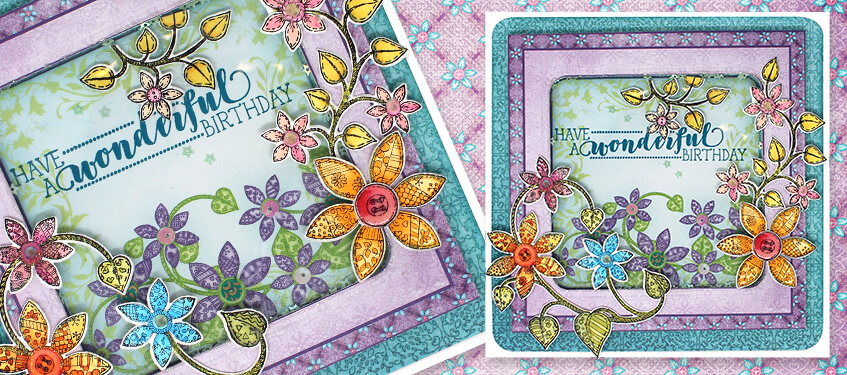
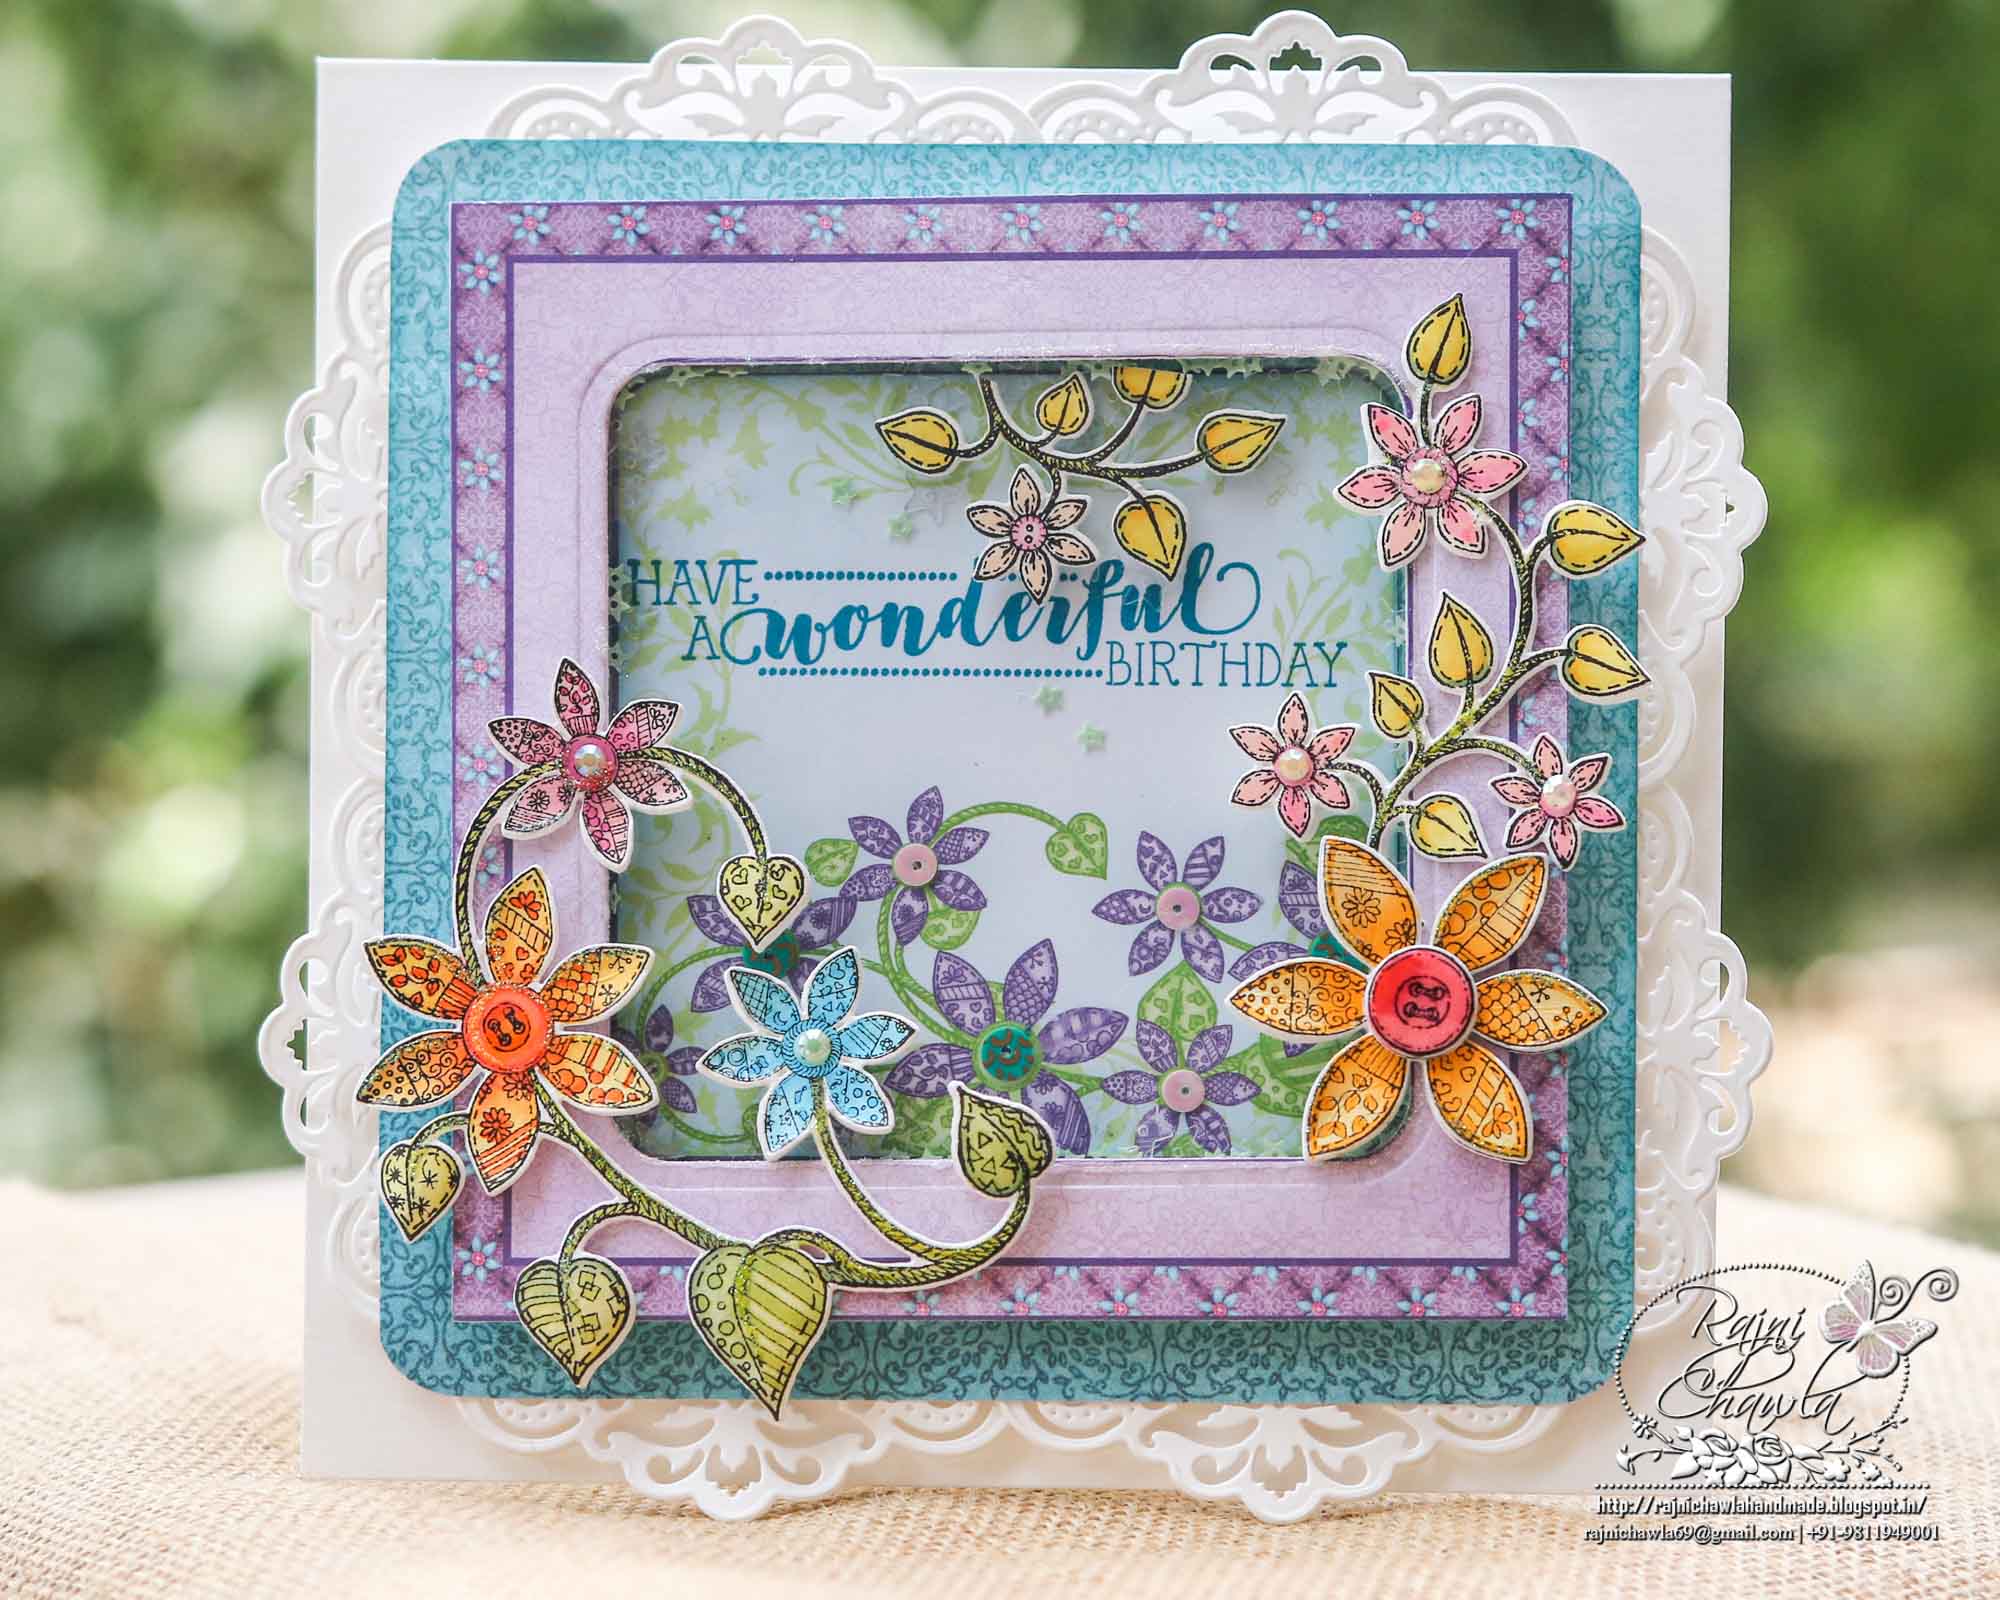
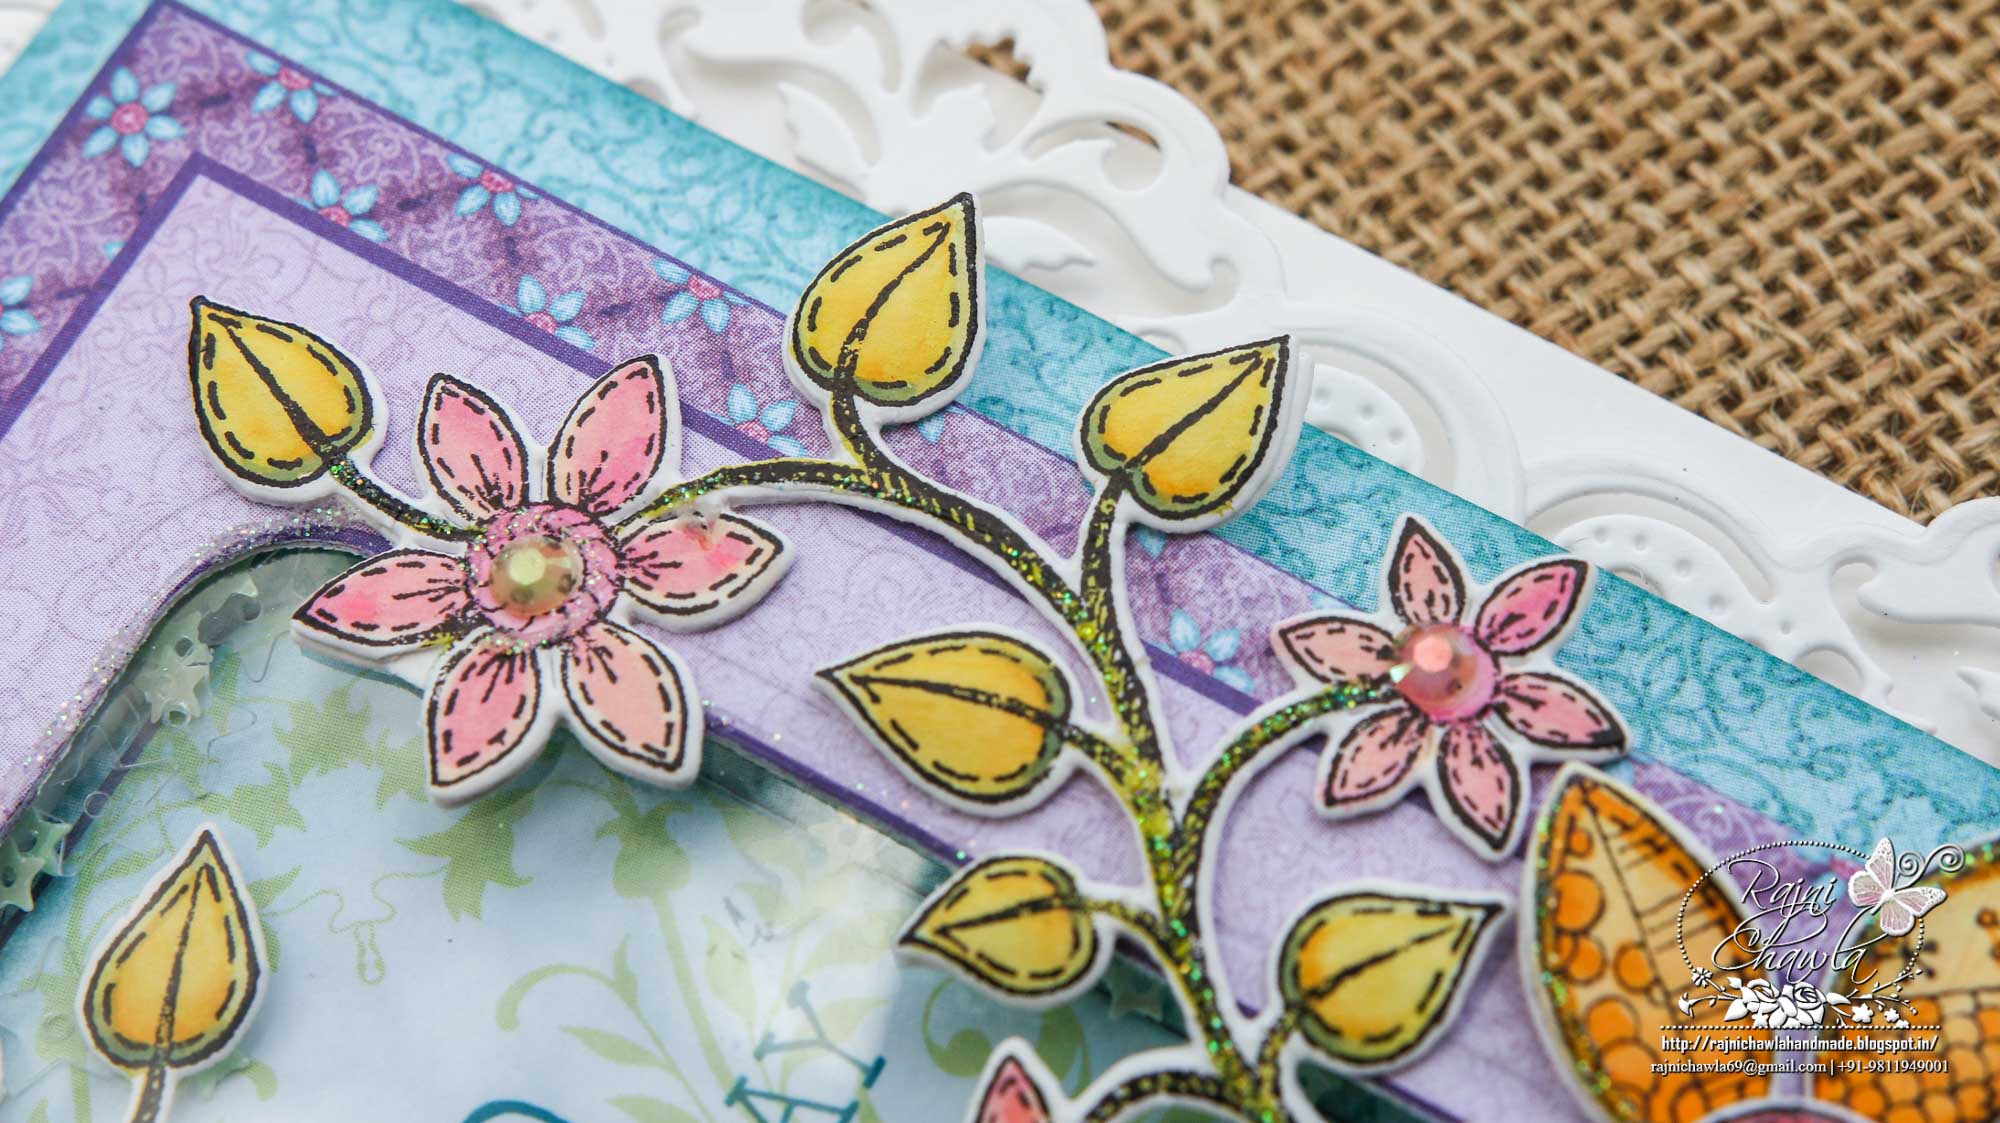
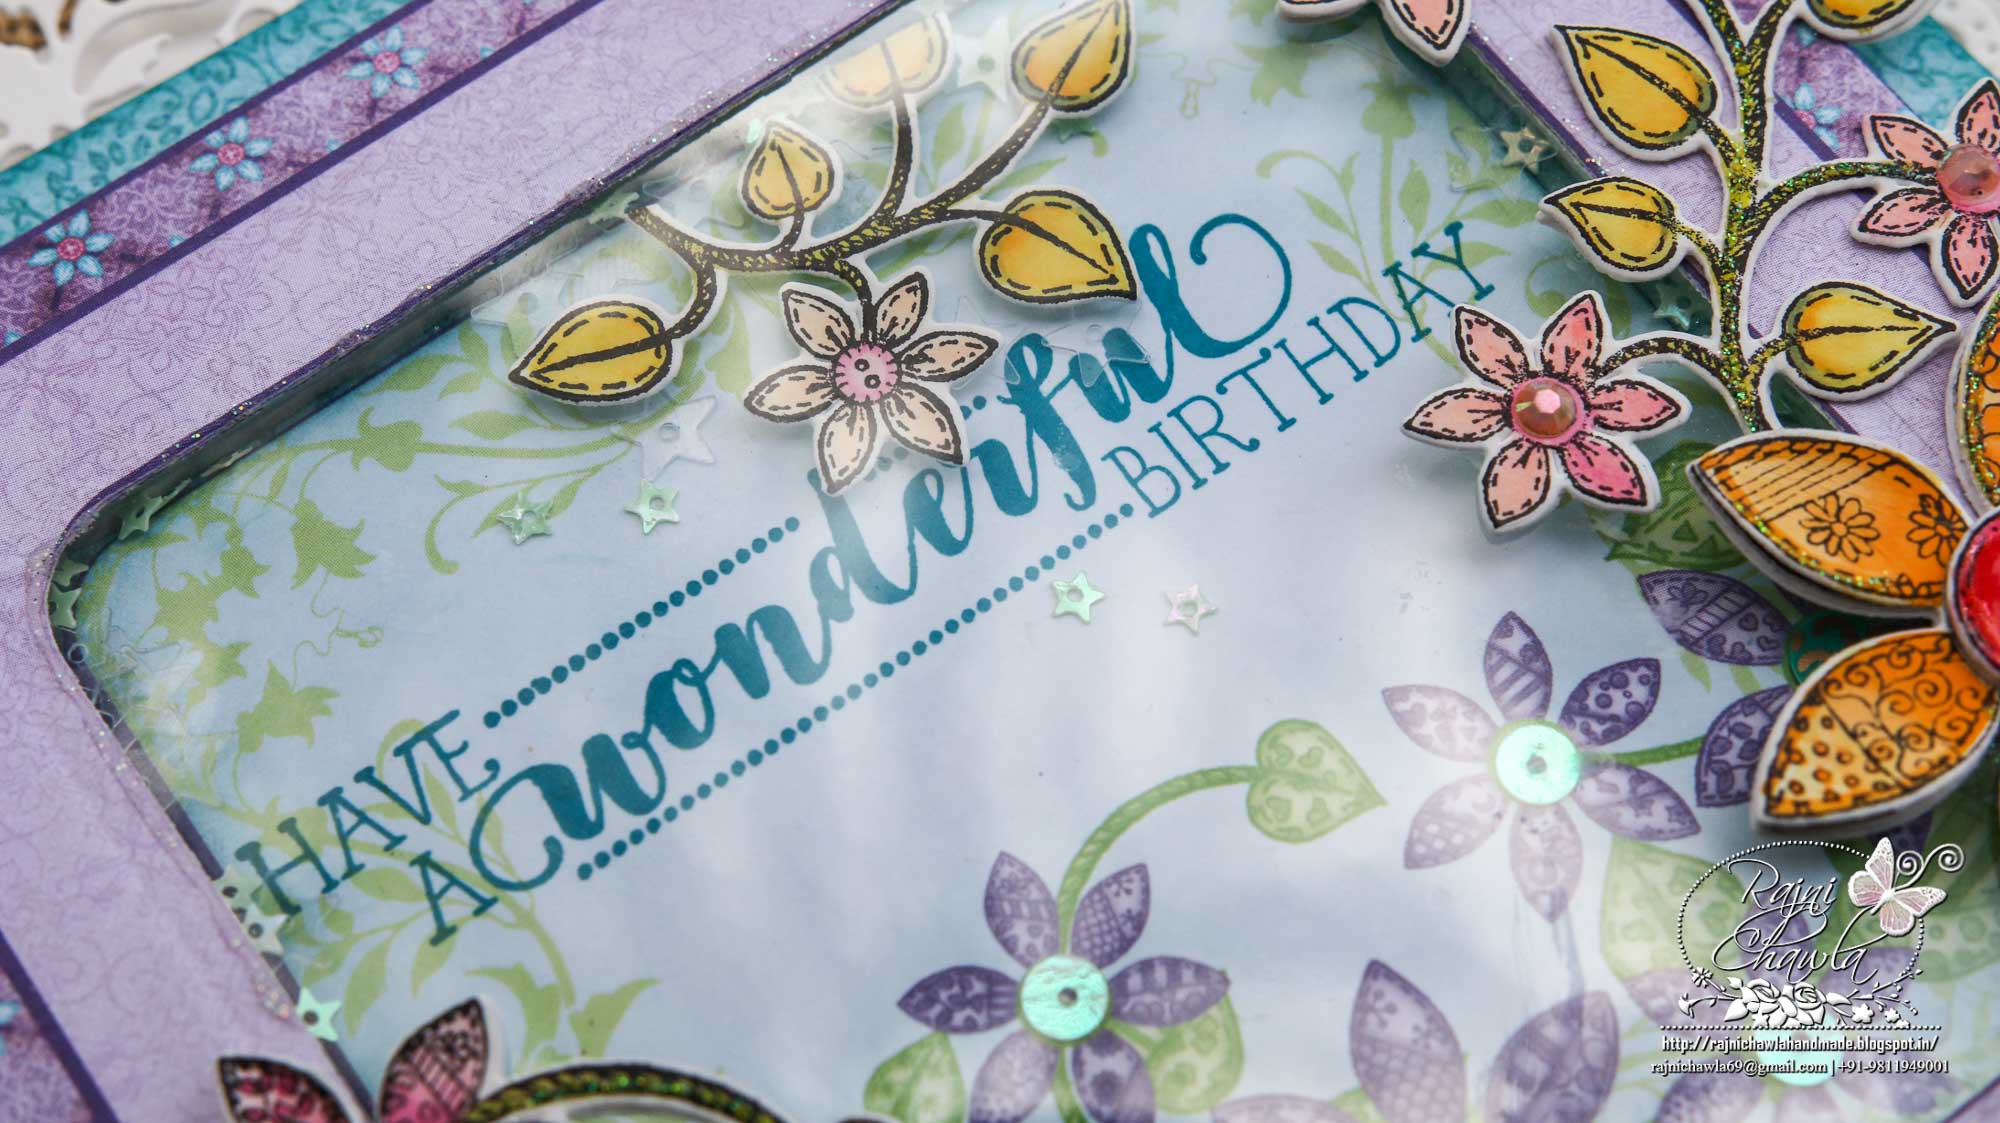
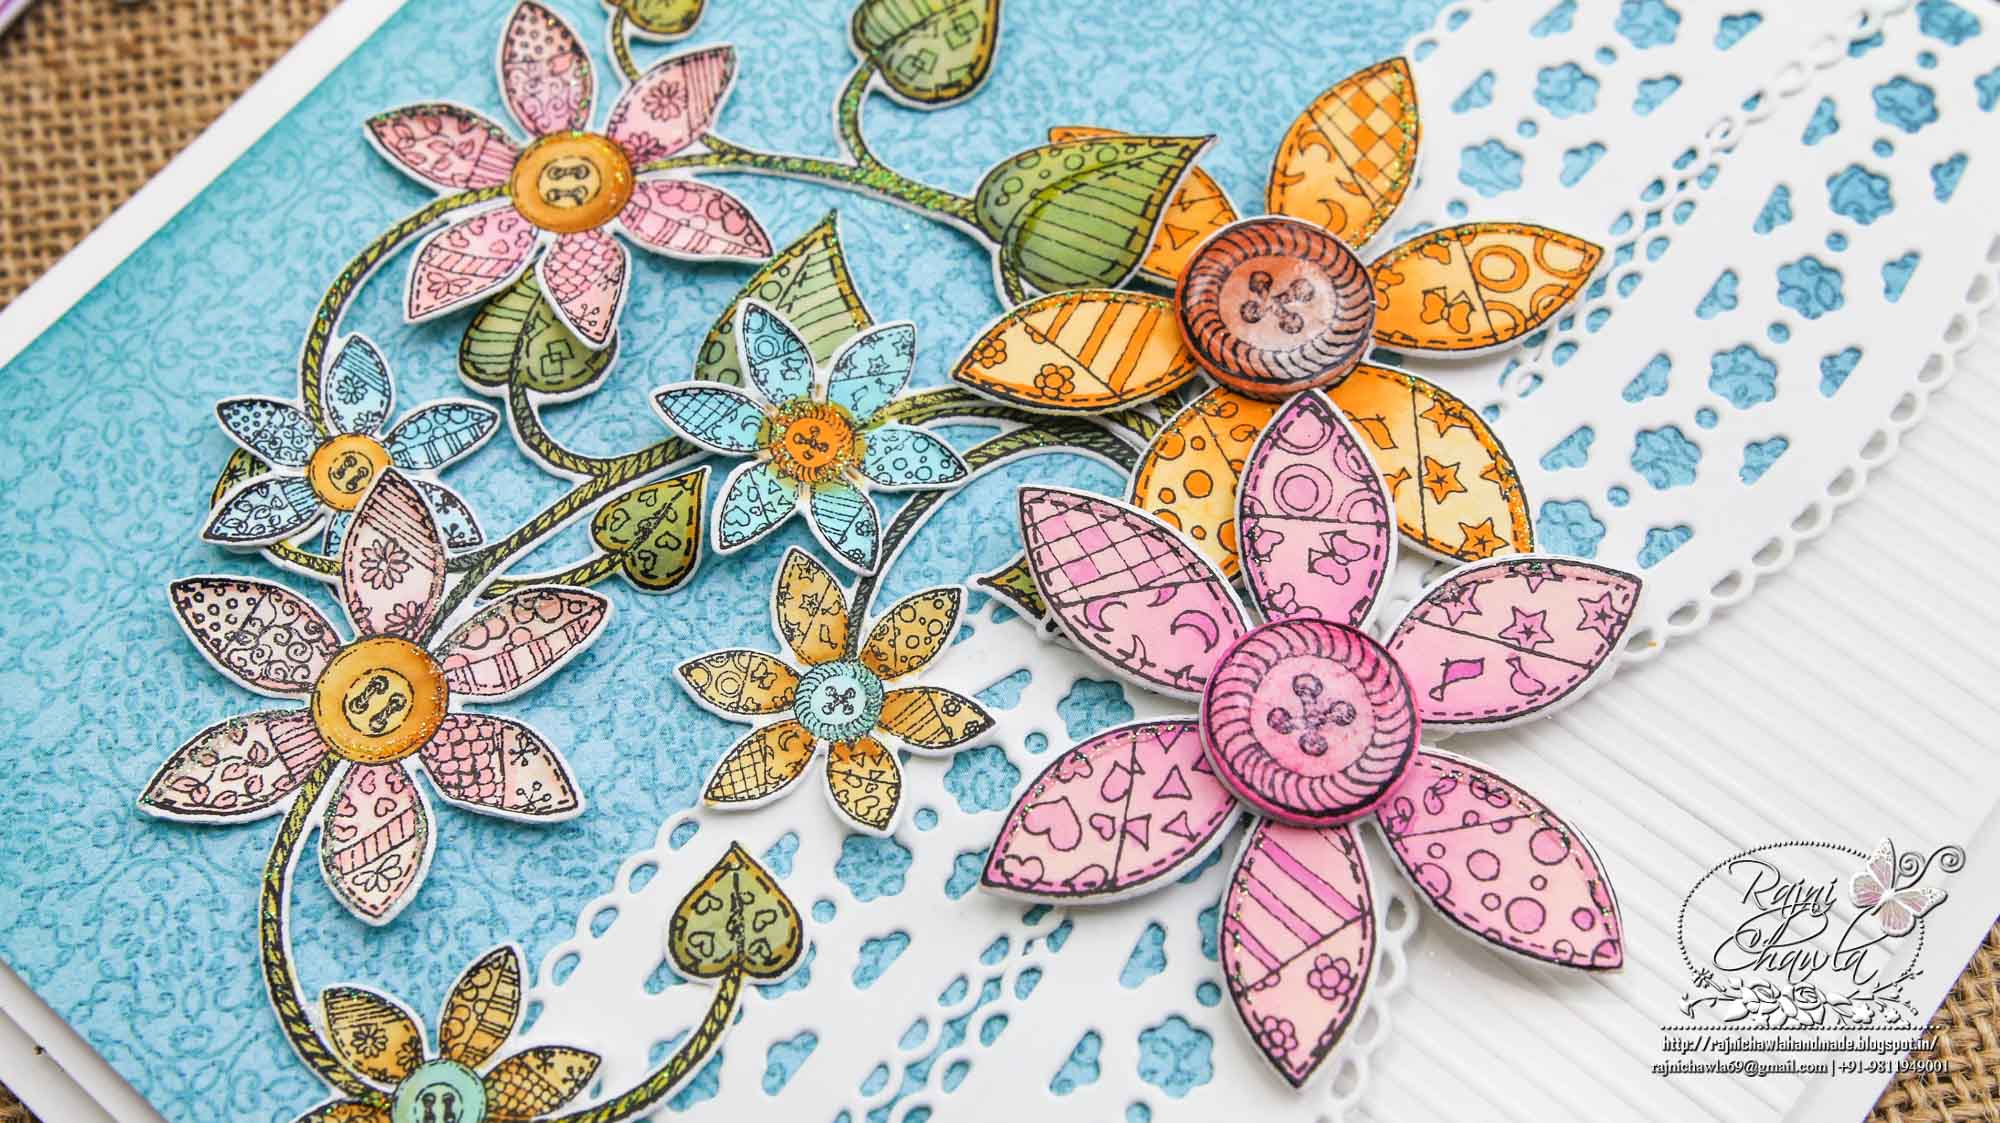
Continuing with Patchwork Daisy Collection, I have a new shaker card with Dainty Daisies to share. The color combination of this collection is one of my favorites. I really loved the way this card turned out.
HCD1-7208 Patchwork Daisy Die
HCD1-7209 Patchwork Daisy Border Die
HCPC-3853 Patchwork Daisy Border Cling Stamp Set
HCPC-3852 Patchwork Daisy Cling Stamp Set
HCDP1-296 Patchwork Daisy Paper Collection
HCD1-7213 Elegant Pocket Accents Die
HCPC-3843 Special Birthday Sentiments Cling Stamp Set
HCD2-751 Cut Mat Create 2A Die
TSSZ63 StazOn Ink Pad – Teal Blue
RACP468 Ranger Archival Ink Pad – Jet Black
HCST1-401 Deluxe Flower Shaping Kit
DDOTS Double Dots 100pc. -3D Foam Circles
159723 Designer Dries Clear Adhesive
Other Products Used: Smooth white cardstock, Distress Ink, Peacock Feather, Sequence mix, Rajni Chawla’s Twinkling Spark. Glossy Accent and Swarovski crystals, Zig Clean Clear Brush Markers and Red Tacky Tape,
Videos Referred: For more tips on creating with the Patchwork Daisy collection, watch the tutorial at https://youtu.be/v5BEpcSlmoI.
Instructions: Choose a 6″ by 6″ card panel from the designer paper collection. Cut apart the outer teal color border. Next, cut the window with the help of Cut Mat Create 2A die. Adhere Clear cardstock,/ acetate sheet from the back of the window using red tacky tape.
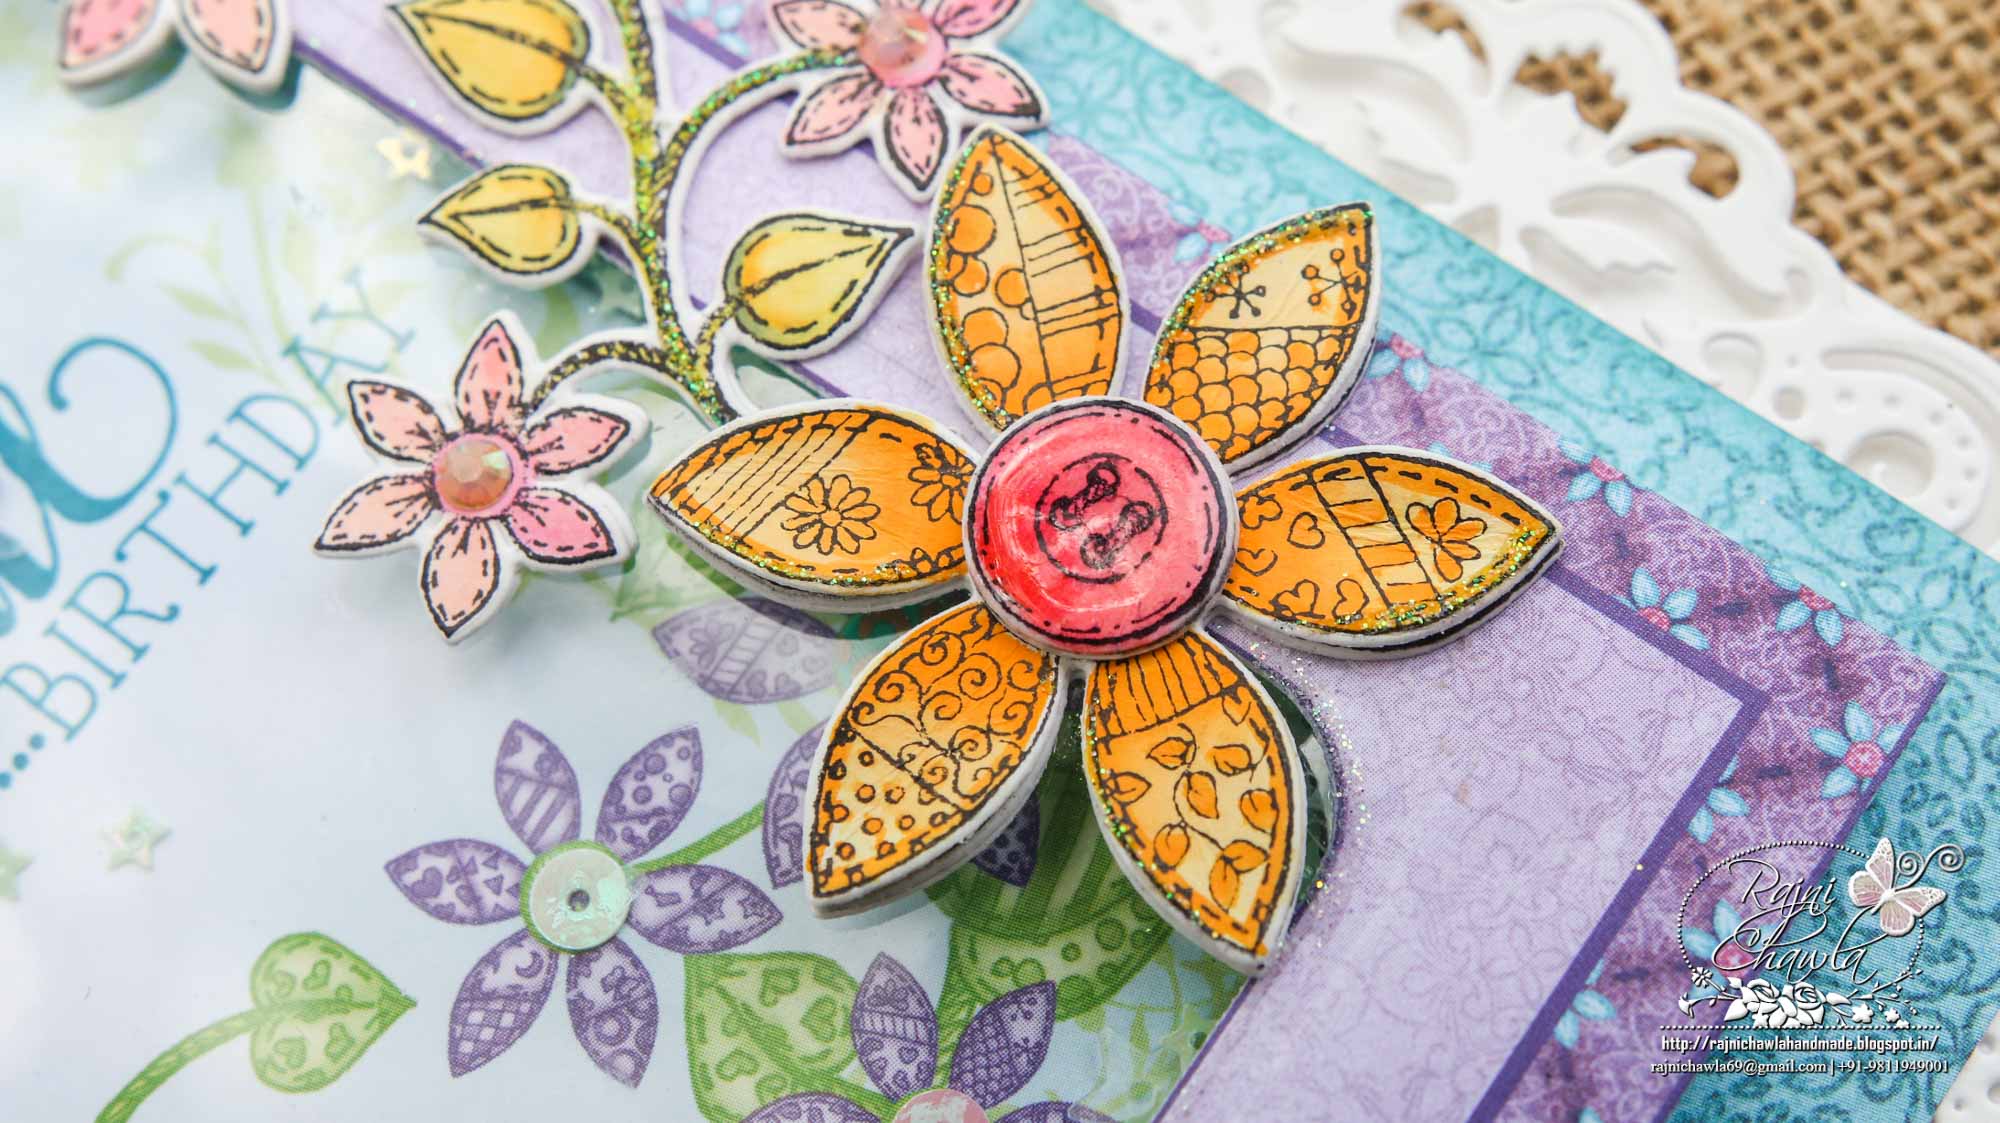
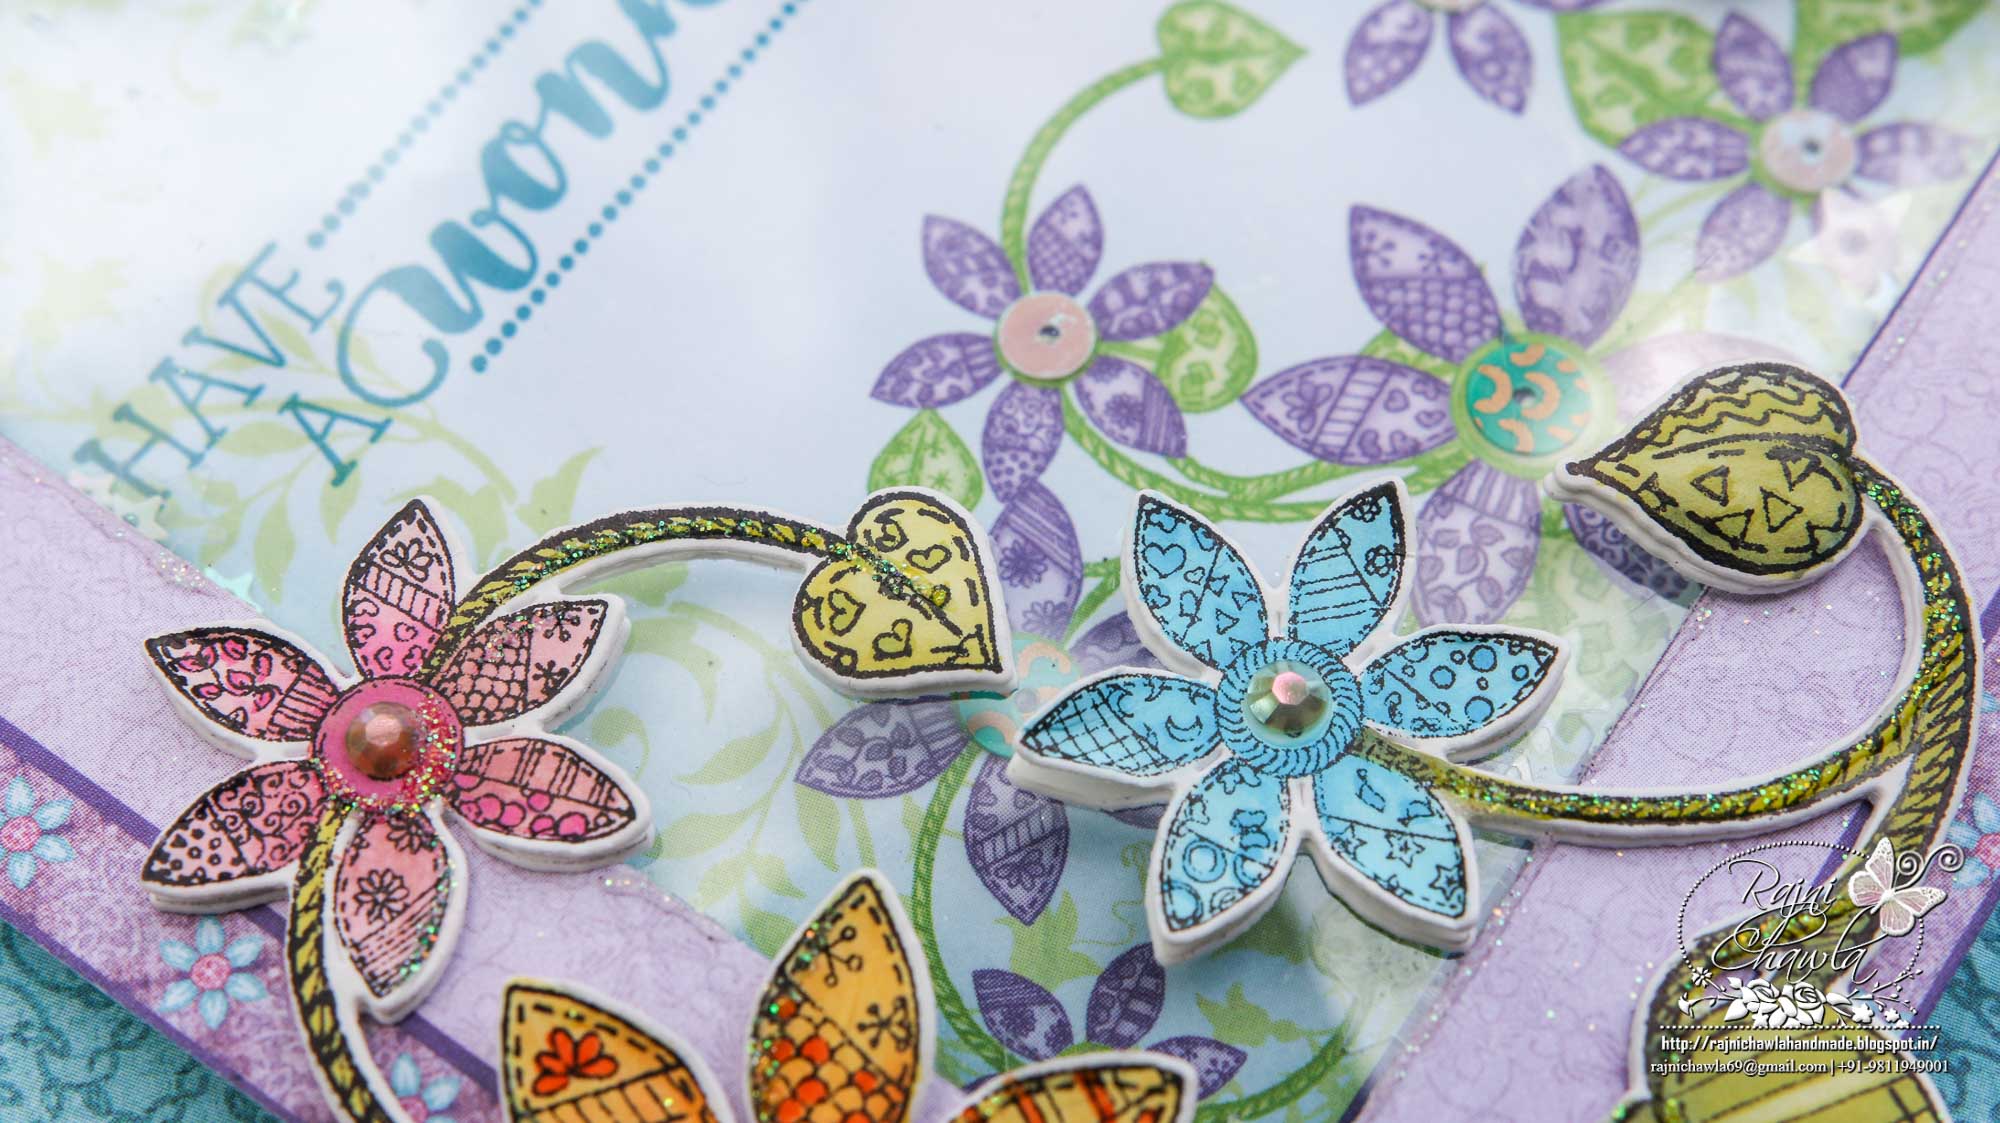
Stamp the Images from Patchwork Daisy Border Cling Stamp Set and Patchwork Daisy Cling Stamp Set, using black archival ink. Color the images with Zig Clean Clear Brush Markers and cut them with their coordinating dies. Also, cut one extra die cut of both the images for mating behind the painted images.
Once the images are ready, Cut a 6″ by 6″ teal color paper from the paper collection, glue down the negative of the window in the center. Adhere double layer of double-sided foam tape, add sequence and close the window,
Cut the corners of the teal color mat with a corner rounder and glue 8 pieces of white fancy laces from Elegant Pocket Accents Die, as shown.
Layer the ready window panel on the ready top folding card base, measuring 6 1/2″ by 6 1/2″. To finish the card, arrange the elements as shown and add Twinkling Spark with the help of an adhesive that dries clear.


Absolutely gorgeous!!
Another gorgeous creation Rajni! Love it!