


Good morning all…
Happy 2017!! Firstly, wishing you a Happy New Year with the hope that you will have many blessings in the year to come. There are the heartfelt promises we make to others, whether aloud or in our minds. We want to care more, express love more, reverse bad feelings in old relationships or seek out new loving relationships….and off course CRAFT MORE!! Actually that is what we all crafters love to do.
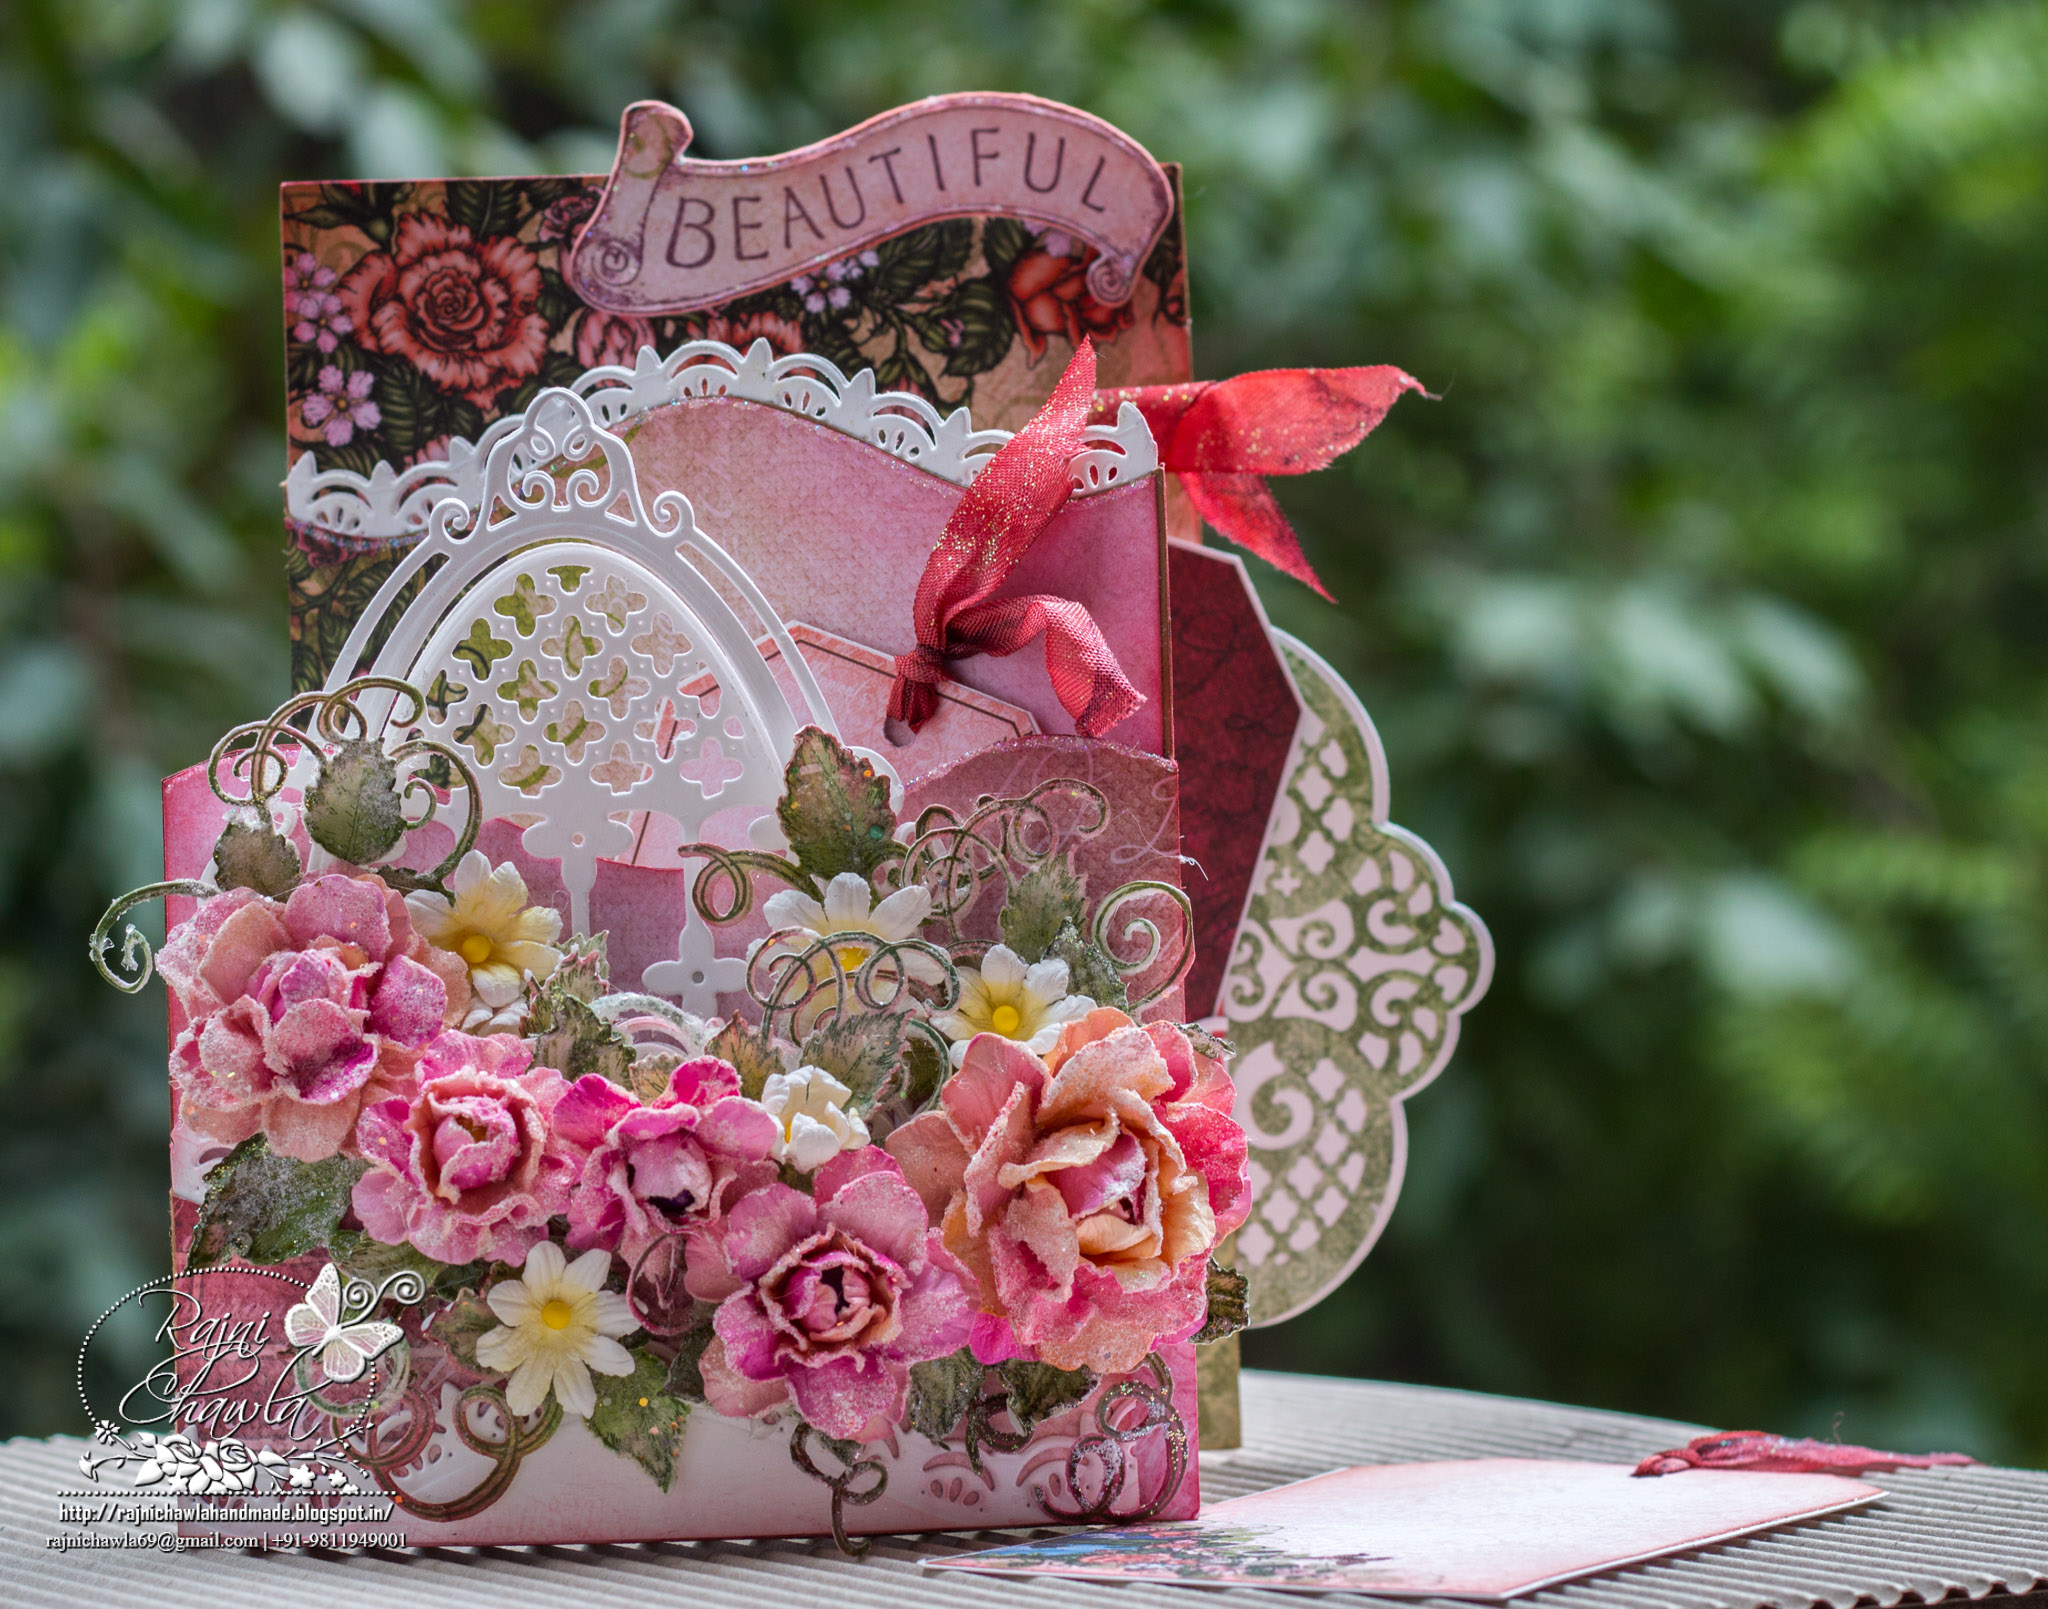
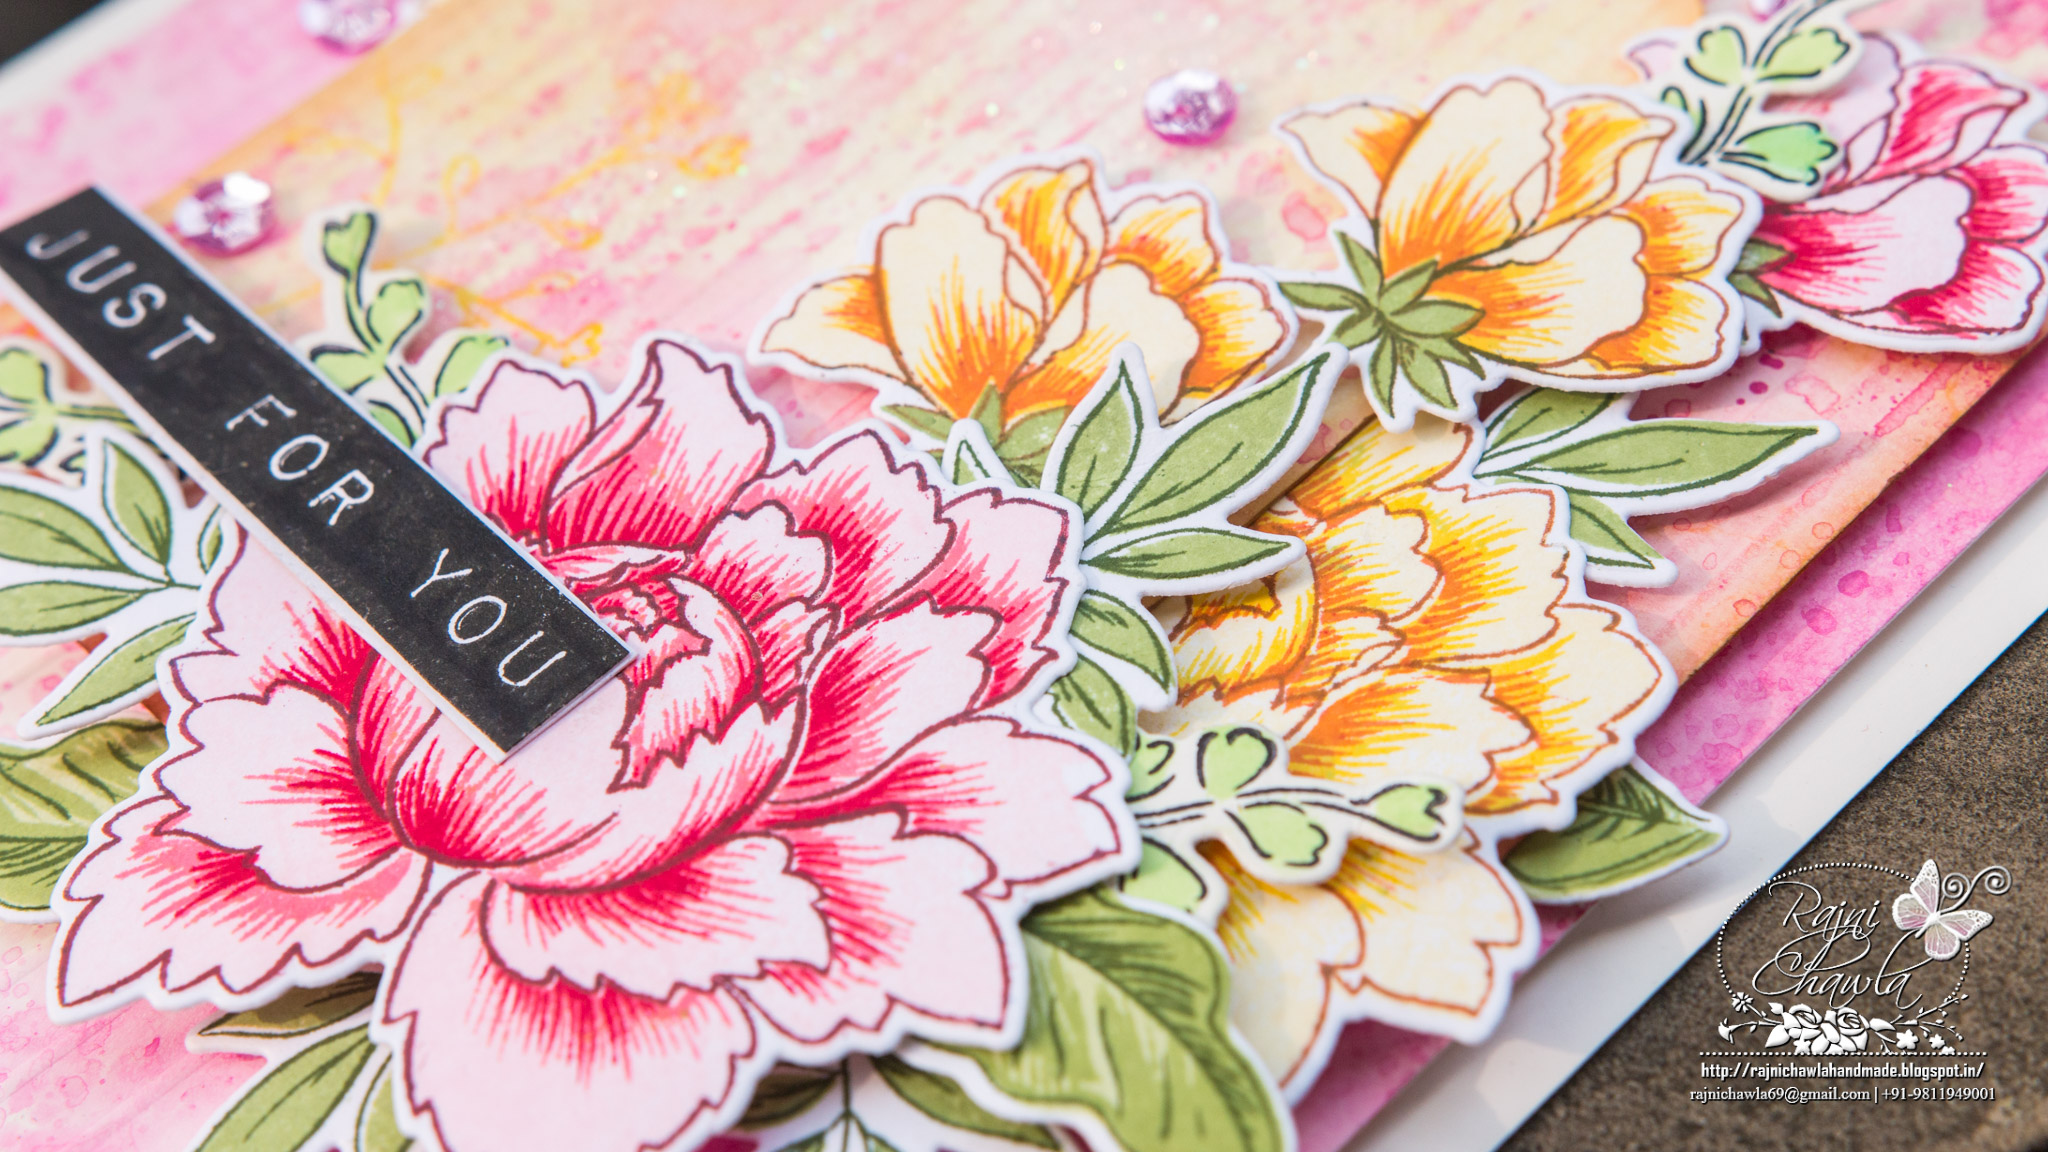
Again it’s time for Wednesday Inspiration for Heartfelt Creations. Today I want to welcome 2017 with a Beautiful Pink Rose Foldout Card using HC’s Classic Rose Creation.
Products from Heartfelt Creations
Classic Rose Paper Collection HCDP1-270
Classic Rose Die HCD1-7110
Classic Rose Vines Die HCD1-7111
Classic Rose Vines Cling Stamp Set HCPC-3753
Classic Rose Cling Stamp Set HCPC-3752
Classic Border Basics Die HCD1-7119
Botanic Window Die HCD1-7100
Blushing Rose Swirls Die HCD1-7114
Classic Border Basics Die HCD1-7119
Deluxe Flower Shaping Kit HCST1-401
Ornate Borders and Pockets Die HCD1-780
4 1/4″ x 5 1/2″ Foldout Cards-White HCCF1-443-2
Other Products Used: Warm Lipstick Distress ink, Archival inks- Plum, Magenta Hue, Tea Rose, Leaf Green, Olive Green, Adhesive that dries clear, Crystal clear glitter, Smooth white cardstock, Seam binding ribbon, foam tapes,
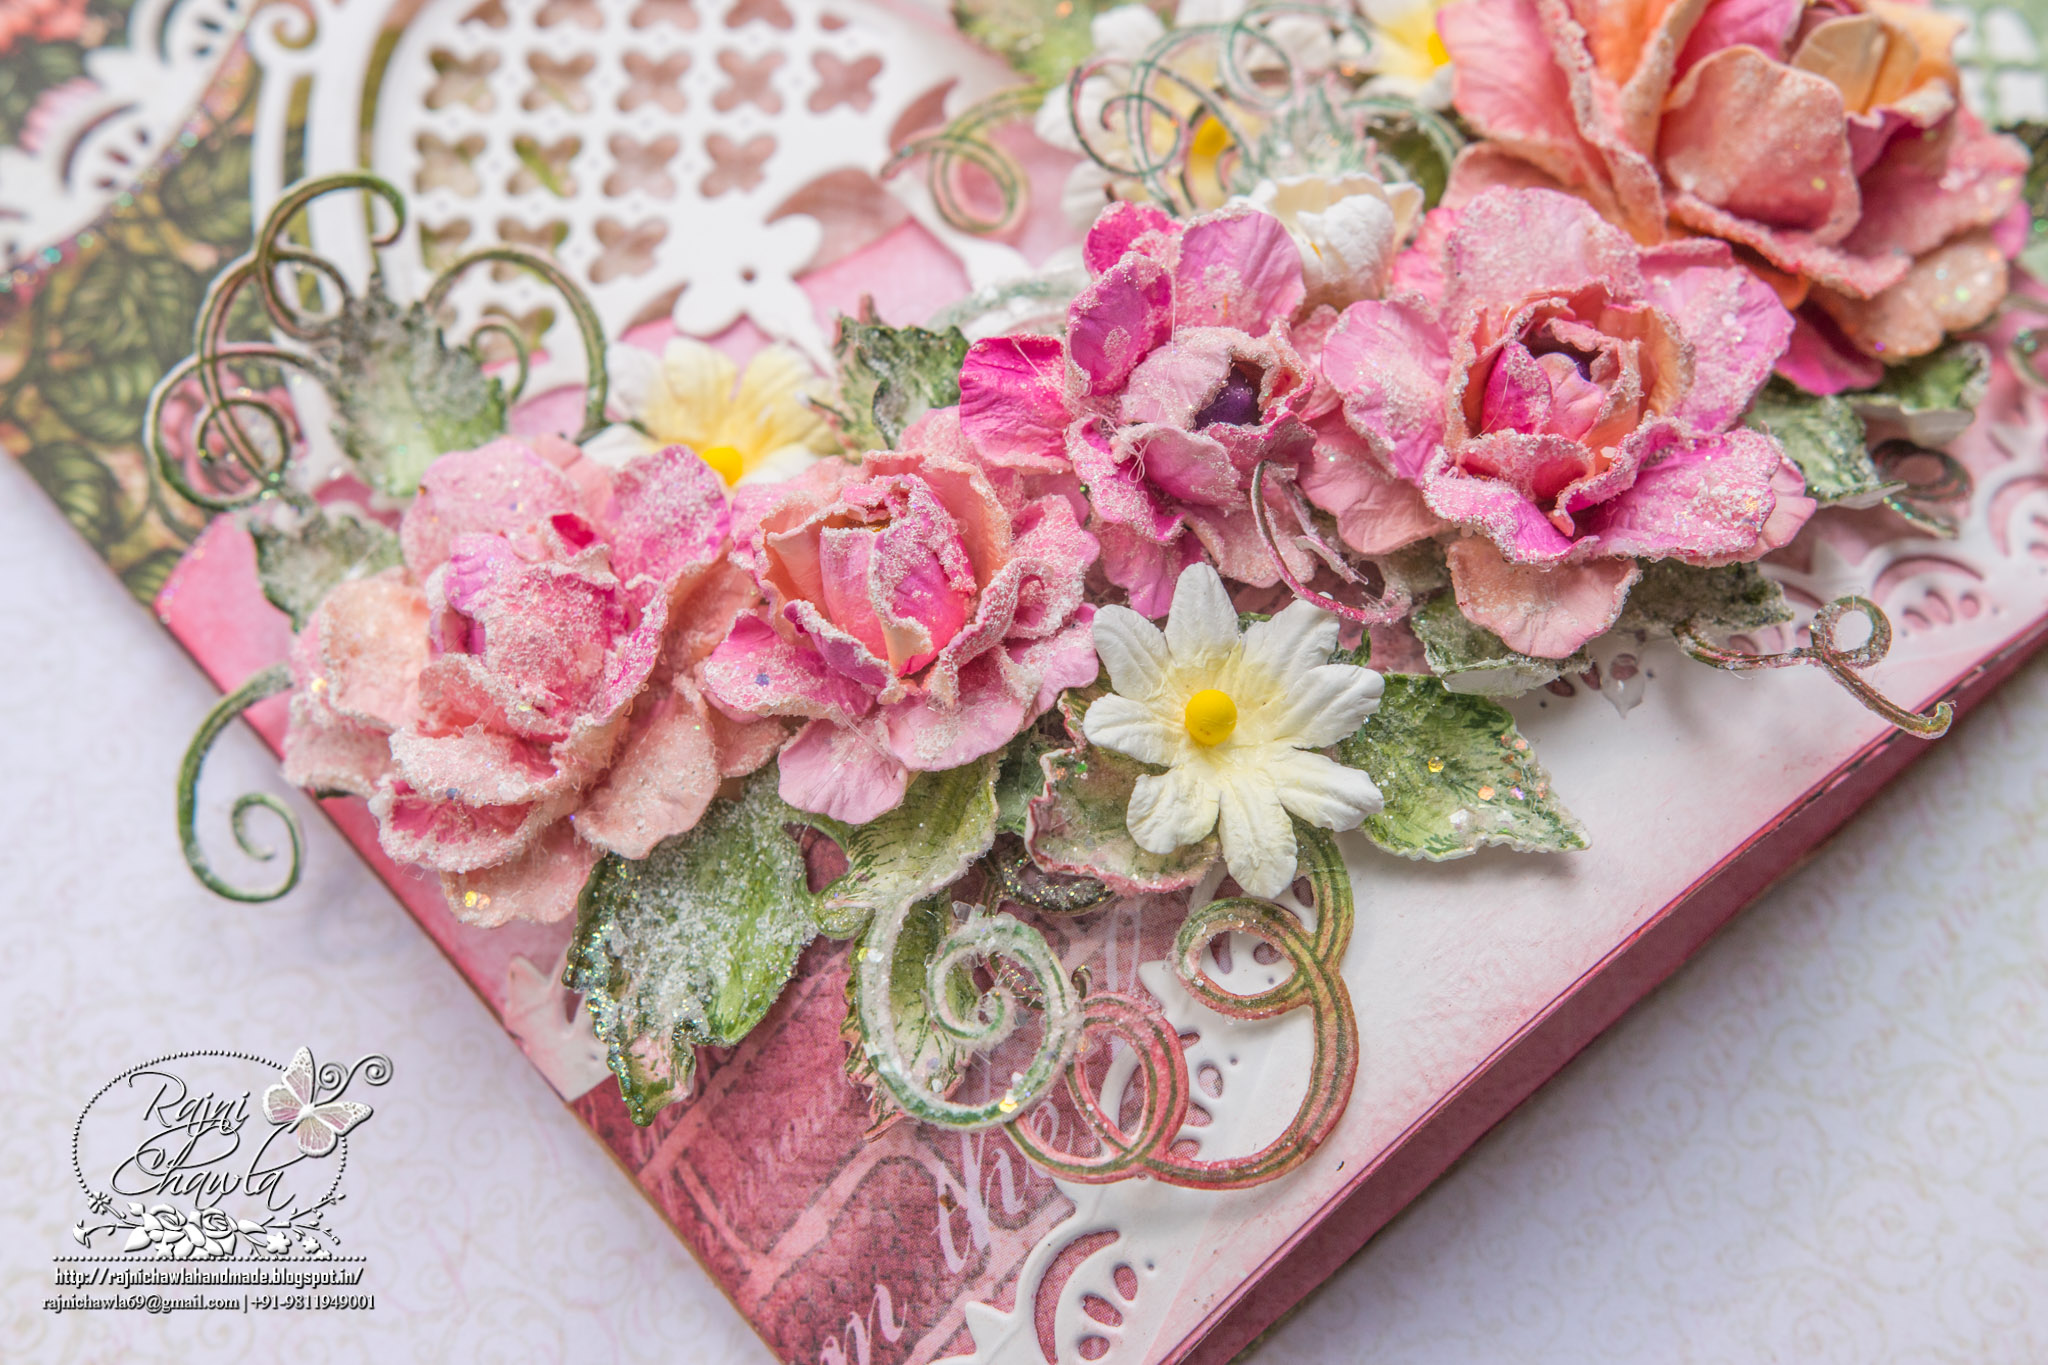
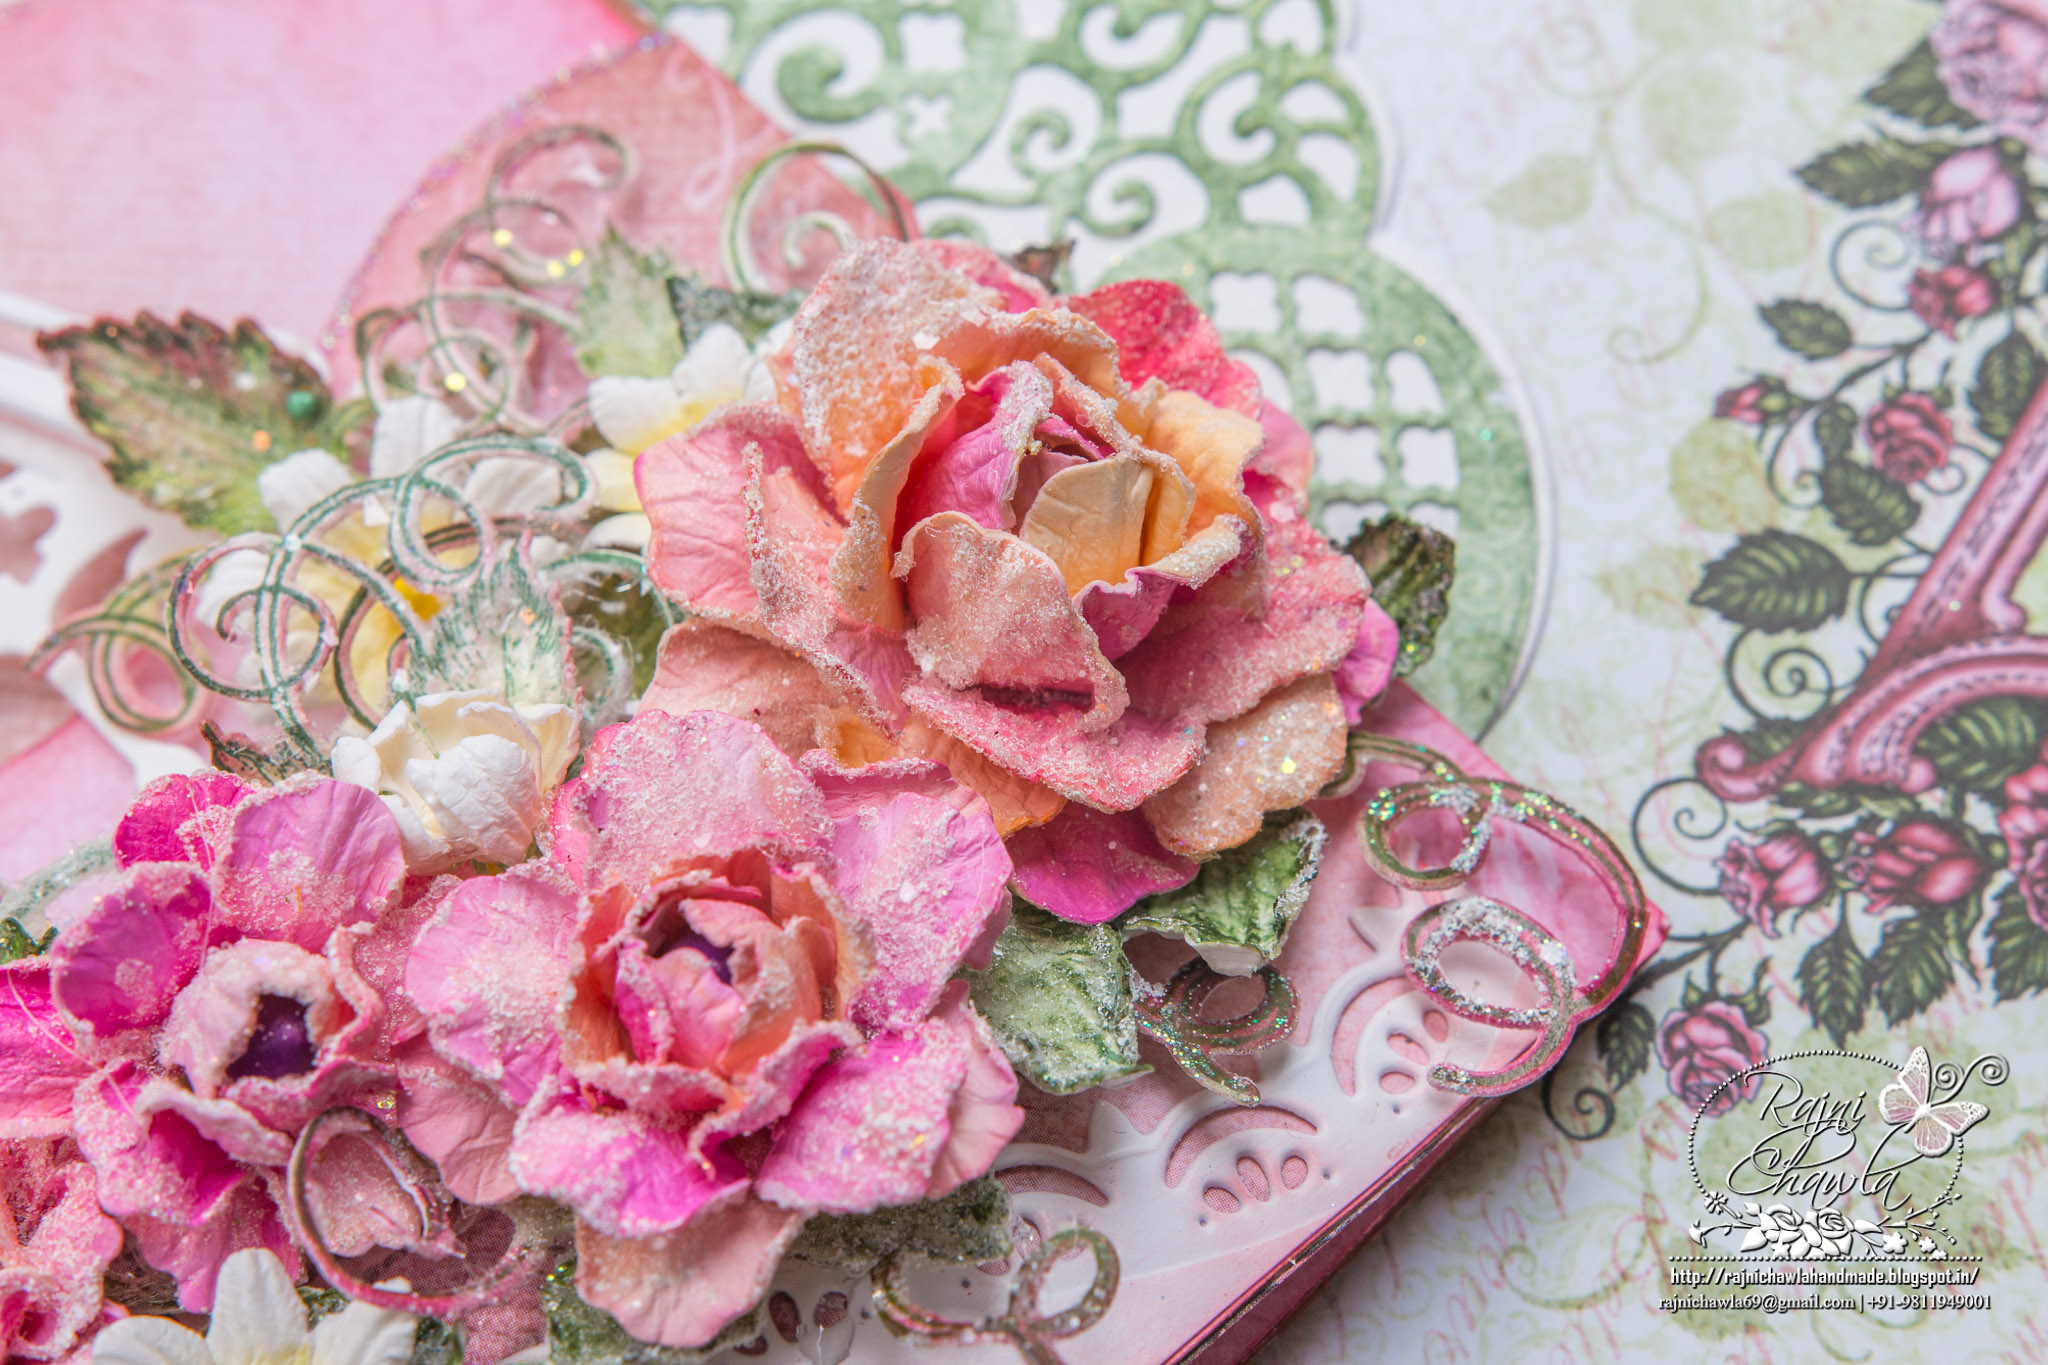
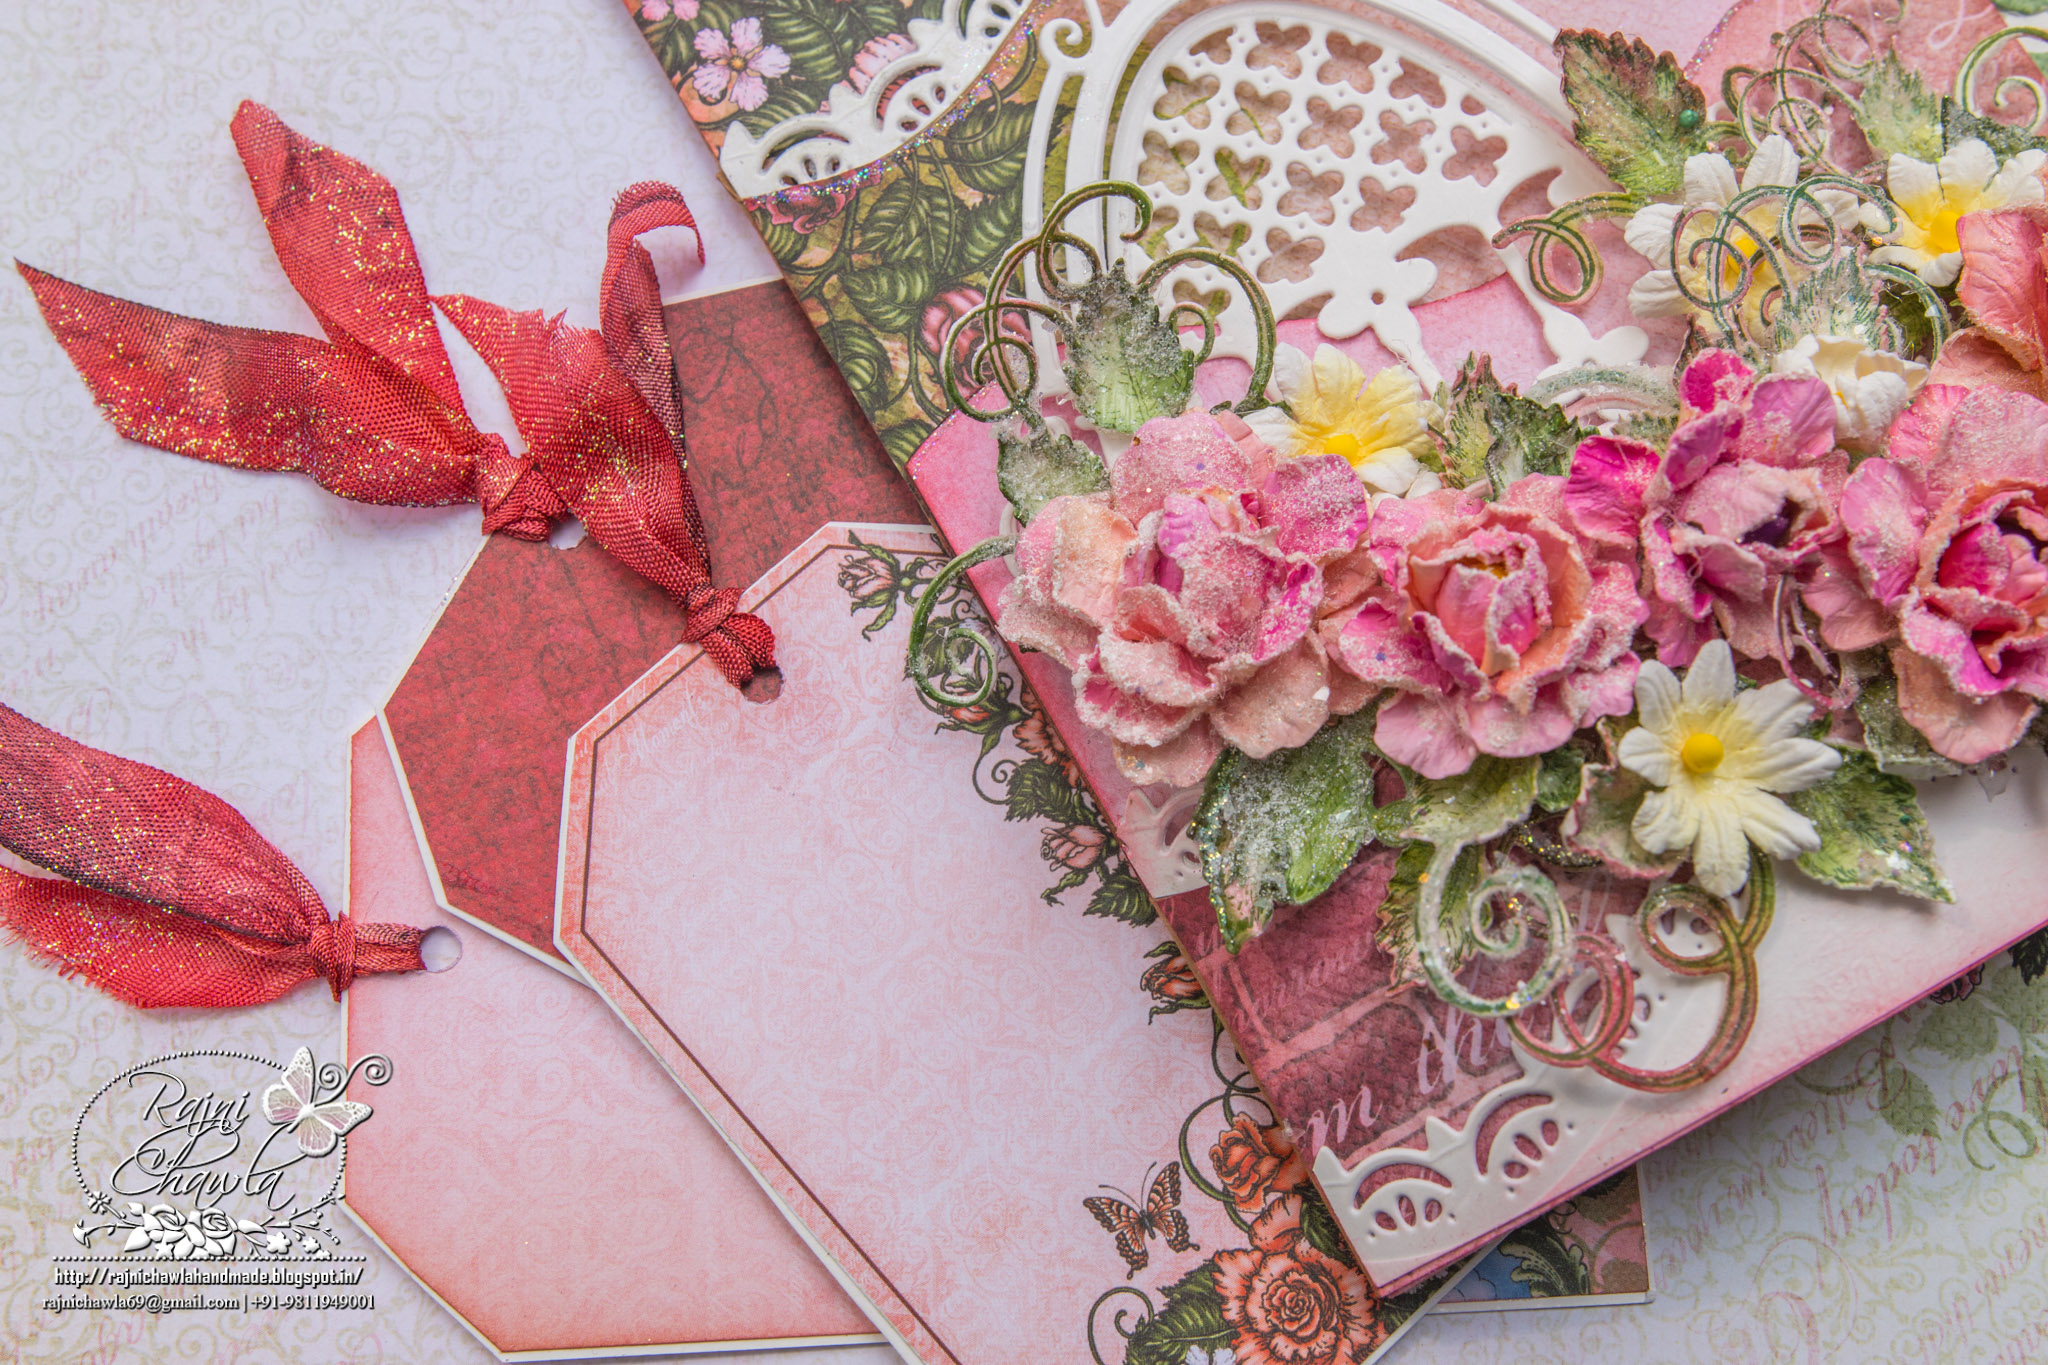
Instructions: To create this card, I have used white 4 1/4″ x 5 1/2″ Foldout Cards. Choose the designer paper from the Classic Rose Collection and cut all the panels using Classic Border Basics Die.All the panels are lightly distressed using warm lipstick distress ink. Before adhering all the panels, adhere a white die cut on the edges of all folds. The last panel is kept open on the right side, creating an extra pocket for the designer tag. Cut two tags from designer paper and prepare a fancy tag using Ornate Borders and Pockets Die. Cut a white die cut from Botanical Window die. Adhere it to the front panel creating a look of a window. For shaping the flowers, follow Emma’s video. I have used Archival Plum to stamp the images for roses and Library Green archival ink to stamp leaf and vines images. To paint the flowers I have used Tea Rose and Magenta Hue Archival Inks. Leaf Green and Olive Green inks are used to paint all leaves. All the flowers and leaves are first shaped and then dressed with crystal clear glitter using an adhesive that dries clear. Once all the elements are ready assemble the card as shown by addu=ing various dimensions using foam tapes. The floral arrangement is adhered using hot glue. The sentiment is die cut from the designer paper itself.
Wowww! I’m in love with this card mam!! Such a gorgeous one! Would love to own one of your creations!! <3 <3
Rajni, another amazing beautiful work of art!
Absolutely beautiful!
Wowie!!! Stunning card. Such pretty flowers and so many intricate details. Thanks for sharing
Cheers
preety
Absolute Beauty ….
….