Happy New Year!!!
Have you any creative ideas for your first project of 2020? If not, we’re bringing you the first fresh new inspiration of 2020 that will get your creativity jump-started….it’s amazing what taking the time to create something beautiful can do for you!
Products from Heartfelt Creations:
HCD1-7275 Calla Lily Die
HCPC-3897 Calla Lily Cling Stamp Set
HCDP1-2110 Calla Lily Paper Collection
HCFB1-484 3D Calla Lily Shaping Mold
HCD1-7277 Swan Lake Die
HCPC-3899 Swan Lake Cling Stamp Set
HCD1-776 Eyelet Oval Die
HCS1-485 Pastel Pollen Stamens – Medium
Zig Clean Color Real Brush Markers – 36 Pack 478455
StazOn Ink Pad – Fuchsia Pink TSSZ82
Rajni Chawla’s Crystal Clear PGM15015
Ranger Archival Ink Pad – Leaf Green RACP436
Ranger Archival Ink Pad – Magenta Hue RACP614
Ranger Archival Ink Pad – Jet Black RACP468
Ranger Archival Ink Pad – Olive RACP482
Other Products Used: Smooth White Cardstock, Score-Board, Die Cutting Machine, Foam Dots
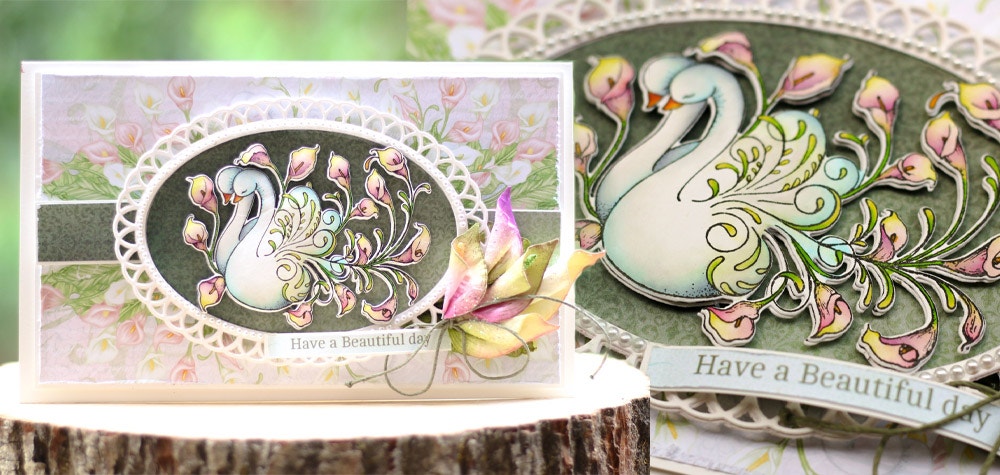
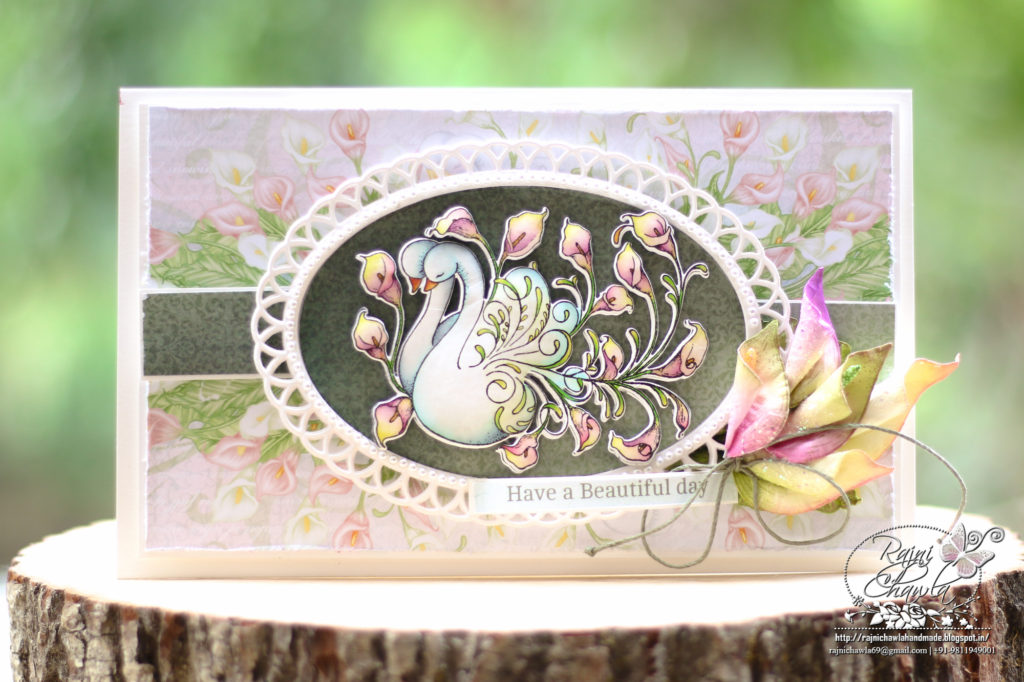
Instructions: The ready top-fold card from smooth white cardstock measures, 5 1/2″ by 8 1/2″. Choose a pattern paper from the designer paper collection and cut measuring 5″ by 8″. Distress all the sides using a distressing tool or sharp scissors and then mat it on white cardstock creating a delicate border of 1?16″ on all sides. Mat the ready panel on the ready top fold card base.
Cut 2 pieces of die-cut frames from white cardstock using Eyelet Oval Die and stack them together for extra strength. Cut the center oval from coordinating pattern paper. Also cut a solid base die-cut and glue everything as shown.
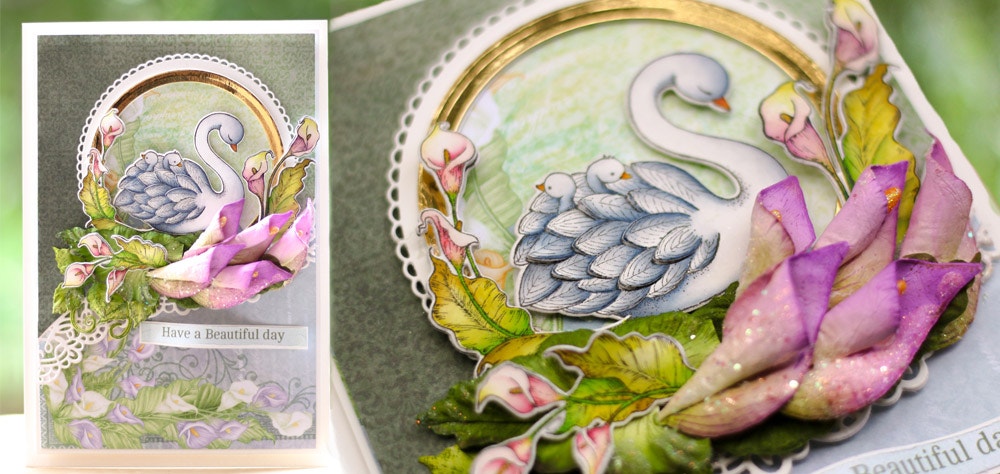
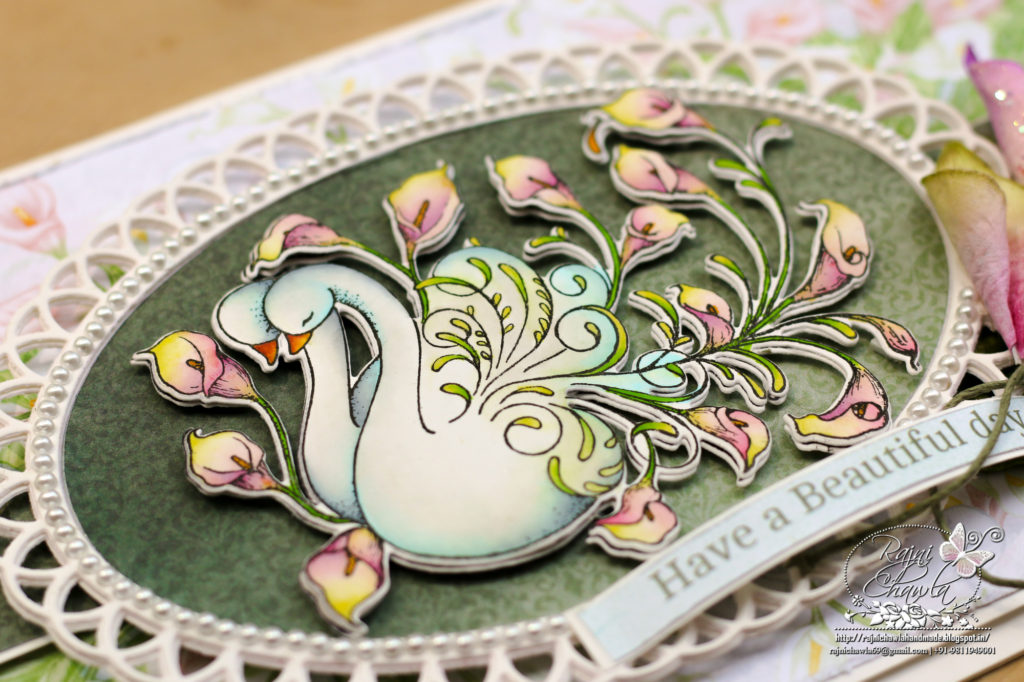
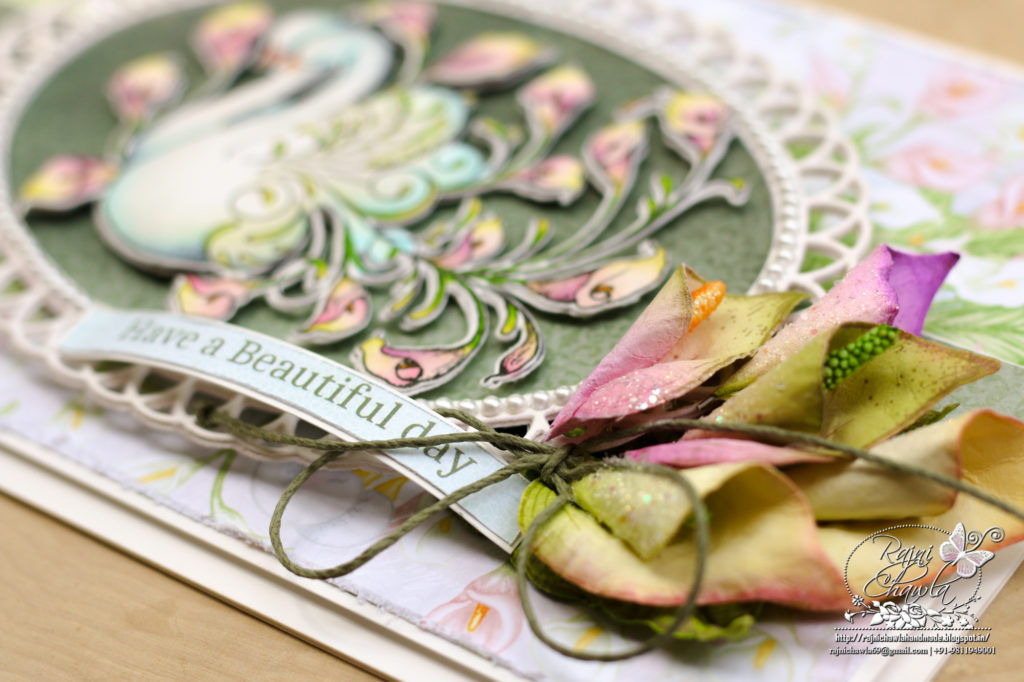
Stamp the focal image from Swan Lake Cling Stamp Set with black archival ink on smooth white cardstock and paint it beautifully using Zig Clean Clear Brush Markers. Once you are happy with the results cut the image using its coordinating die set. Shape the sawn a little and add an extra layer on the base. Next, layer it exactly in the center of the oval window as shown. Finally, layer the oval window on the card panel.
For the Calla Lilies, stamp the images from Calla Lily Stamp set with Magenta Hue and color them using Leaf Green and Magenta Hue. Cut them using its coordinating die and also shape them using its coordinating mold. Add stamen and form small bunches as shown. Using an adhesive that dries clear, add Rajni Chawla’s Crystal Clear powder and set them to dry.
Add pearls, sentiment and a twine bow for the final finishing touches to complete the card.


