Good morning friends…
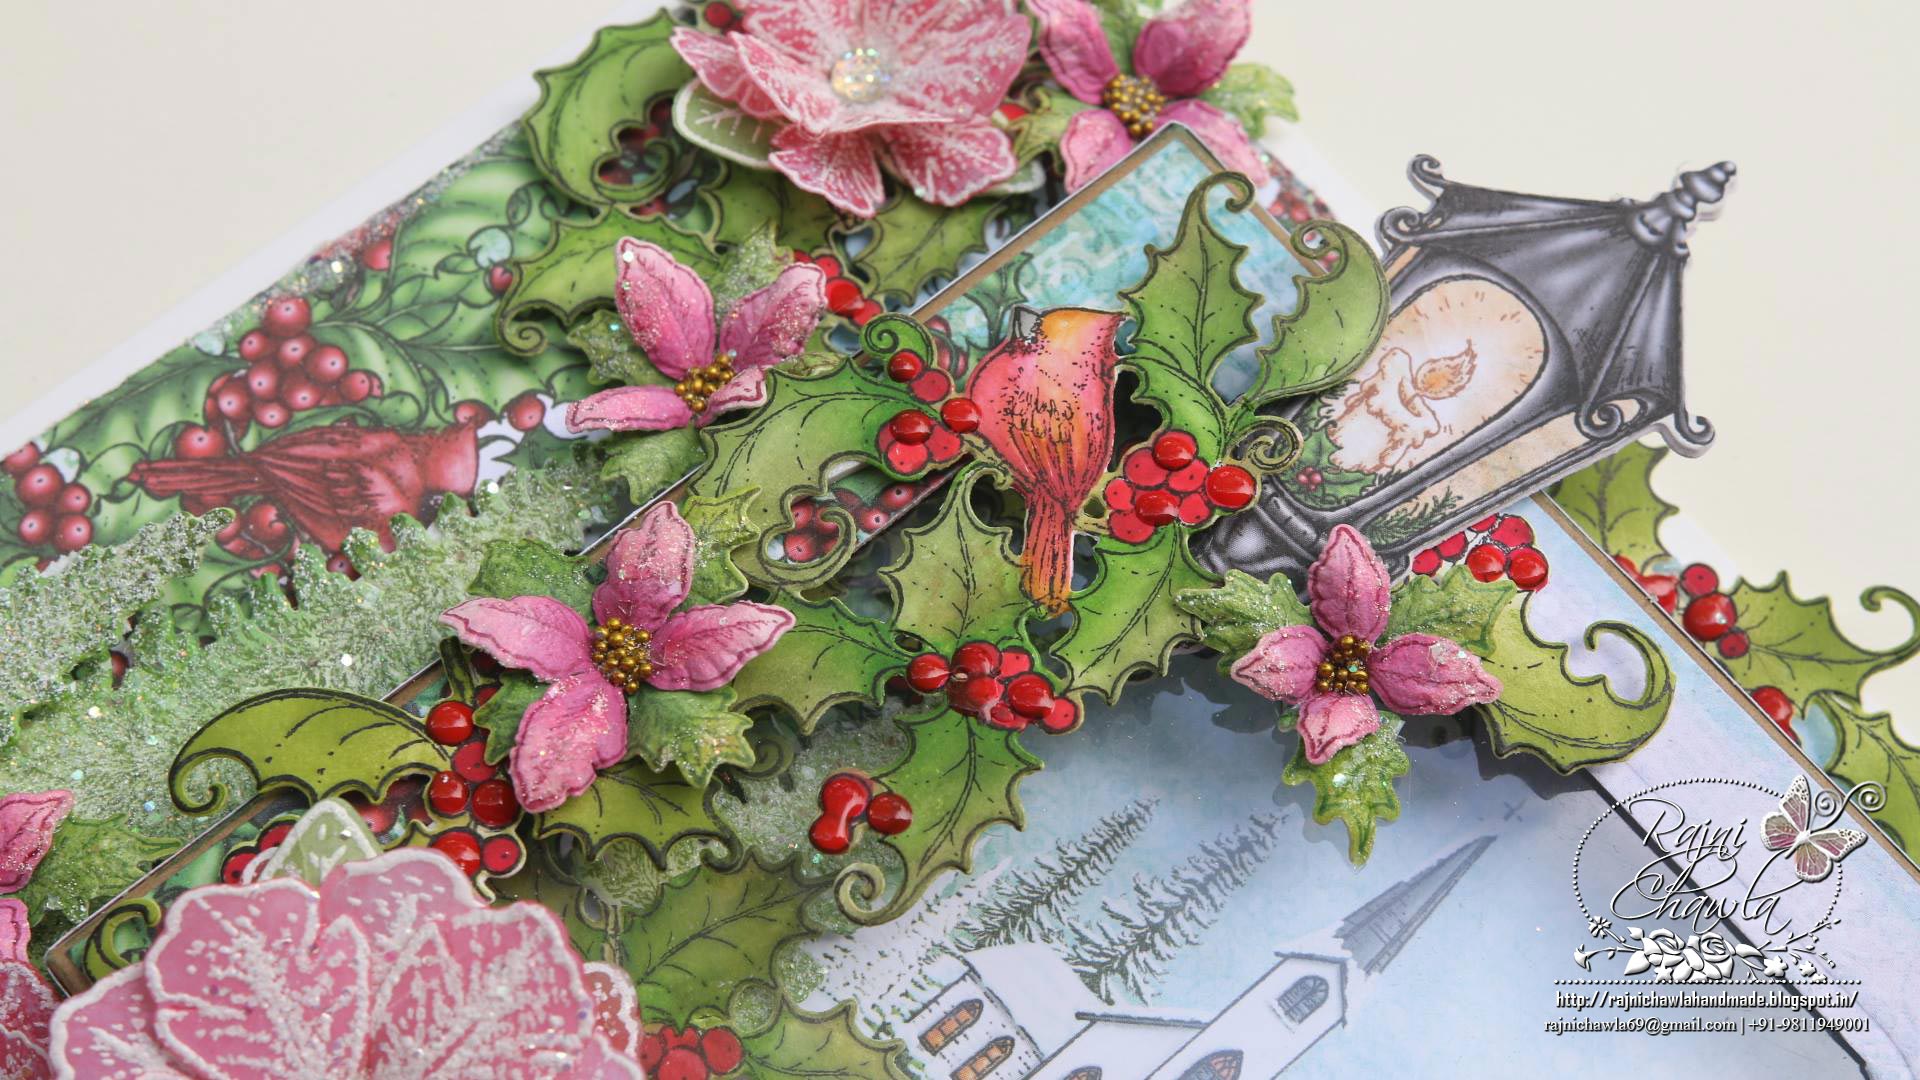
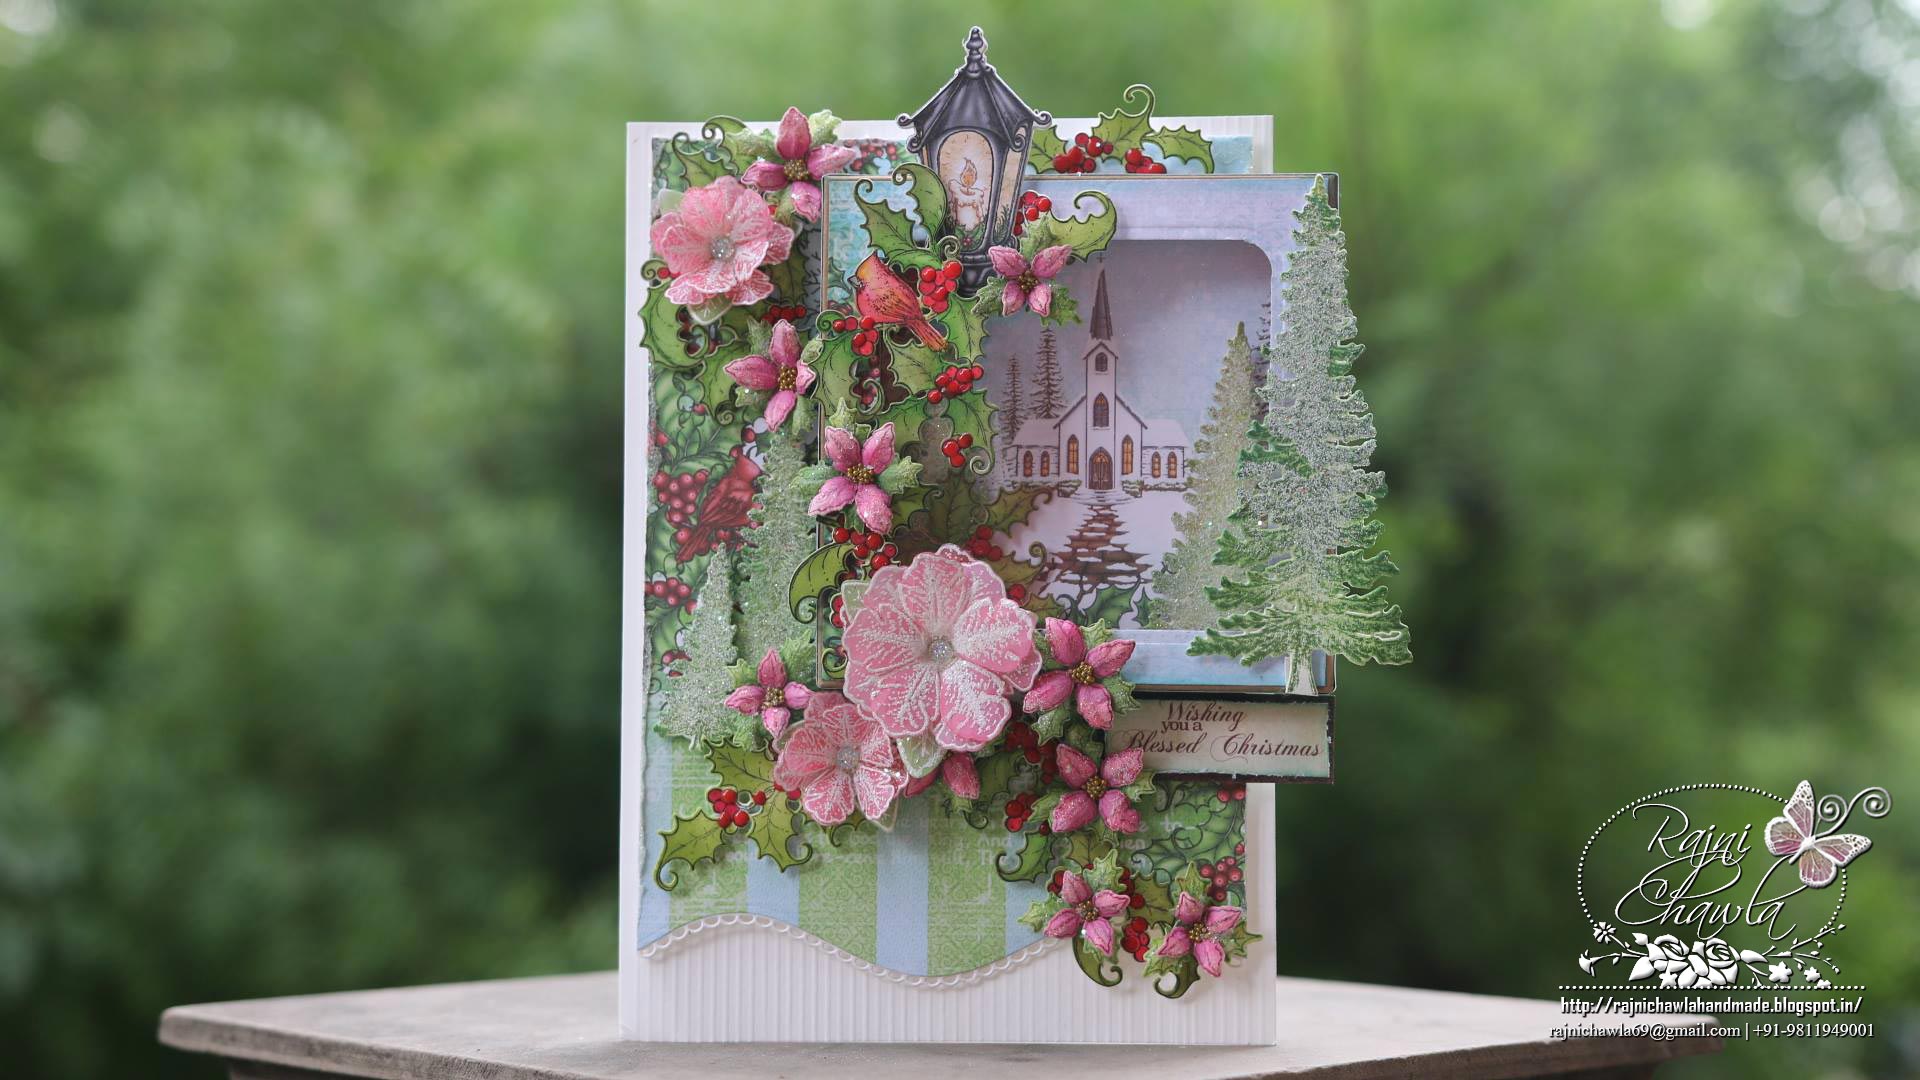
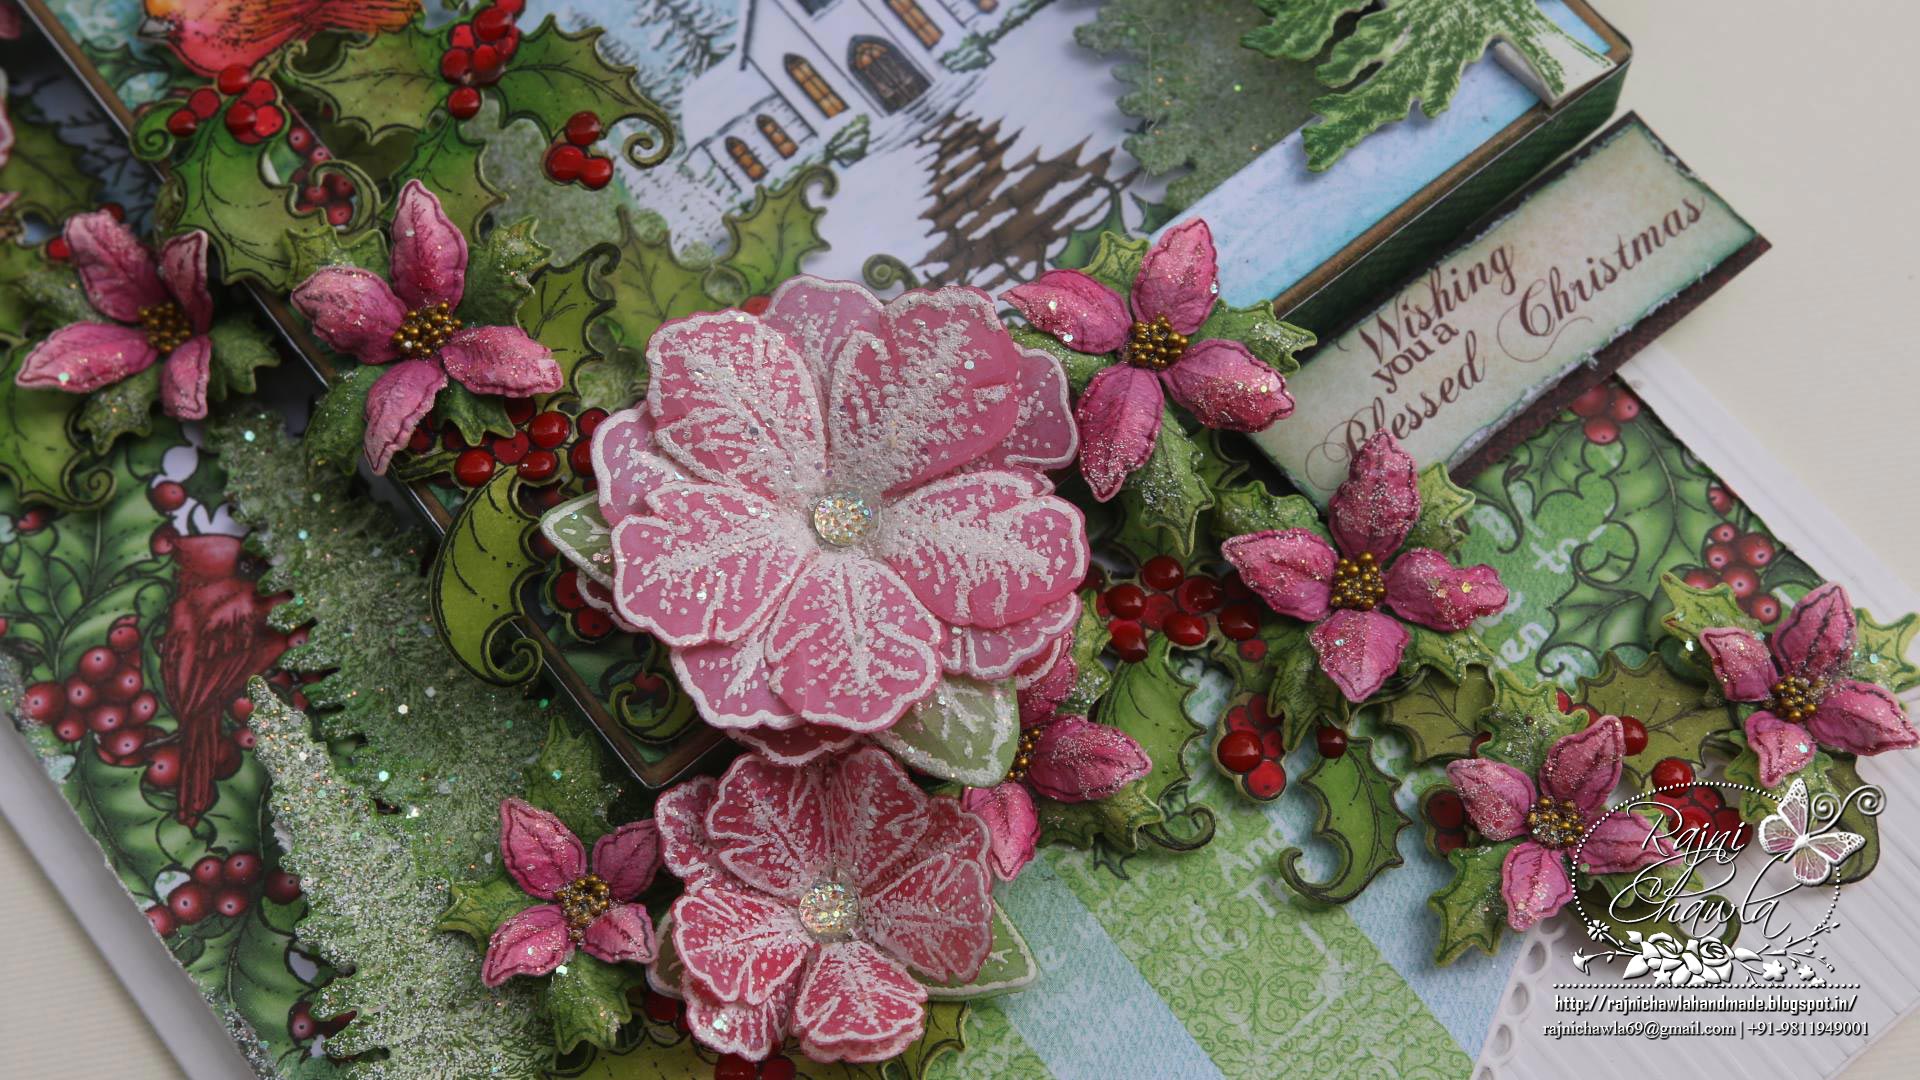
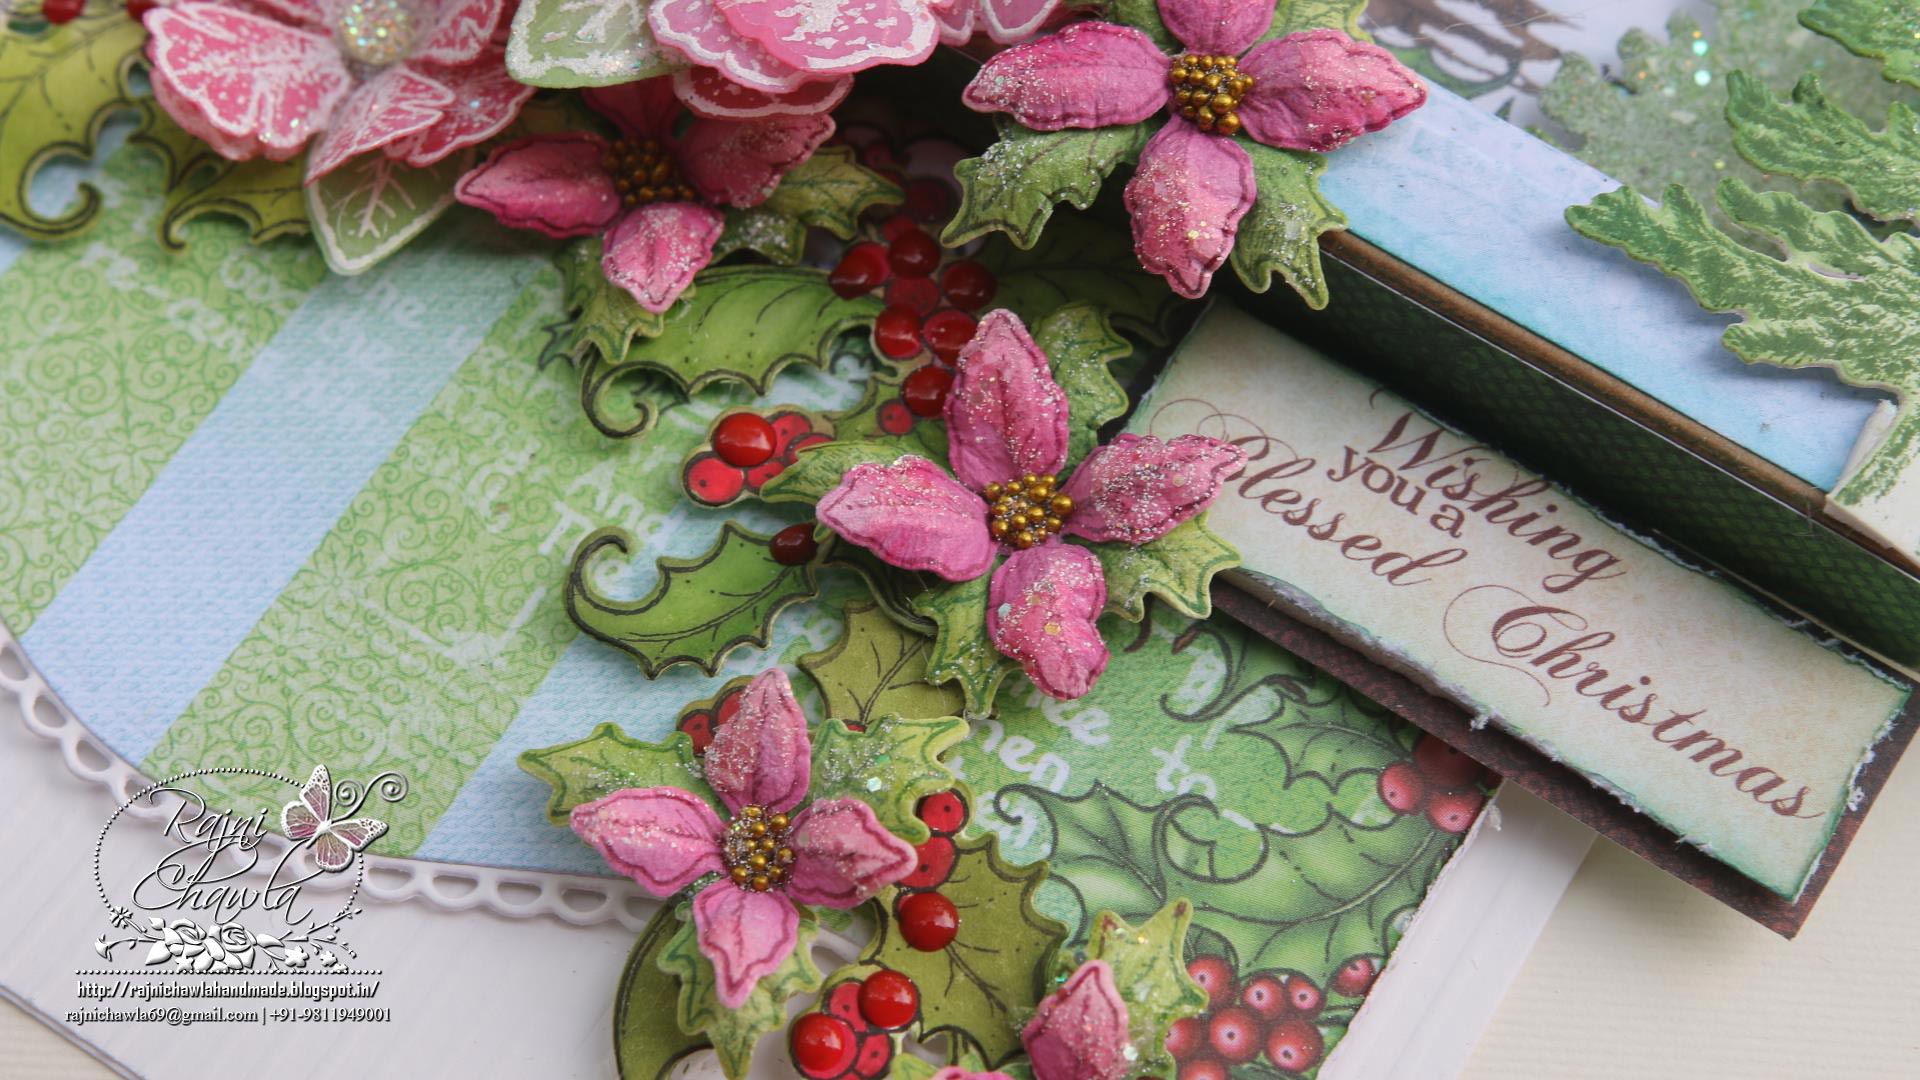
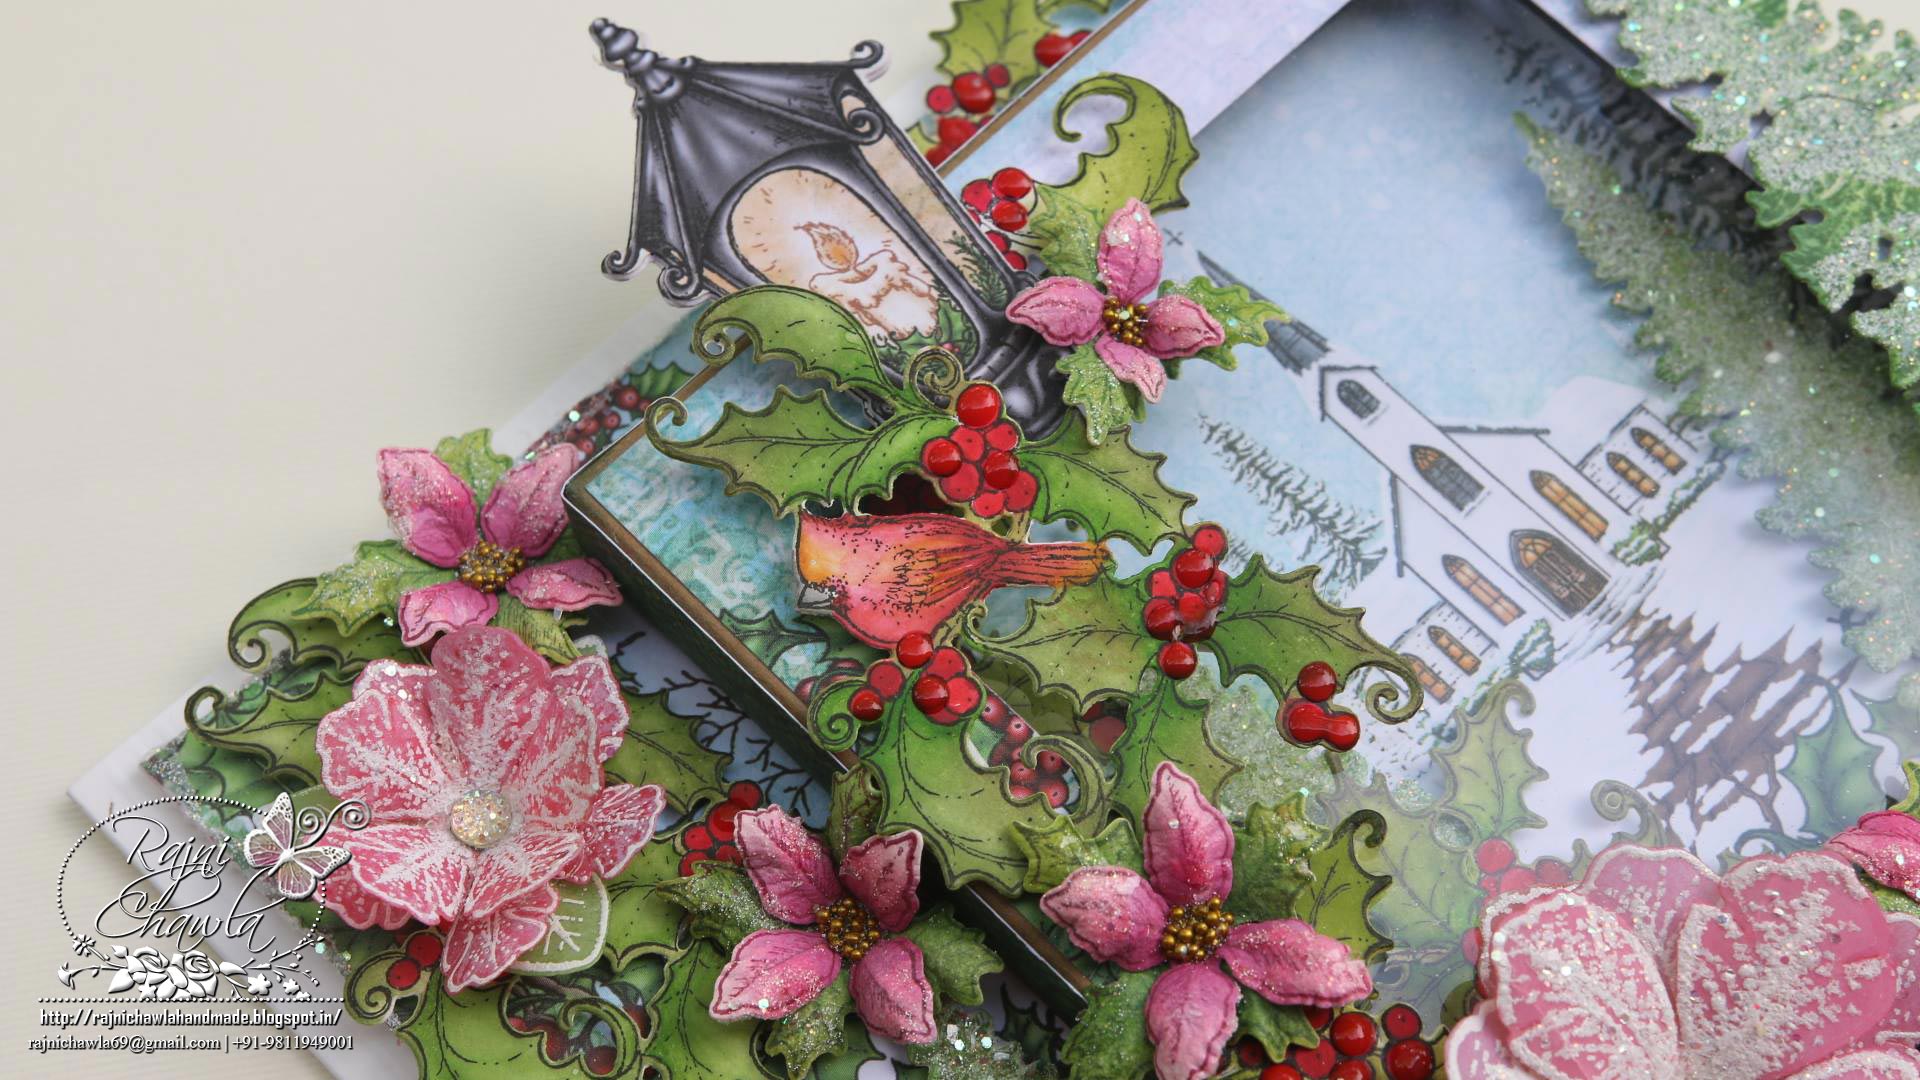
I am back again with an inspiration using Heartfelt Creation’s Special Release. I loved the idea of making a shadow box card that my friend Karan designed couple of times in her projects. I tried creating a Christmas Holly Scene using the new shadow box and Winter’s Eve Collection.
Products from Heartfelt Creations:
HCBC1 456 3 Kraft Card Shadow Box
HCD2 751 Cut Mat Create 2A Die
HCDP1-281 Winter’s Eve Paper Collection
HCD1-7145 Festive Holly & Cardinals Die
HCPC-3791 Festive Holly & Cardinals Cling Stamp Set
HCD1-7139 Small Classic Petunia Die
HCPC-3785 Small Classic Petunia Cling Stamp Set
HCD1-7140 Large Classic Petunia Die
HCPC-3786 Large Classic Petunia Cling Stamp Set
HCPC-3749 Snow Kissed Spruce Cling Stamp Set
HCD1-7107 Frolicking Frosty and Spruce Die
HCD1-7106 Celebrate the Season Die
HCPC-3747 Celebrate the Season Cling Stamp Set
HCD1-7119 Classic Border Basics Die
PGM 15015 Rajni Chawlas Crystal Clear
PGM 15016 Rajni Chawlas Frosting Powder
NU667 Nuvo Crystal Drops – Red Berry
ANC818 Go Man Go Prills
242174 Vellum Paper – 10 Sheets
RPEJ685 Embossing Powder – White
CB80 ColorBox Pigment Ink Pad – Frost White
1259723 Art Institute (Dries Clear)
HCST1-401- Deluxe Flower Shaping Tool Kit
HCDA2 450 Stack and Store Daubers
Other Products Used: Archival Black, Plum, Olive Green, Fern Green, Magenta Hue, Smooth White Cardstock, Foam tape, Score Board, Zig Clean Clear Brush Markers.
Instructions: To start with prepare all the elements needed for the card. Leaves and berries are stamped with black archival and colored using Zig Clean Clear Brush Markers, These are then cut using their coordinating dies. Further, add dimensions by adding Nuvo drops and keep them undisturbed for drying. The Holly Lamp is cut from pattern paper itself. Stamp few images from Snow Kissed Spruce Cling Stamp Set with Olive Green and Fern Green Archival ink and then color them using distress inks. Glitter them using Frosting powder. For Piosenttias, the images from Celebrate the Season Cling Stamp Set are stamped using Plum Archival and then colored using Magenta Hue Archival Ink. These are then cut using it’s coordinating die and shaped using Deluxe Fower Shaping Kit. Also, add prills to their centers. For bigger flowers, stamp a couple of small and large Petunias with white Colorbox ink on vellum and sprinkle white heat embossing powder. Heat set them and cut them with their coordinating die. Color the flowers with Magenta Hue from the back of the flowers. Shape the flowers using Deluxe Flower shaping kit. Score and shape the shadow box. Choose the pattern paper and cover all the sides with designer paper from Winters Eve Collection. The front window is cut using Cut Mat Create 2A Die. Choose and paste a pattern paper inside the box as well. Choose a pattern paper for the top layer of the card and cut the lower edge using Basic Border Die. Assemble all the elements as shown and finish the card by adding a sentiment from the paper collection.


Beautiful – I love how you have made the vellum poinsettias and they work in so well with the little poinsettias and the rest of your beautiful card!
Sorry – they are petunias xx
Beautiful creation 🙂
Gorgeous as always!!
Love this Rajni! So much gorgeous detail!!!
Very beautiful! I love your photography too! 😀
Hugs, Marie