Good Morning Friends…Rainr
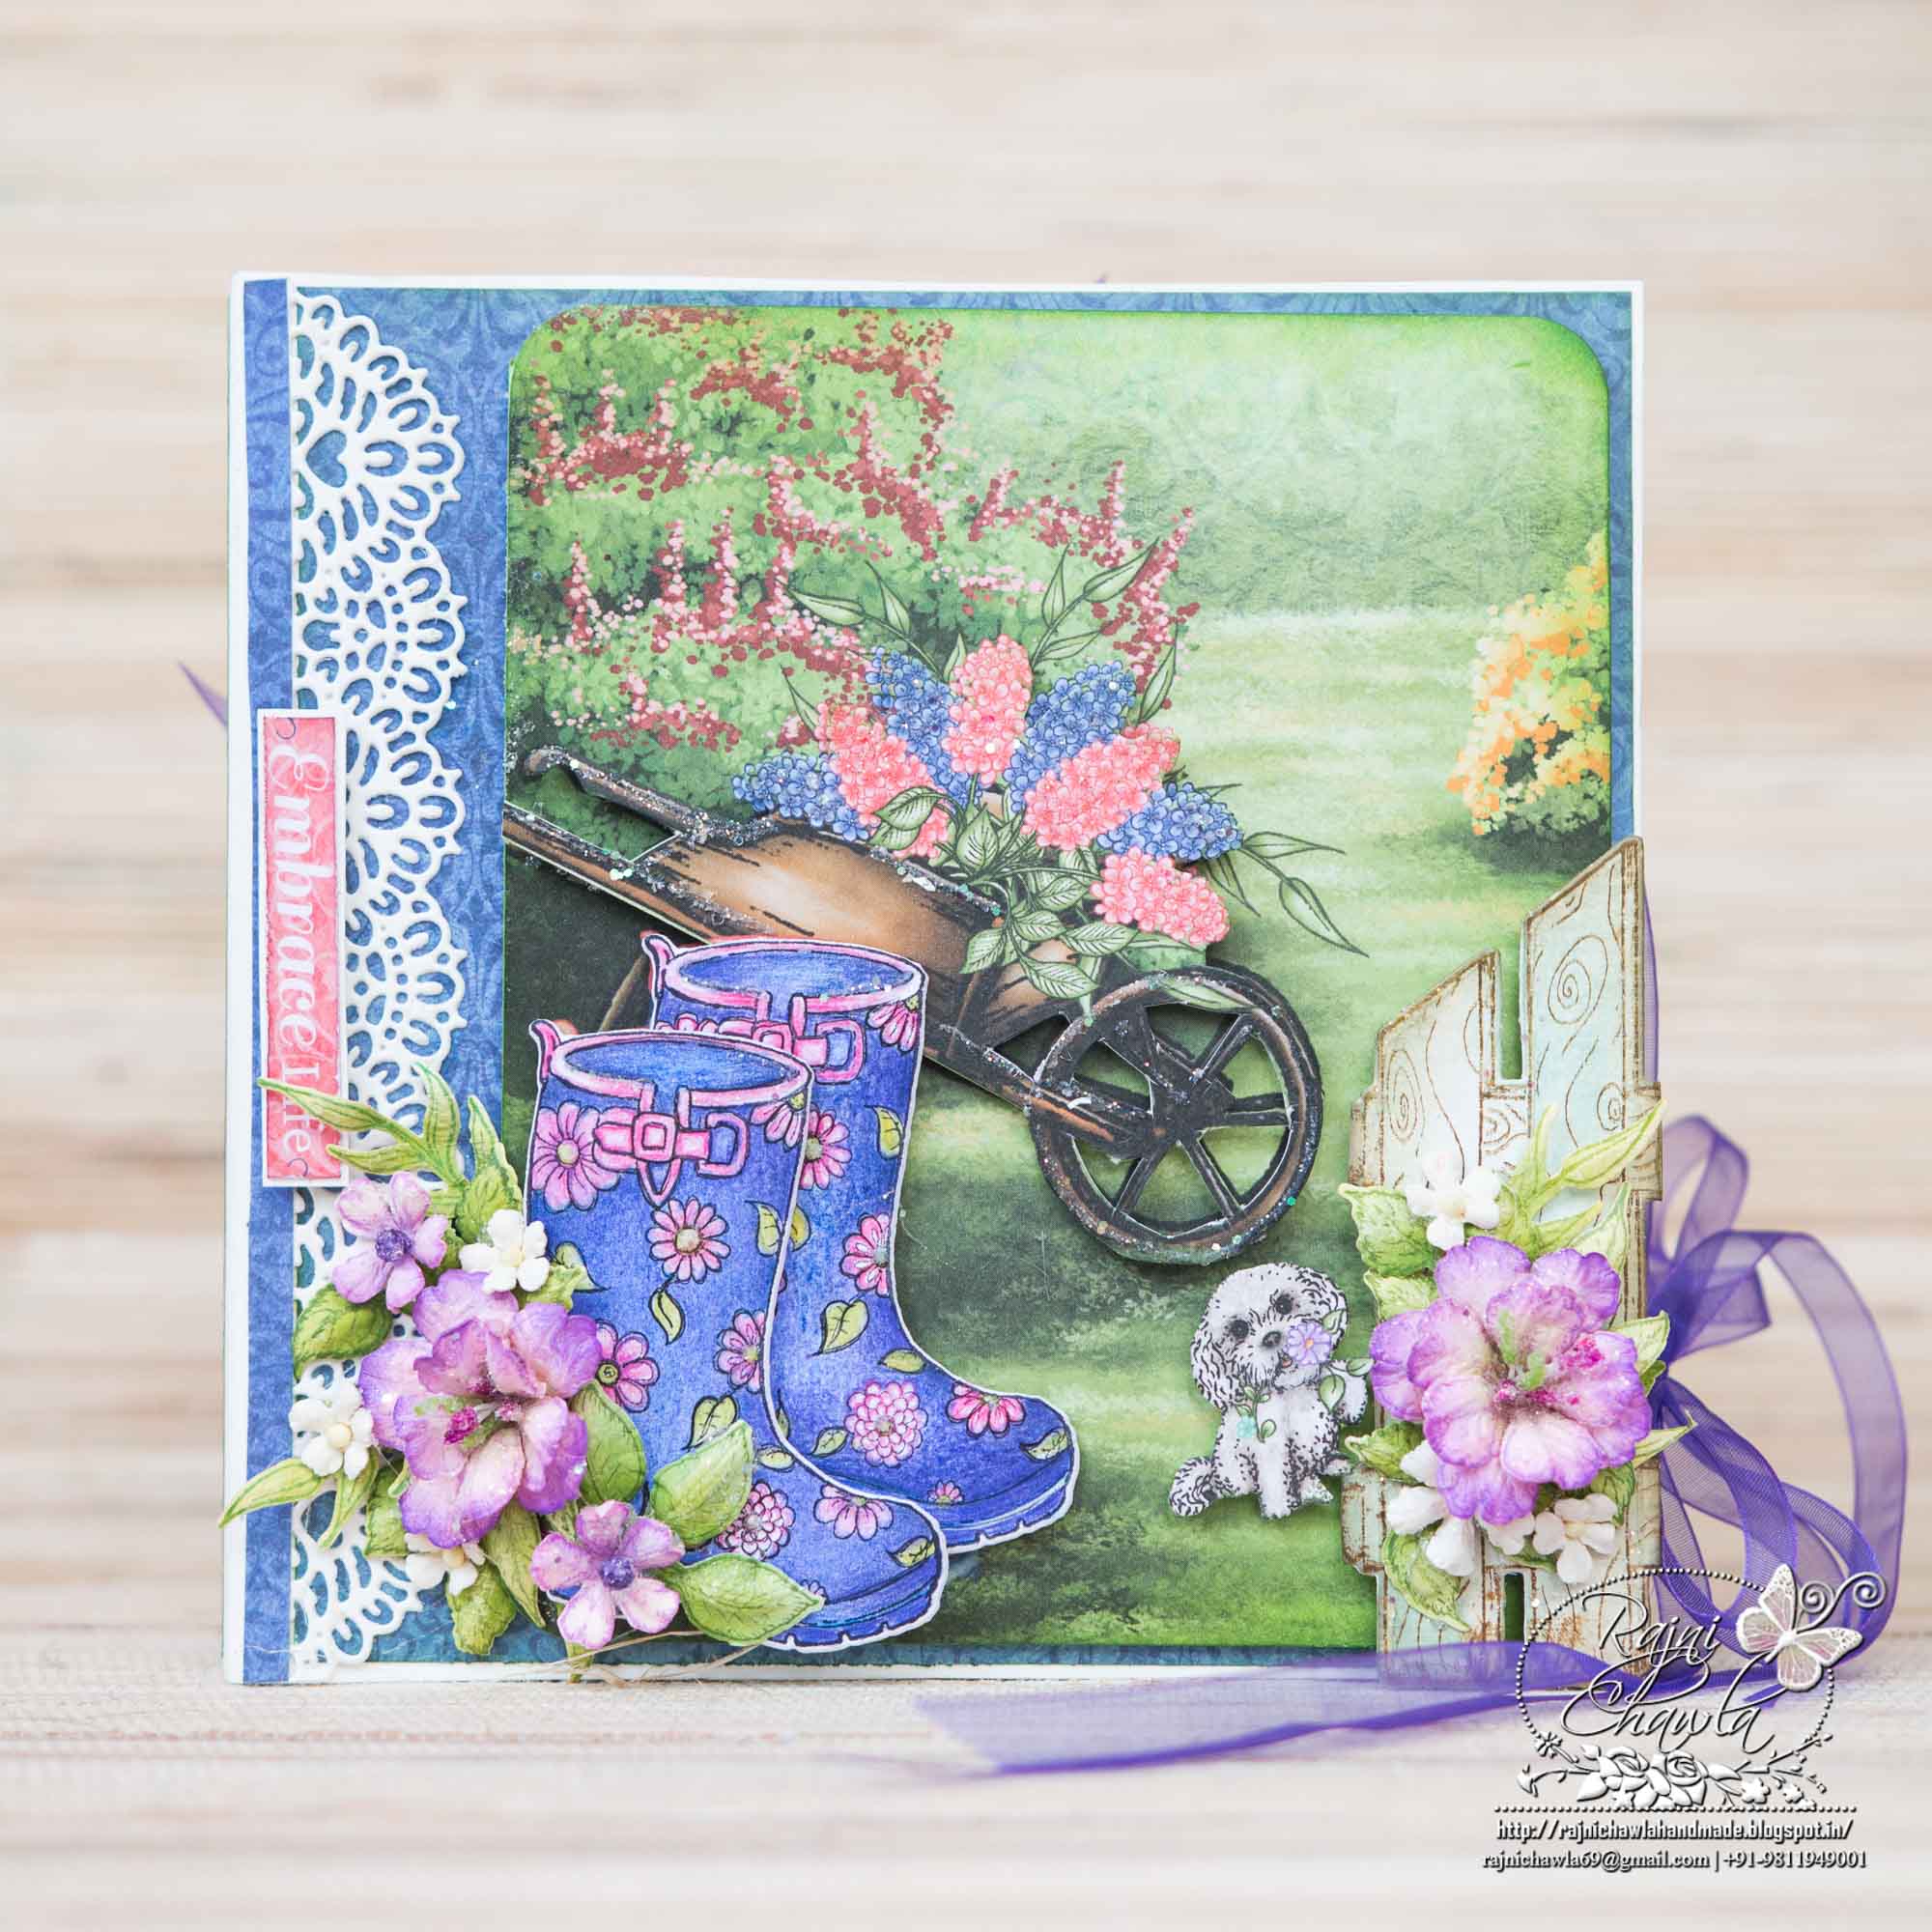
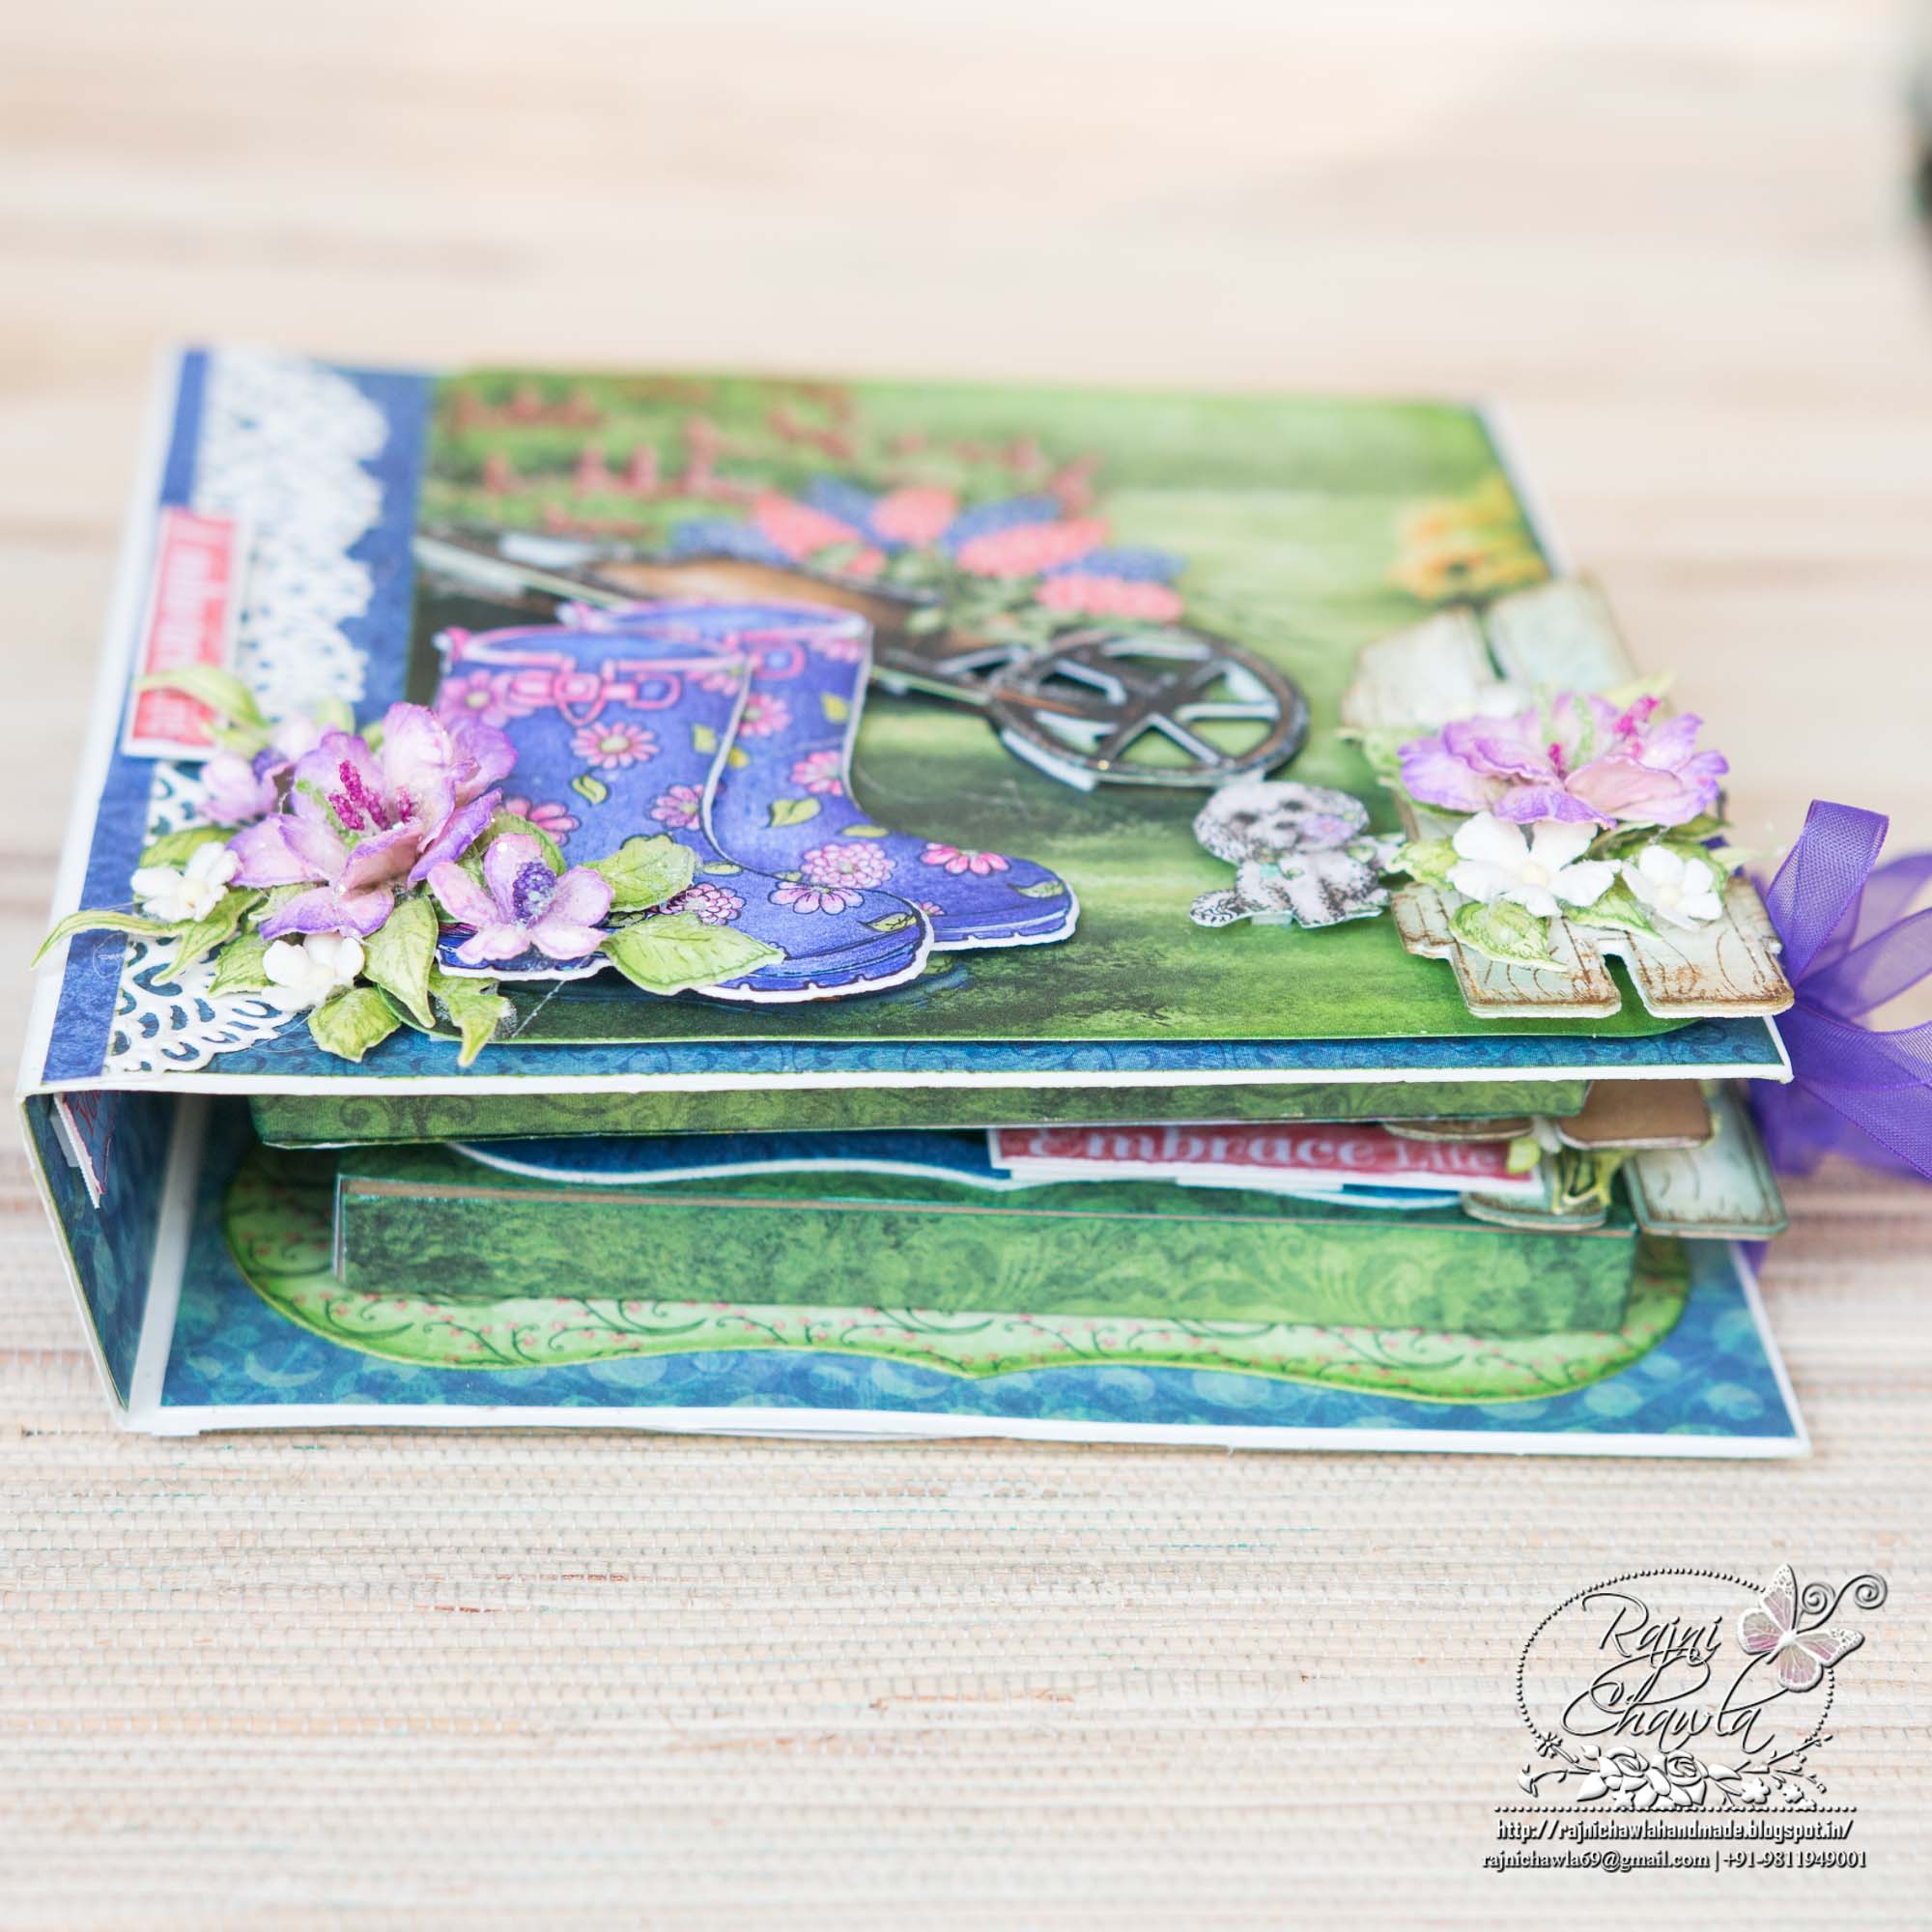
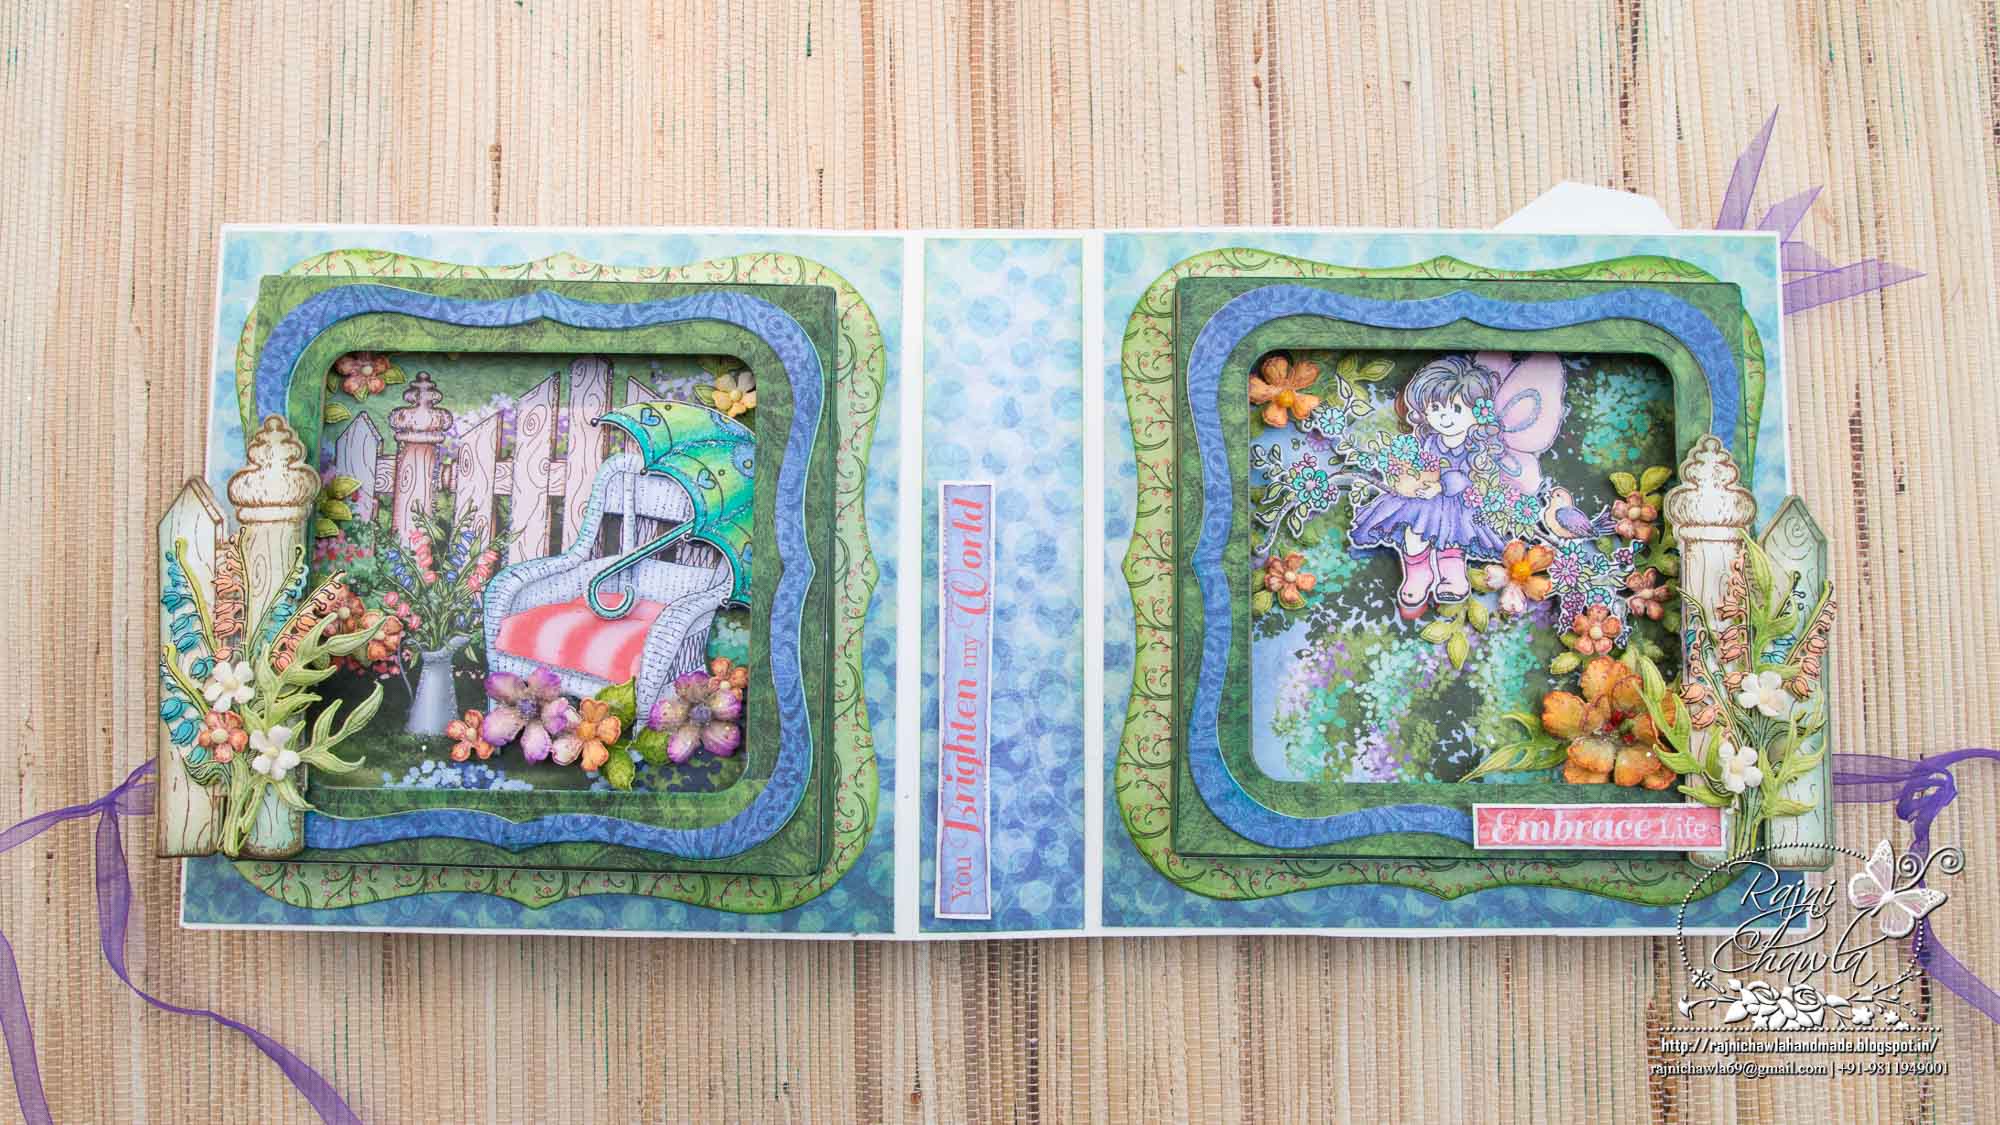
I am back again with Heartfelt Creation’s weekly inspiration, today. For today’s inspiration, I have a double shadow box mini, Magical Fairy Garden, which can be a good gift for anyone whom you love. It can hold lots of pictures and messages In the back cover pocket.
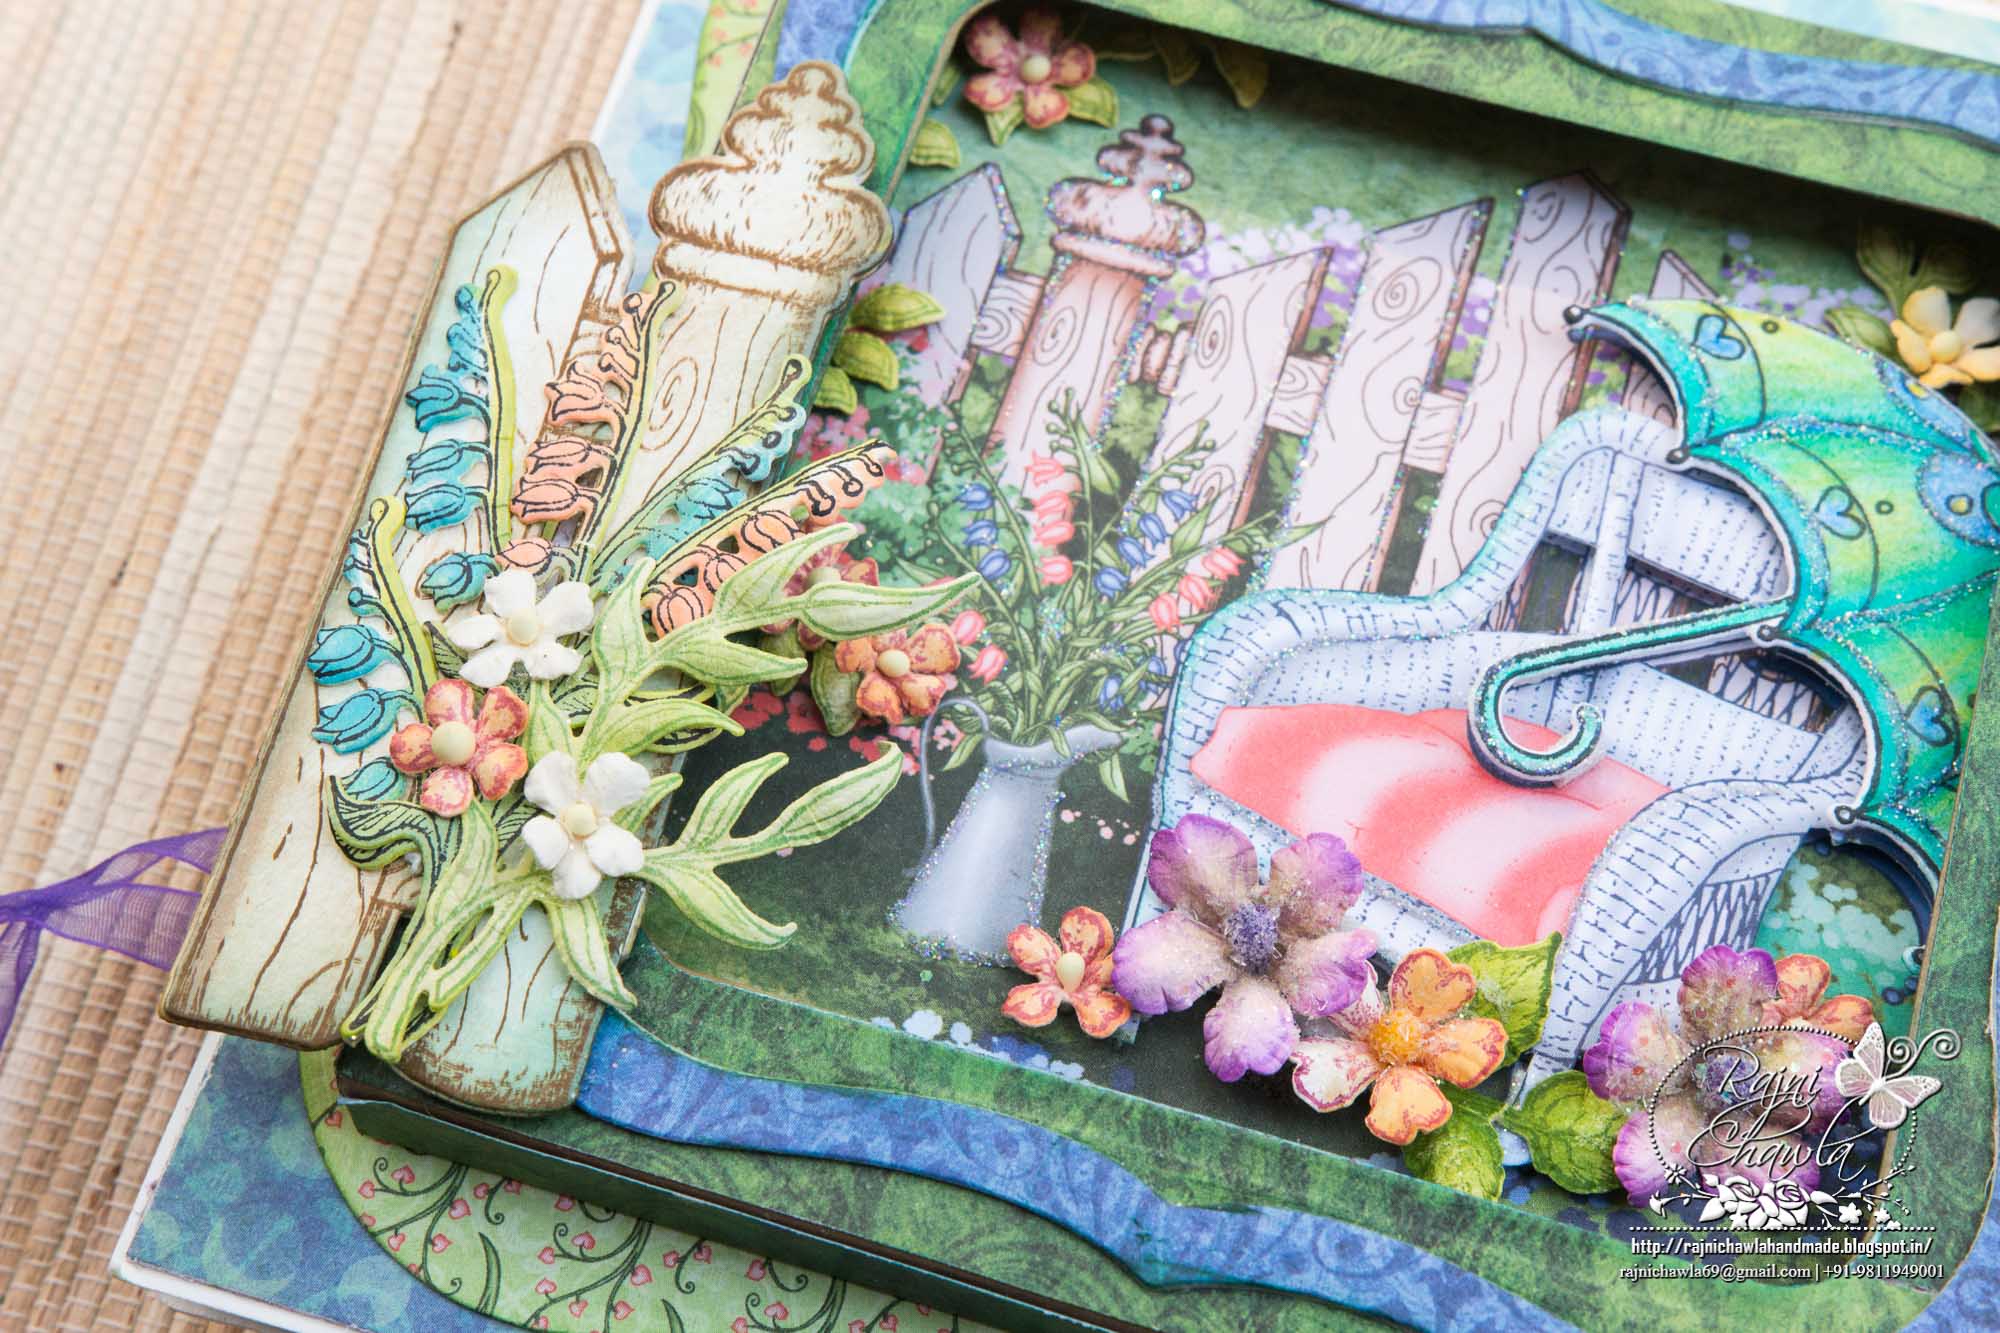
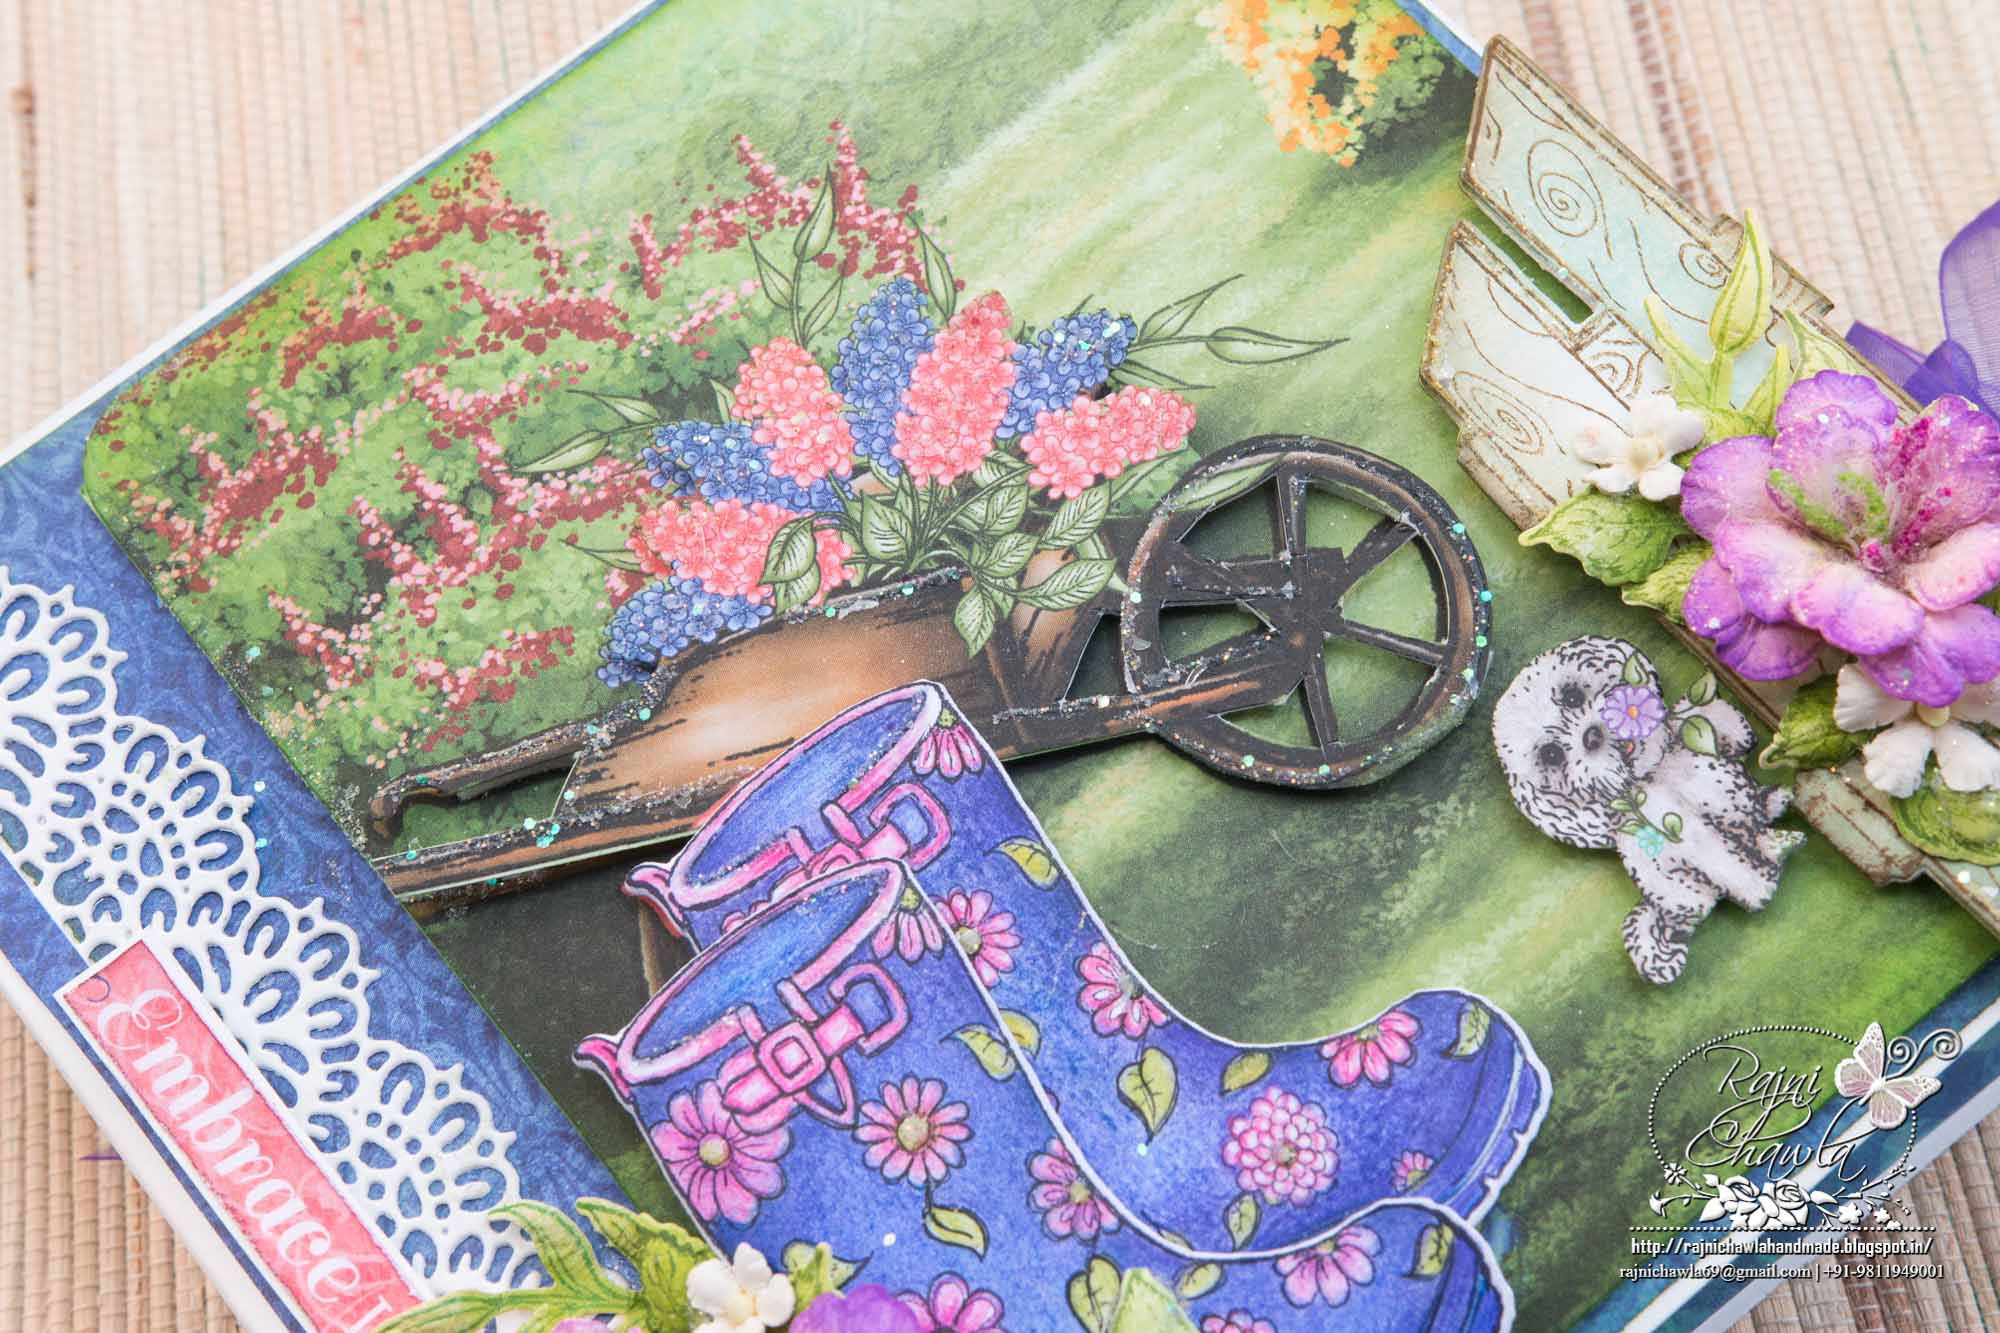
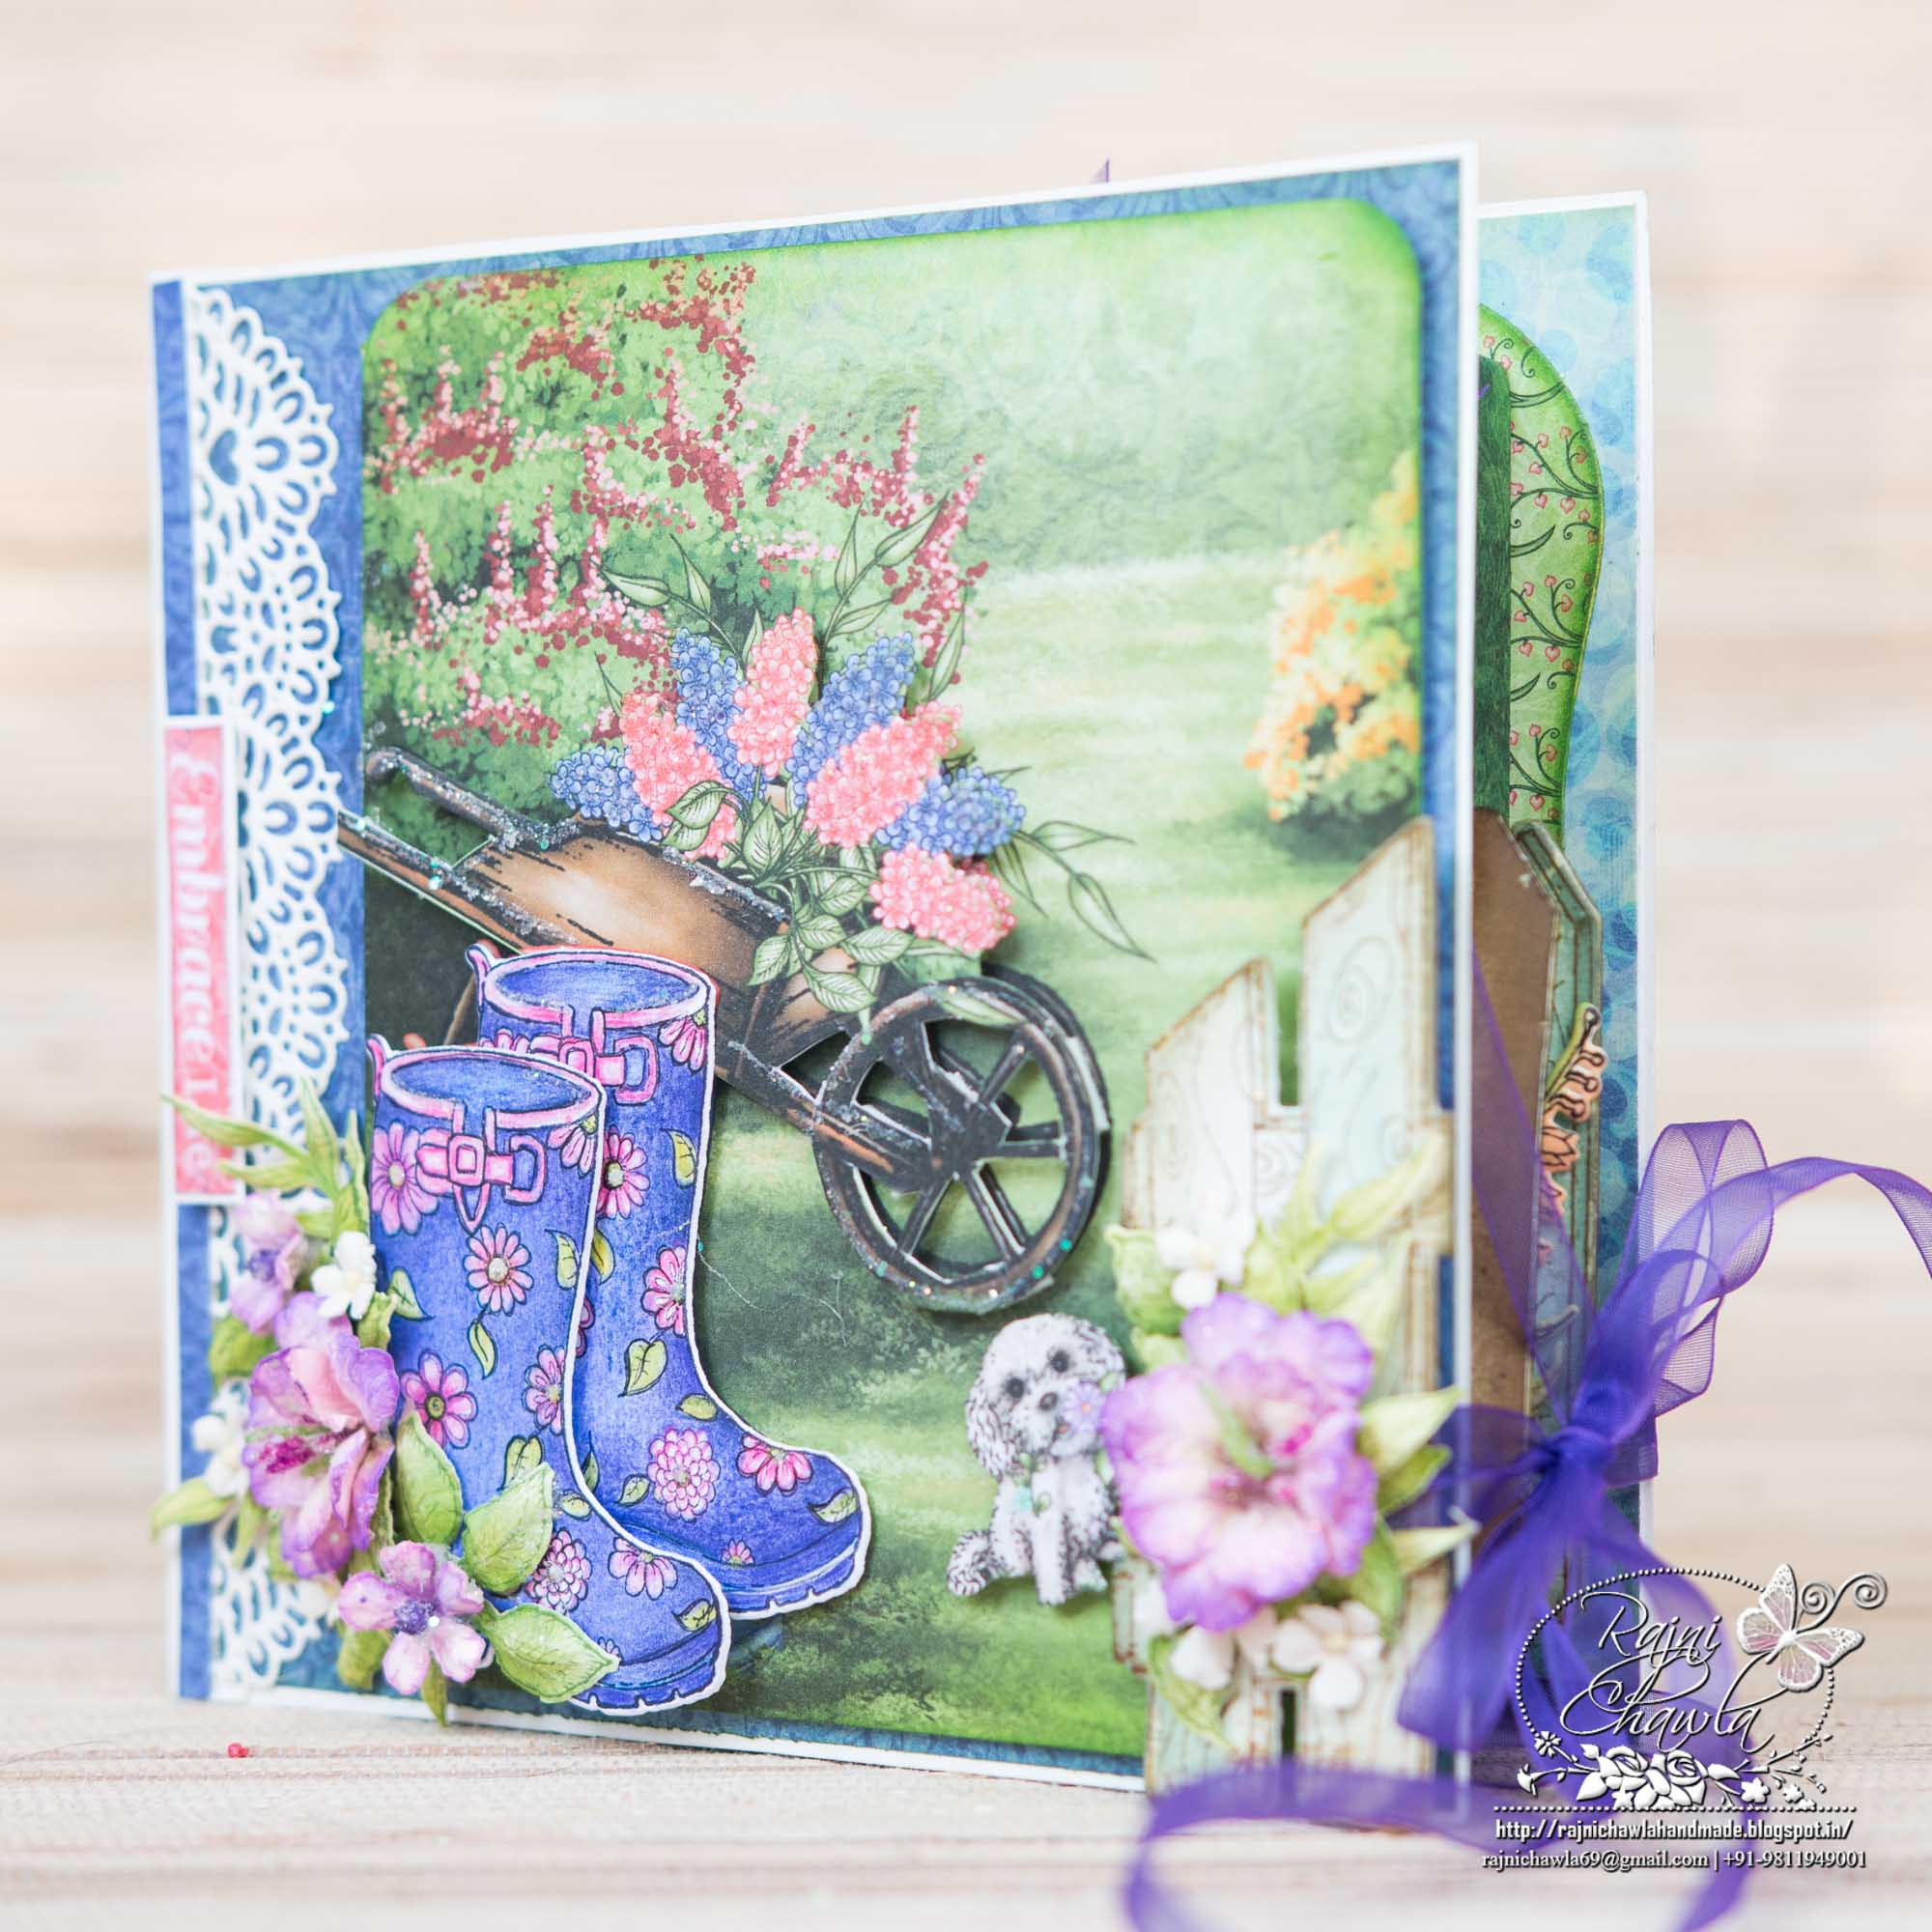
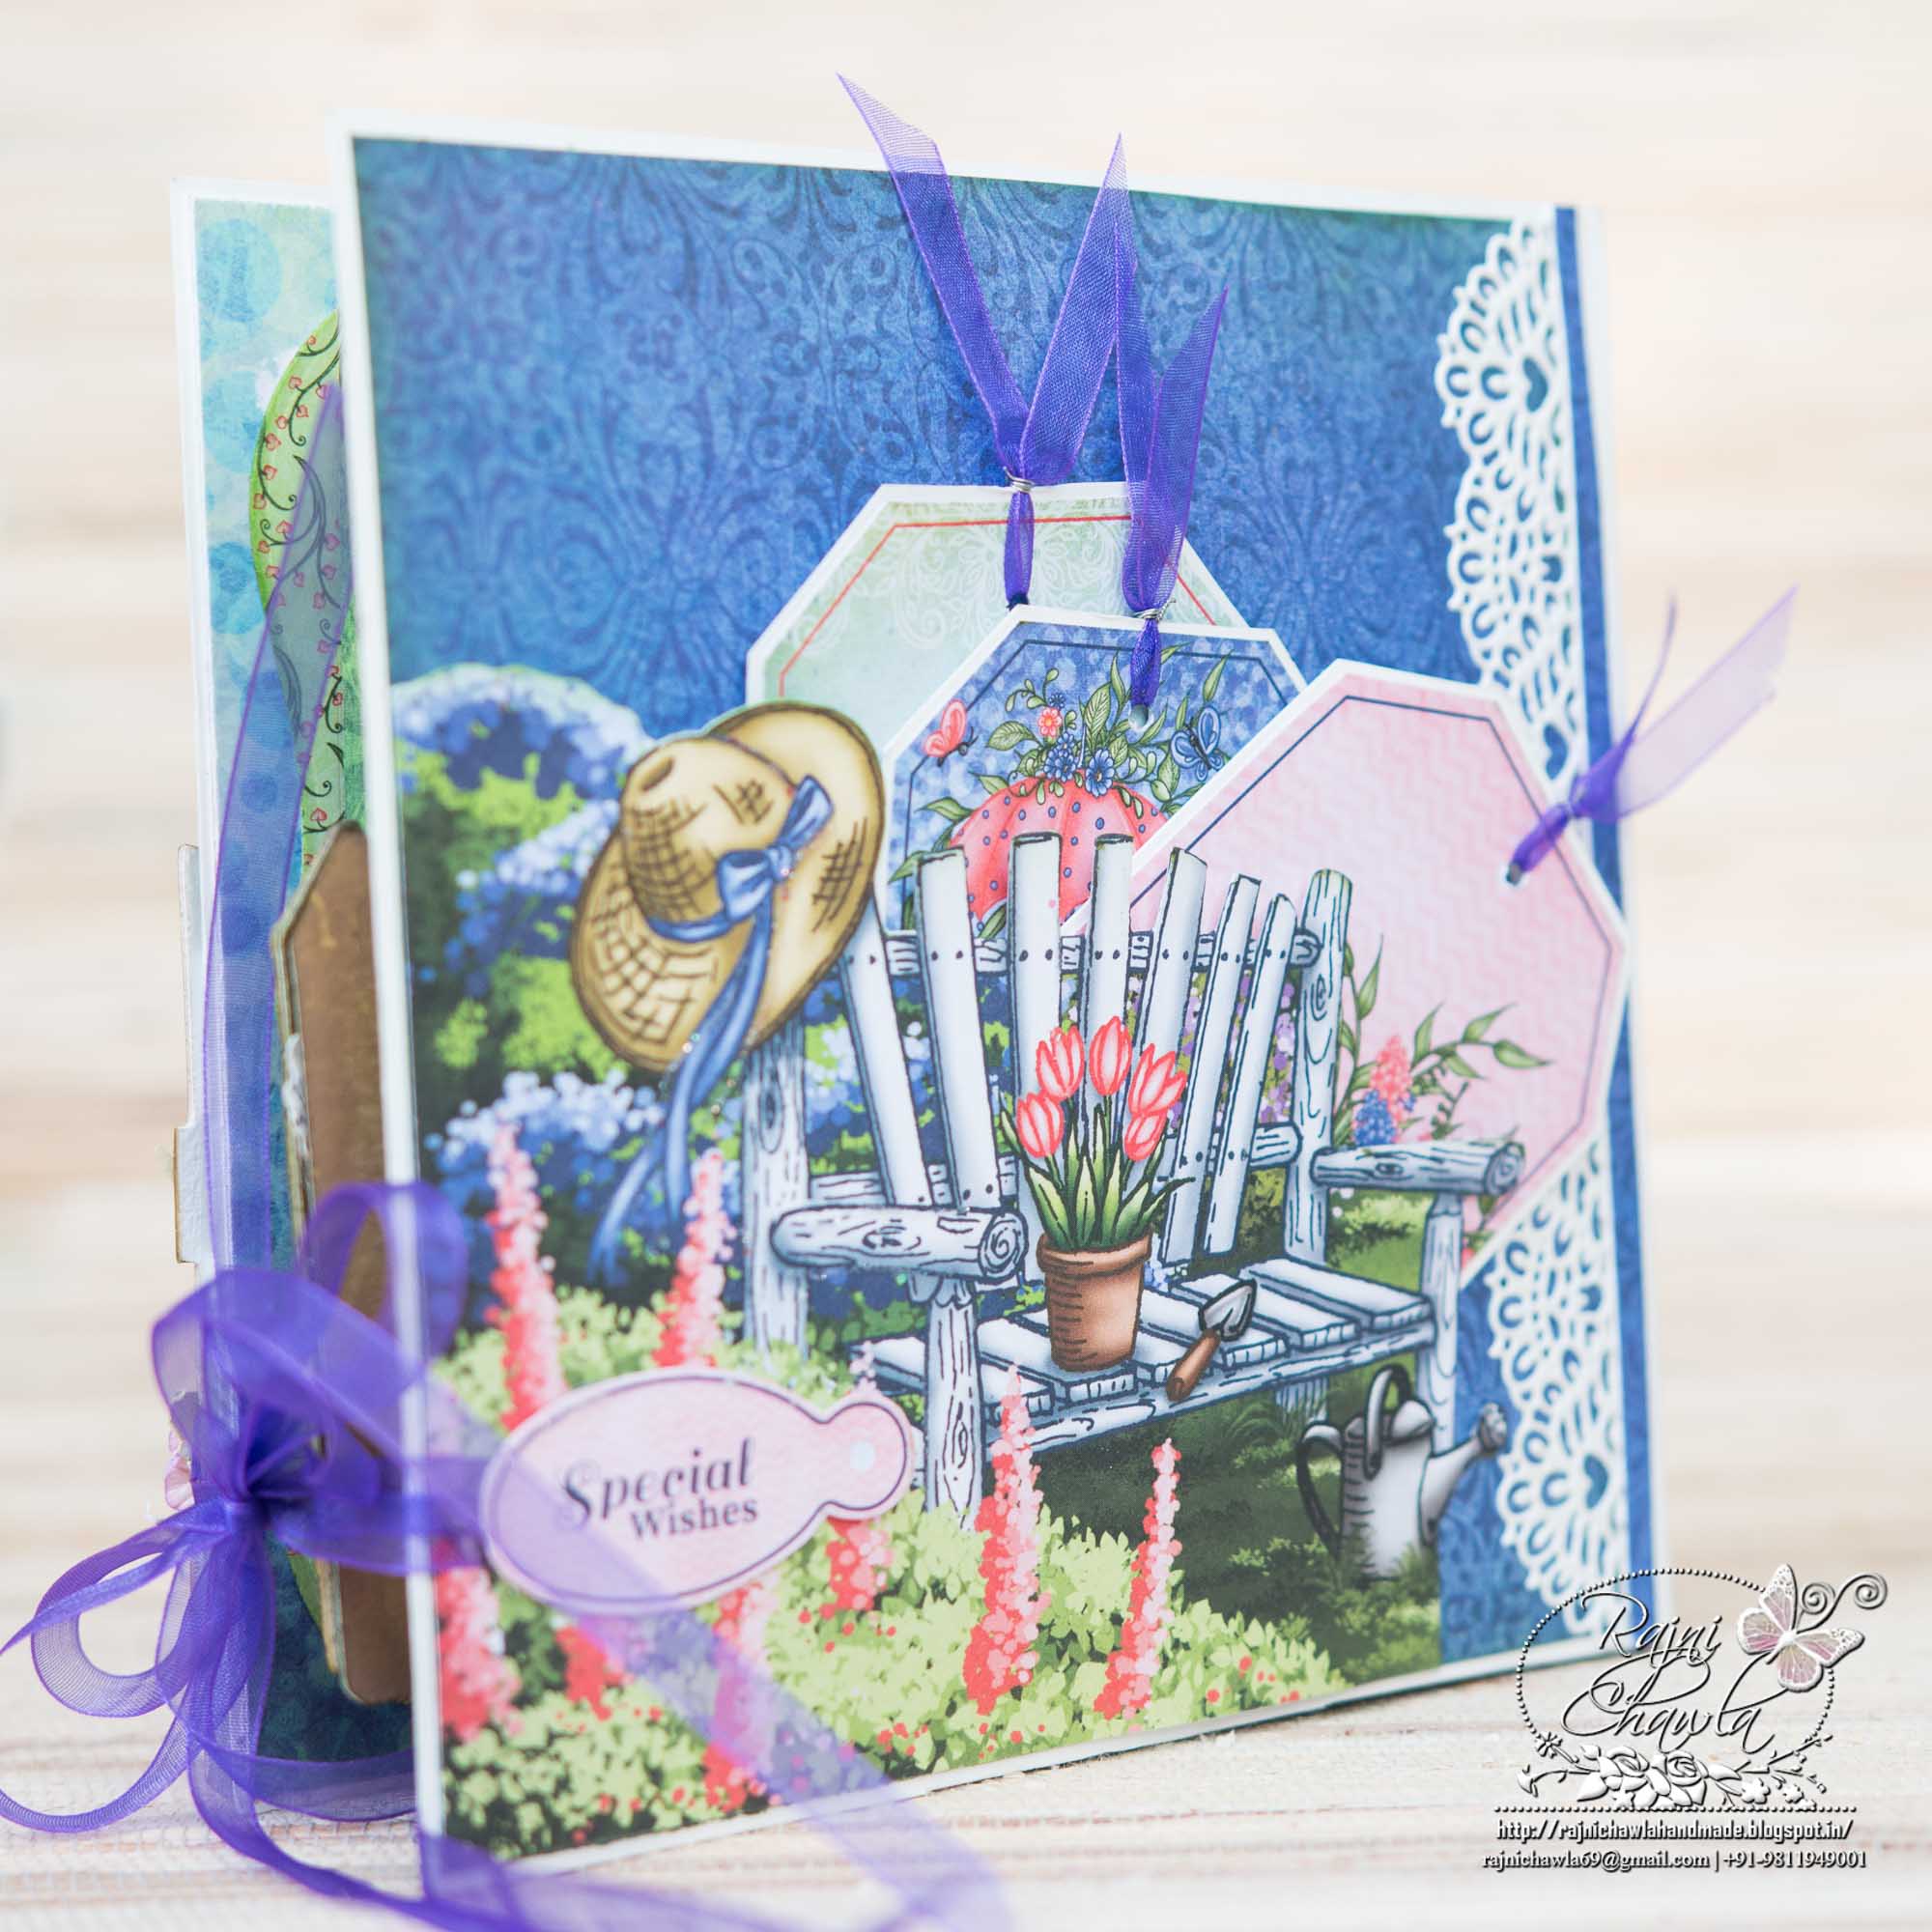
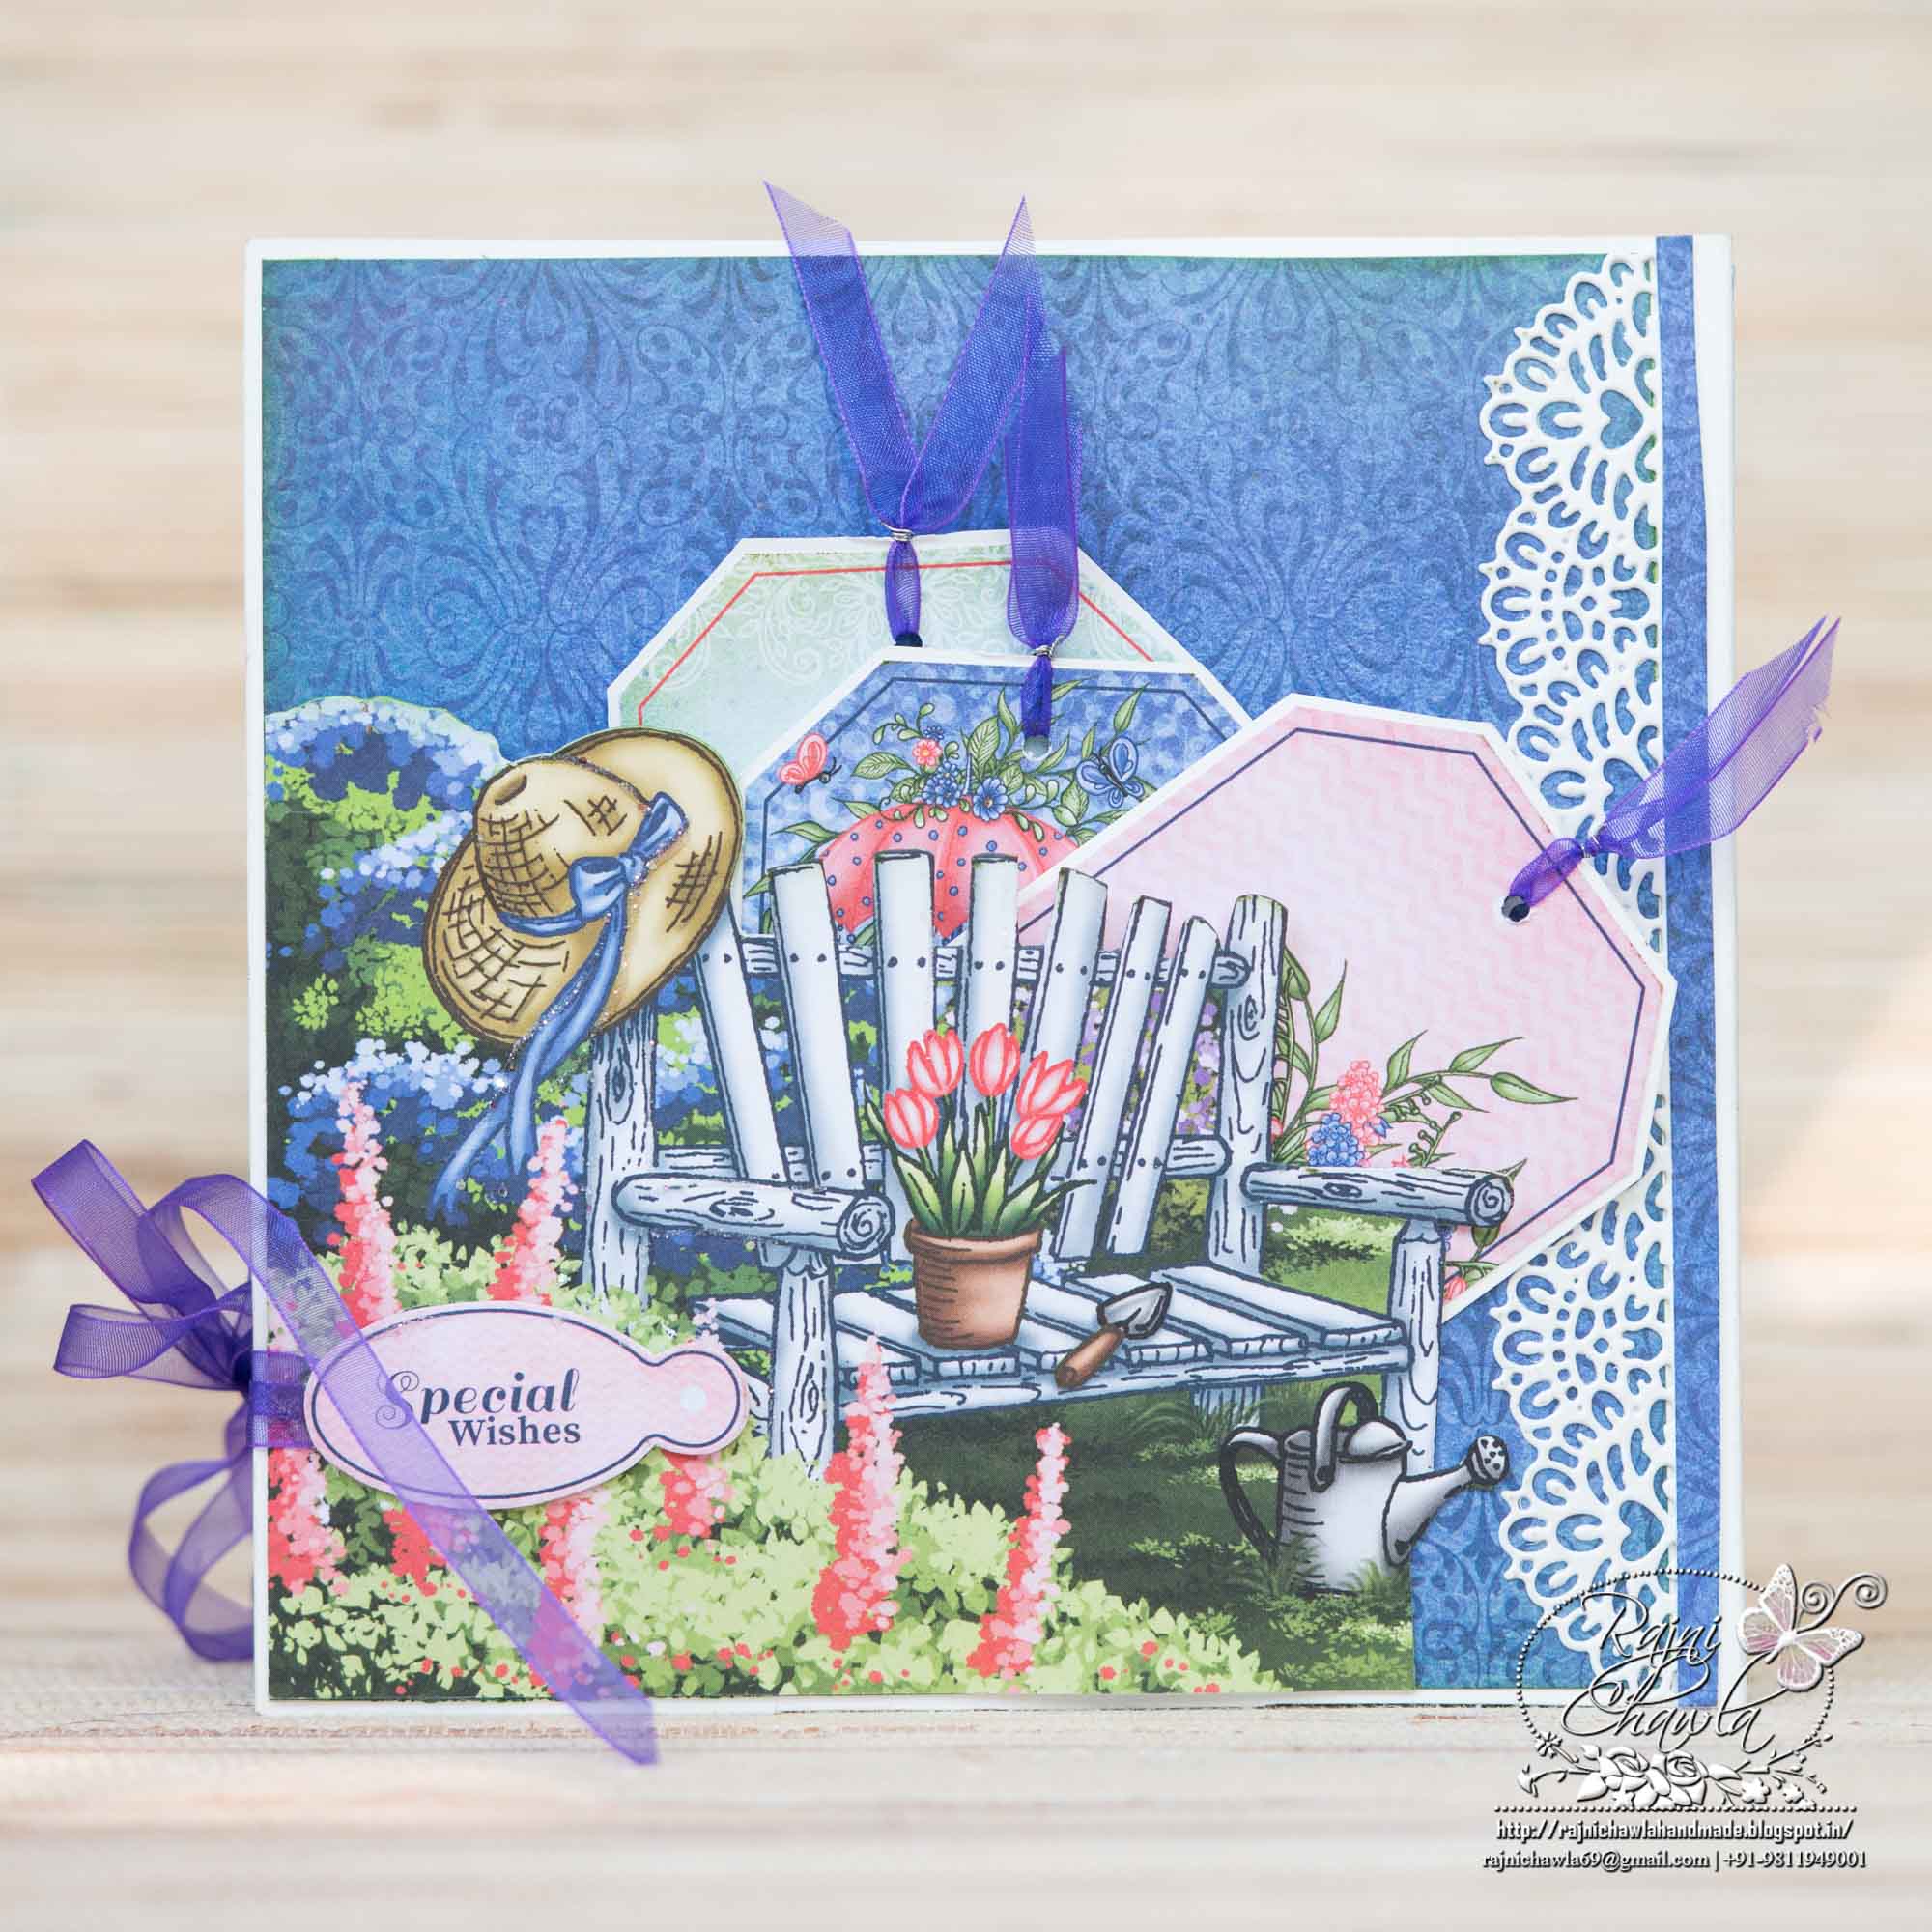
Here are the detailed images for your reference. This is the front cover which has a detailed fussy cut image.
Products from Heartfelt Creations:
HCD1-7167 Singing in the Rain Die
HCD1-7168 Songs of Spring Die
HCD1-7169 Rain Boots and Blossoms Die
HCPC-3809 Singing in the Rain Cling Stamp Set
HCPC-3810 Songs of Spring Cling Stamp Set
HCPC-3811 Rain Boots and Blossoms Cling Stamp Set
HCPC-3812 Raindrop Sentiments Cling Stamp Set
HCDP1-286 Singing in the Rain Paper Collection
HCD1-7105 Festive Gate Die
HCPC-3746 Festive Gate Cling Stamp Set
HCD1-7125 Wildwood Florals Die
HCPC-3769 Wildwood Florals Cling Stamp Set
HCD1-7161 Sweetheart Borders Die
HCBC1-456-3 Card Shadow Box Set-Kraft
HCD2-751 Cut Mat Create 2A Die
HCS1-459-4 Rock Candy Stamens-Small
PGM15015 Rajni Chawla’s Crystal Clear
HCDA2-450 Stack and Store Daubers-Pack of 30
159723 Designer Dries Clear Adhesive
HCST1-401 Deluxe Flower Shaping Kit
359503 Funnel Tray
Other Products Used: Smooth white Cardstock, Peeled Paint Distressing Ink, Zig Clean Clear Brush Markers, Water Color Brush, Archival inks black, Plum, Leaf Green, Library Green, Fern Green, Deep Grape Color Box ink, Harvest Color Box ink. Grand Labels 1, Distress ink Vintage Photo.
Videos Referred: For more tips on creating with the Singing in the Rain collection, watch the tutorial at https://youtu.be/_J85LChrXSs.
For more tips on creating with the layered card & shadowboxes, watch the tutorial at https://youtu.be/DrMIKI-XTmI.
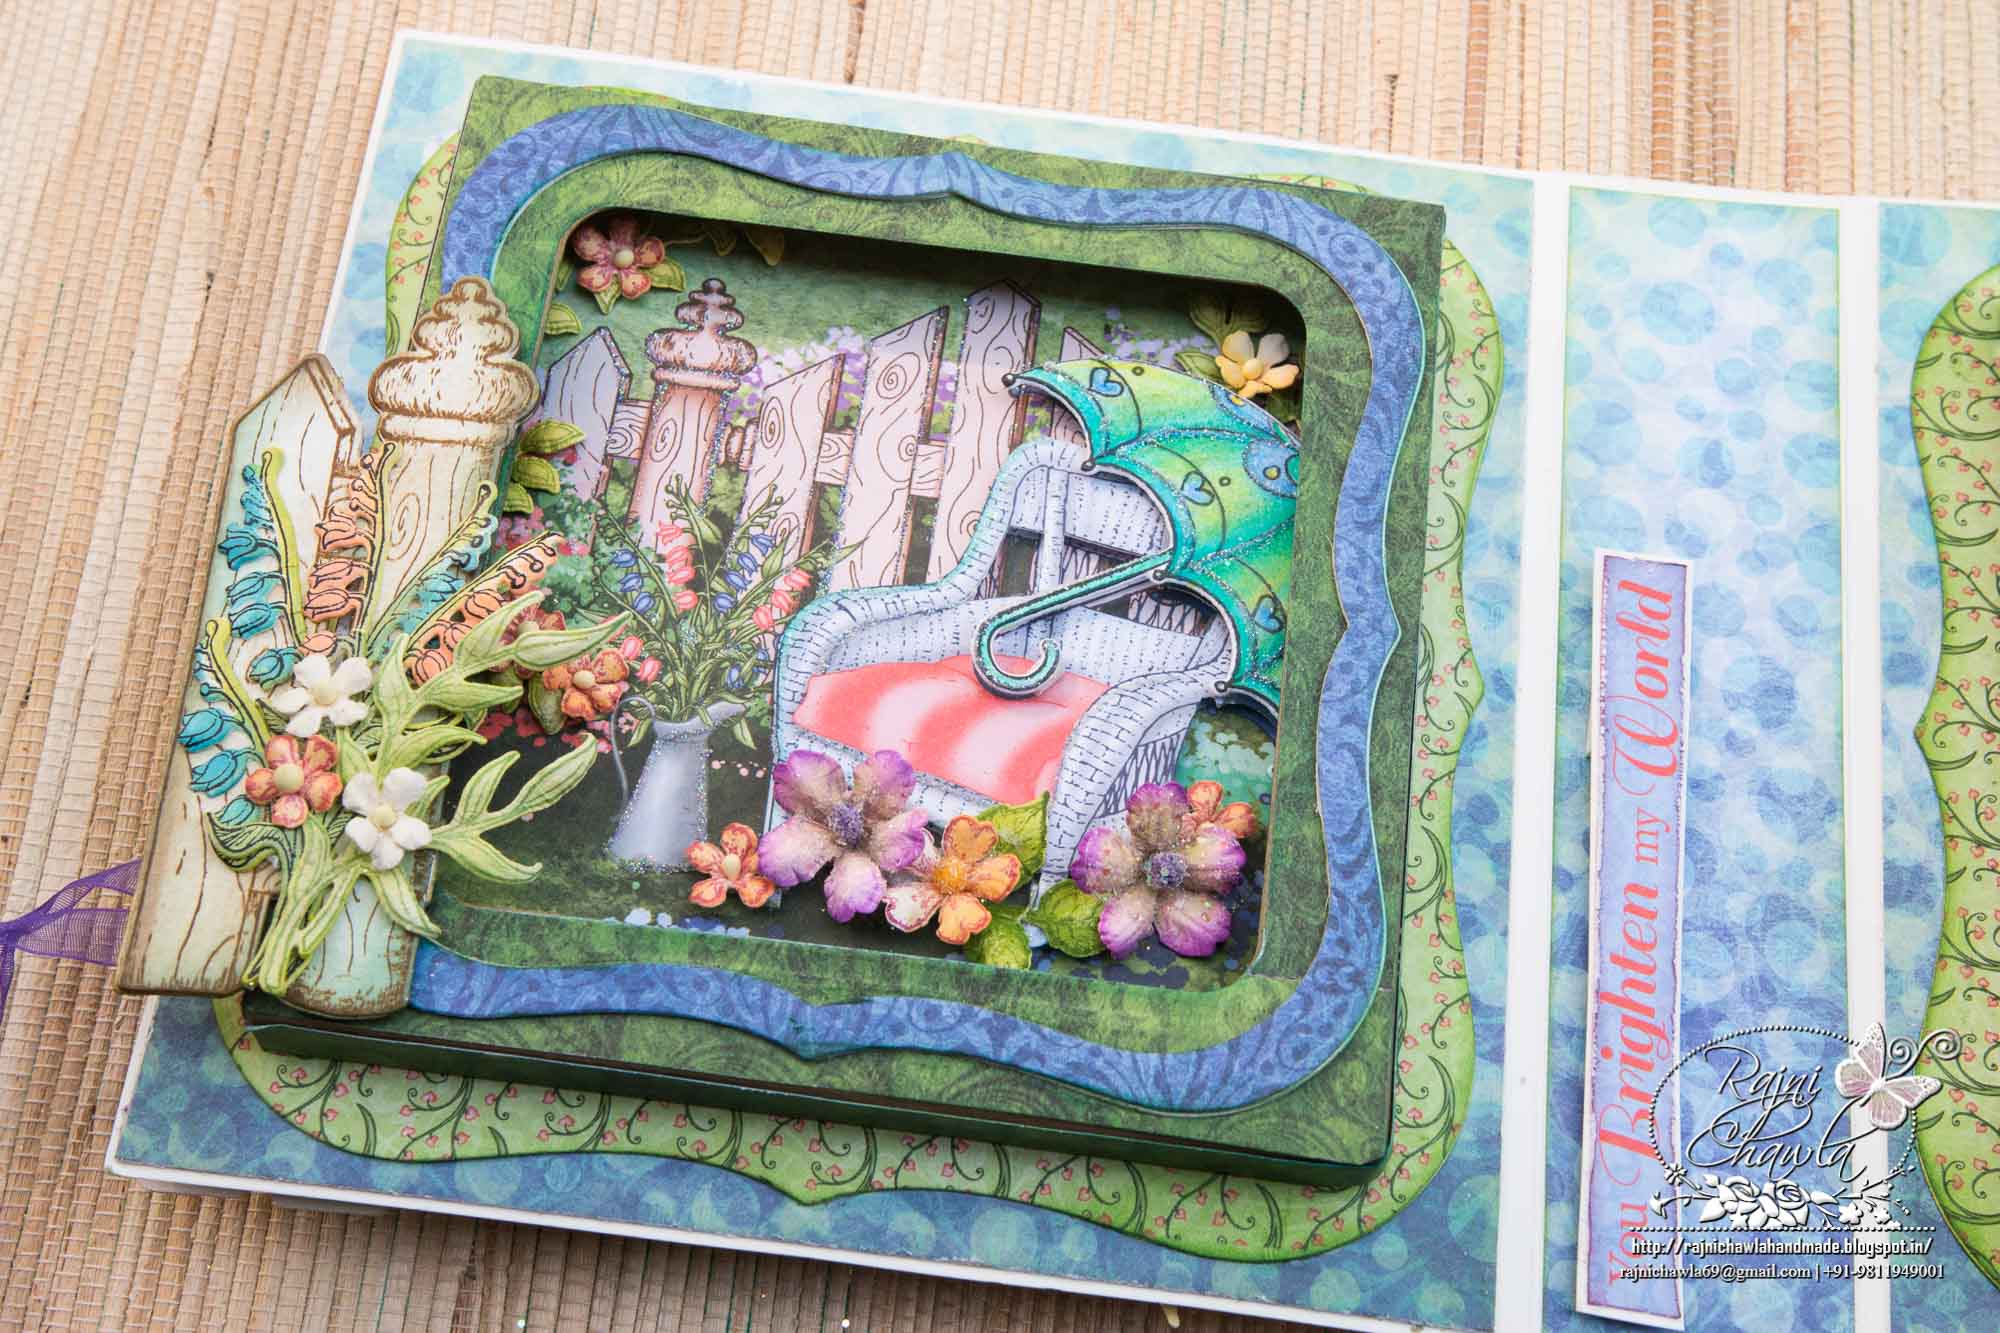
Instructions: Firstly, construct 2 shadow boxes. Choose pattern papers as shown and paste them into the box. In the left side of the shadow box, The chair is fussy cut and then layered in the same place using foam tapes. Cover the front of the shadow box. For cutting the window use Cut Mat and Create 2A Die. Now, close the shadow boxes using 1/2″ strip on all the four sides. Cut a white die cut frame from Grand Labels One from purple pattern paper and one from white cardstock. Stack both the die cuts together.Prepare 2 pcs of the same kind and adhere them on the front of the shadow box.
To make the cover of the Project, Cut 2 piece of white cardstock measuring 61/2″ by 73/4″. Score at 11/4″ on the longer side.Glue the scored 1 1/4″ panel of the first piece to the 11/4″ scored piece of the second piece. This will form the front, back, and spine of the project. Now Choose the pattern papers for the front, back and inside panels. Refer the pictures.
Once the front cover is covered with pattern paper, choose another one from the same collection to create the top fancy panel. It should measure 5′ by 6′. Chop all the four corners using corner punch and layer it on the right side of the front cover, keeping a ribbon underneath to create the closure of the project. On the left side glue, a fancy lace border from the Sweet Heart Borders die set. Fussy cut the focal image from pattern paper and layer it on the front top panel. Decorate the front using flowers from Wildwood cottage Collection, a pair of painted boots, painted festive gate and a fussy cut puppy. Add sentiment as shown and highlight with glitters.
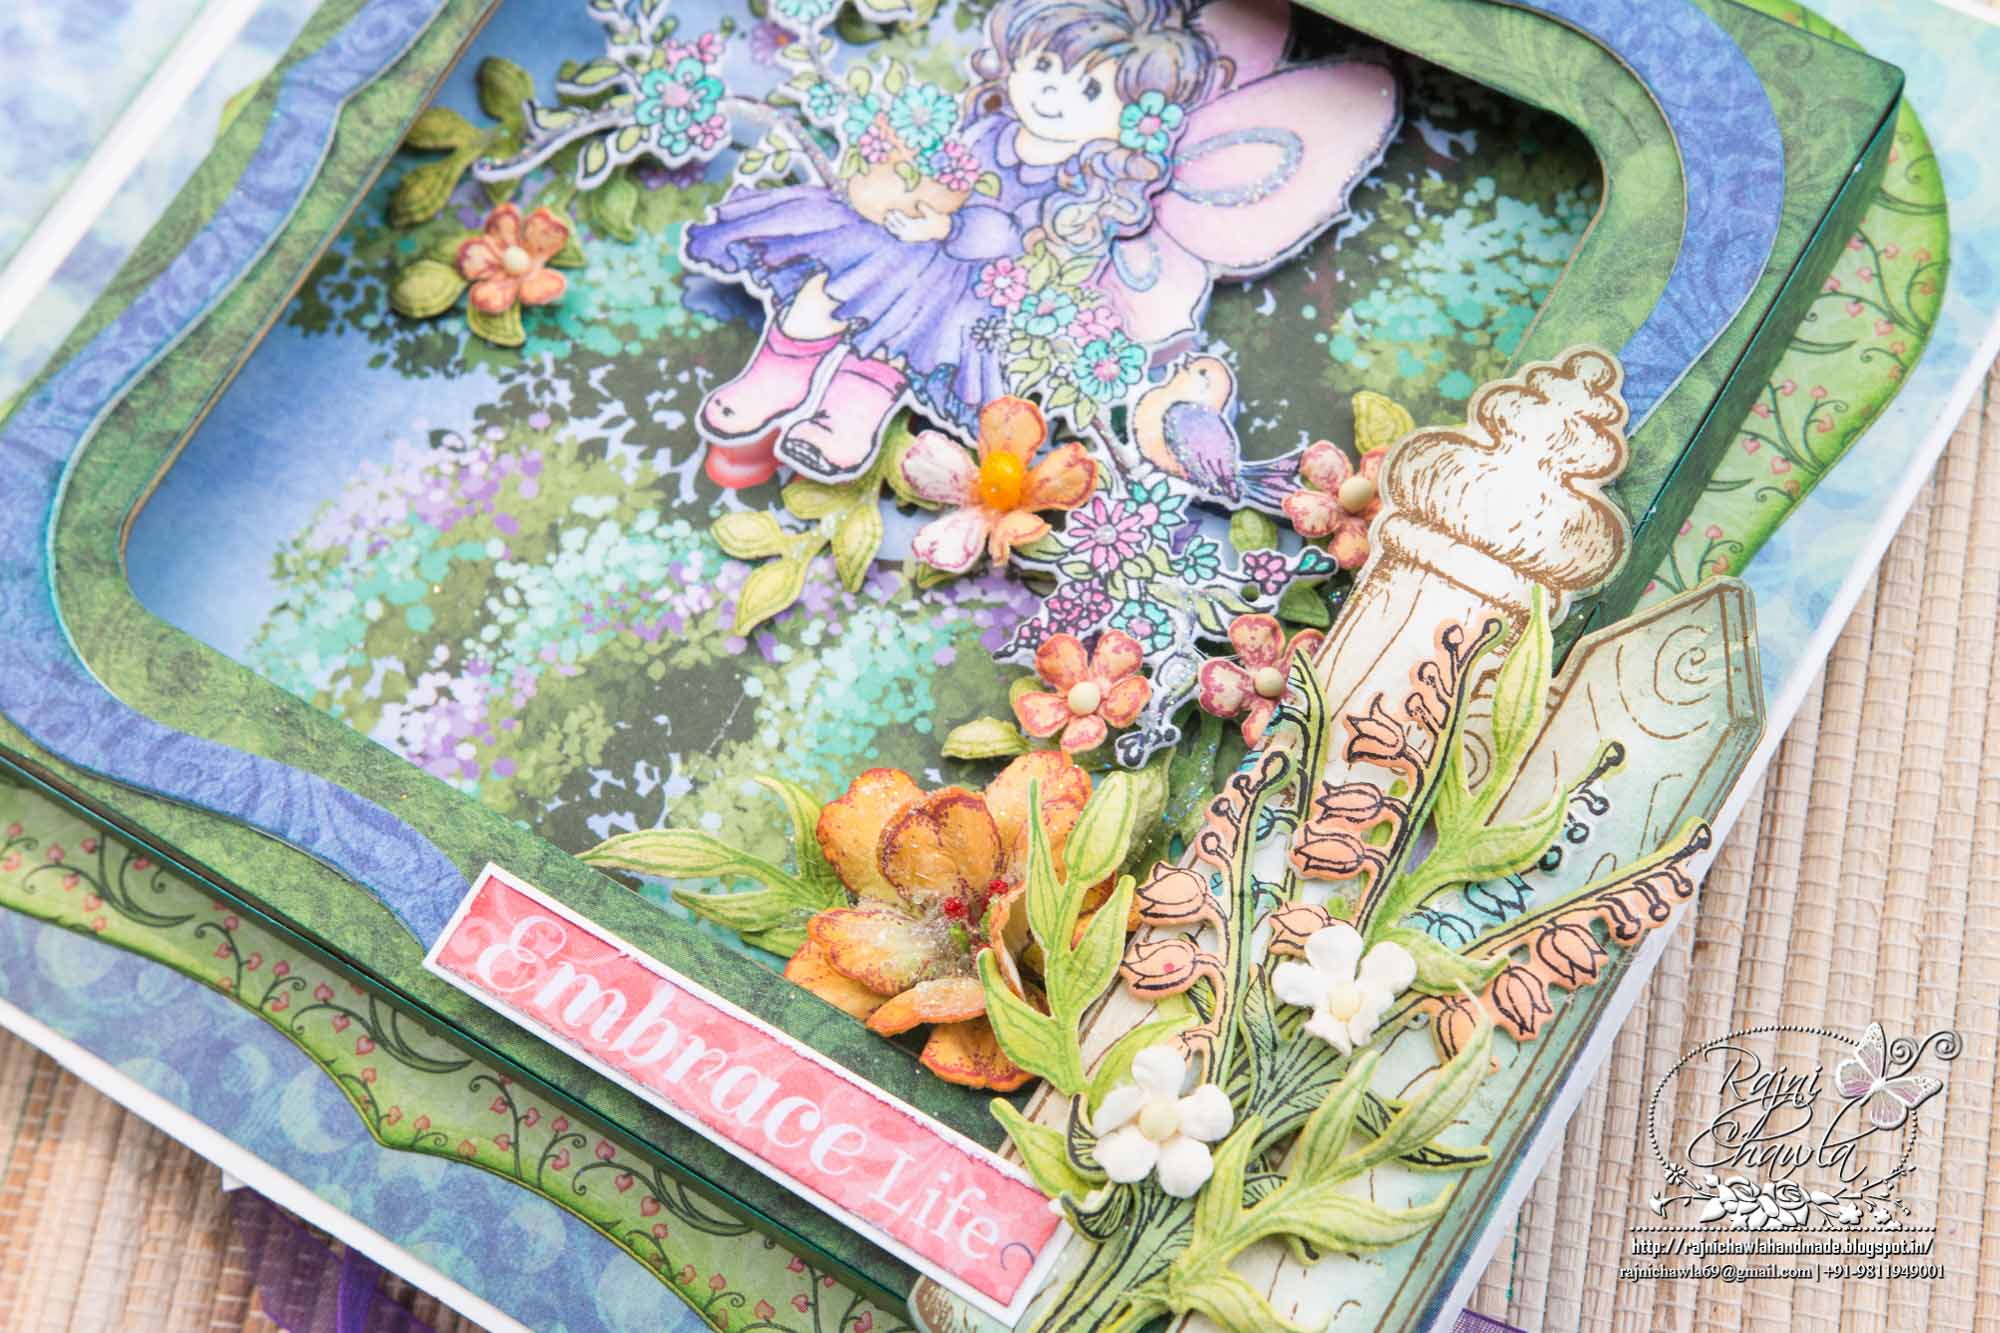
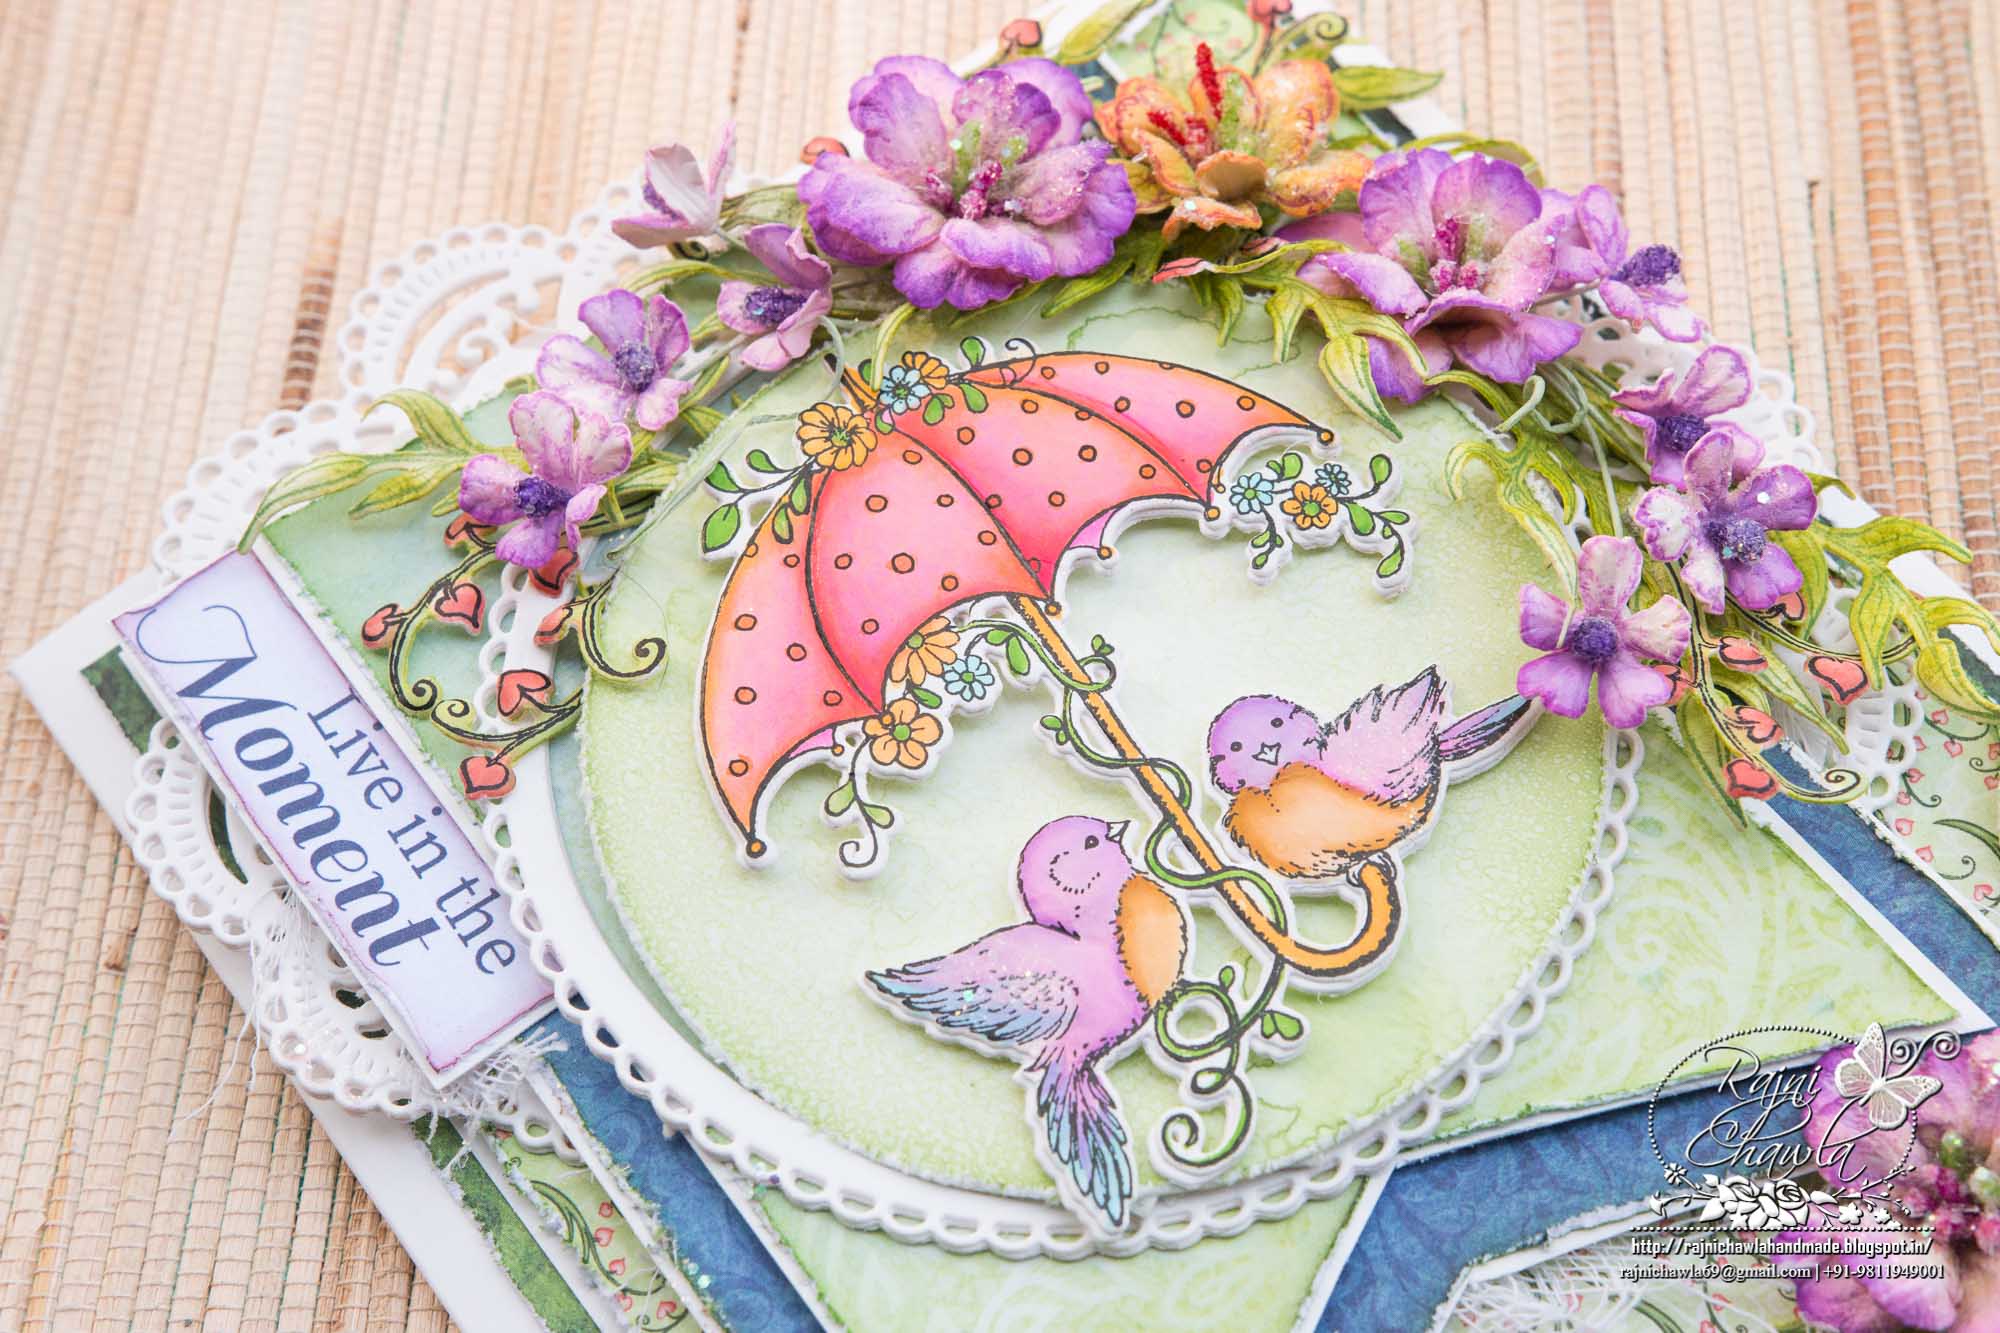
For the inner panels, cut 2 solid pieces from Grand labels one and glue them on either side of both panels. Adhere the shadow boxes using tacky glue. Stamp various foliage images from Rain Boots and Blossoms Cling Stamp Set with Library Green archival ink, cut them using its coordinating die, and color them using Leaf green archival and zig markers. Shape them using Deluxe flower shaping kit. Also, stamp and cut Festive Gate from Celebrate the season Collection and paint it using Vintage Photo Distress Ink. The umbrella image and the fairy image is stamped with black archival and cut using their coordinating dies. Both the images are painted using Faber Castel Pencil Colours.
For flowers, stamp and cut floral images from Wildwood Floral stamp and die set and paint them using Deep Grape Color Box ink. Color the center with Leaf Green. Shape the flowers using Deluxe Flower Shaping Kit and add Rock Candy Stamens. Also, stamp various leafy images from the Singing in the Rain Collection and paint them using Broken China, Peeled Paint, Rusty Hinge and Raspberry Pink. Shape them using flower shaping kit and add prills using an adhesive that dries clear.
Once all the elements for shadow boxes are ready, decorate them by layering the images using foam dots and creating small flower bouquets. Assemble all the elements as shown and complete the center panels.
For the back panel, Fussy cut the image from the pattern paper and create a pocket by gluing 3 sides. Add jute cord to the tags and add them to the pocket. Glue a ribbon underneath the pocket to create a closure for the project.


It is so so beautiful <3
Such a stunning card Hugs Sand xx
Absolutely gorgeous!!
This is absolutely beautiful Rajni!
Wow this is just gorgeous with all the details in it!
This is beautiful Rajni!! I love the book that opens and shadow boxes inside!! Beautiful!!!