Good Morning Friends….
Welcome back again to inspiration Wednesday with Heartfelt Creations. Today, I have a picture tutorial of a Lush Lilac Bouquet, to share. I created my very first Lilac bouquet for the company, for the packaging. I am thankful to all who especially took out time and dropped love on social media, appreciating this bouquet and asked me to share the tutorial. Firstly, I would love to tell you, I have not taken any professional training for flower making from anyone. I have grown with all my hit and trial methods. . I simply google down the flower images and try to study how the flower shaping has to be done. I have tried my best to share my knowledge through this picture tutorial. If you still have any queries regarding the same, please feel free to drop them in the comment section. I would love to reply asap.
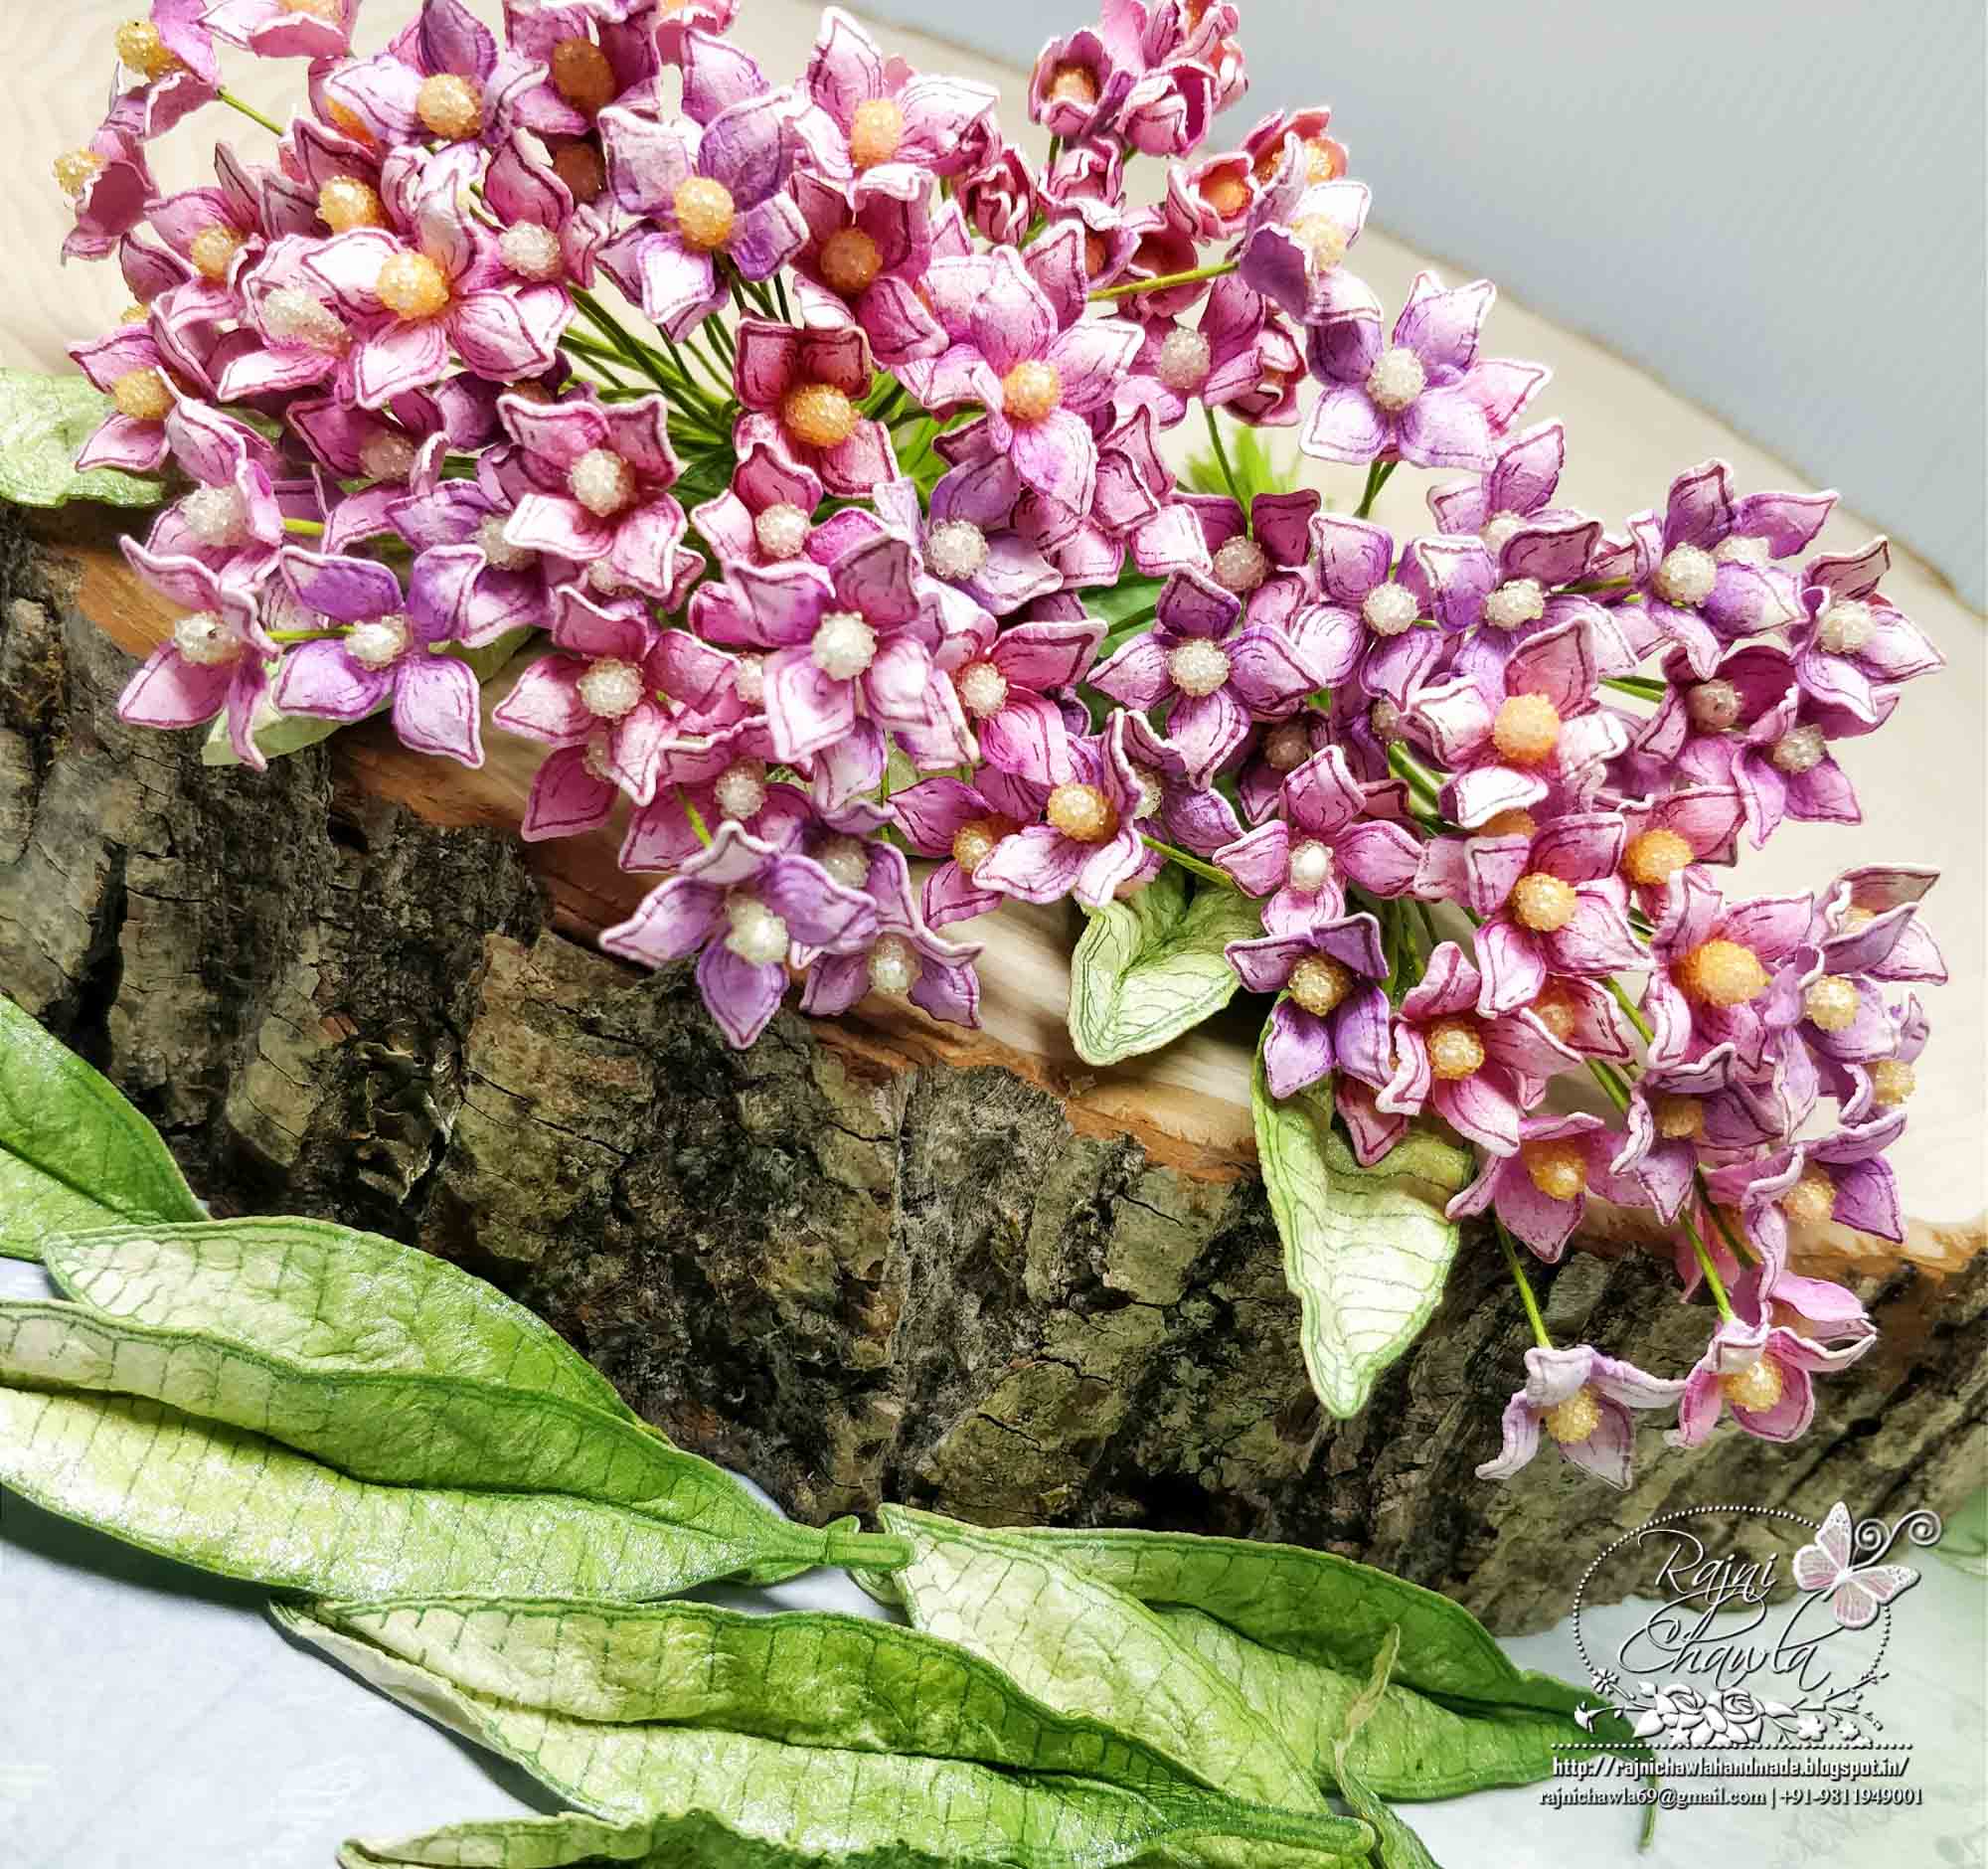
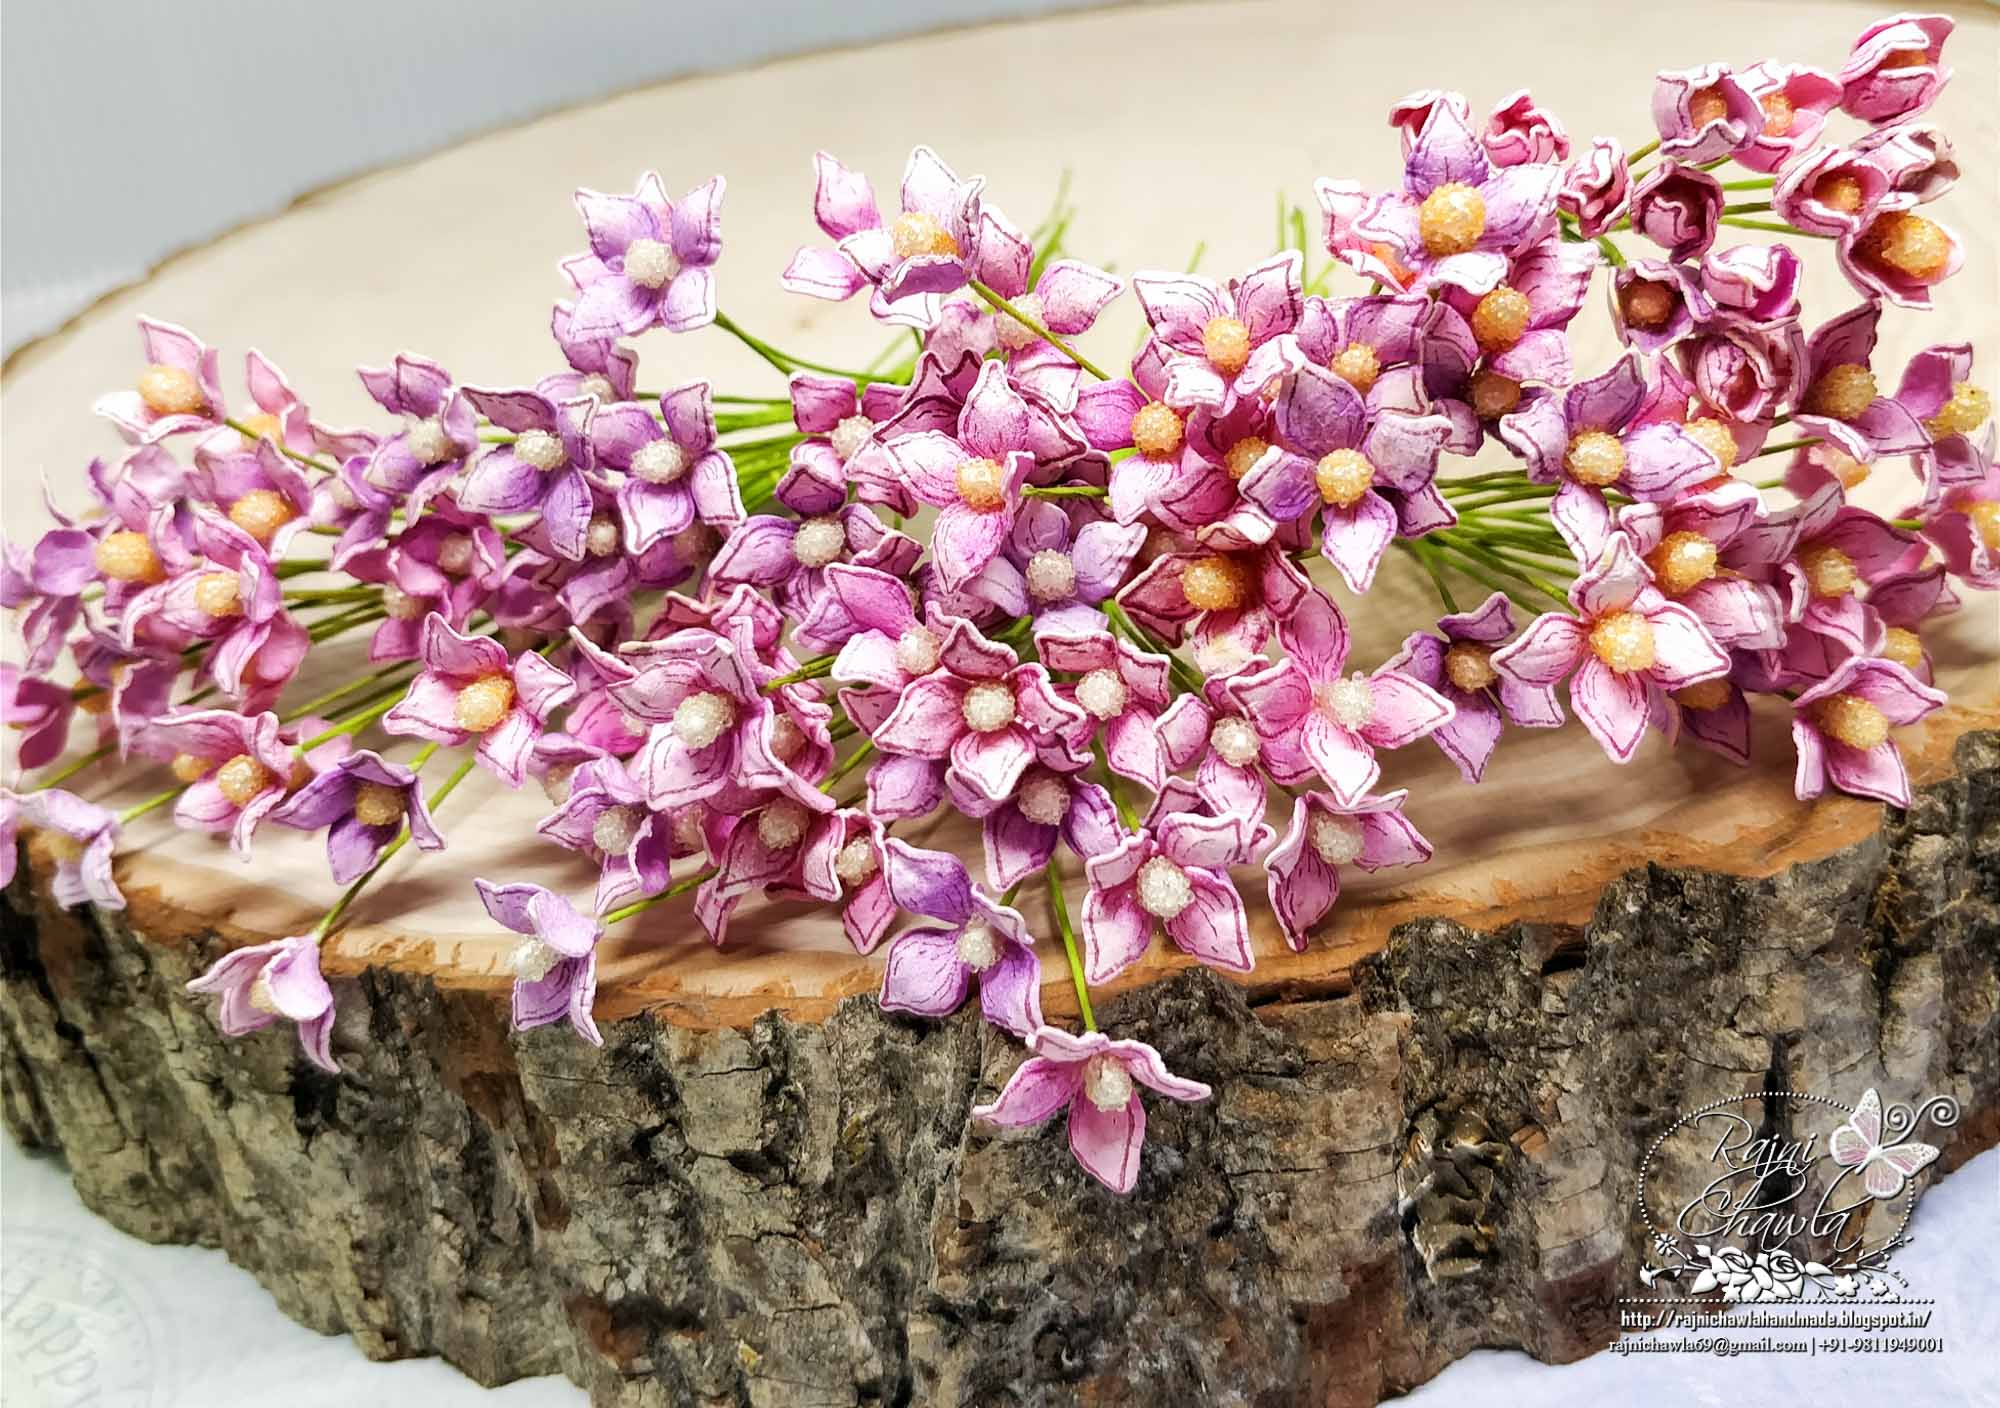
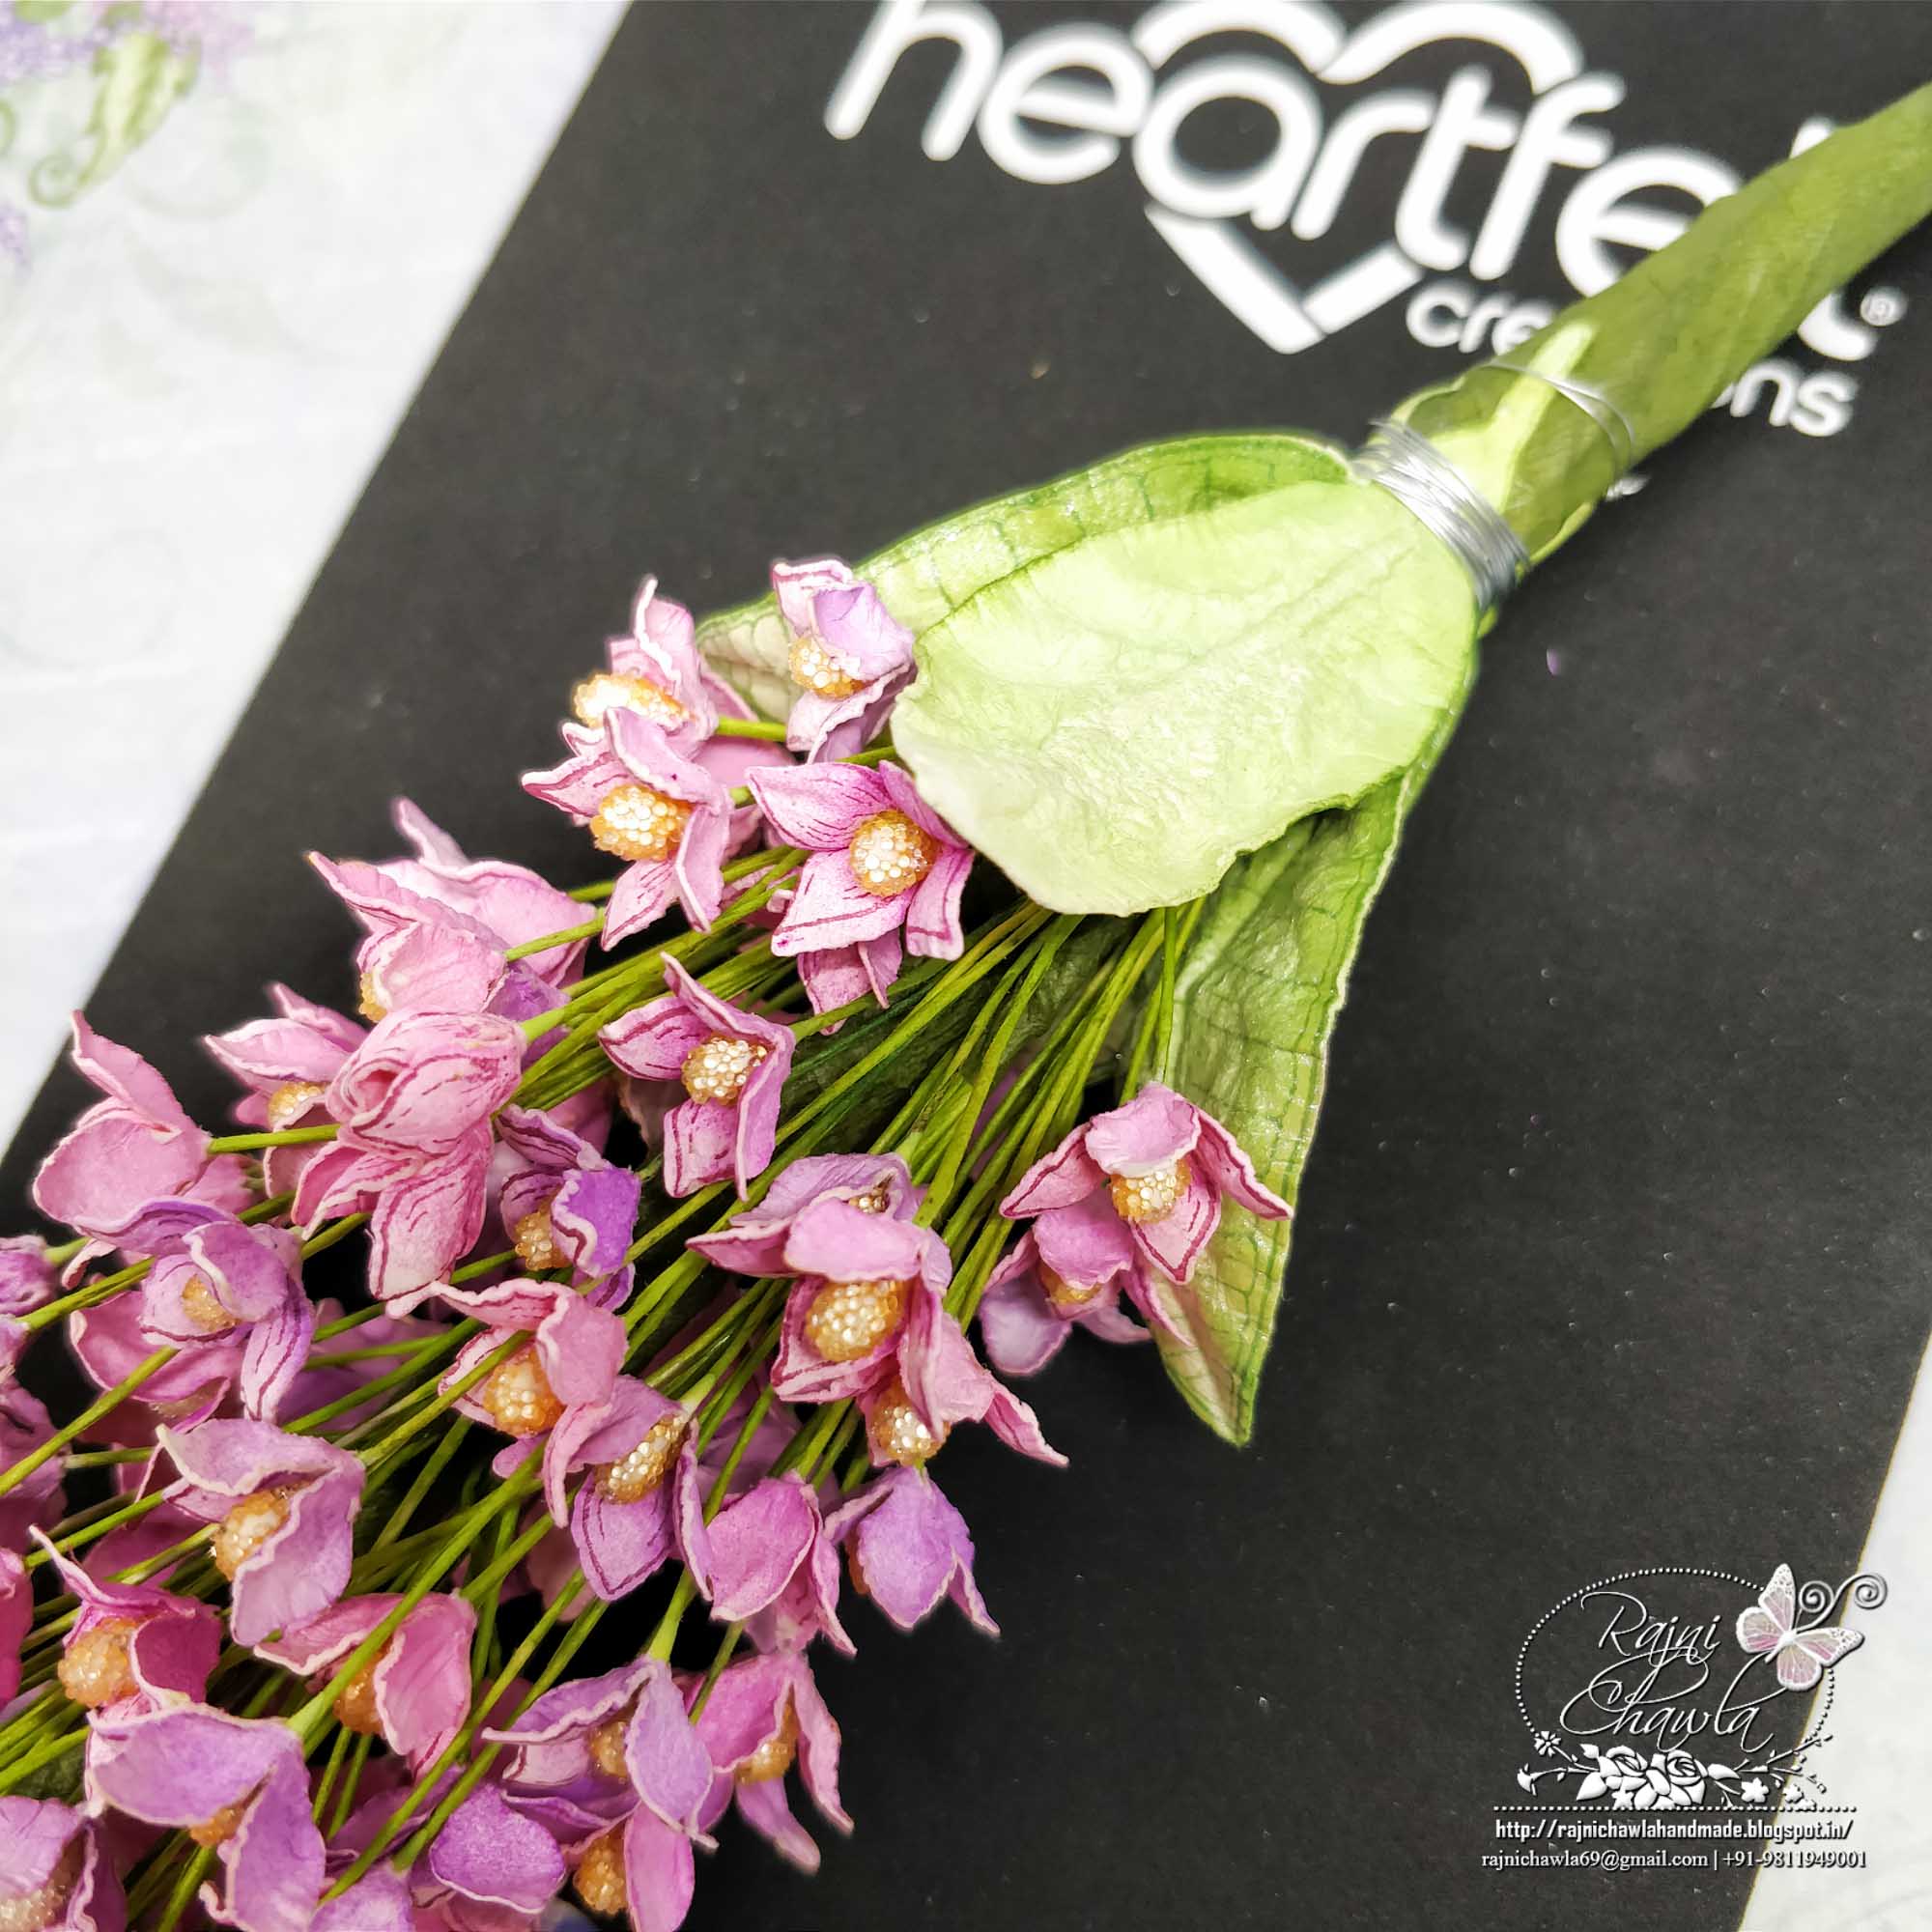
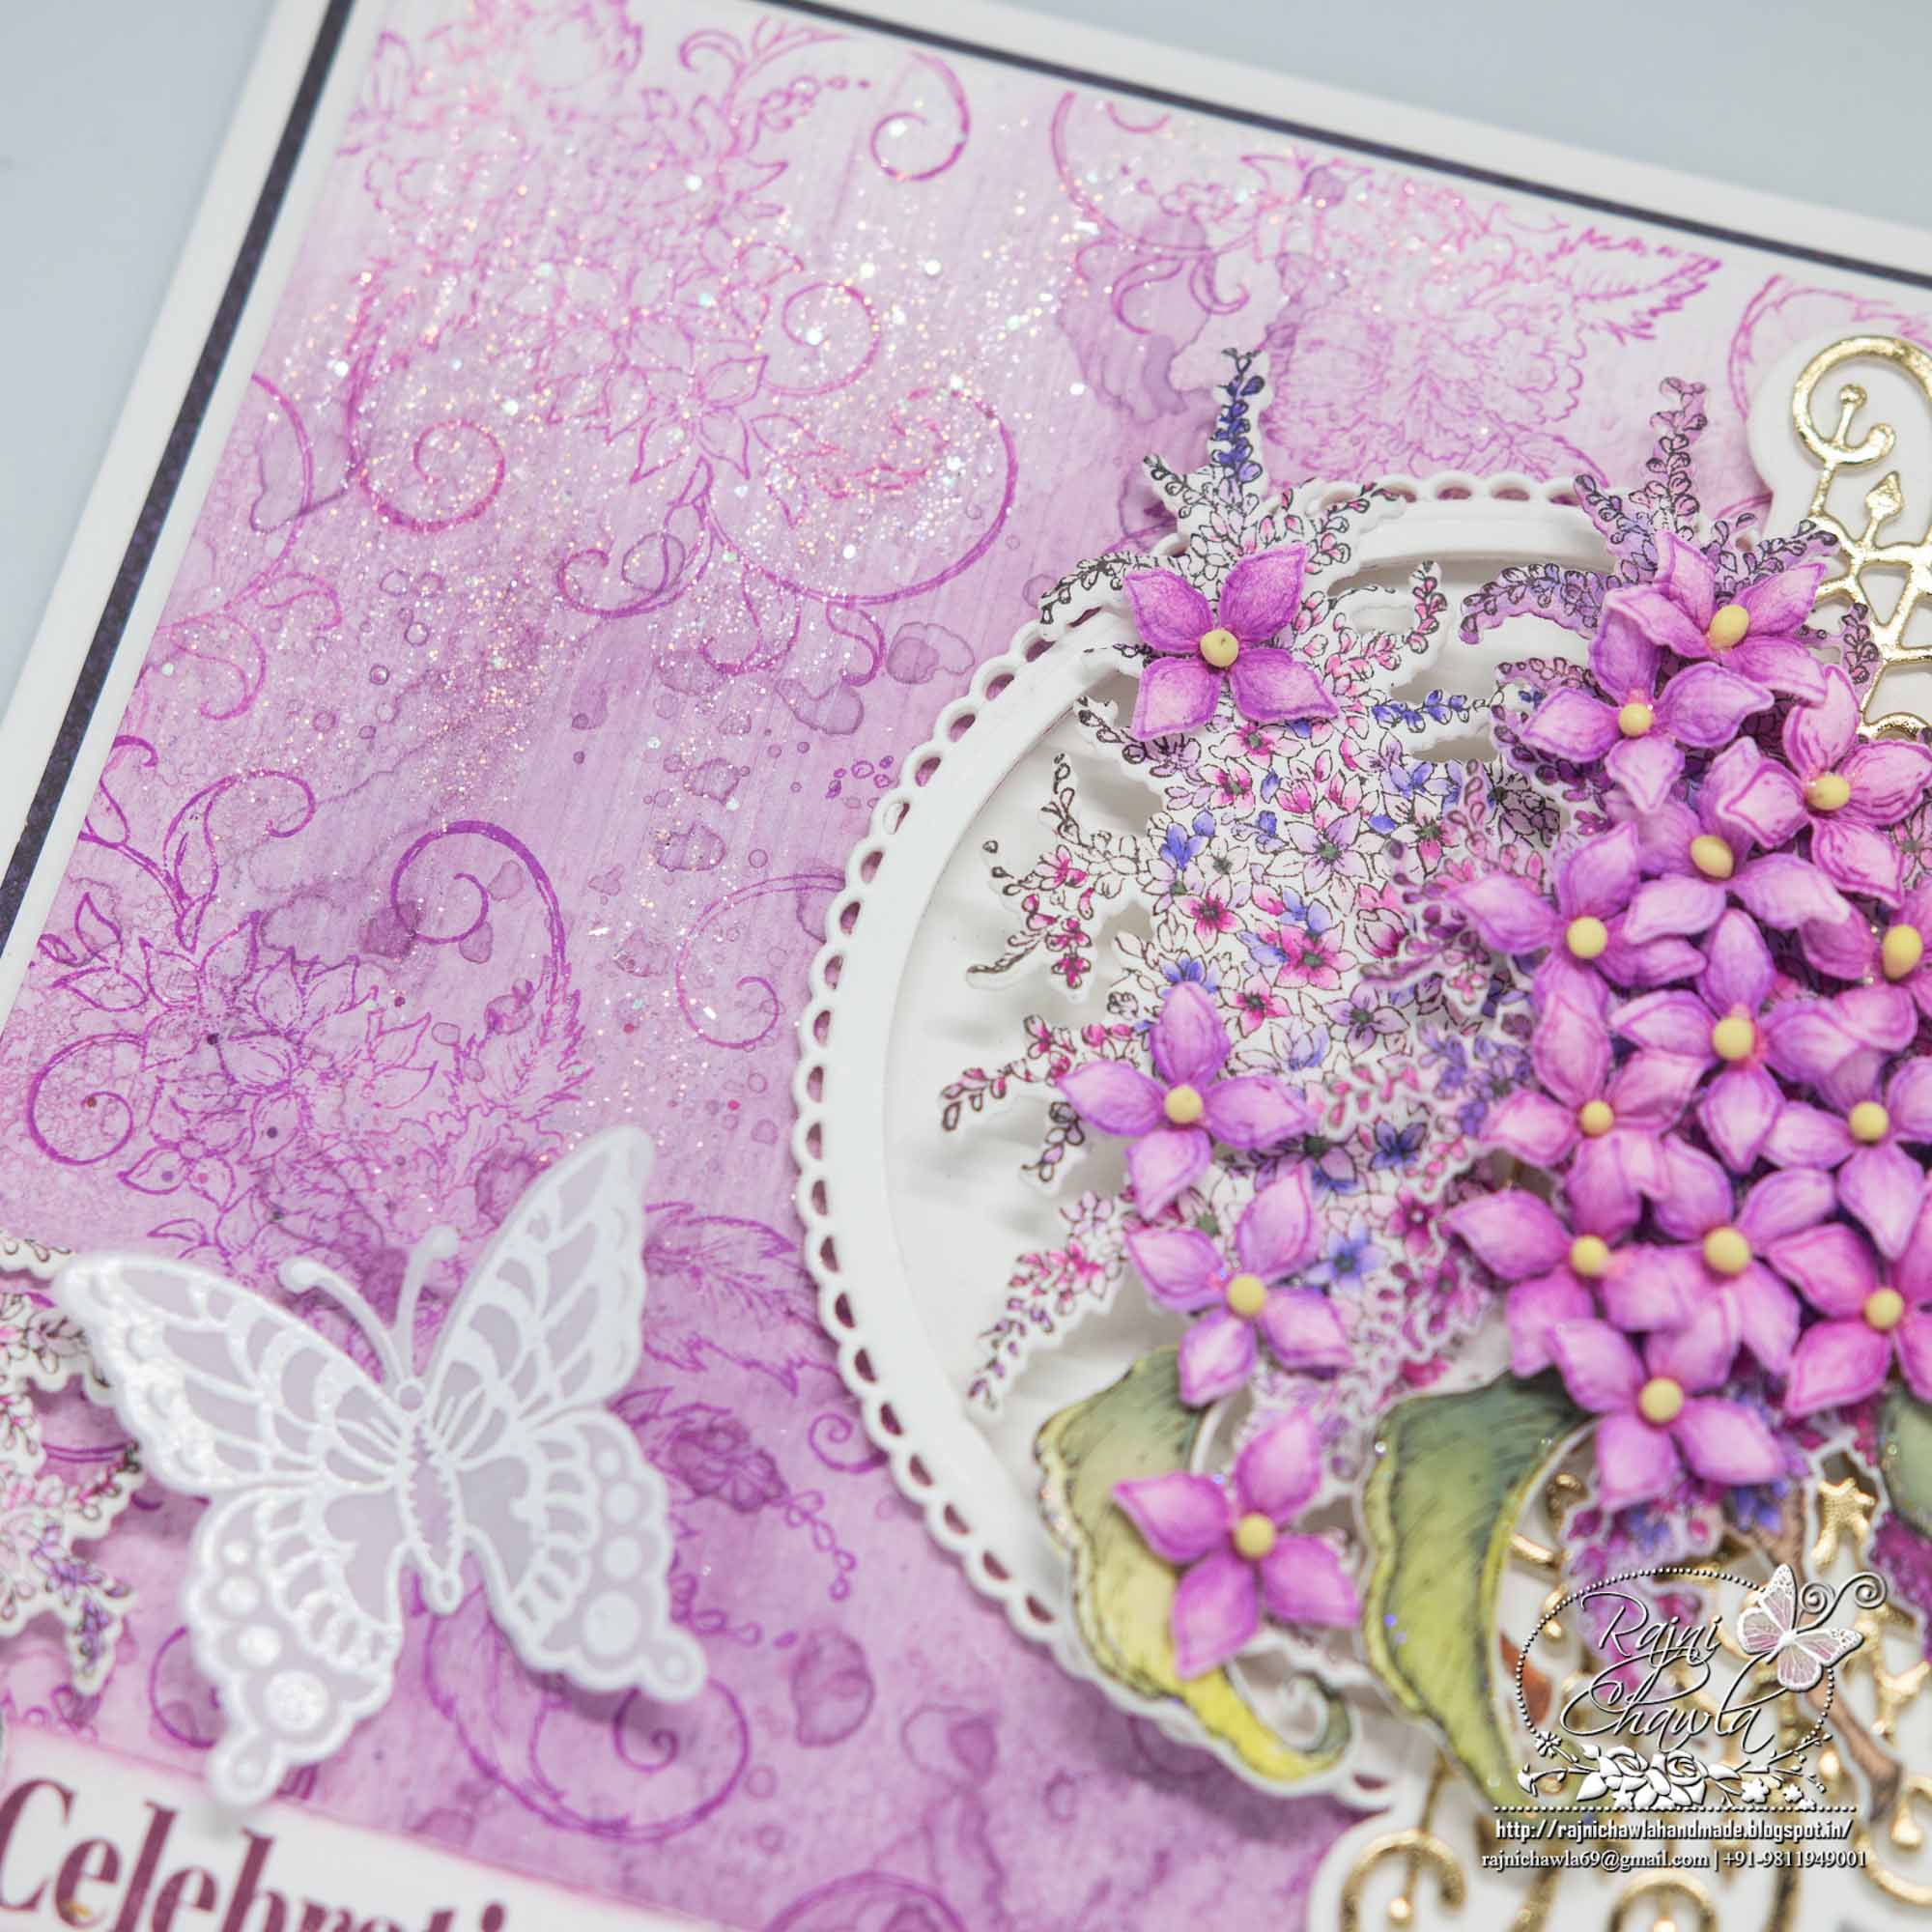
Here is the picture of Lilac Bouquet.
 Products from Heartfelt Creations:
HCD1-7170 Lush Lilac Die
HCPC-3816 Lush Lilac Cling Stamp Set
HCD1-7136 Tropical Cockatoo Die
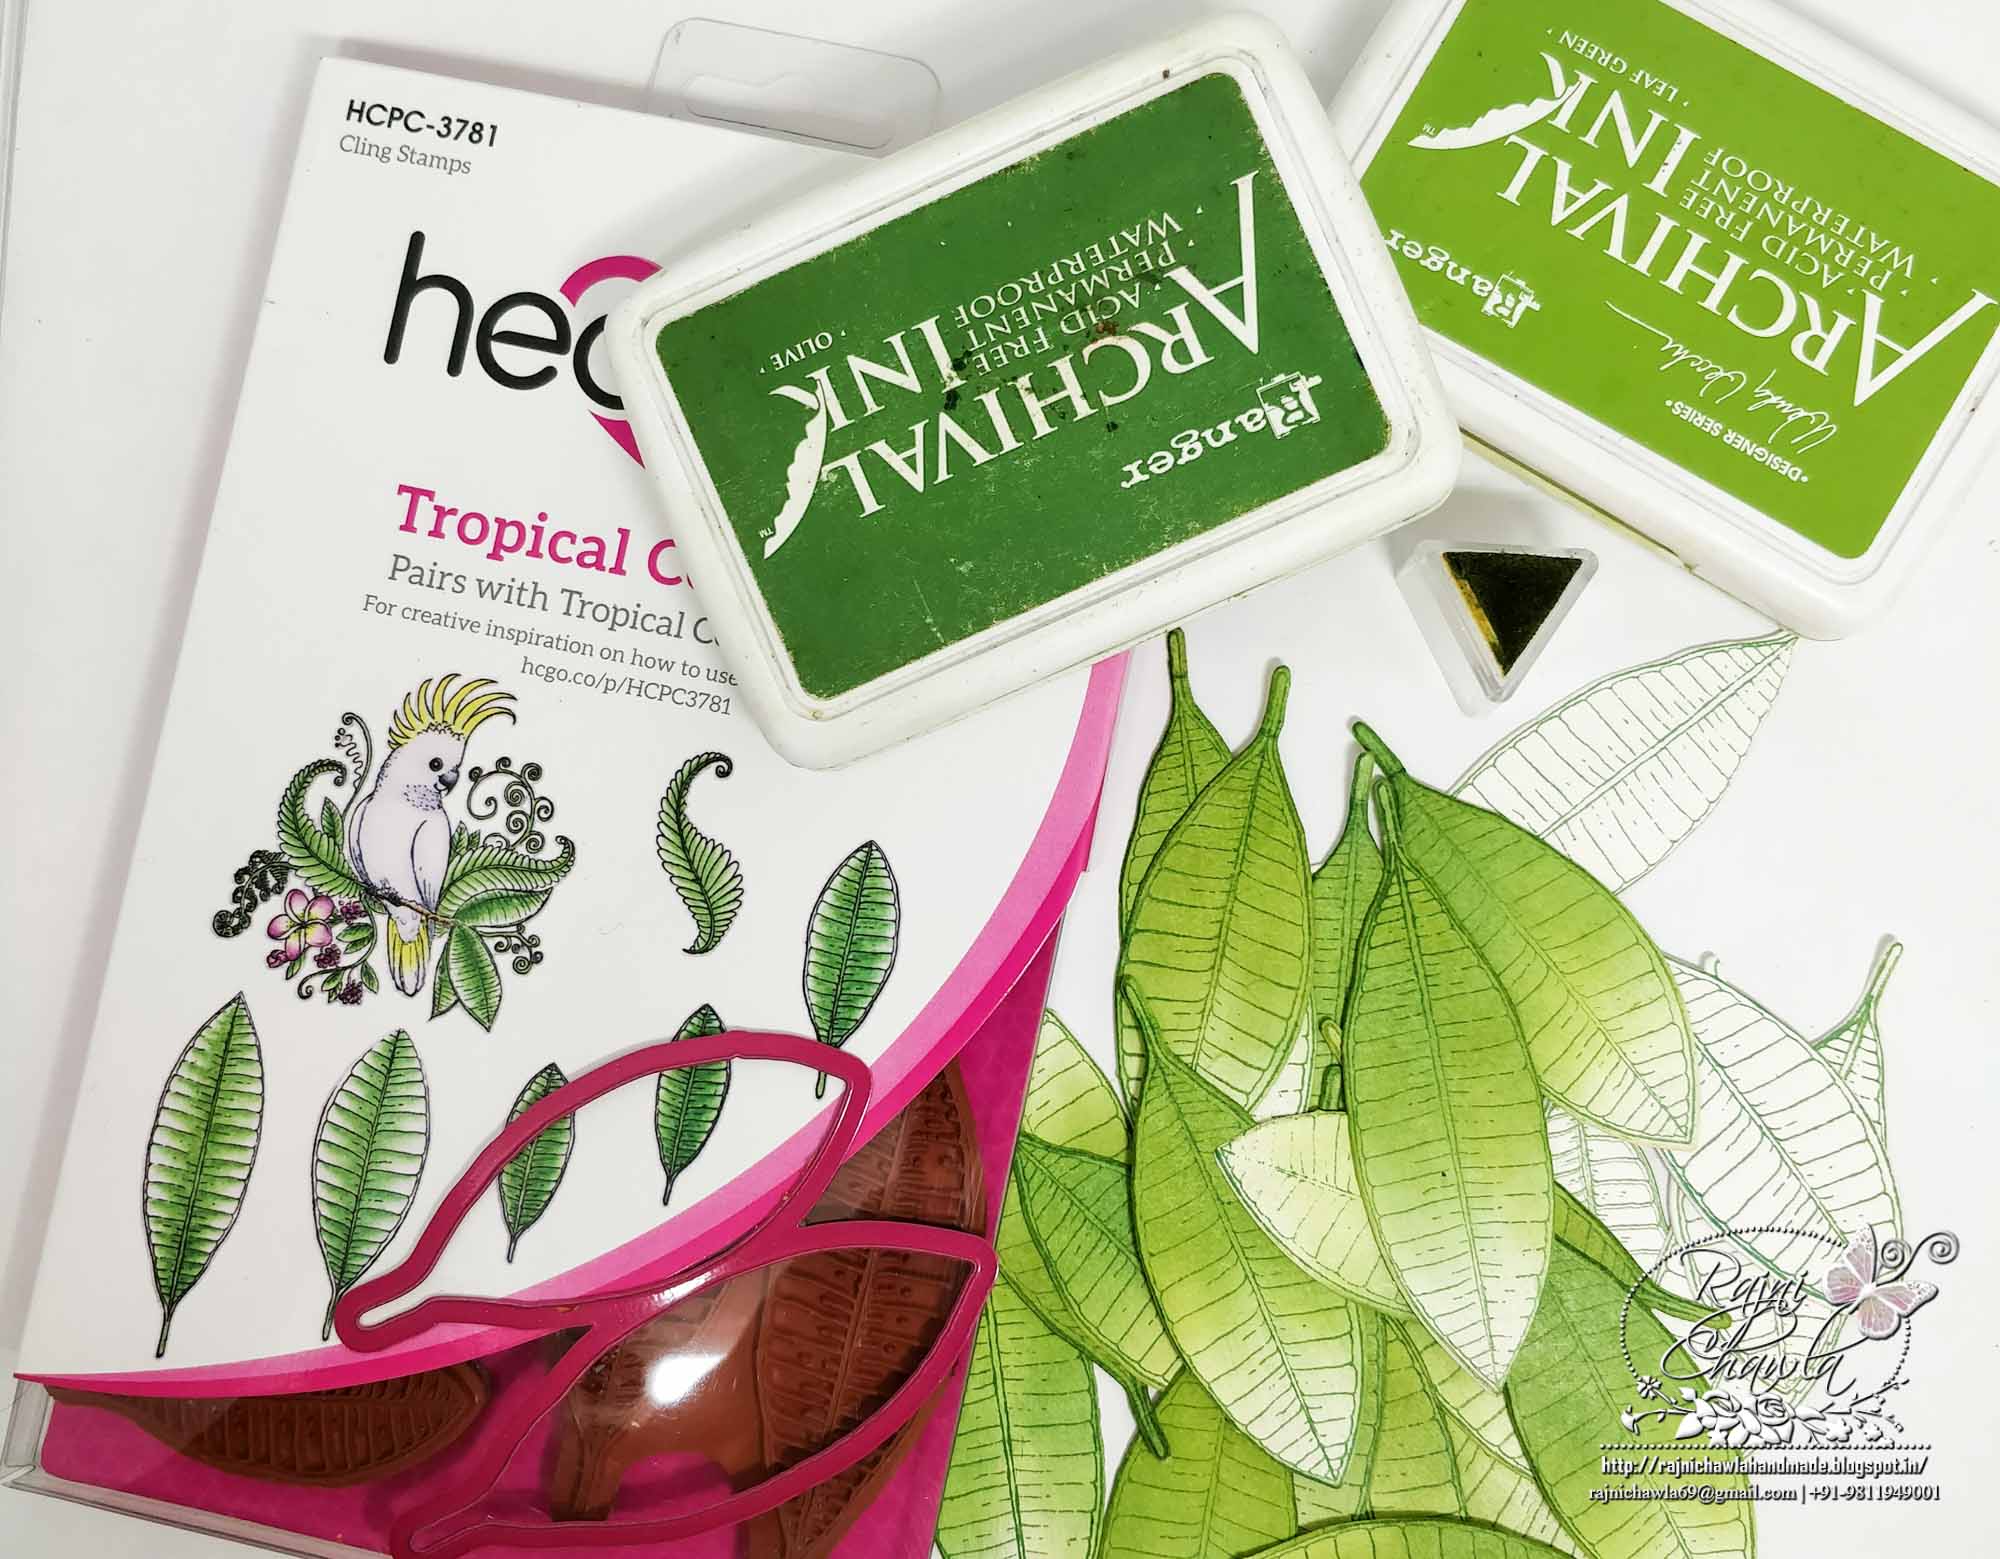
HCPC-3781 Tropical Cockatoo Cling Stamp Set
HCS1-459-3 Assorted Bead-Medium
RACP985 Ranger Archival Ink Pad – Cactus Flower
RACP436 Ranger Archival Ink Pad – Leaf Green
RACP524 Ranger Archival Ink Pad – Vibrant Fuchsia
RACP494 Ranger Archival Ink Pad – Majestic Violet
RACP482 Ranger Archival Ink Pad – Olive
RACP475 Ranger Archival Ink Pad – Library Green
RACP499 Ranger Archival Ink Pad – Plum
HCDA2-450 Stack and Store Daubers-Pack of 30
159723 Designer Dries Clear Adhesive
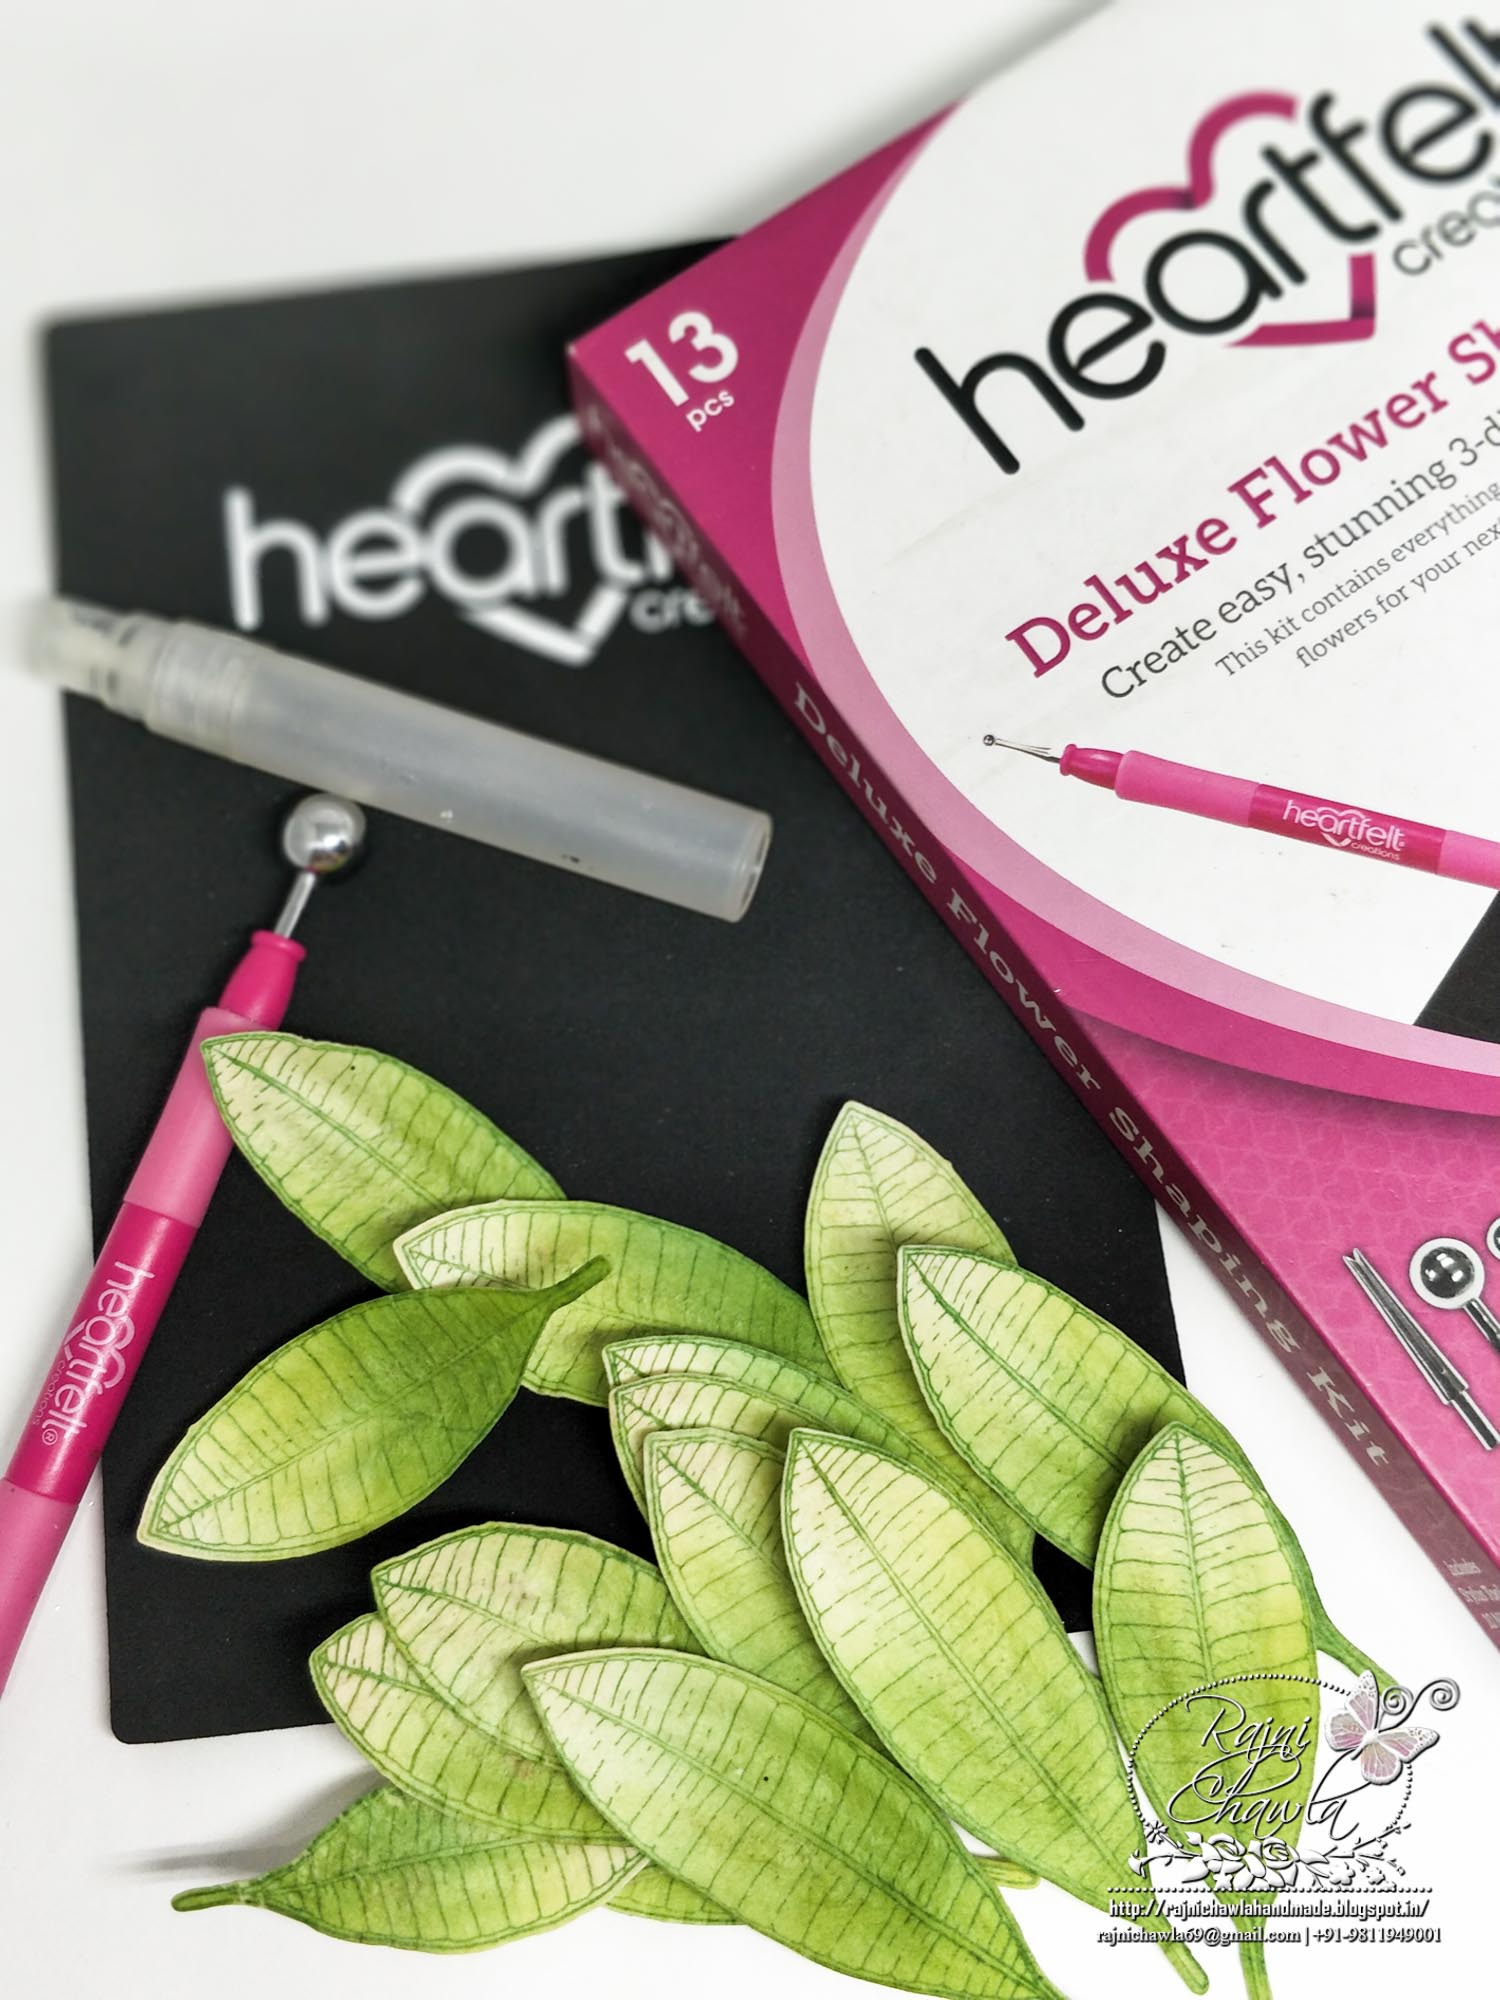
HCST1-401 Deluxe Flower Shaping Kit
HCFB1-466 3D Lush Lilac Shaping Mold
Other Materials Used: Green floral wire, Stem Wire, Thread Wire, Spray Bottle, Green floral tape, Heat Tool.
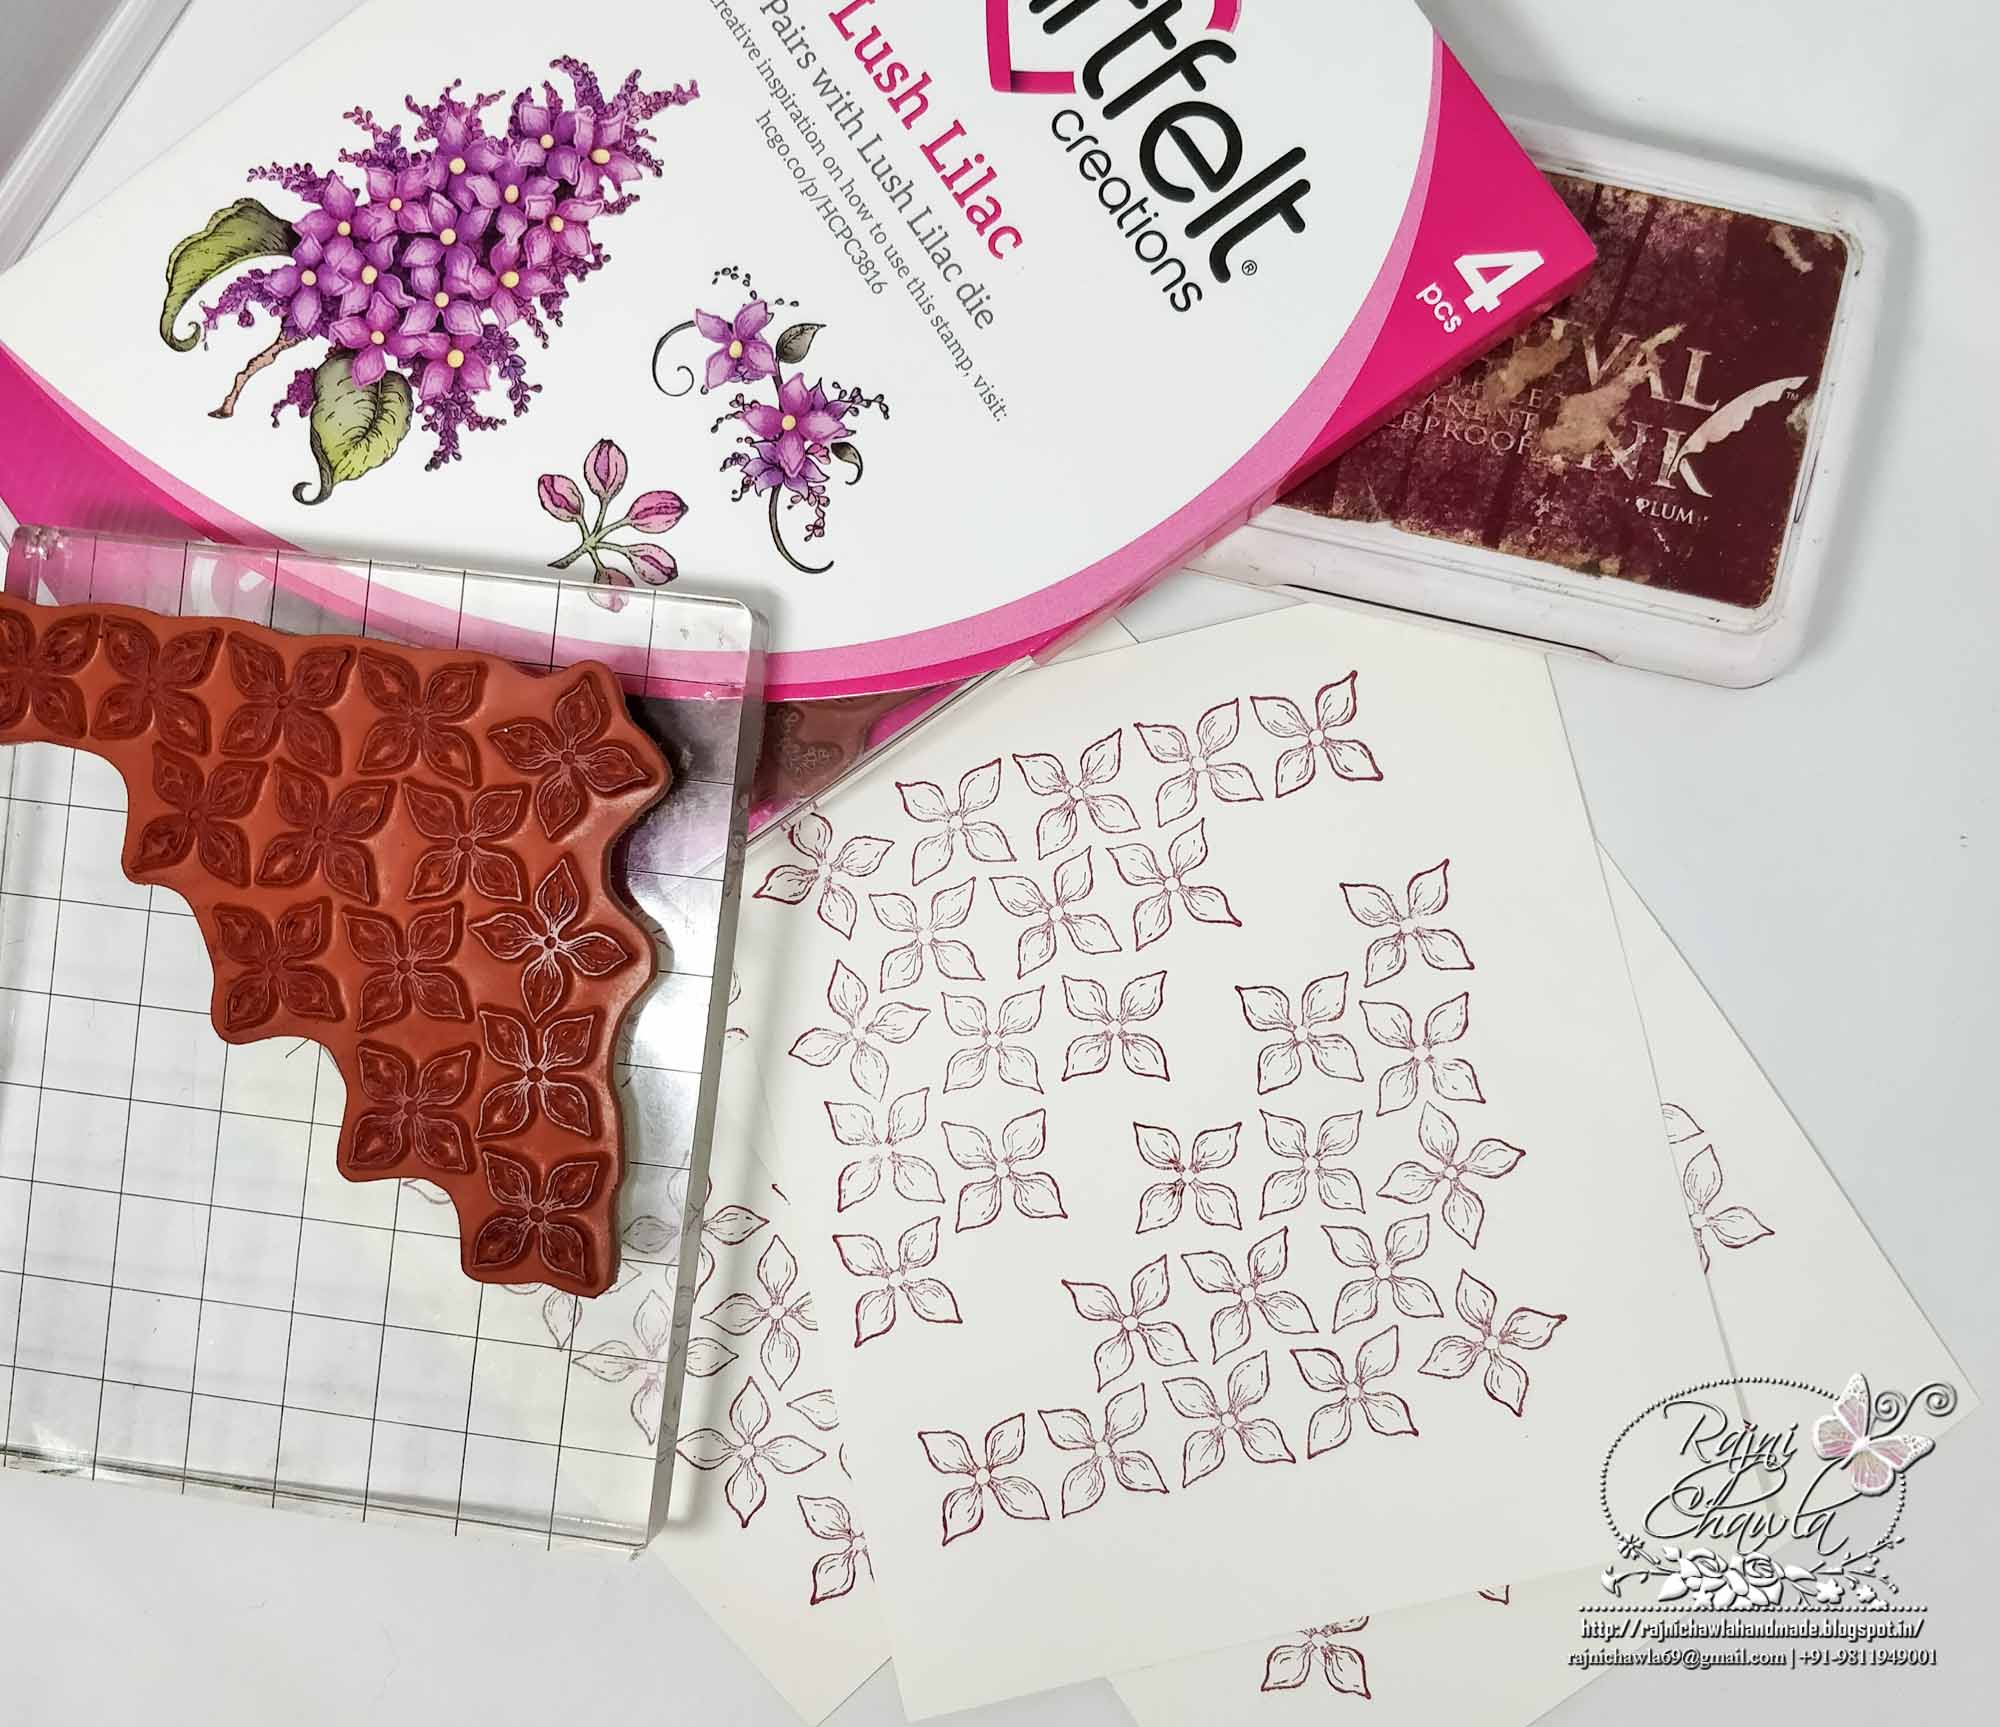
Instructions: FOR FLOWERS: Stamp lilac flowers from Lush Lilac Stamp set multiple times, using Archival Ink Plum.
PS: Sorry for the dirty ink pad. I have been using these past 3-4 years. This particular color needs replacement now.
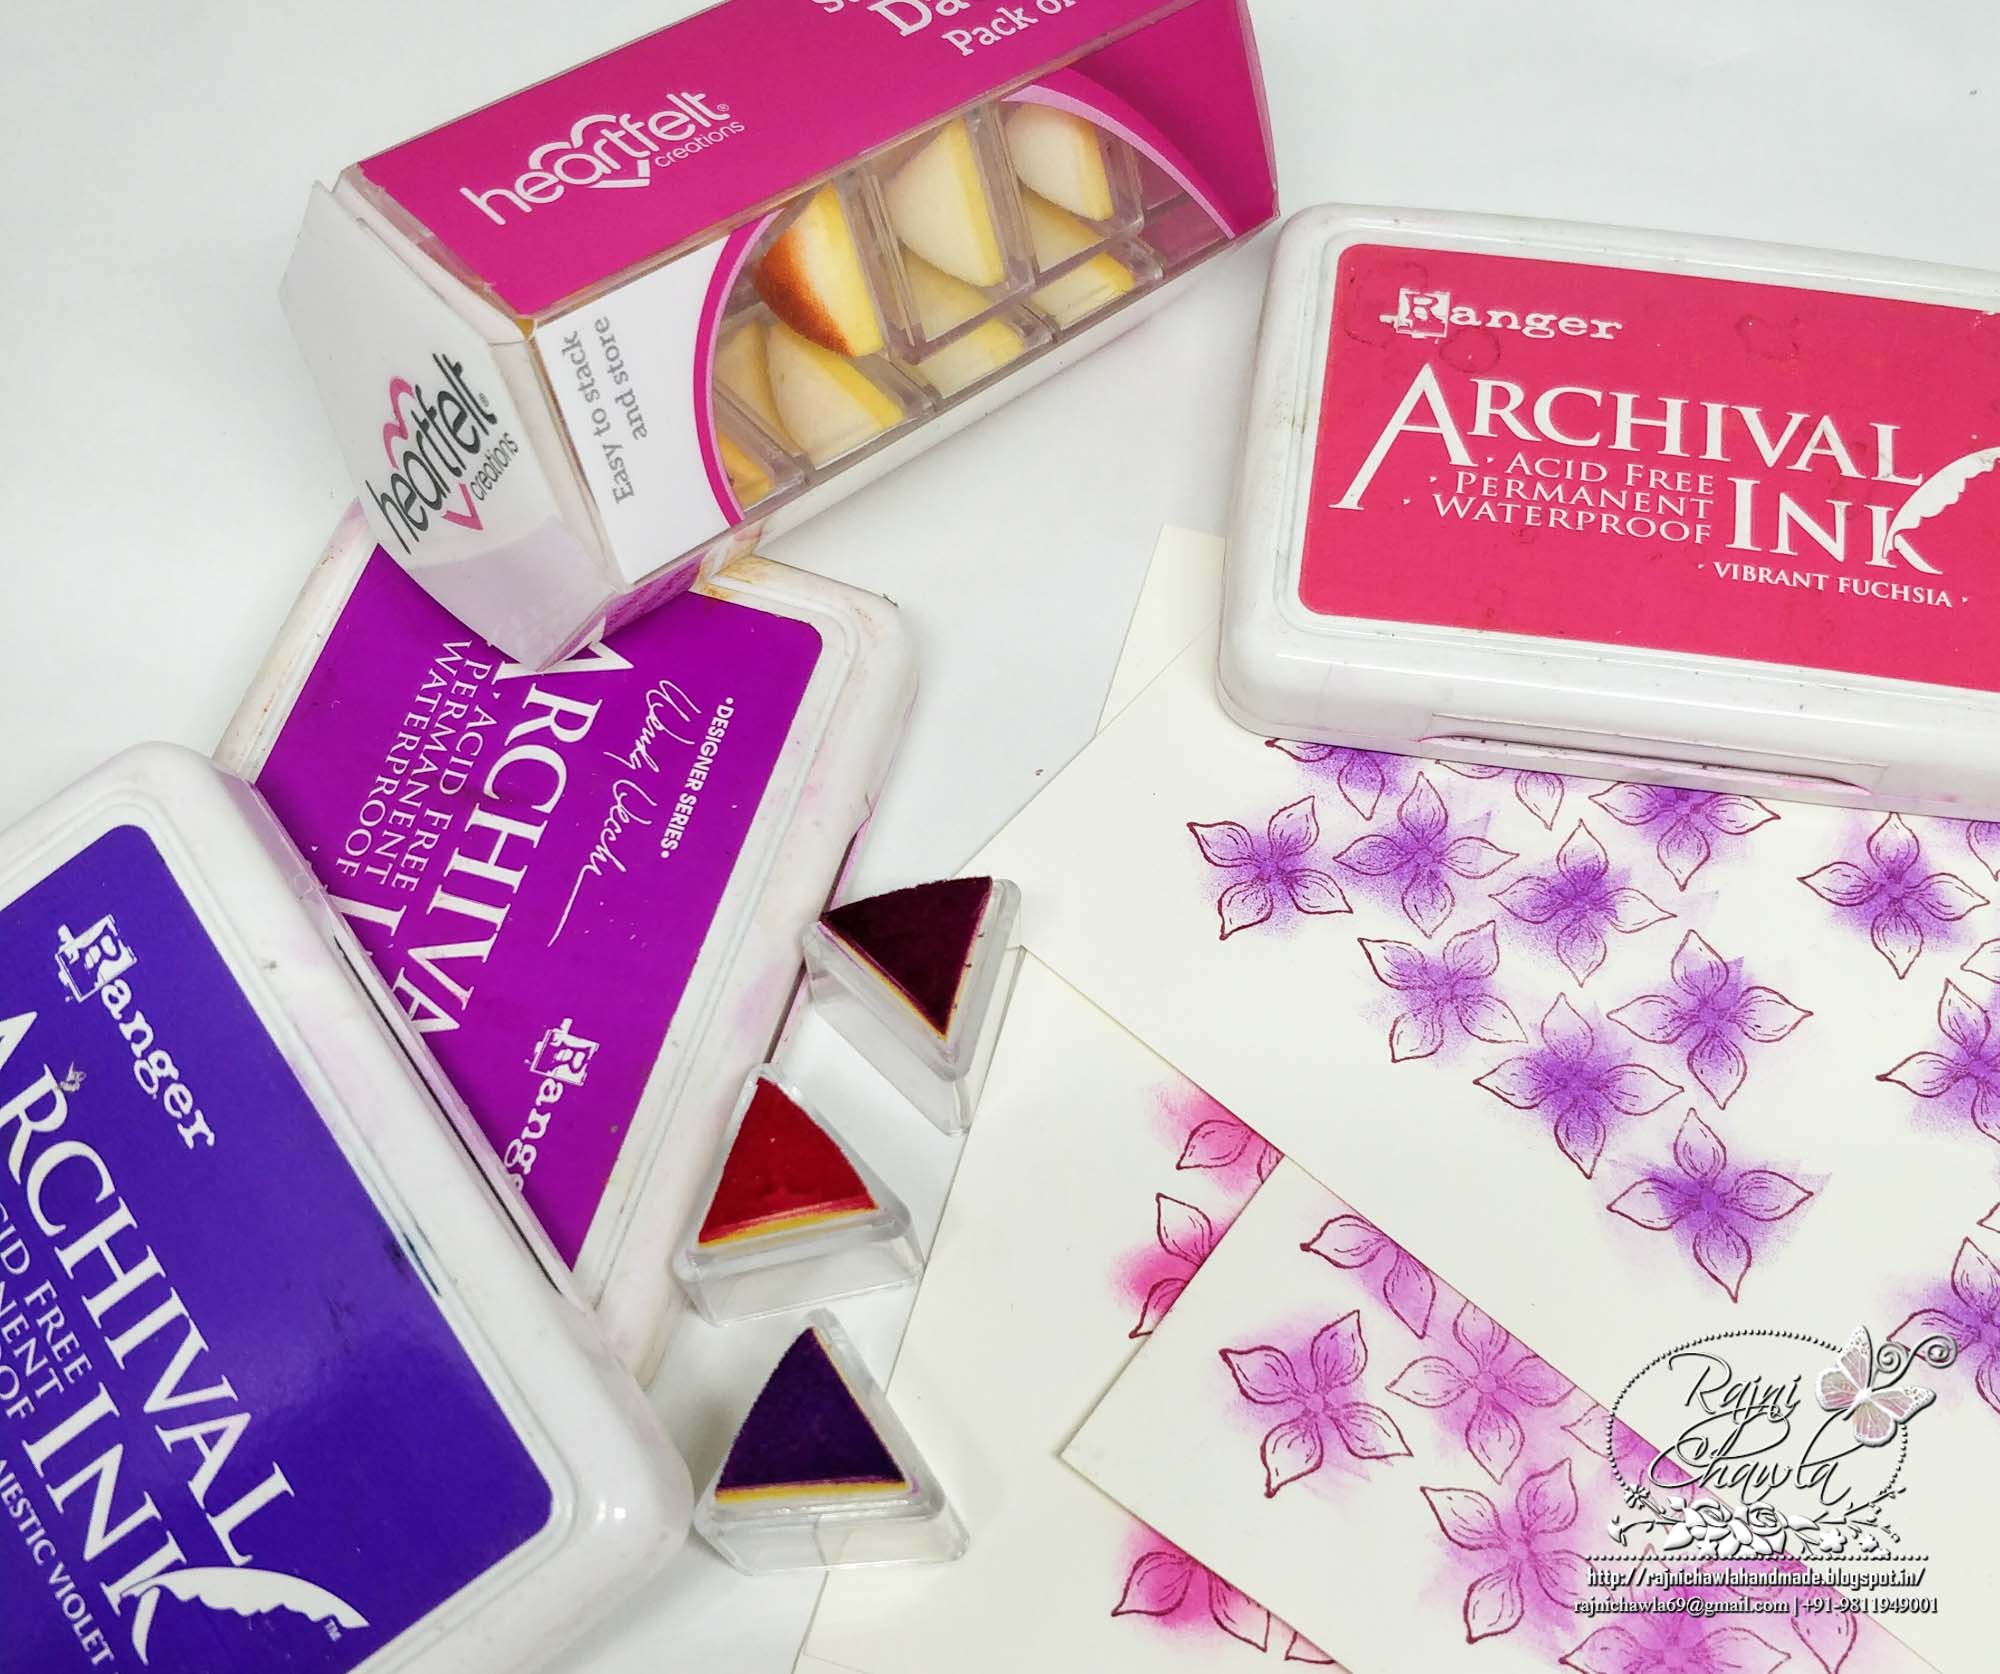
Color the flowers using Vibrant Fuchsia, Cactus Flower, and Majestic Violet. This will create a shaded Lilac bouquet. If you want a single color bouquet, avoid using multiple colors.
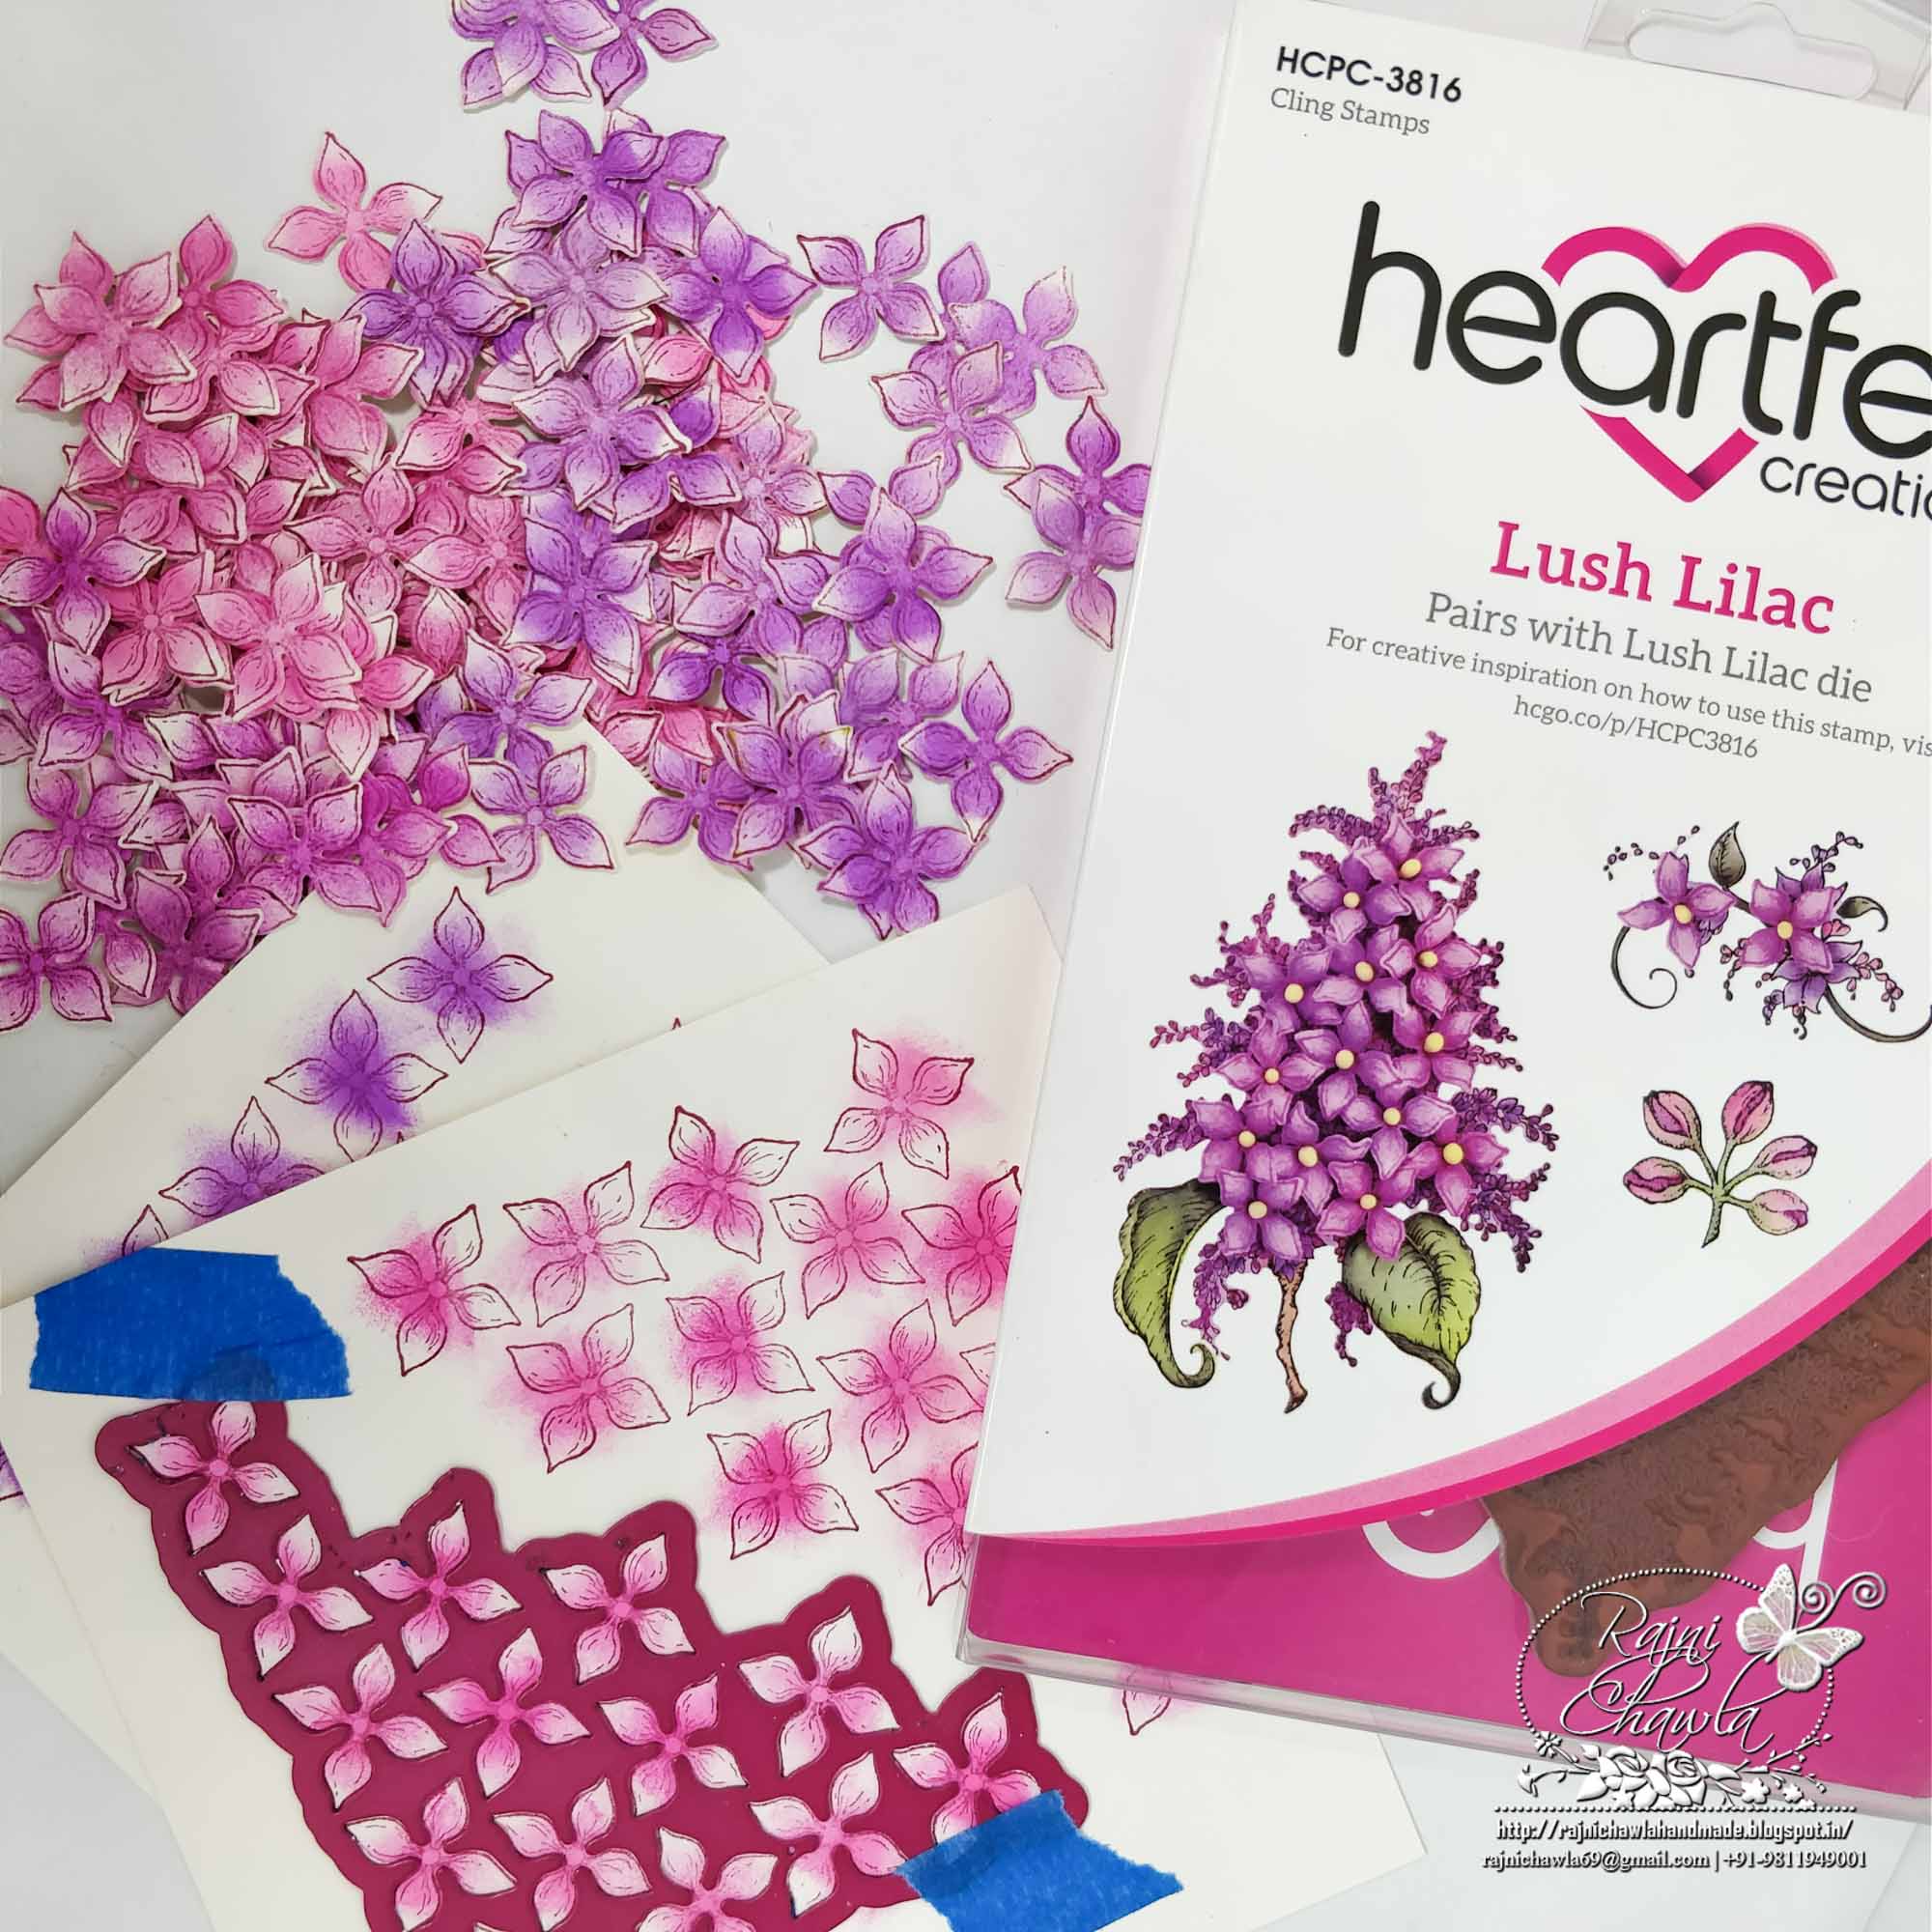
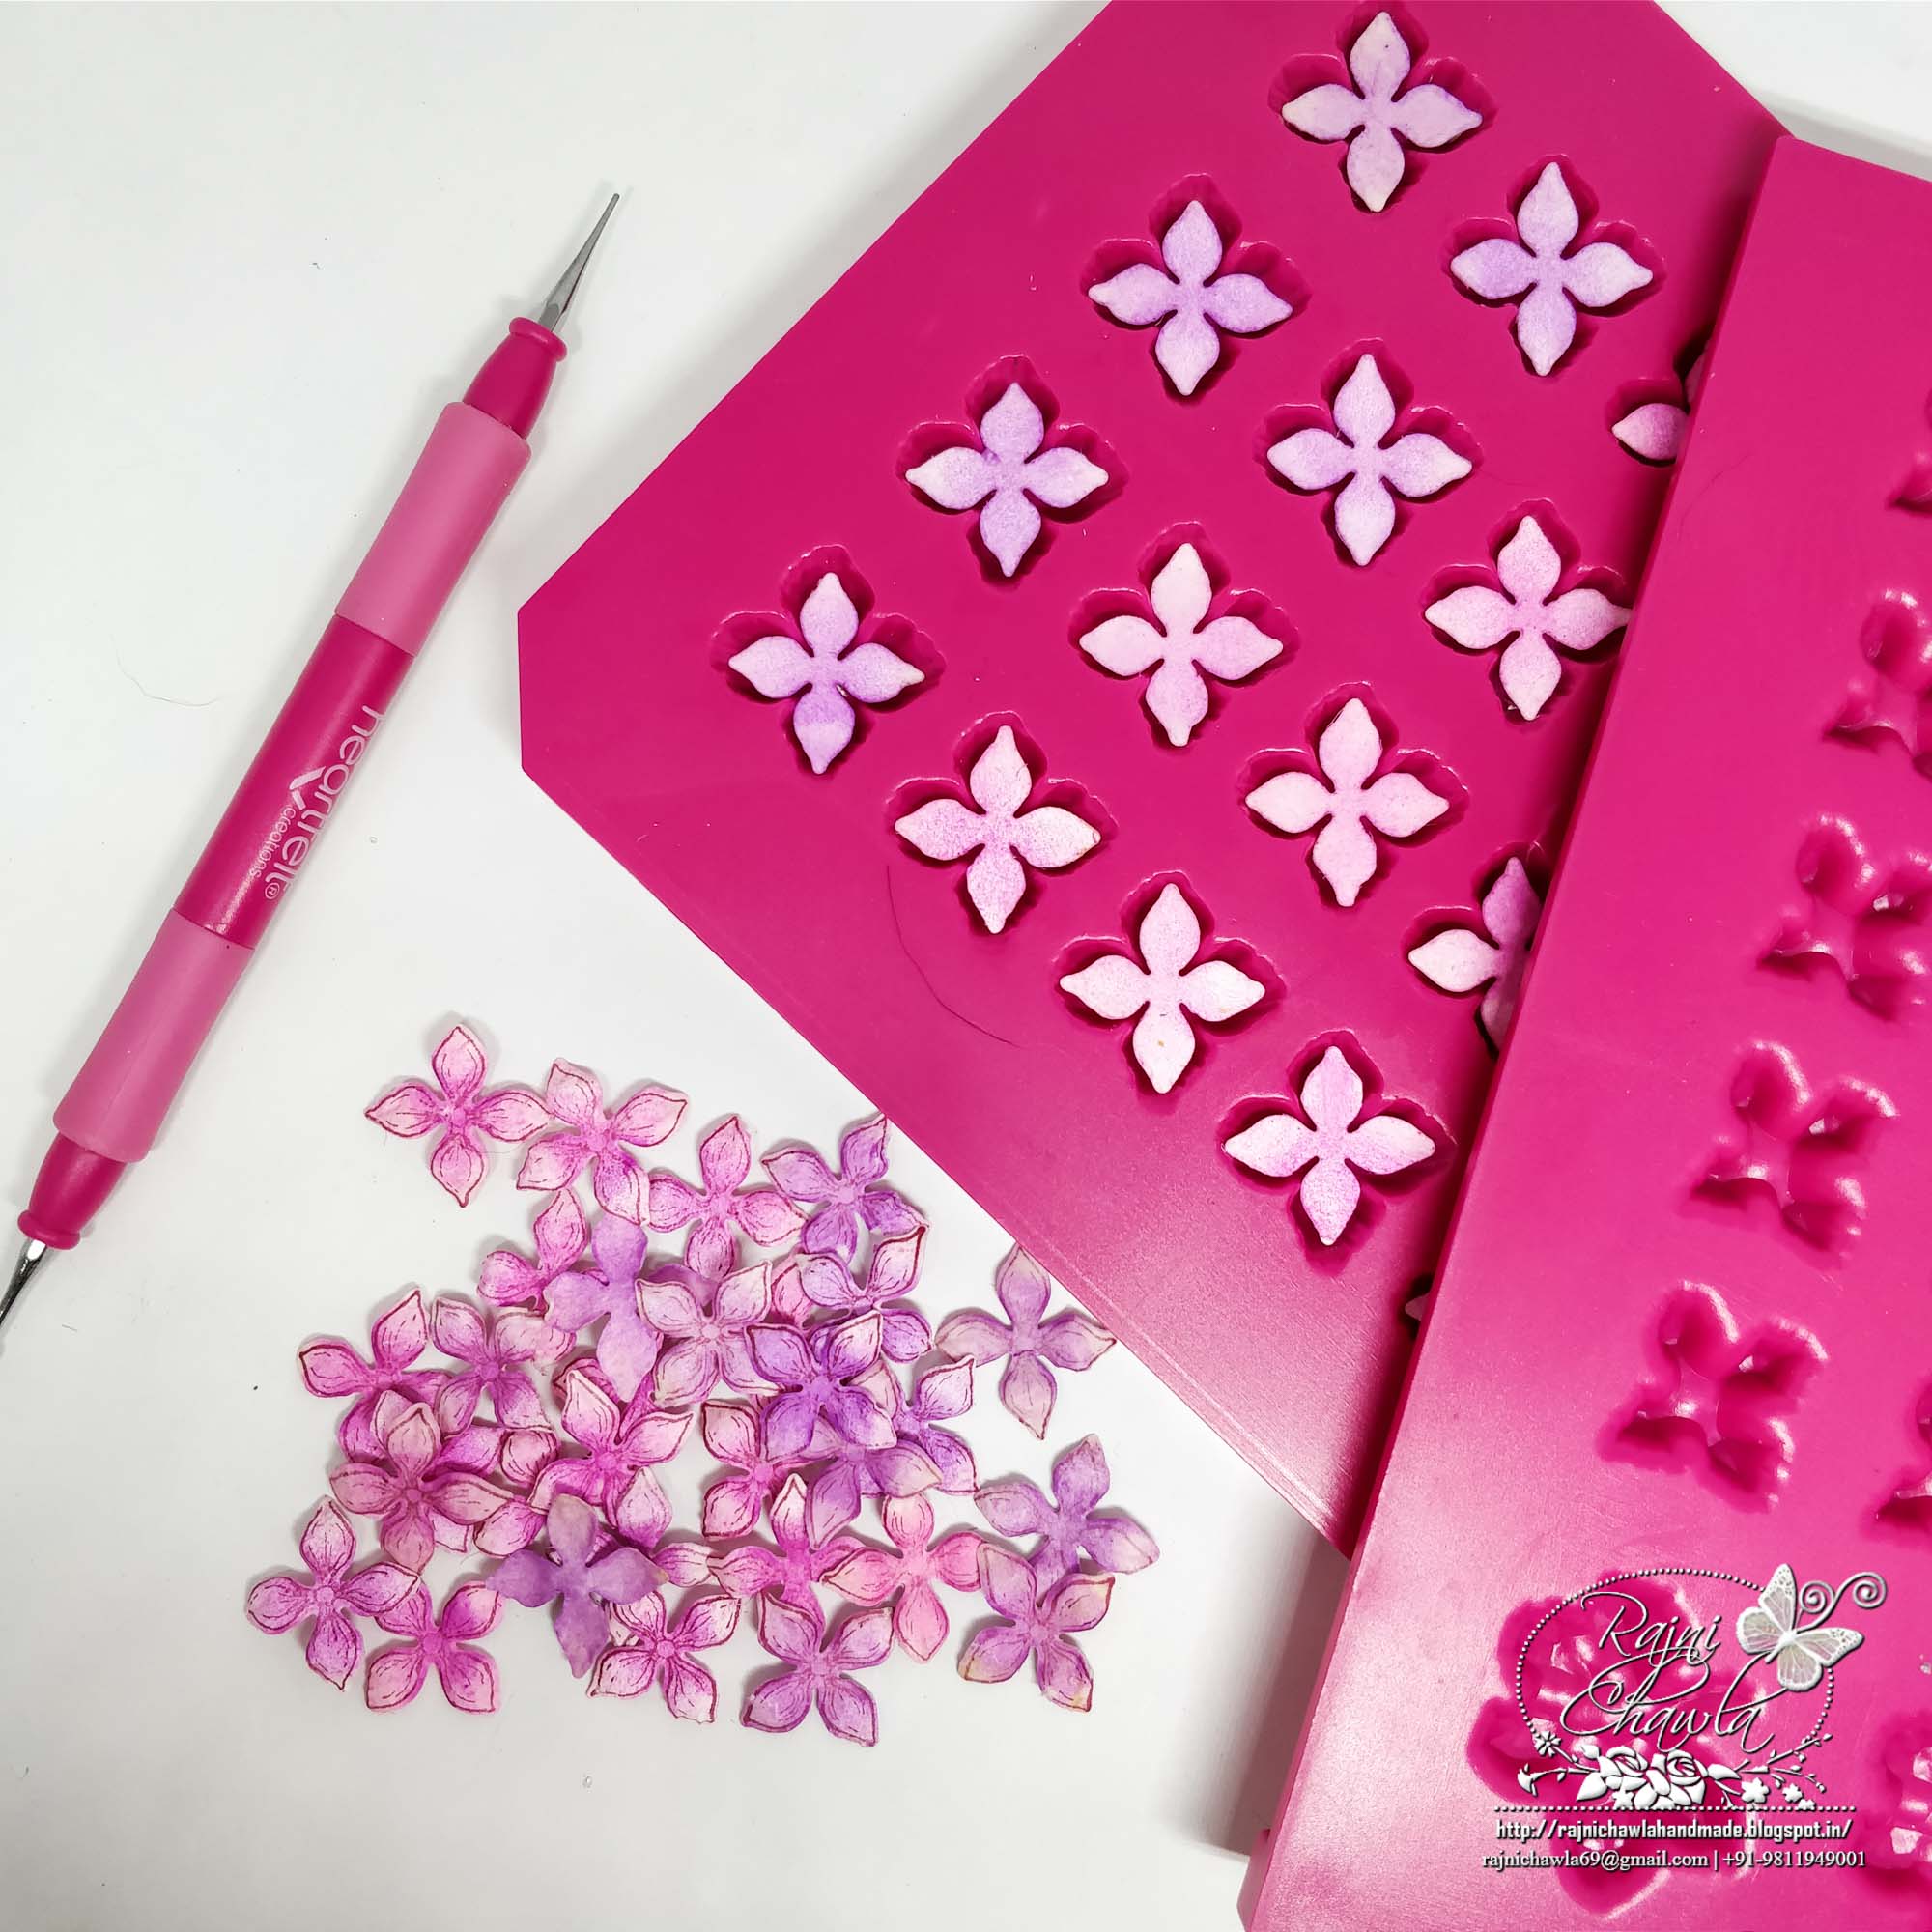
Cut the flowers using Lush Lilac die with the help of die cutting machine. Also, color the back of the flowers with the same color.
Place the colored flowers facing upside down in Lilac Mold, mist them with very little water, close the lid of the mold and emboss the flowers by running the mold through die cutting machine. If you don’t have the mold, simply shape the flowers using Deluxe Flower Shaping Kit. Since I wanted the flowers to have softer look and more blended look of colors, I have given an extra heavy shower and then soaked the water with a towel, and then shaped them using Deluxe Flower Shaping Kit.
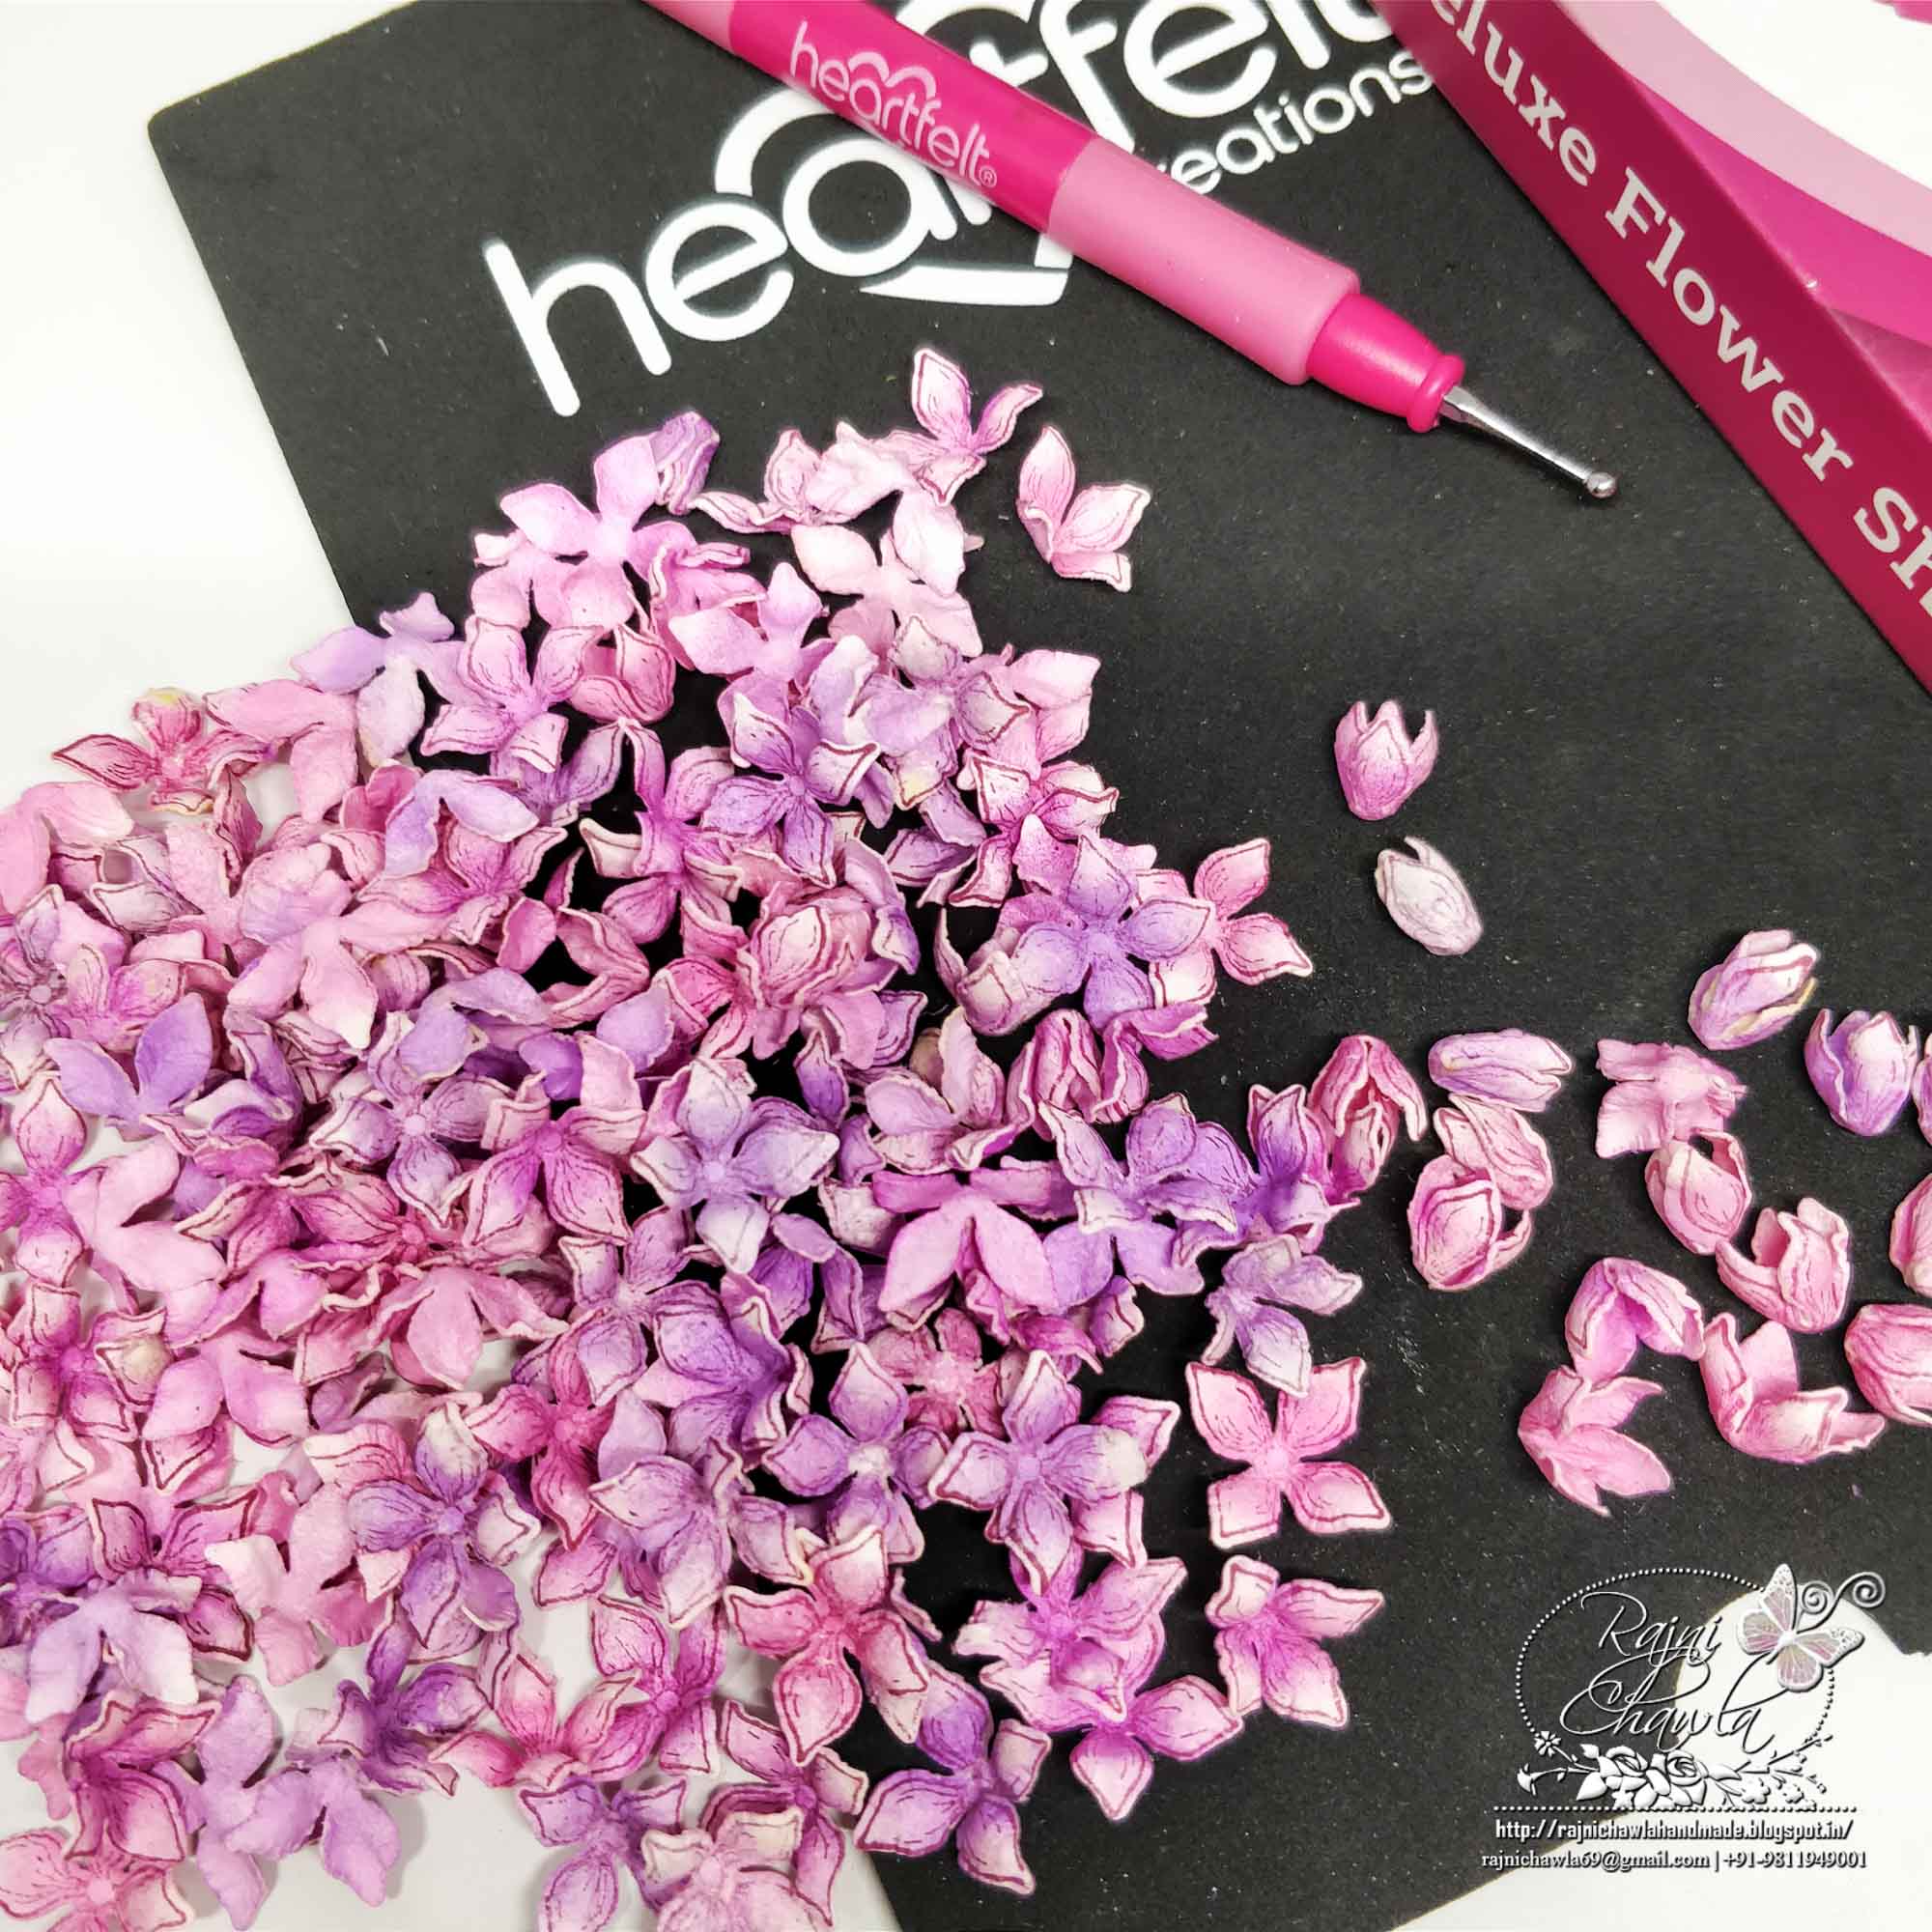
Once the flowers are shaped and dried, press them in the center using the smaller tip of the stylus, Also, press few flowers from the back to create some buds. Prick the centers and glue the flower stamens.
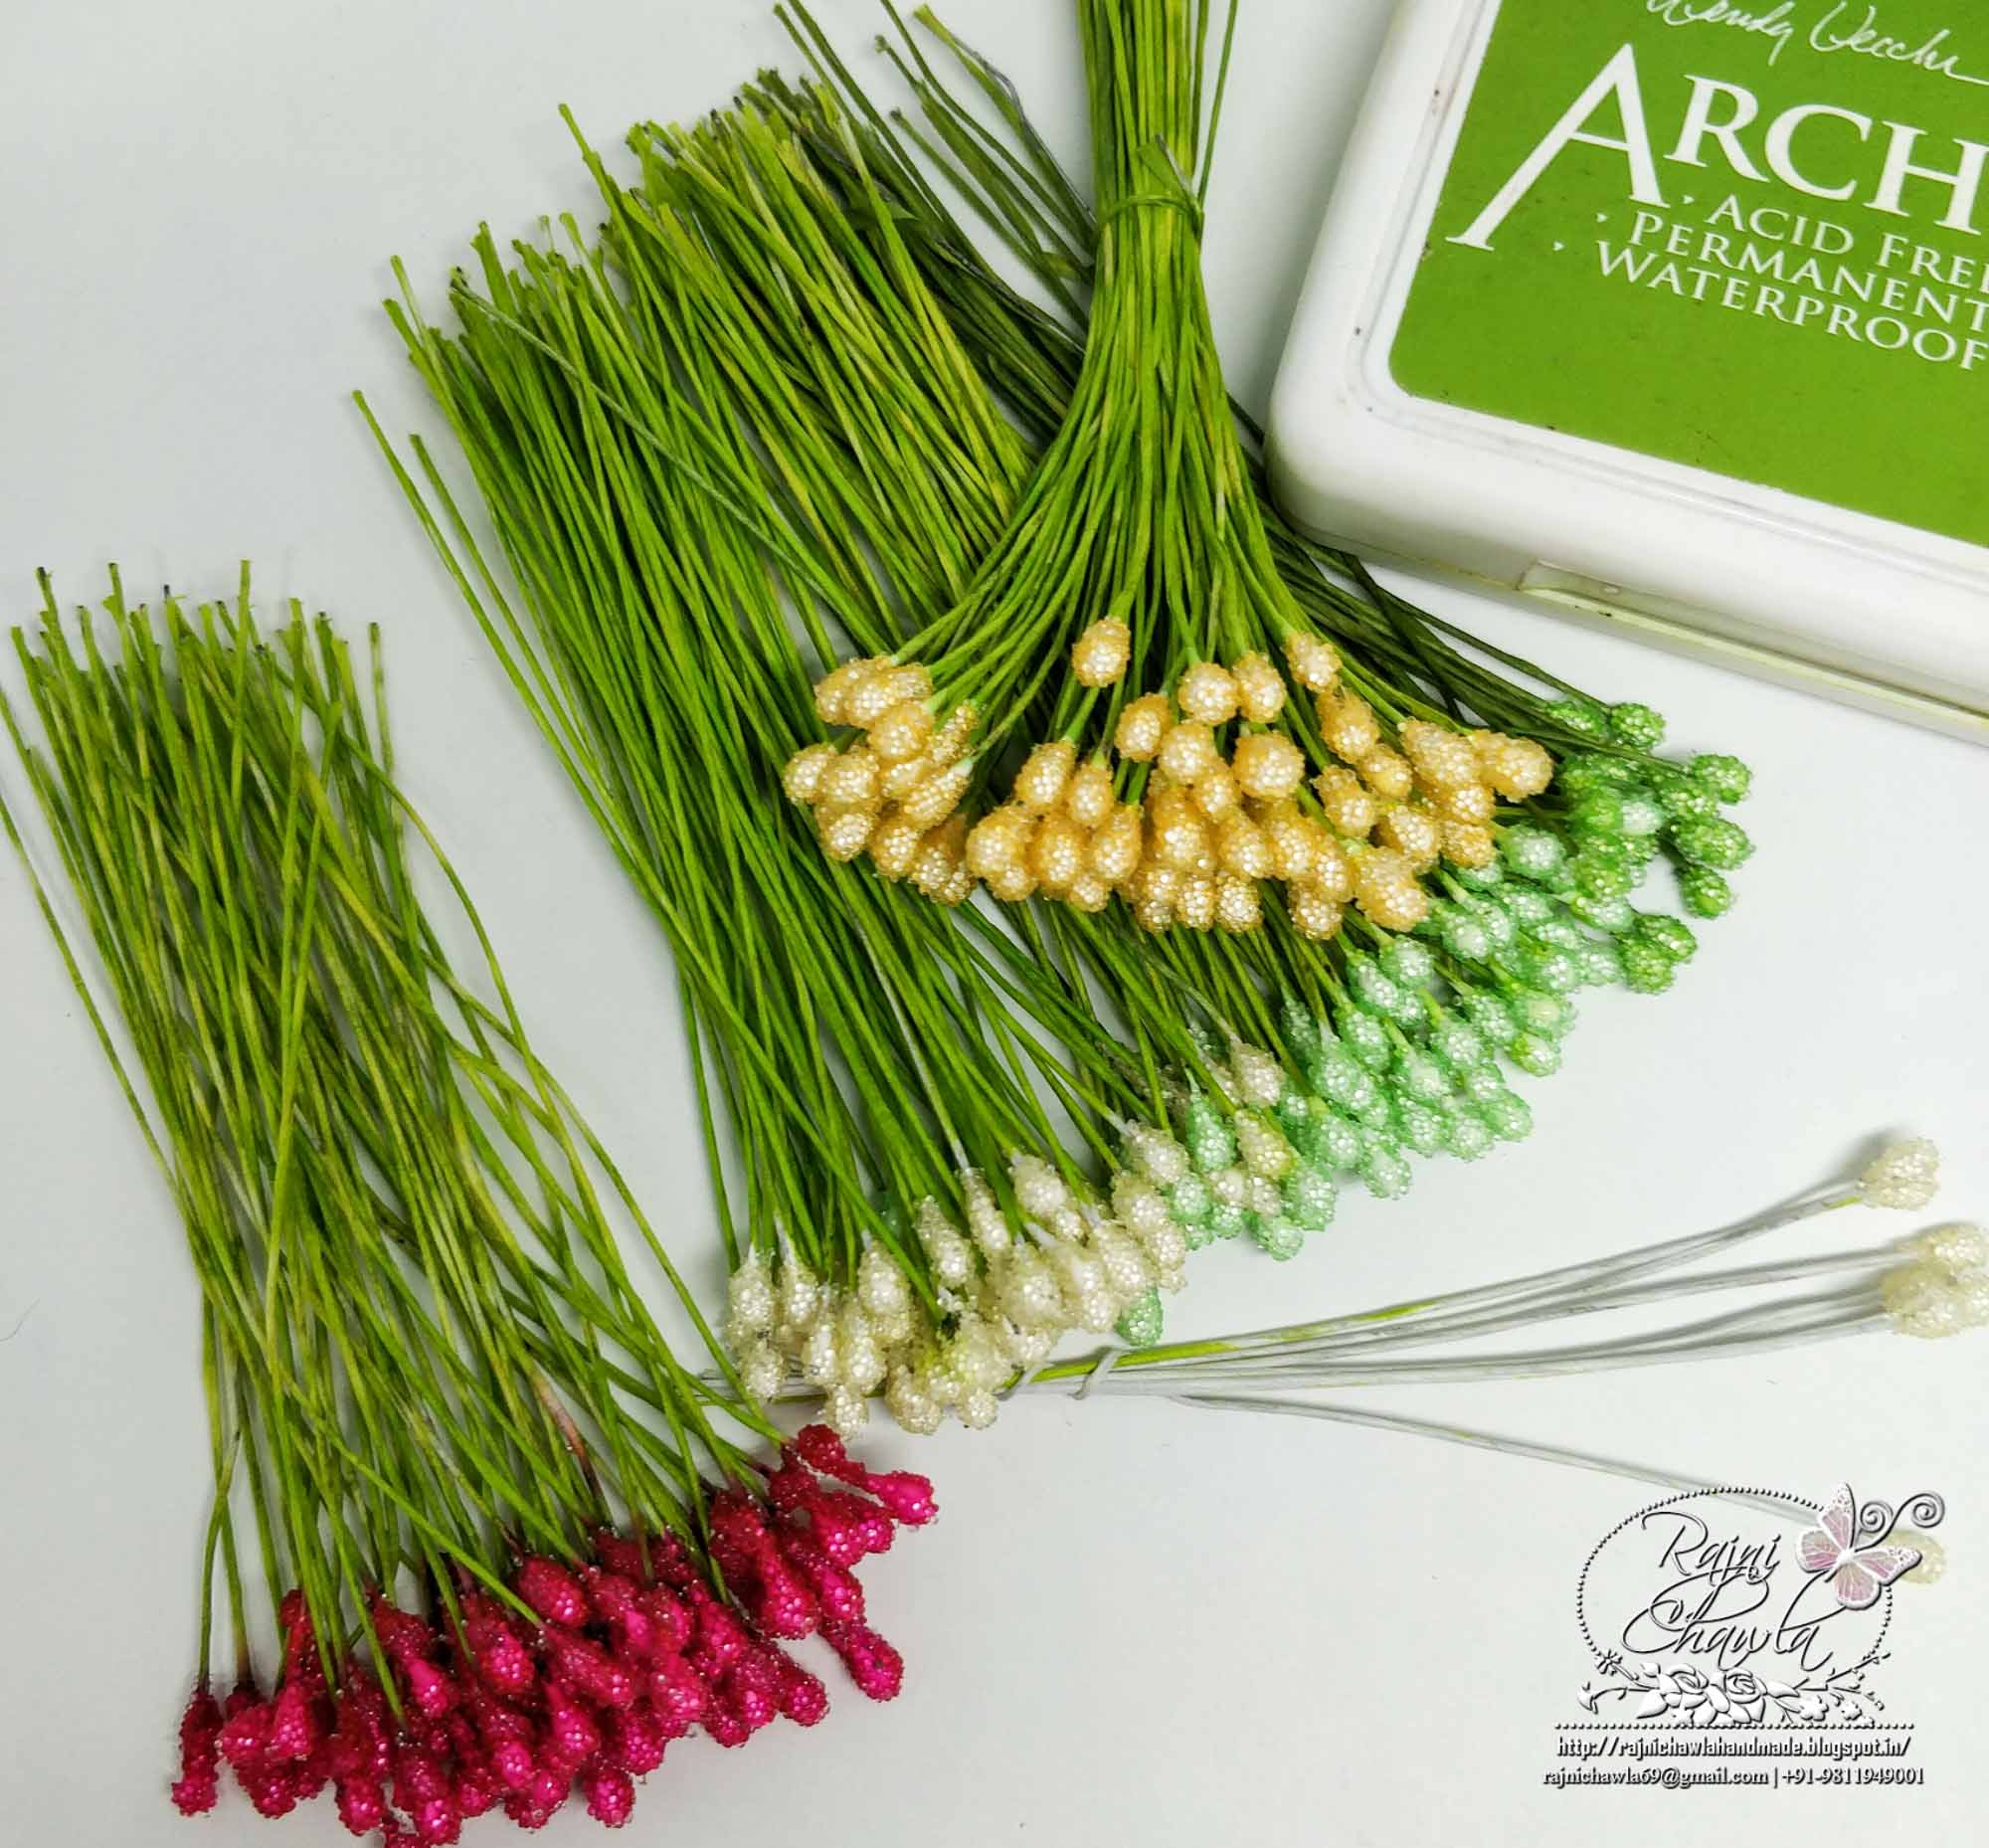
FLOWER CENTERS: I have used Assorted Bead Stamens-Medium to create the flower centers. I have used off-white and light yellow stamens from the collection. The white stem of the stamens will distract the whole lilac bouquet. So, to make stamens look more natural, I colored them using Leaf Green Archival Ink. I have used only off-white and light yellow stamens in the bouquet. Rest others are shown in the picture just to show how the look of the stamens completely gets changed by coloring their stems.
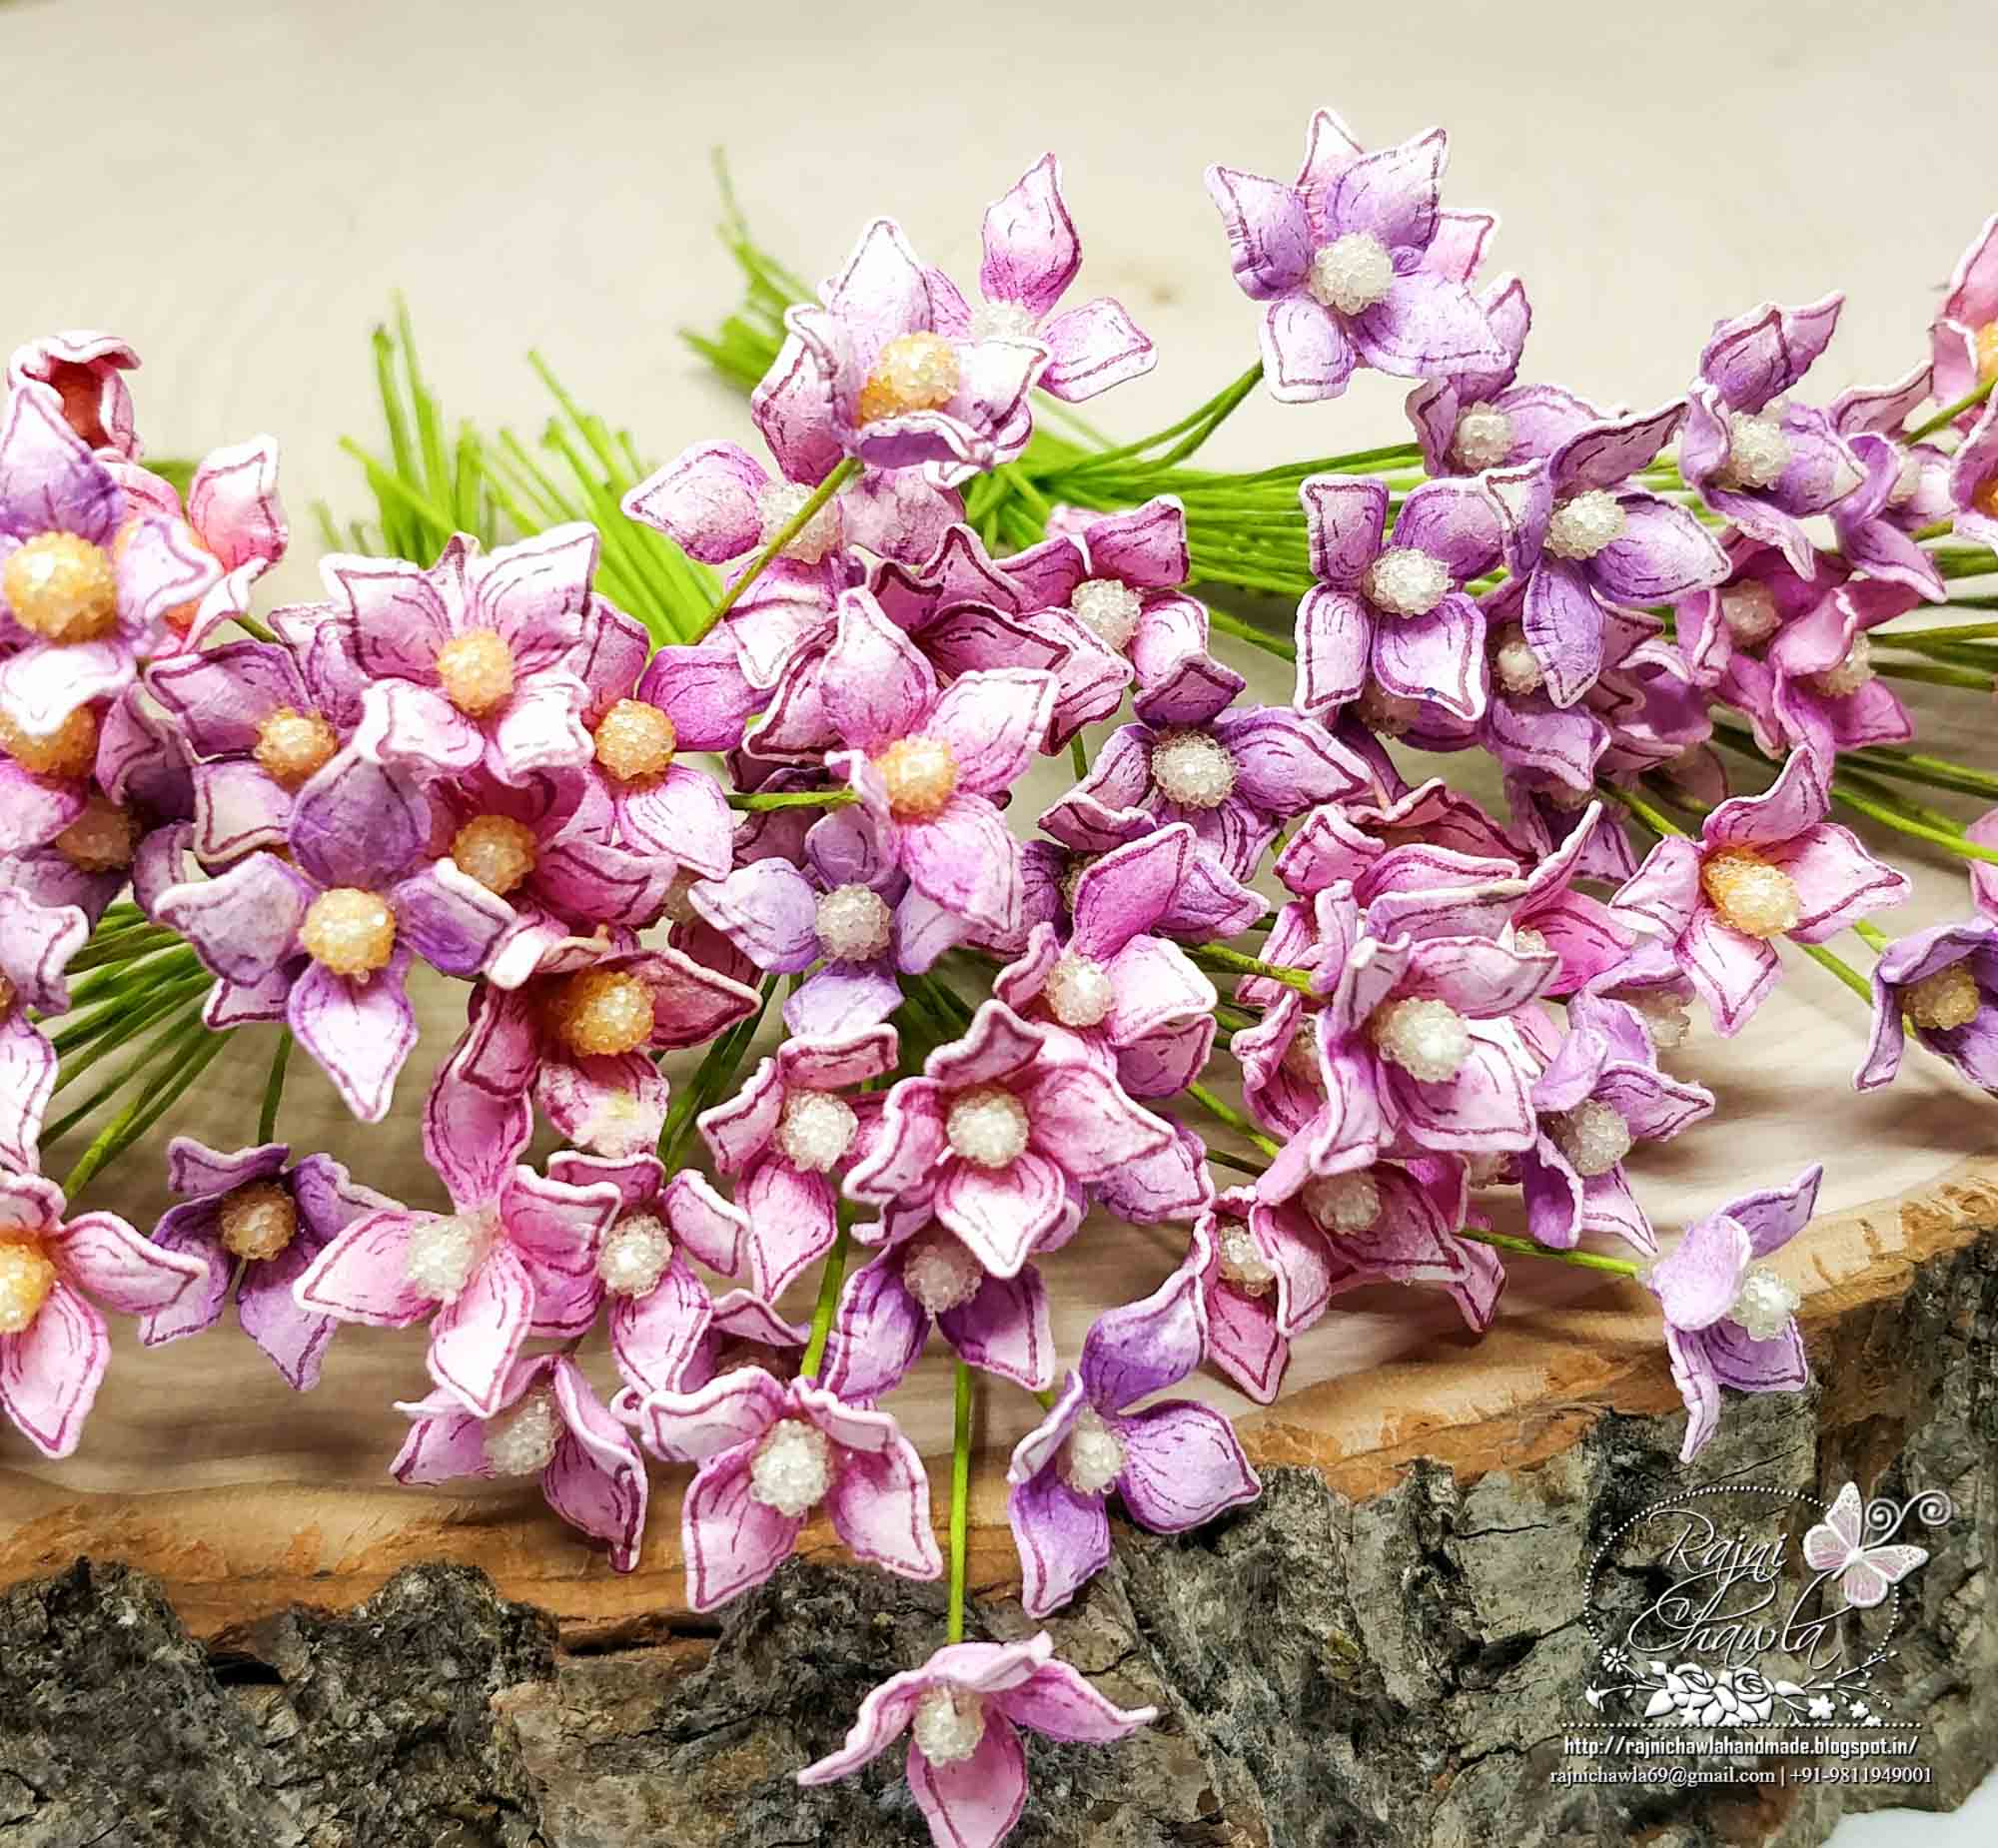
Prick the holes in the center of the flowers and secure the stamens using adhesive dries clear glue. Here is how they look when glued with flower stamens in the center.
LEAVES: Stamp, medium and large leaves from Tropical Cockatoo Stamp set using archival ink, Olive Green and color them using Leaf Green and Olive Green. Cut them using it’s coordinating die and color the back of the leaves as well.
Give them a good water shower, wait for few minutes and then dab them with a dry towel. With the larger ball tool softly break the fibers of the leaves from the top side.
Next, place the leaves upside down and with a smaller stylus, start making veins as shown in the stamped image.
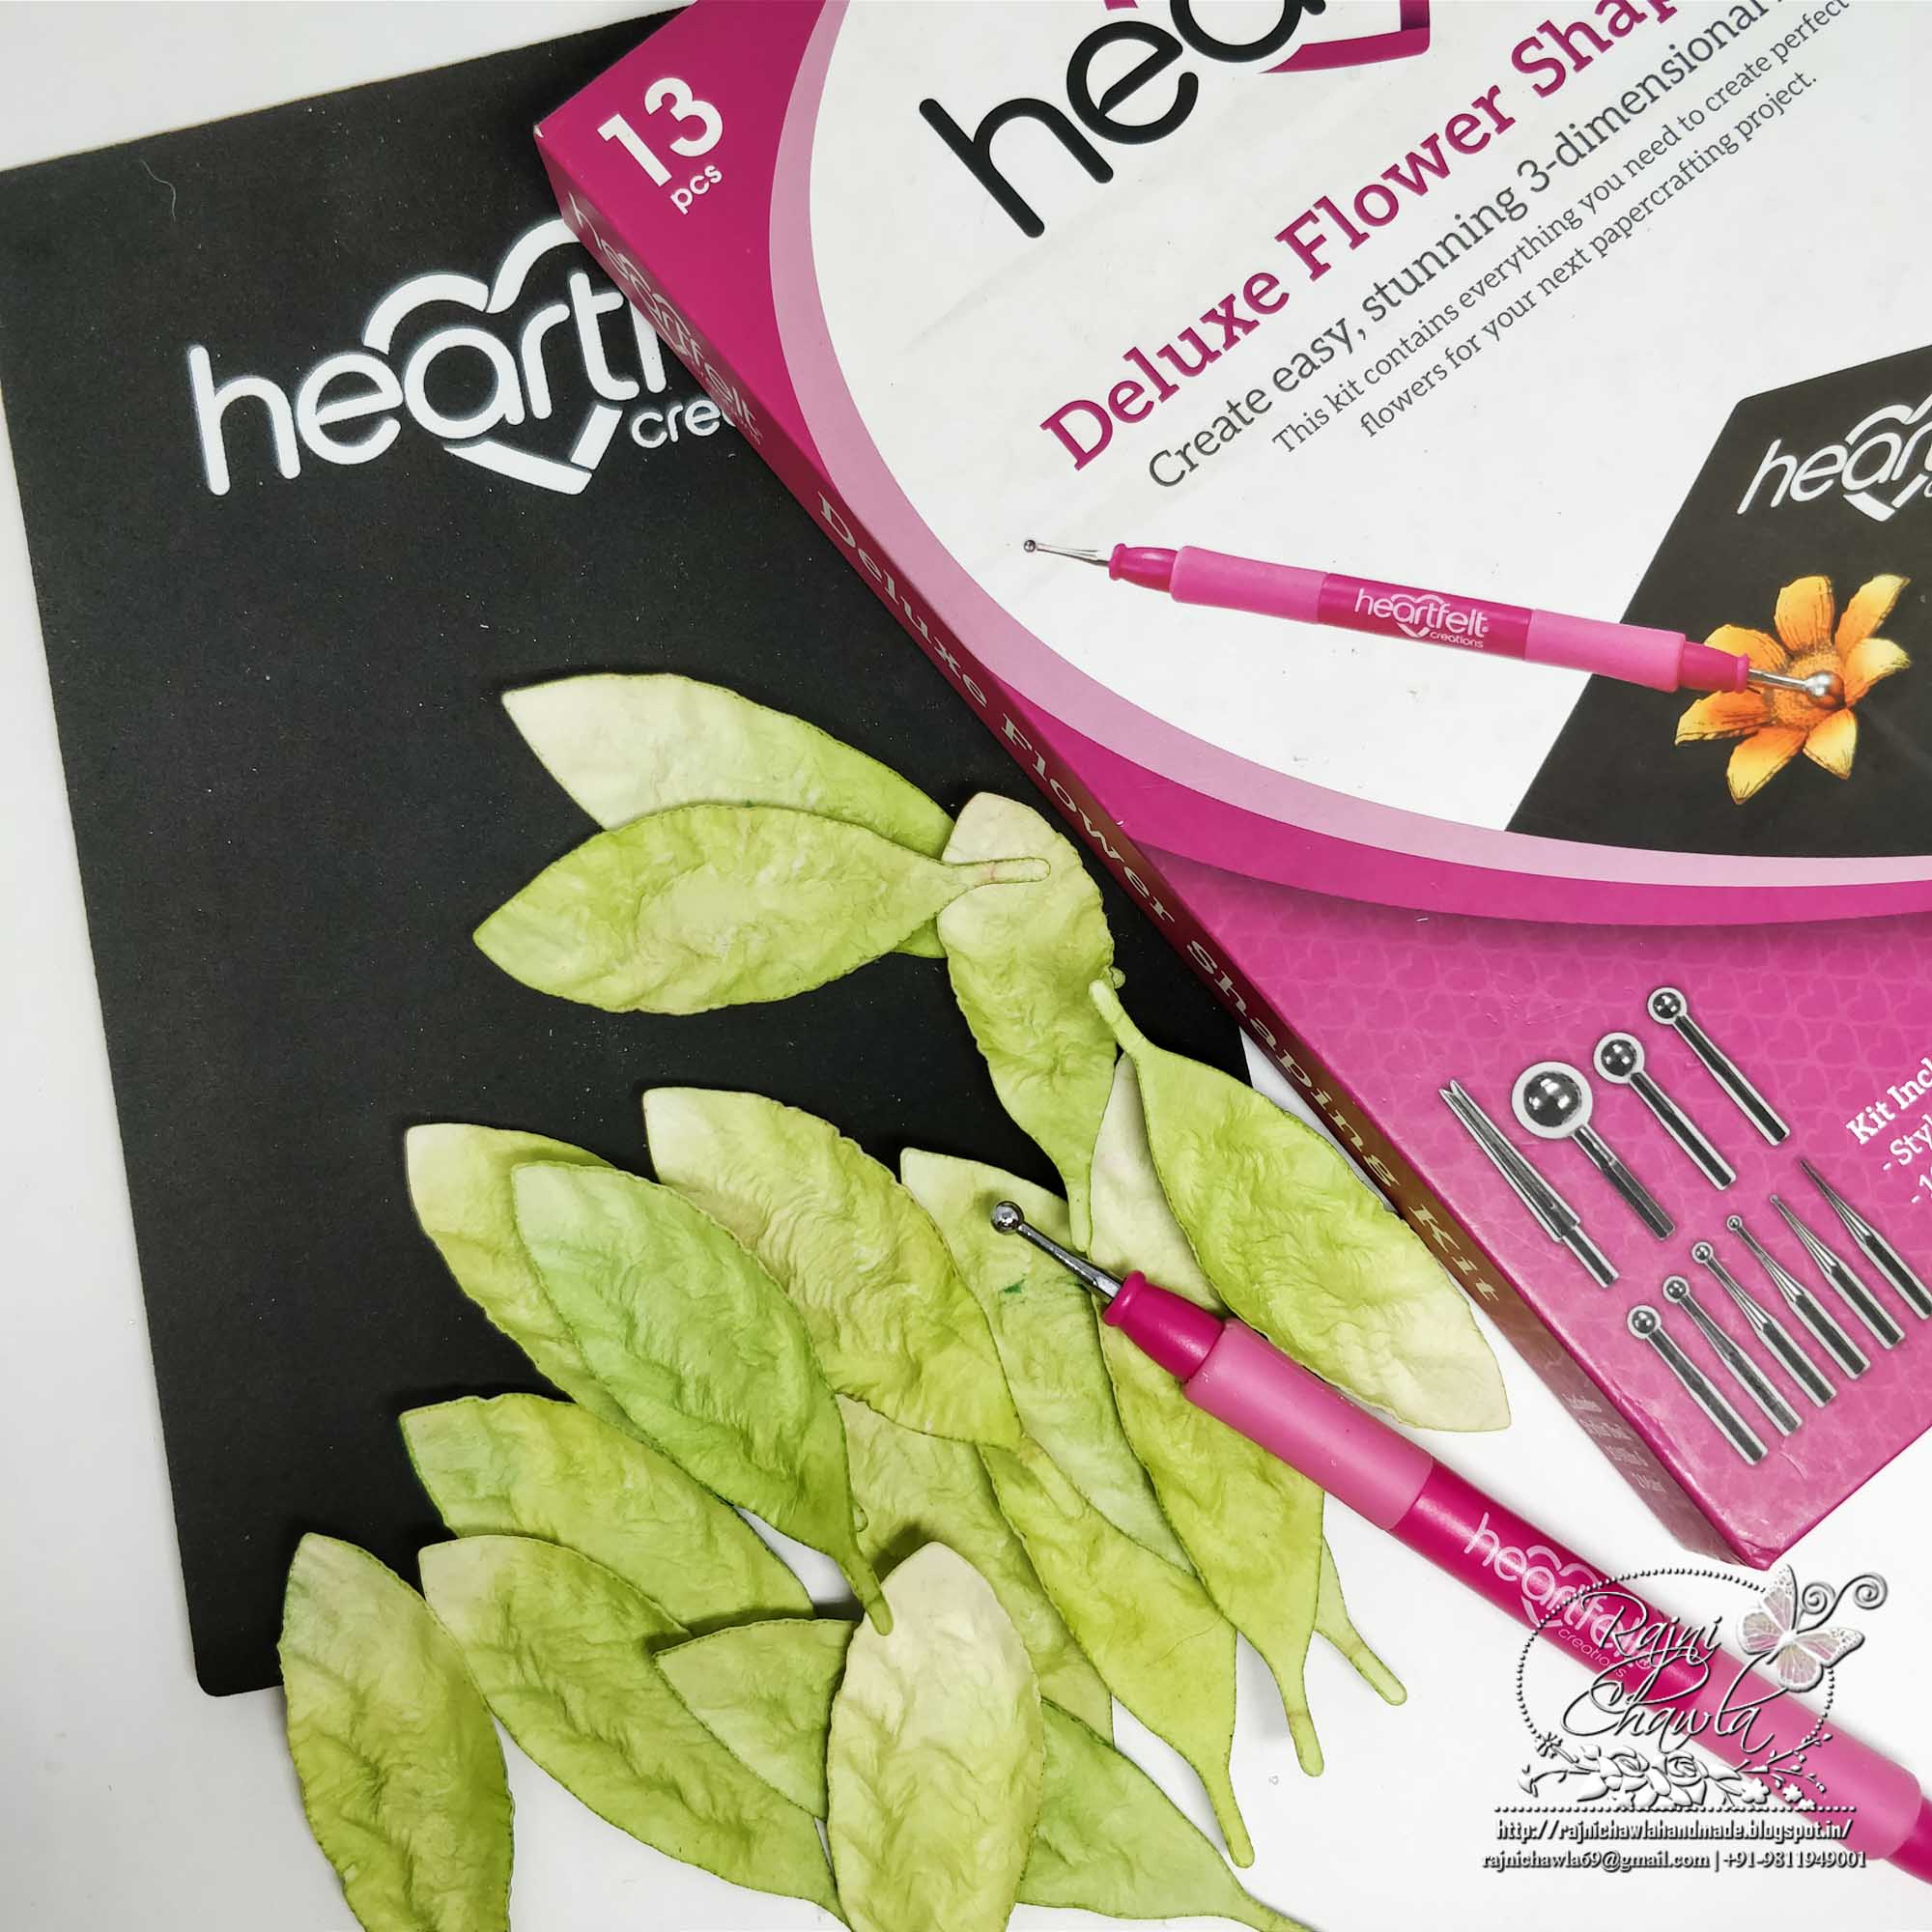
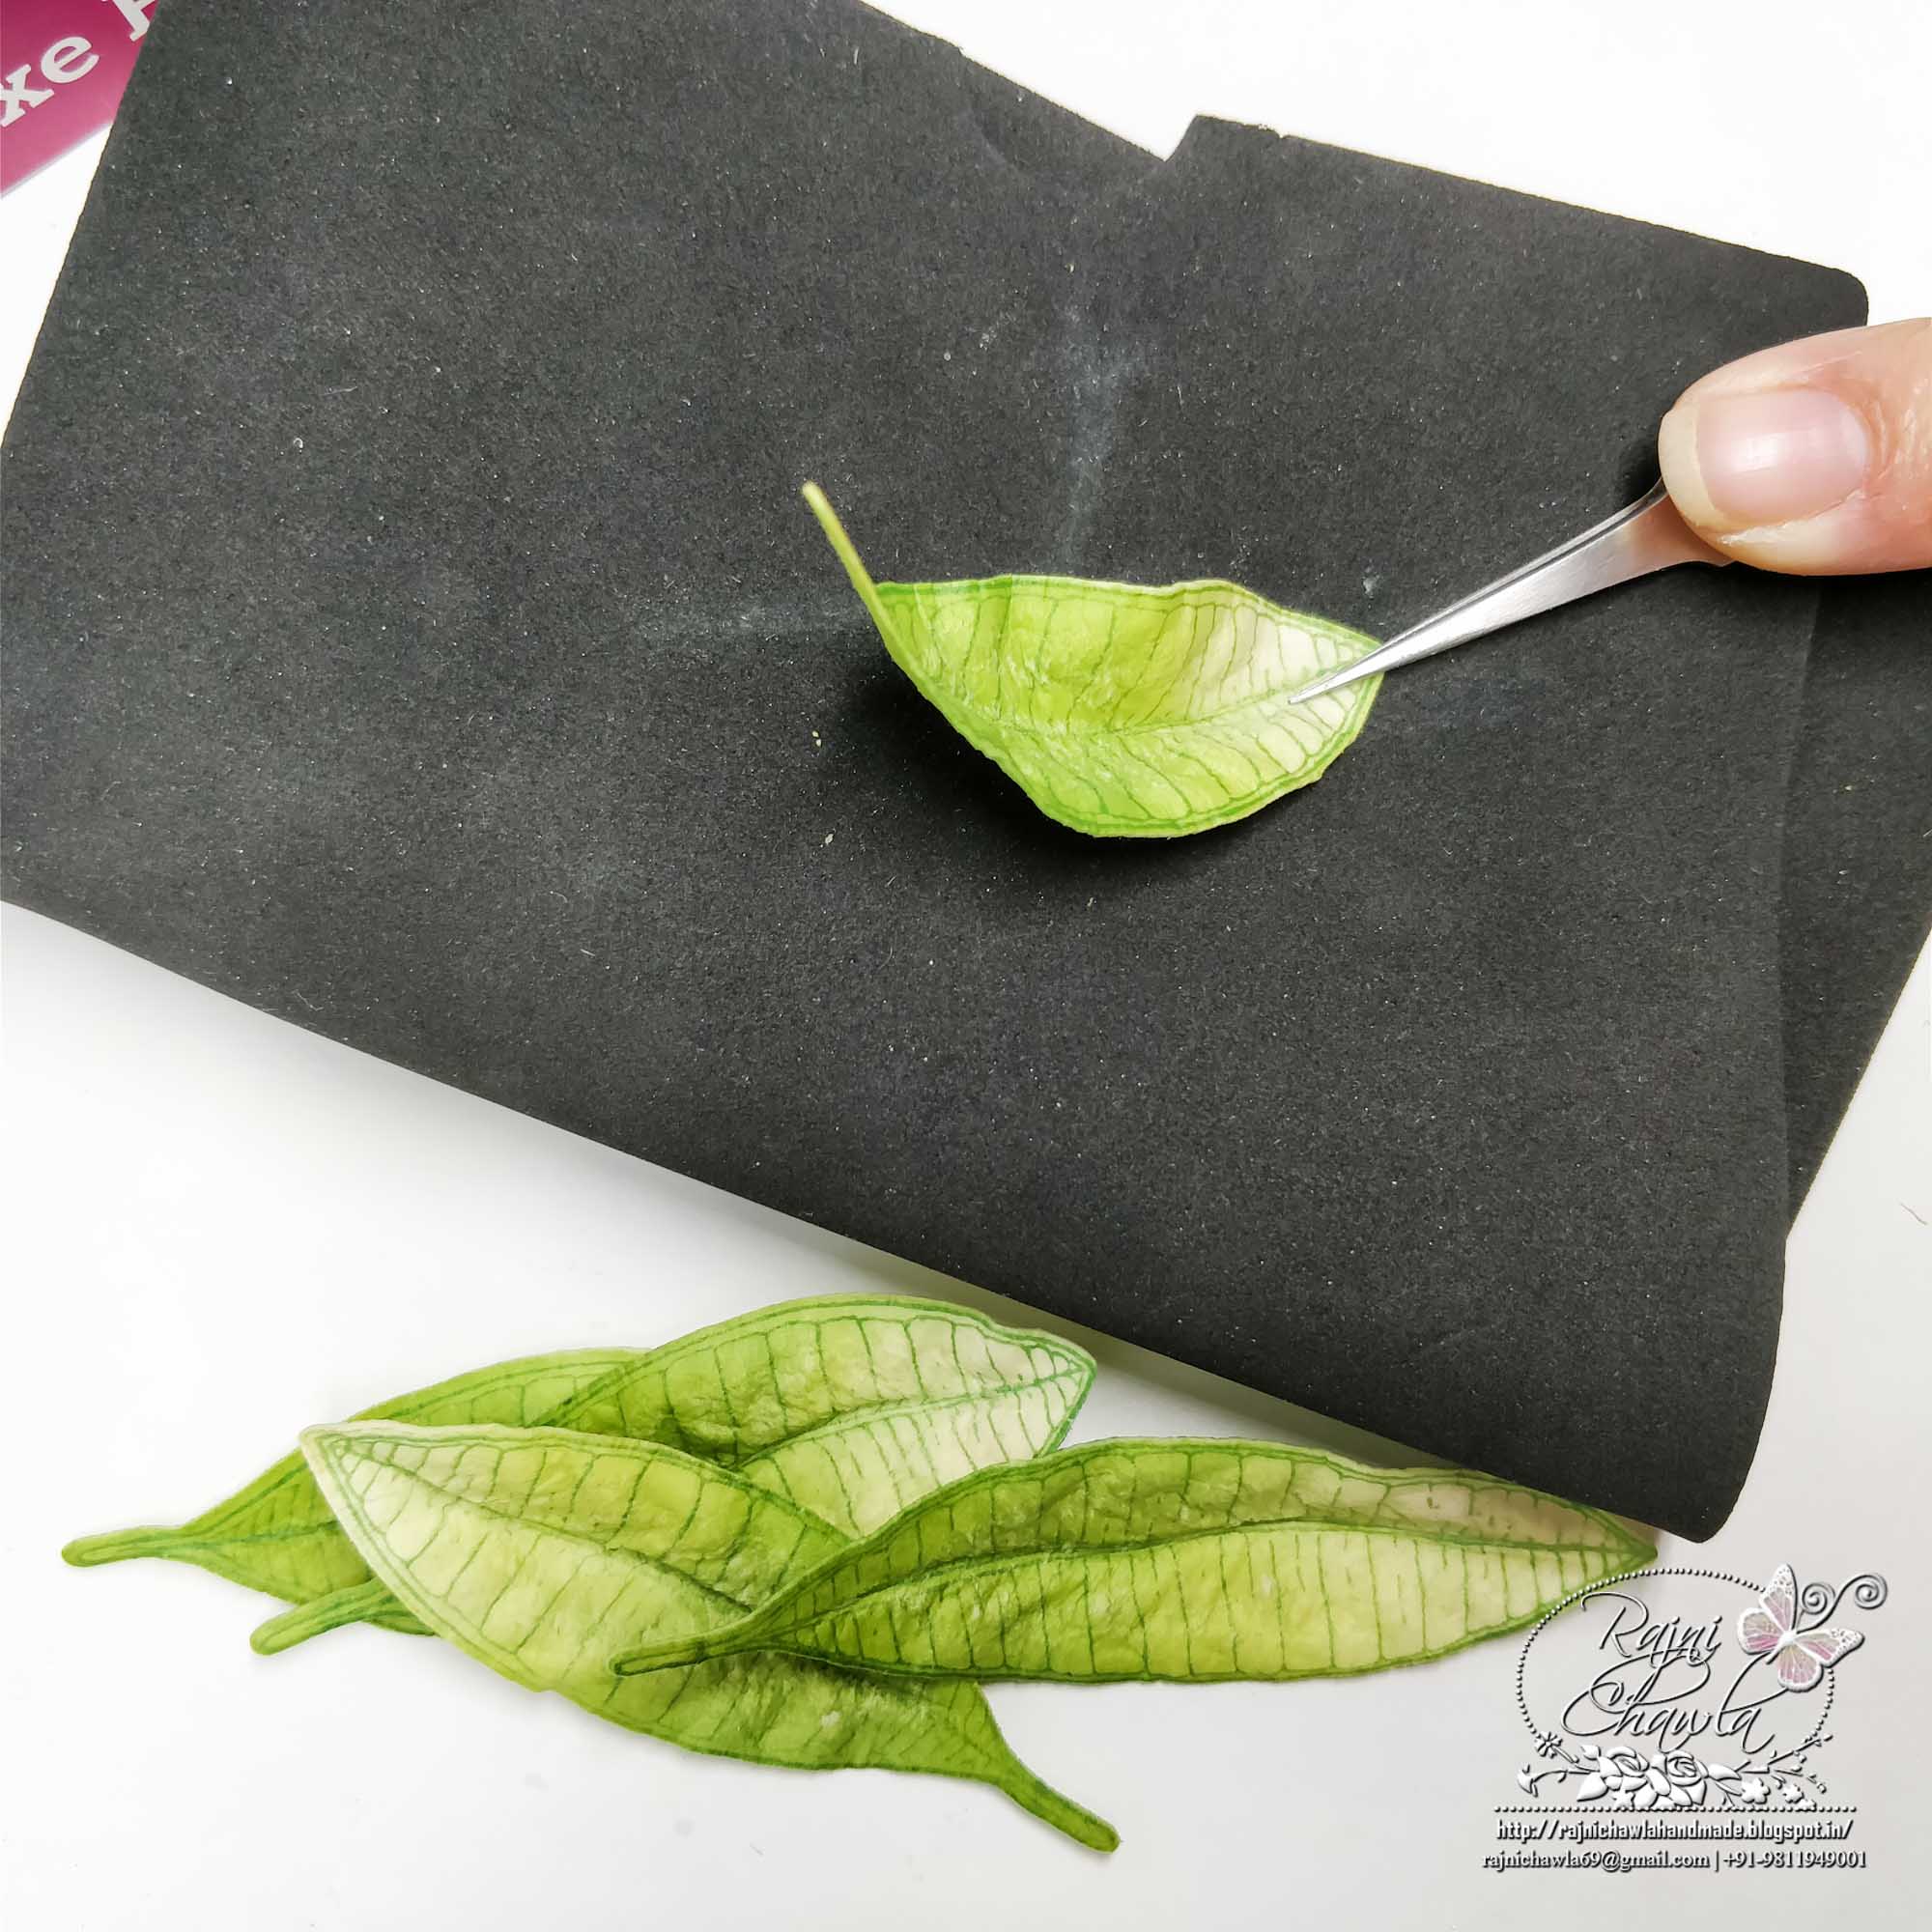
Fold the molding mat, and with the help of a tweezer, make a deep vein in the center. The more you press, the more wavy and natural look of leaves you get. Dry the leaves using a heat tool. Prepare a perfect pearl spray and mist them on the leaves a little.
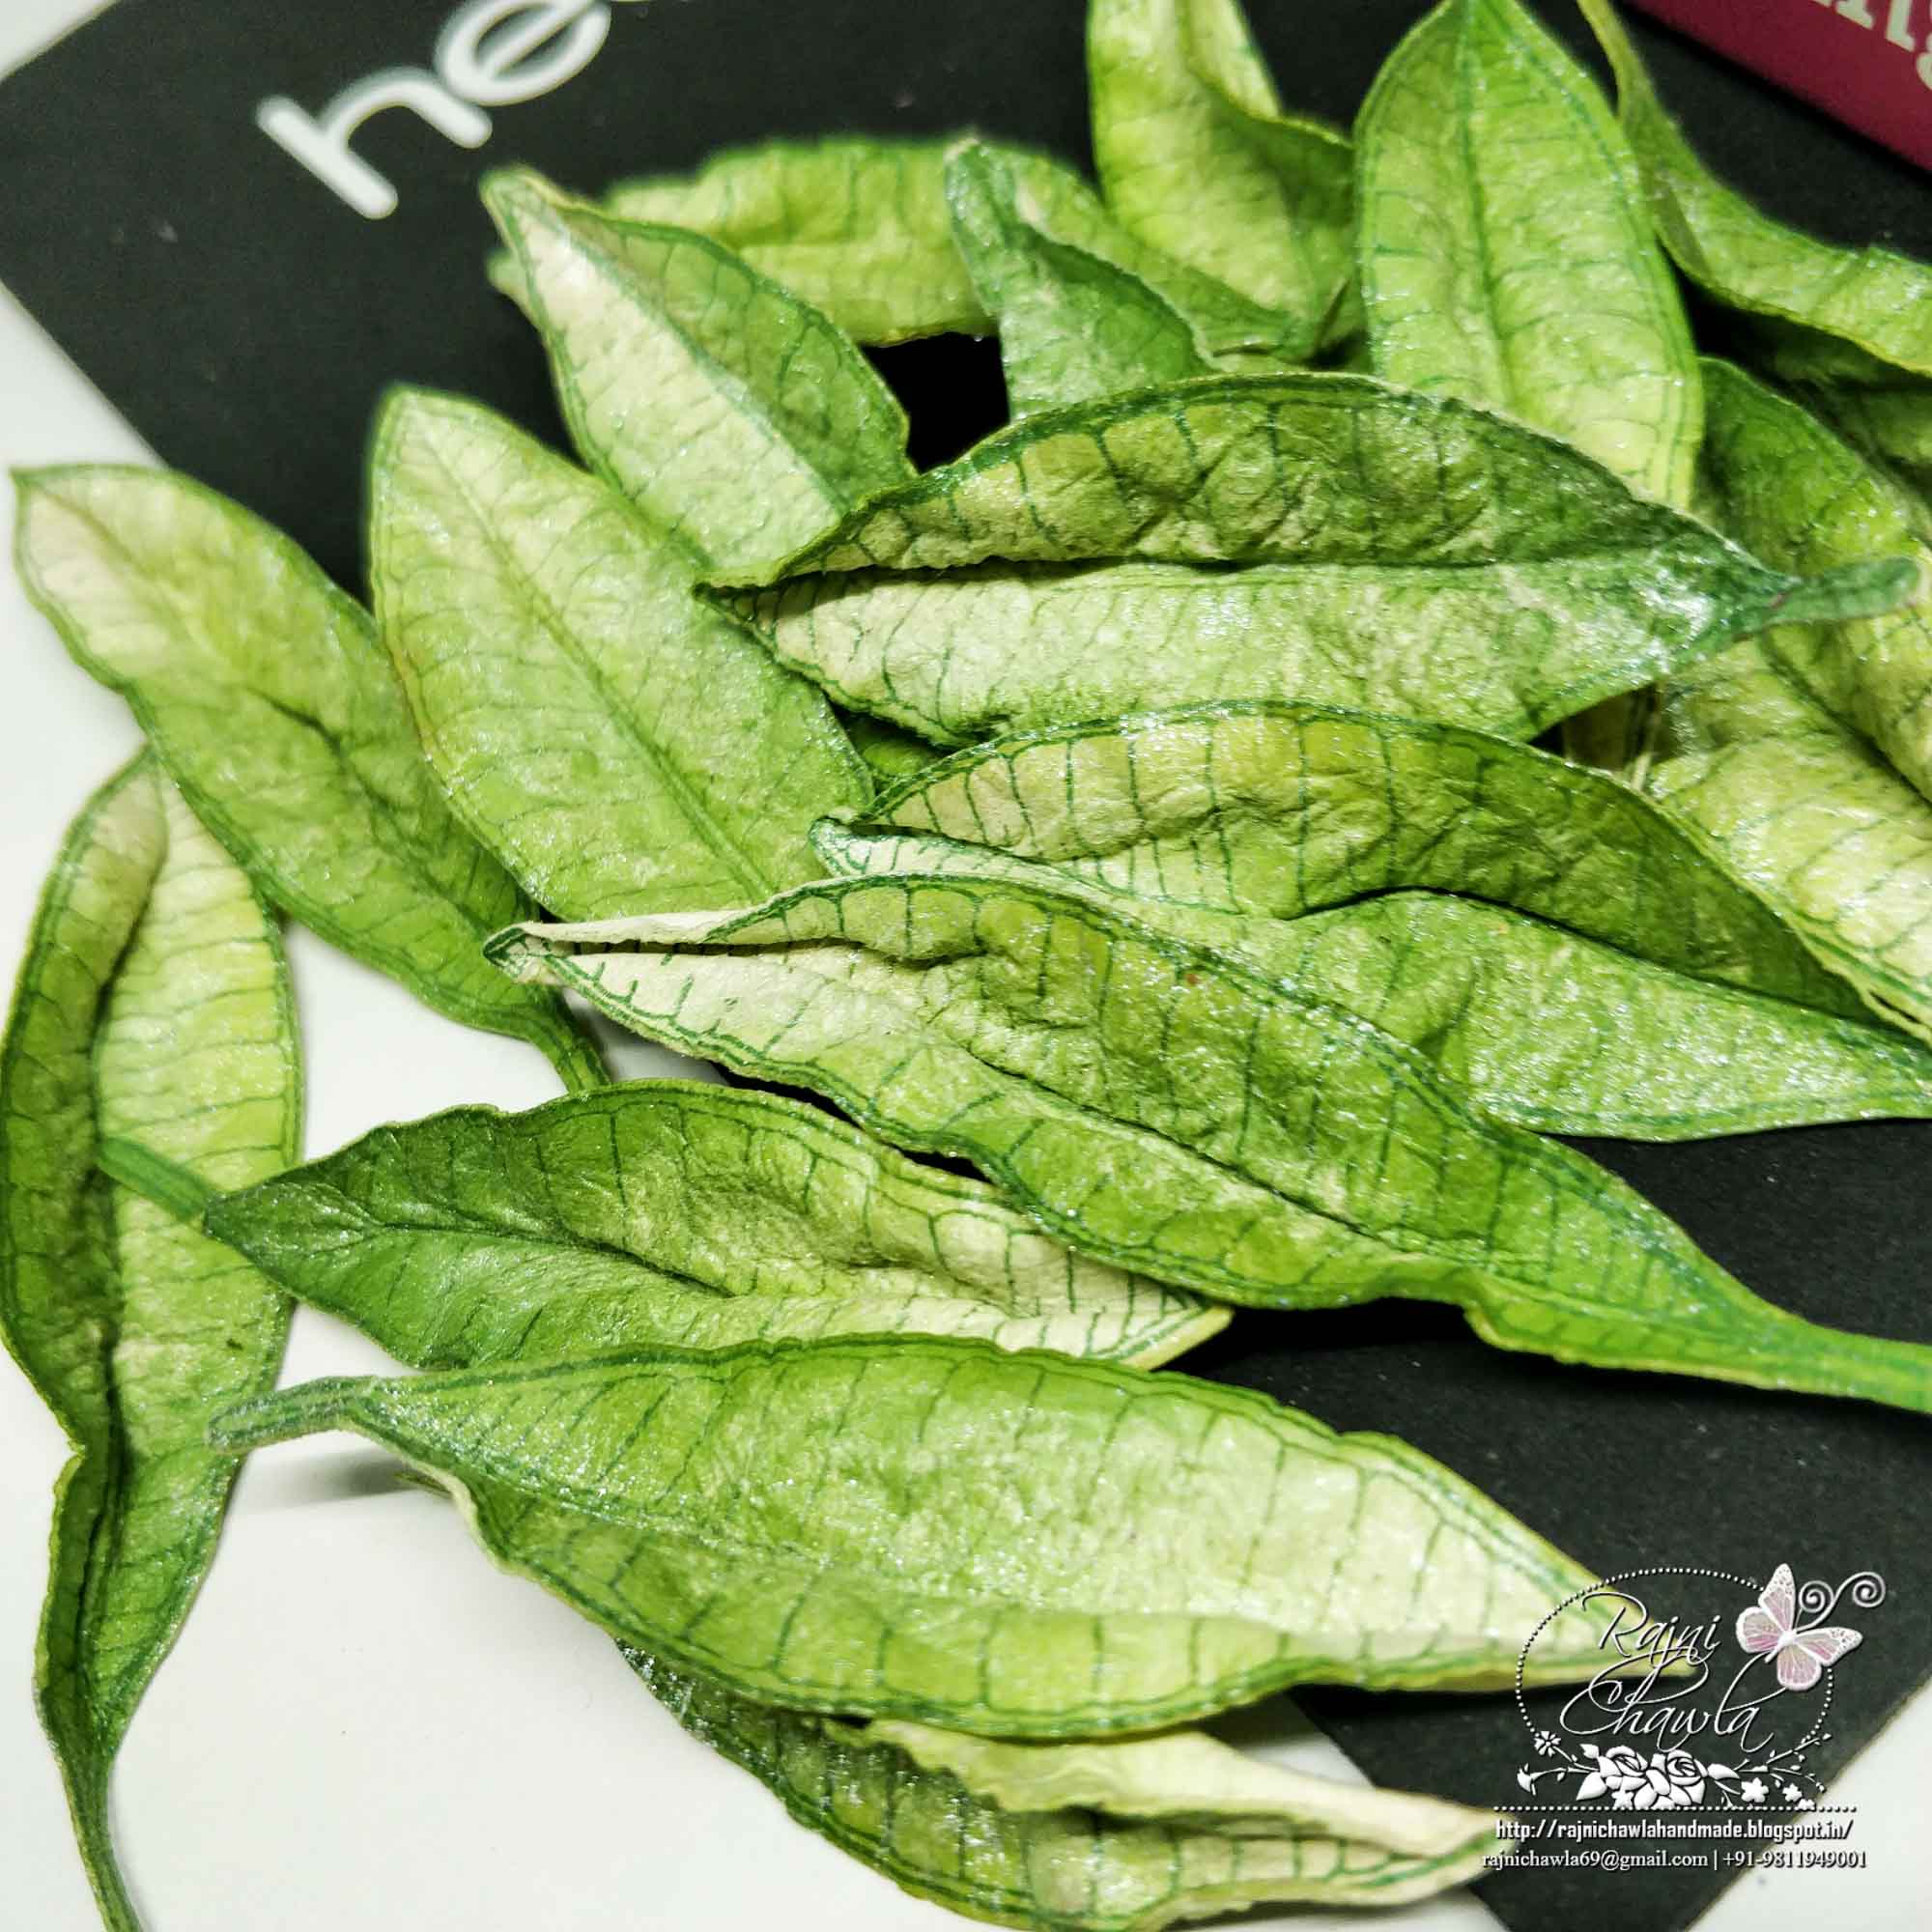
Here is how the leaves look when completely dried and sprayed with perfect pearl mist.
Now all the required things for the bouquet are ready.
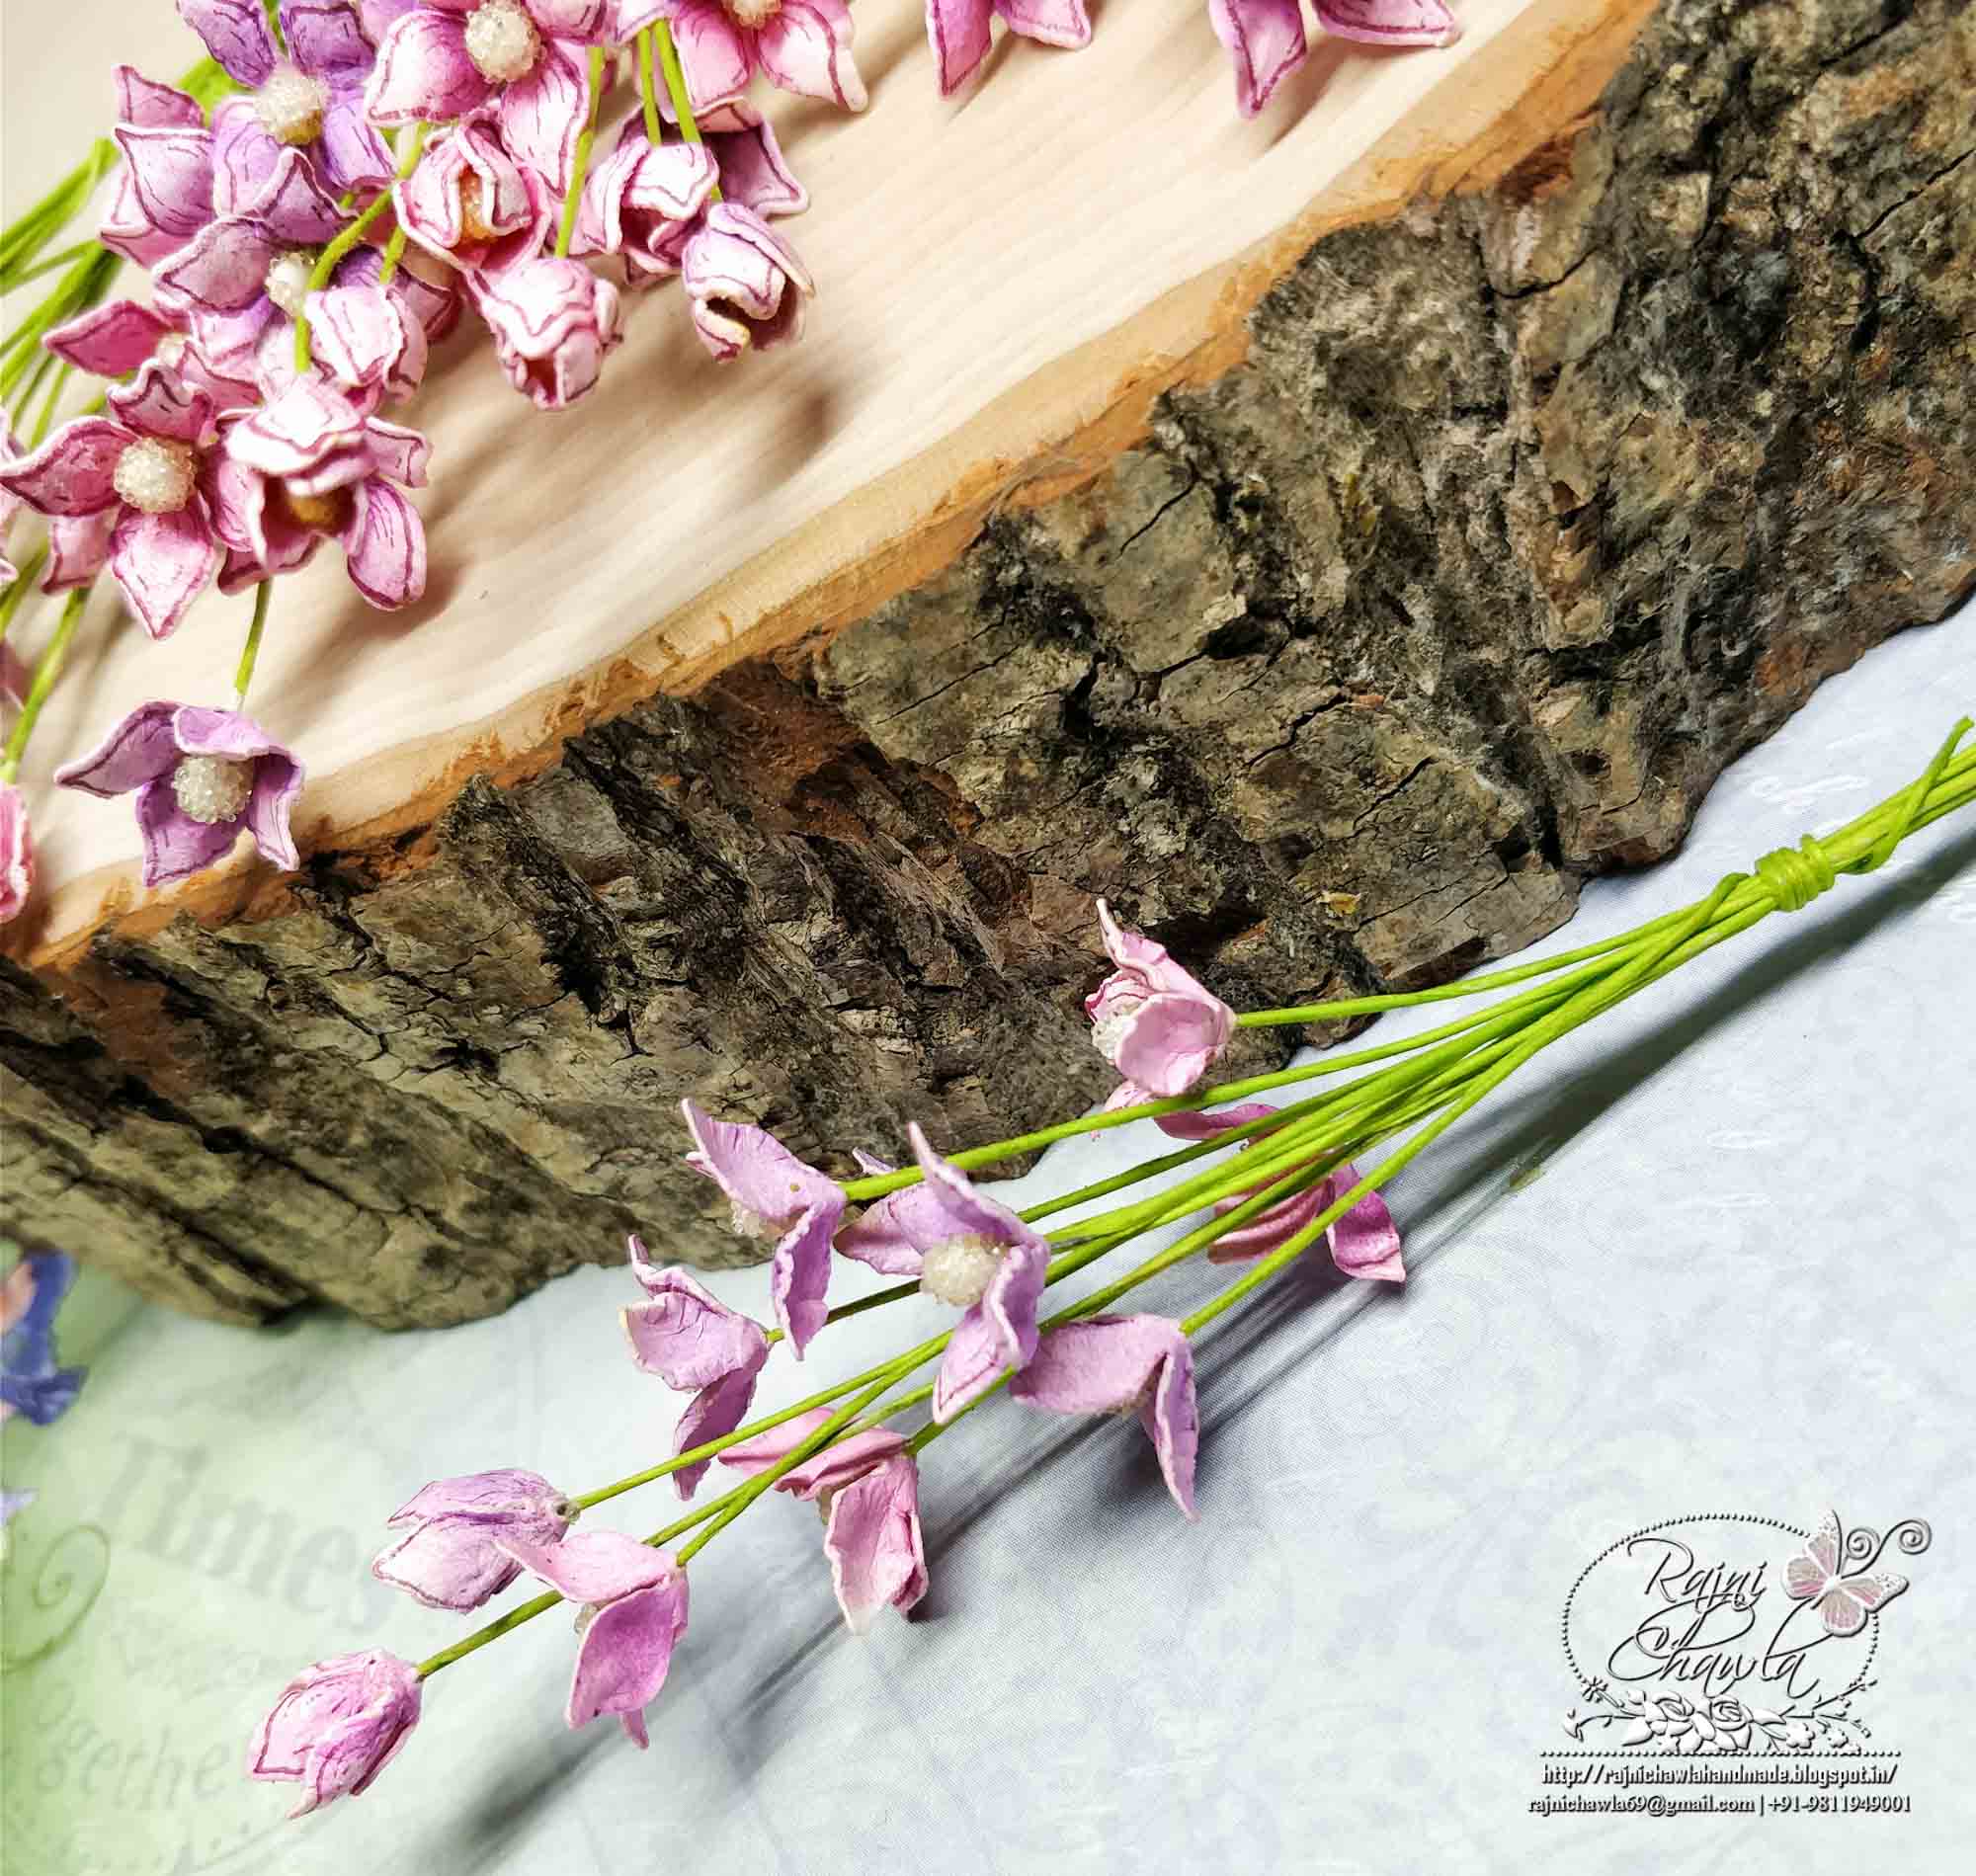
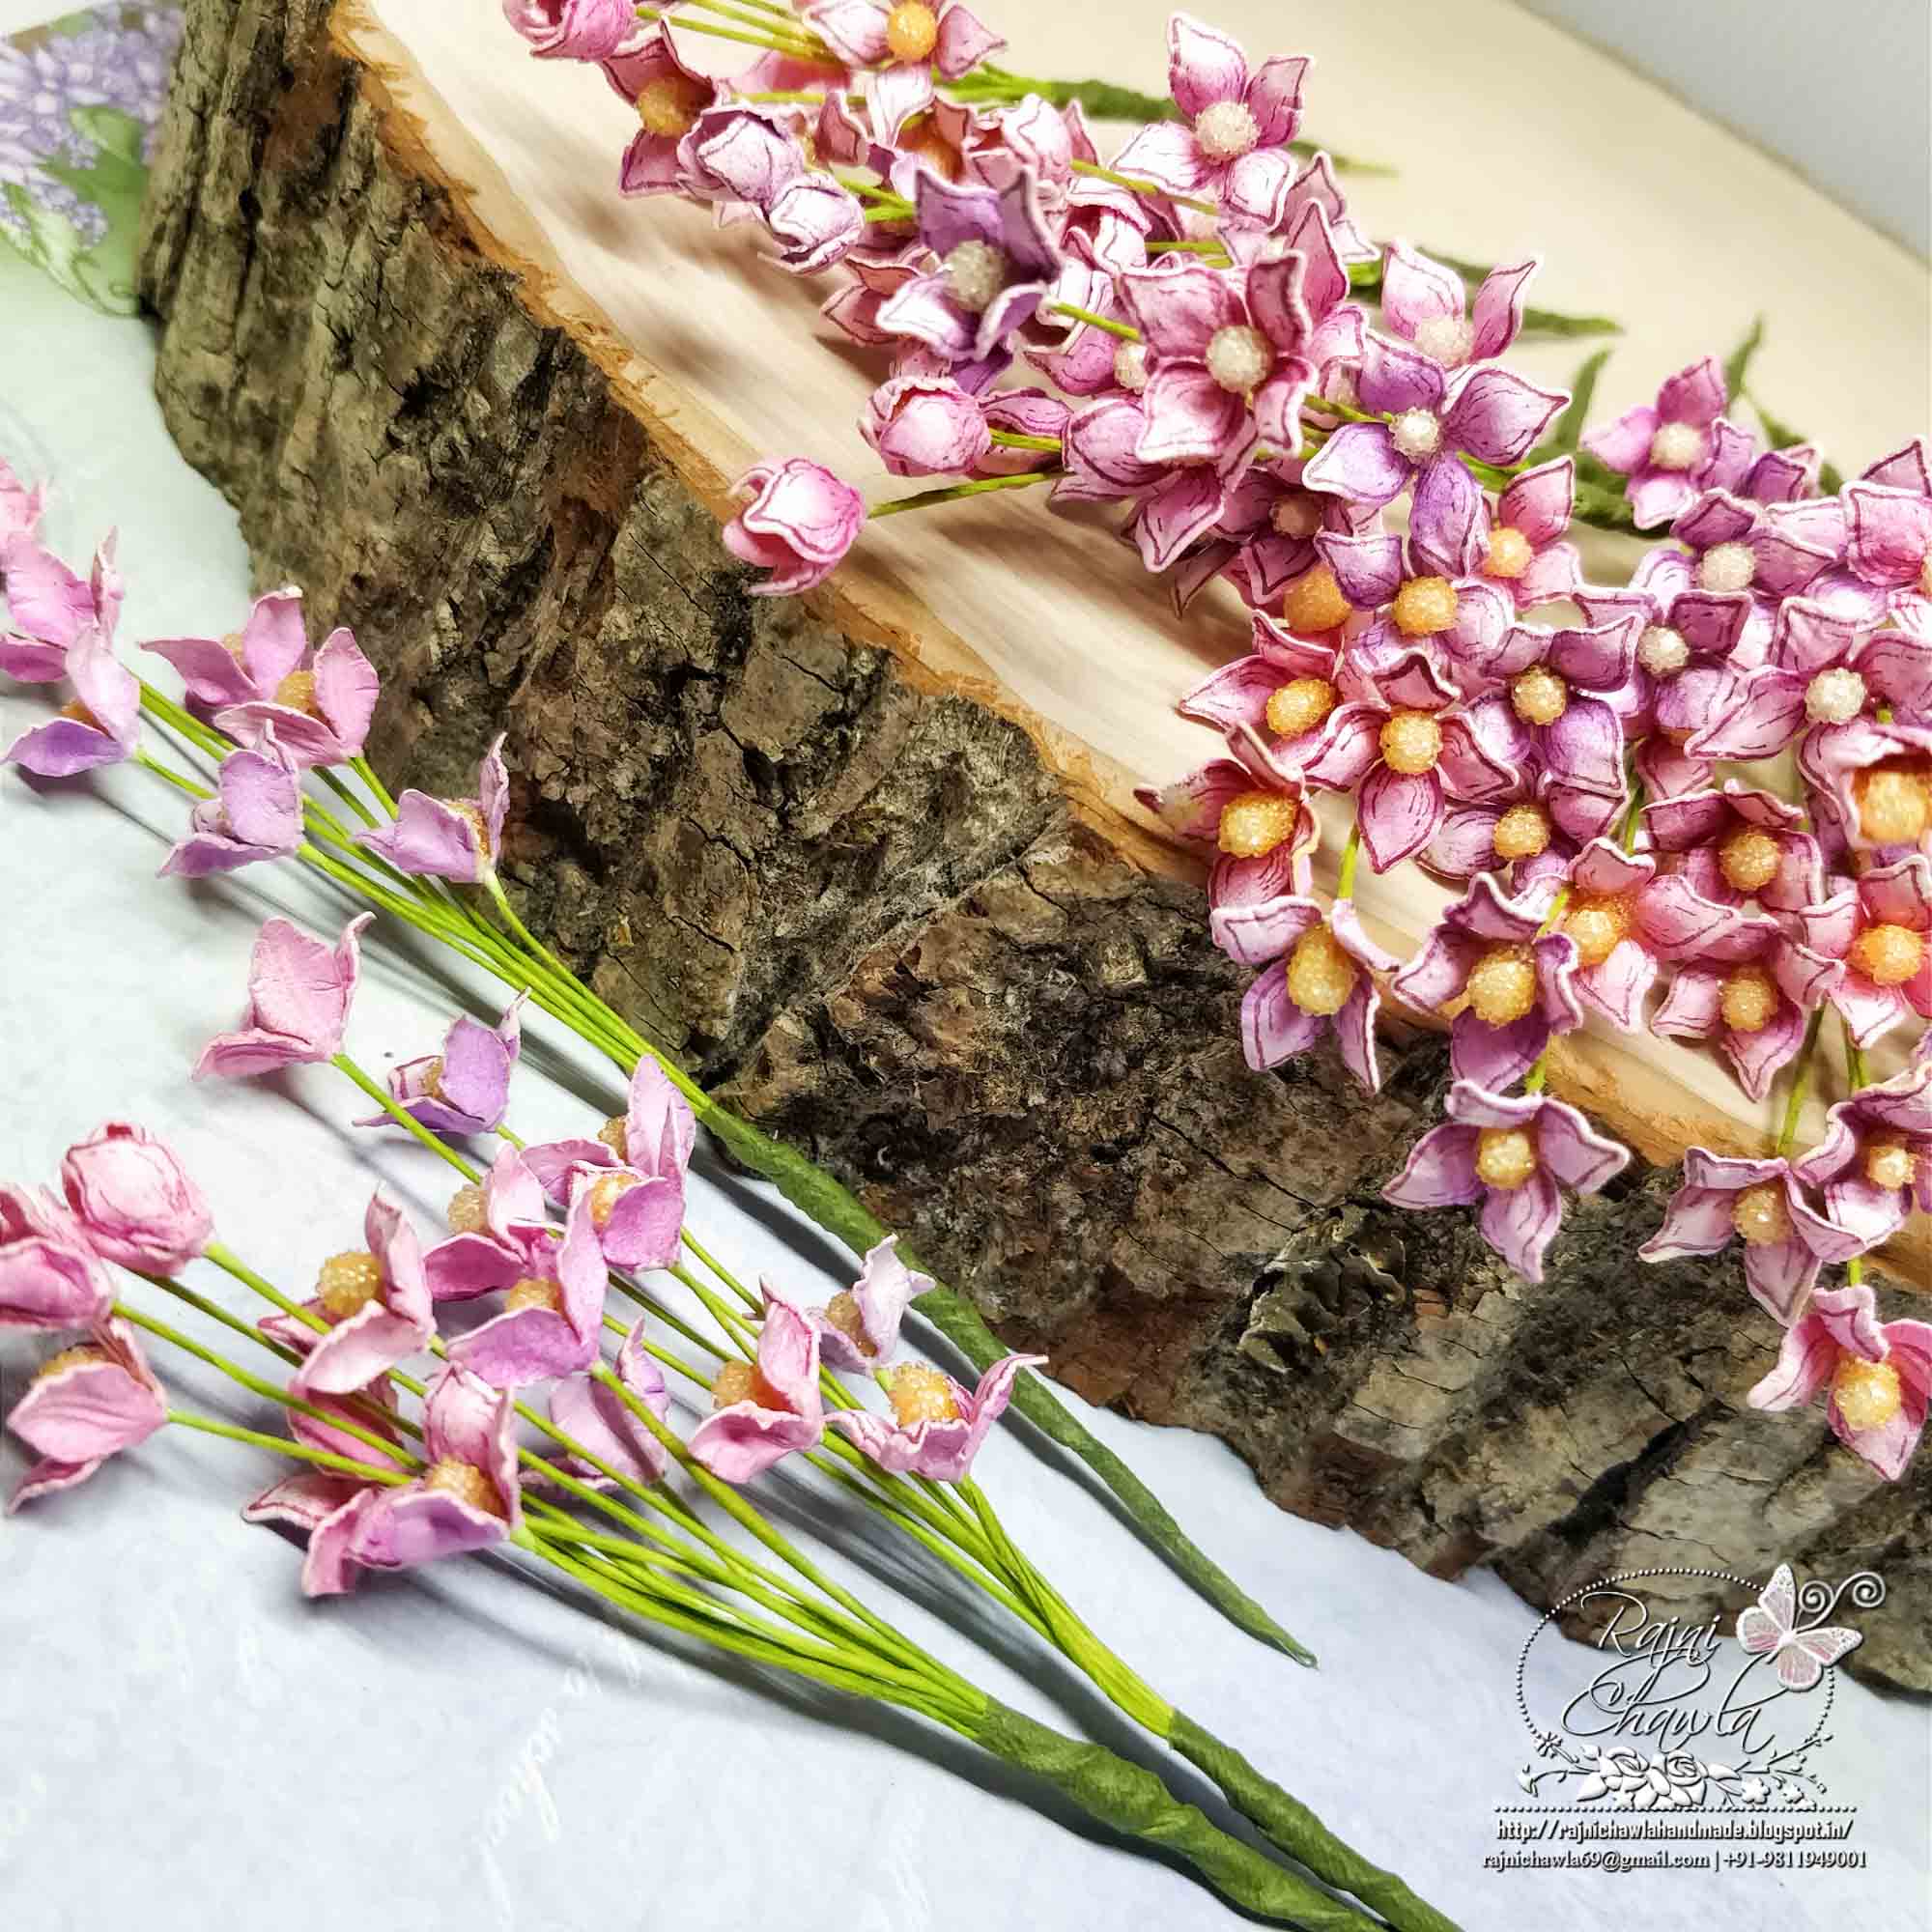
FOR BOUQUET: Make small bunches of flowers keeping buds on the top. TIP: Instead of screwing all the wires together, simply screw only one wire of the flower around the whole bunch. This will help you pull extras if you don’t like the look of the bunch. Tape all the bunches with green floral tape.
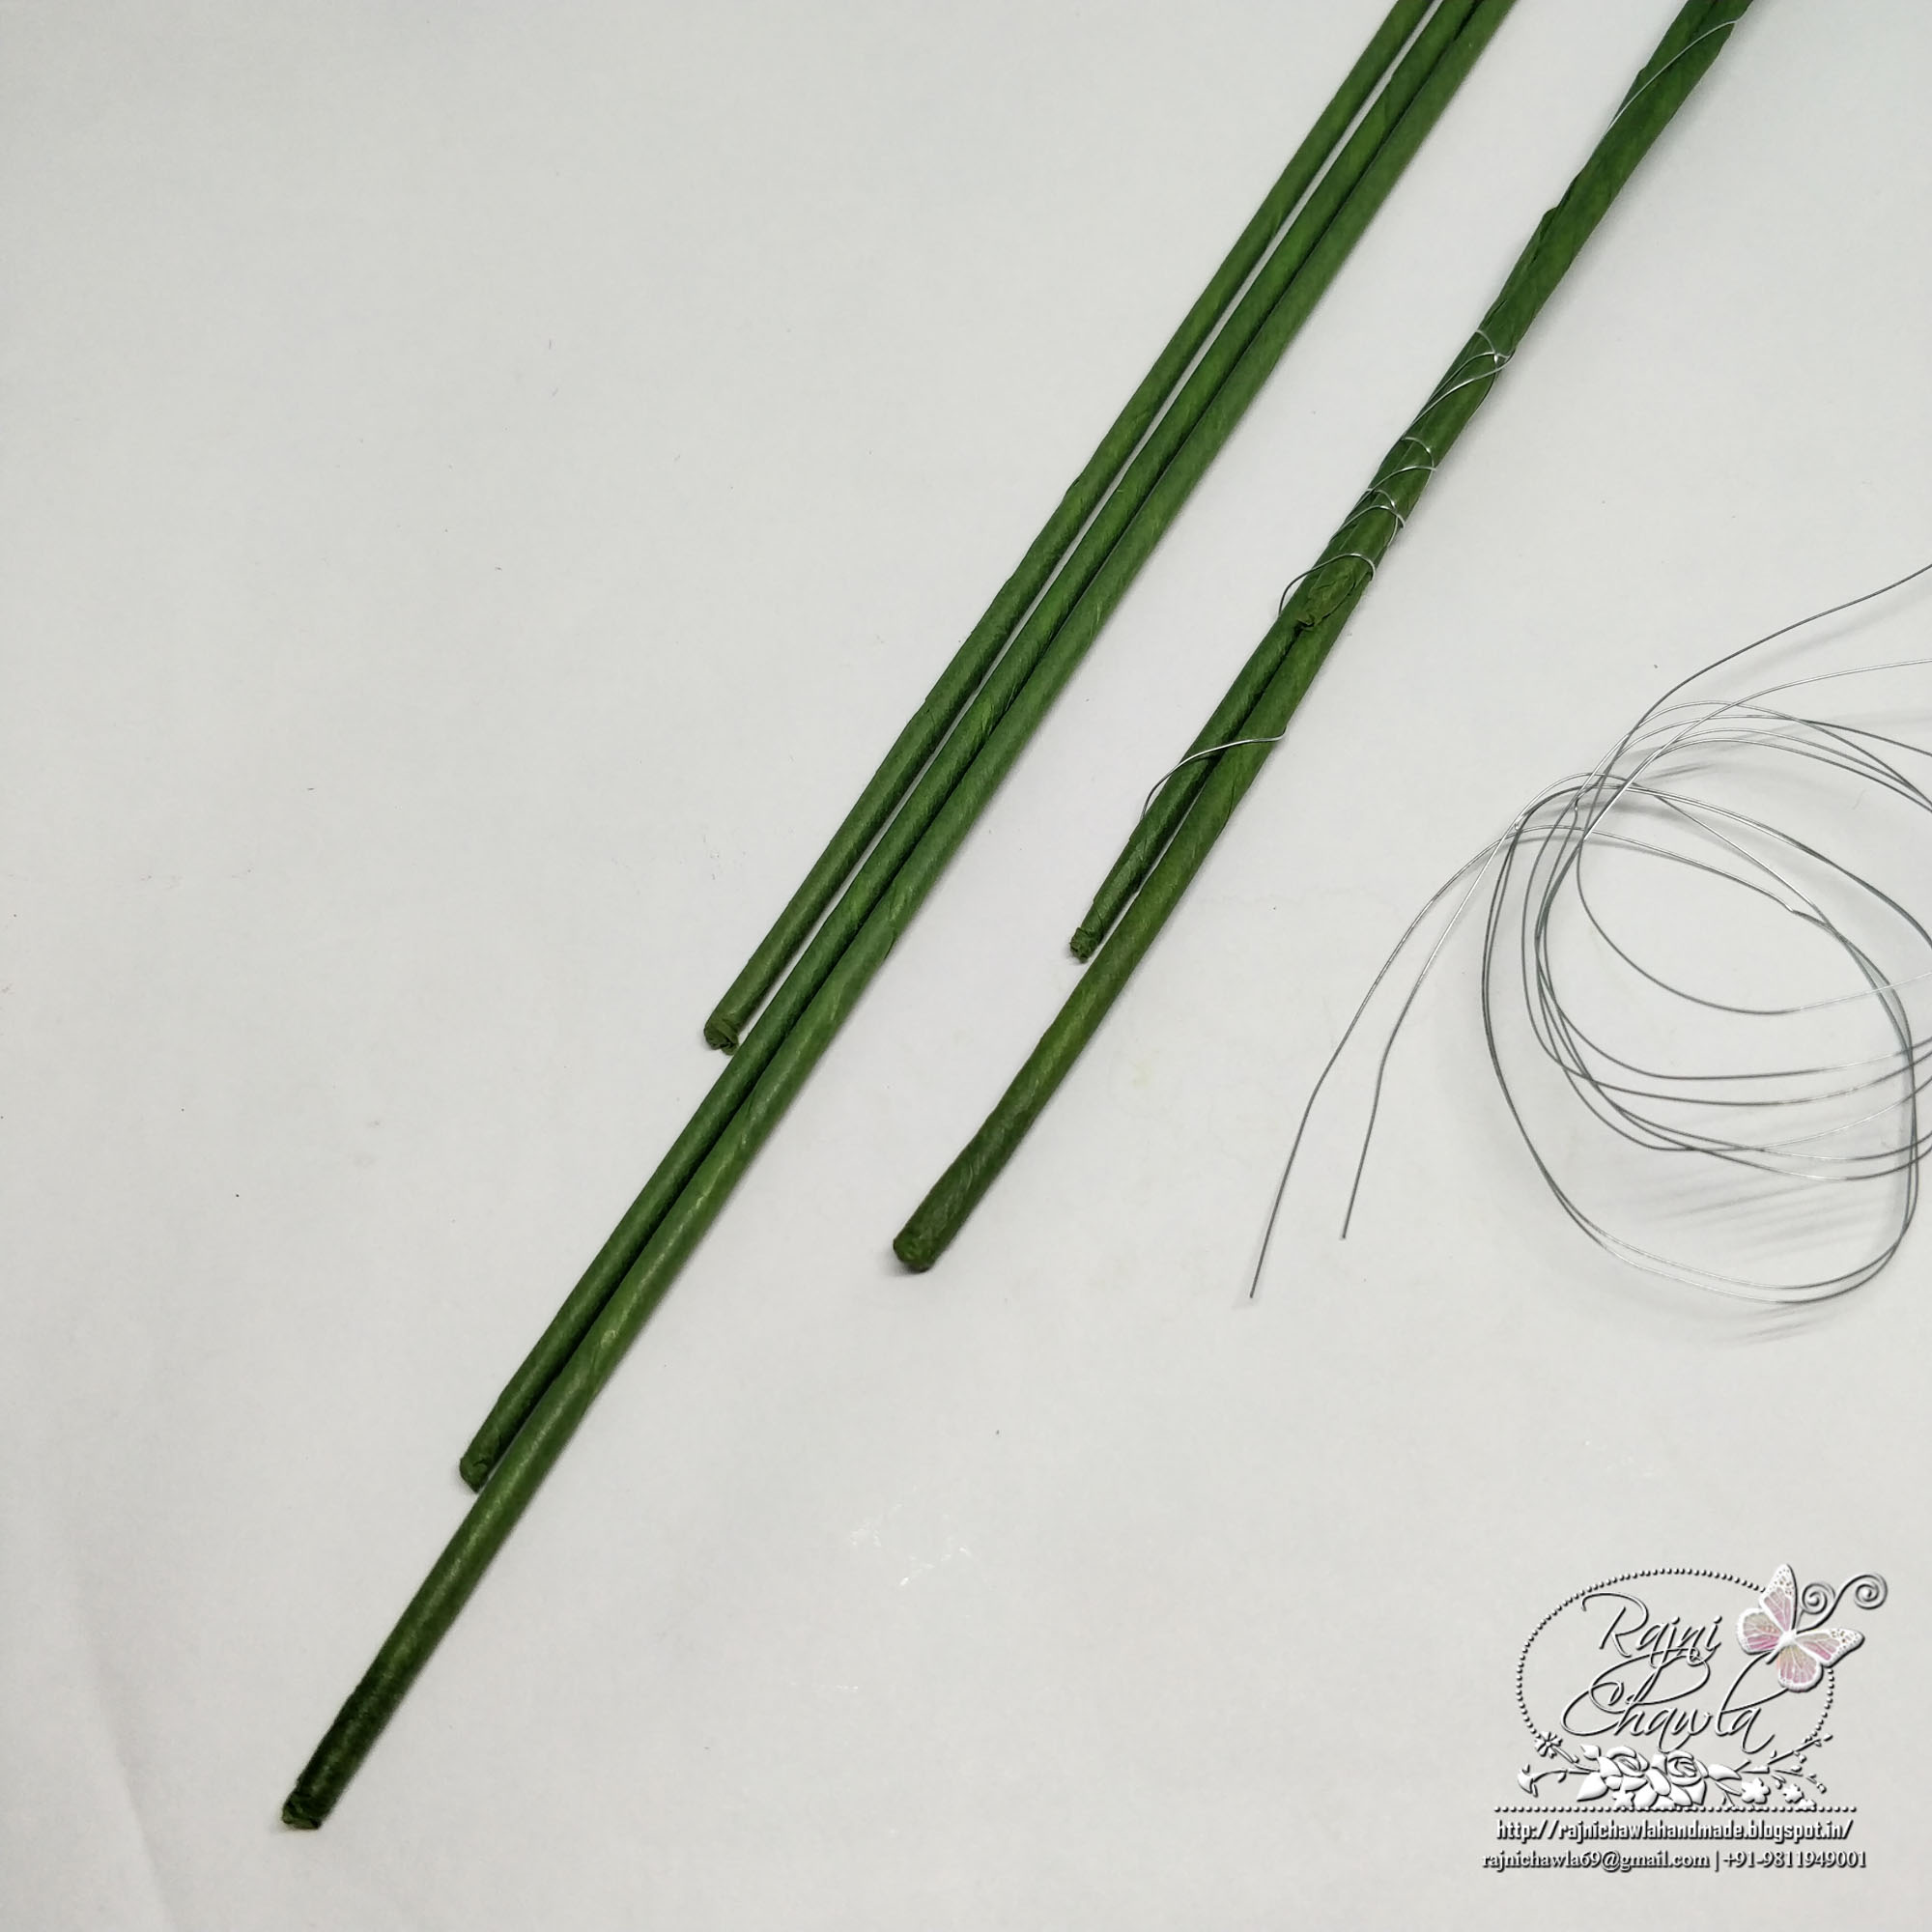
Take three stem wires and hold them as shown. Tie them using thread wire or regular thread and tape them using green floral tape. I am doing this to increase the strength of the stem as we are going to tie a huge quantity of small flowers. You can avoid this if you want the bouquet to be less heavy.
Start tieing the prepared bunches using thread wire around the stem wire. Keep wrapping the green floral tape each time you add bunches around the stem wire. You can add more or fewer bunches depending on the desired size of the bouquet.
Since I was having fewer quantities of the stamens, I have used two colors. So I have tied bunches with off-white stamens on the top and bunches with lemon color stamens on the bottom as I proceeded to complete the bouquet. Nearly 150 to 160 flowers are required to complete this bouquet.
To the base of the bouquet, tie the prepared leaves, the same way and wrap around with floral tape. Add 2 twirls made with 20 gauge wire on the base to complete the bouquet.
Make 2 long swirls using 22 gauge wire and tie them along with the leaves.
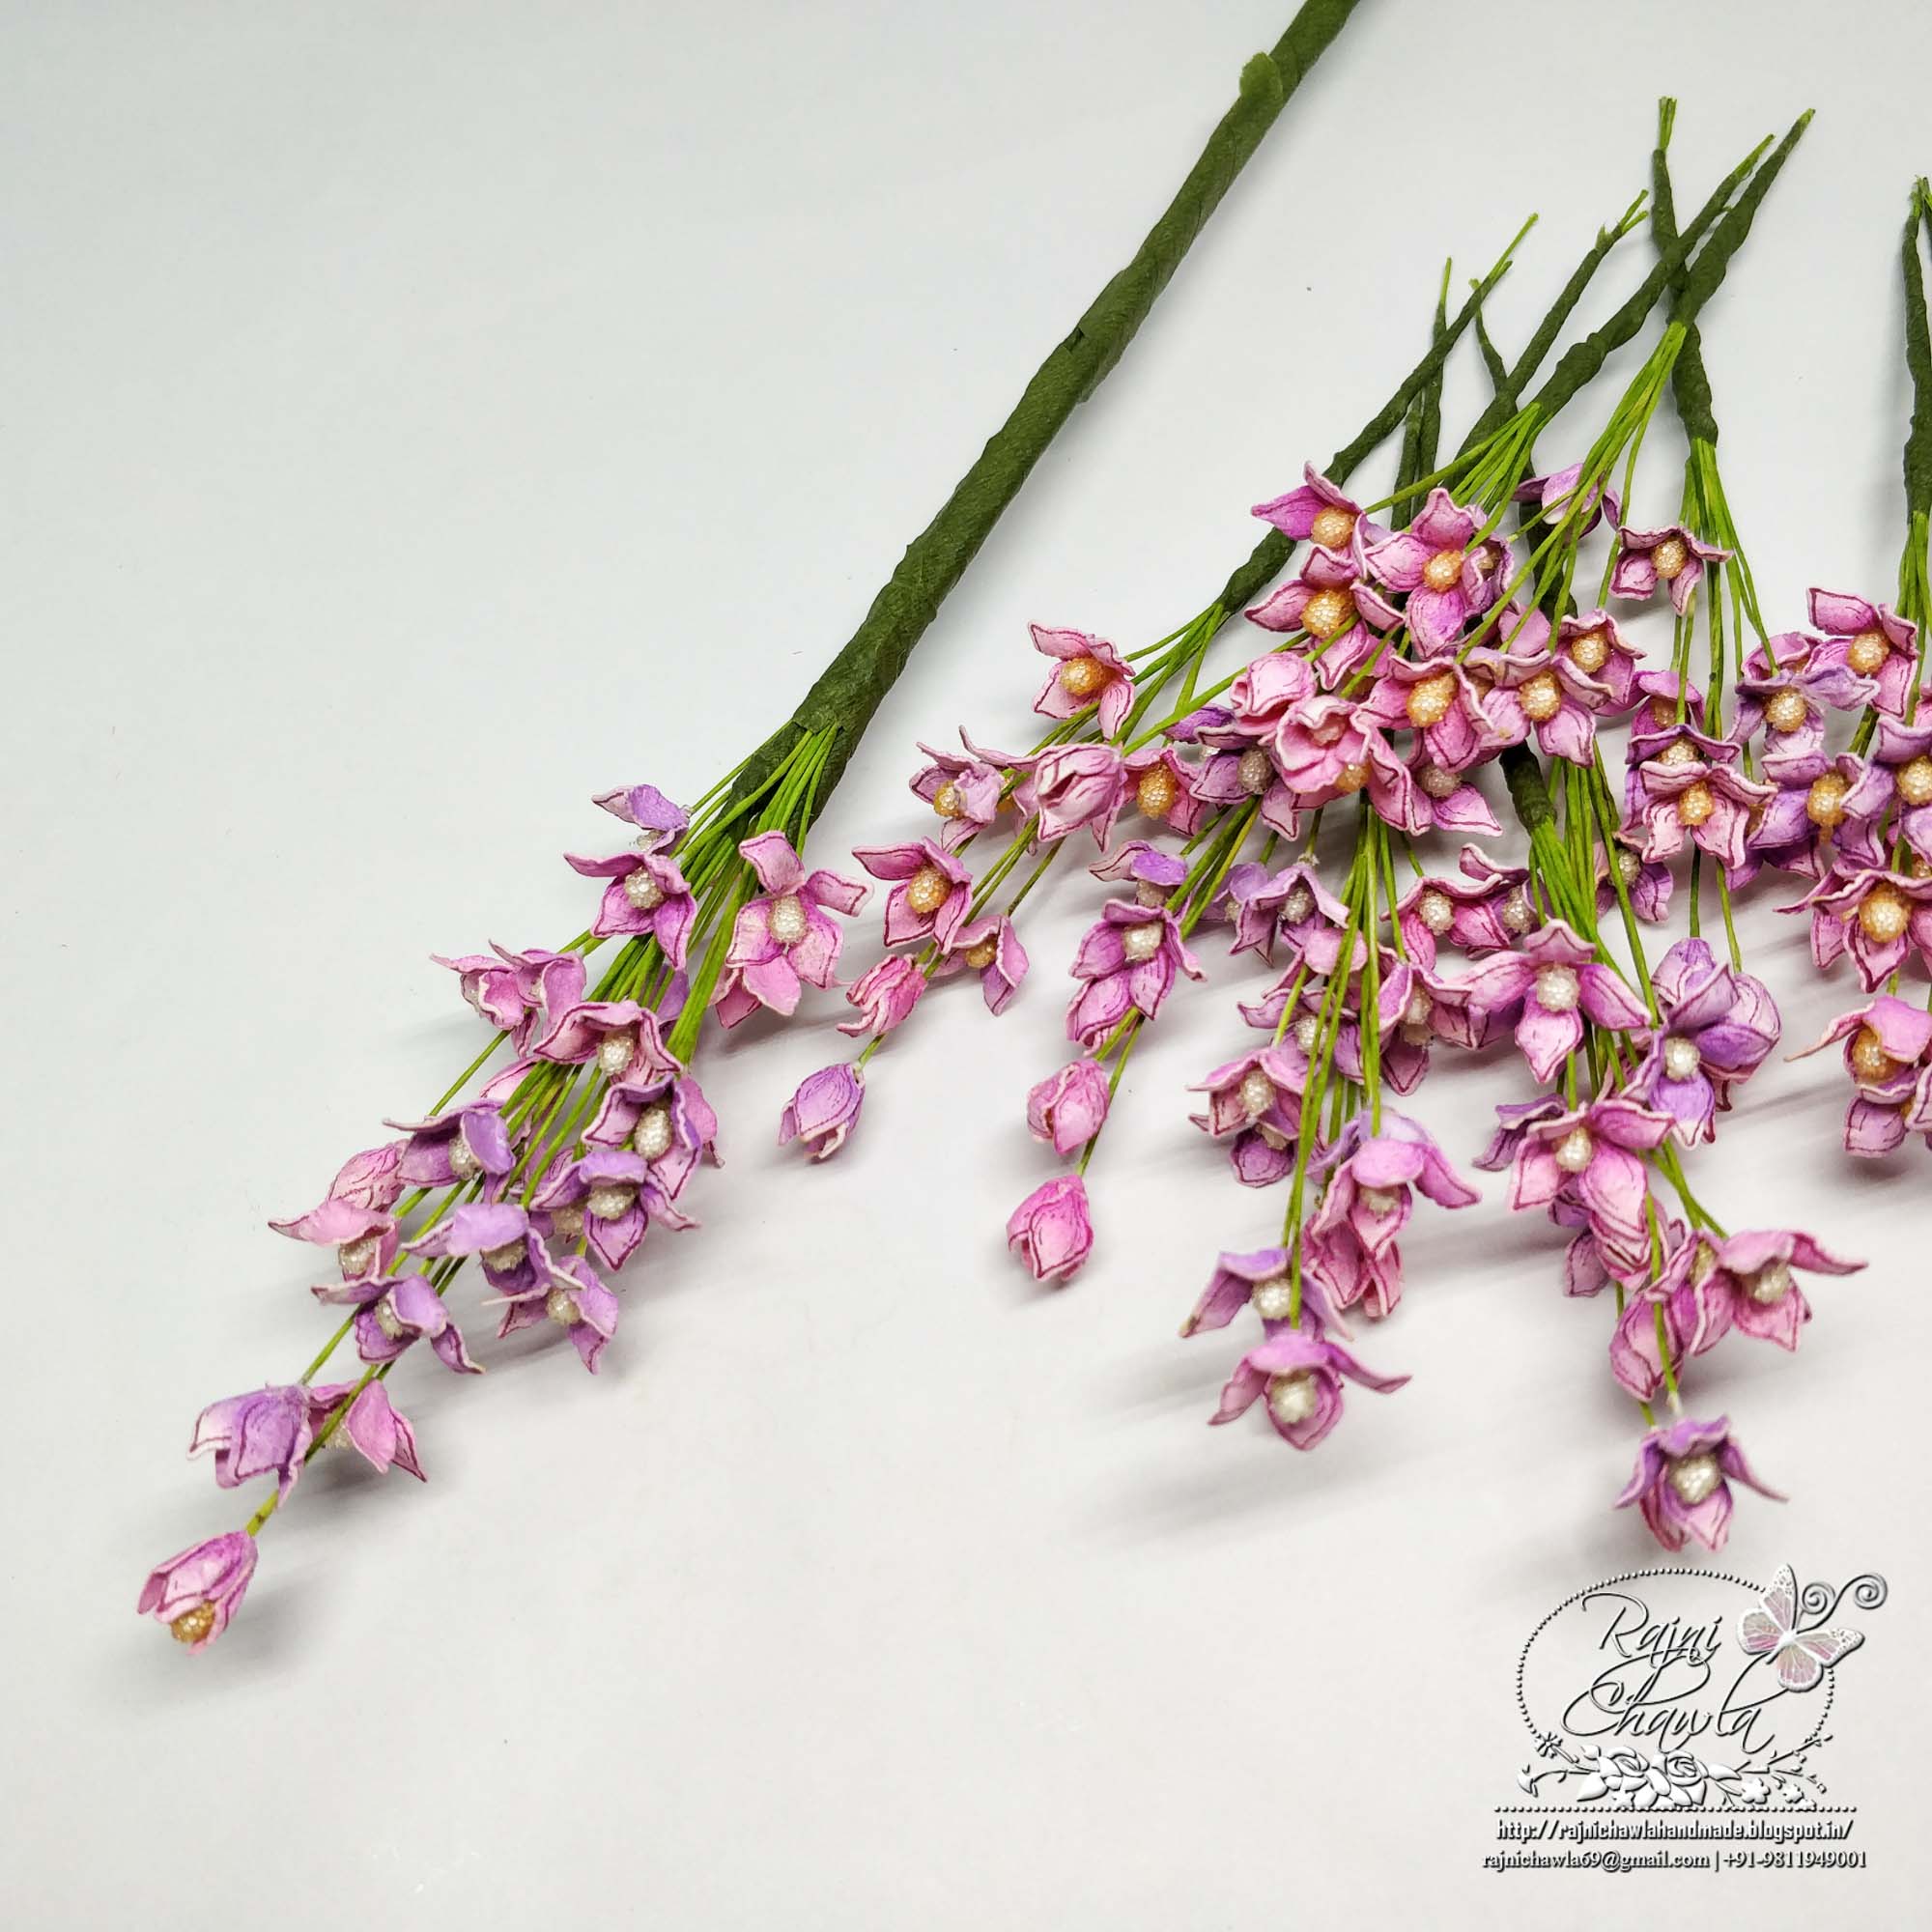
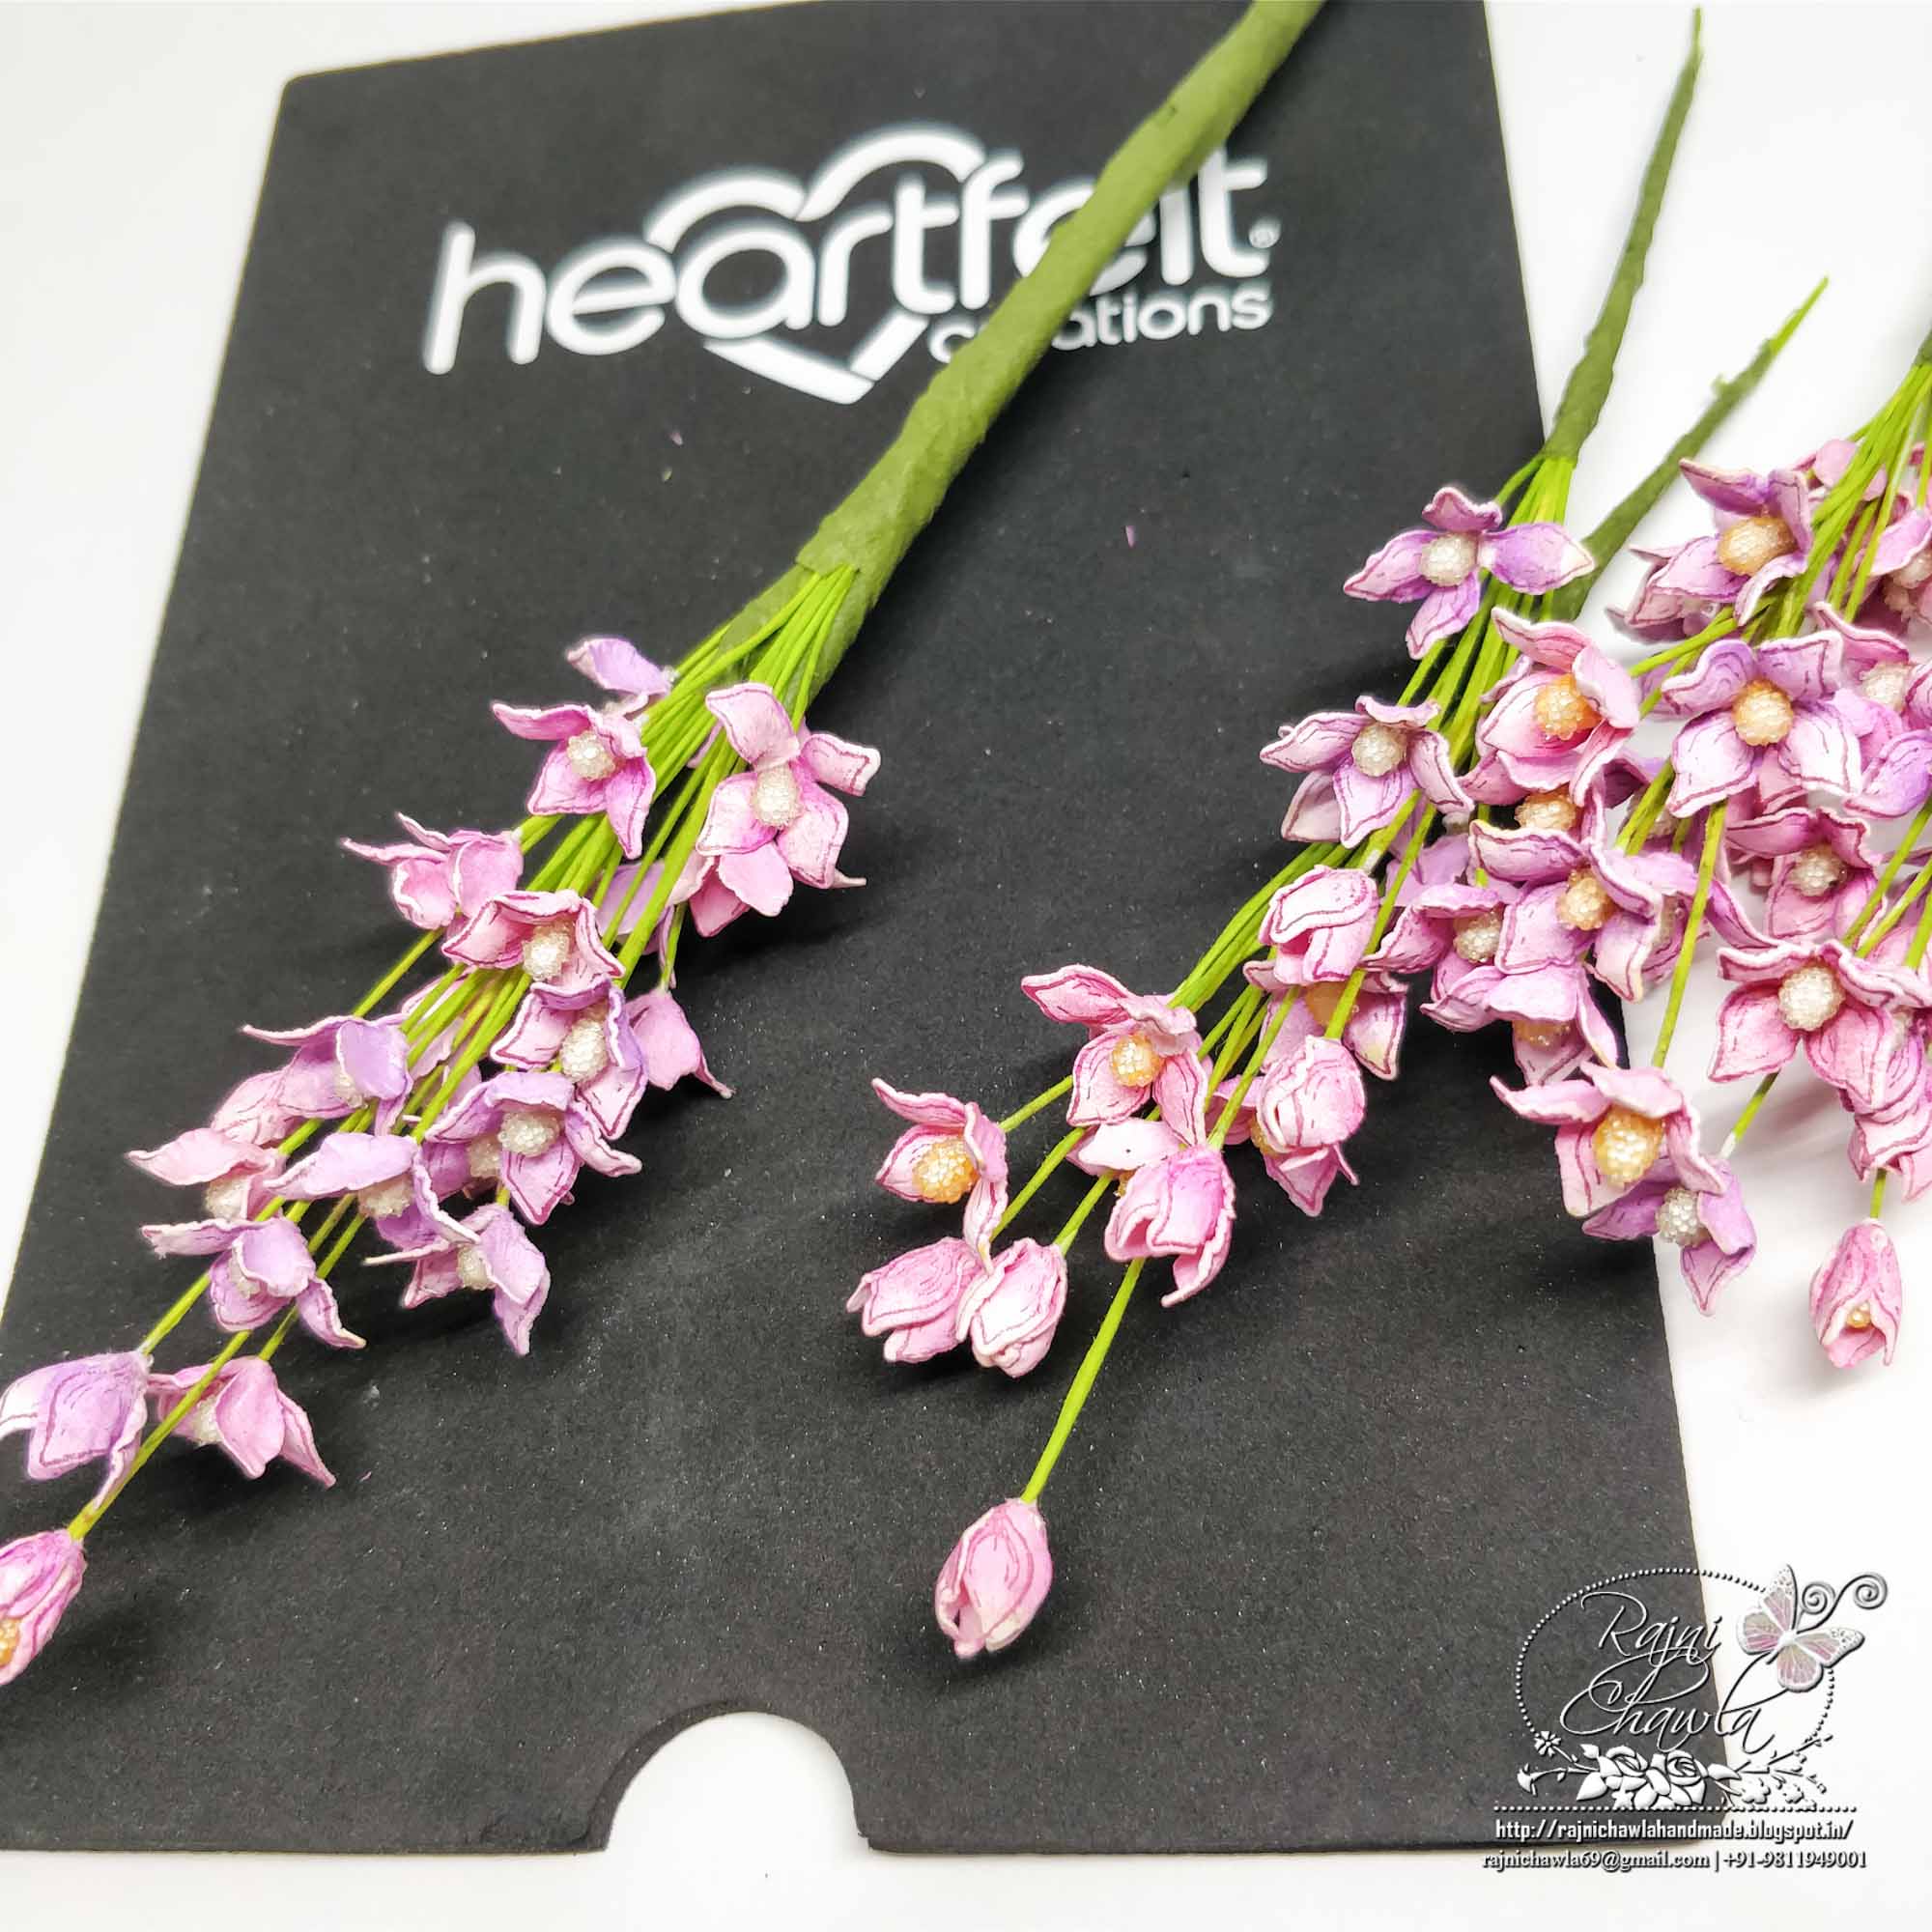
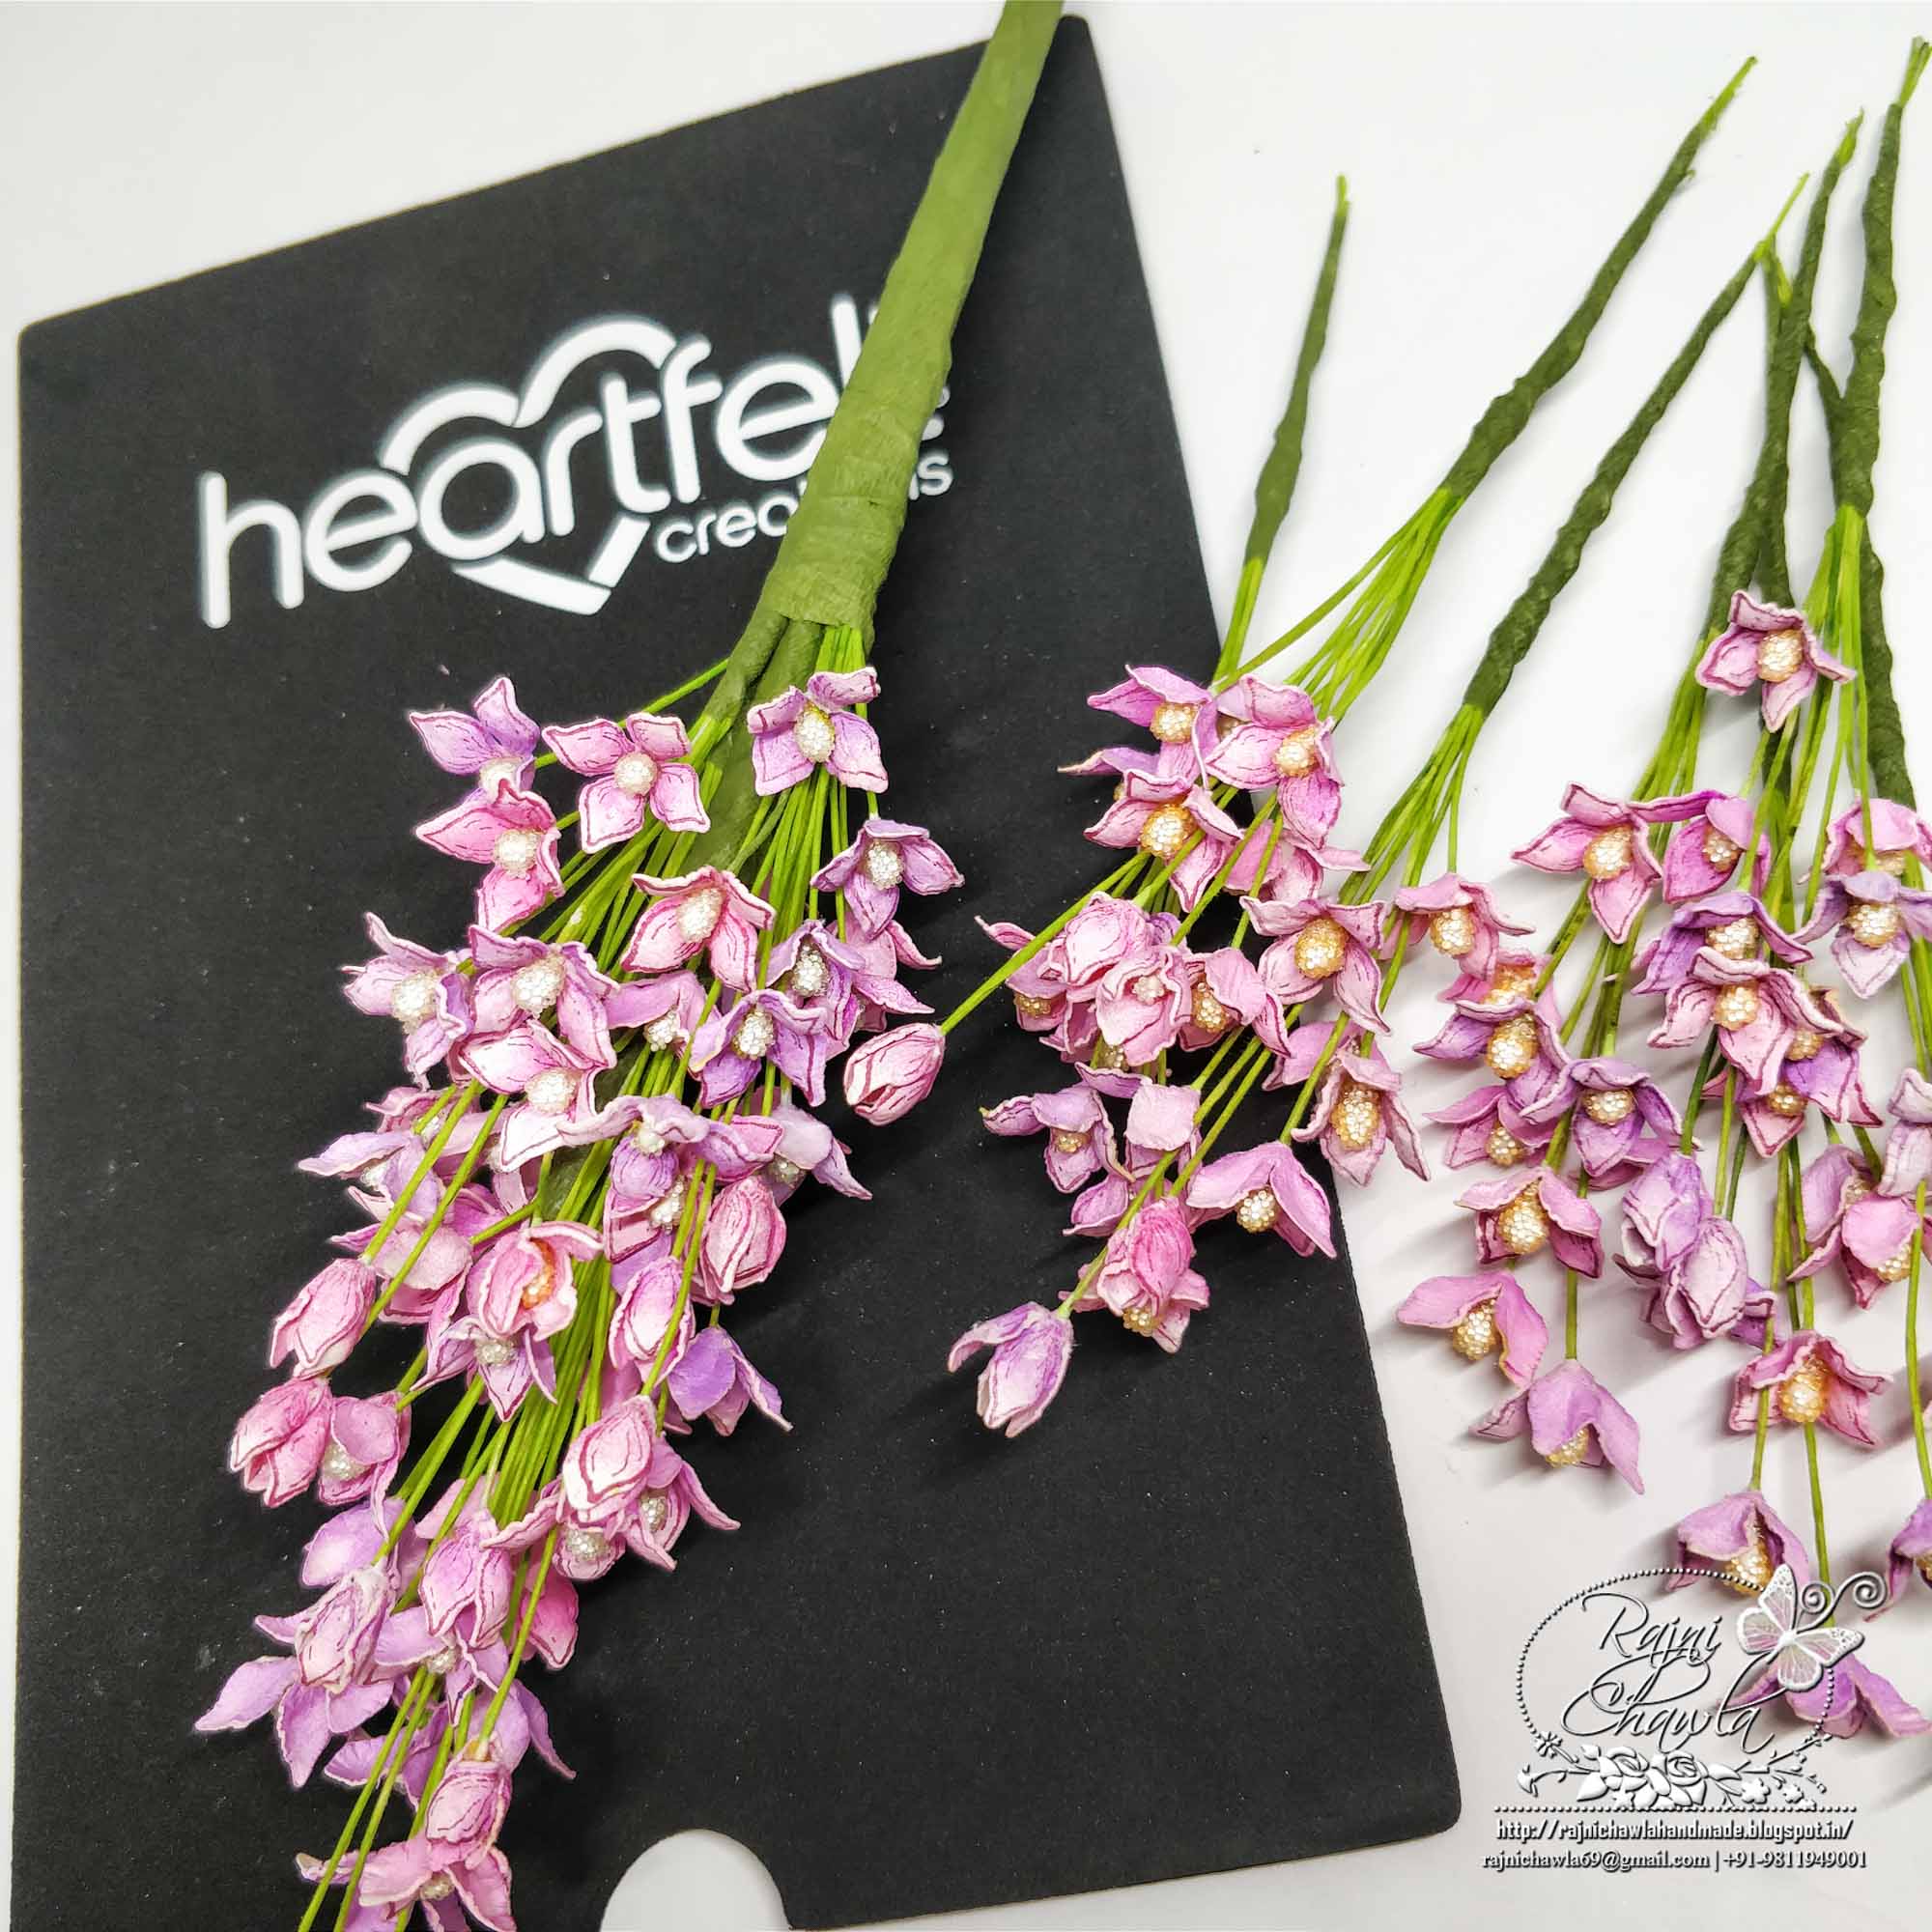
Here is the complete look of the bouquet, when finished.
Hope, the tutorial was clear and helpful.



Hthank you for sharing Rajni…..I know how much time goes into photographing a tutorial. We appreciate your effort. 🤗😘💕
Rajni, this is amazingly beautiful! I find I run out of words to tell you how beautiful I find your creations. Thanks for the lovely tutorial this morning. I love the tip of coloring the stamen stems and find that so clever! I am such a huge fan!
Wow Rajni, this is amazing…YOU are AMAZING!!! Fantastic tutorial and gorgeous bouquets! I too love how you colored the stems! Wow, wow, wow!
Beautiful…. love your tutorial as you cover so many detailings… its such a good tutorial.
You have gods gift.
Such a wonderful tutorial Rajni! I love the idea of coloring the stamen stems, brilliant! Beautiful bouquets of lilac my friend!
Great Tutorial, really helpful, I like the idea of colouring the stamen stems, must remember that. Thank you for all your time and effort in making the tutorial. x
What a beautiful Tutorial Rajni ji. I read every word you wrote!!! Thank you so much for sharing your vast experience!
You are sooooo talented! I love learning from the best!!! Thank you Rajini!!!!!!!