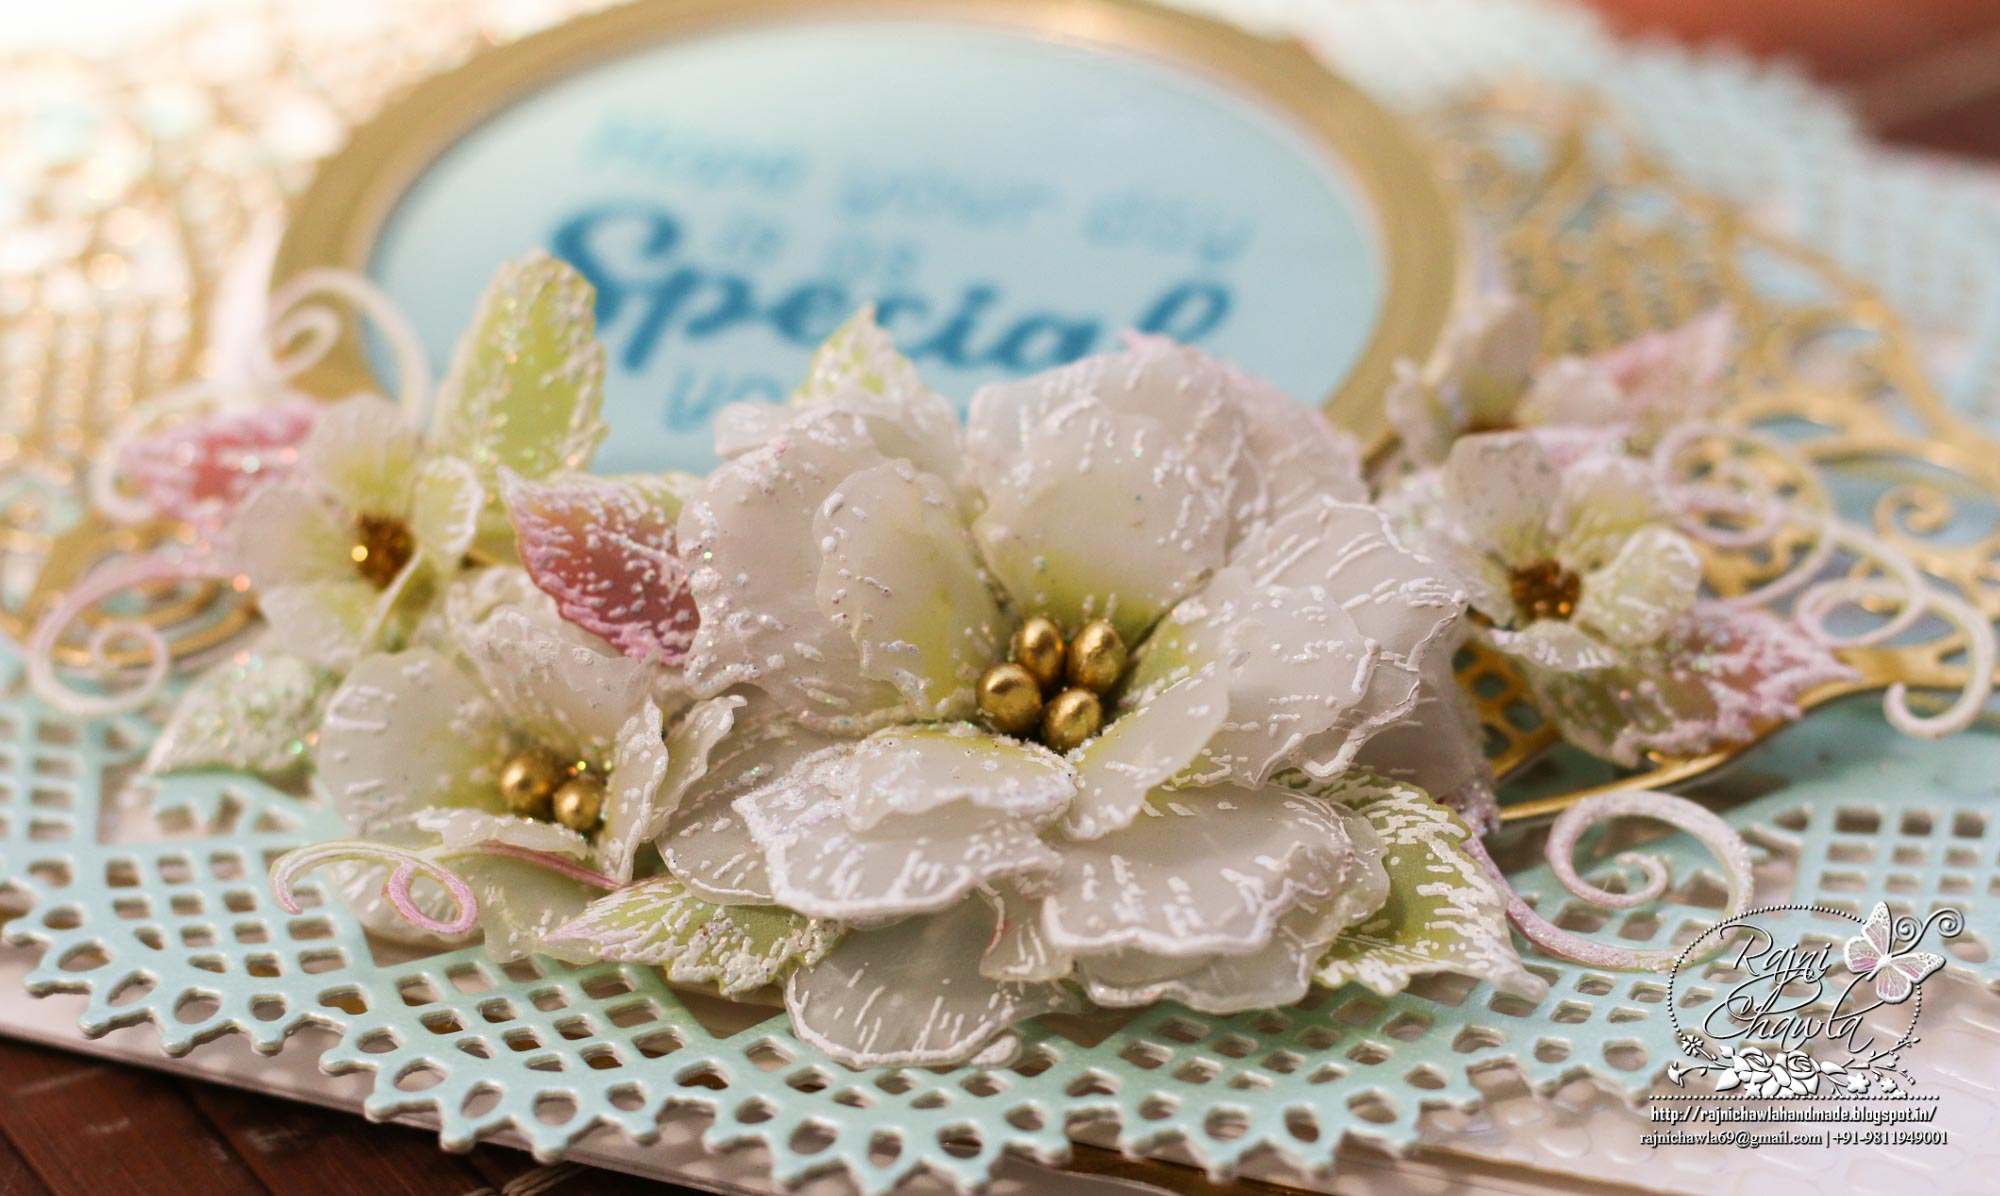
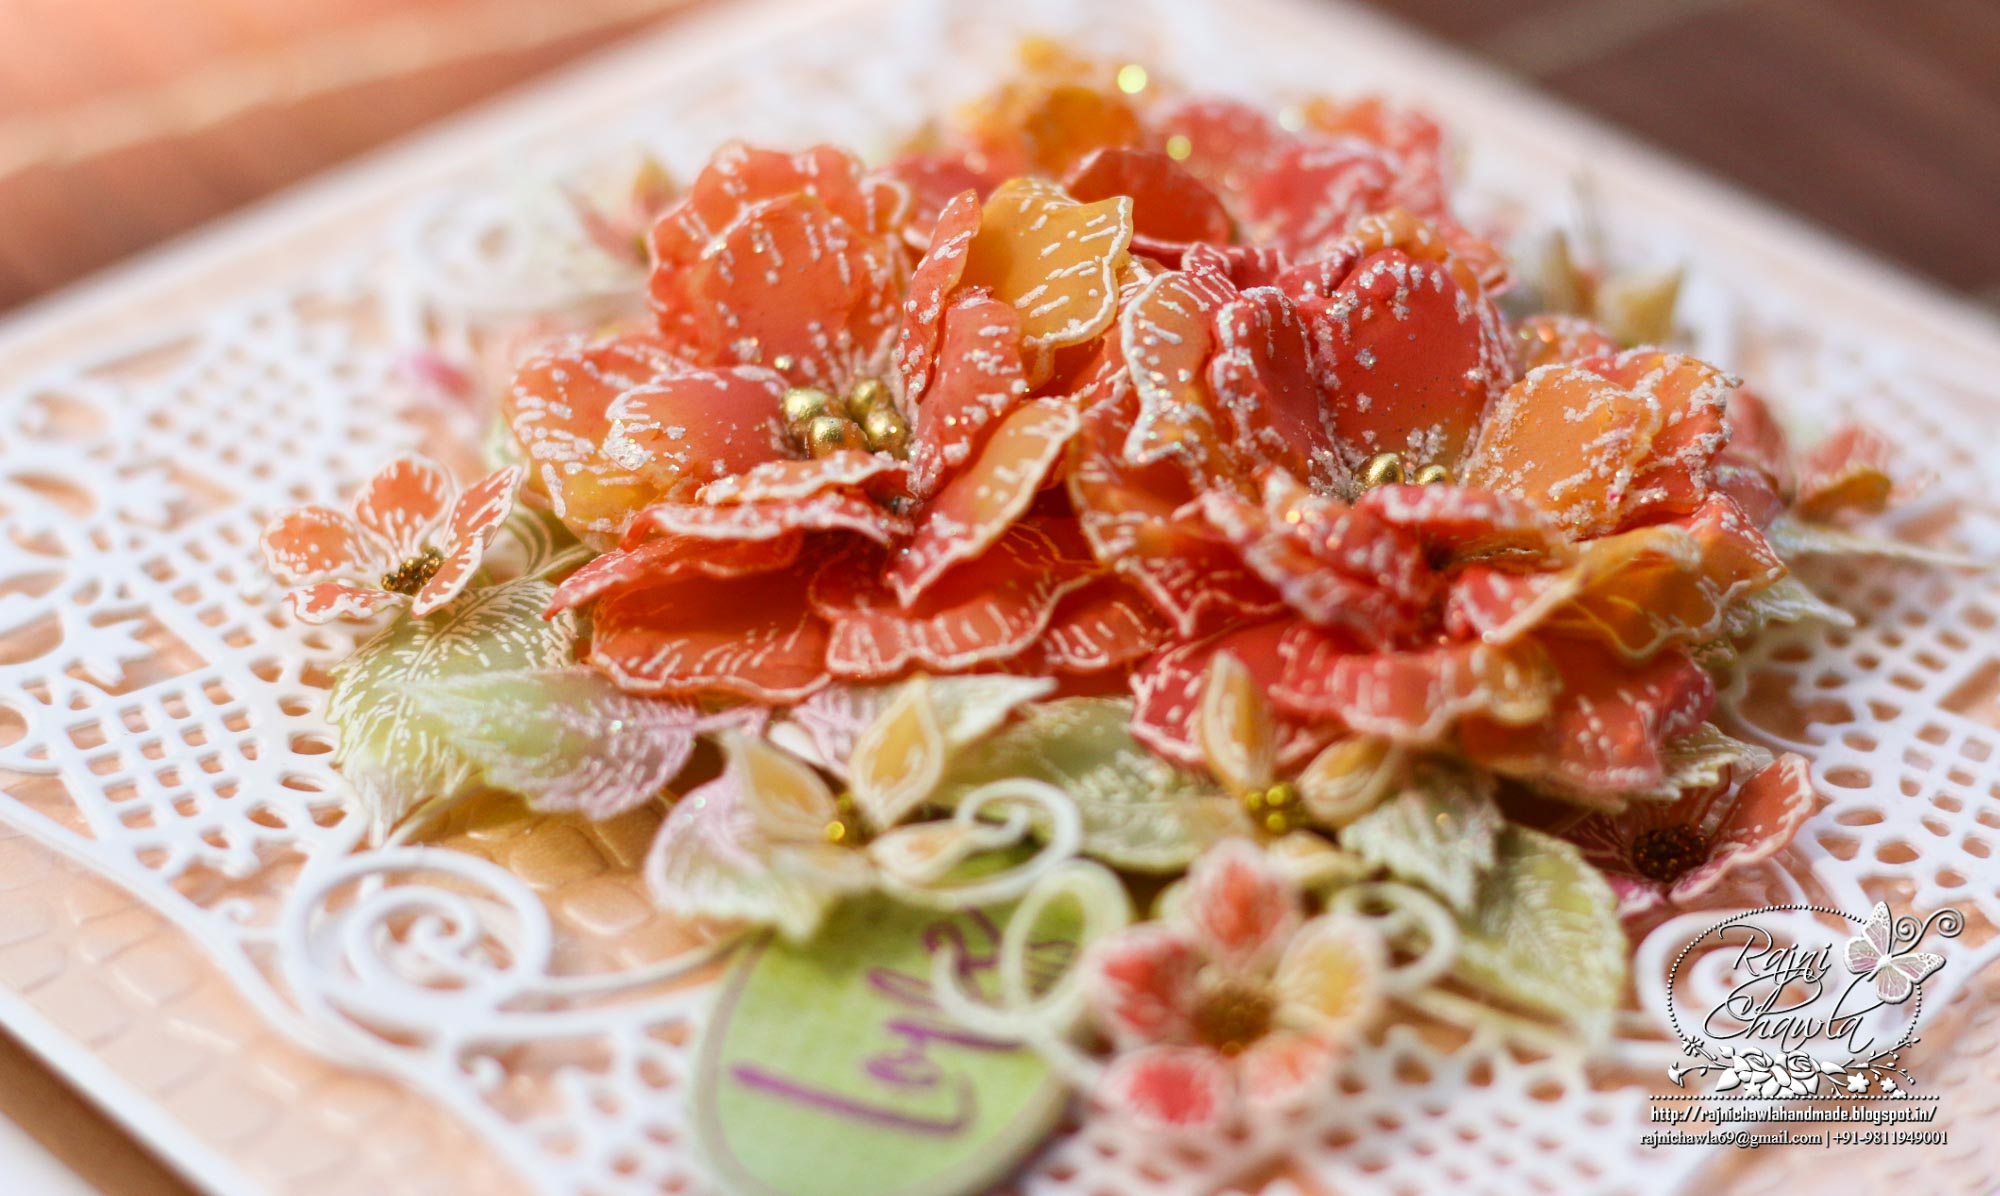
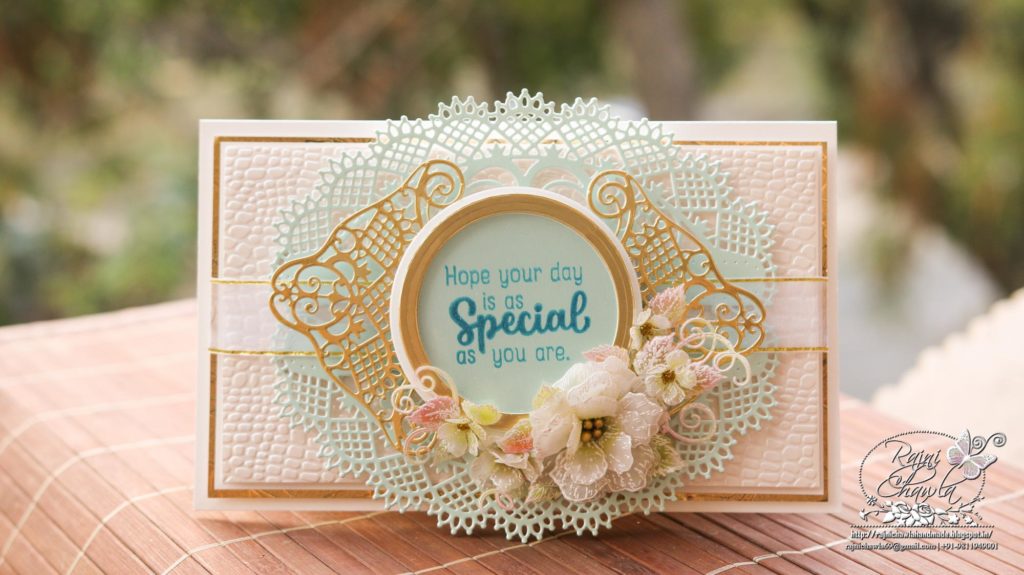
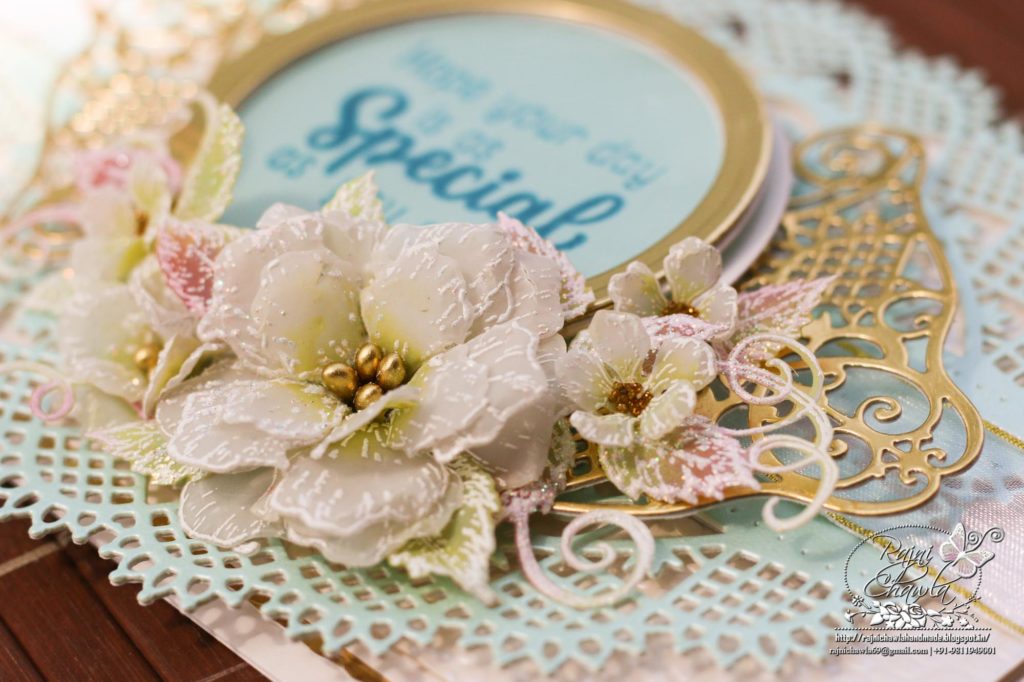
I have another share for the day, again using Products from Heartfelt Creations. I think I am going crazy using the latest pocket dies, Ivory pearlescent cardstock and Papericious vellum cardstock.
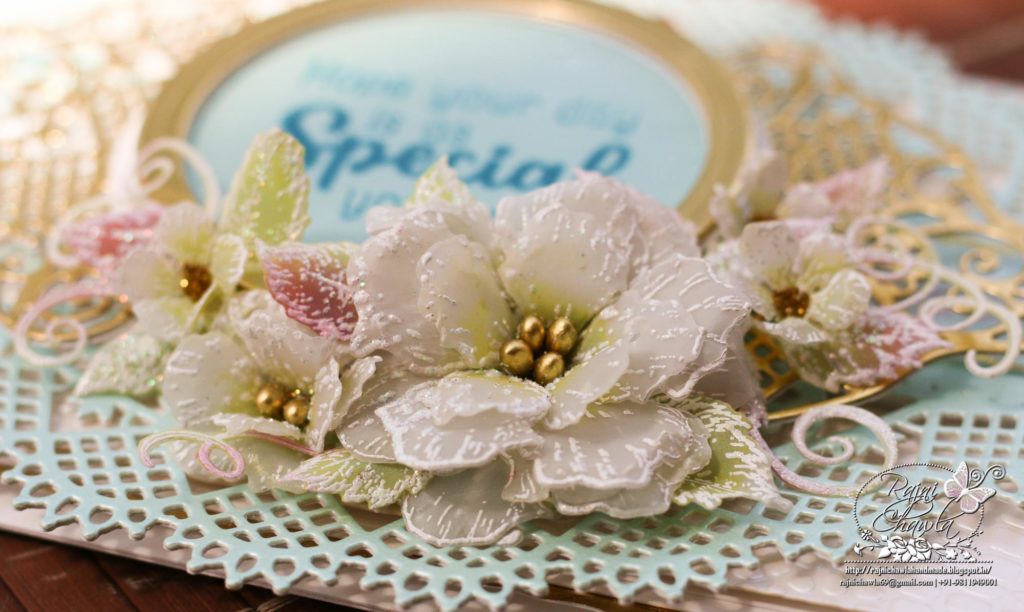
Supplies from Heartfelt Creations:
HCD1-7154 Eyelet Circle & Basics Small Die
HCD1-7246 Fanci-fold Pocket & Accents Die
HCD1-7245 Adorn It Pocket Accents Die
HCPC-3845 Just For You Sentiments Cling Stamp Set
HCFB1-462 3D Rose Shaping Mold
HCPC-3752 Classic Rose Cling Stamp Set
HCPC-3753 Classic Rose Vines Cling Stamp Set
HCD1-7110 Classic Rose Die
HCD1-7111 Classic Rose Vines Die
18002 Rajni Chawla’s Vellum Flowerite – 10 Sheets
TSSZ63 StazOn Ink Pad – Teal Blue
RAHT Heat It Craft Tool
PGM15015 Rajni Chawla’s Crystal Clear
HCDA2-450 Stack and Store Daubers-Pack of 30
CB80 ColorBox Pigment Ink Pad – Frost White
HCST1-401 Deluxe Flower Shaping Kit
HCS1-459-2 Assorted Pearl Stamens-Medium
Other Products Used: Smooth White Cardstock, Funnel Tray, 3D Embossing Folder, Distress Oxide Peeled Paint, White Heat Embossing Powder, Versafine Clear Ink, Golden Heat Embossing Powder, Foam Dots and Ivory and Teal Pearescent Cardstock, Gold Foiled Cardstock.
Videos Referred:
https://www.heartfeltcreations.us/video/229/how-to-use-elegant-pocket-dies-the-easy-way
Instructions: The ready top fold card from white cardstock measures 5″ by 8 1/2″. To create the top panel, cut ivory color pearlescent cardstock measuring 4 1/2″ by 8″. Dry emboss it using 3D embossing folder. Create 2 mats, one from white cardstock and one from gold foiled cardstock making the borders of 1/16″ all around. Layer them together using foam dots on the card front.
Cut 2 diecuts from white card stock and 2 die cuts from golden foiled cardstock, using Fanci-fold Pocket & Accents Die. Glue white die cut behind the gold one for extra strength. Also,cut 2 die cuts from teal pearlescent cardstock using Adorn It Pocket Accents Die and arrange all on the cardpanel as shown. Add dimensions using foam dots.
Cut a white circle using an outer die from Eyelet Circle and Basic Small Die set and 1 gold die cut frame using a 2nd and third die from the same set. Cut one piece of the circle from teal pearlescent cardstock using
For Vellum Roses and leaves, Stamp the images from Classic Rose Stamp set and Classic Rose Vines Cling Stamp


