Good Morning peeps….
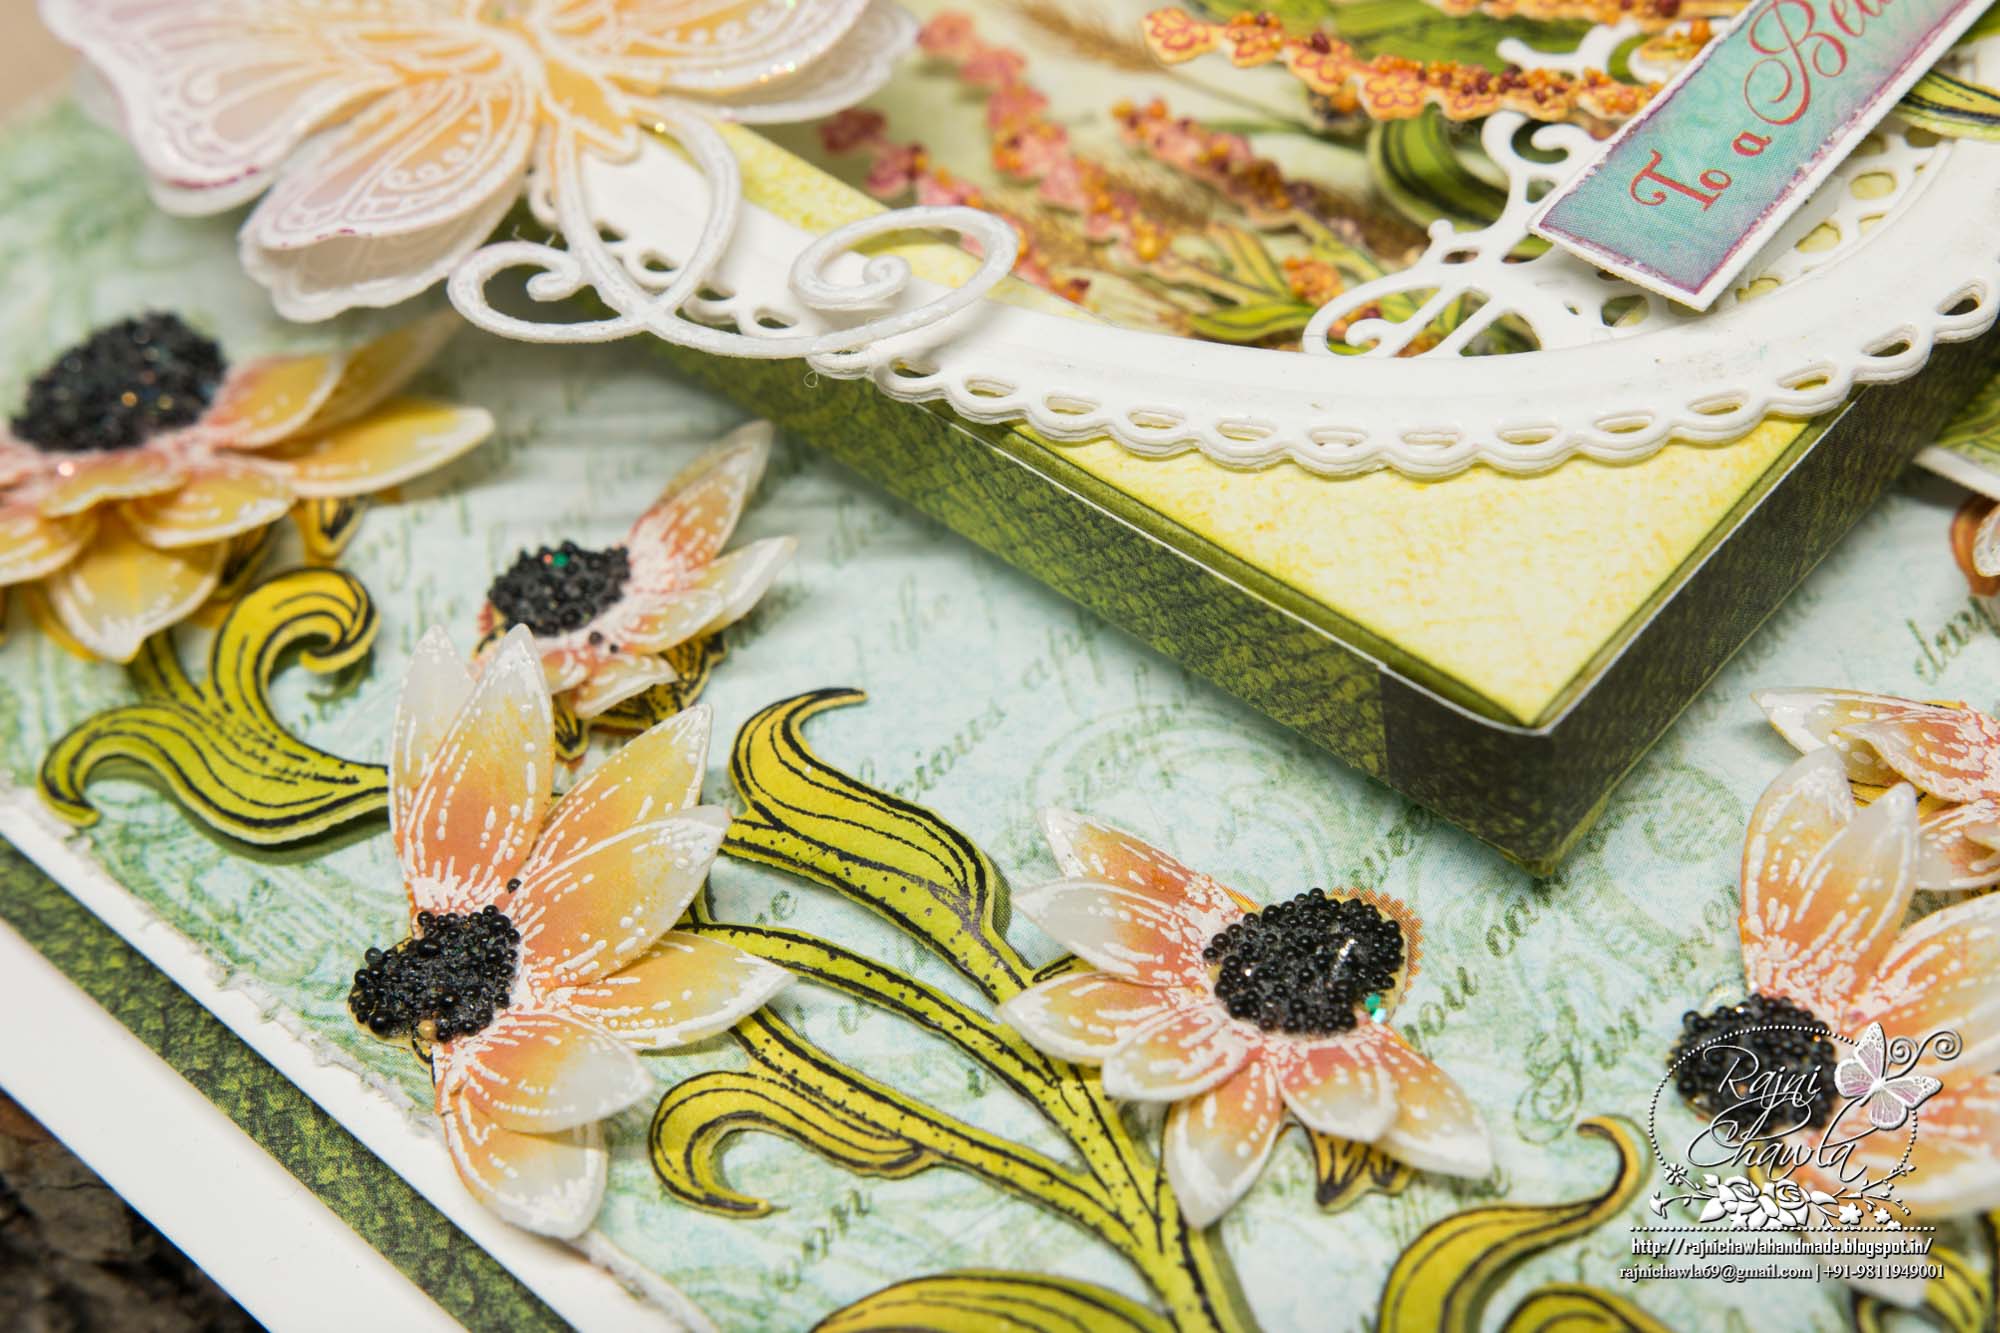
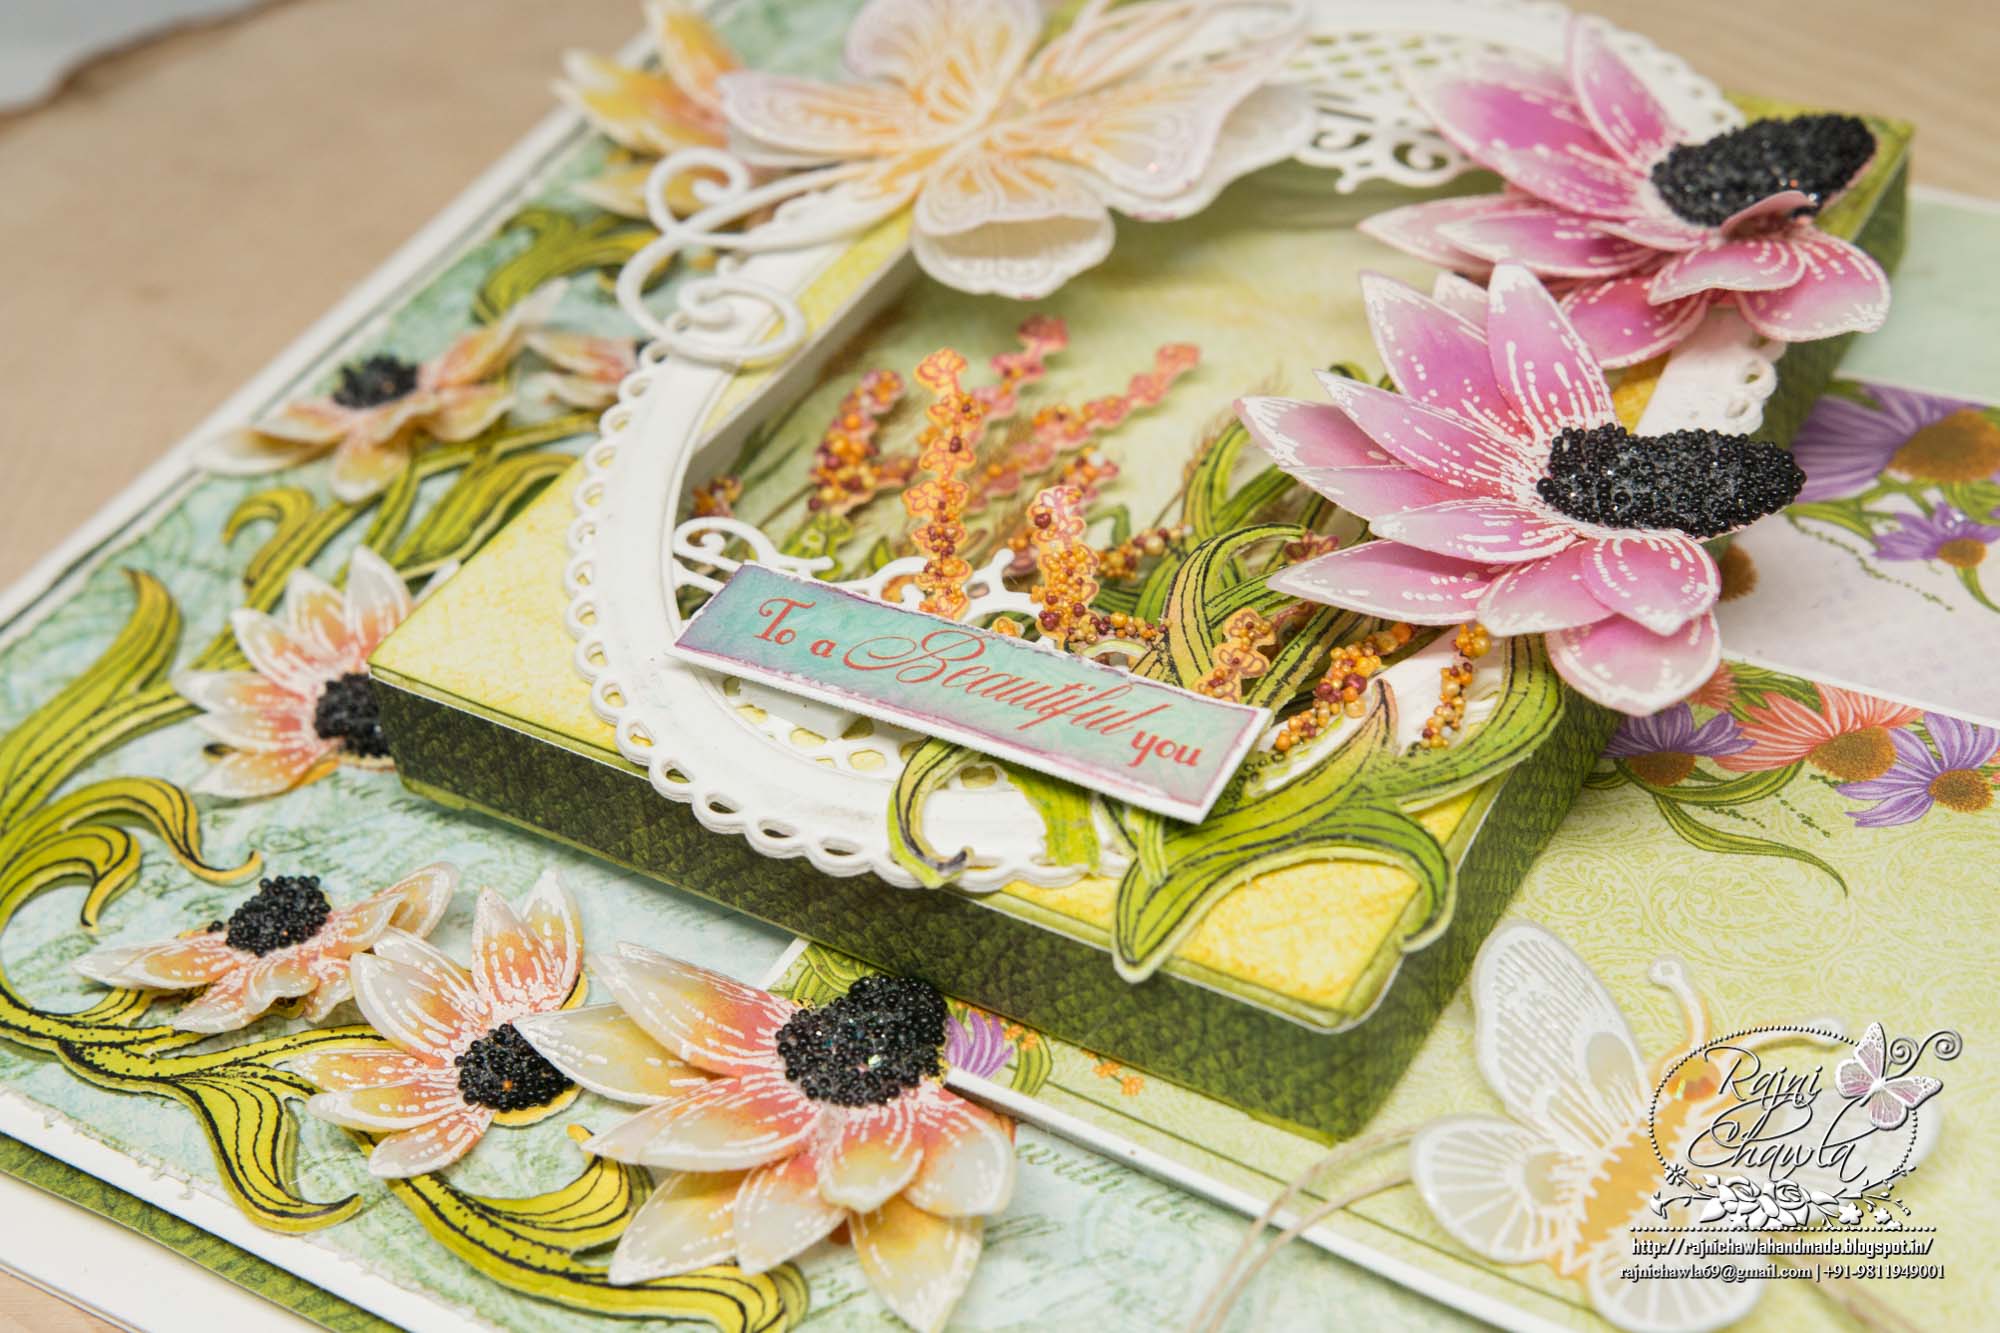
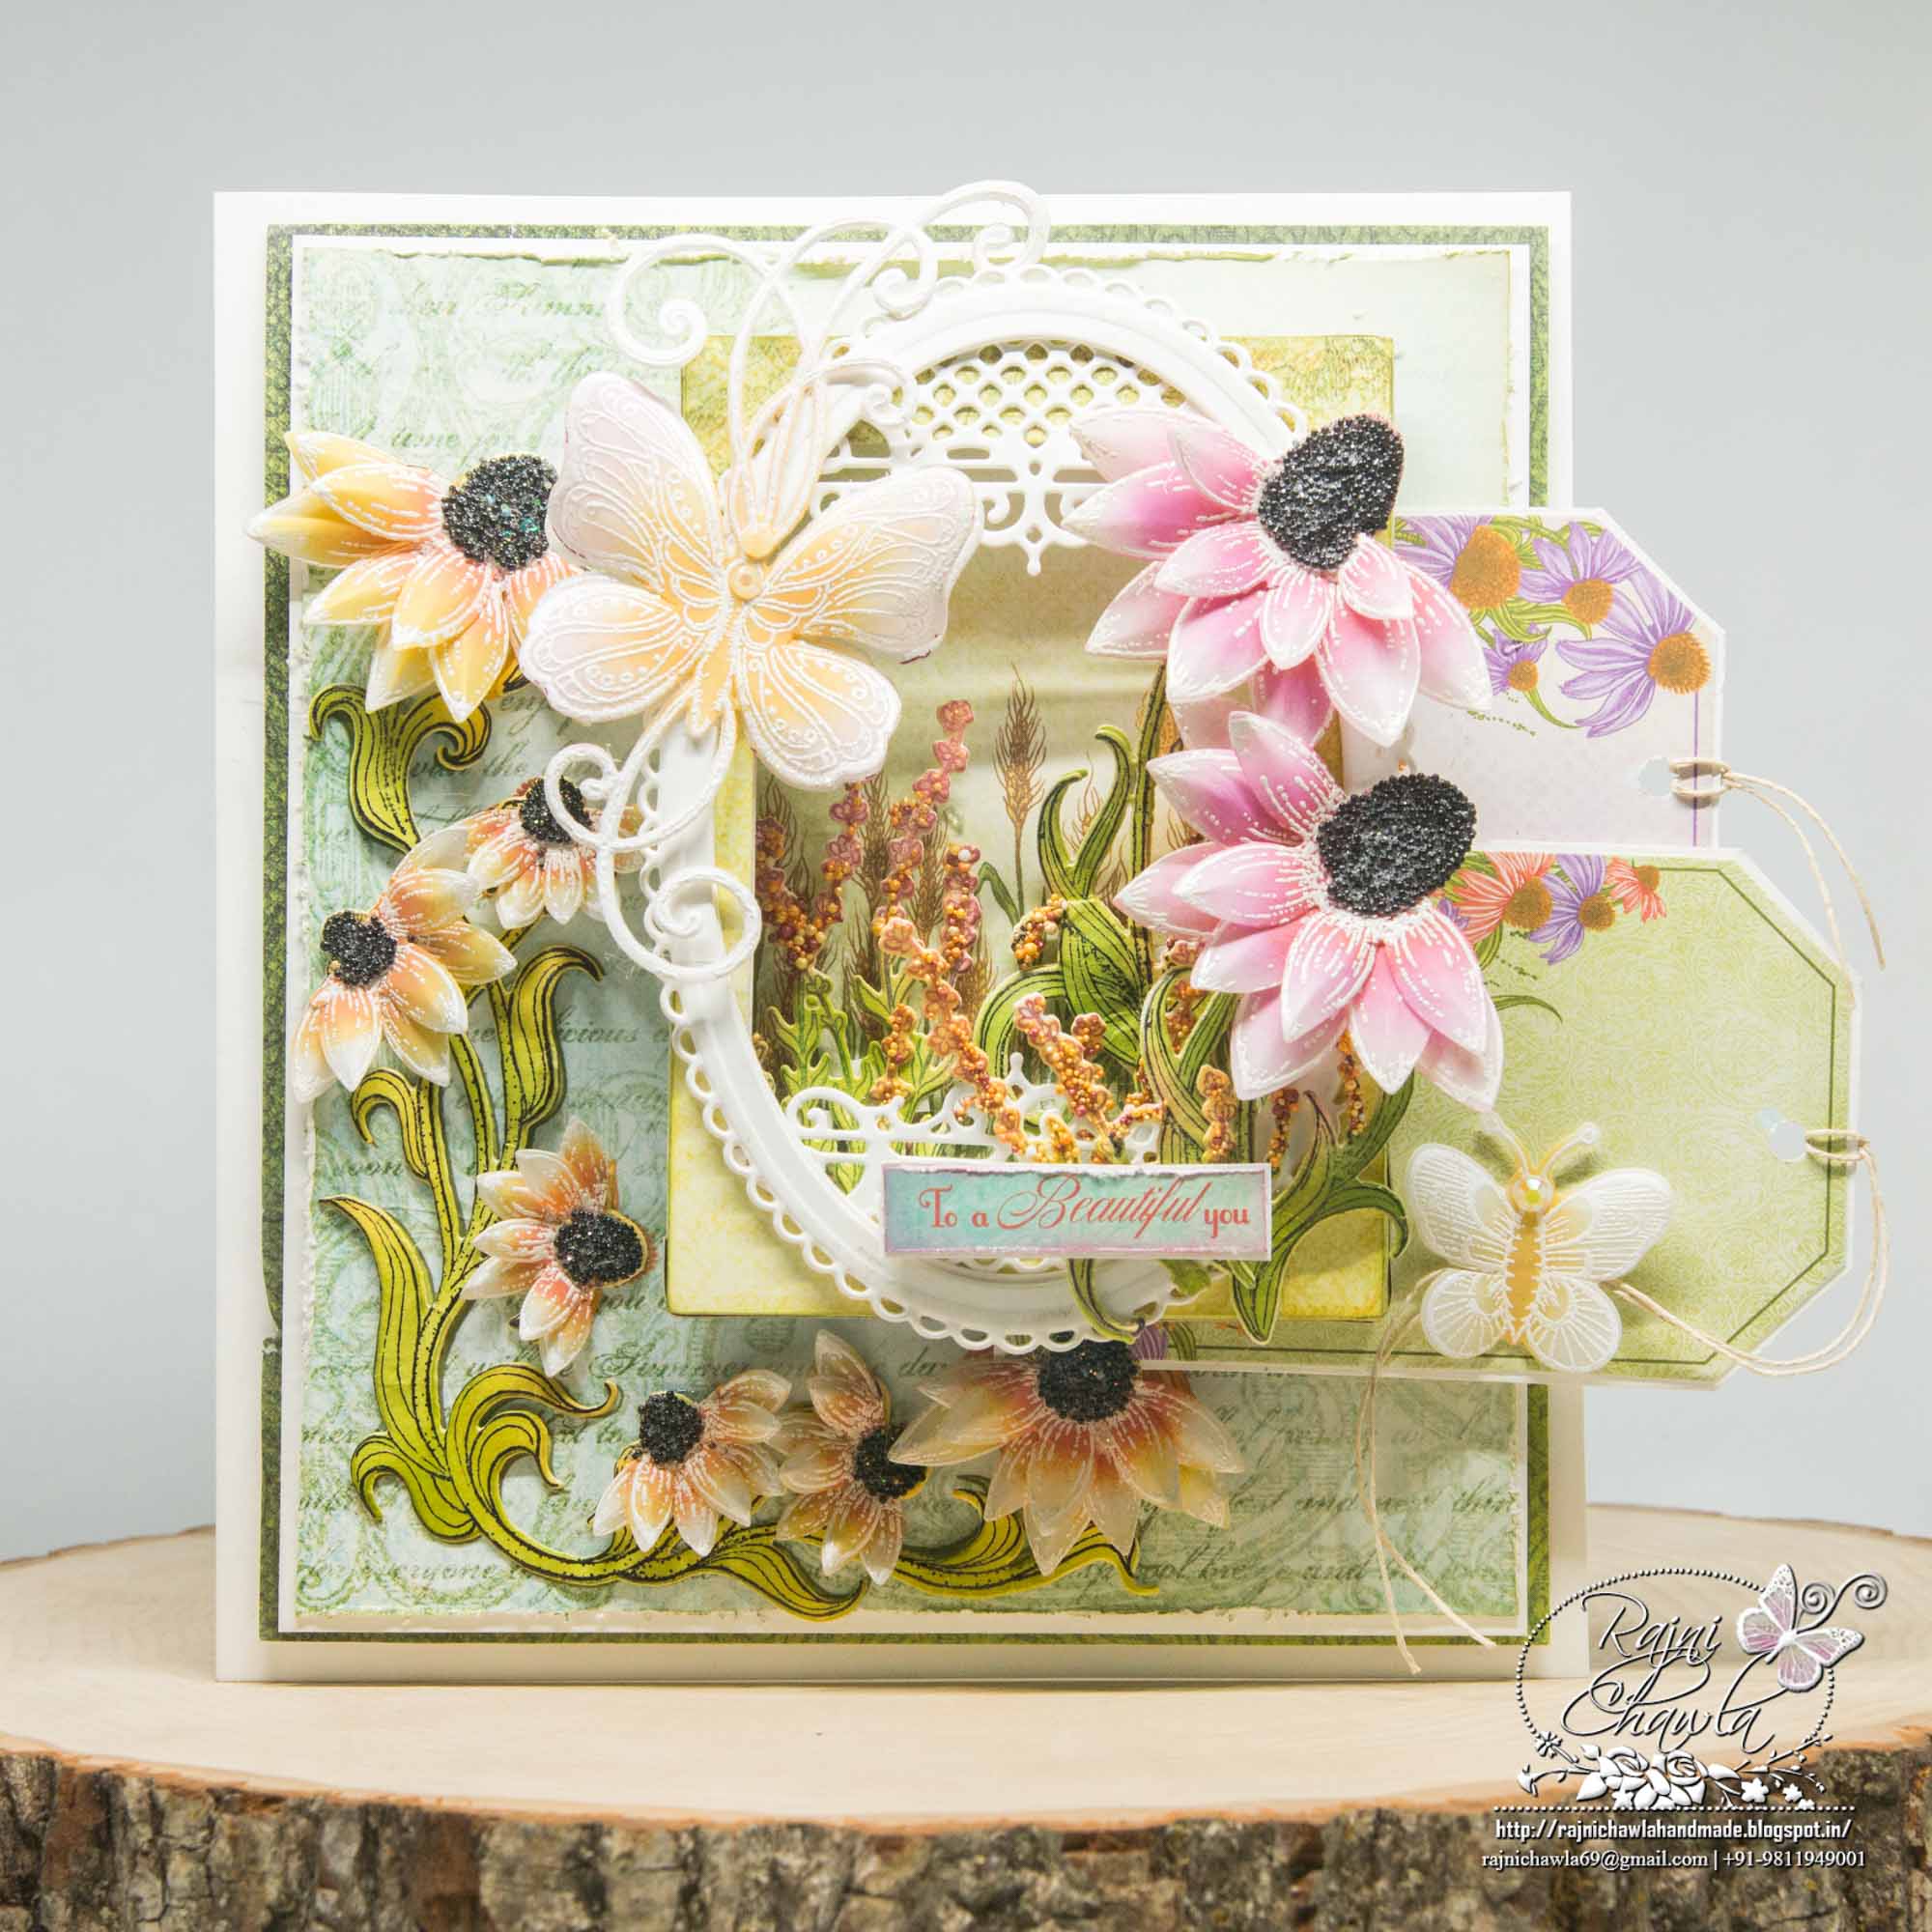
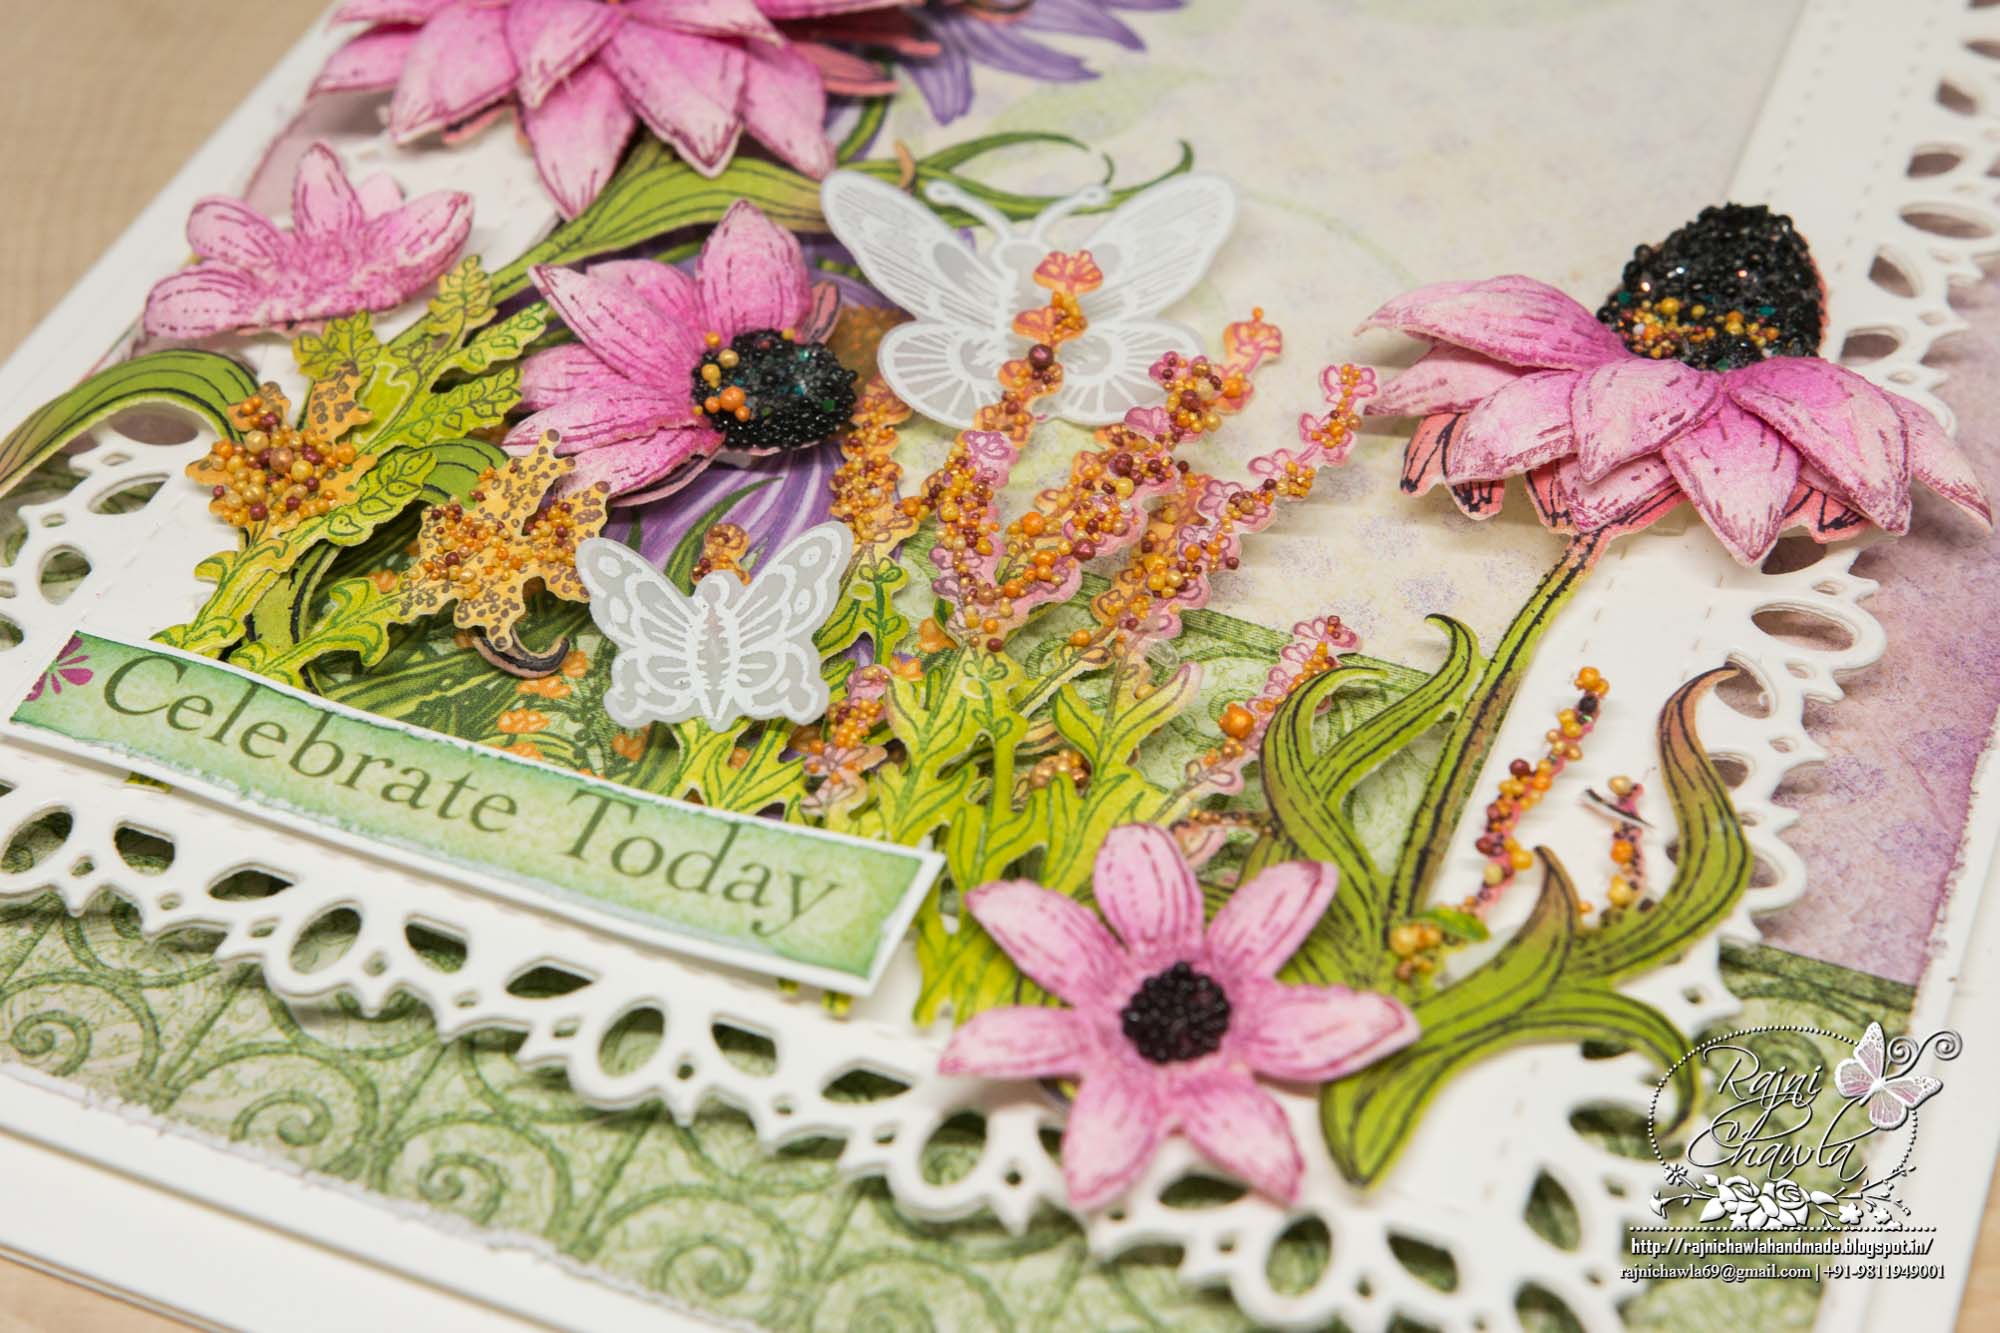
For today’s Heartfelt inspiration, I have a card to share with summer garden scene, using their Backyard Blossom Collection.
 Supplies from Heartfelt Creations:
HCD1-7180 Blossoming Coneflower Die
HCD1-7181 Backyard Blossoms Die
HCD1-7182 Garden’s Edge Coneflower Die
HCPC-3826 Blossoming Coneflower Cling Stamp Set
HCPC-3827 Backyard Blossoms Cling Stamp Set
HCDP1-290 Backyard Blossoms Paper Collection
HCD1-753 Classic Sunflower Die
HCPC-3626 Classic Sunflower Cling Stamp Set
HCD1-7156 Eyelet Oval & Basics Small Die
HCBC1-456-3 Card Shadow Box Set-Kraft
HCD1-7150 Window Box Elements Die
HCD1-7179 Butterfly Kisses Decorative Die
HCPC-3825 Butterfly Kisses Cling Stamp Set
HCD1-759 Butterfly Medley Die
HCPC-3650 Butterfly Medley Cling Stamp Set
RACP499 Ranger Archival Ink Pad – Plum
RACP468 Ranger Archival Ink Pad – Jet Black
RACP614 Ranger Archival Ink Pad – Magenta Hue
RACP638 Ranger Archival Ink Pad – Rose Madder
RACP962 Ranger Archival Ink Pad – Fern Green
RACP436 Ranger Archival Ink Pad – Leaf Green
RPEJ685 Embossing Powder – White
Deluxe Flower Shaping Kit
HCST1-401Designer Dries Clear Adhesive
ANC850 Spring Bling Prills – 12 Pack
Other Products Used: Papericious Vellum, Papericious Natural color Twine Versamark Ink, Heat Tool., Foam Dots, Seedless Preserves and Fossilized Amber Distress Oxides.
Videos Referred: For more tips on creating with the Backyard Blossoms collection, watch the tutorial at https://youtu.be/swO34-n1HNc.
For more tips on creating with the layered card & shadowboxes, watch the tutorial at https://youtu.be/DrMIKI-XTmI.
Instructions: The ready side fold card measures, 61/2″ by 7″. For creating top panel you will need 3 layers. The topmost layer is from designer paper collection and measures, 6″ by 6.1/2″ All the edges are distressed with scissors and then layered on a white cardstock with a margin of 1/16″ on all the sides. This is further layered on a dark green pattern paper 1/4″ larger than the ready top panel.
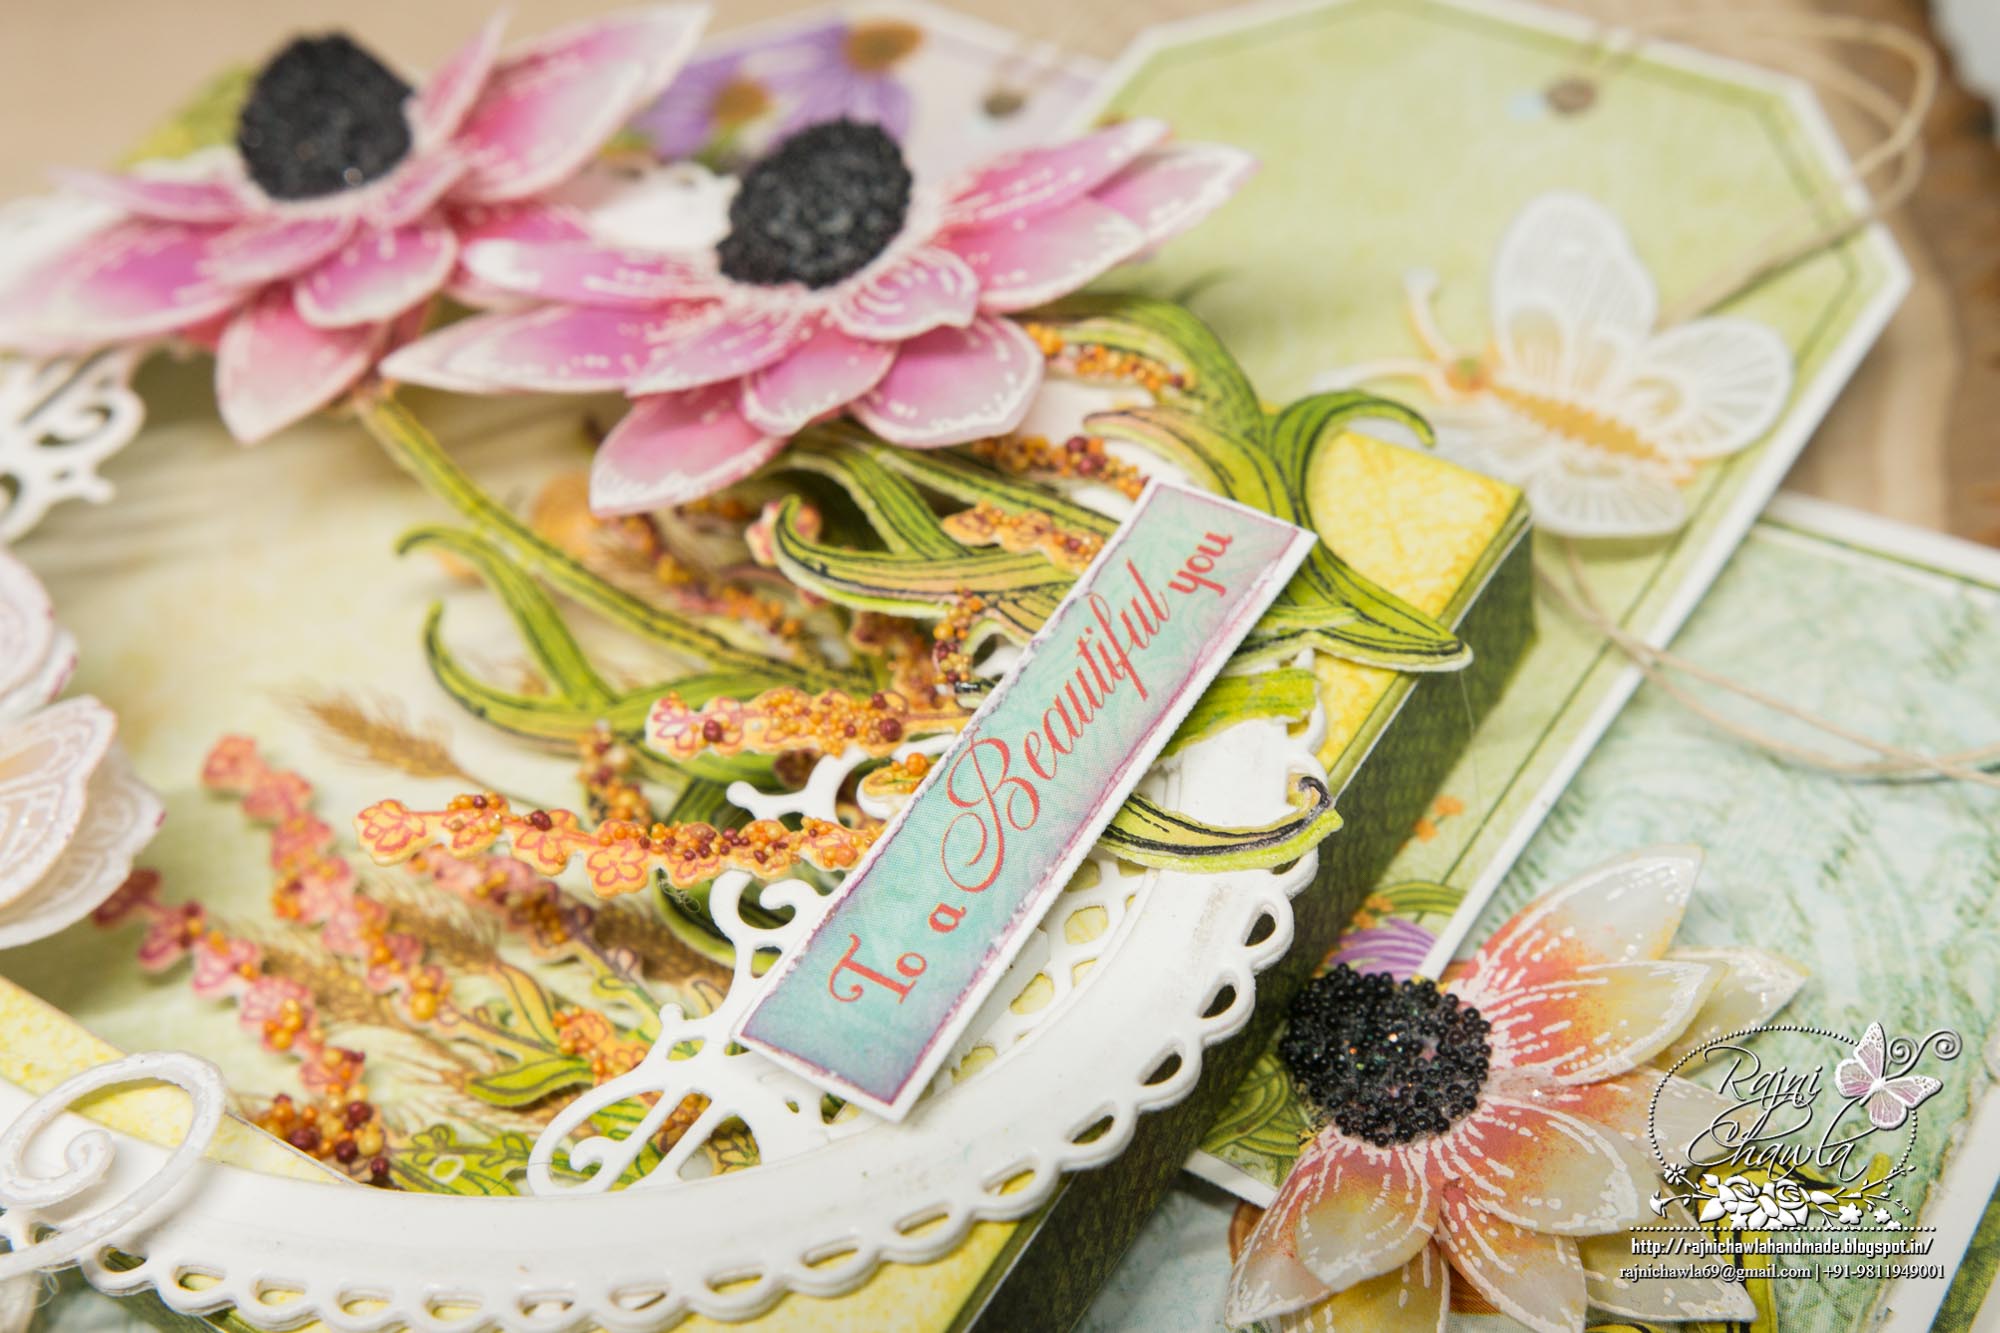
Shadow Box: Follow, Emma’s video to create a shadow box. Choose the designer paper from the collection for the inside of the shadow box. Tape down the shadow box and cover all the sides. Cut a frame from white cardstock, Eyelet Oval & Basics Small Die. Also cut a white die cut from Window Box Elements Die and adhere it on the top and bottom edge of the oval frame from the backside of the frame.
Stamp 2-3 images from Backyard Blossoms Cling Stamp Set and Garden’s Edge Coneflower Cling Stamp Set on white cardstock and cut them using their coordinating dies. Once cut, paint them using Leaf Green, Fern Green Archival, and Rose Madder. With the help of sponge, apply adhesive that dries clear and sprinkle prills. Dust extras and leave it to dry.
For Coneflowers: Stamp images from Backyard Blossoms Cling Stamp Set with Versamark or Hero Arts White ink on Papericious Vellum and sprinkle white heat embossing powder. Dust extra and heat set it with a heating tool. Paint the flowers with distress oxide, Seedless Preserves. Let the color sit for few minutes, then wipe off the extra color.with damp soft cloth. Shape the petals using needle tool or on the back of a thin pencil. Cut the petals in half and layer them together to create a half flower. Now glue these flowers on the already painted colored coneflowers and trim extra stamped image that is hanging out. Add a glossy accent to the cone center and add black color prills.Dust extras and set them aside for drying.
For corner: Stamp a corner from Blossoming Coneflower Cling Stamp Set with Versamark or Hero Arts White ink on Papericious Vellum and sprinkle white heat embossing powder. Dust extra and heat set it with a heating tool. Paint them using Fossilized Amber Distress ink. Let the color sit for few minutes then wipe off with a damp cloth.Shape the petals using needle tool or on the back of a thin pencil. Cut the petals in half and layer them together to create a half flower. Now glue these flowers on the already painted colored coneflowers and trim extra stamped image that is hanging out. Add glossy accent on the cone centers and add black color prills.Dust extras and set them aside for drying.
For Butterfly: Butterflies from Butterfly Dream Collection and Butterfly Medley Collection were white heat embossed the same way as flowers and then added little colors with distress oxides.
Cut 2 tags from the paper collection and mat them on the white cardstock. Make a hole with the help of crop a dile and add Papericious natural twine. Adhere these tags on the right side of the card under the shadow box. and Once all the elements are ready, assemble the card as shown. Make the arrangement of all the prepared elements as shown and finish the card with a sentiment from the paper collection.



Another gorgeous masterpiece Rajni! Your vellum flowers and butterfly are absolutely magnificent!
I think with each passing week I become a bigger fan of your work! Absolutely stunning piece for today’s blog post!
Love, love, love. X
Beautiful work!!!