Happy Wednesday!!
Covid is No fun and sticking to home isolation with nothing in hand to do, especially for a crafter like me who spends most of her day in her craft room, is more frustrating for sure. I missed so much for sure. I will try to inspire you with tons of my creations sitting on my desk for photography, soon.
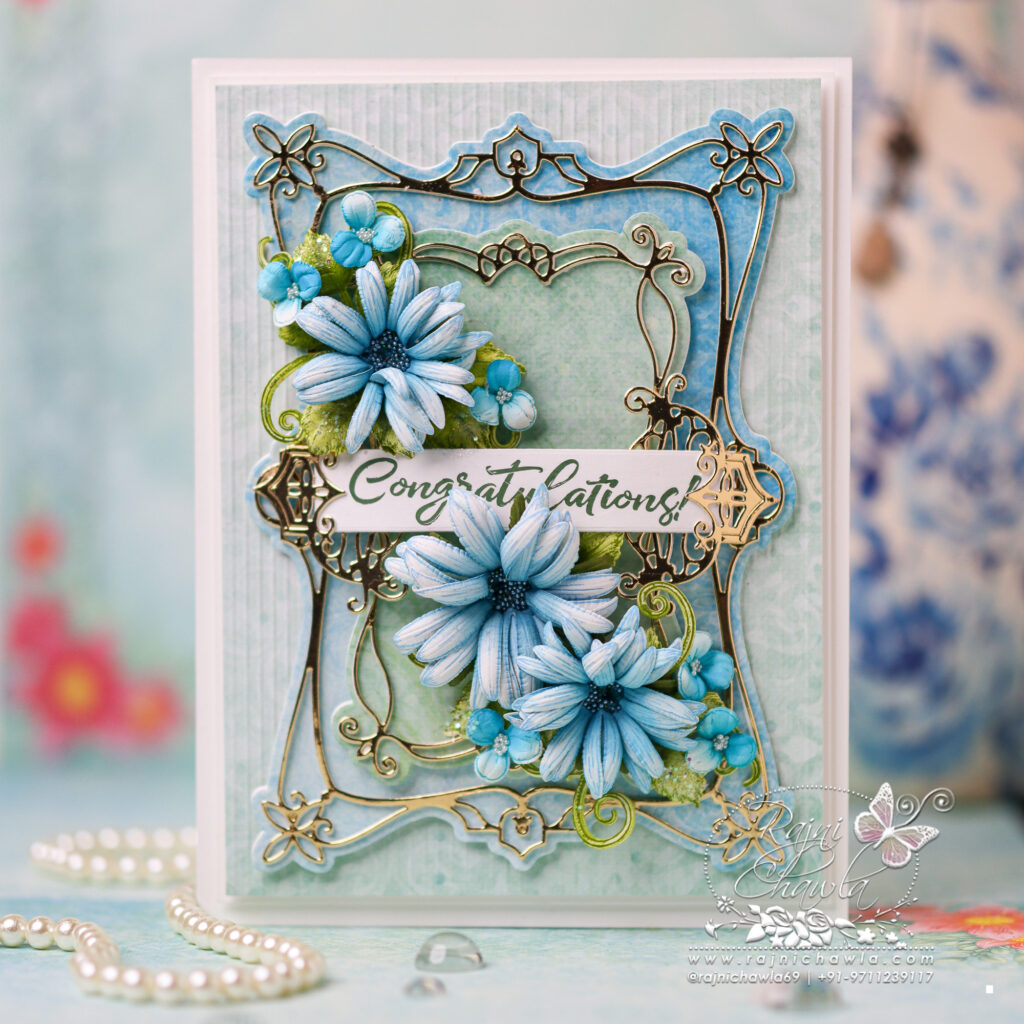
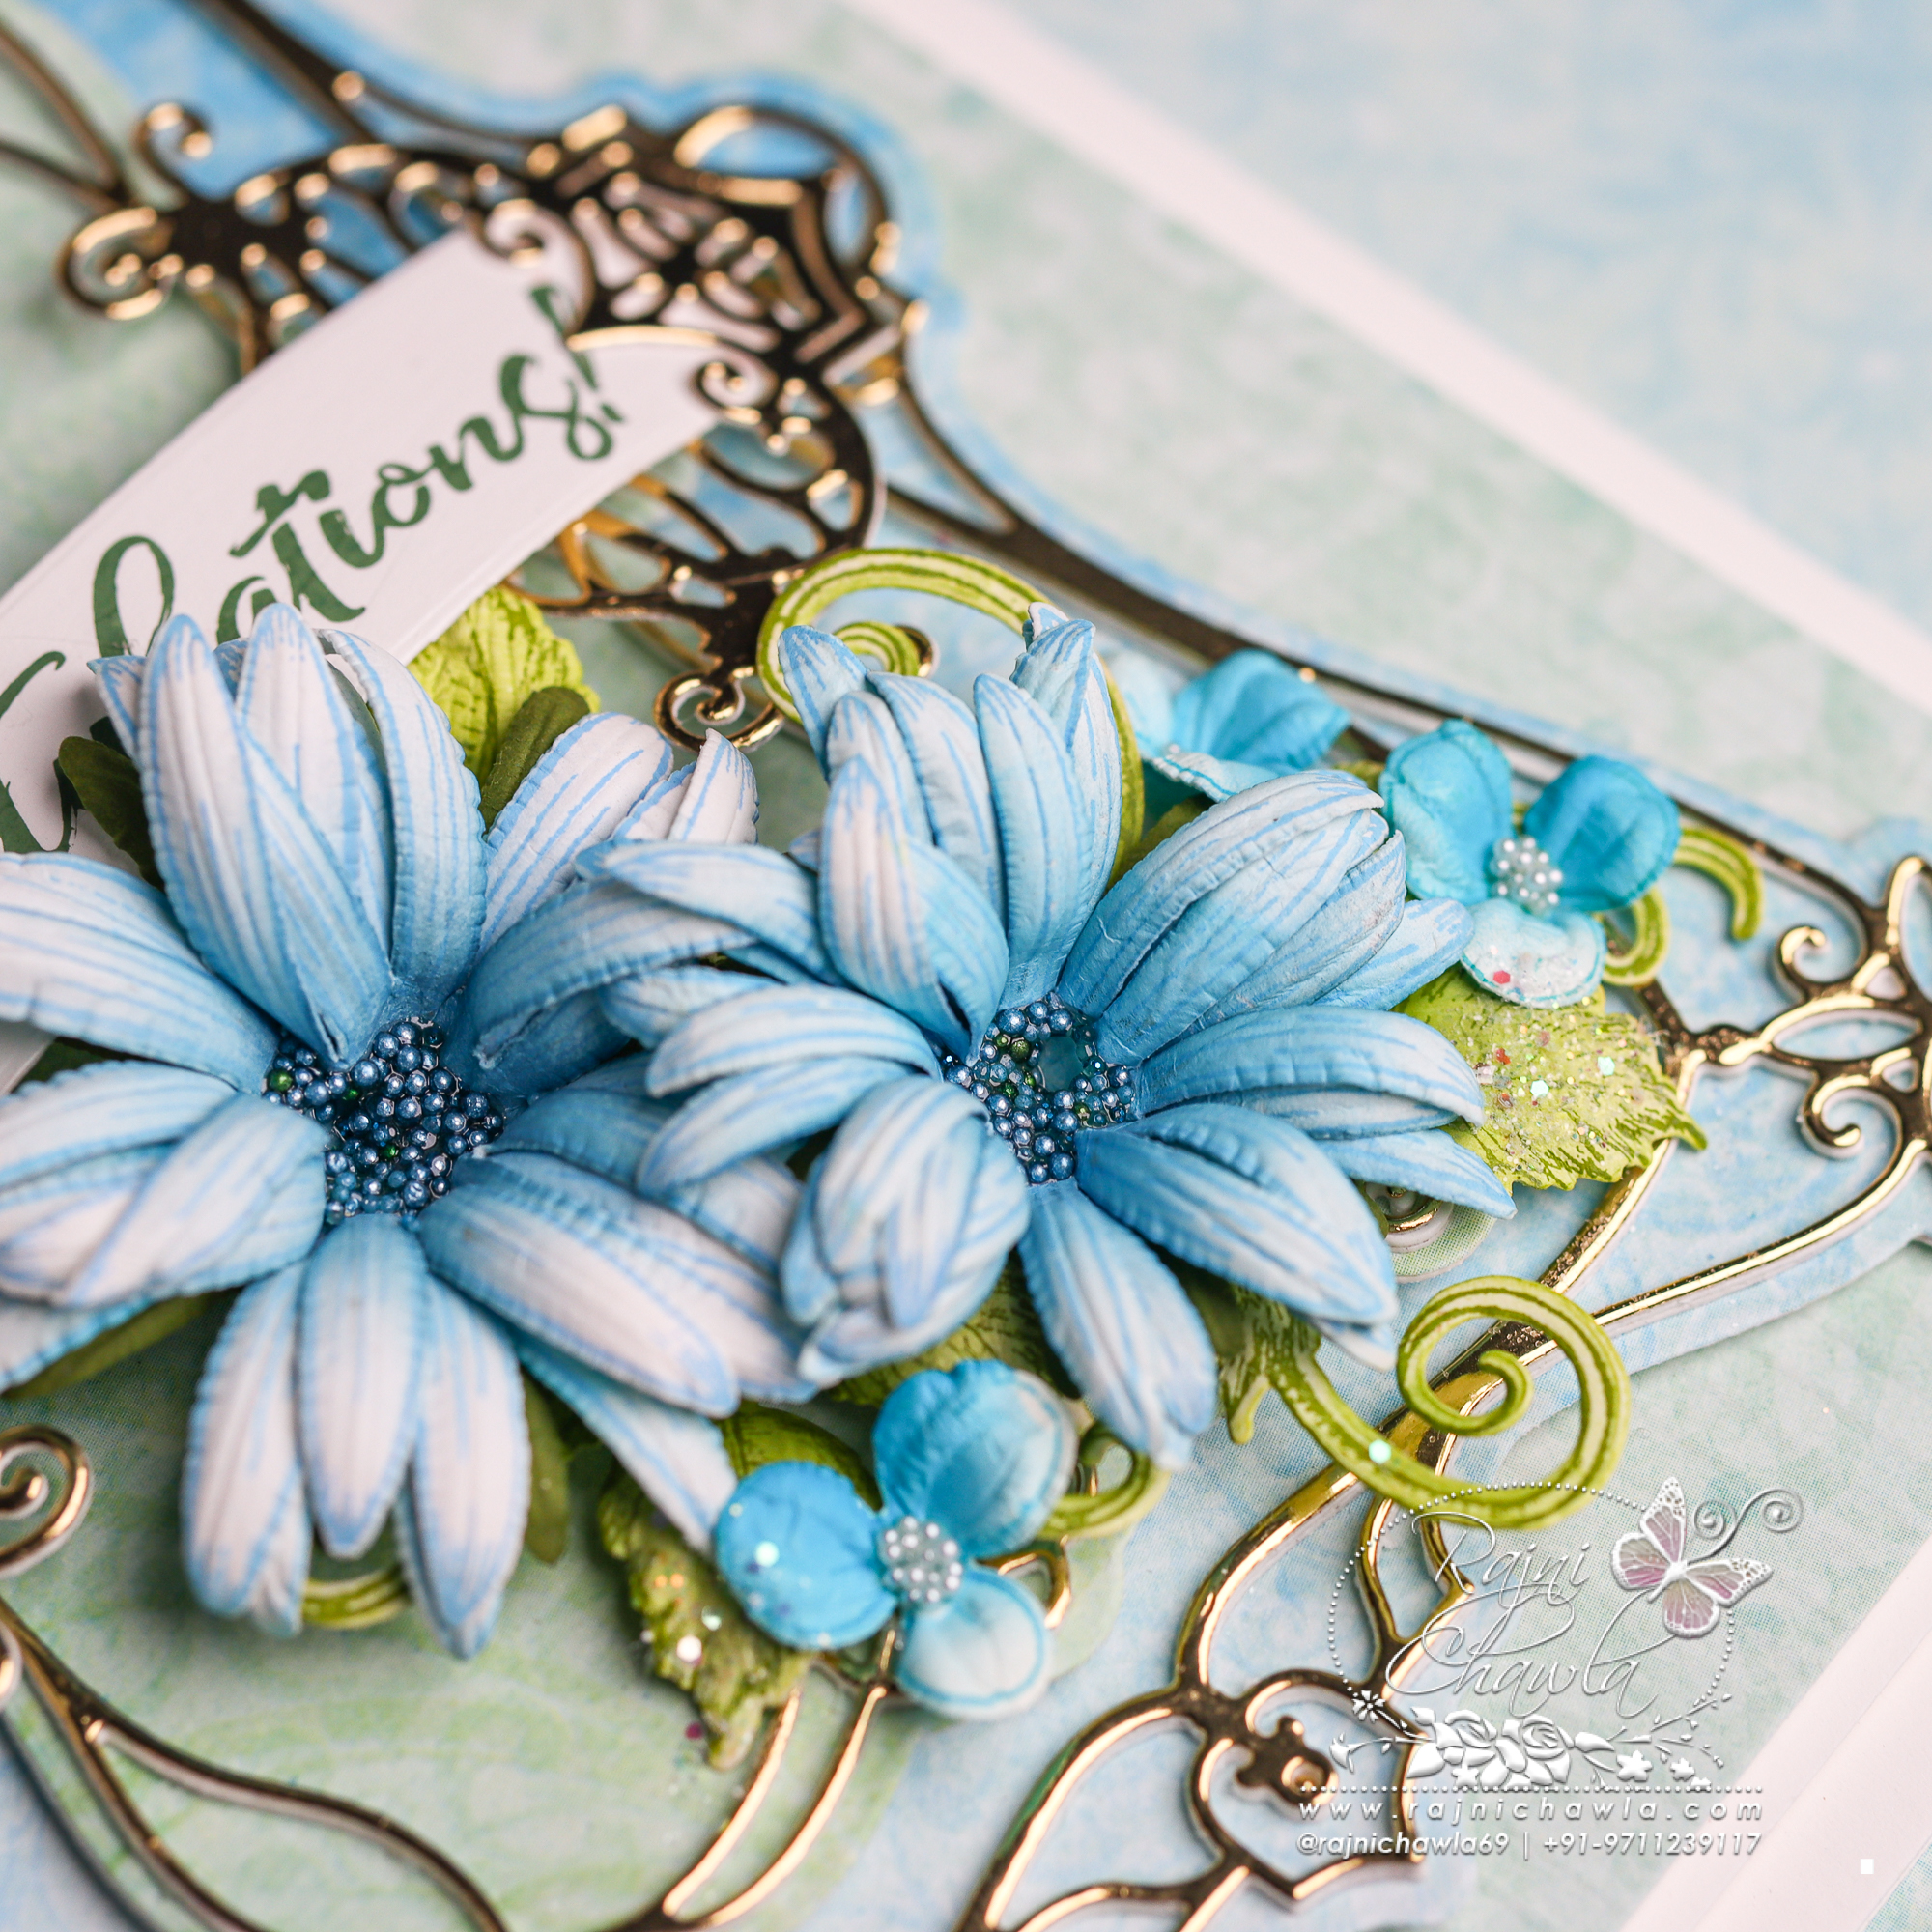
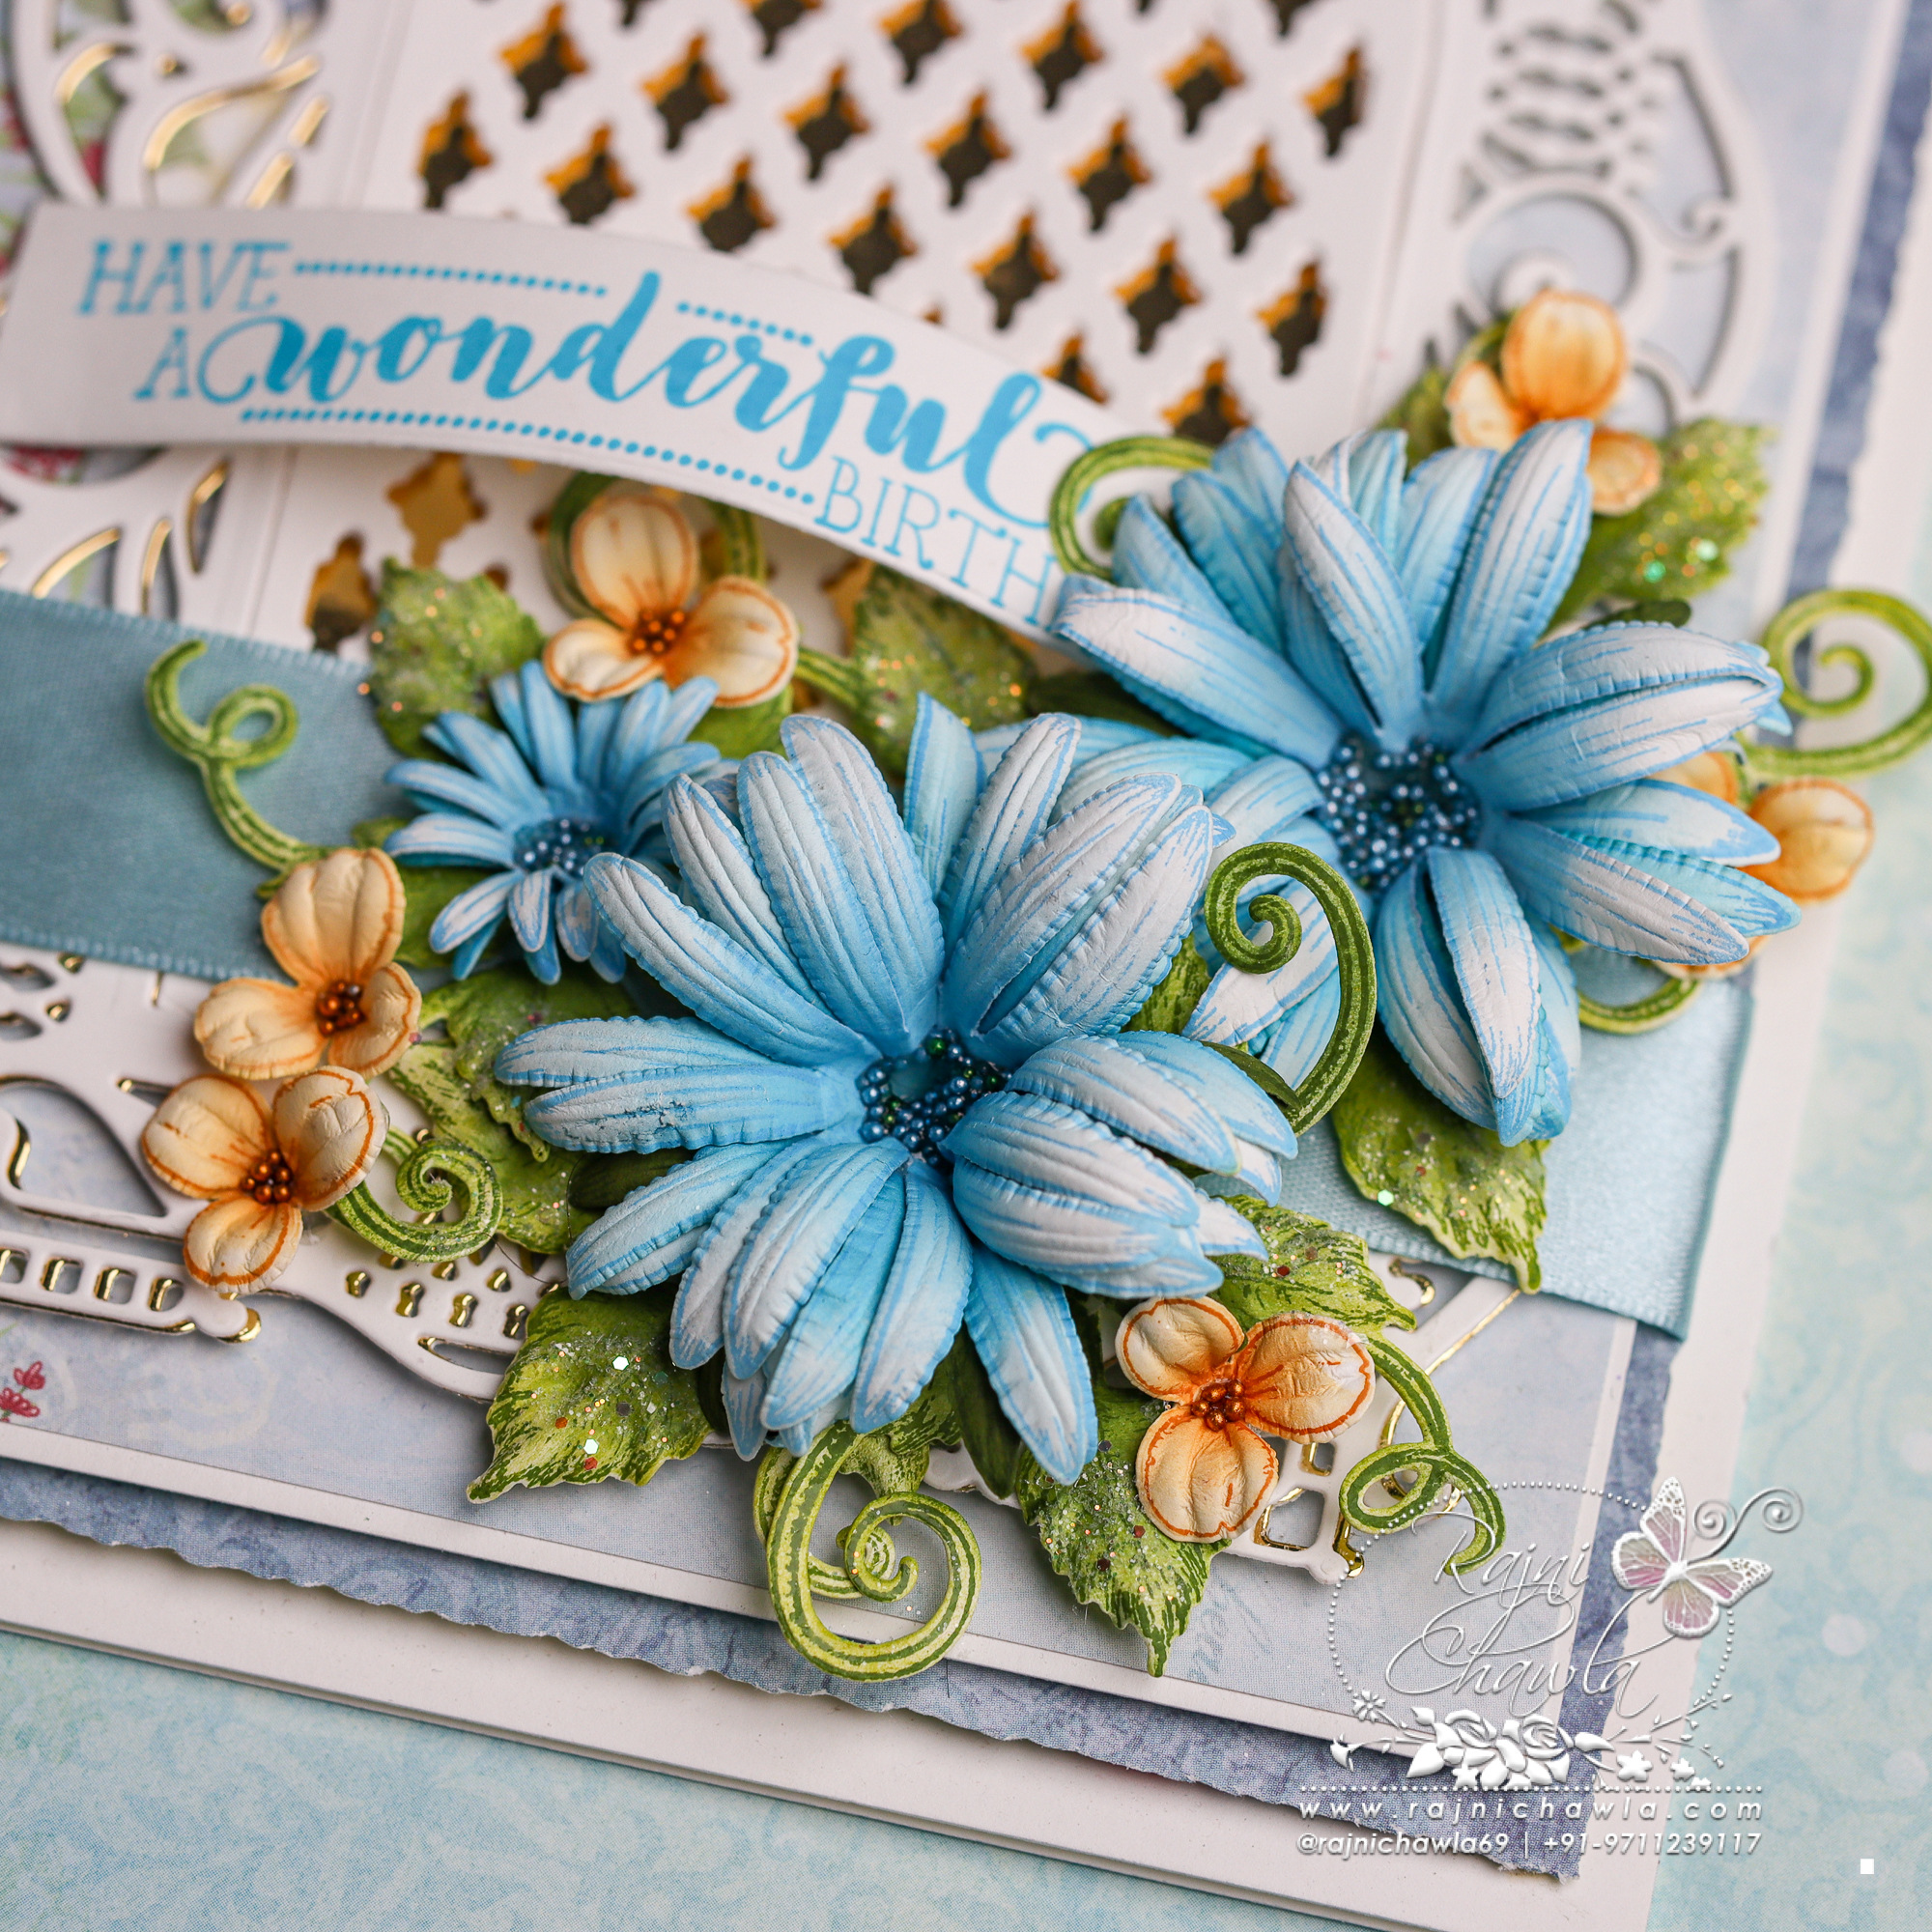
In the meantime, I have this simple, yet elegant card to share, using Heartfelt Creation’s new Classic Companion Dies.
Supplies from Heartfelt Creations:
HCPC-3847 Celebrate Love Sentiments Cling Stamp Set
HCD2-7402 Filigree Companion Frame Die
HCPC-3911 Wisteria Petals Cling Stamp Set
HCD1-7295 Wisteria Petals Die
HCD1-7257 Wild Aster Die
HCPC-3887 Wild Aster Cling Stamp Set
HCD1-7193 Leafy Accents Die
HCPC-3835 Leafy Accents Cling Stamp Set
HCPP1-475 Deluxe Flower Shaping Paper Pack of 50 – White
RAHT Heat It Craft Tool
HCST1-401 Deluxe Flower Shaping Kit
18002 Rajni Chawla’s Vellum Flowerite – 10 Sheets
RACP436 Ranger Archival Ink Pad – Leaf Green
RACP482 Ranger Archival Ink Pad – Olive
RACP607 Ranger Archival Ink Pad – French Ultramarine
RACP412 Ranger Archival Ink Pad – Forget-Me-Not
Other Products Used: Die Cutting Machine, Score Board, Bone Folder, Smooth White Cardstock, Scissors, Heat gun, Seed Beads.
Instructions: The ready top fold card from smooth white cardstock measures, 5 1/2″ by 8″. To prepare the card base cut 1 piece each measuring 5 1/2″ by 8 ” and 5 1/2″ by 8 1/2″. Score the second piece at 1/2″ and 8 1/2″ side and crease well. This will make a hinge and glue the other piece on it making the top fold card.
Choose a plainer paper from designer paper, Floral Frames Paper Collection, and score the entire panel at 1/8″. Mat the textured panel on a white cardstock making a delicate border of 1/16″ on all sides.
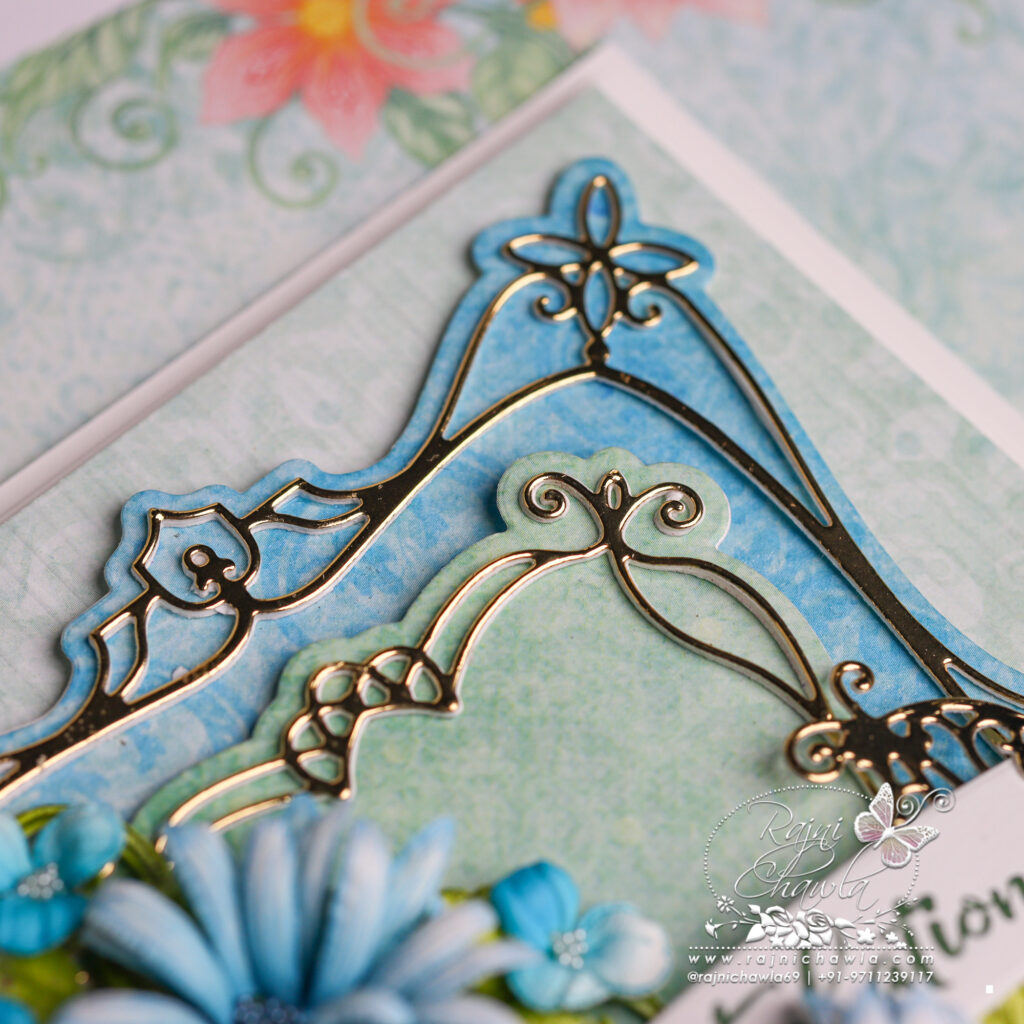
Cut all the required die cuts, the large filigree and small filigree frame from Gold Luxe Cardstock using HCD2-7402 Filigree Companion Frame Die. Adhere a white die-cut behind their back to add strength to the die-cut. Choose the coordinating papers from the same paper collection and cut the solid bases. Layer the frames as shown using foam dots.
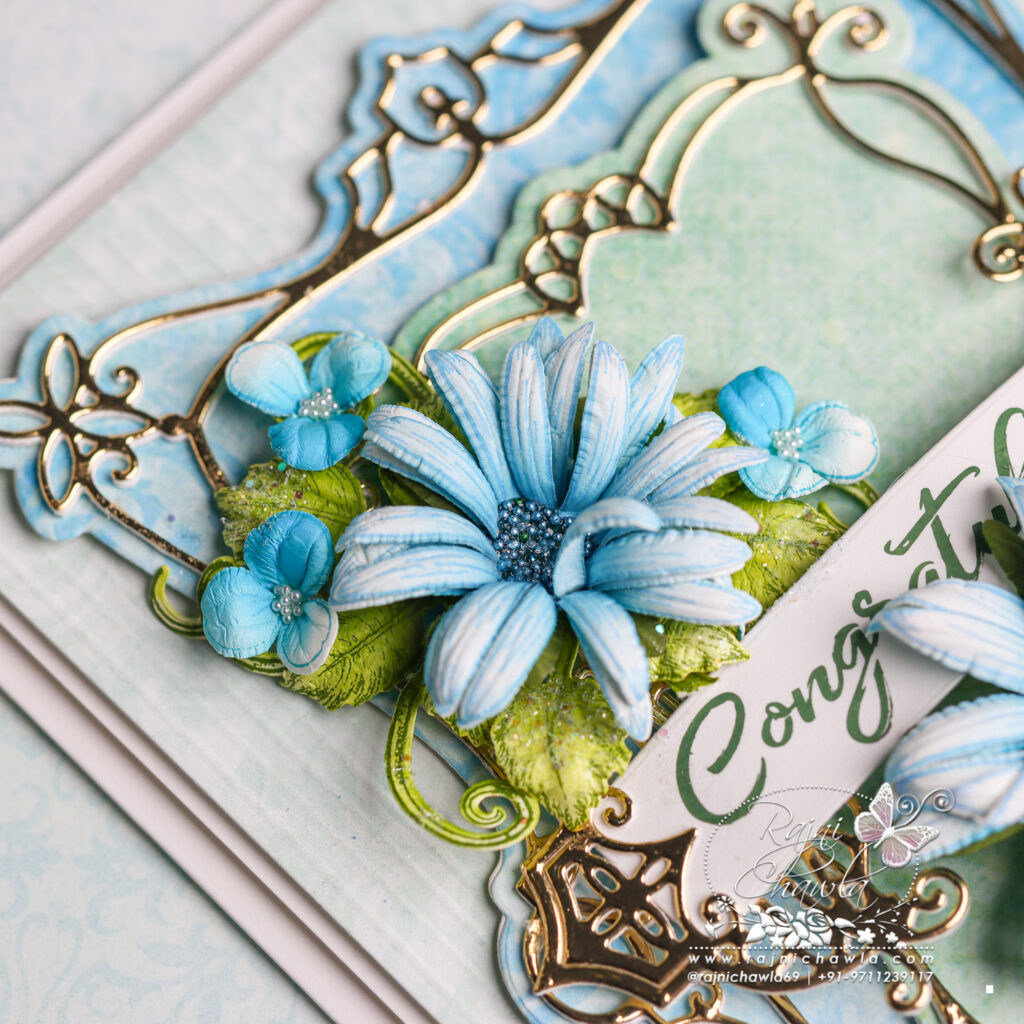
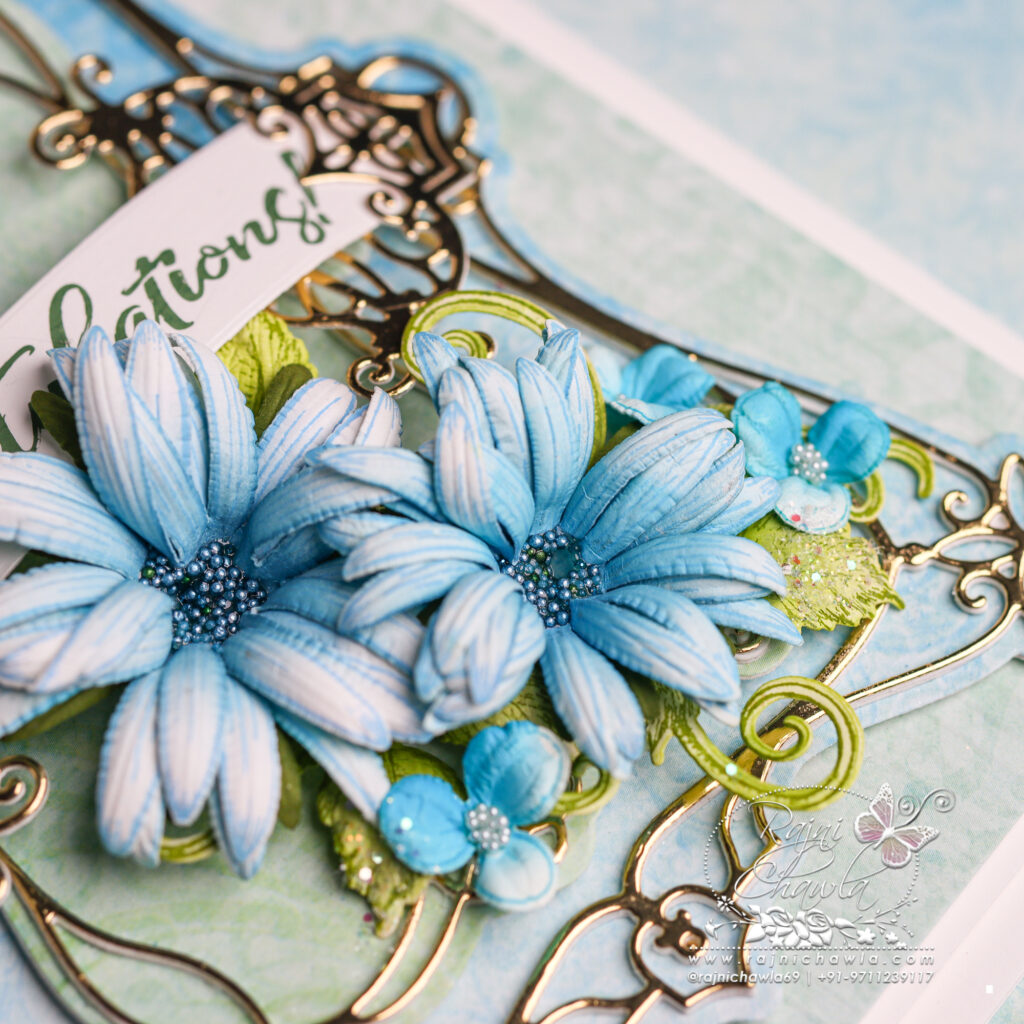
For Blue Asters, Stamp a couple of petals from Wild Aster Cling Stamp Set using French Ultramarine Archival Ink and cut them using its coordinating die. Color the petals using the same ink and shape them using golf groove tools. Create one large, 2 medium, and one small-sized Aster. Complete the flowers by adding seed beads in the centers.
Stamp, cut, and color a few wisteria flowers using Forget Me Not Archival inks and shape them using a flower shaping kit. Add flower seed beads using a glossy accent and use these flowers as fillers.
Stamp 2 sets of leaves using Leafy Accent stamp and Olive Green Archival ink and cut them using its coordinating die. Color the leaves using the same inks and shape them using a deluxe flower shaping kit.
Stamp the sentiment from HCPC-3847 Celebrate Love Sentiment Cling Stamp Set on a strip and adhere the corner die cuts on both ends.
Once all the elements are ready complete the card by making small bouquets around the sentiment strip.


Gorgeous card as always, my friend! Your asters are always so perfect!
Such a beautiful card.. Love the way the gold die cuts were backed with white cardstock. The dimension makes it so beautiful.. And your flowers are brilliant as always..