Good Morning all…
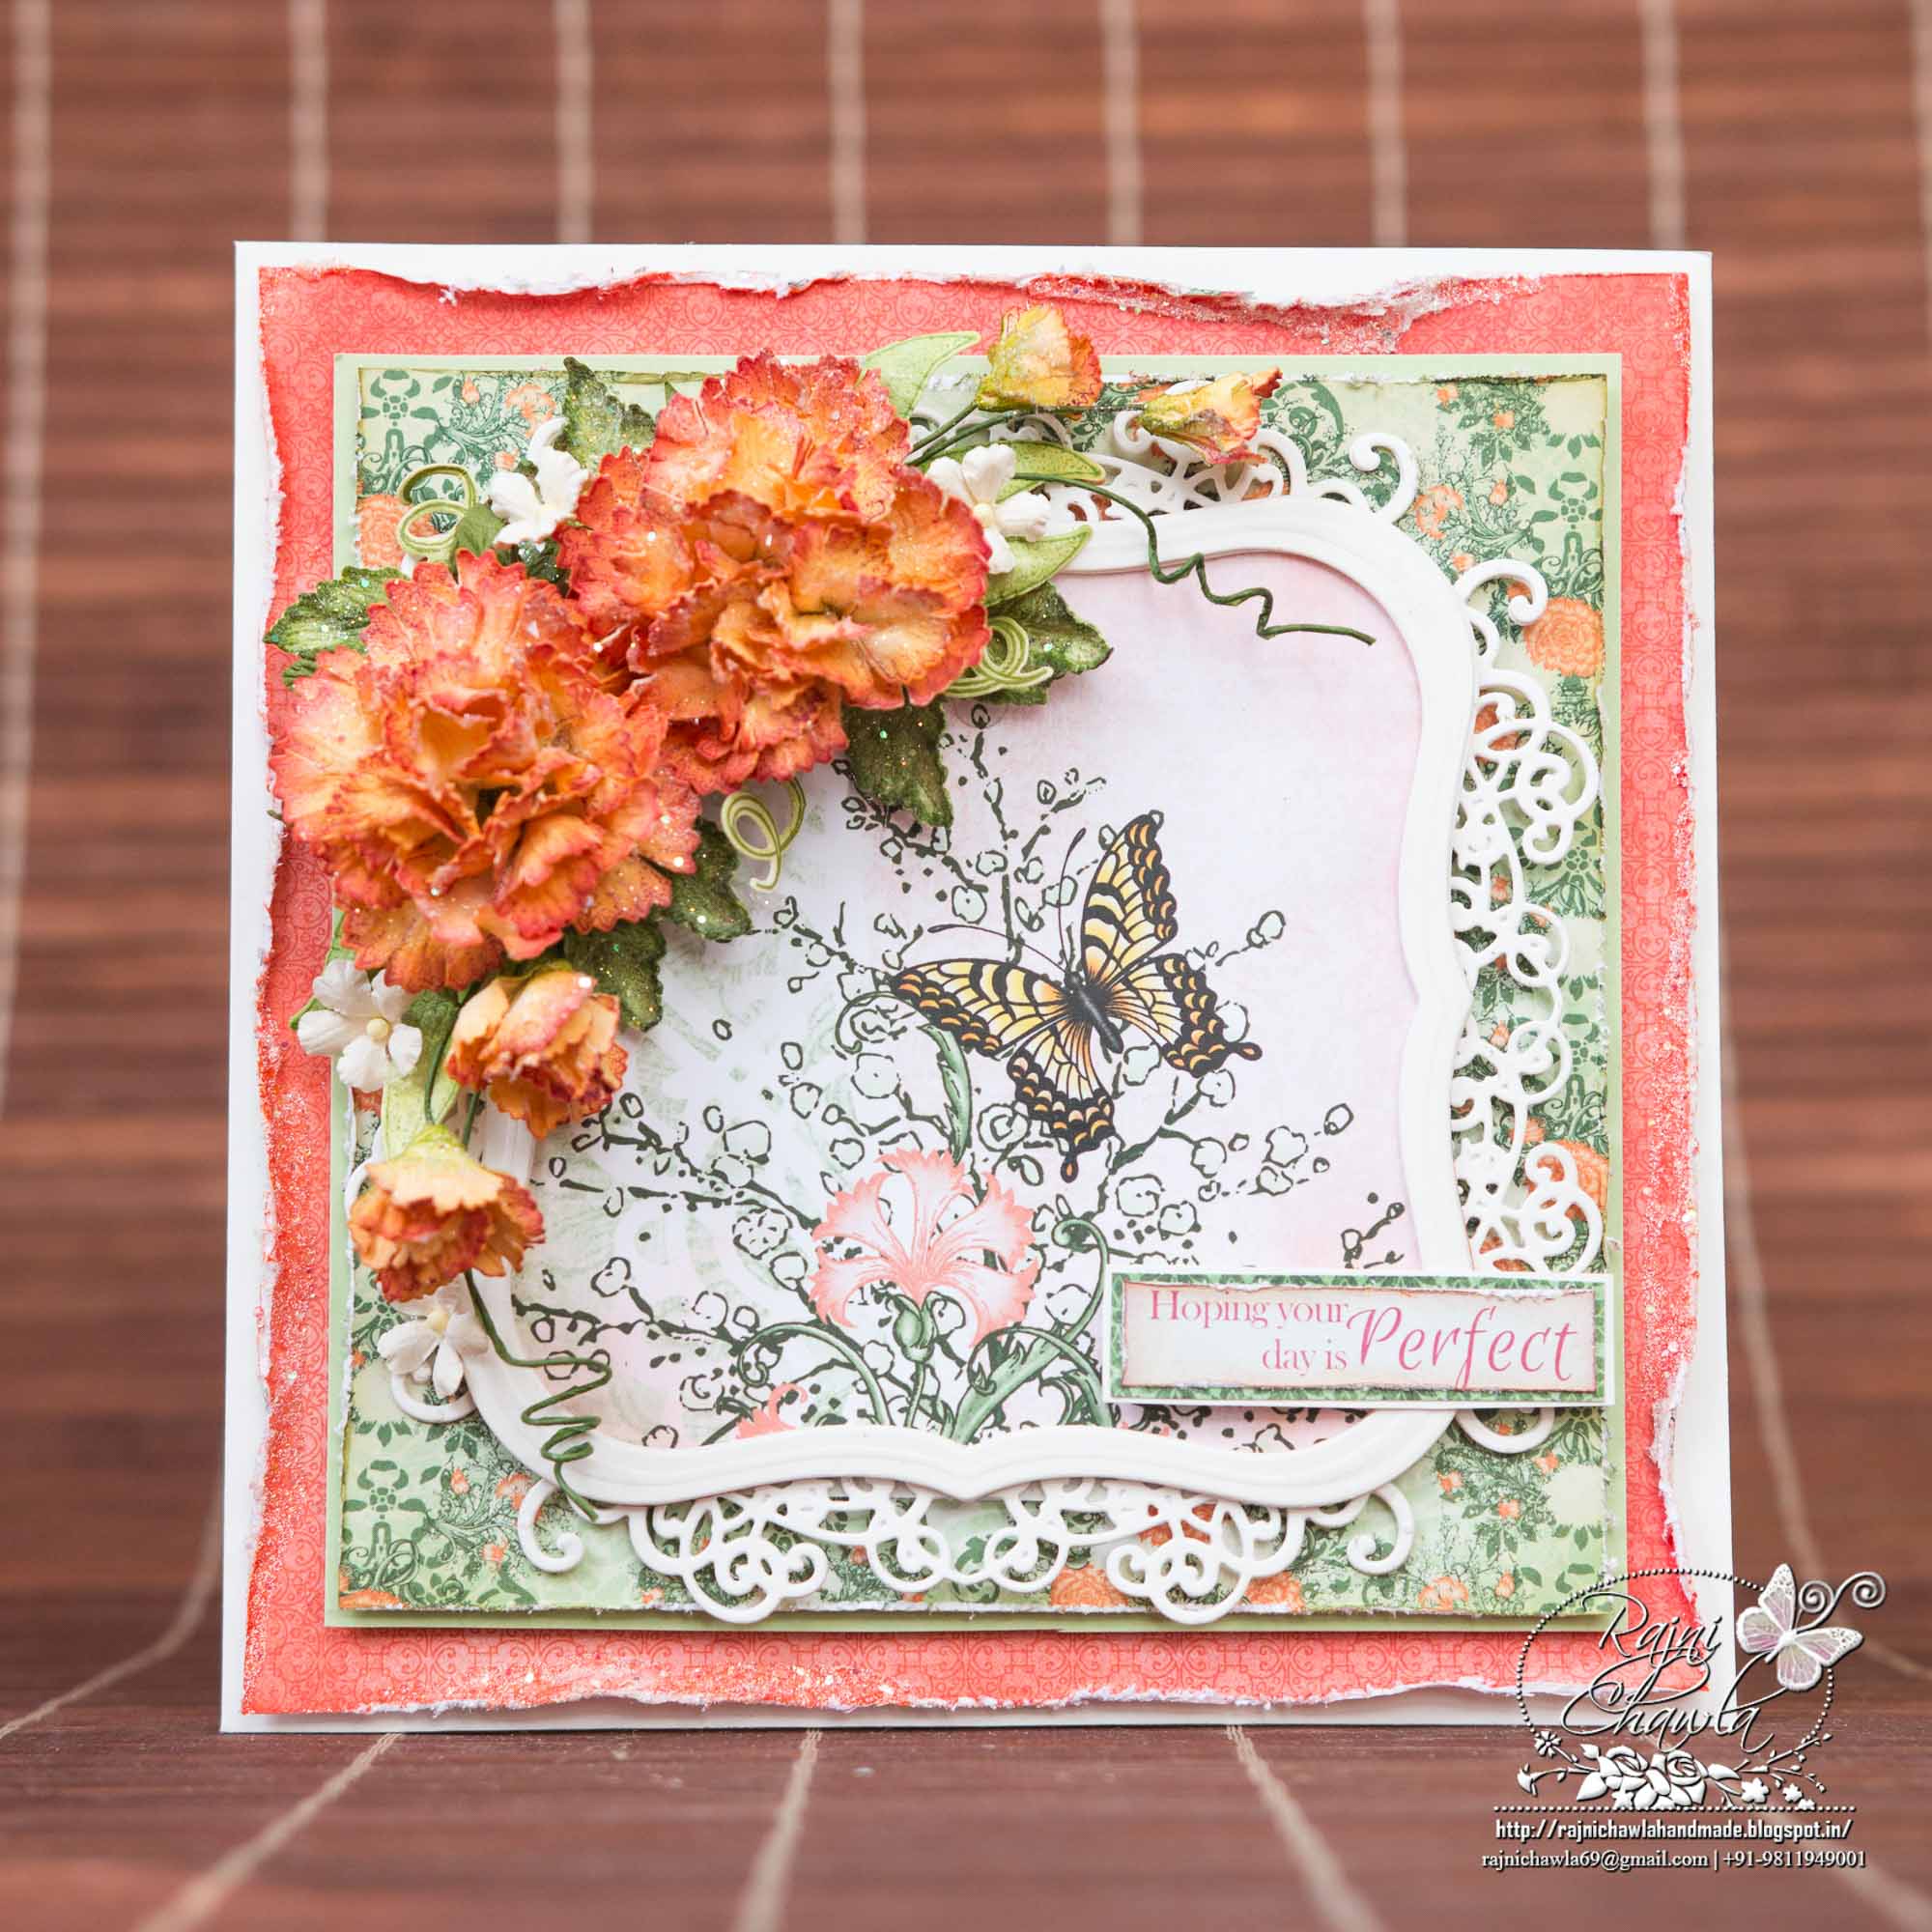
Wishing you a fabulous 2018. May this year brings you happiness, joy, and prosperity in your lives. Today, I am sharing a quick and easy card using Camellia Carnation Collection.
Products from Heartfelt Creations:
HCST1-401 Deluxe Flower Shaping Kit
PGM15015 Rajni Chawla’s Crystal Clear
159723 Designer Dries Clear Adhesive
HCST1-401 Deluxe Flower Shaping Kit
HCD1-7164 Small Camelia Carnation Die
HCD1-7165 Large Camelia Carnation Die
HCDP1-285 Camelia Carnation Paper Collection
HCPC-380 Small Camelia Carnation Cling Stamp Set
HCPC-3807 Large Camelia Carnation Cling Stamp Set
HCD2-751 Cut Mat Create 2A Die
71082 ColorBox Fluid Chalk Ink Pad – Harvest
Other Products Used: Archival, Plum, Vibrant Fuschia, Library Green, Fern Green, Olive Green, Spellbinder’s Grand Label 1, Distress ink Rusty Hinge.
Videos Referred: For more tips on creating with the Camelia Carnation collection, watch the tutorial at https://youtu.be/rhk76SAIgWQ.
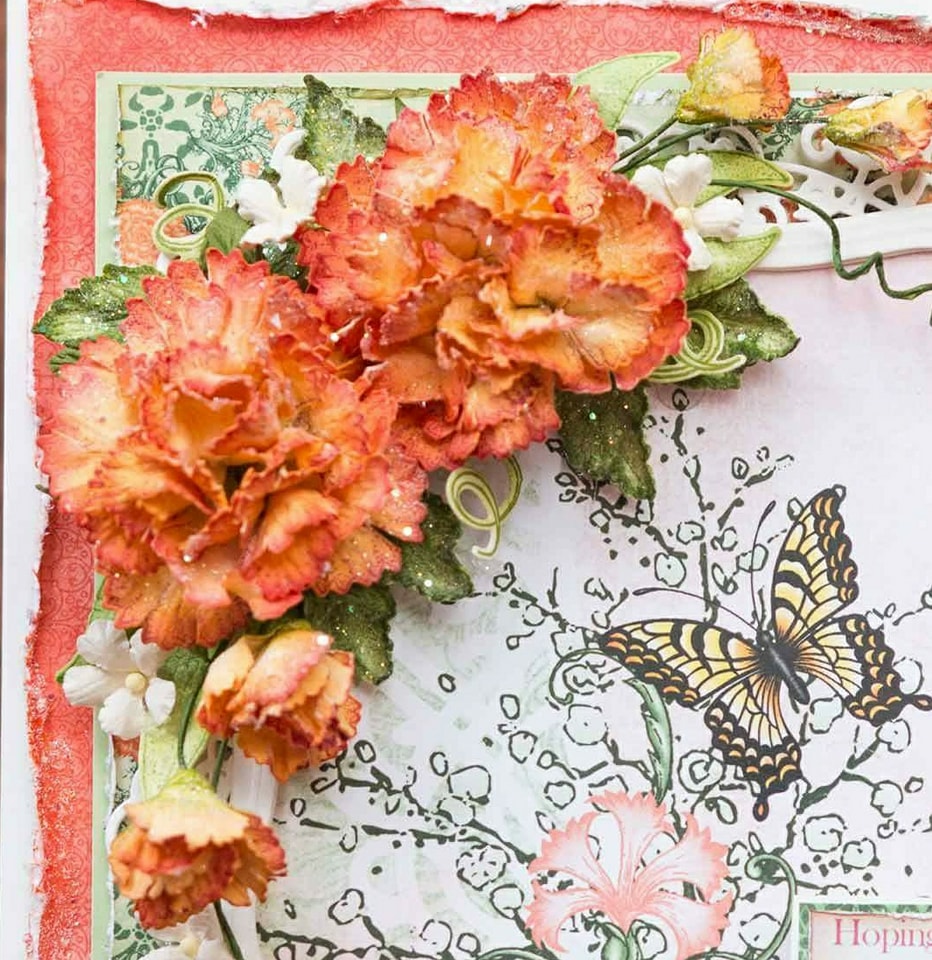
Instructions: The ready top-fold card base from white cardstock, measures 6″ by 6″. The first layer is from orange pattern paper and measures 53/4″ by 53/4″. Distress all the four sides first with Rusty Hinge and further distress them with distressing tool or scissors. Layer it on the card panel using foam dots. Create another layer with green pattern paper and white cardstock, 1/4″ smaller to the base layer.
Cut a frame from white cardstock using second and third largest dies from Spellbinder’s Label 1. Choose the card panel from the pattern paper and cut one base to fit under the white frame. Glue them together. Also glue one fancy border die cut each from white cardstock from the Cut Mat N Create 2A, on all the four sides as shown.
For flowers, you need 2 second smallest petals from Small Camelia stamp set. Stamp them using Archival Plum and cut them using it’s coordinating die. Color them using harvest first and add extra depth to edges using Vibrant Fuschia. Shape all the flowers using Deluxe flower shaping kit and add Stamens to the center. Leaves are stamped from Classic rose stamp and die set and colored using Fern Green and Olive Green. Shape them using Deluxe Flower Shaping Kit. Dress all the flowers with Crystal Clear and assemble the flower bouquet around the window as shown. The small white filler flowers are from Wildwood Floral die.
The sentiment is cut from pattern paper. it is first distressed with Rusty Hinge and further distressed using sharp scissors. Add little crystal clear on all the edges using Adhesive that dries clear.


Simply breathtaking!
Absolutely gorgeous!!!
Stunning Hugs Sand xx
Beautiful gorgeous flowers Rajni! Love your beautiful card!
Gorgeous card Rajni! Your beautiful flowers are breathtaking!