Good Morning Friends…
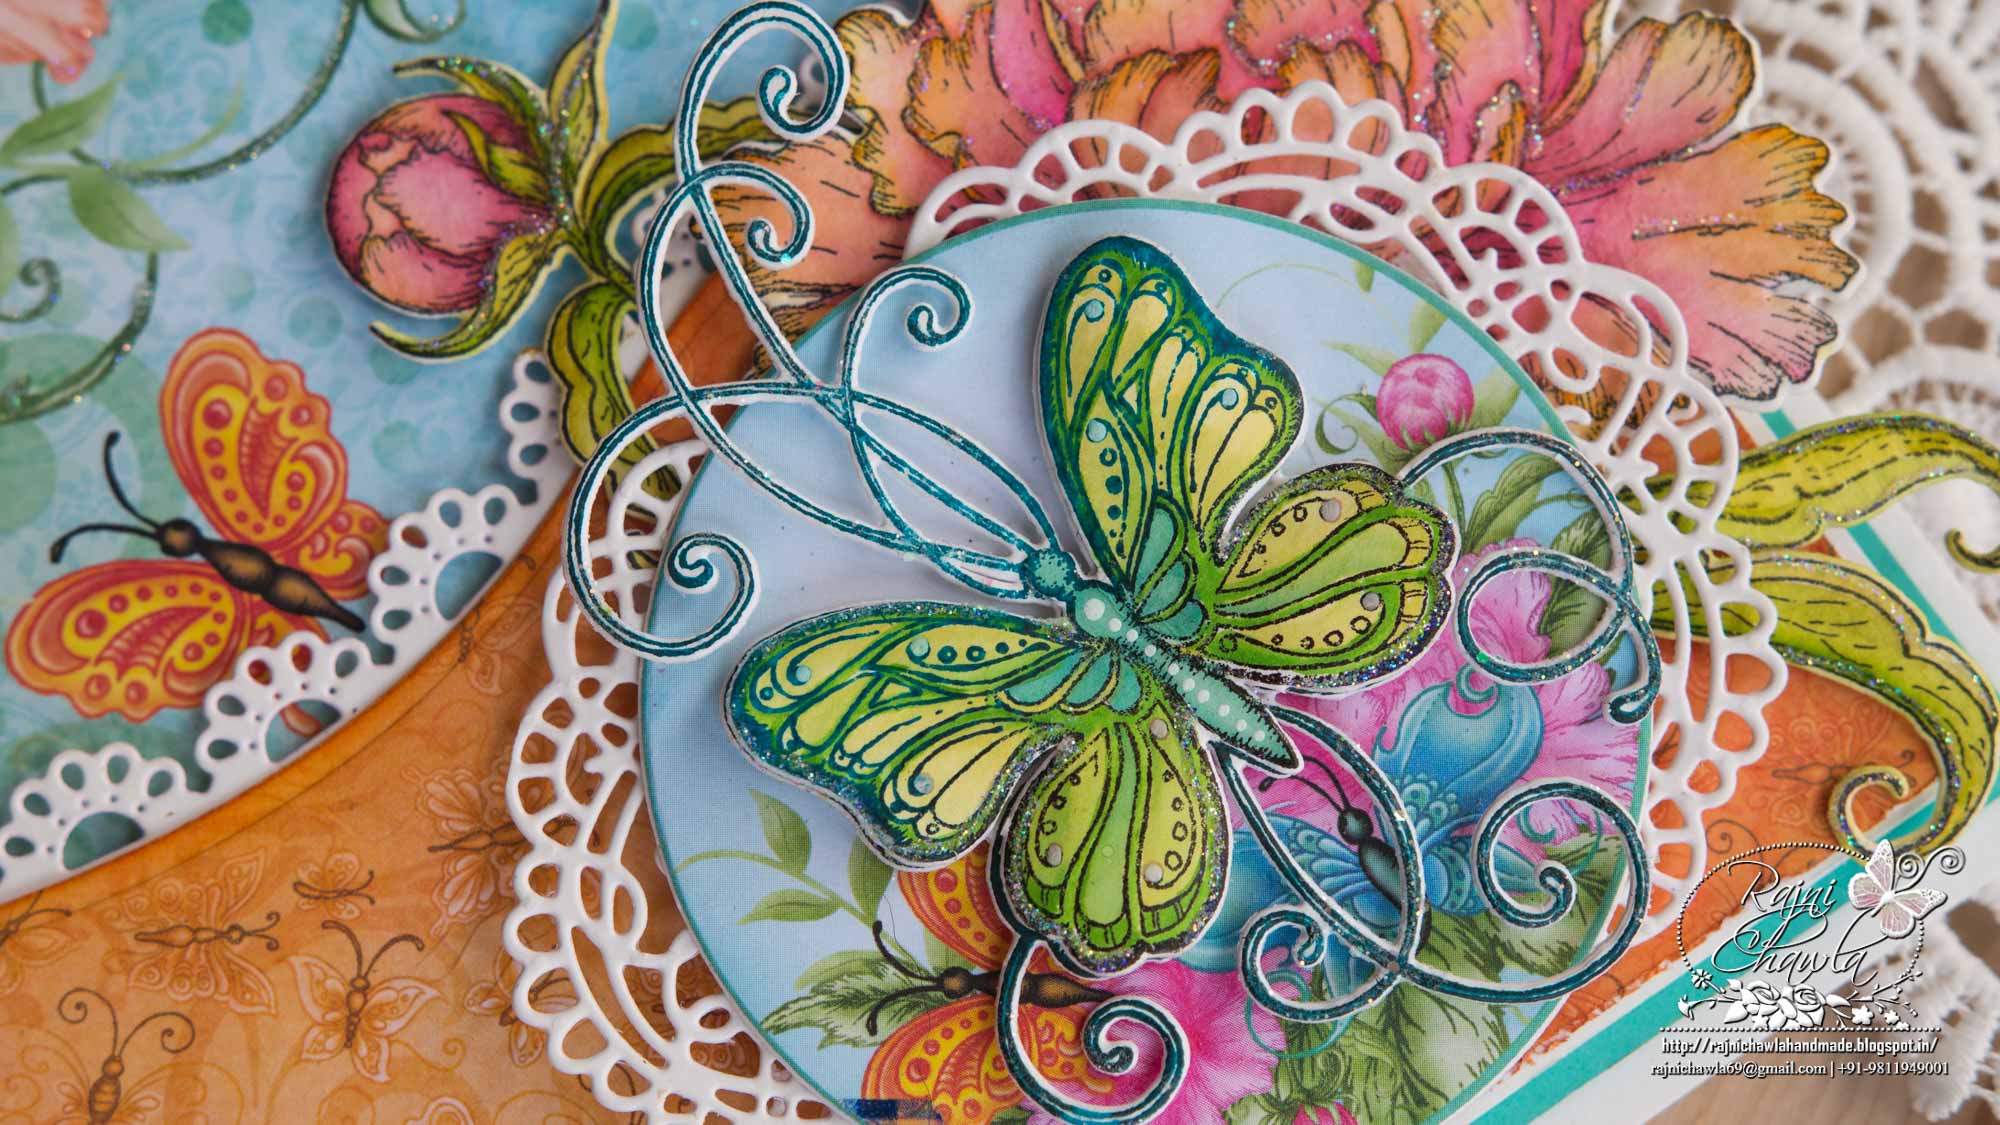
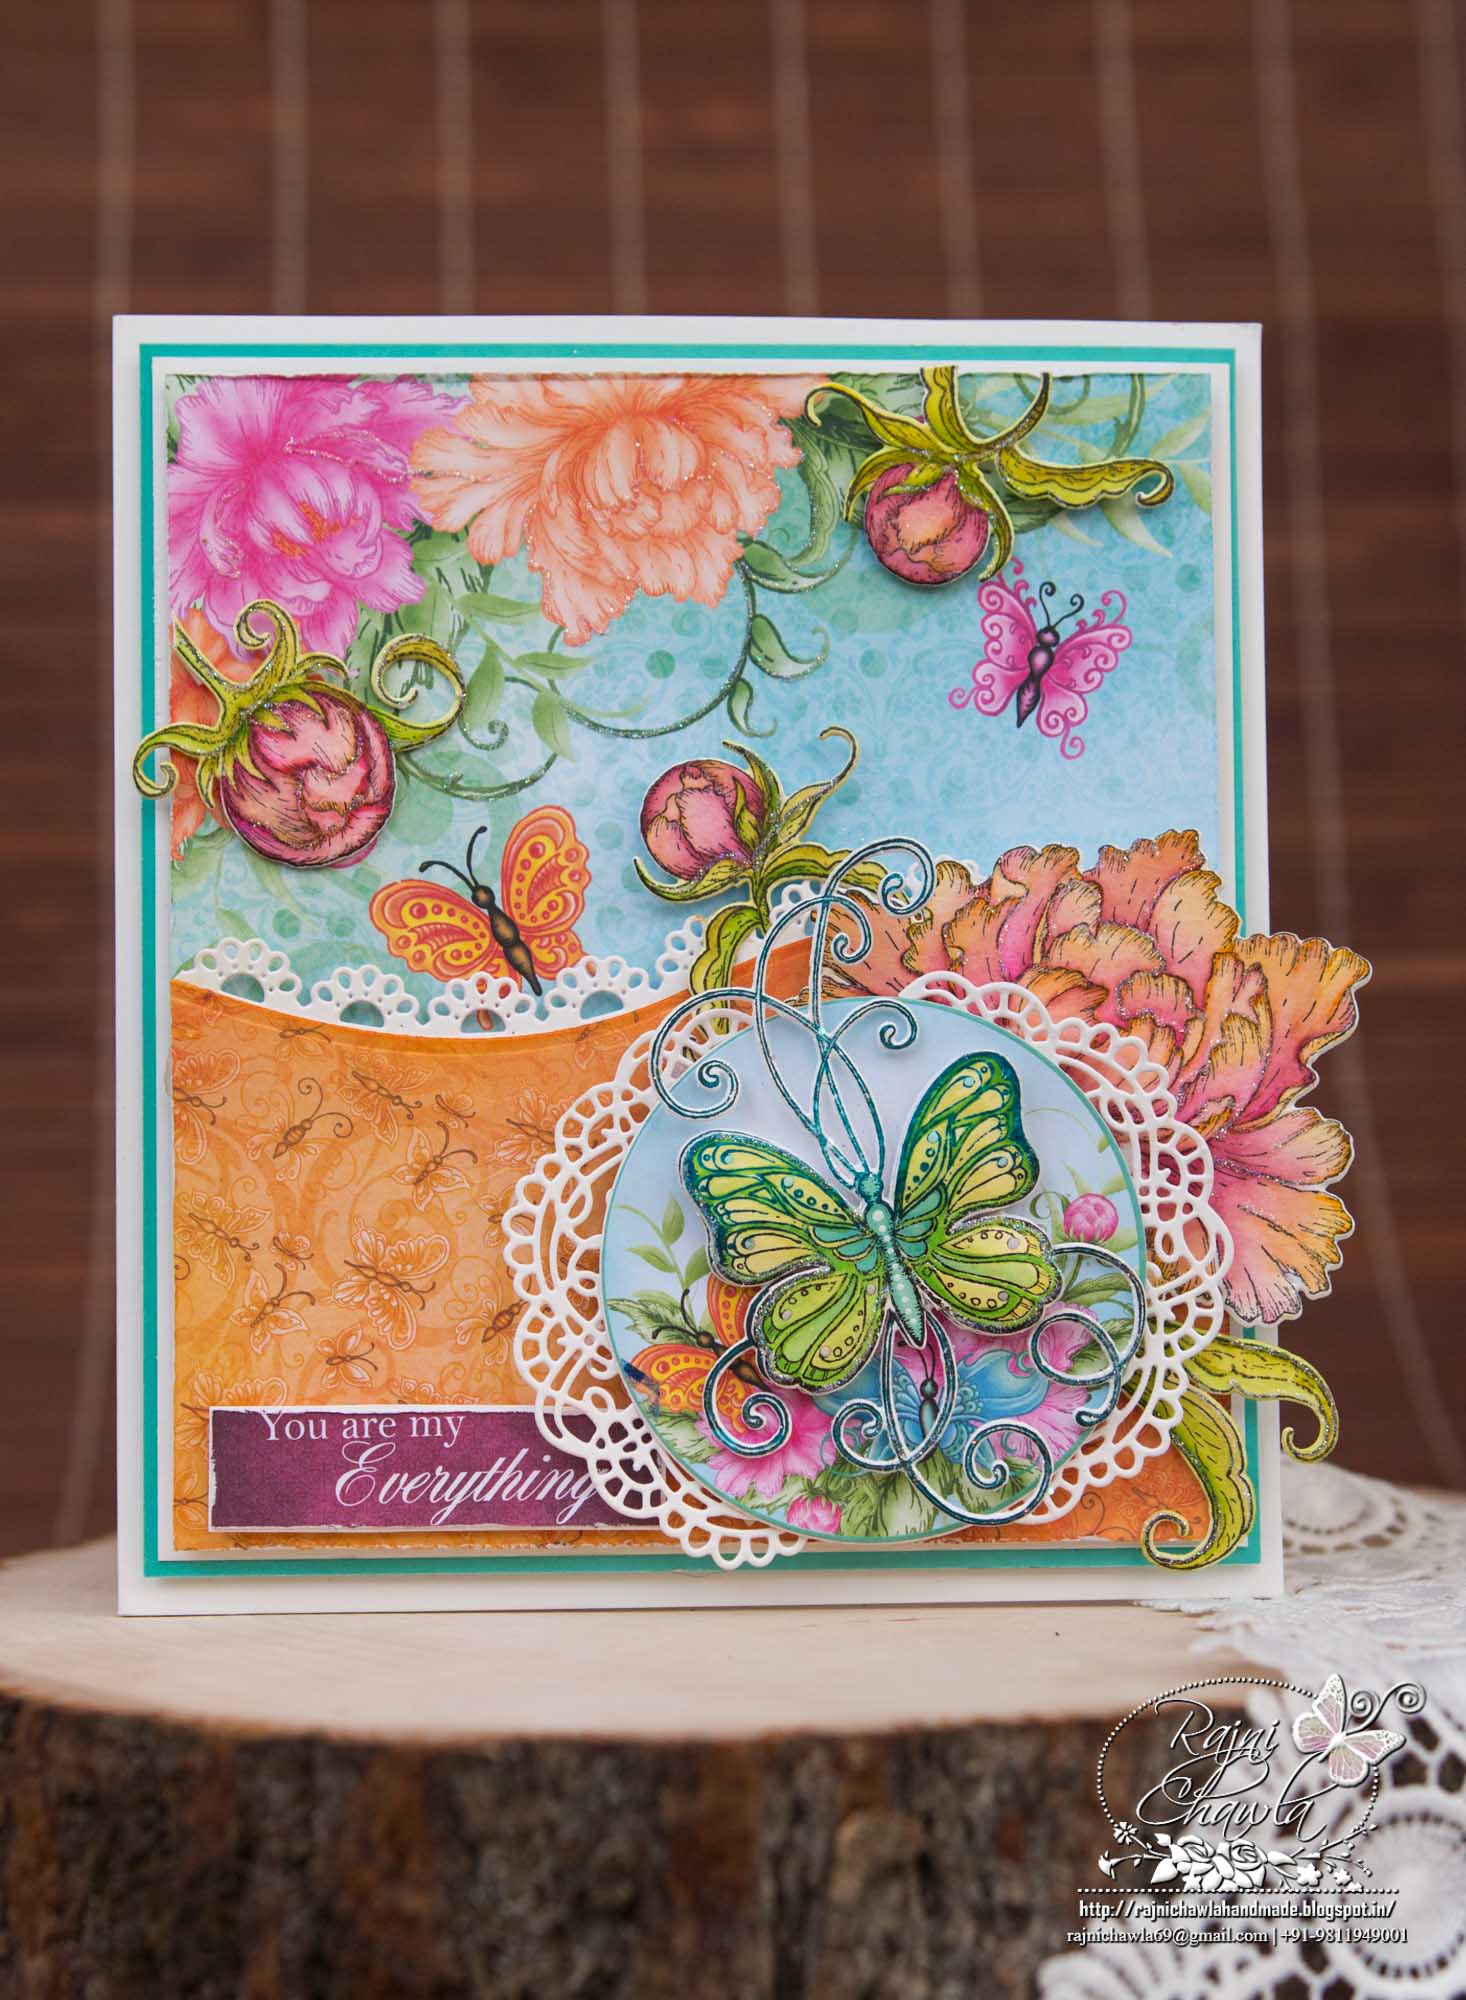
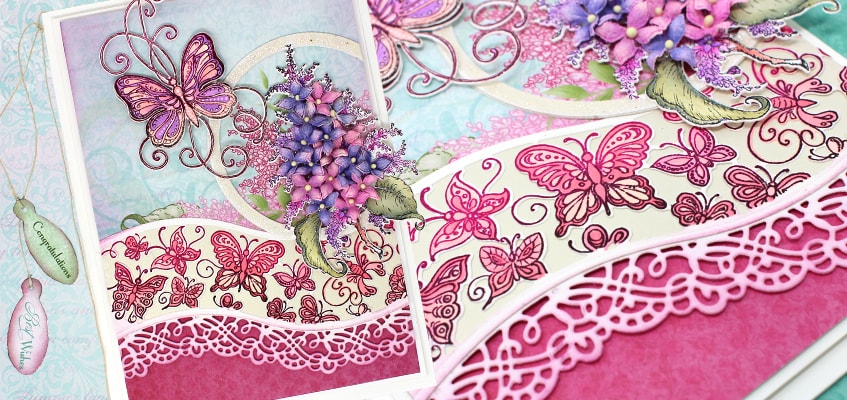
Welcome back to my blog again!! For today’s Heartfelt Inspiration, I have a watercolored Peony card to share which I created using their 2 latest releases, Butterfly Dreams Collection and Sweet Peony Collection. It was so much fun using both collections.
Supplies from Heartfelt Creations:
HCD1-7175 Peony Bud and Blossom Die
HCPC-3821 Peony Bud and Blossom Cling Stamp Set
HCD1-7179 Butterfly Kisses Decorative Die
HCPC-3825 Butterfly Kisses Cling Stamp Set
HCDP1-289 Butterfly Dreams Paper Collection
HCD1-7120 Fleur Border Basics Die
TSSZ63 StazOn Ink Pad – Teal Blue
RACP468 Ranger Archival Ink Pad – Jet Black
Designer Dries Clear Adhesive
HCD1-7154 Eyelet Circle & Basics Small Die
PGM15015 Rajni Chawla’s Crystal Clear
Other Products Used: Smooth white cardstock, Watercolor brush, Canson Water Color Paper, Foam Dots.
Videos Referred: For more tips on creating with the Butterfly Dreams collection, watch the tutorial at https://youtu.be/uCKKJfAQFHA.
Instructions: The ready side fold card measures 6 1/2″ by 7 1/2″. The first card layer is from teal blue cardstock and measures 6″ BY 7″. The next card layer is made using white cardstock and measures, 53/4″ by 6 3/4″.
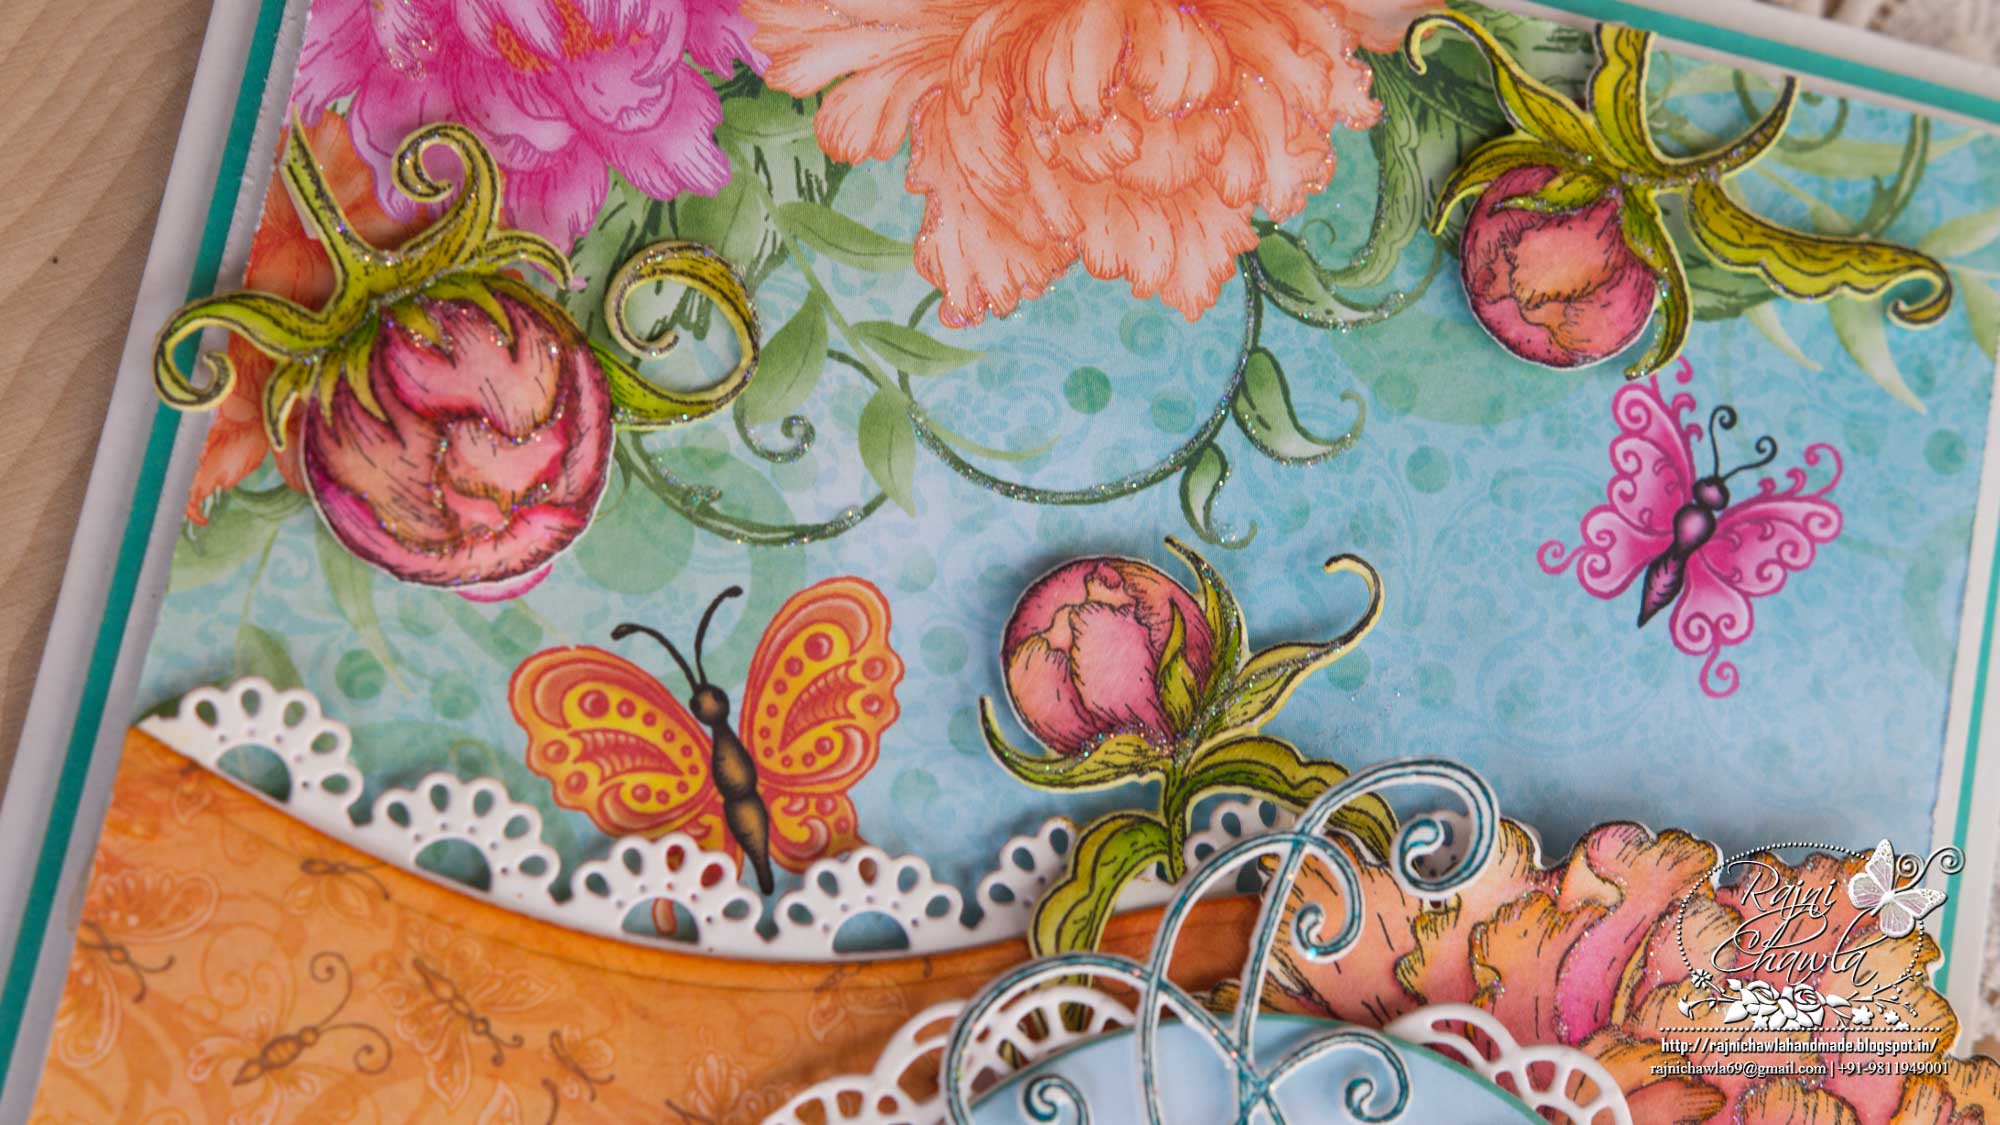
The ready fancy top layer measures 5 1/2″ by 6 1/2″. This layer is created using the combination of 2 pattern papers. Choose both the pattern papers from the paper collection. Cut a piece of orange pattern paper measuring, 3″ by 5 1/2″. Cut the top using Fleur Border Basic die and glue a fancy die cut border from behind. The paper with peonies pattern measures 4′ by 5 1/2″. layer them together to create a fancy card panel.
Stamp one large Peony, one large bud and 2 smaller buds using black archival ink on watercolor paper and die cut them using its coordinating dies. Using a watercolor brush, paint the images with Zig Markers. Also stamp the butterfly image twice with Teal Color Stazon on smooth white cardstock, cut it using its coordinating die and paint it using Zig Markers. Create a 2 layered butterfly embellishment by embossing the butterfly wings from the back.
Cut a circle from a pattern paper and layer it on the Butterfly Kisses circle doily. Also, layer al the stamped images as shown. Add sentiment and randomly add sparkle using Crystal Clear Powder and Adhesive that dries clear.


Beautiful as always!
Absolutely gorgeous!
So beautiful Rajni, as always!
Beautiful Rajni! I love the gorgeous colors all together and your painting is so beautiful!