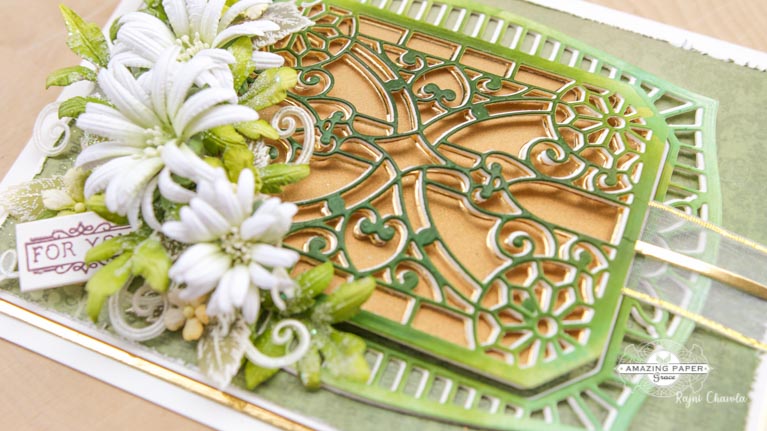
Today we are bringing you a fun surprise blog filled with elegant inspiration featuring the new Majestic 5×7 Frame Dies. These just became available today for everyone!
Intricate, elegant and….. majestic. The Majestic Frames Die collection is perfect for taking center stage on all of your paper crafting projects. The variety of sizes in each set equips you with limitless creativity! From large and elegant frames, one of a kind shaped cards to smaller intricate designs, the Majestic Frames collection gives you that extra “wow” factor you have been looking for!


Supplies From Heartfelt Creations:
HCD2-7307 Royal Elegance Frames Die
HCPP1-475 Deluxe Flower Shaping Paper Pack of 50 – White
HCD1-7257 Wild Aster Die
HCPC-3887 Wild Aster Cling Stamp Set
HCPC-3845 Just For You Sentiments Cling Stamp Set
RACP005 Ranger Archival Ink Pad – Sunflower
RACP436 Ranger Archival Ink Pad – Leaf Green
RACP985 Ranger Archival Ink Pad – Cactus Flower
RACP499 Ranger Archival Ink Pad – Plum
RACP614 Ranger Archival Ink Pad – Magenta Hue
HCGP1-488 Luxe Gold Cardstock
18002 Rajni Chawla’s Vellum Flowerite – 10 Sheets
RAHT Heat It Craft Tool
HCDA2-450 Stack and Store Daubers-Pack of 30
ANC818 Go Man Go Prills
HCST1-401 Deluxe Flower Shaping Kit
Other Products Used: Smooth White Card Stock, Die Cutting Machine. Score Board, Foam Dots, Distress Oxide Peeled Paint, Cuttle Bug Embossing Folder
Videos Referred: https://www.heartfeltcreations.us/blog/debuting-the-majestic-5×7-frame-dies
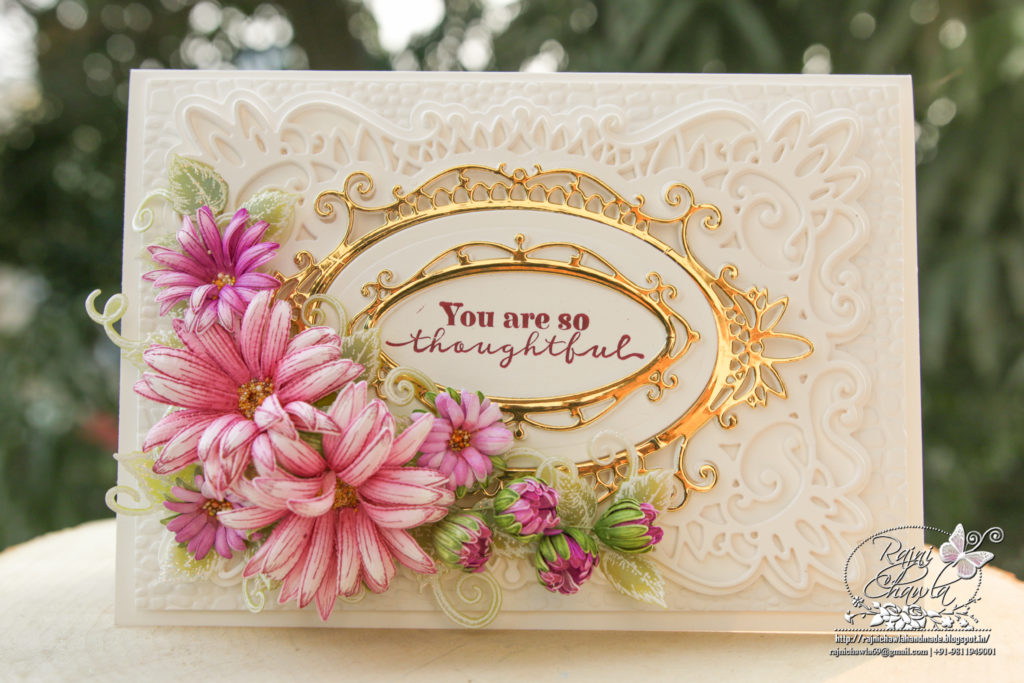
Instructions: The ready top fold card from white card stock measures 7 1/2″ by 5 1/4″. To prepare the card base, cut a smooth white cardstock measuring 7 1/2″ by 10 1/2″. Score the longer side at 5 1/4″. Crease and fold the card neatly. Cut all the required die cuts from white and gold Luxe cardstock using Royal Elegance Frames Die. Layer all the die cuts as shown to create the main focal point for the card.
Cut a smooth cardstock measuring 7 1/4″ by 5″ and dry emboss it using a cuttle bug embossing folder. Layer the embossed panel on the card front as shown and glue the prepared die cut layers on top.
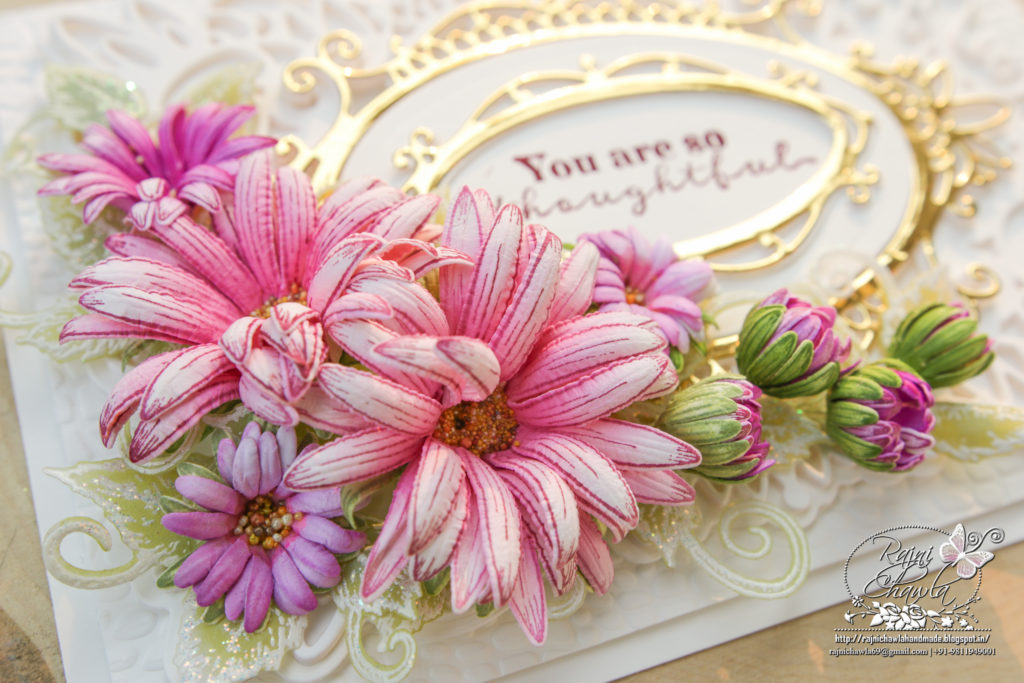
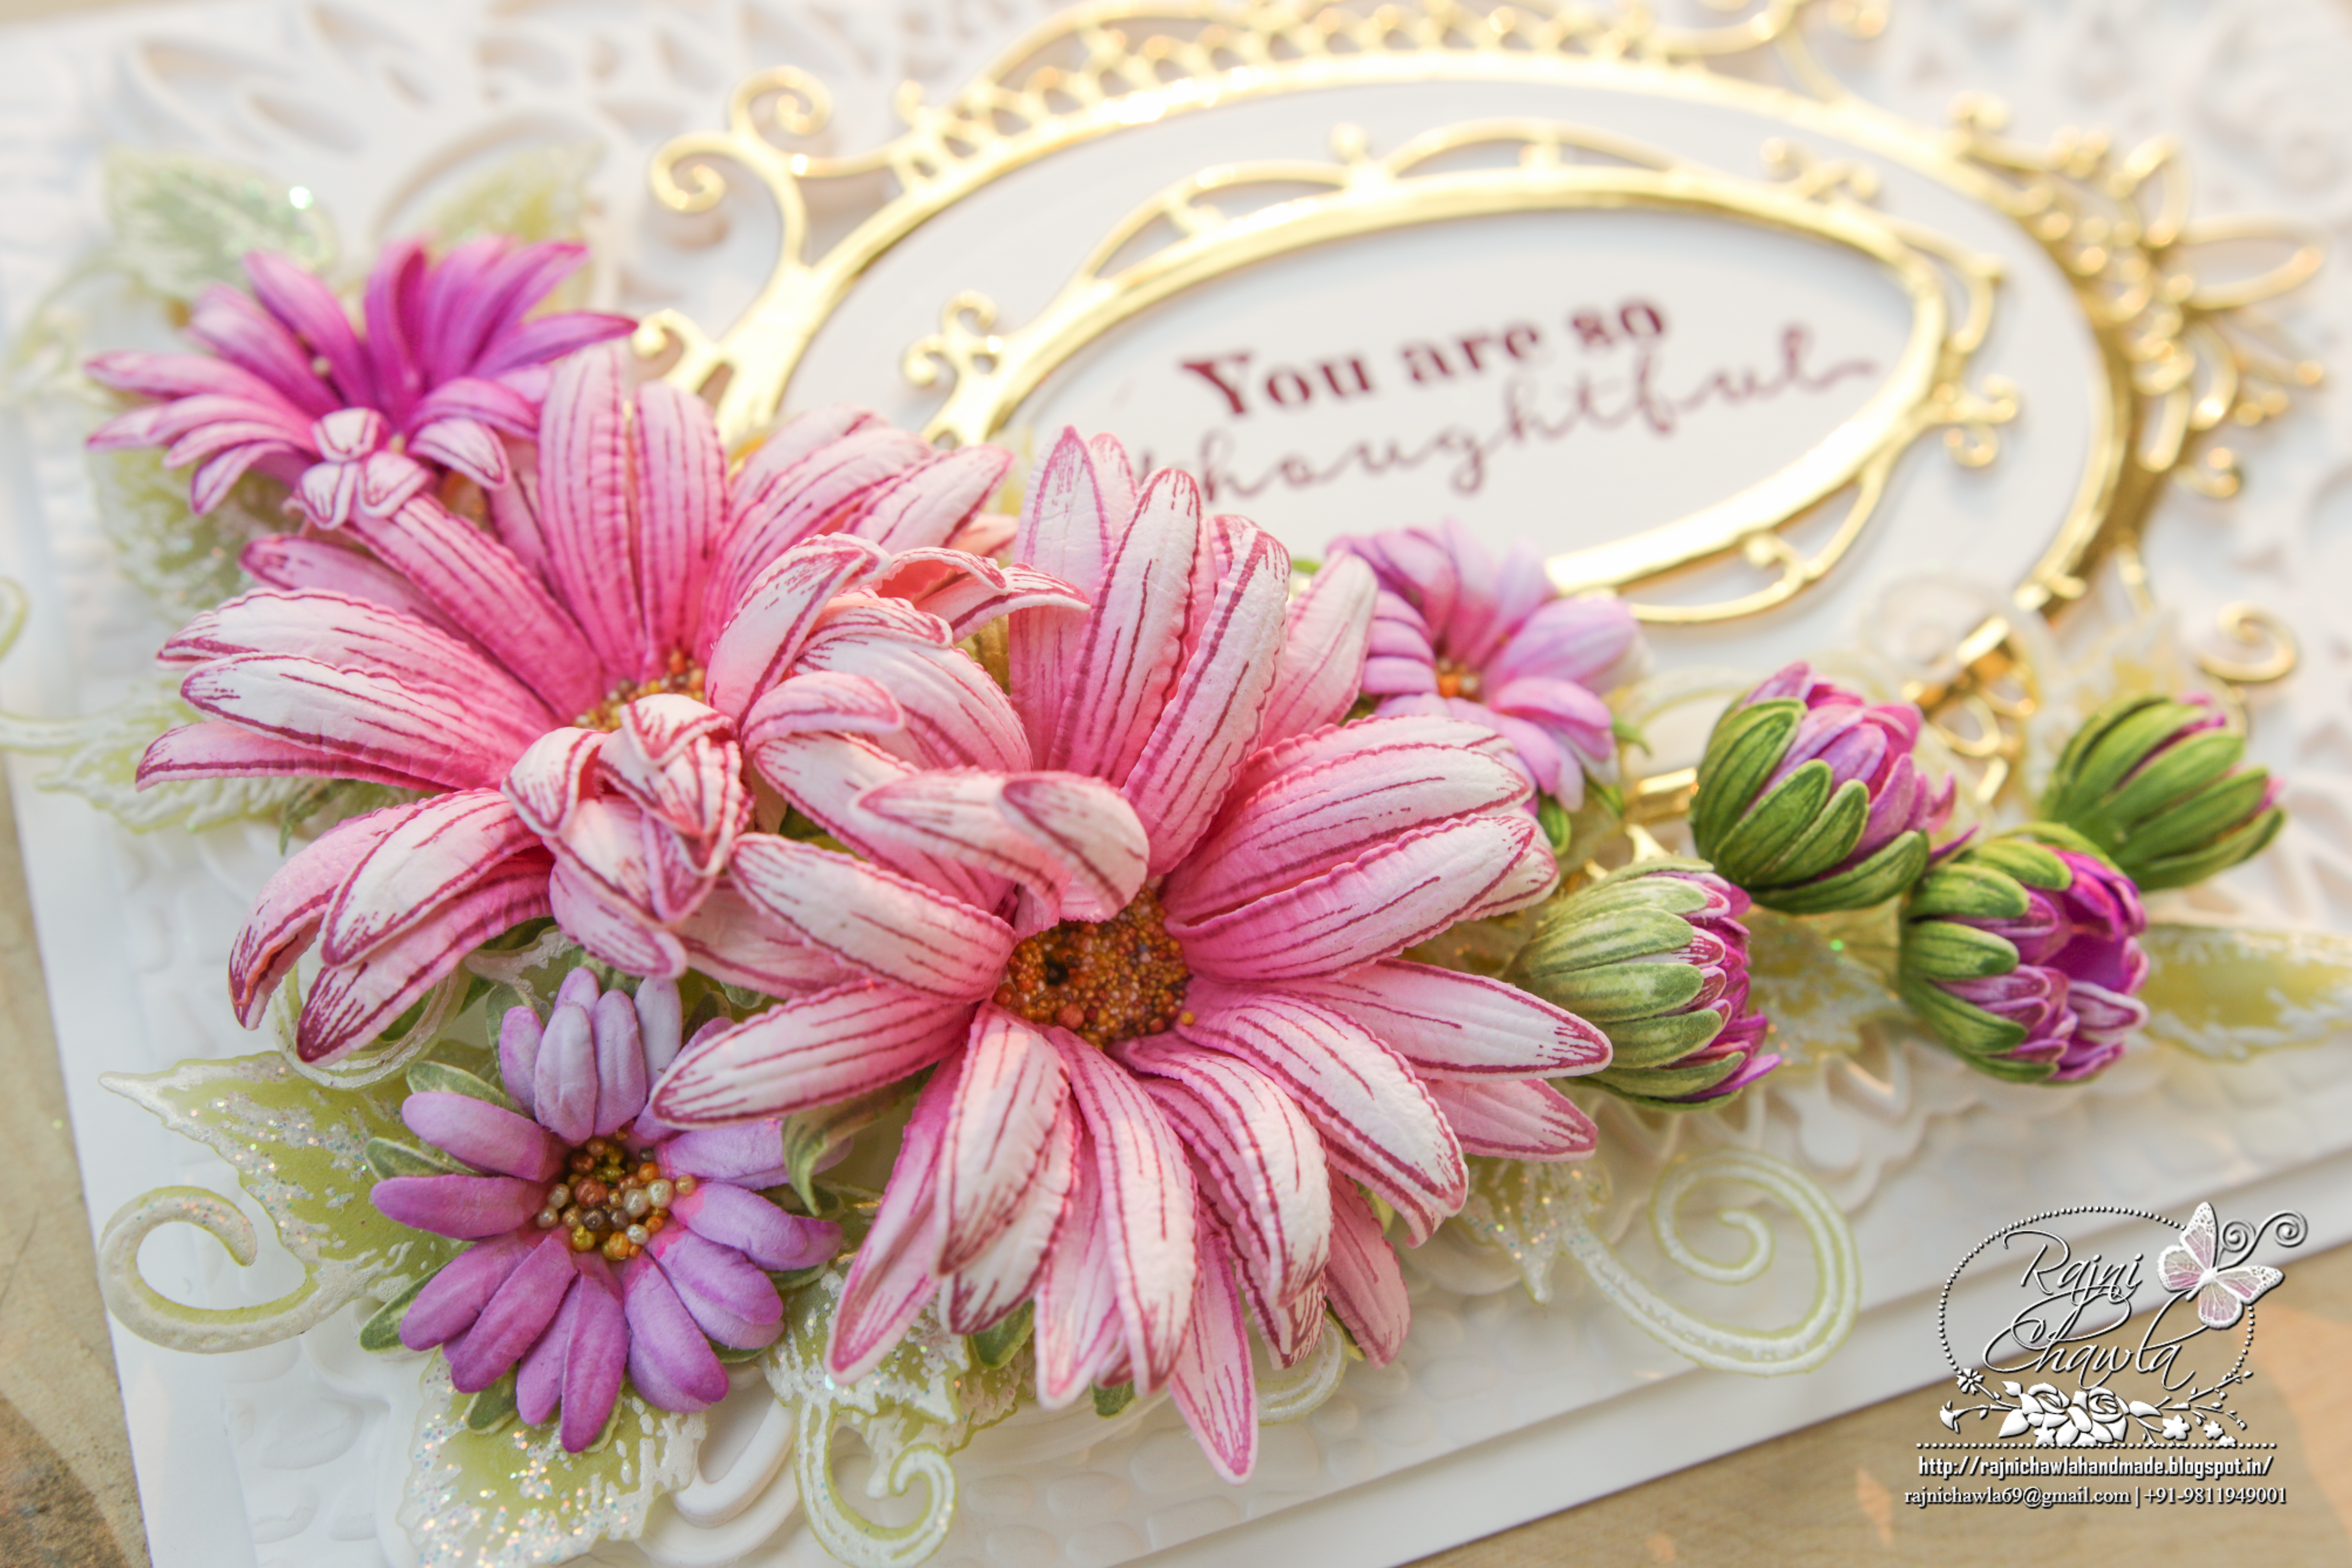
For the flowers, stamp multiple images of mixed florals from Wild Aster Cling Stamp Set on Deluxe flower shaping paper using Plum Archival Ink and cut them using their coordinating dies. Color the flowers using Magenta Hue Archival Ink and shape them using Deluxe Flower Shaping Kit. Prepare 2 large Flowers. Also, create 2-3 medium flowers but color these using Cactus Flower Archival Ink. Prepare 2-3 pink buds by using the smallest flowers from the set and shaping them inwards and adding green painted sepals and add wired stamens.
Stamp the images from Classic Rose Vines Cling Stamp Set with white pigment ink on Vellum, Sprinkle white heat embossing powder and dust extras in the funnel tray and heat set. Color the leaves using Distress Oxide Peeled Paint and shape them on the needle tool. Add Rajni Chawla’s Crystal Clear Glitter and keep them aside.
Once all the elements are ready, assemble a small bouquet of flowers and foliage on the left-hand side of the card front and finish the card by adding a sentiment.


Another gorgeous card Rajni! I love your asters!