Good Morning All…
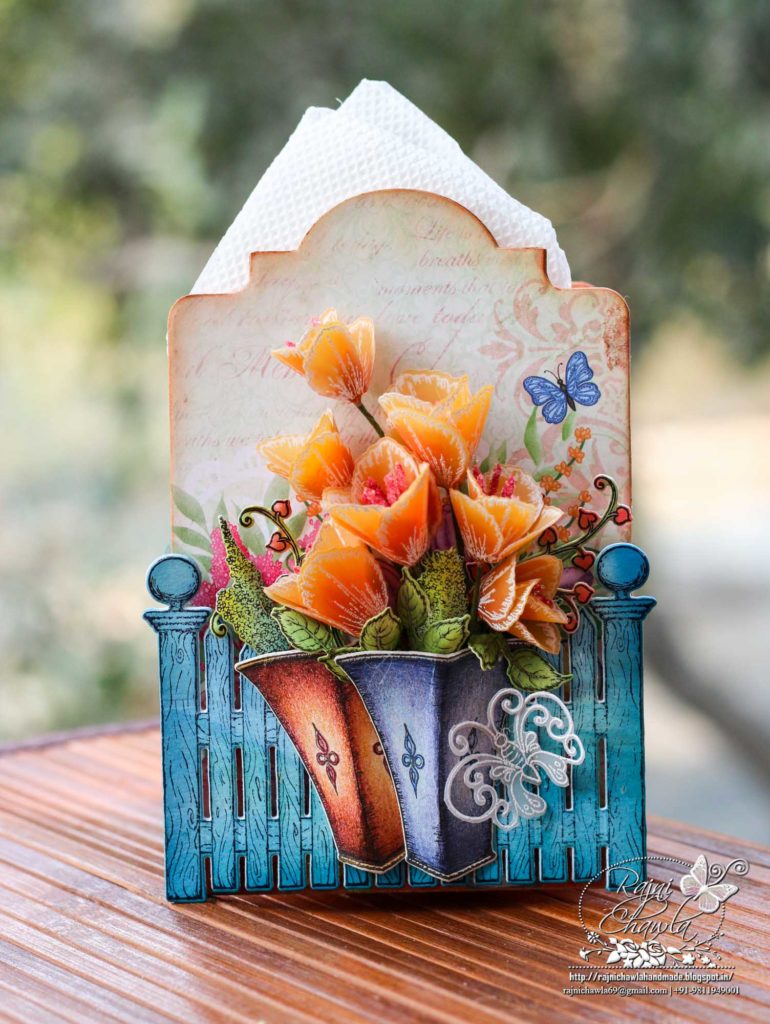
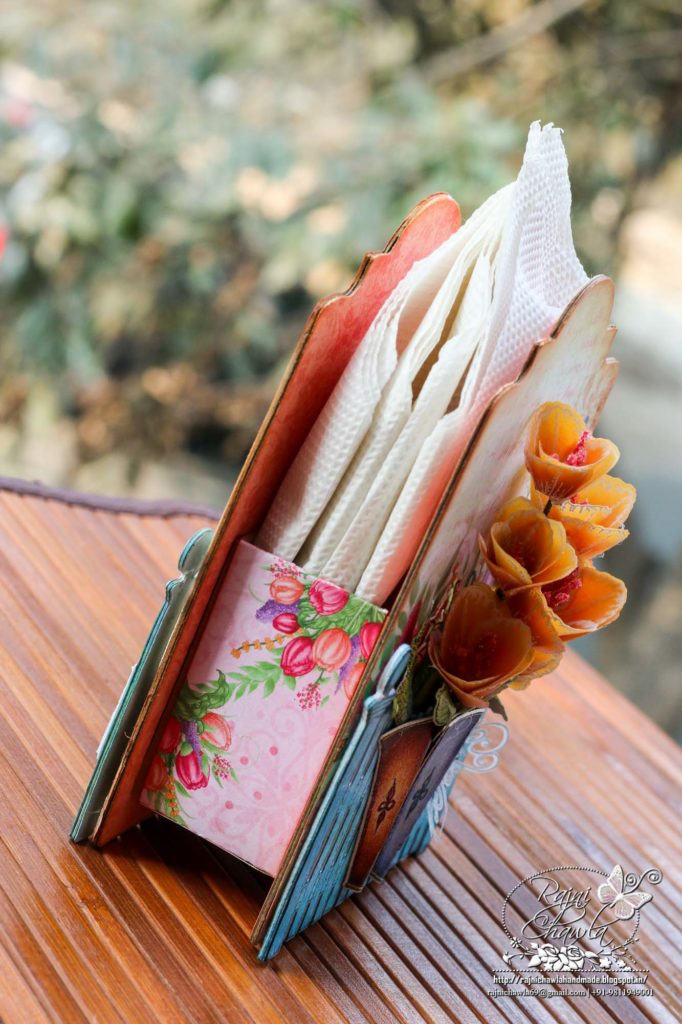
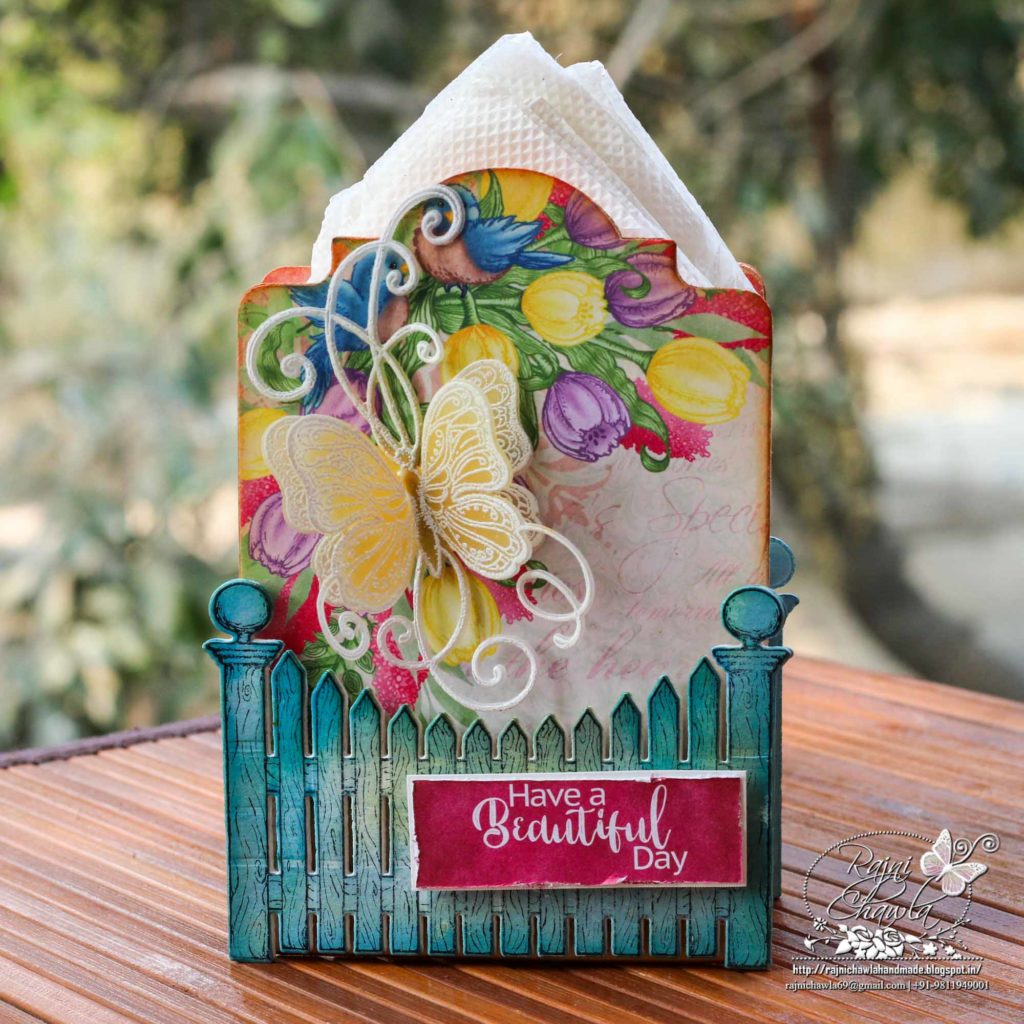
A warm welcome to my blog again!! Continuing with Tulip Time Collection, I have a 3D project to share. I created a tissue box using Album Tags and Accent Die Set, lately introduced by Heartfelt Creations.
Supplies from Heartfelt Creations:
HCD1-7218 Tulip Time Die
HCD1-7219 Tulip Bouquet Die
HCD1-7220 Tulip Vase & Fillers Die
HCD1-7221 Tulip Cart & Fence Die
HCPC-3858 Tulip Time Cling Stamp Set
HCPC-3859 Tulip Bouquet Cling Stamp Set
HCPC-3860 Tulip Vase & Fillers Cling Stamp Set
HCPC-3861 Tulip Cart & Fence Cling Stamp Set
HCDP1-298 Tulip Time Paper Collection
HCD1-7177 Butterfly Dreams Border Die
HCPC-3823 Butterfly Dreams Border Cling Stamp Set
HCD1-7179 Butterfly Kisses Decorative Die
HCPC-3825 Butterfly Kisses Cling Stamp Set
HCPC-3811 Rain Boots and Blossoms Cling Stamp Set
HCD1-7169 Rain Boots and Blossoms Die
HCD1-7202 Album Tags and Accents Die
18002 Rajni Chawla’s Vellum Flowerite – 10 Sheets
RACP436 Ranger Archival Ink Pad – Leaf Green
RACP614 Ranger Archival Ink Pad – Magenta Hue
RACP482 Ranger Archival Ink Pad – Olive
RACP468 Ranger Archival Ink Pad – Jet Black
HCS1-459-4 Rock Candy Stamens-Small
RAHT Heat It Craft Tool
HCDA2-450 Stack and Store Daubers-Pack of 30
CB80 ColorBox Pigment Ink Pad – Frost White
RPEJ685 Embossing Powder – White
159723 Designer Dries Clear Adhesive
Other Products Used: Distress inks, Stormy Sky and Pumice Stone, Smooth white cardstock, Die cutting Machine, Score Board, Distress Oxide Rusty Hinge, Hot Glue Steadtler Pencils.
Videos Referred: For more tips on creating with the Tulip Time collection, watch the tutorial at https://youtu.be/rfYMxeNBmJk.
Instructions: Using Album Tags and Accents Die and thick back cover of the designer paper pack, cut 4 pieces of tags and glue them together to create 2 sets of thick tags. Choose the paper from the designer paper collection and cover both the sides of the tags.
To create a box, measuring 3′ by 2 ” with the height of 2 1/2″, take a smooth kraft card stock measuring 6 1/2″ by 8 1/2″. To the longer side score at 2 1/2″ first, then rotate the paper and again score at 2 1/2″. You will left with 3″ in the center which will make the length of the box. On the shorter side, score at 2 1/2″ first, rotate the paper and again score at 2 1/2″. You are left with 1 1/2″ in center which will make the width of the box. Now on the same side score at 2″ till 2 1/2″ and then again score from 4′ till the end. This will make the half inch hinge when folded. Repeat the process on other side. For construction of the box, do refer the picture shared in my post on my blog. Once the box is complete cover all the sides by pasting designer paper on all sides. Glue the box between 2 tags as shown using red tacky tape.
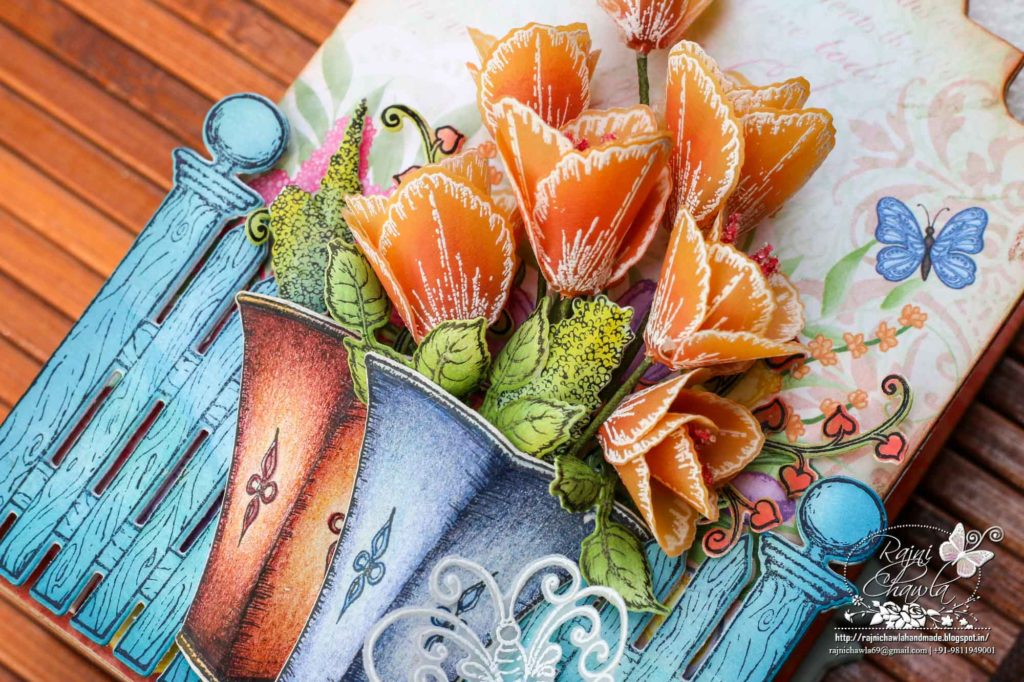
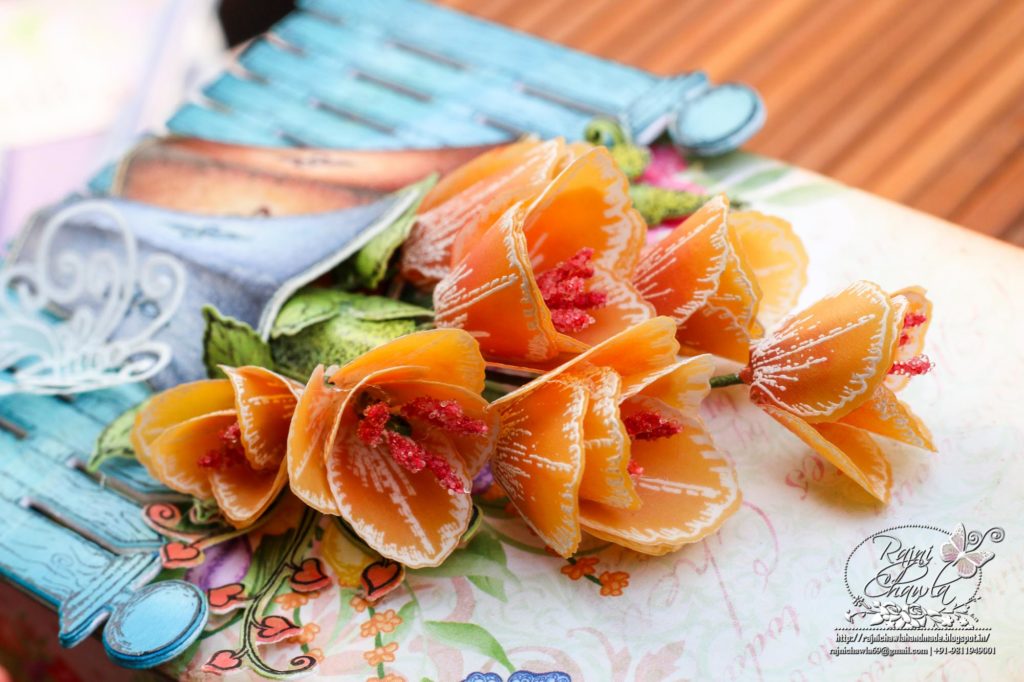
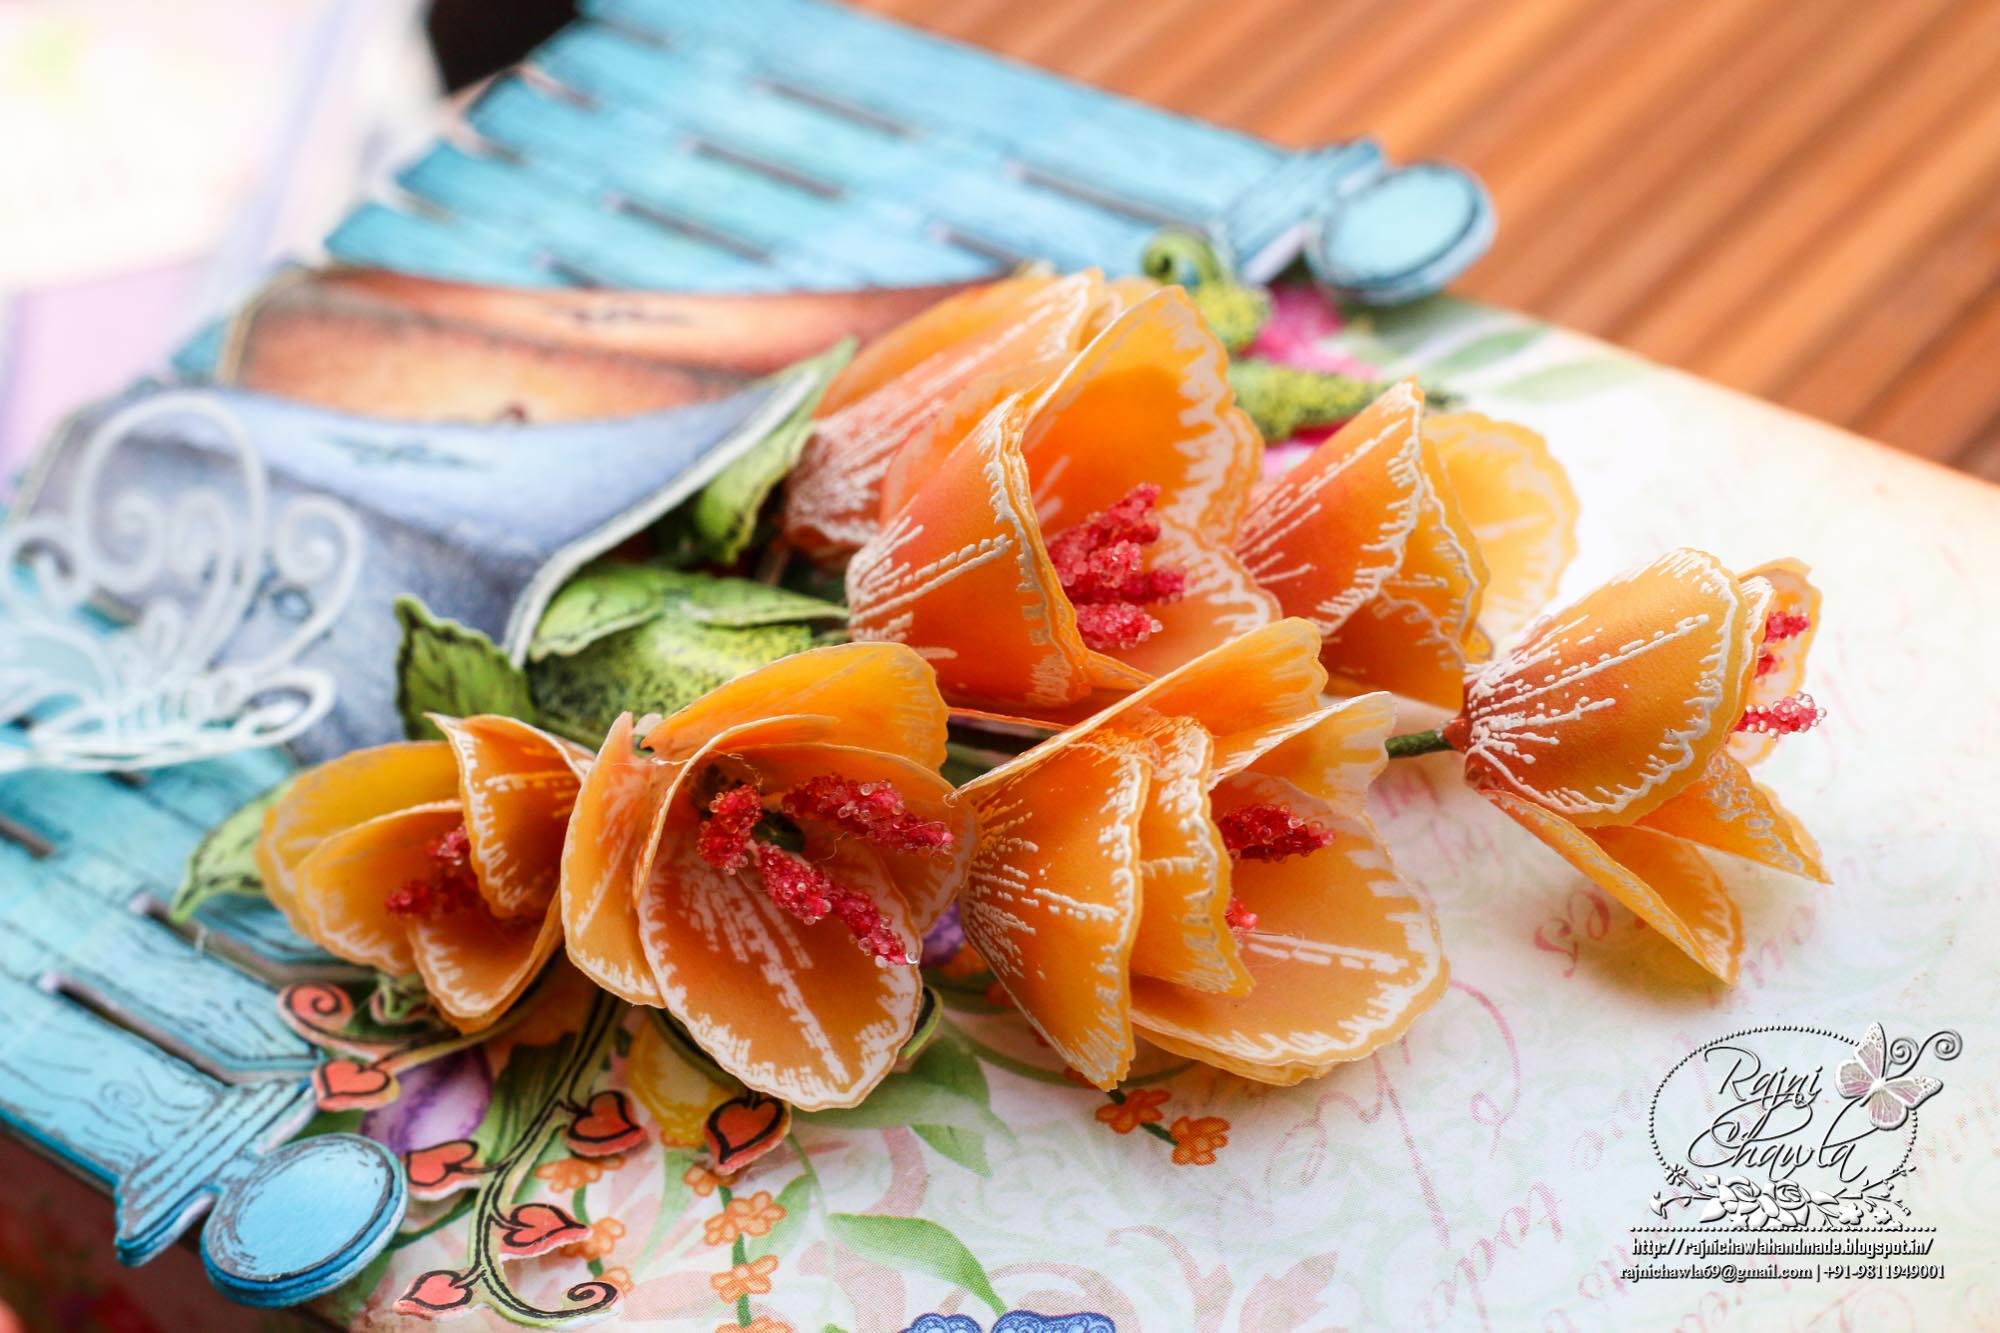
To create vellum Tulips, stamp the multiple tulip images from Tulip Time Cling Stamp Set with Frosted white Color Box ink on Vellum sheet and sprinkle white heat embossing powder. Dust extras and heat set the images using heat tool. Cut the images using its coordinating dies and paint them using distress oxide, Rusty Hinge. Shape the flowers on the back of a peintbrush and add rock candy stamens to the centers using hot glue. Make a small bouquet of tulips as shown in the picture. Also, white heat emboss the butterflies from Butterfly Dreams Collection the same way we did with Tulips. Color them using Distress Oxides.
The vase images from the Tulip Bouquet Cling Stamp Set is stamped on white cardstock using black archival ink and then cut using its coordinating die. The 2 vases are then colored using Steadtler pencils.
The fence from Tulip Cart & Fence Stamp set is stamped with black archival ink, colored using distress inks Pumice Stone and Stormy Sky and cut using its coordinating die. Extra die cuts are stacked behind the painted image to make it more sturdy. Also, the filler images from Rain Boots and Blossoms Cling Stamp Set are stamped with Olive green and cut with its coordinating dies. These are then colored using Leaf Green Archival Ink and shaped using Deluxe Shaping Kit.
Once all the elements are ready, glue fences on both the sides and assemble a small bouquet of tulips on the fence on one side and vellum butterfly on the other side. Complete the project by adding anothe butterfly near the vase and add sentiment.



Stunning as always!
Love the beautiful bright colours and your attention to detail. Beautiful work.
Love love all projects…and specially this is stunning