A very good morning all…
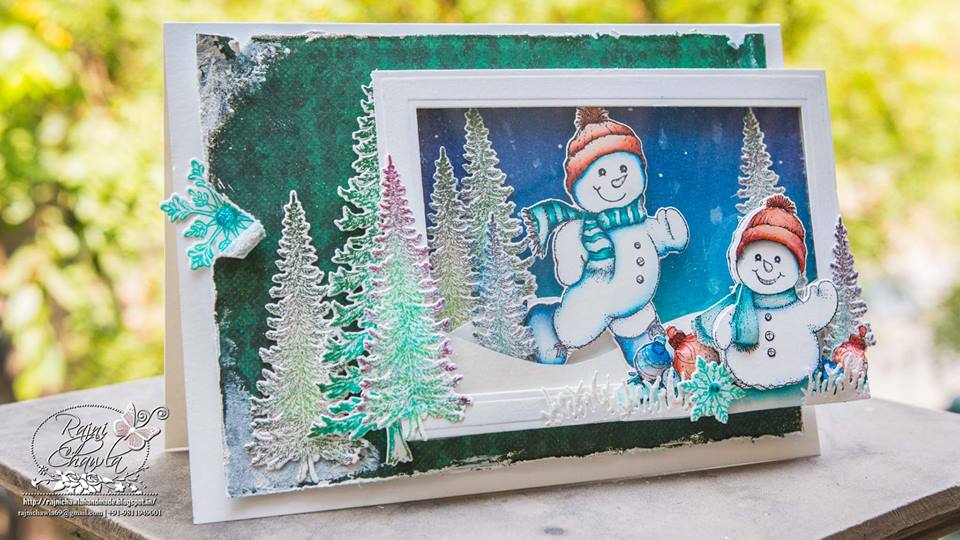
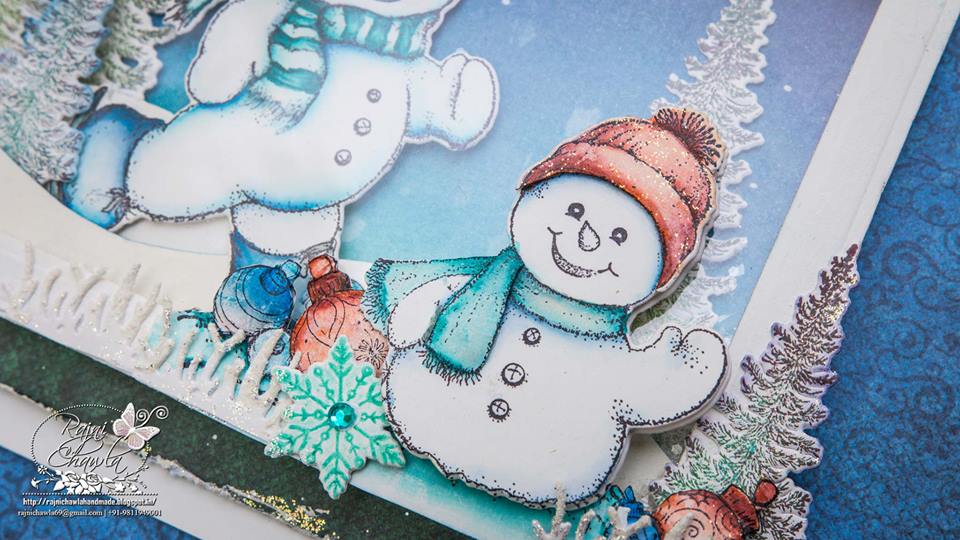
Thanks for dropping by my blog again. Can’t imagine, half the year has already gone. Today is the second Wednesday of August and Heartfelt Creations is again back with another stunning Christmas release. Today I have a snowy shaker card to share today.
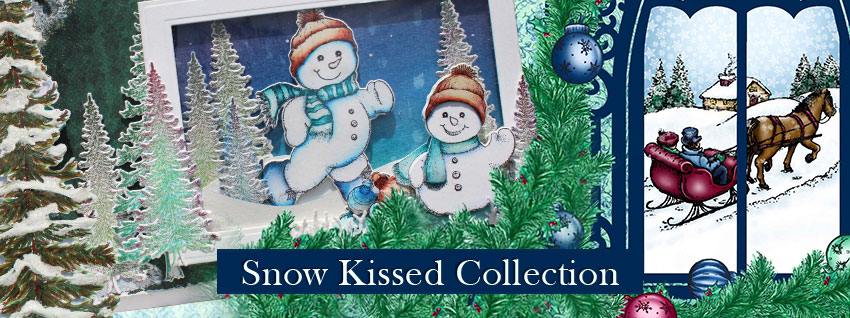
Bring out the softer side of old man winter in all of your projects with the new “Snow Kissed” Collection by Heartfelt Creations. An exquisite blending of classic winter scenes depicting gentle snowfalls, candle lit windows, countryside sleigh rides mixed with a sprinkling of fun-filled images of frosty snowmen delivers the perfect compilation of winter themed imagery for all of your holiday and chilly season creations. This newest collection features three cling stamp sets revealing illustrations of towering pine trees and frosty snowmen ideal for creating spectacular winter scenes, a large gift tag perfect for adding that special handmade touch to all of your beautifully wrapped gifts, as well as a wide variety of snowflakes which when paired with the coordinating dies will allow you to build one of a kind dimensional flakes as realistic and individual as those in a gentle snowfall. The charming paper collection showcases beautiful hues of cozy blues and rich pine greens accented with deep burgundies creating exquisite backdrops to showcase patterns of elegant snowflakes, windswept swirls, playful polka dots and beautiful brocades resembling those found on a cozy handmade quilt. And, this unique collection brings with it a special surprise…a small gift box die ready to be cut, assembled and embellished, making packaging smaller gifts quick and easy during the busiest time of the year! So, grab your quilt, cozy on up in your craft room and join us as we bring just a kiss of snow to your craft table….we promise no shoveling required!
Products from Heartfelt Creations:
Frolicking Frosty and Spruce HCD1 7107
Snow Kissed Spruce HCPC 3747
Frolicking Frosty HCPC 3750
Snow Kissed Flakes and Tag HCPC 3751
Snow Kissed Designer Paper Collection HCDP1 269
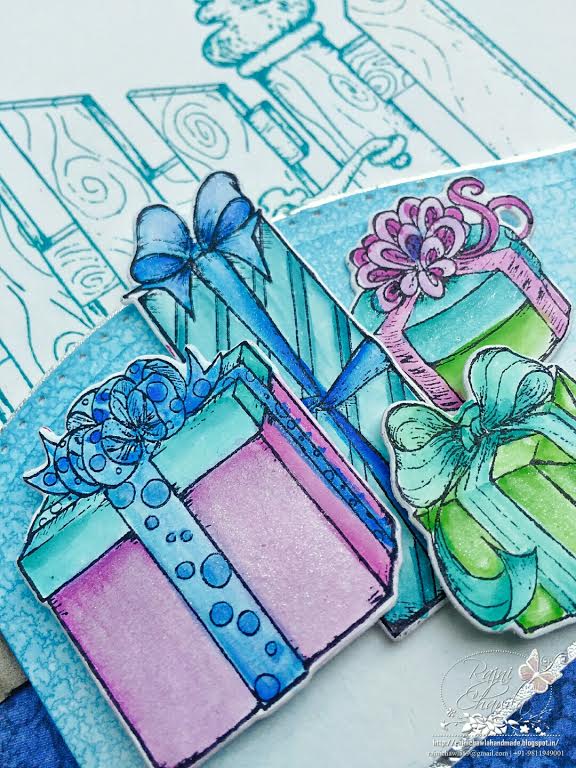
Gift Box and Mini Snow Flakes HCD1 7109
Designer Dries Clear Adhesive 159723
Crystal Ultrafine Transparent Glitter
Double Dots 100pc. -3D Foam Circles DDOTS
Glue Tip Pins PIN6
Other Products used:
Smooth white card stock, Vintage Photo, Stormy Sky and Salty Ocean Distress ink, Library Green, Plum, Garden Petina and black Archival Inks, Zig Clean Clear Markers, Clear Glitter. Acetate Sheet, Tacky tape, Spellbinder’s A2 Basic Matting A.
Instructions:
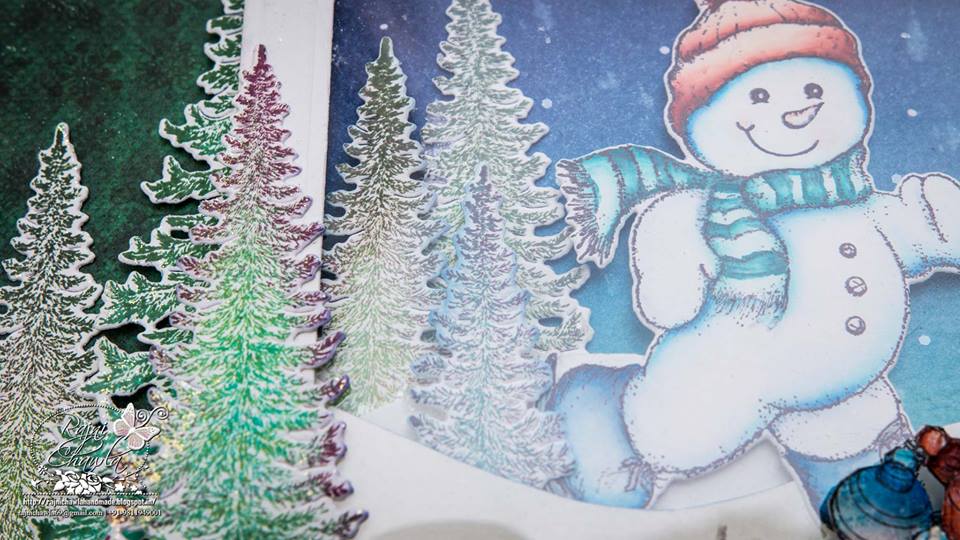
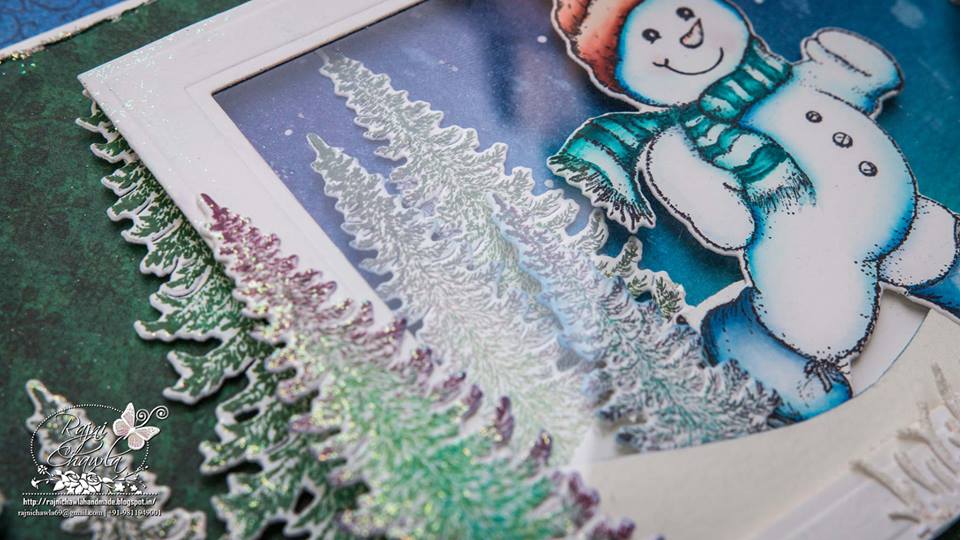
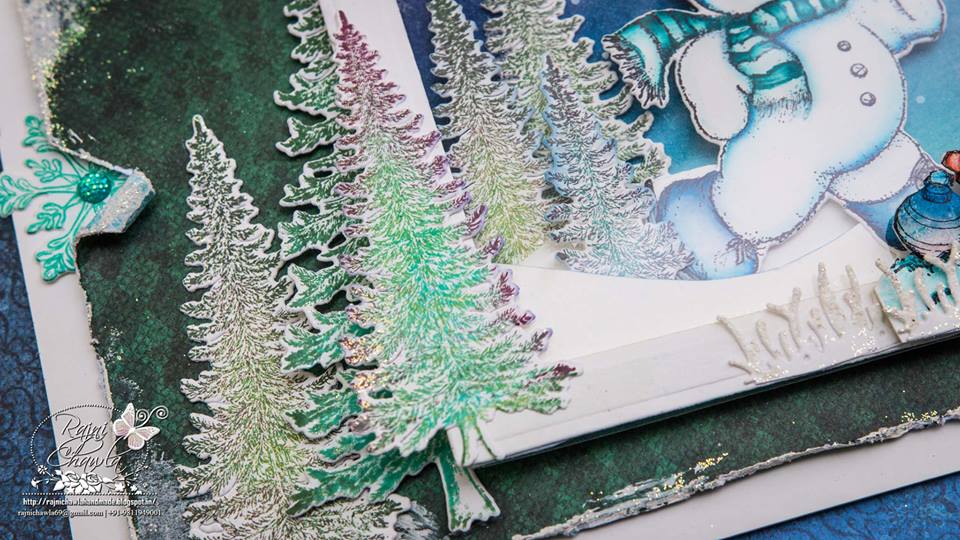
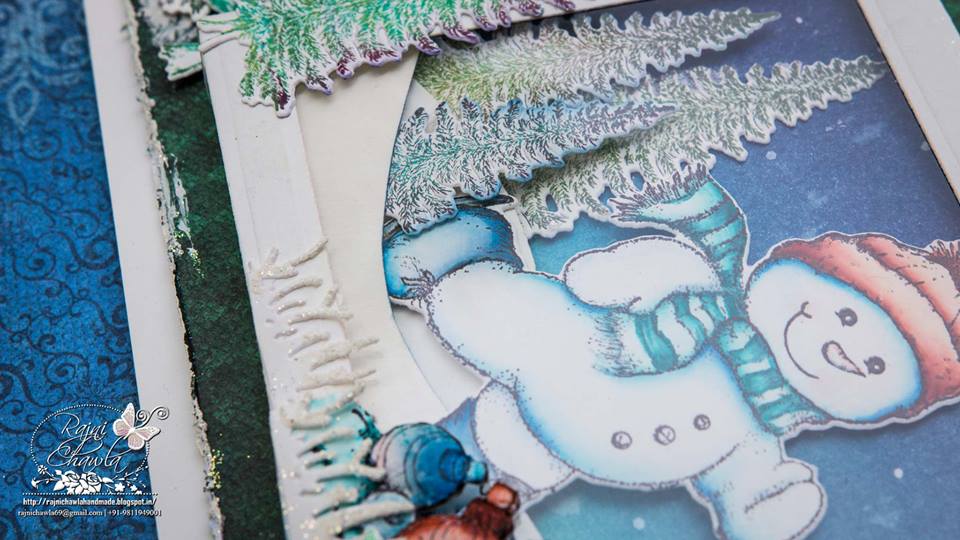
Create a top folding card base measuring 6 1/2″ by 7 !/2′ using smooth white card stock. Cut designer paper 1/4 th inch shorter than the card base. Distress the edges with distressing tool and ink a little with Vintage Photo Distress ink. Then mat it on the card top. Sprinkle little clear glitter on the edges using the adhesive that dries clear. The trees are from Snow Kissed Spruce Stamp Set and stamped with Plum Archival ink and Library Green Archival inks. Die cut them using its coordinating die. Snowflakes are stamped with Garden Petina Archival ink. Stamp the images from Frolicking Frosty Spruce using black Archival multiple times and paint with Zig Clean Clear Markers. Die cut the images using its coordinating die. Few parts are further fussy cut for layering also. Layer the image using glue dots. The snowman inside the shaker card is one layer only. For shaker front, cut the frame from white cardstock using outer 2 dies of Spellbinder’s A2 Basic Matting A Die. Cut a piece using the outer first die of the same die set and create a background using Stormy Sky and Salty Ocean Distress ink. The mountain and valley look is created with hand cut white cardstock by layering both pieces with glue dots. Stick an acetate sheet with red tacky tape from the back of the frame and add all elements. Also, add clear glitter. Now close the shaker card by layering the frame using foam tapes on all the four sides. Place the shaker card on the card frame and layer all the rest elements as shown. Add more glitters for the extra interests.


beautiful card, love all the layers. Beautiful coloring Rajni
Omg!!!! You totally rock Rajniji … Your style is unique and you outdo yourself after each project!!!! Your only competitor is you!!!!!😍😍😍😍 stunning work
So cuuuuuute 🙂