Hello all!
I am Rajni Chawla here from India. Firstly, I wish all the Dusty Attic members and all the followers, a very Happy Twenty Sixteen. I feel very honored to be part of Dusty Attic Design Team for the year 2016. I am so excited that I’ll be sharing my passion with like-minded crafters, some of whom I’ve looked up to for inspiration. A very heartfelt thanks to all of you for giving me this chance to work with such a talented design team. I hope all of us can learn and inspire each other with each creation !!
Today, I am here to share my very first project for Dusty Attic. I got a tub full of yummy colors along with so many other surprisingly gorgeous supplies in my Dt package. Lots of gorgeous DA chippies, texture pastes and mediums, DA stencils and so many of blooms. It was really a big Dt haul I must say…..and loved it too. Thank you so much, Jen for sharing your love and generosity and also, a big thanks to Jennifer Mahoney for such a beautiful designing.
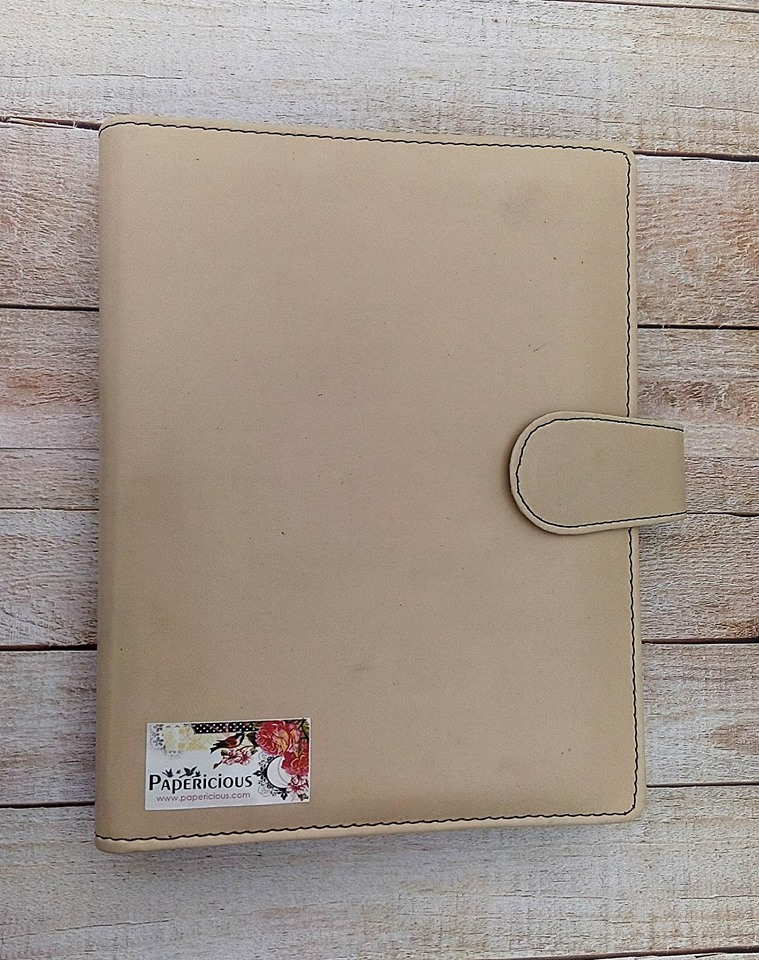
Now on to today’s project. I was so in love with lovely shades of DA acrylic paints that I decided to try them mainly along with DA chip boards. Few days back I got my hands on a newly launched planner by Papericious and reserved it for designing it for myself. Planners are essential for managing our time and tracking our goals. Isn’t it ??
I am an artist myself. My planner should be a piece of art which should document all my inspirations and my goals as it is going to track my progress over a year as well as my personality in one book.
This is what my planner looked like before I started working on it.
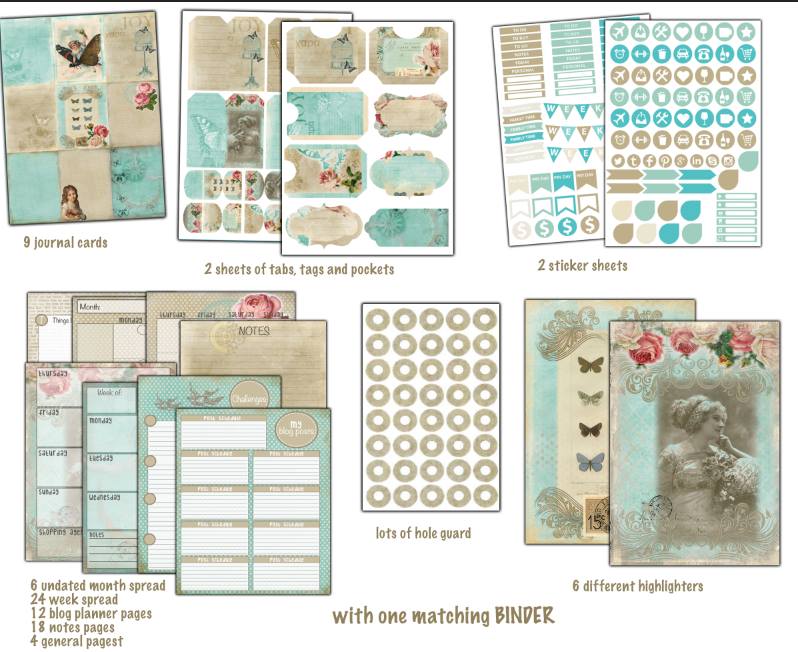
The best part of this planner was that it’s outer cover took all the actual colors and mediums I applied. The quality is perfect for all type of mix media mediums. For decorating its inside pages , company is providing these awesome accessories along with planner.
Have a look:
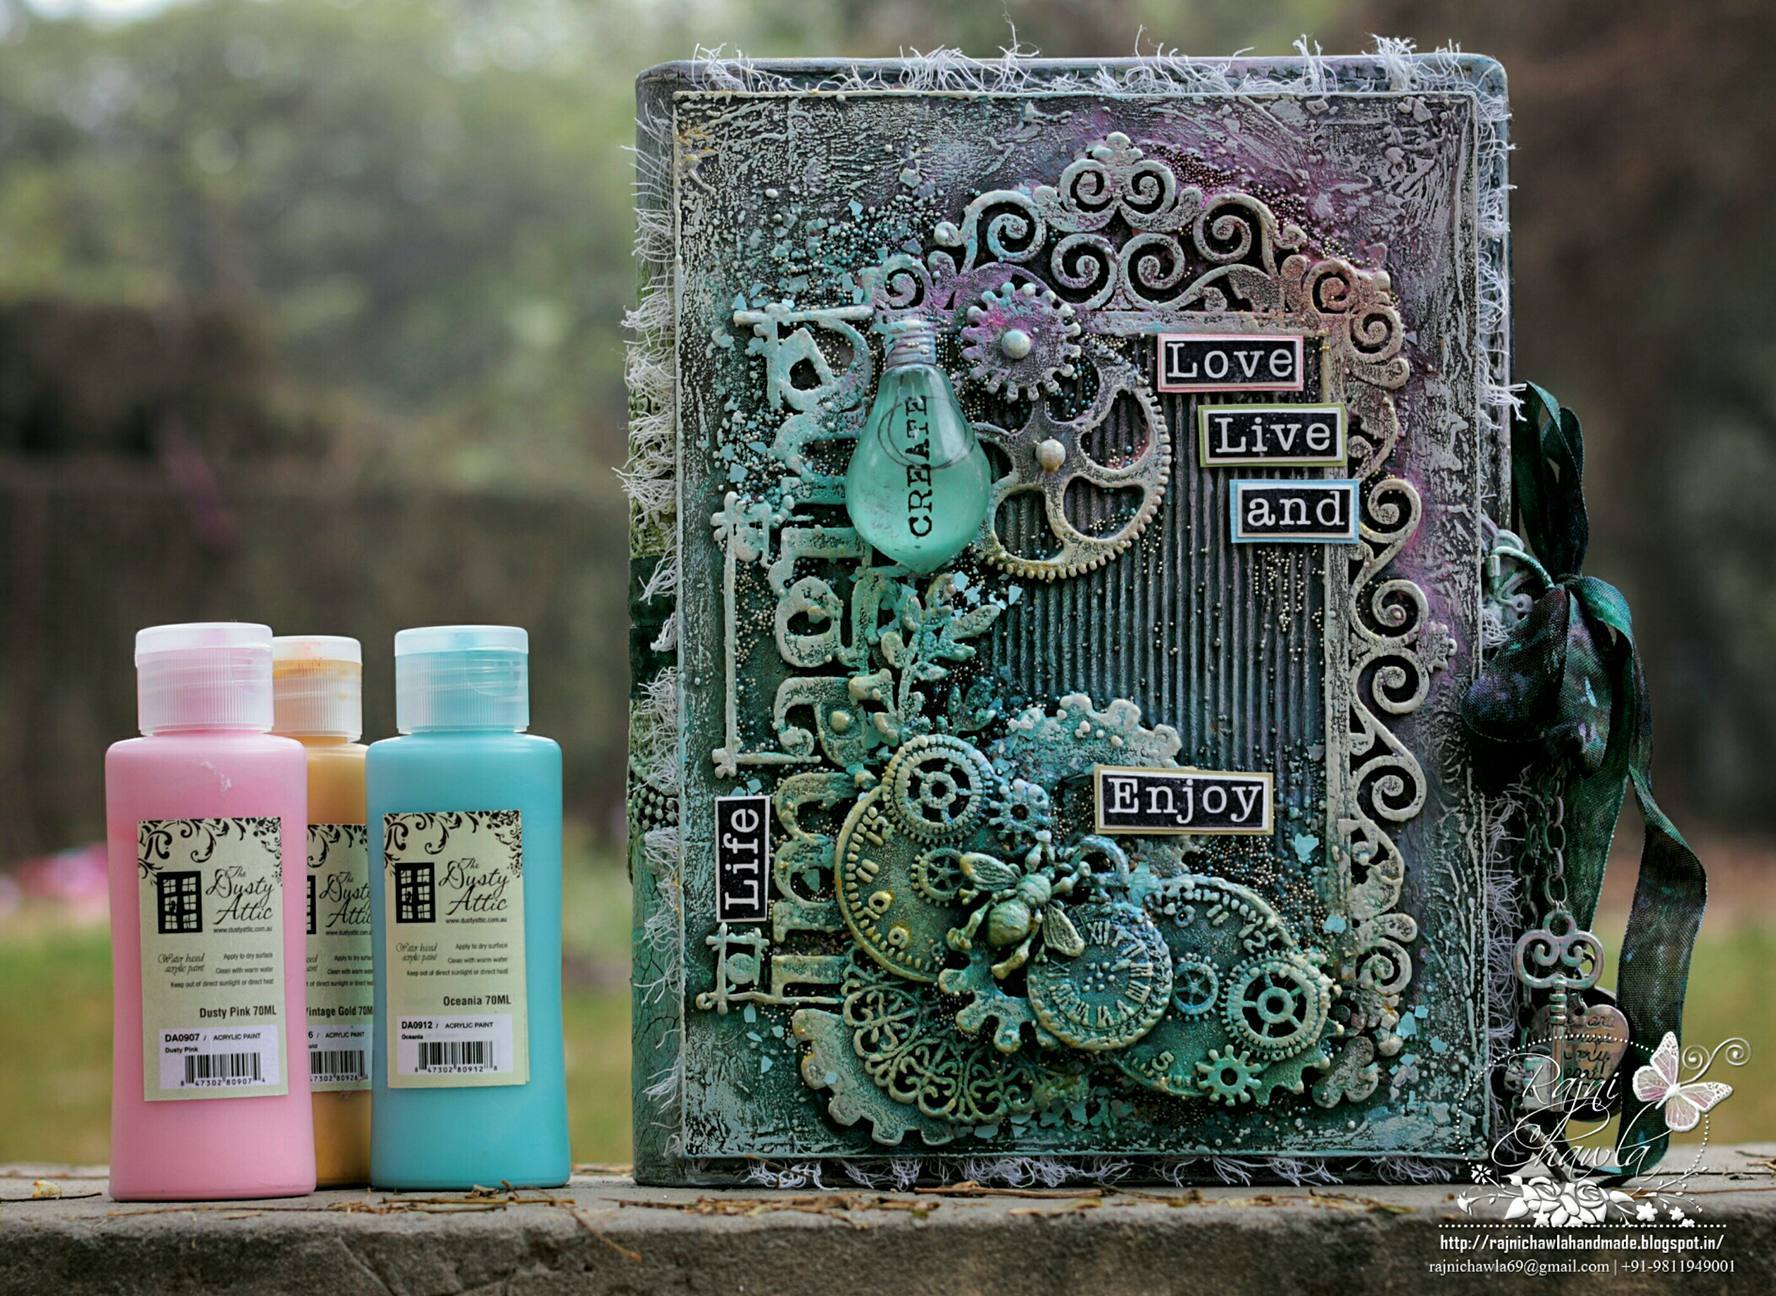
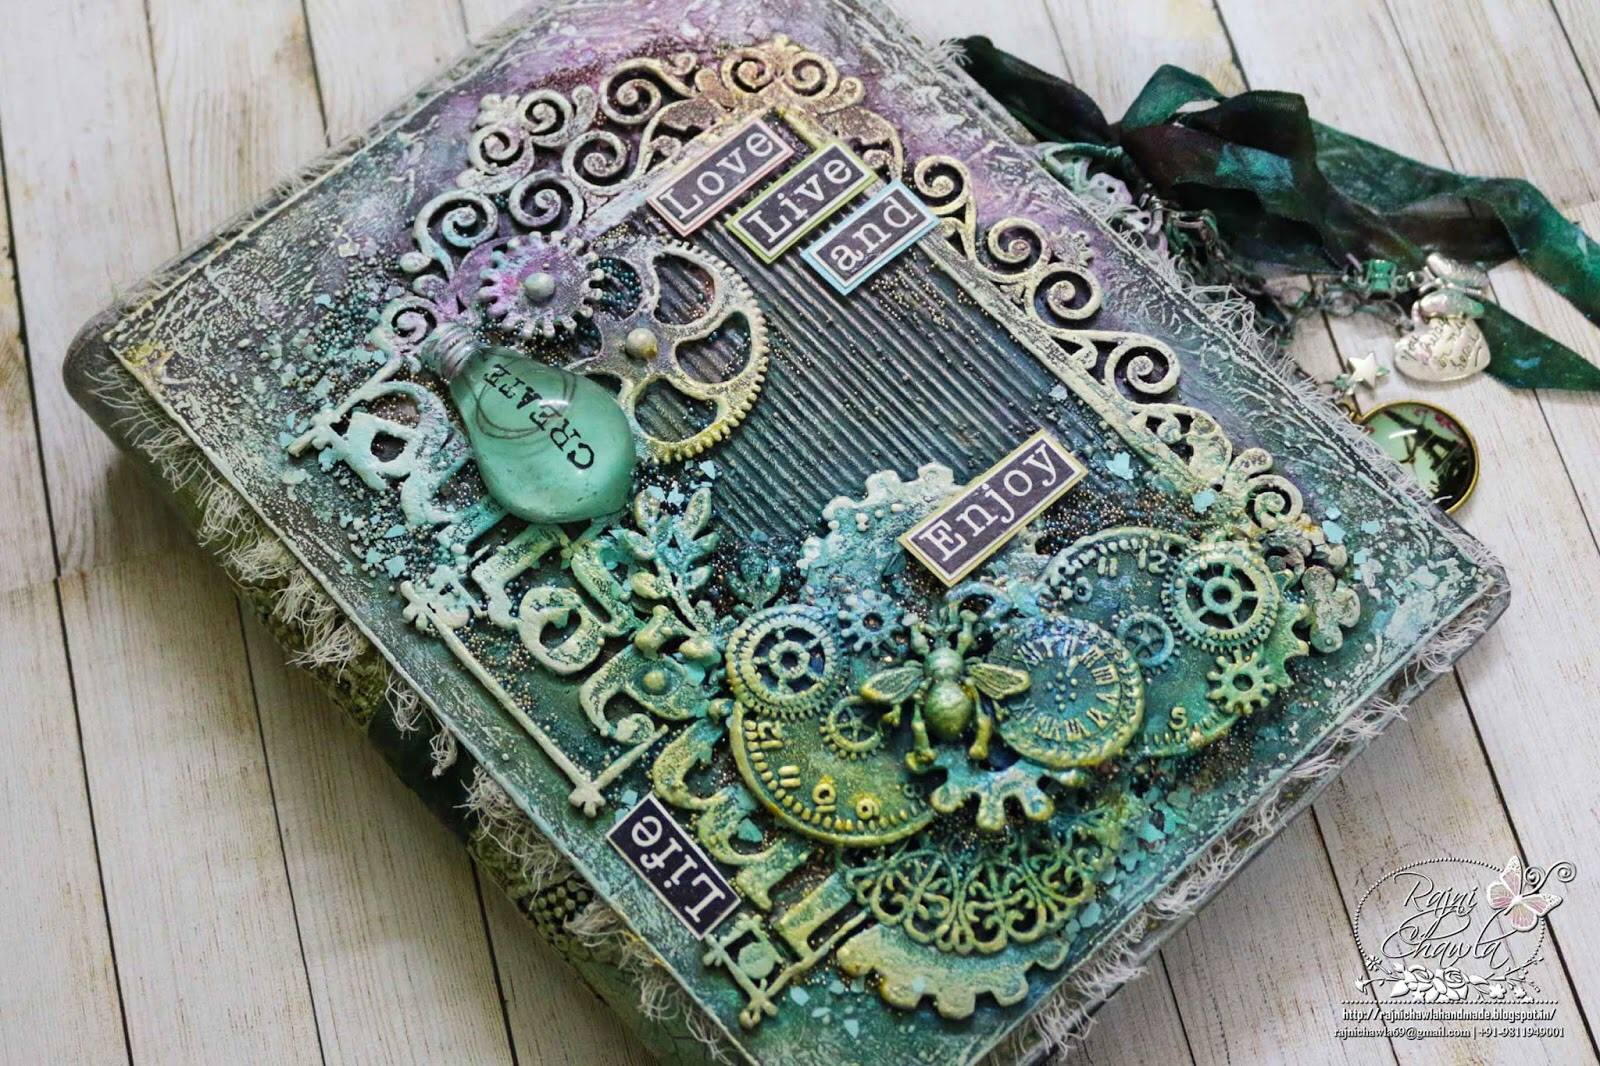
And this is how it looks after alteration:
I really loved the way it turned out. Hope you all liked it too.
When I start any project I firstly try to visualise what actually is in my mind and what finish exactly I want. Soft pastels and very shabby….no golds and no glitters that was what I needed for my planner and when I got DA acrylic paints in my hand my mind was blown with ideas. I really loved them all. these work like cream…..just PERFECT….what actually I needed.
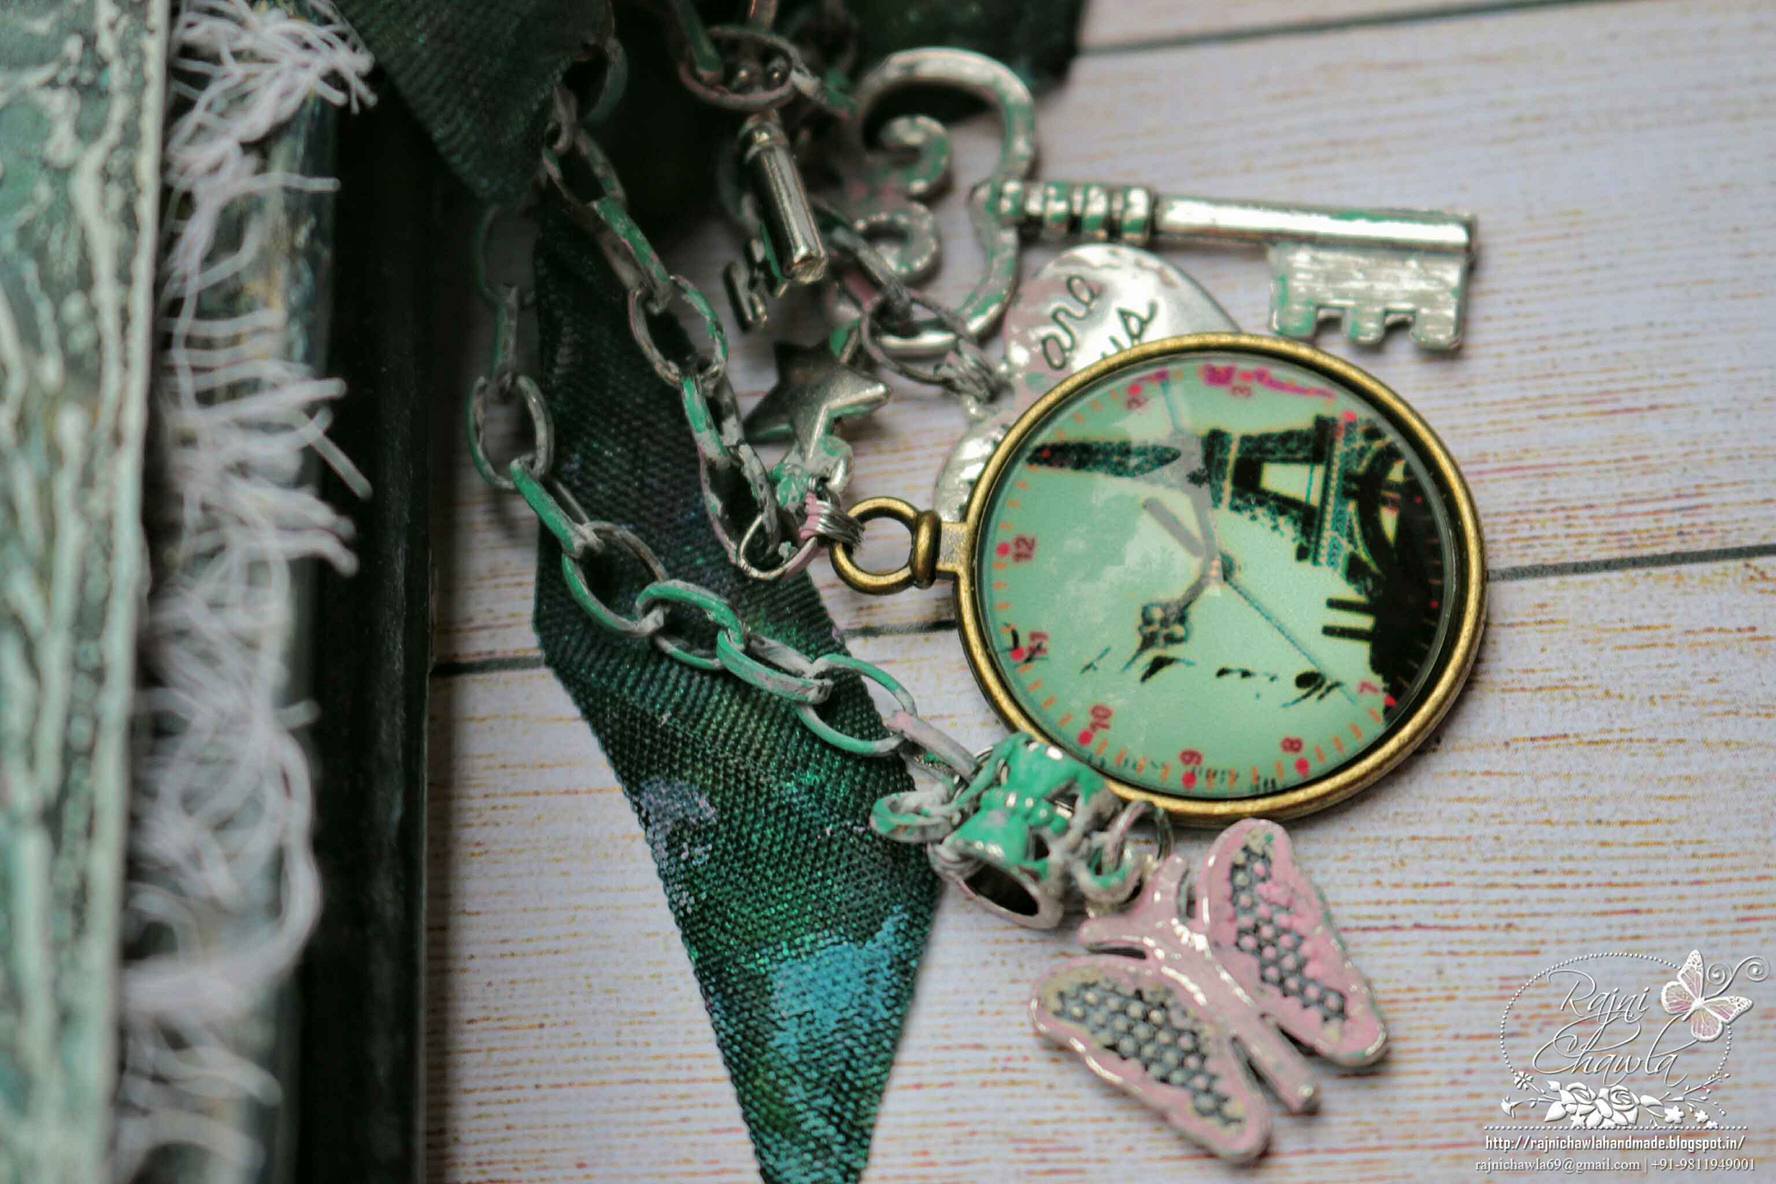
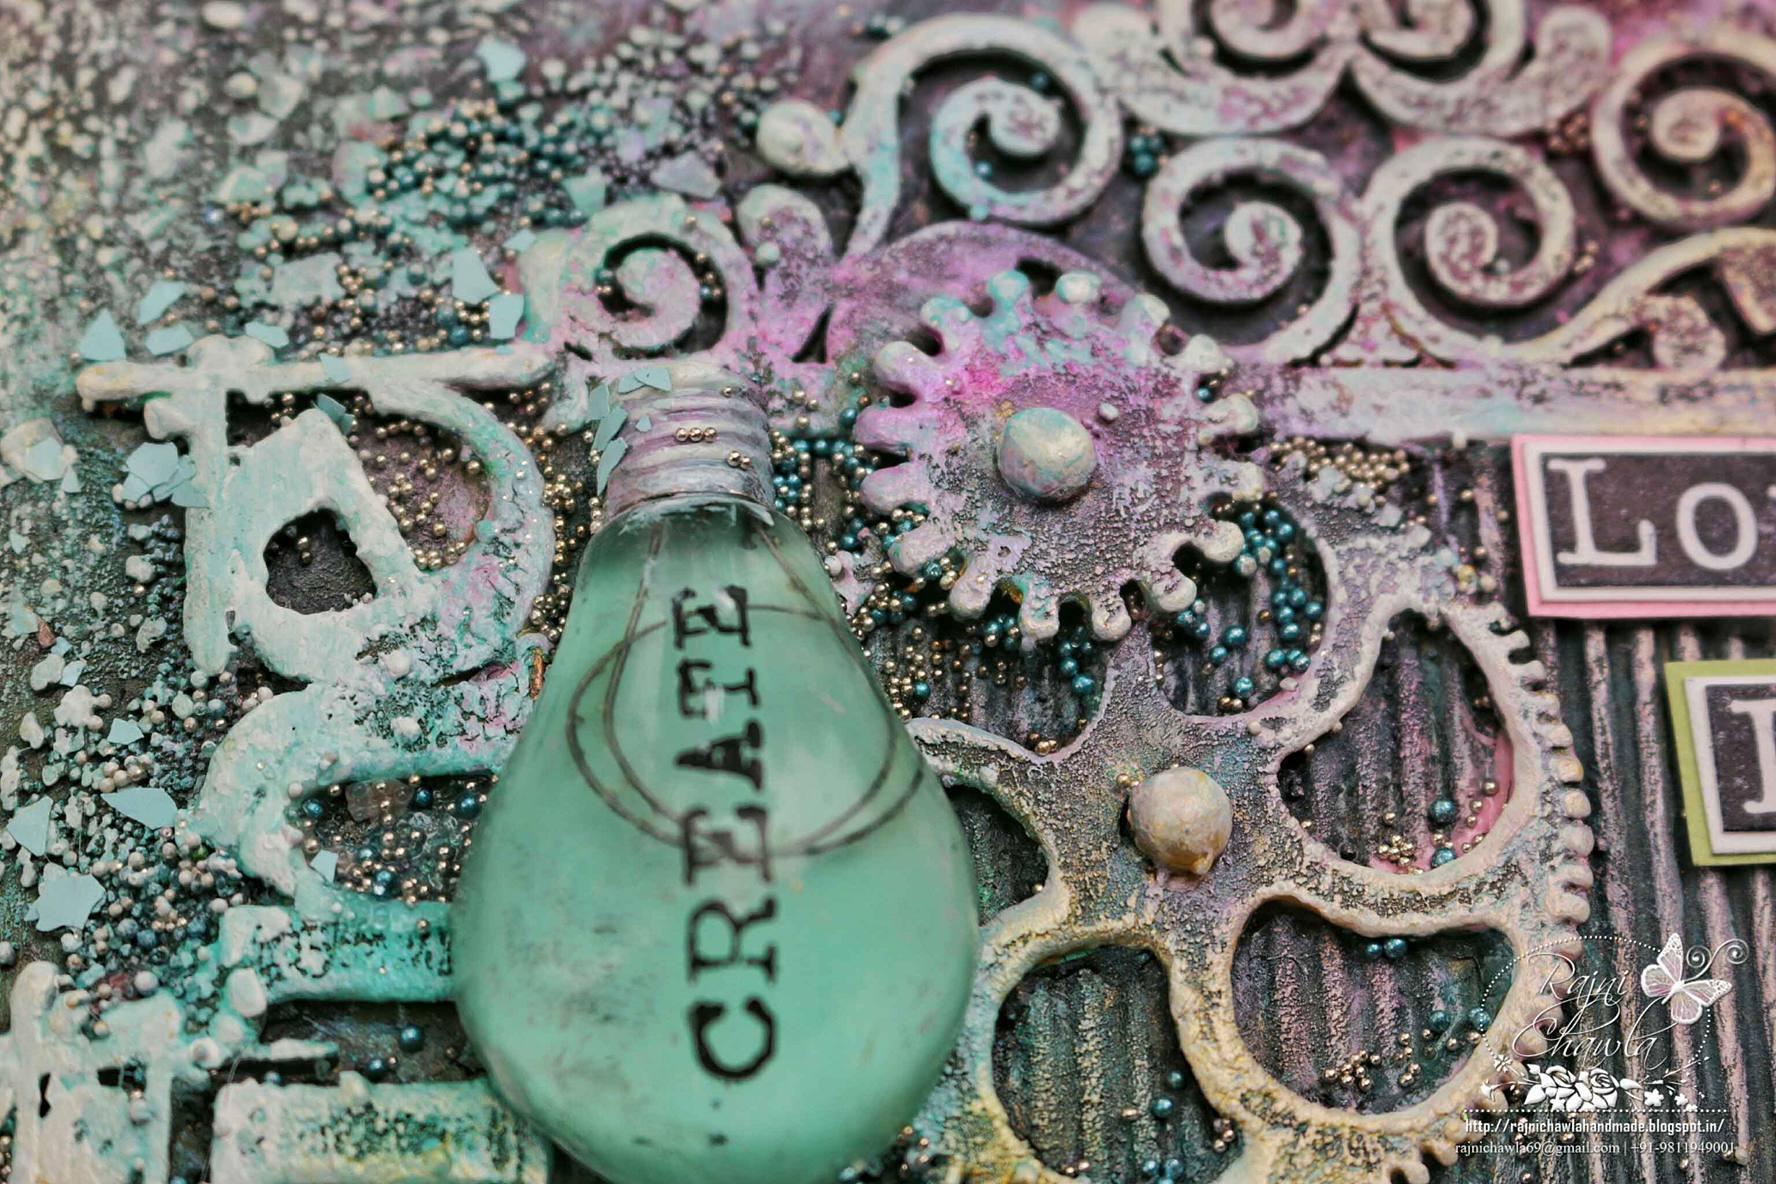
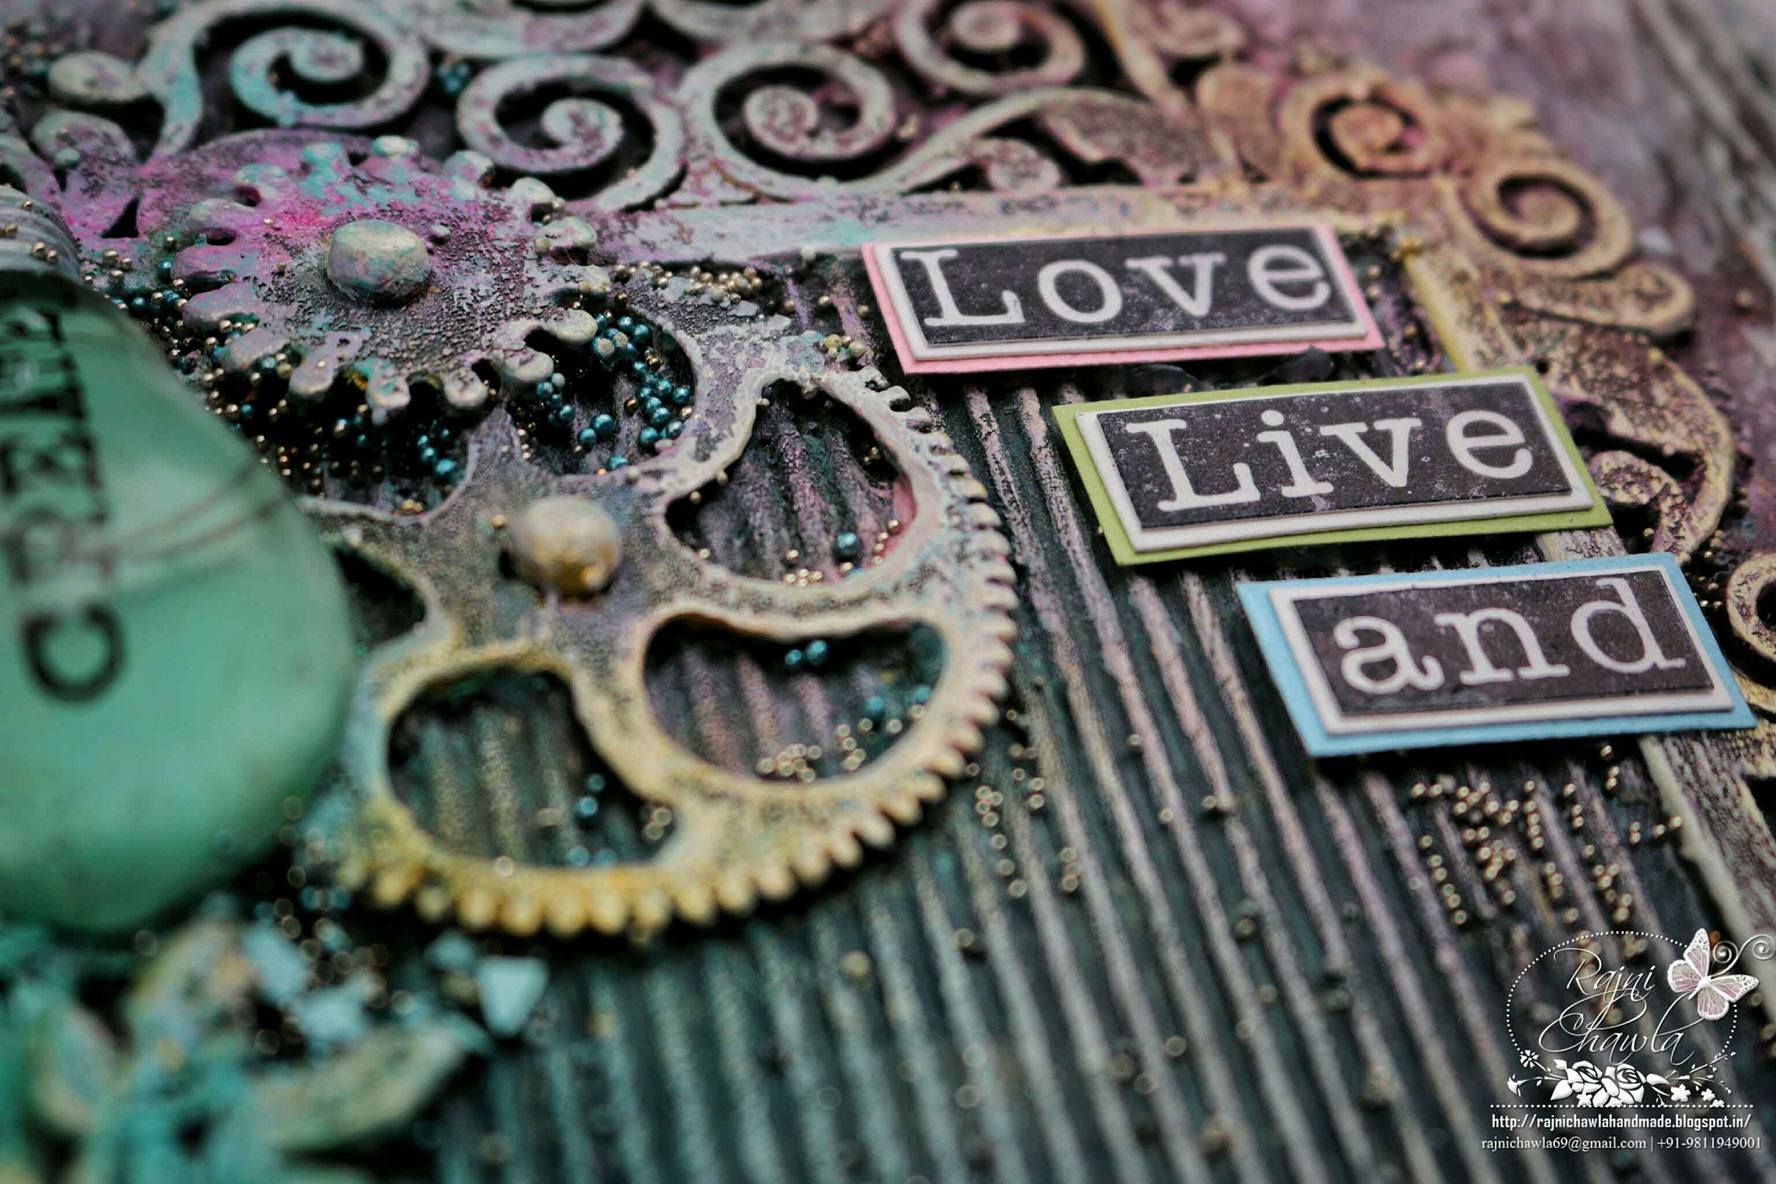
Here are few more close ups for more details.
I have used DA’s Vintage Frame #4, DA’s Cog #2 and DA’s Blueprint Imagine. I have colored all my embellishments and my background with various shades of DA Acrylic Paints. I kept adding layer after layer until I was satisfied with the background. All the shades that I have used are listed below in the post.
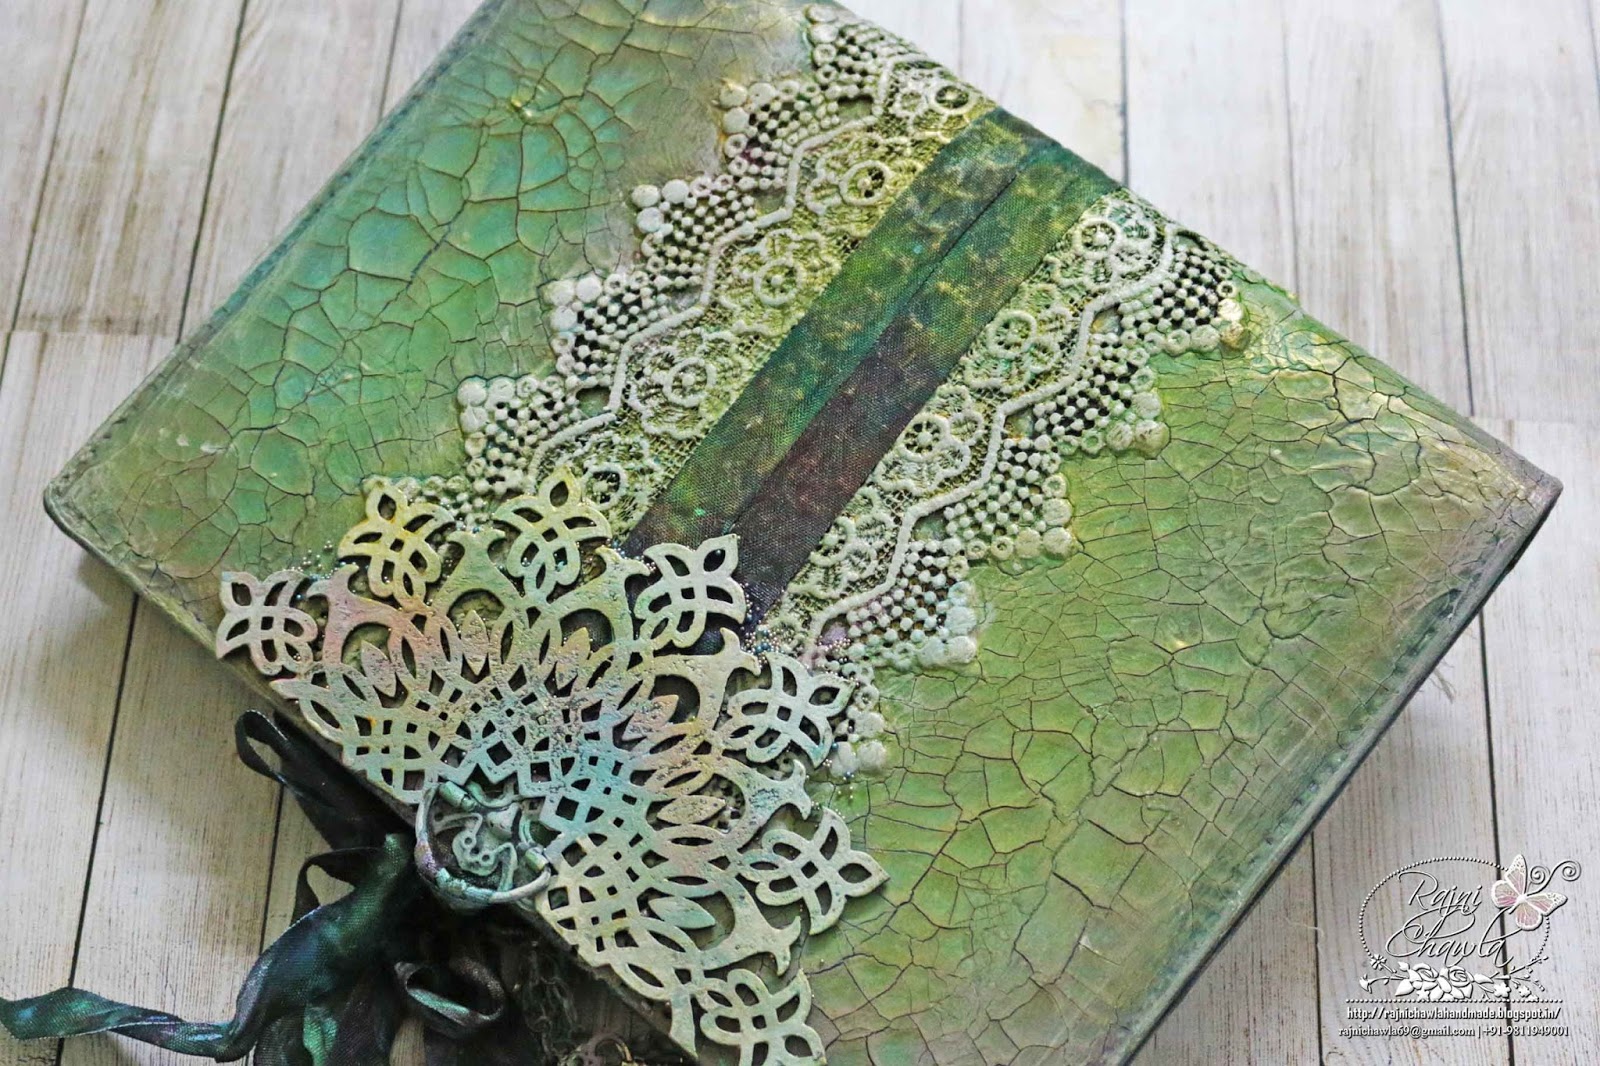
Here is the full view of the back cover of my album which shows prominent cracks that I got after applying the crackle paint. Also, I have used half of the DA Doily #4 to create my back cover.
And a little more embellishment with charms and ribbons and I am done.
So that’s all with my creation for today. Hope you enjoyed reading about it as much as I enjoyed writing about it. If you want to know more about me and my work, then just simply follow me on my Facebook page, my blog and my Instagram profile.
Since this is my very first post for Dusty Attic, I have little more to say. Yesterday, after completing my project late in the night, when I entered my bedroom and logged into my facebook account, I saw a project very similar to mine made my beloved team member Marta Lapkowaska. The only thing that came to my mind at that time was – OMG! What a beautiful coincidence it was as it was her first project as a DT member too. Surely, like-minded people think alike.
List of the products used:-
Searching for some inspiration? Check out Dusty Attic’s this month’s beautiful mood board. What’s more, you might just get lucky and win a voucher worth $100 from the DA website. Plus, you can also avail a special discount of 20% by using the code – Happy 2016 at the checkout!
Feeling proud and honored to share my beautiful Dusty Attic batch with you all.


