Good Morning All…
Welcome back to my blog. Today. at Heartfelt Creations, we designers are debuting their new set of dies, Booklet Frames and Accent Dies.
Elegant dies are one of the most used tools in the craft room, and it’s every crafter’s desire to have a well-rounded collection. Using the new Booklet Frames & Accent dies, will allow you to create beautifully shaped all occasion greeting cards the quick and EZ way! Decorative die-cut embellishments bring a sophisticated touch to any artistic creation! Perfect for elegantly shaped cards, standalone accents, die-cut extravagant inlays, or fancy fold card fronts.
Supplies from Heartfelt Creations:
HCD1-7257 Wild Aster Die
HCPC-3887 Wild Aster Cling Stamp Set
HCDP1-2106 Wild Aster Paper Collection
HCD1-7259 Wild Aster Scroll & Cluster Die
HCPC-3889 Wild Aster Scroll & Cluster Cling Stamp Set
HCD1-7260 Booklet Basics Die
HCD1-7261 Booklet Frames Die
HCD1-7262 Swirly Border Accents Die
HCD1-7215 Floral Fashionista Die
HCPC-3855 Floral Fashionista Cling Stamp Set
HCD1-7193 Leafy Accents Die
HCPC-3835 Leafy Accents Cling Stamp Set
HCFB1-467 3D Leafy Accents Shaping Mold
HCD1-7215 Floral Fashionista Die
HCPC-3855 Floral Fashionista Cling Stamp Set
HCPC-3824 Fluttering Butterfly Cling Stamp Set
HCD1-7177 Butterfly Dreams Border Die
18002 Rajni Chawla’s Vellum Flowerite – 10 Sheets
RACP614 Ranger Archival Ink Pad – Magenta Hue
478455 Zig Clean Color Real Brush Markers – 36 Pack
409311 Color In Watercolor Brush – Fine
HCPP1-475 Deluxe Flower Shaping Paper Pack of 50 – White
RACP499 Ranger Archival Ink Pad – Plum
RACP985 Ranger Archival Ink Pad – Cactus Flower
RACP482 Ranger Archival Ink Pad – Olive
RACP468 Ranger Archival Ink Pad – Jet Black
RAHT Heat It Craft Tool
HCST1-401 Deluxe Flower Shaping Kit
PGM15016 Rajni Chawla’s Frosting Powder
HCDA2-450 Stack and Store Daubers-Pack of 30
RACP436 Ranger Archival Ink Pad – Leaf Green
ANC818 Go Man Go Prills
159723 Designer Dries Clear Adhesive
Other Products Used: Smooth White Cardstock, Clear Card stock/ Acetate Sheet, Golden Mirror Sheet, Foam Dots, Score Board, Die Cutting Machine, Superfine White Heat Embossing Powder by Get Inspired. Hero Arts White Pigment Ink.
Videos Referred: For more tips on creating with the booklet frame dies, watch the tutorial at https://youtu.be/kJO5LdNFxgE. For more tips on creating with the Wild Aster Collection watch the tutorial at https://youtu.be/1mriCKqh-Ac.
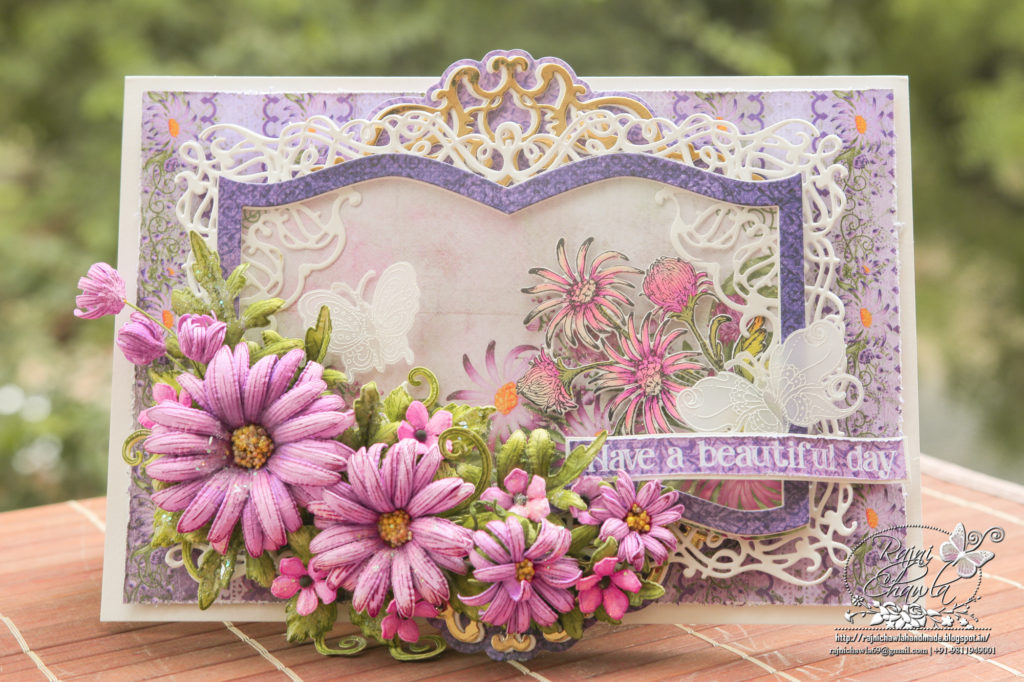
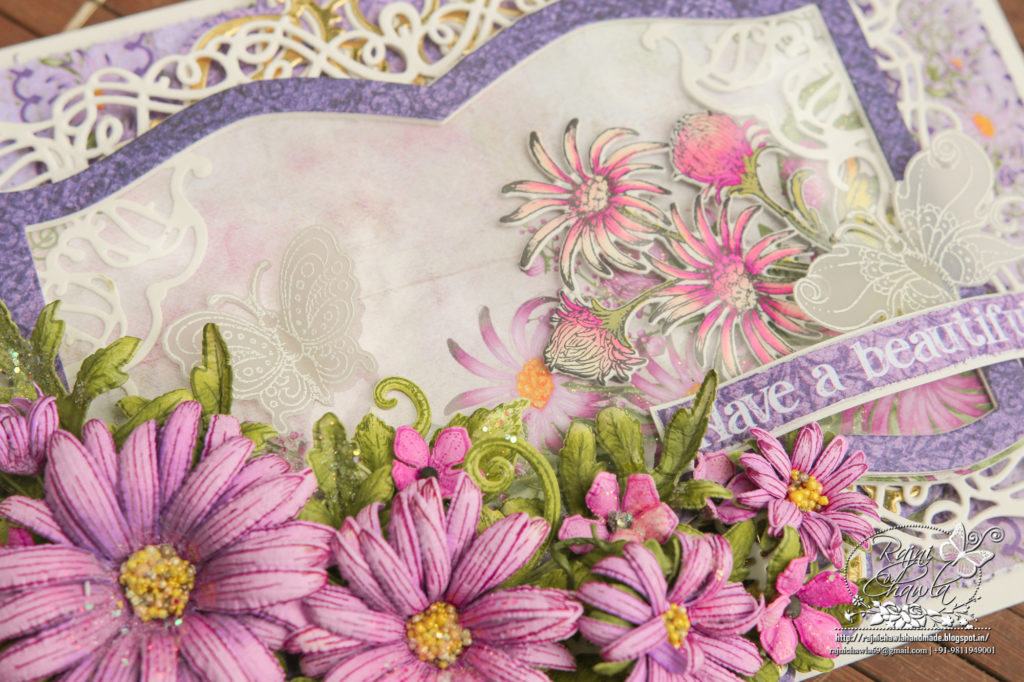
Instructions: The ready top- fold card base from smooth white cardstock measures 8 1/4″ by 5 3/4″. To prepare the first layer, choose the paper from the paper collection and cut measuring 8″ by 5 1/2″. Distress all the edges using sharp scissors and layer it on the ready card panel using foam tape.
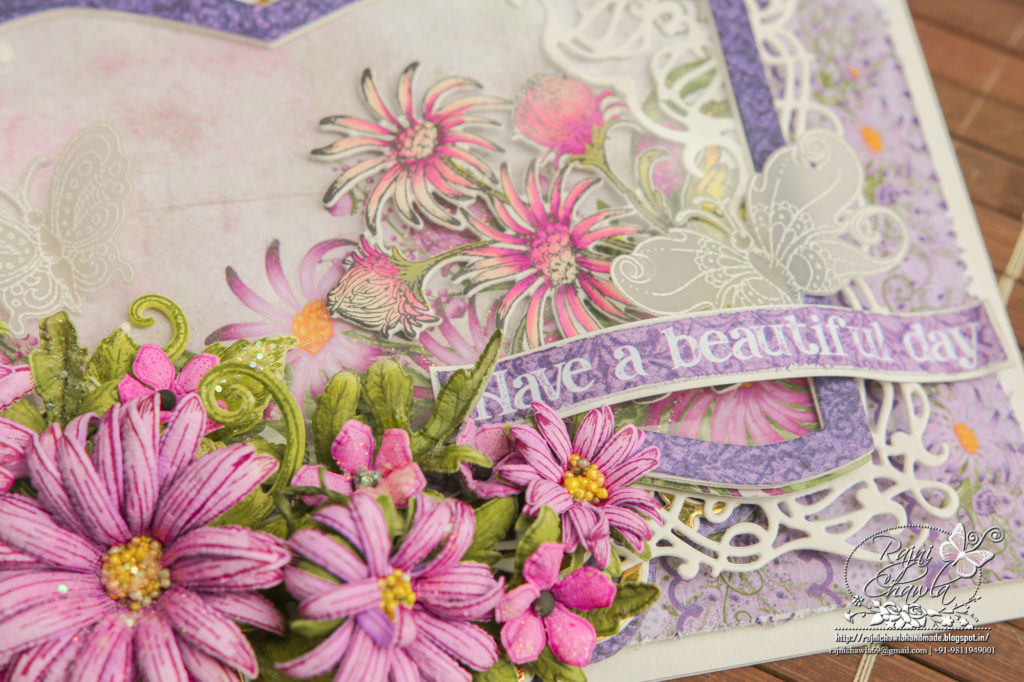
Stamp the image from Wild Aster Scroll & Cluster Cling Stamp Set on white card stock using black archival ink and color it using Zig Clean Clear Brush Markers. Cut the image using it’s coordinating die.
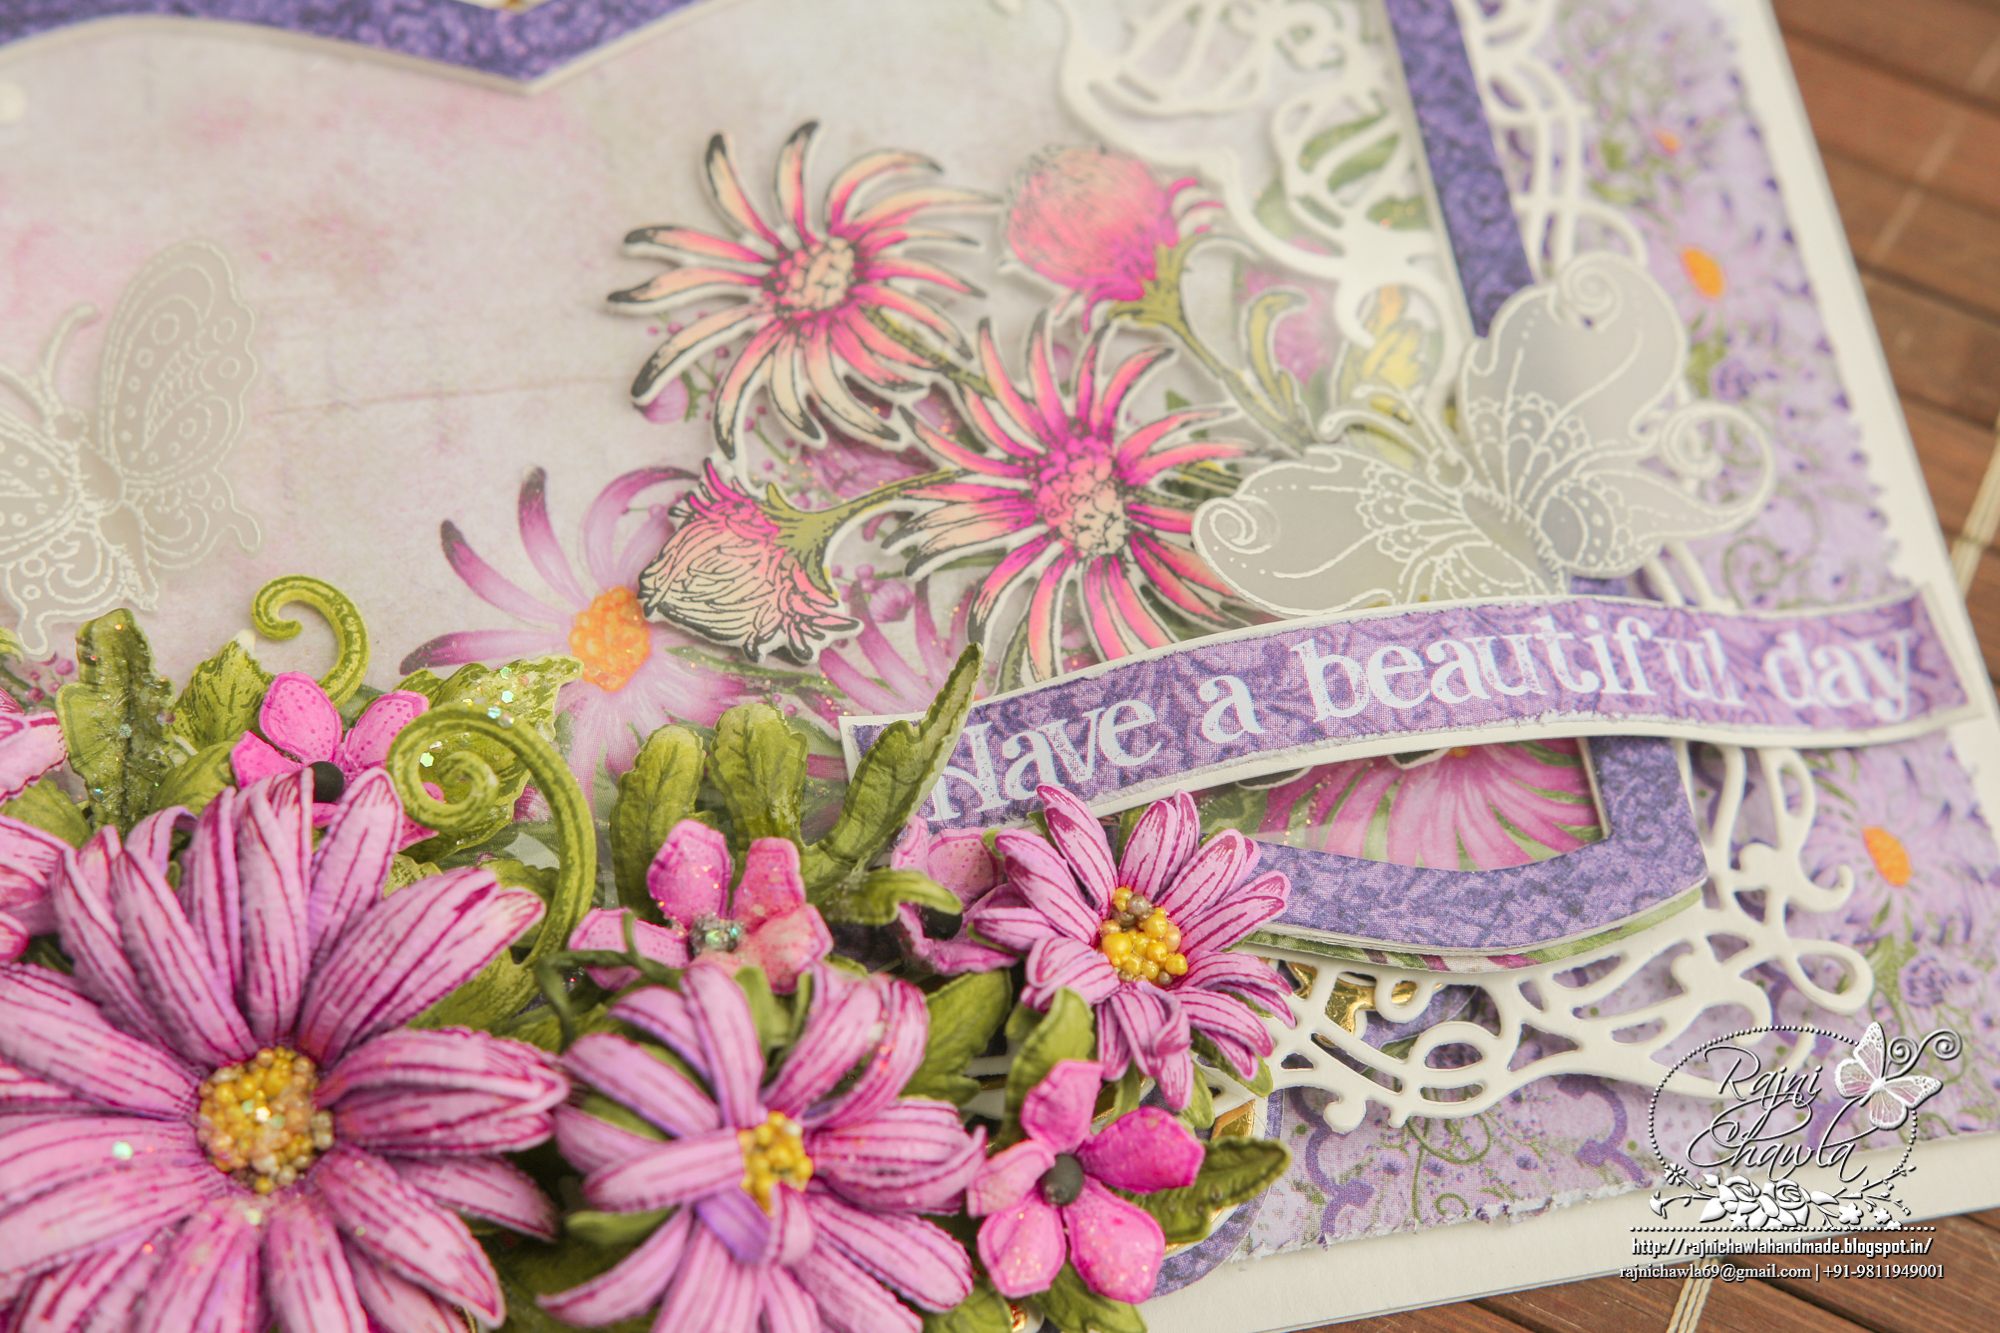
Cut 3 white frames and 1 deep purple frame using Booklet Basics Die and stack all the white ones together with glue. With the purple one, create a window by adhering an acetate sheet which is cut using outer most die of the same set. Cut a scenic paper using the outer die of the same die set and add the painted image and 4 corners as shown and close the window. Finally, layer the window on the white die-cut which is cut using Booklet Frames Die.
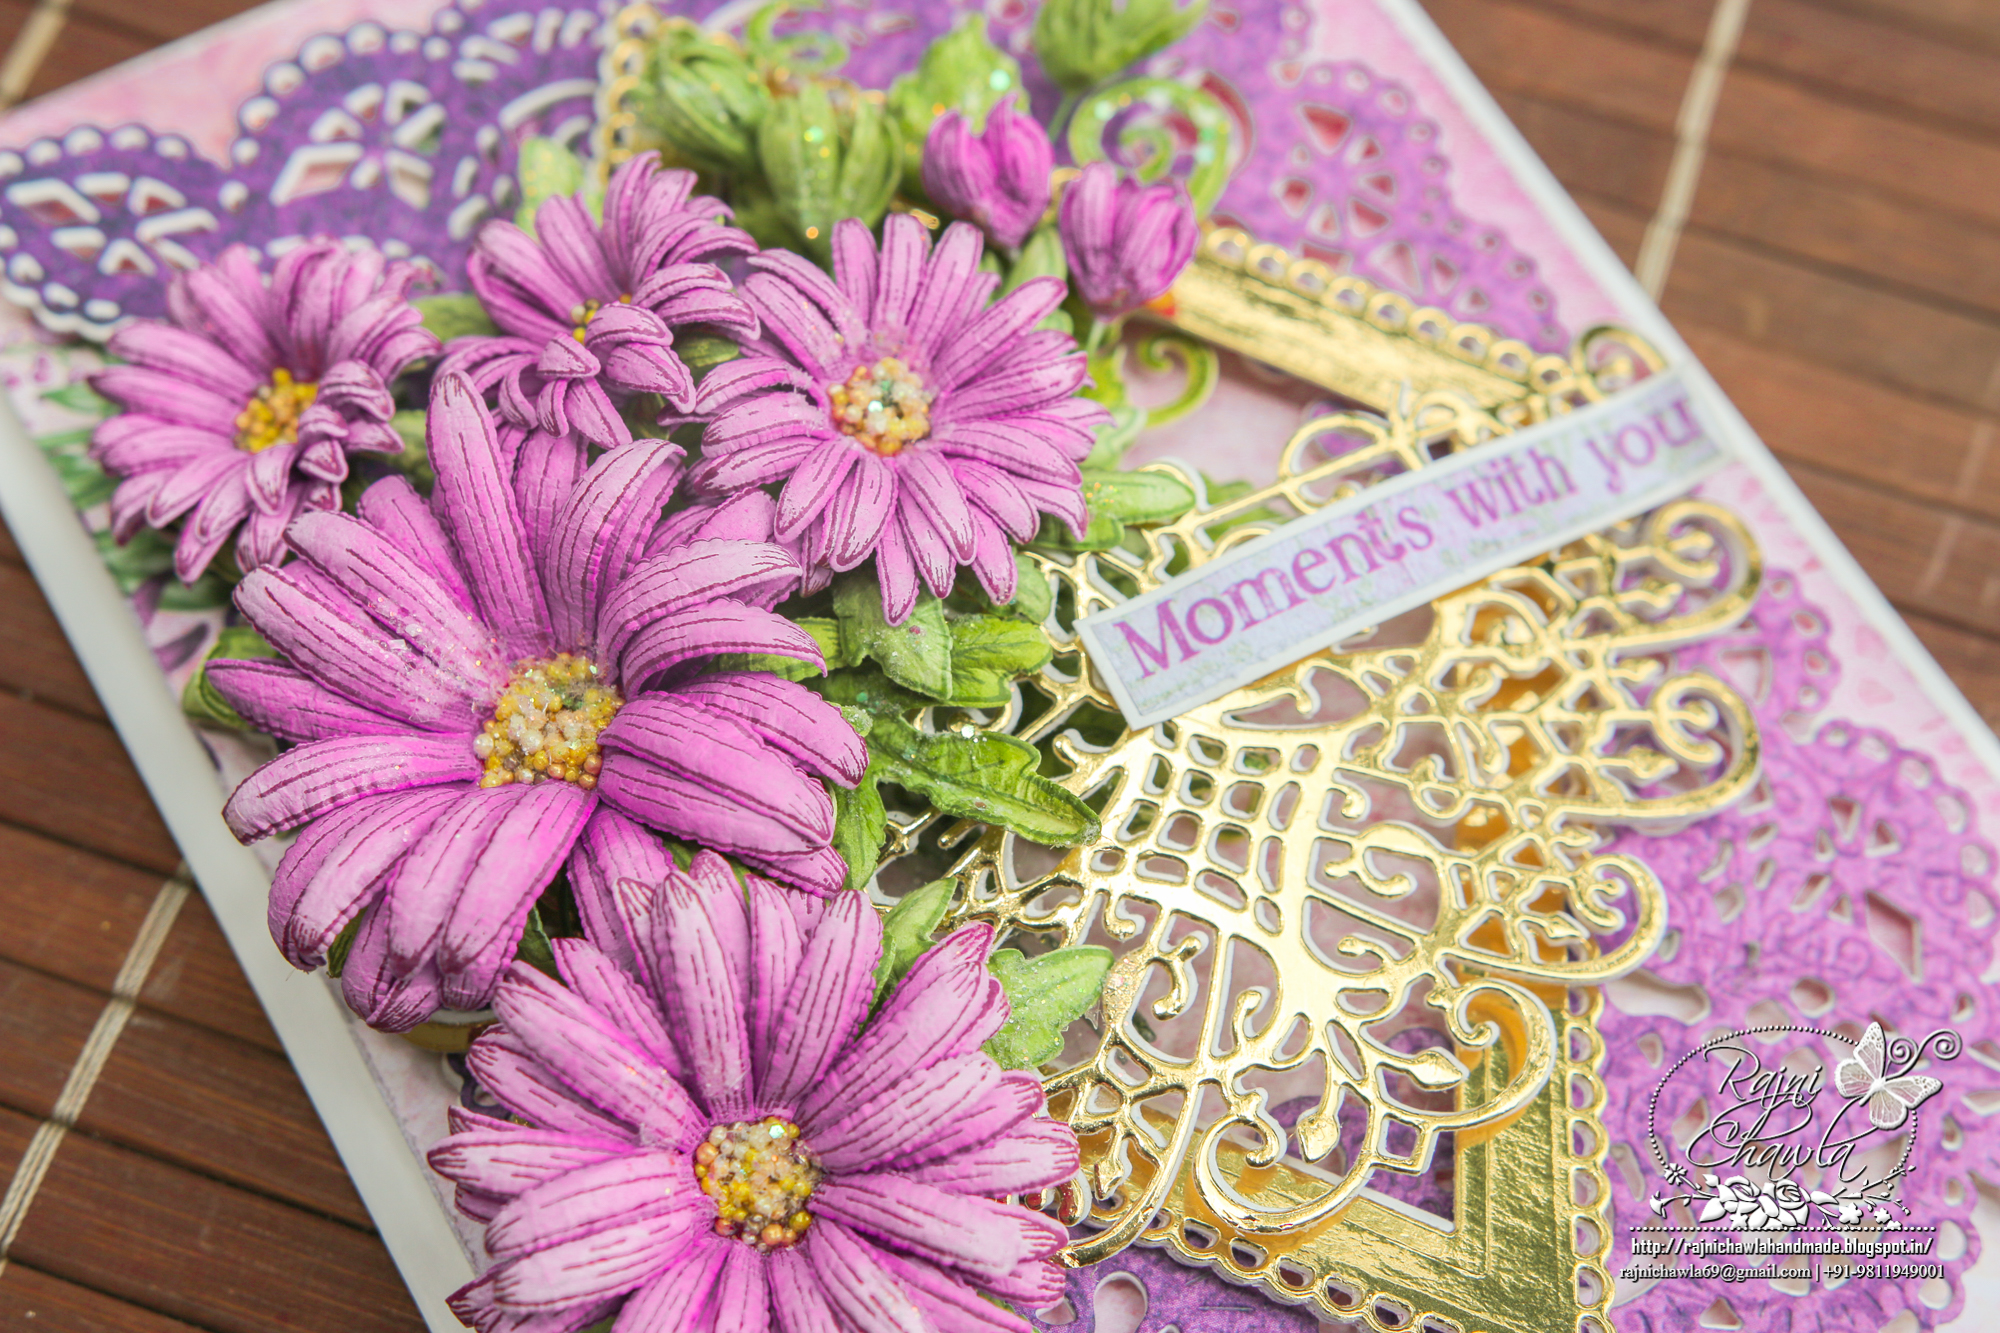
Cut 2 pcs of white die cuts and 2 pcs of golden die cuts using Swirly Border Accents Die, Prepare 2 sets of glued die cuts using one white and one golden die cut keeping golden one on top. Also cut 2 base pieces from the same die set from purple paper and glue the prepared die cuts as shown. Finally, layer these from the backside peeking a little on the top and little on the bottom of the prepared window. Finally, layer the complete window on the card panel.
Stamp the Butterfly Dreams Border on Papericious Vellum using Hero Arts white pigment ink and sprinkle white heat embossing powder. Dust extras and heat set it using the heating tool. Cut the butterflies using its coordinating die. The butterfly required is then further trimmed off from the border and attached using tacky glue on the ready card as an extra accent.
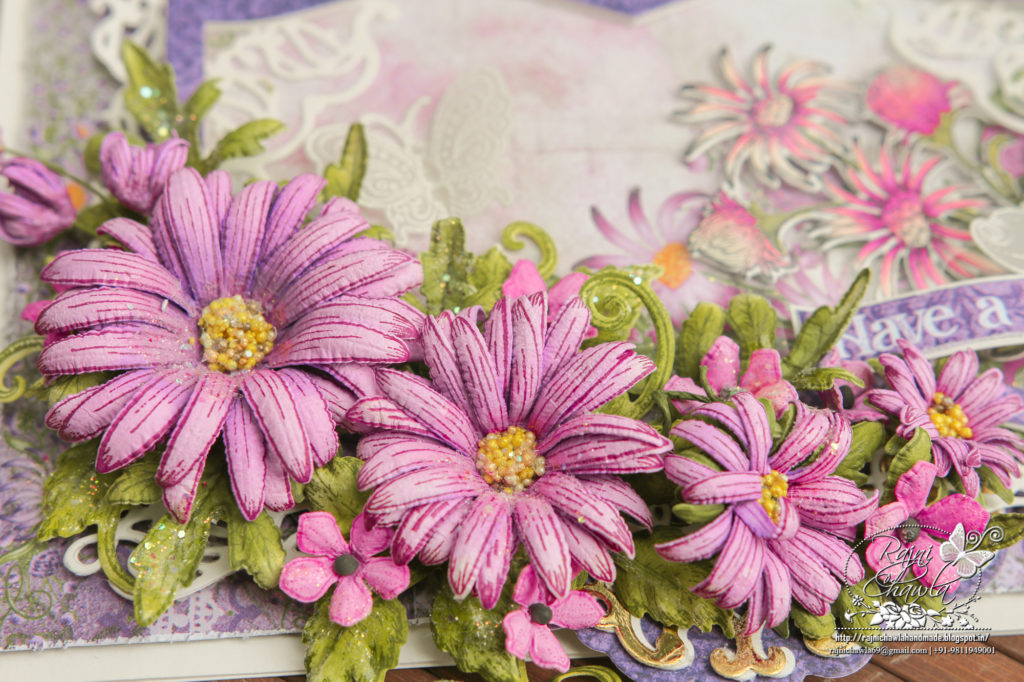
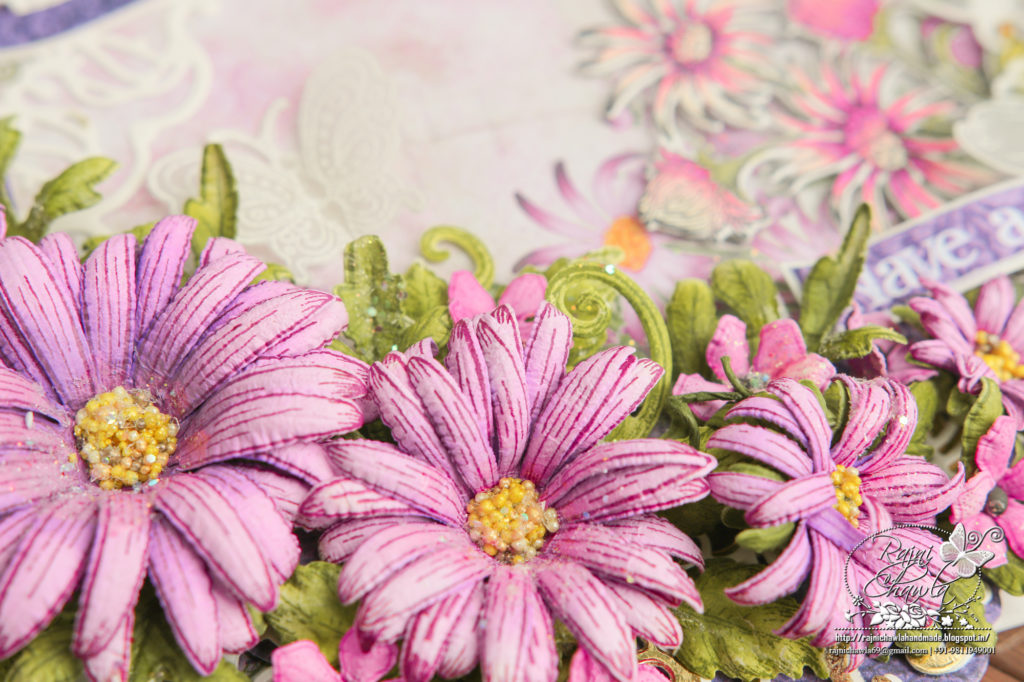
For the flowers, Stamp multiple images of mixed florals from Wild Aster Cling Stamp Set on Deluxe flower shaping paper using Plum Archival Ink and cut them using their coordinating dies. Color the flowers using Cactus Flower Archival Ink and shape them using Deluxe Flower Shaping Kit. Prepare 1 large,1 medium and 2-3 small flowers and complete them by adding prills in the centers. Also, prepare 2-3 pink buds by using the smallest flowers from the set and shaping them inwards and adding wired stamens. Stamp 3 leafy vines using Olive Green archival ink on Deluxe Flower Shaping Paper, color them using Leaf Green and cut them using it’s coordinating die. Next, shape them using it’s coordinating mold. Also, prepare a few leaves from the Wild Aster collection.
Form a bouquet as shown and complete the card by adding a sentiment from the paper collection and crystal clear glitter to the flowers.


Beautiful work, thanks for the inspiration! I ordered my set and can’t wait to receive them so that I can create such works of art!
Gorgeous creation Rajni! I love how you created the window and all the beauty that surrounds it!