Happy Wednesday!!
How is your day going? Do you have some time set aside this week to create something beautiful? I don’t know about you, but I find when I sit down to create; something happens deep inside me. I get rejuvenated, inspired, somehow the stresses and worries of everyday life melt into a puddle on the floor
…..and in the process…if you choose to give away your hand-stamped card or project, you have the deep satisfaction of brightening someone else’s day and letting them know how much you care! It’s a double blessing. I encourage you to take a couple of minutes or maybe an hour to peruse the blog today and be inspired to create something beautiful and create your own elegant and fun cards from the comforts of your crafting space!
Here is my inspiration for today.
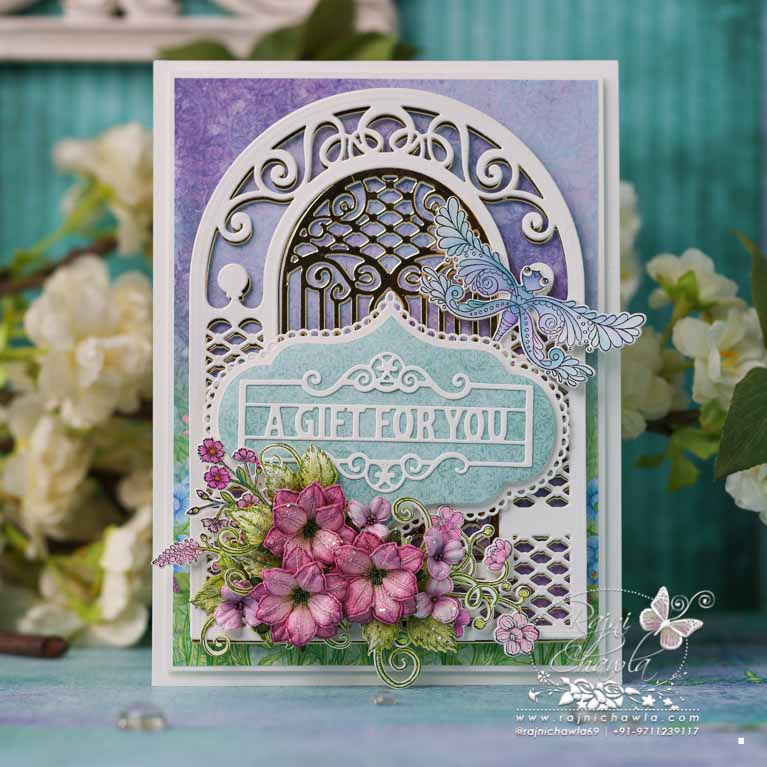
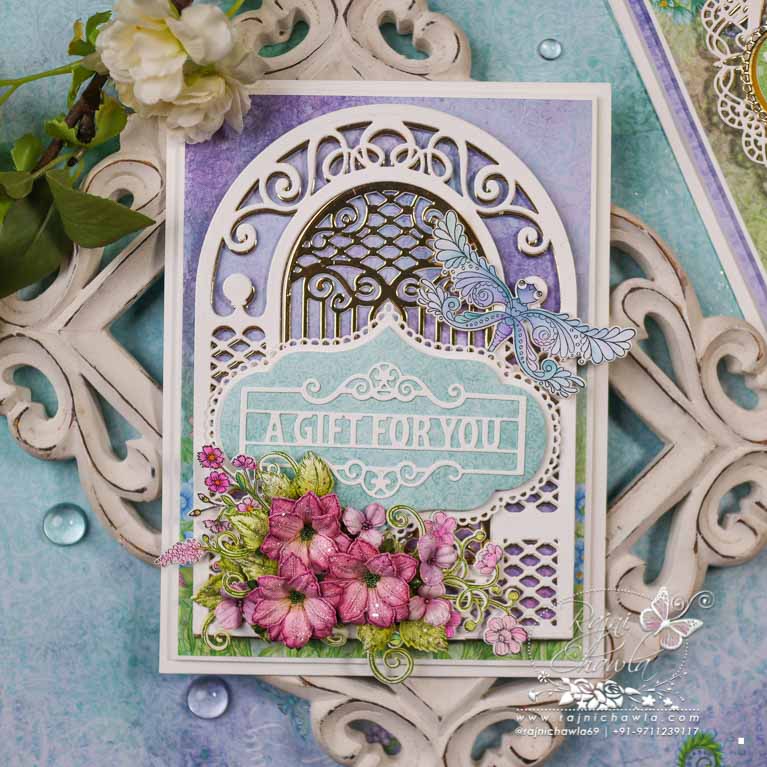
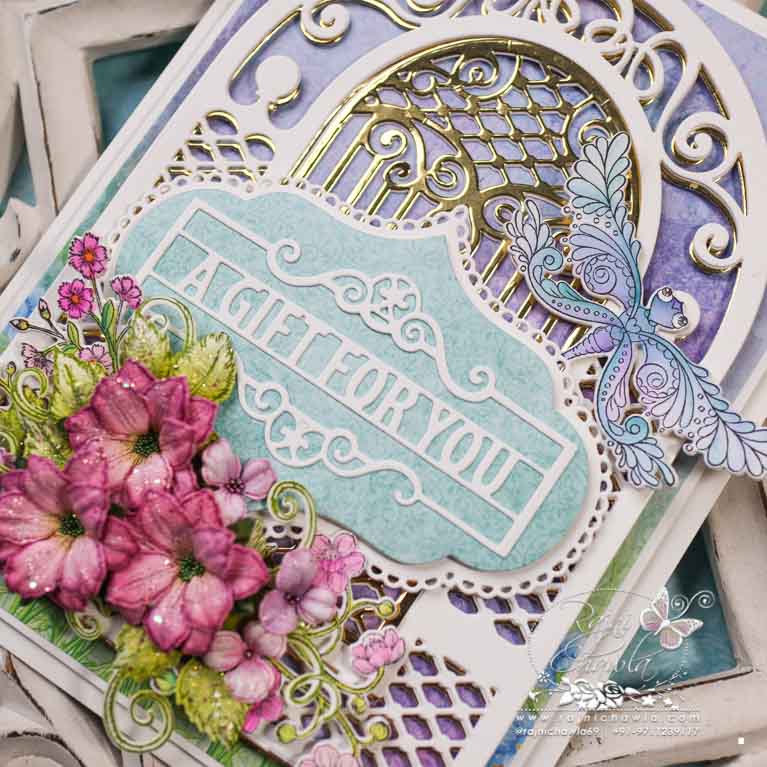
Supplies from Heartfelt Creations:
HCPC-3985 Dragonfly Florals Cling Stamp Set
HCD1-7396 Dragonfly Florals Die
HCDP1-2138 Decorative Dragonfly Paper Collection
HCD2-7337 Teardrop Lattice Gateway Die
HCD1-7203 Ornamental Tags Die
HCD1-7202 Album Tags and Accents Die
HCD1-7355 Clematis Die
HCPC-3954 Clematis Cling Stamp Set
HCPC-3911 Wisteria Petals Cling Stamp Set
HCD1-7295 Wisteria Petals Die
HCD1-7193 Leafy Accents Die
HCPC-3835 Leafy Accents Cling Stamp Set
HCGP1-488 Luxe Gold Cardstock
HCST1-401 Deluxe Flower Shaping Kit
HCPP1-475 Deluxe Flower Shaping Paper Pack of 50 – White
RAHT Heat It Craft Tool
PGM15015 Rajni Chawla’s Crystal Clear
18002 Rajni Chawla’s Vellum Flowerite – 10 Sheets
RACP436 Ranger Archival Ink Pad – Leaf Green
RACP482 Ranger Archival Ink Pad – Olive
RACP614 Ranger Archival Ink Pad – Magenta Hue
Other Products Used: Die Cutting Machine, Score Board, Bone Folder, Smooth White Cardstock, Scissors, Heat gun.
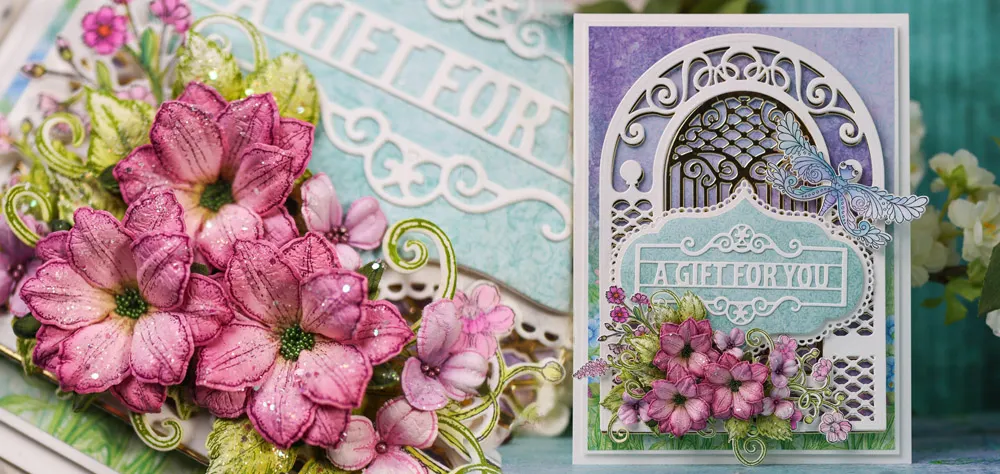
Instructions: The ready side fold card measures, 5 ½” by 8”. Cut a decorative gate in white using Teardrop Lattice Gateway Die. Create a panel from the pattern paper collection ¼” smaller on all four sides.
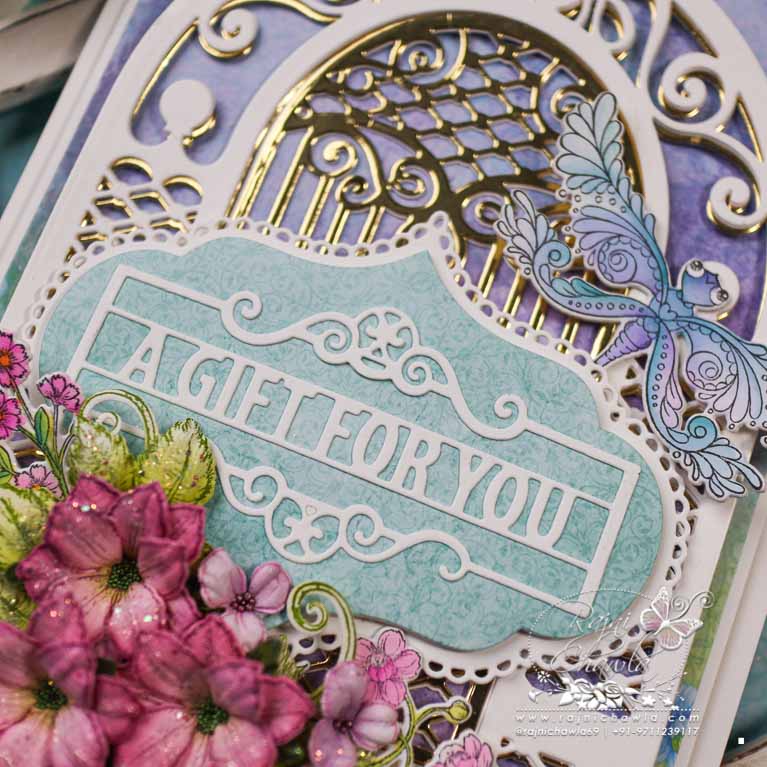
Glue a golden die-cut, behind the white one to create little shadows. Cut a centerpiece using the same die from Luxe gold cardstock and glue it flat.
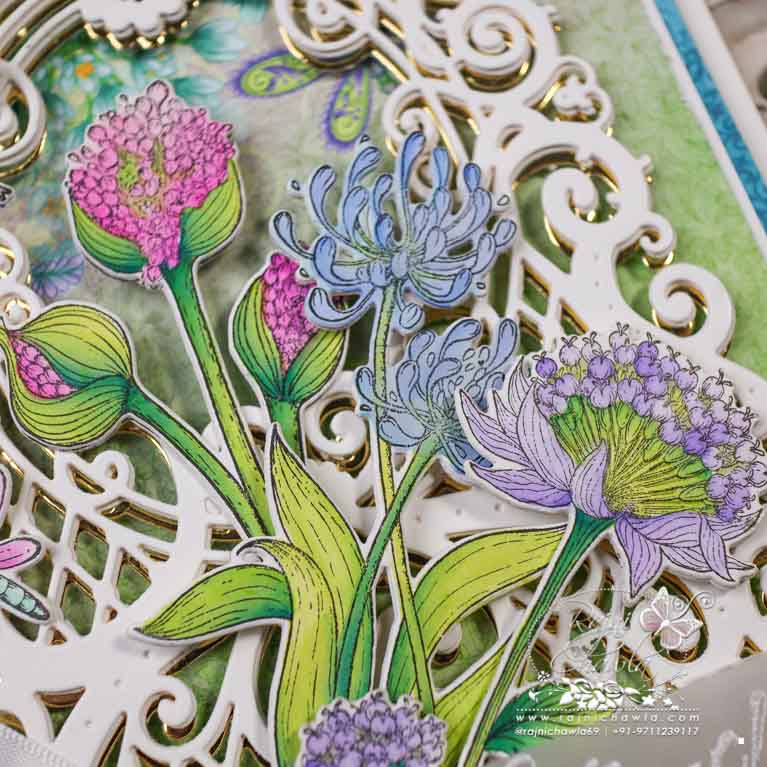
Stamp the required images from HCPC-3985 Dragonfly Florals Cling Stamp Set using black archival ink on smooth white cardstock and paint them using Zig Clean Clear Brush Markers. Cut the painted images using their coordinating dies.
Cut the tag using Album Tags and Accents Die set from Decorative Dragon Paper Collection and mat a white fancy tag behind it. Adhere a white die cut with the sentiment using Ornamental Tags Die on top.
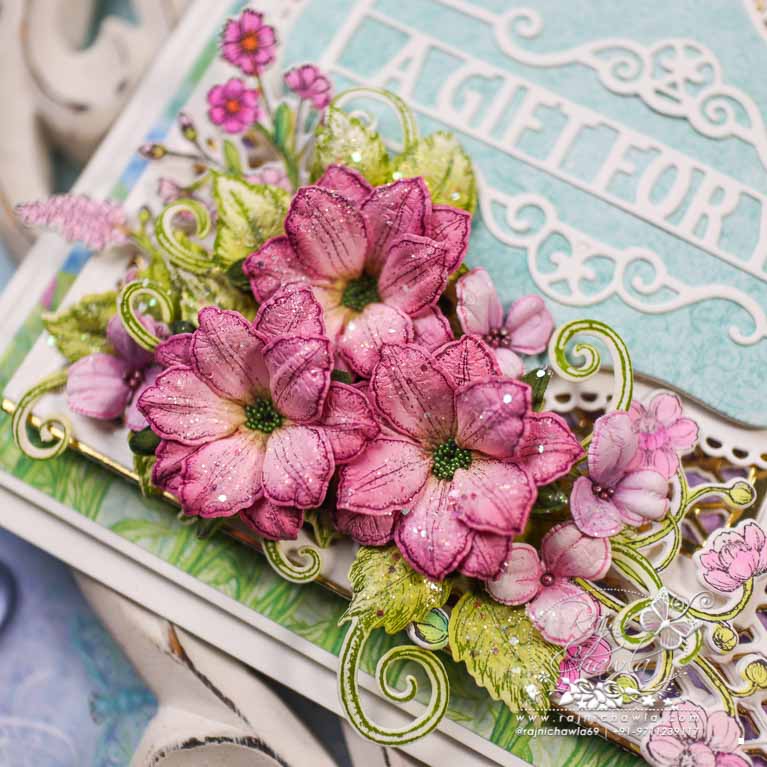
Stamp the florals with Magenta Hue Archival ink on flower-making paper using Clematis Cling Stamp Set. Cut the florals using its coordinating die set and color the flowers using the same ink. Color the centers with leaf green. Color the back sides of the petals as well. Spritz water and shape the flowers using golf groove tools. Prepare 3 medium-sized flowers. For the flower centers, put a blob of glossy accent and drop in a few green color flower seeds. Stamp 3 leafy vines using Olive Green archival ink on Deluxe Flower Shaping Paper, color them using Leaf Green and cut them using its coordinating die. Shape them using golf groove tools.
Cascading Wisterias are first stamped with Cactus Flower Archival ink, cut with its coordinating die, and then colored using the same ink. Once all colored these are shaped using Deluxe Flower Shaping Kit and add glitter balls to the centers.
Once all the elements are ready, assemble a small floral bouquet as shown and glitter the flowers with Rajni Chawla’s Crystal Clear Powder.


Beautiful and detailed instructions. Glad to have found your blog.