Good Morning and welcome to my blog again…..
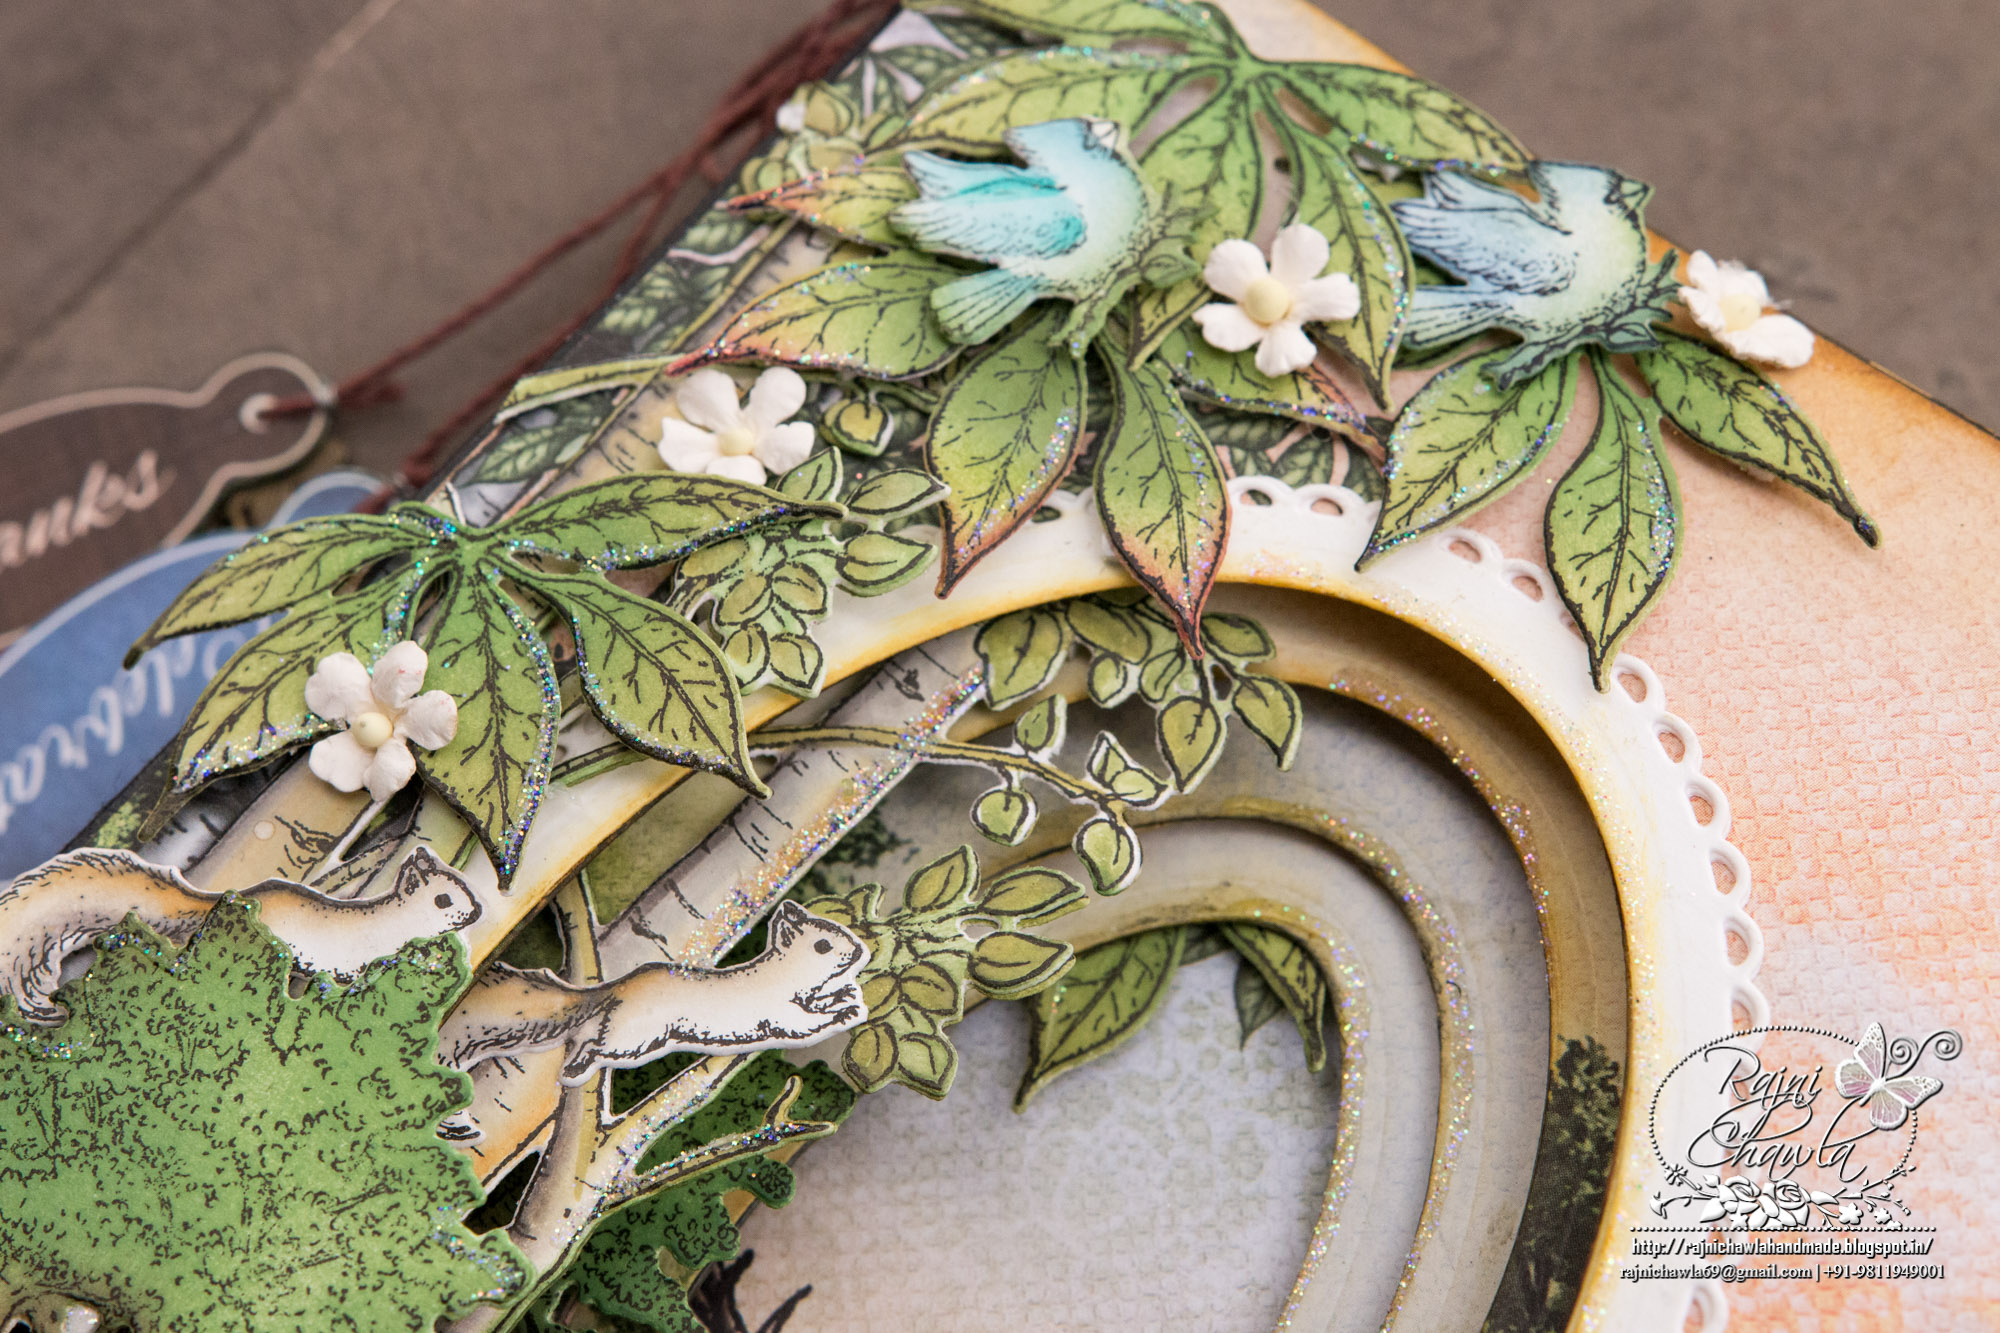
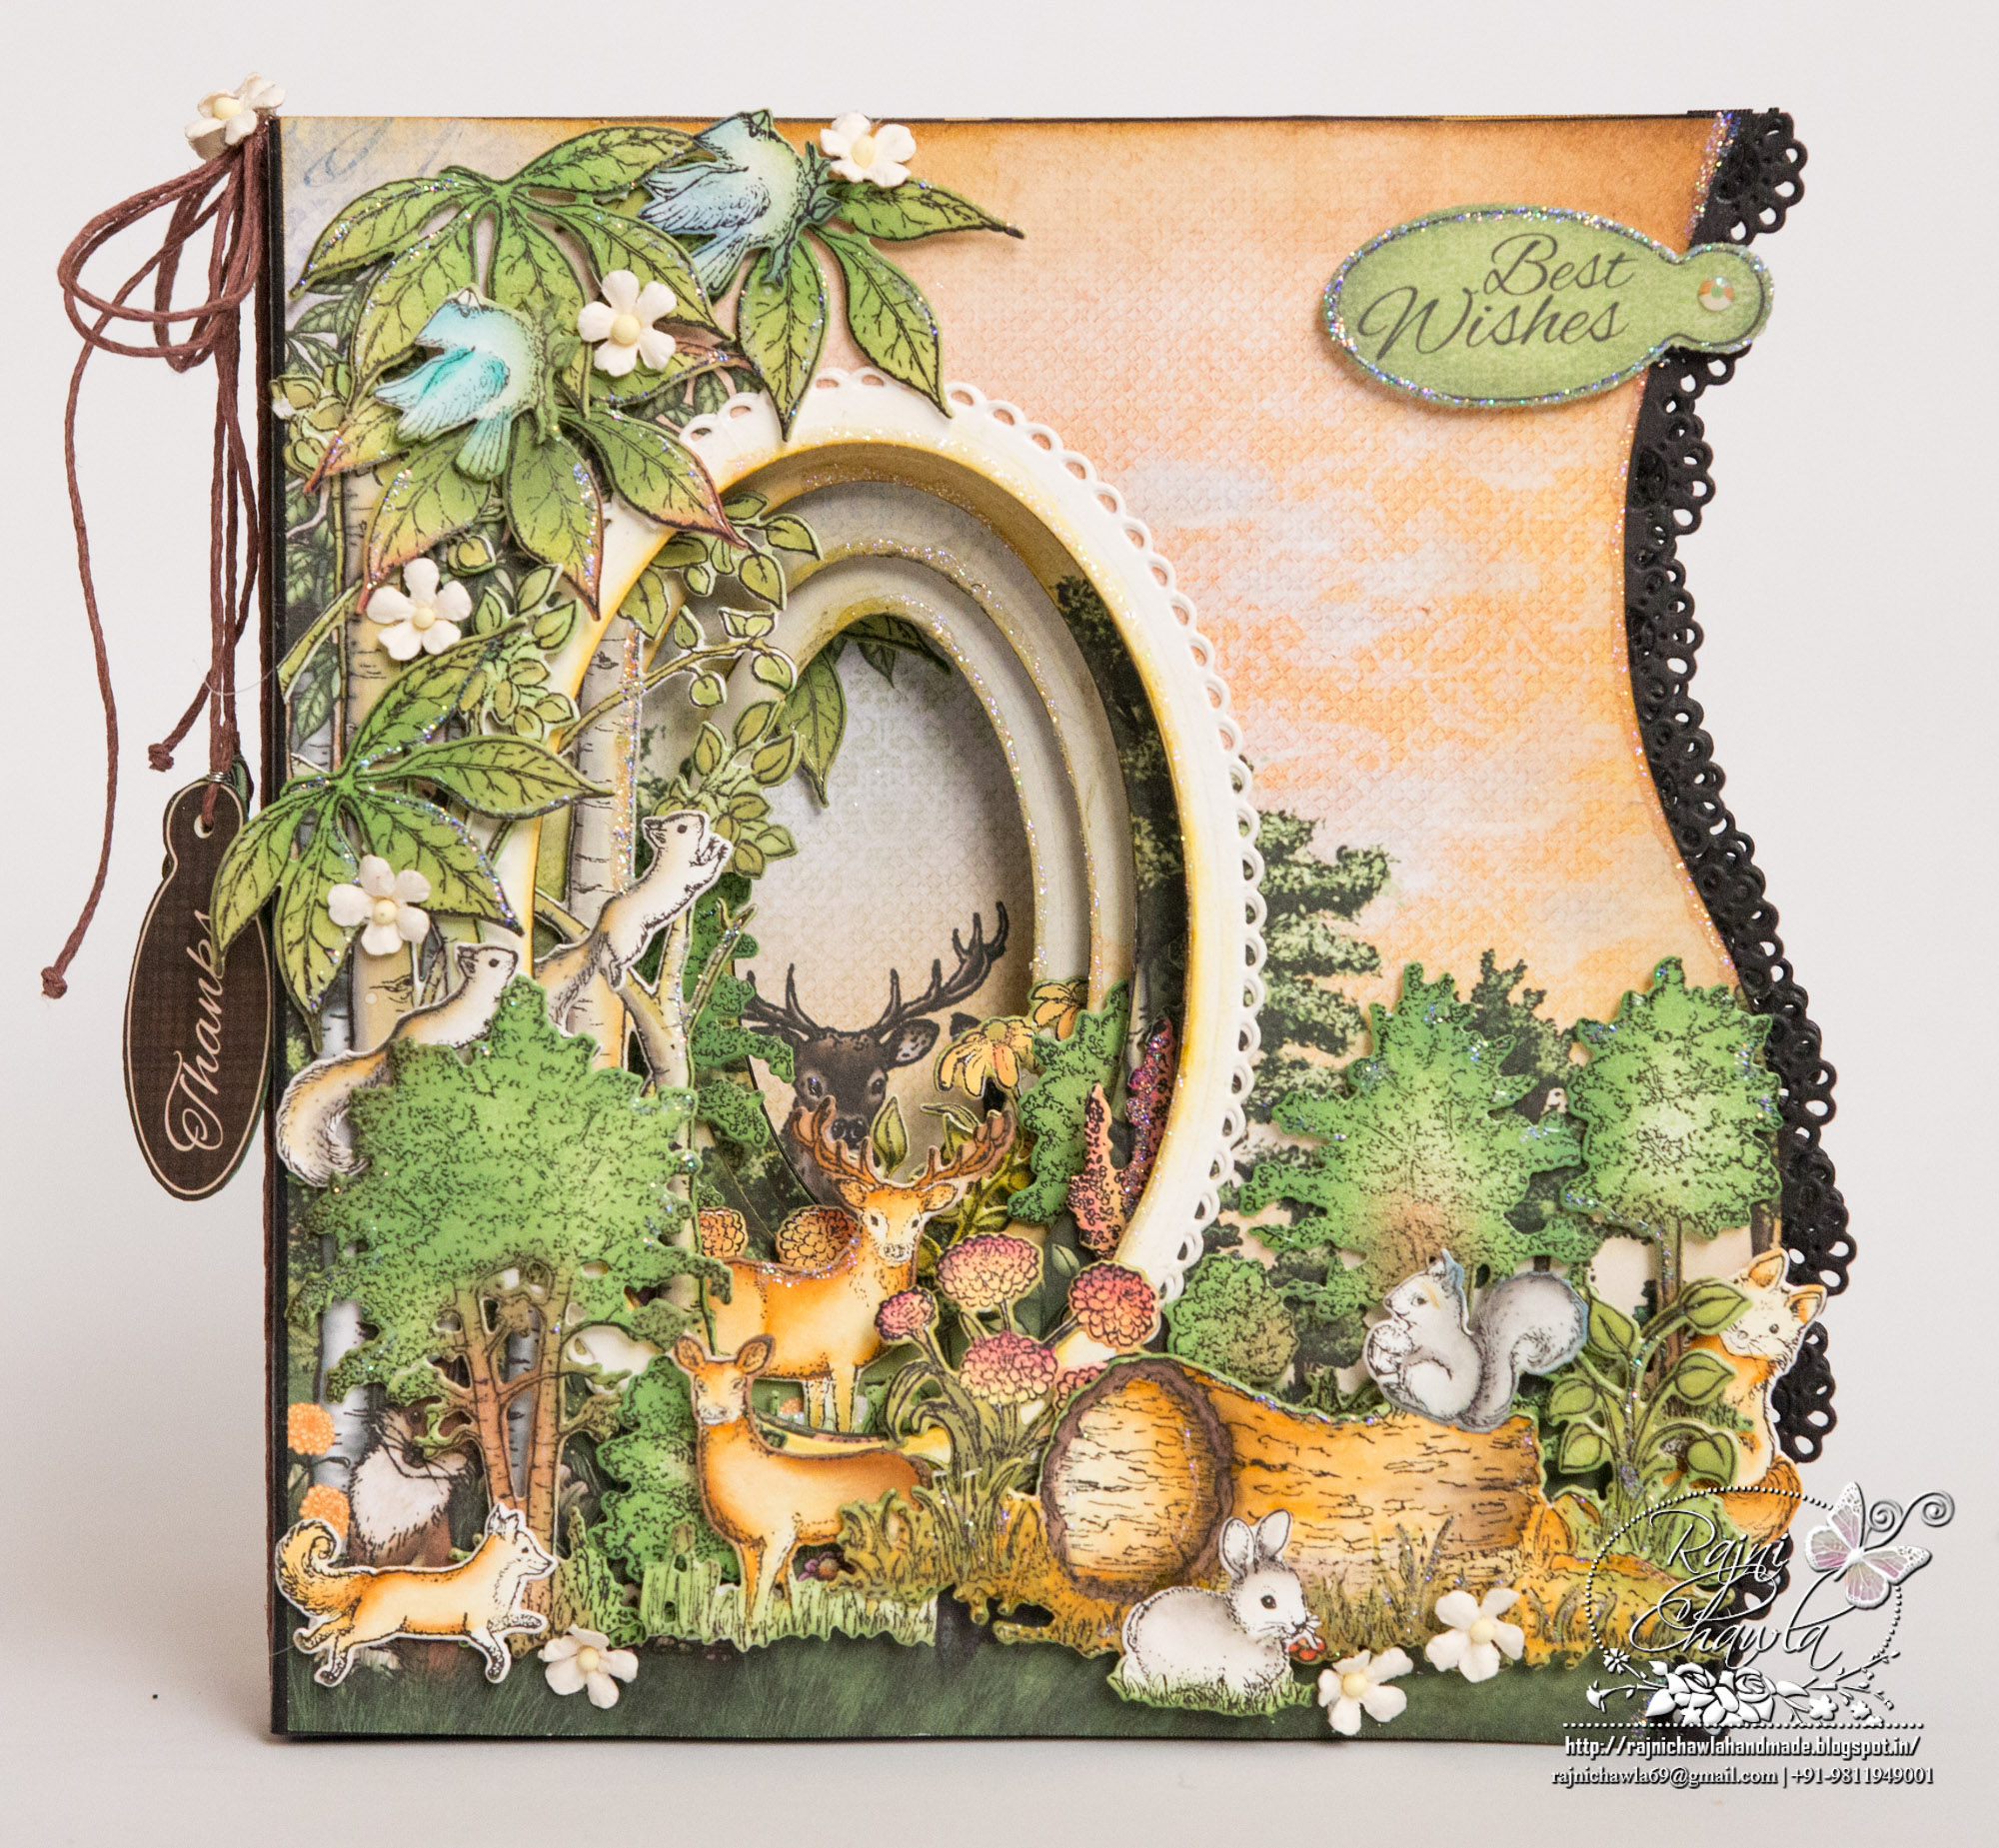
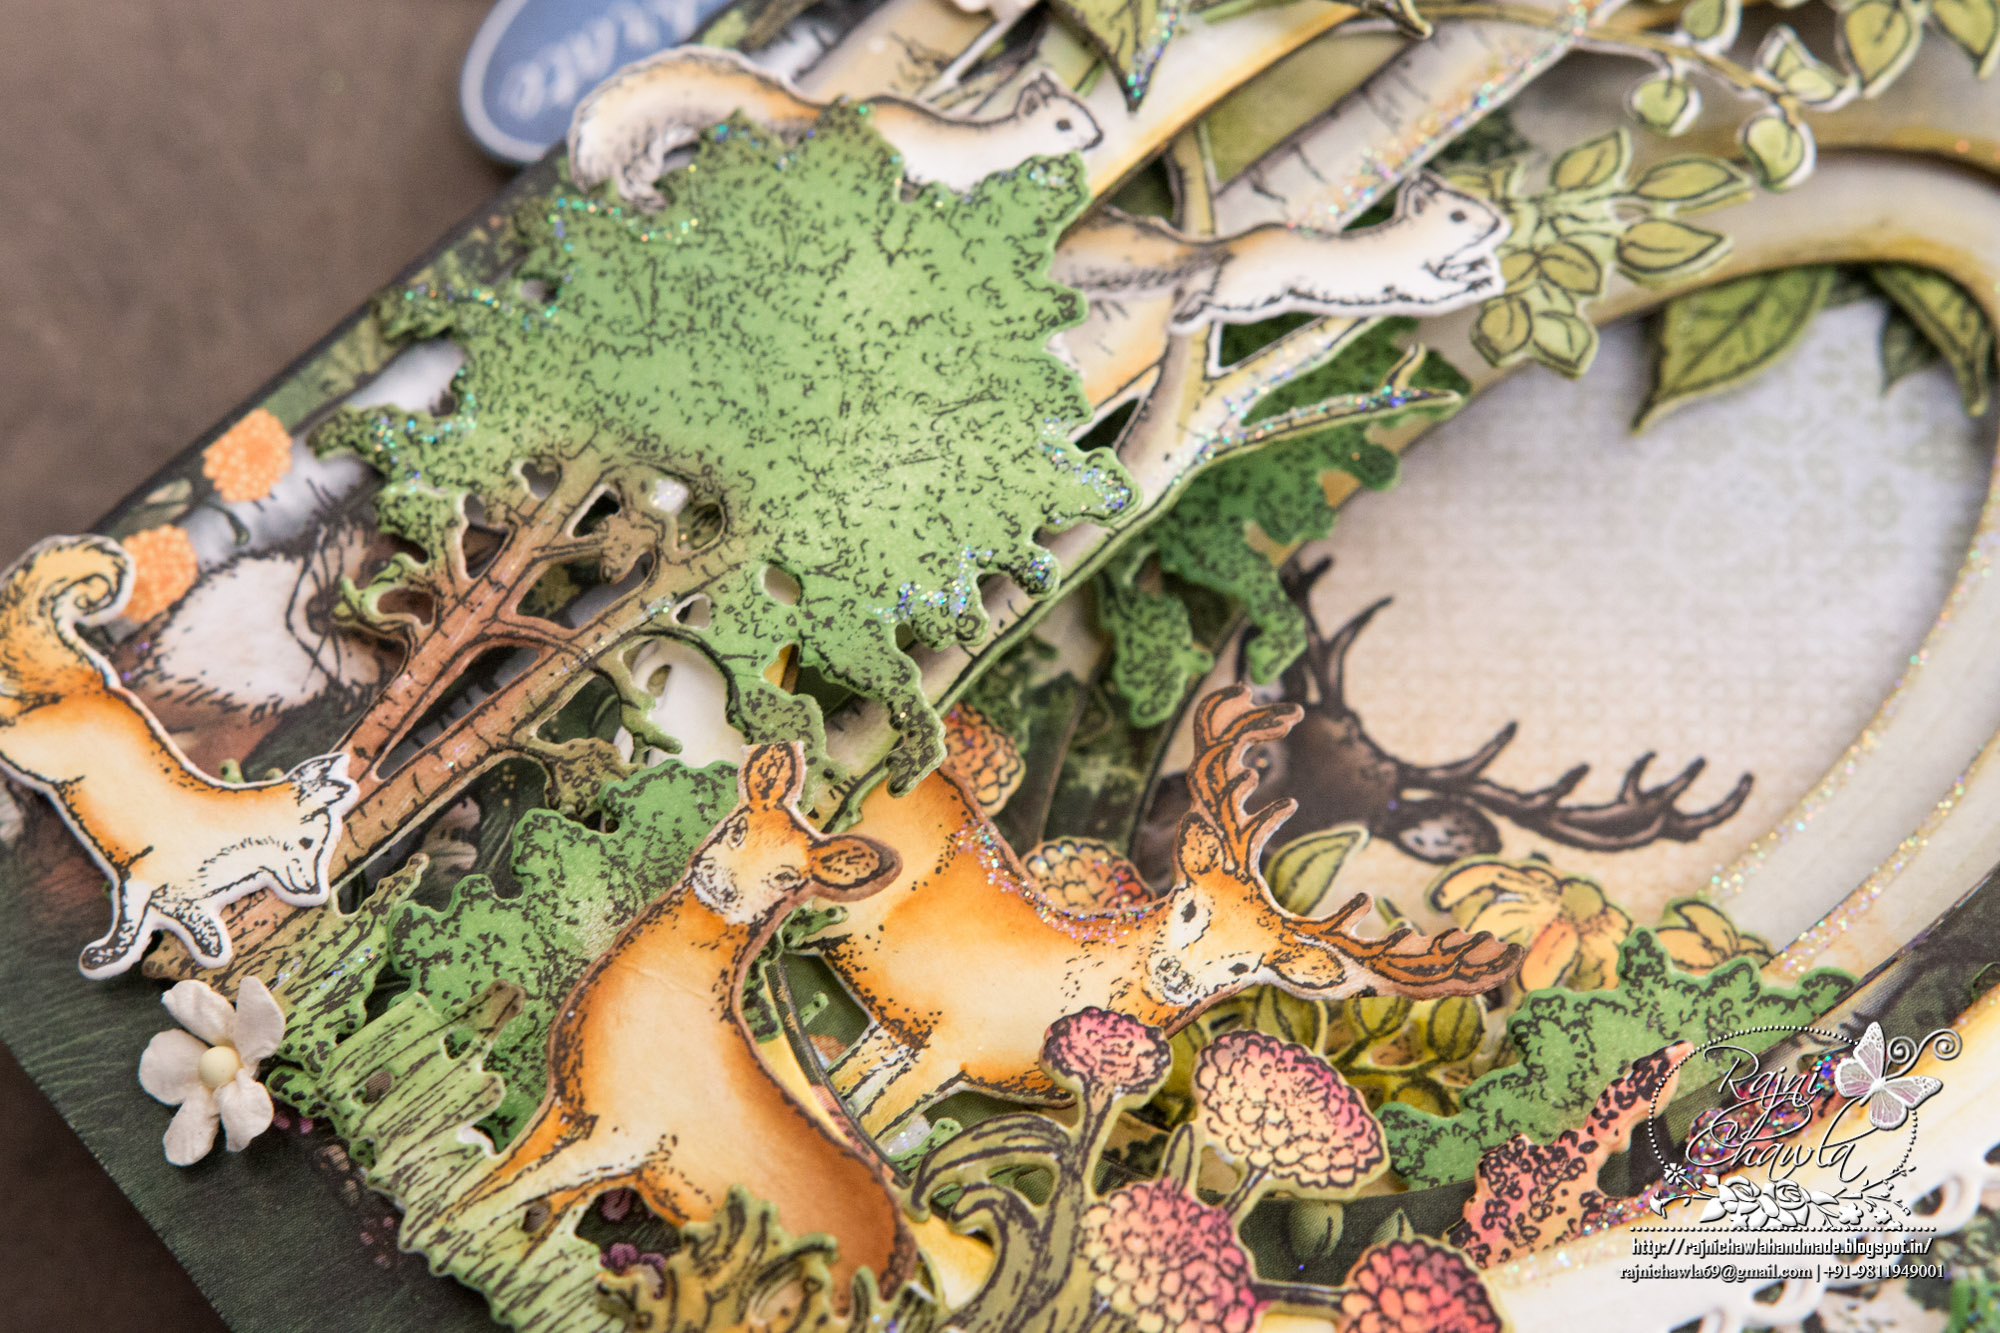
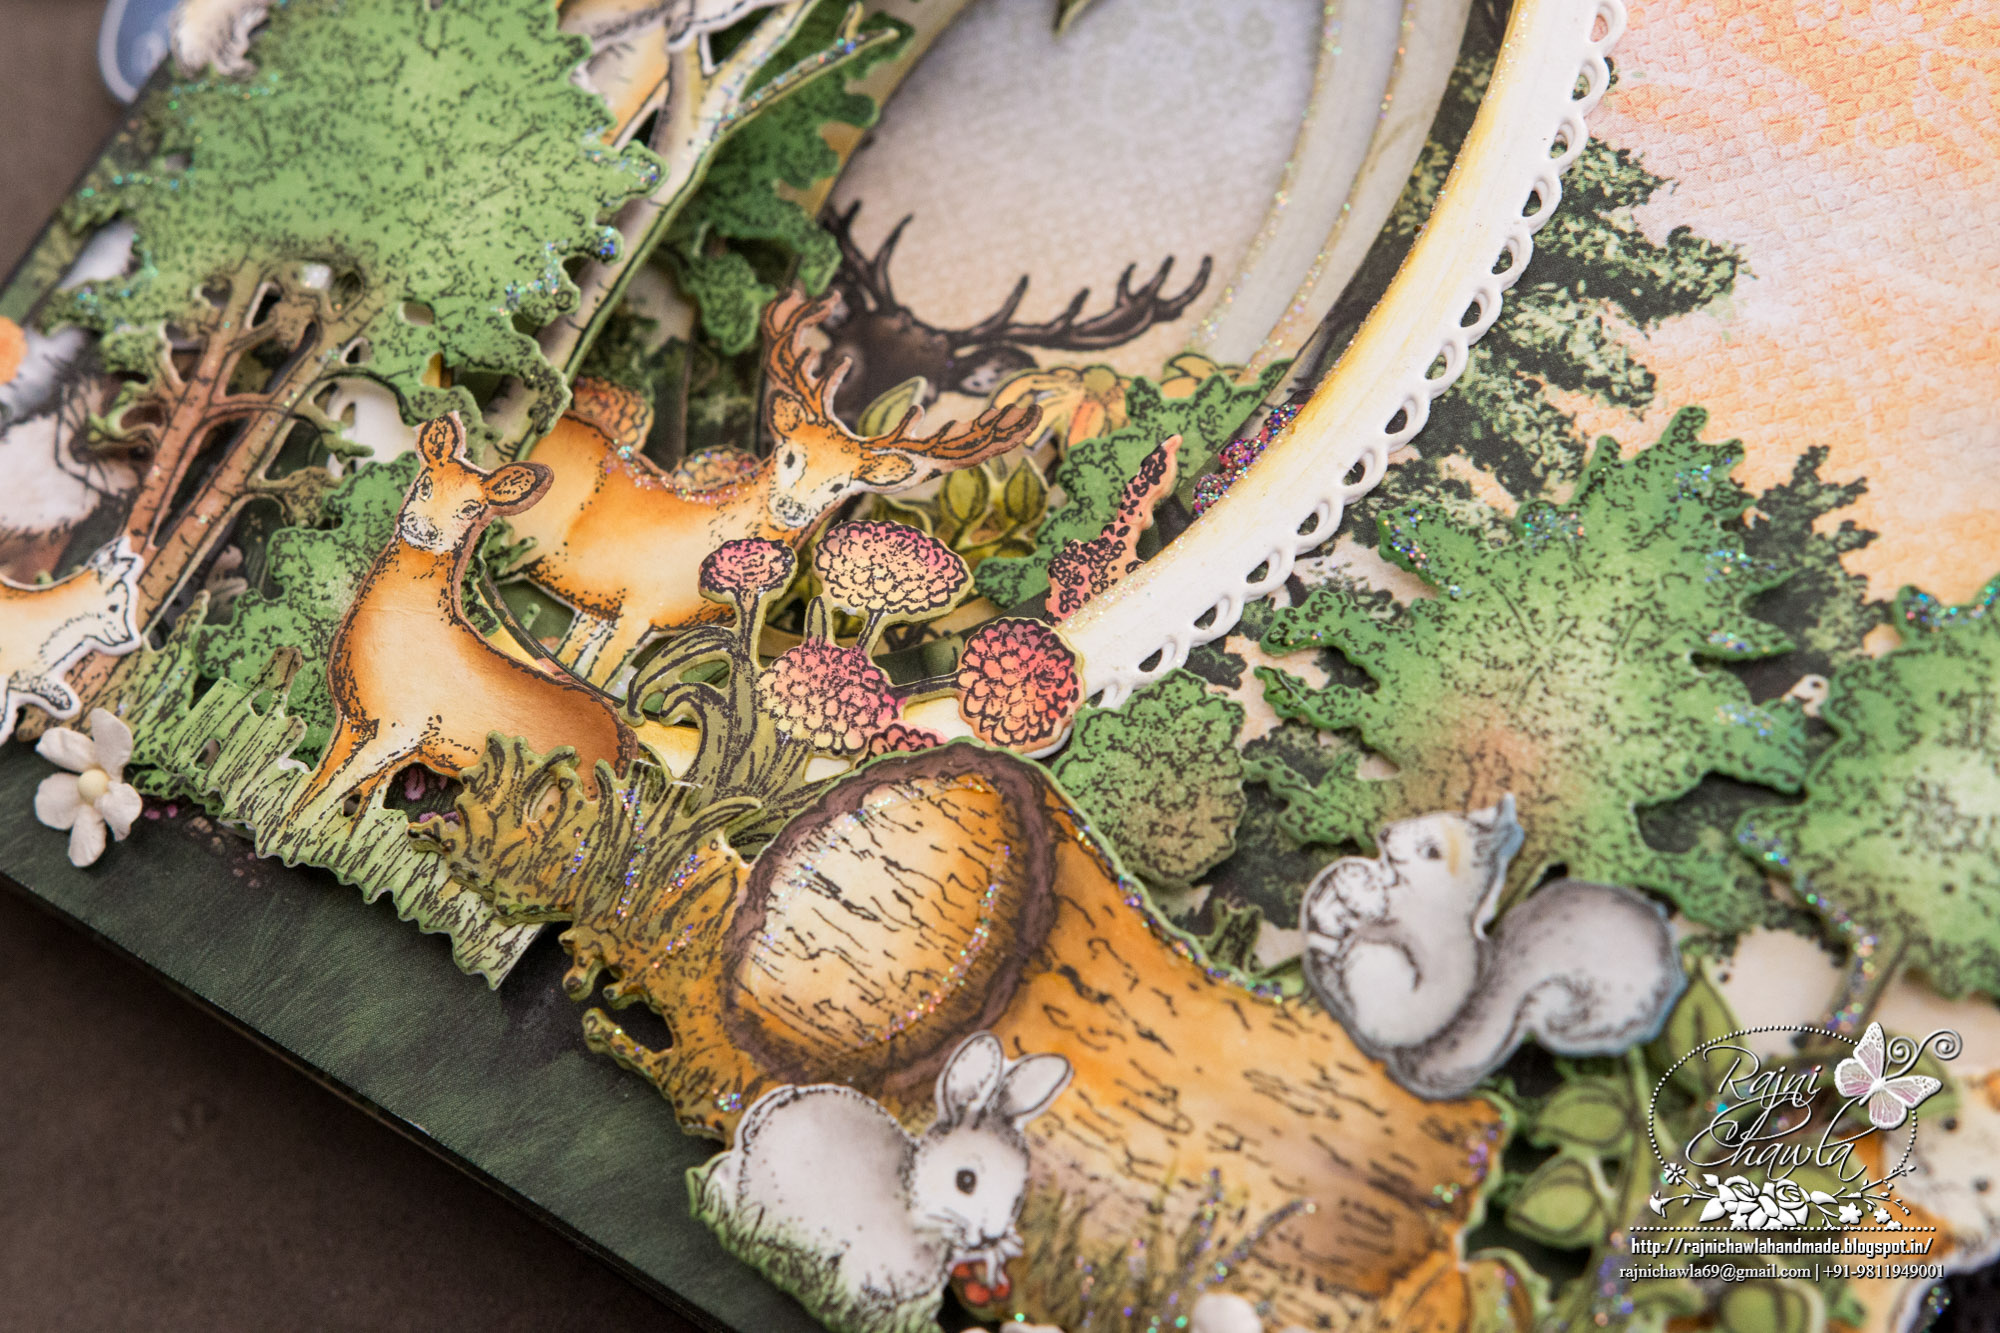
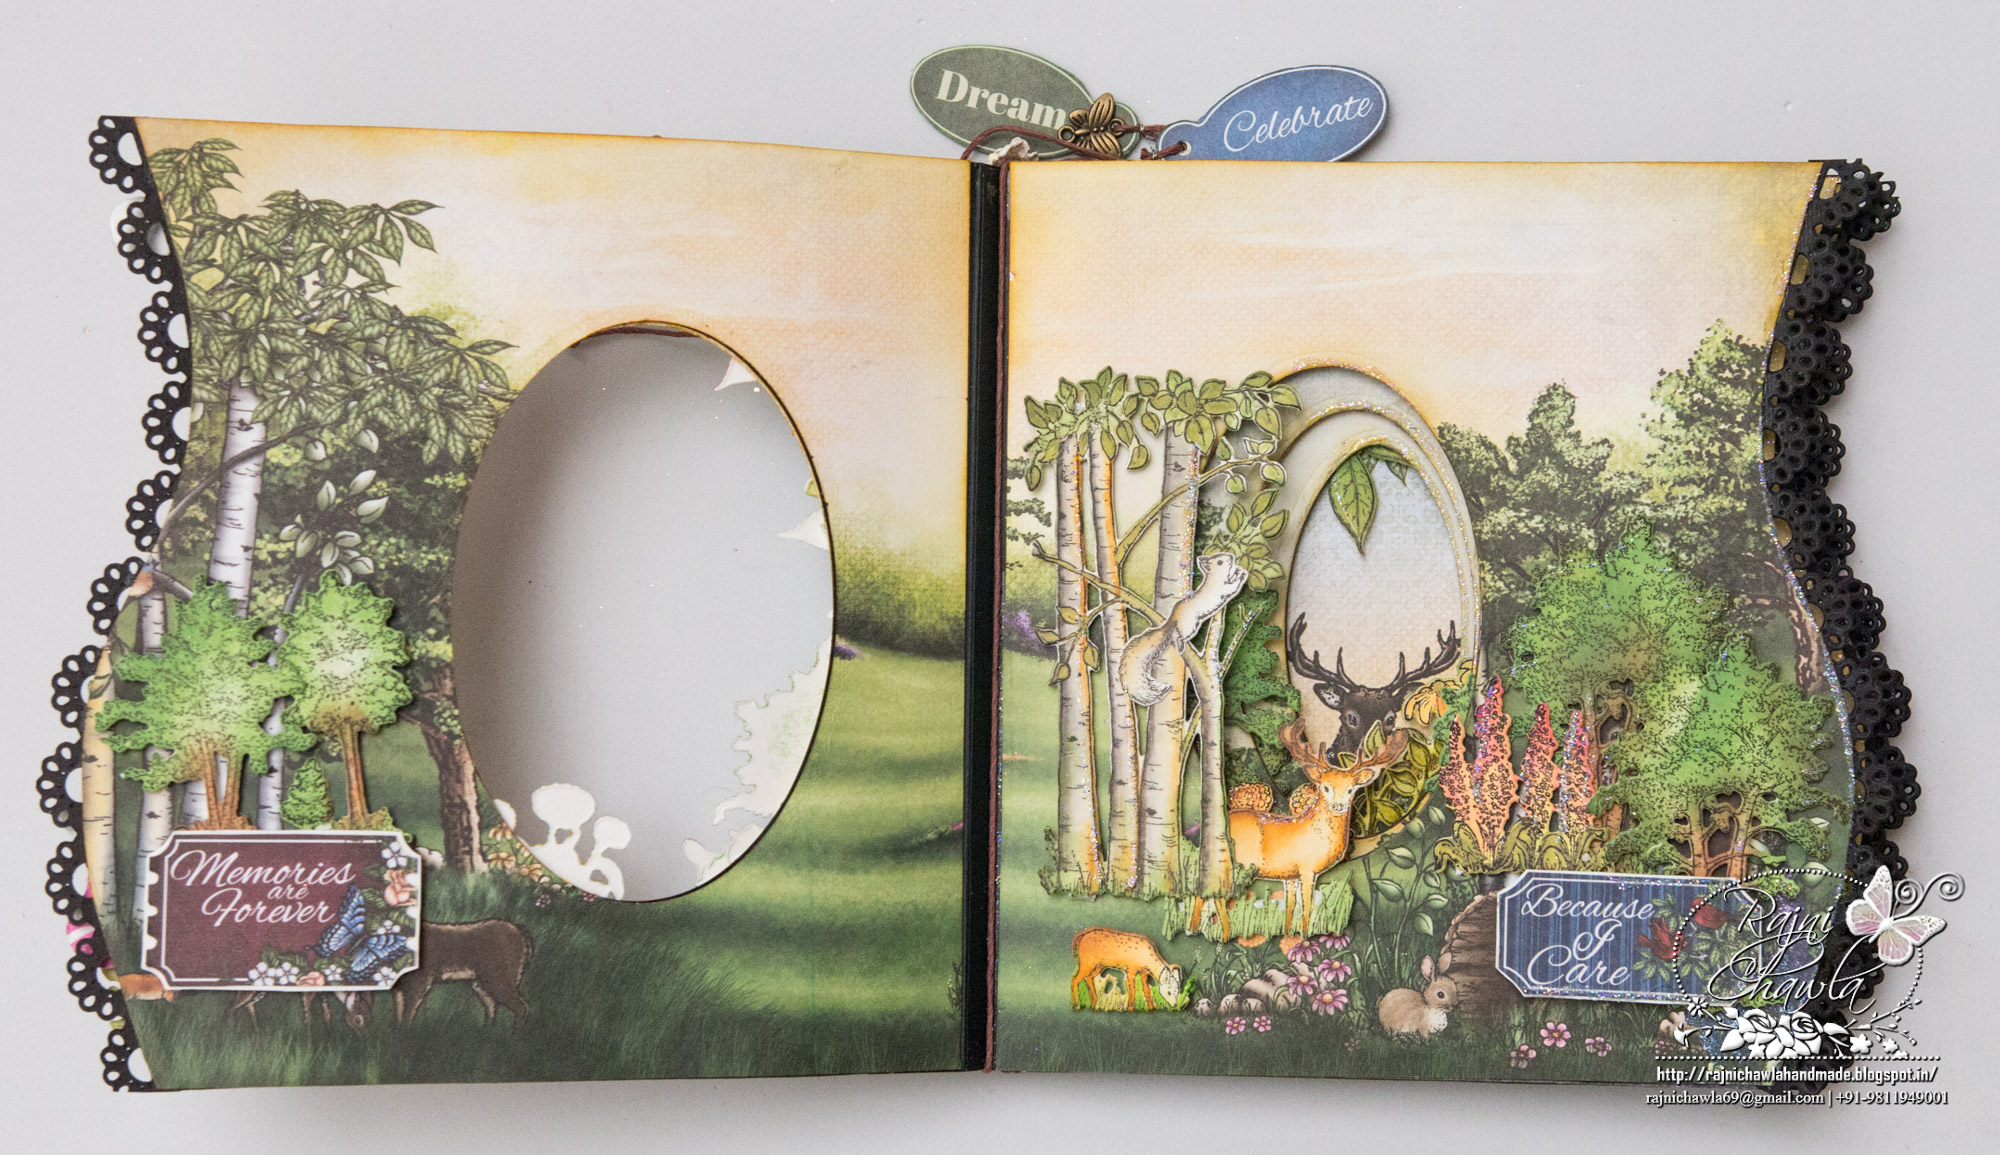
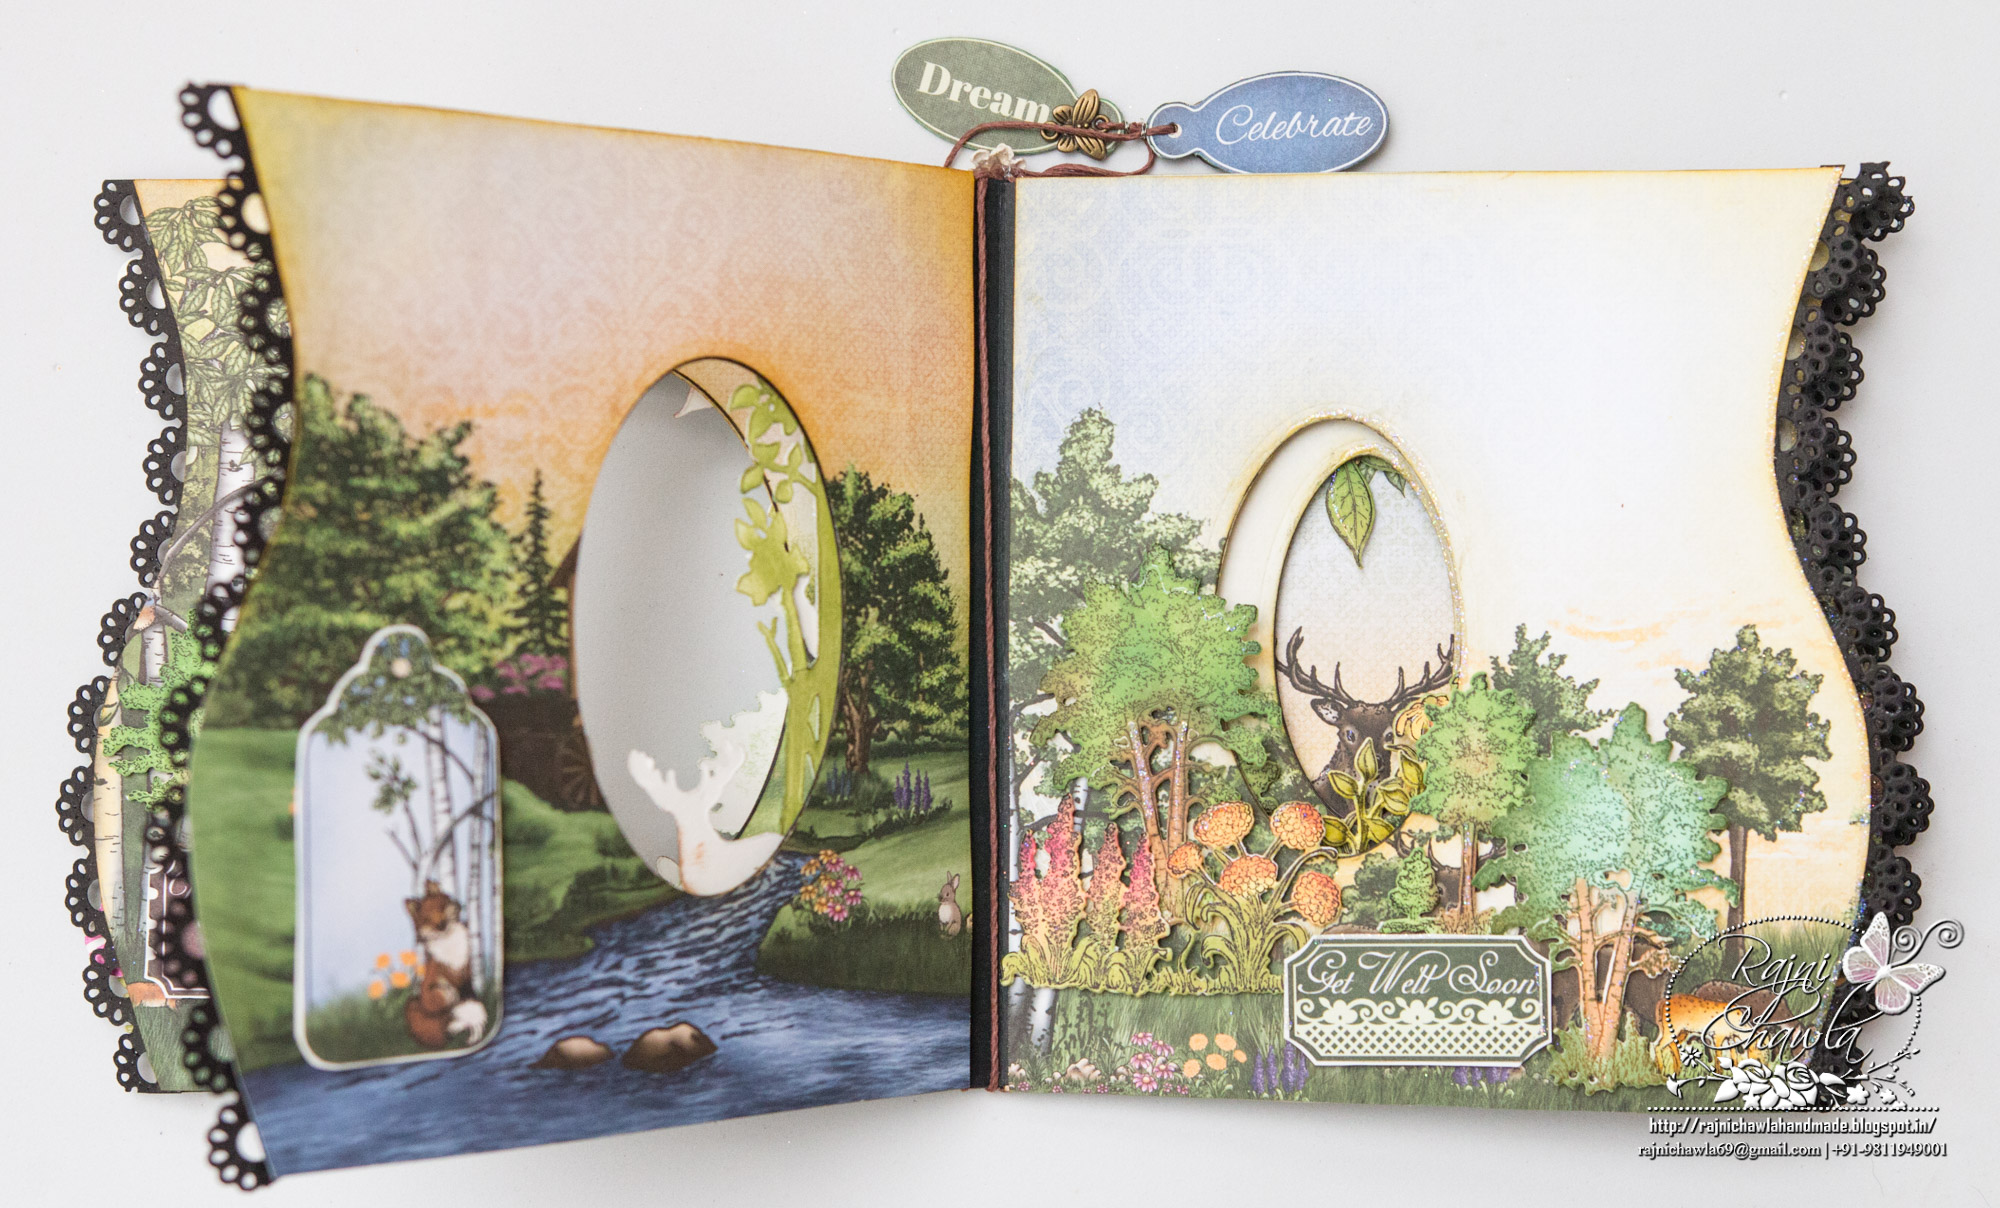
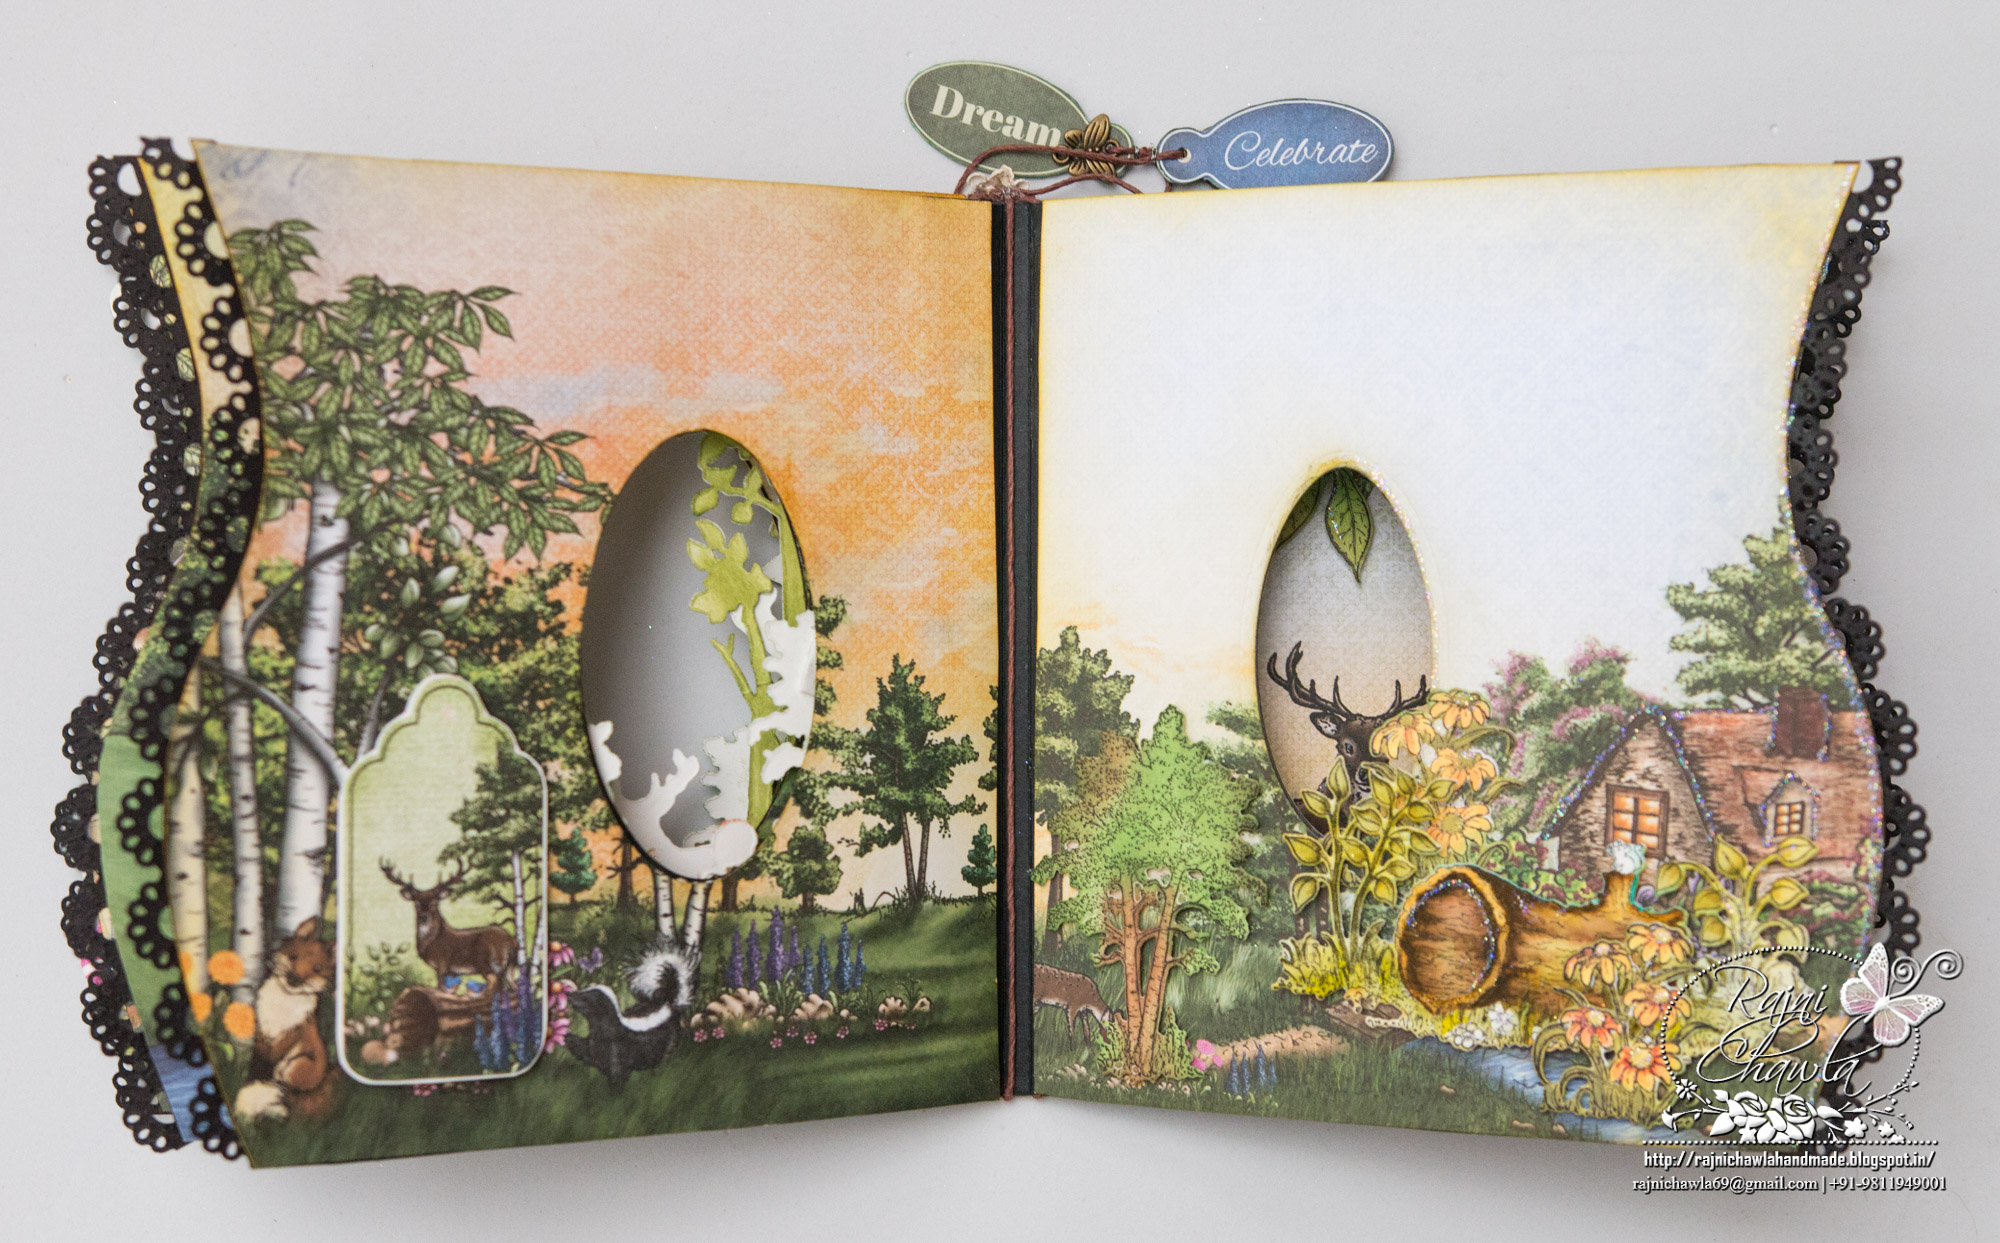
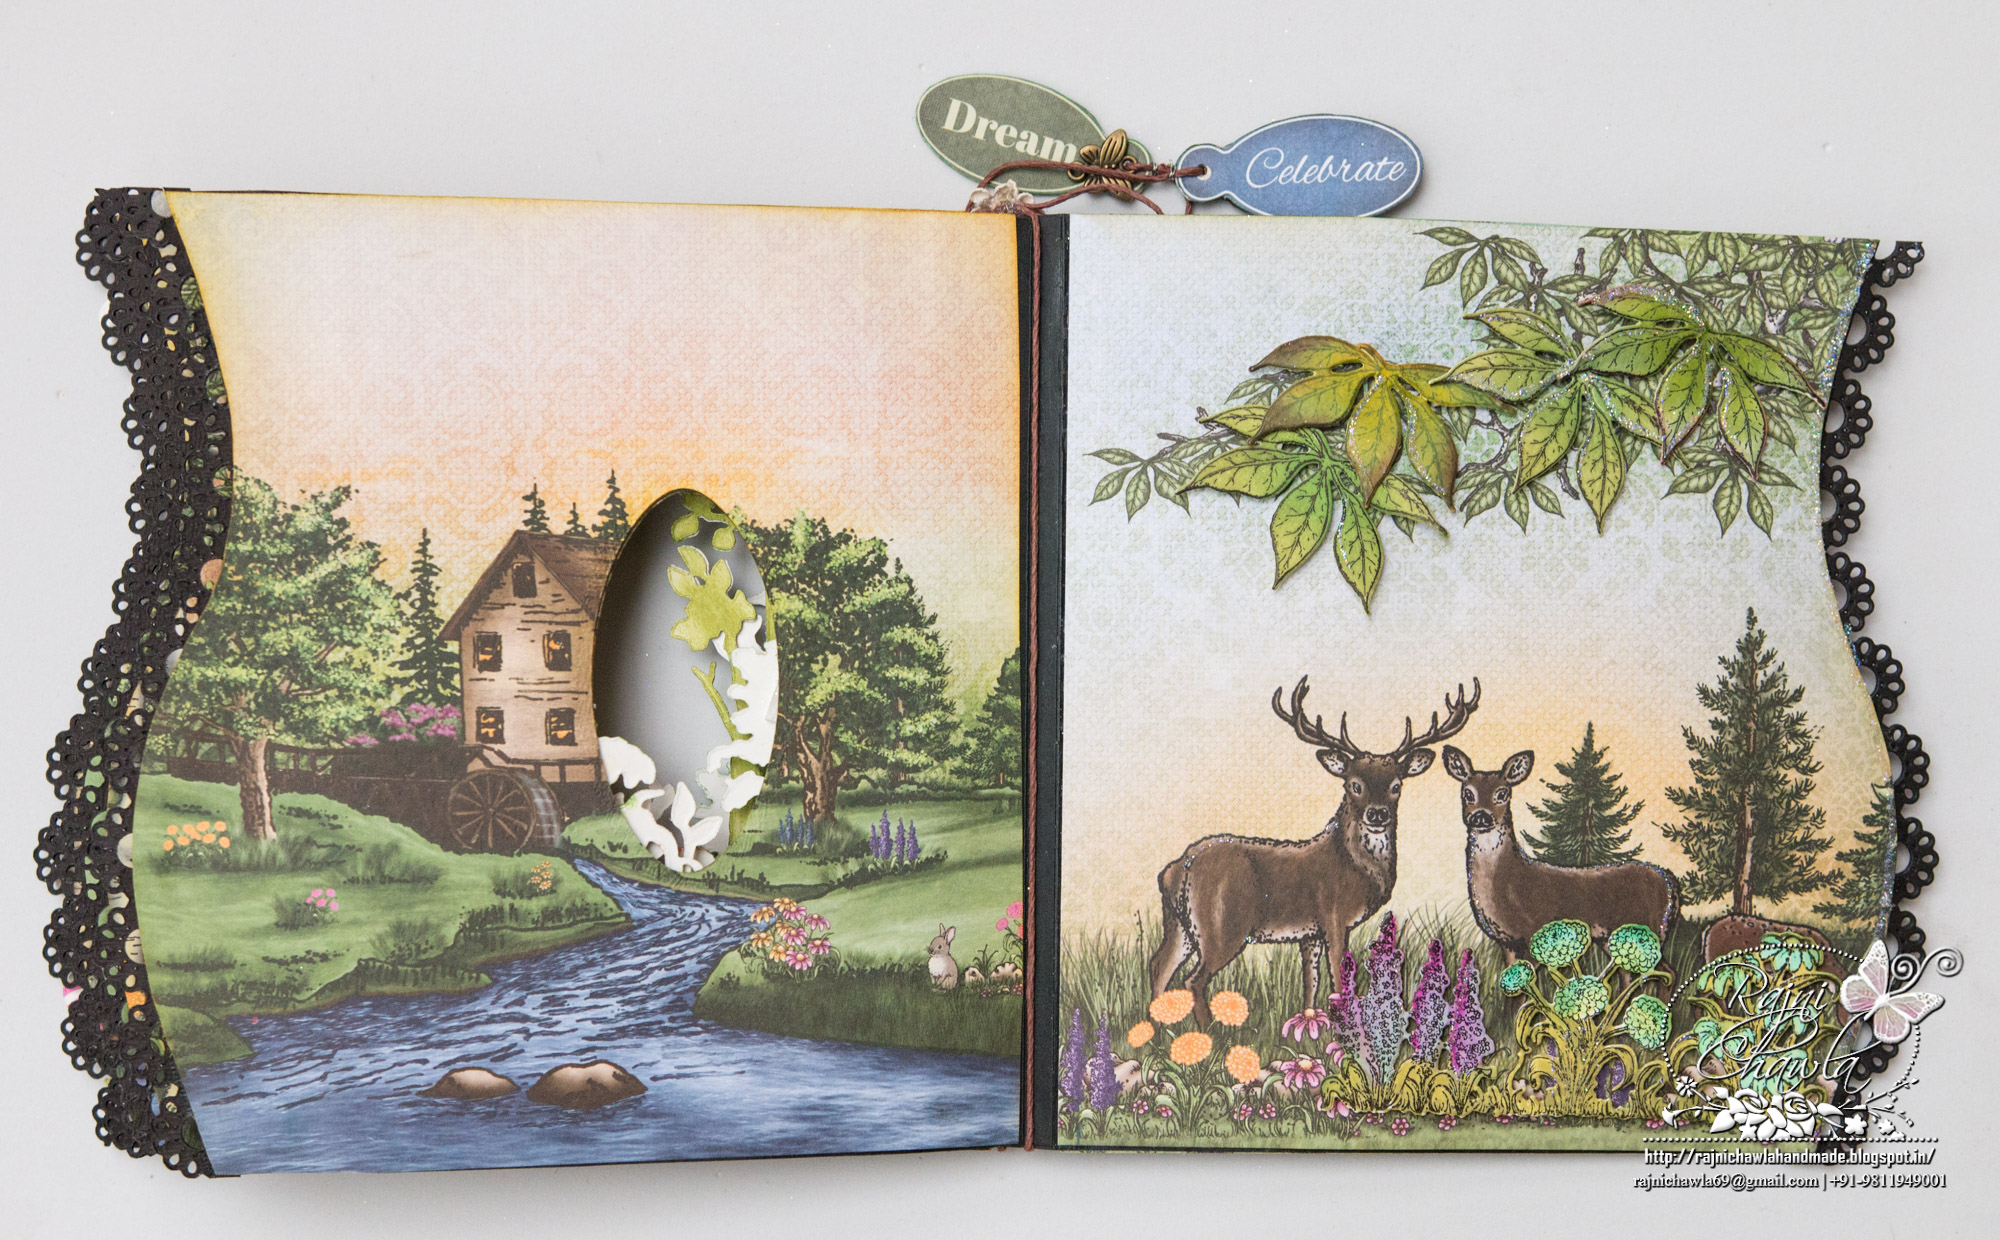
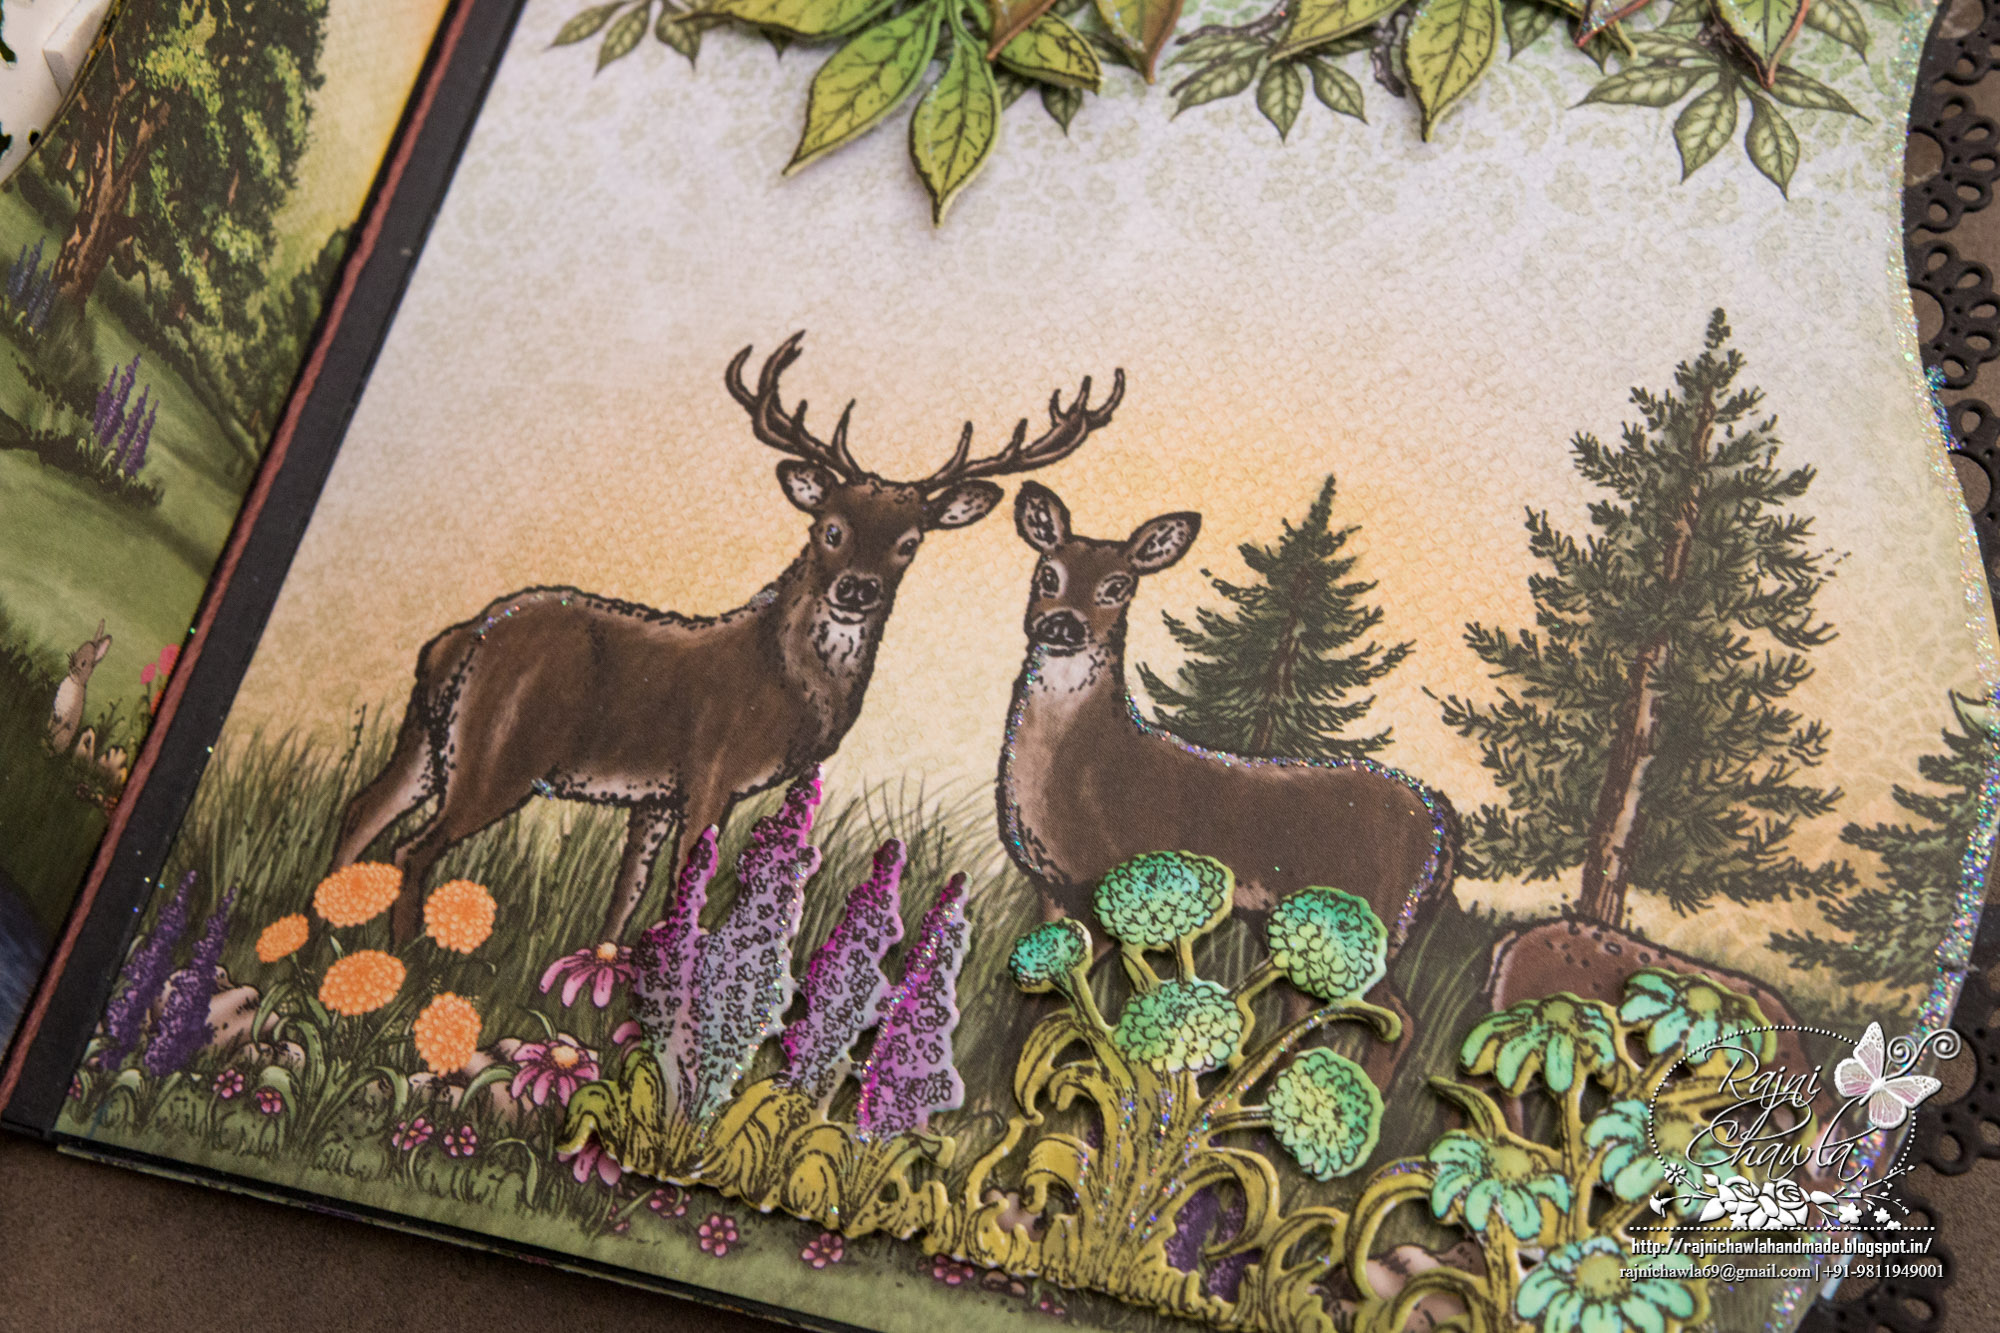
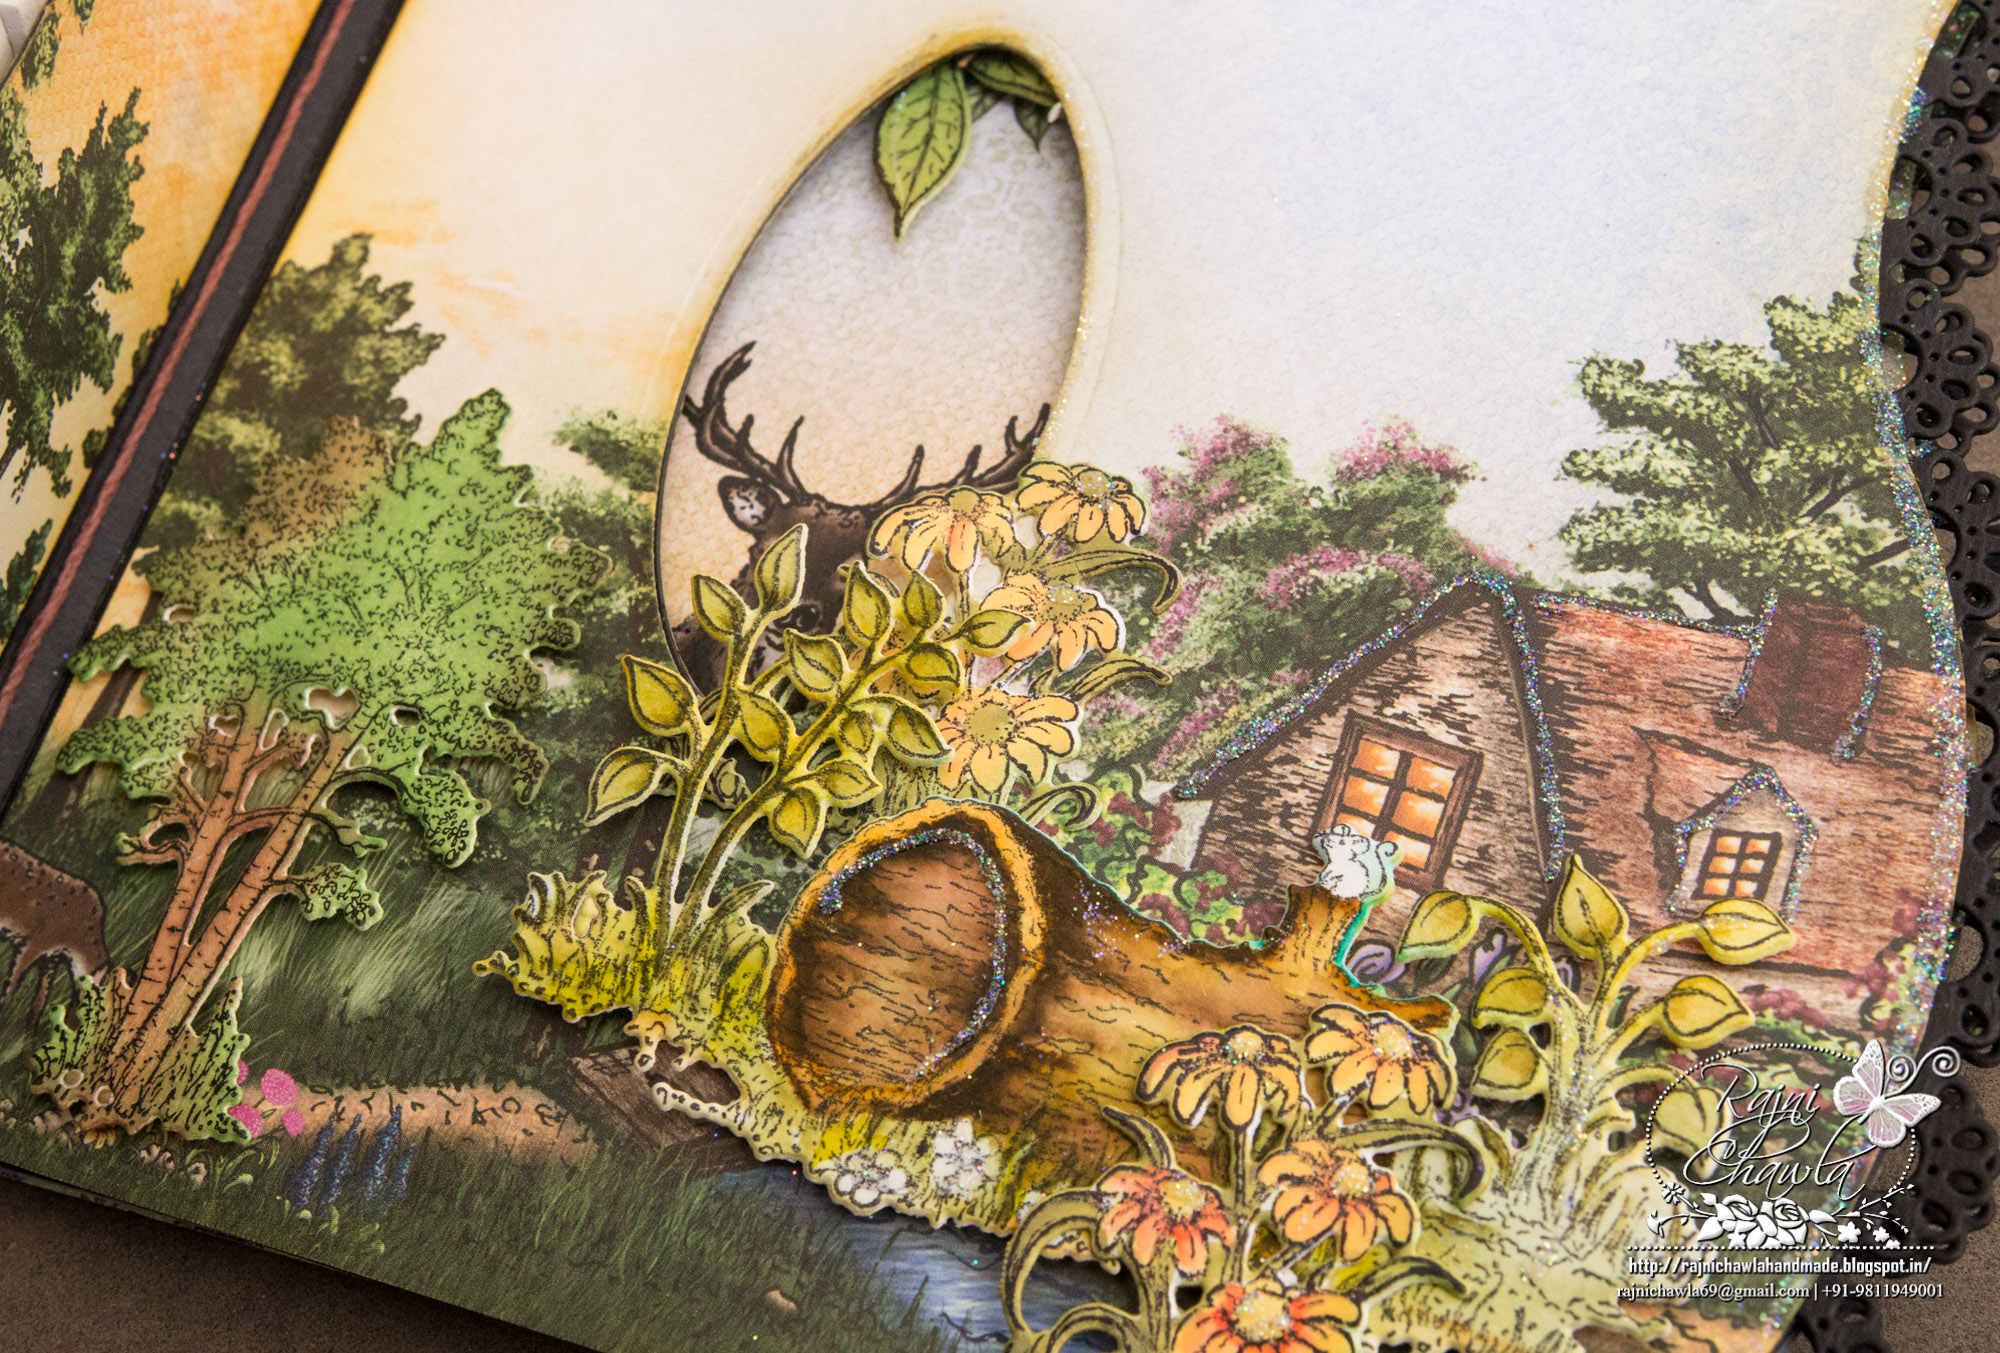
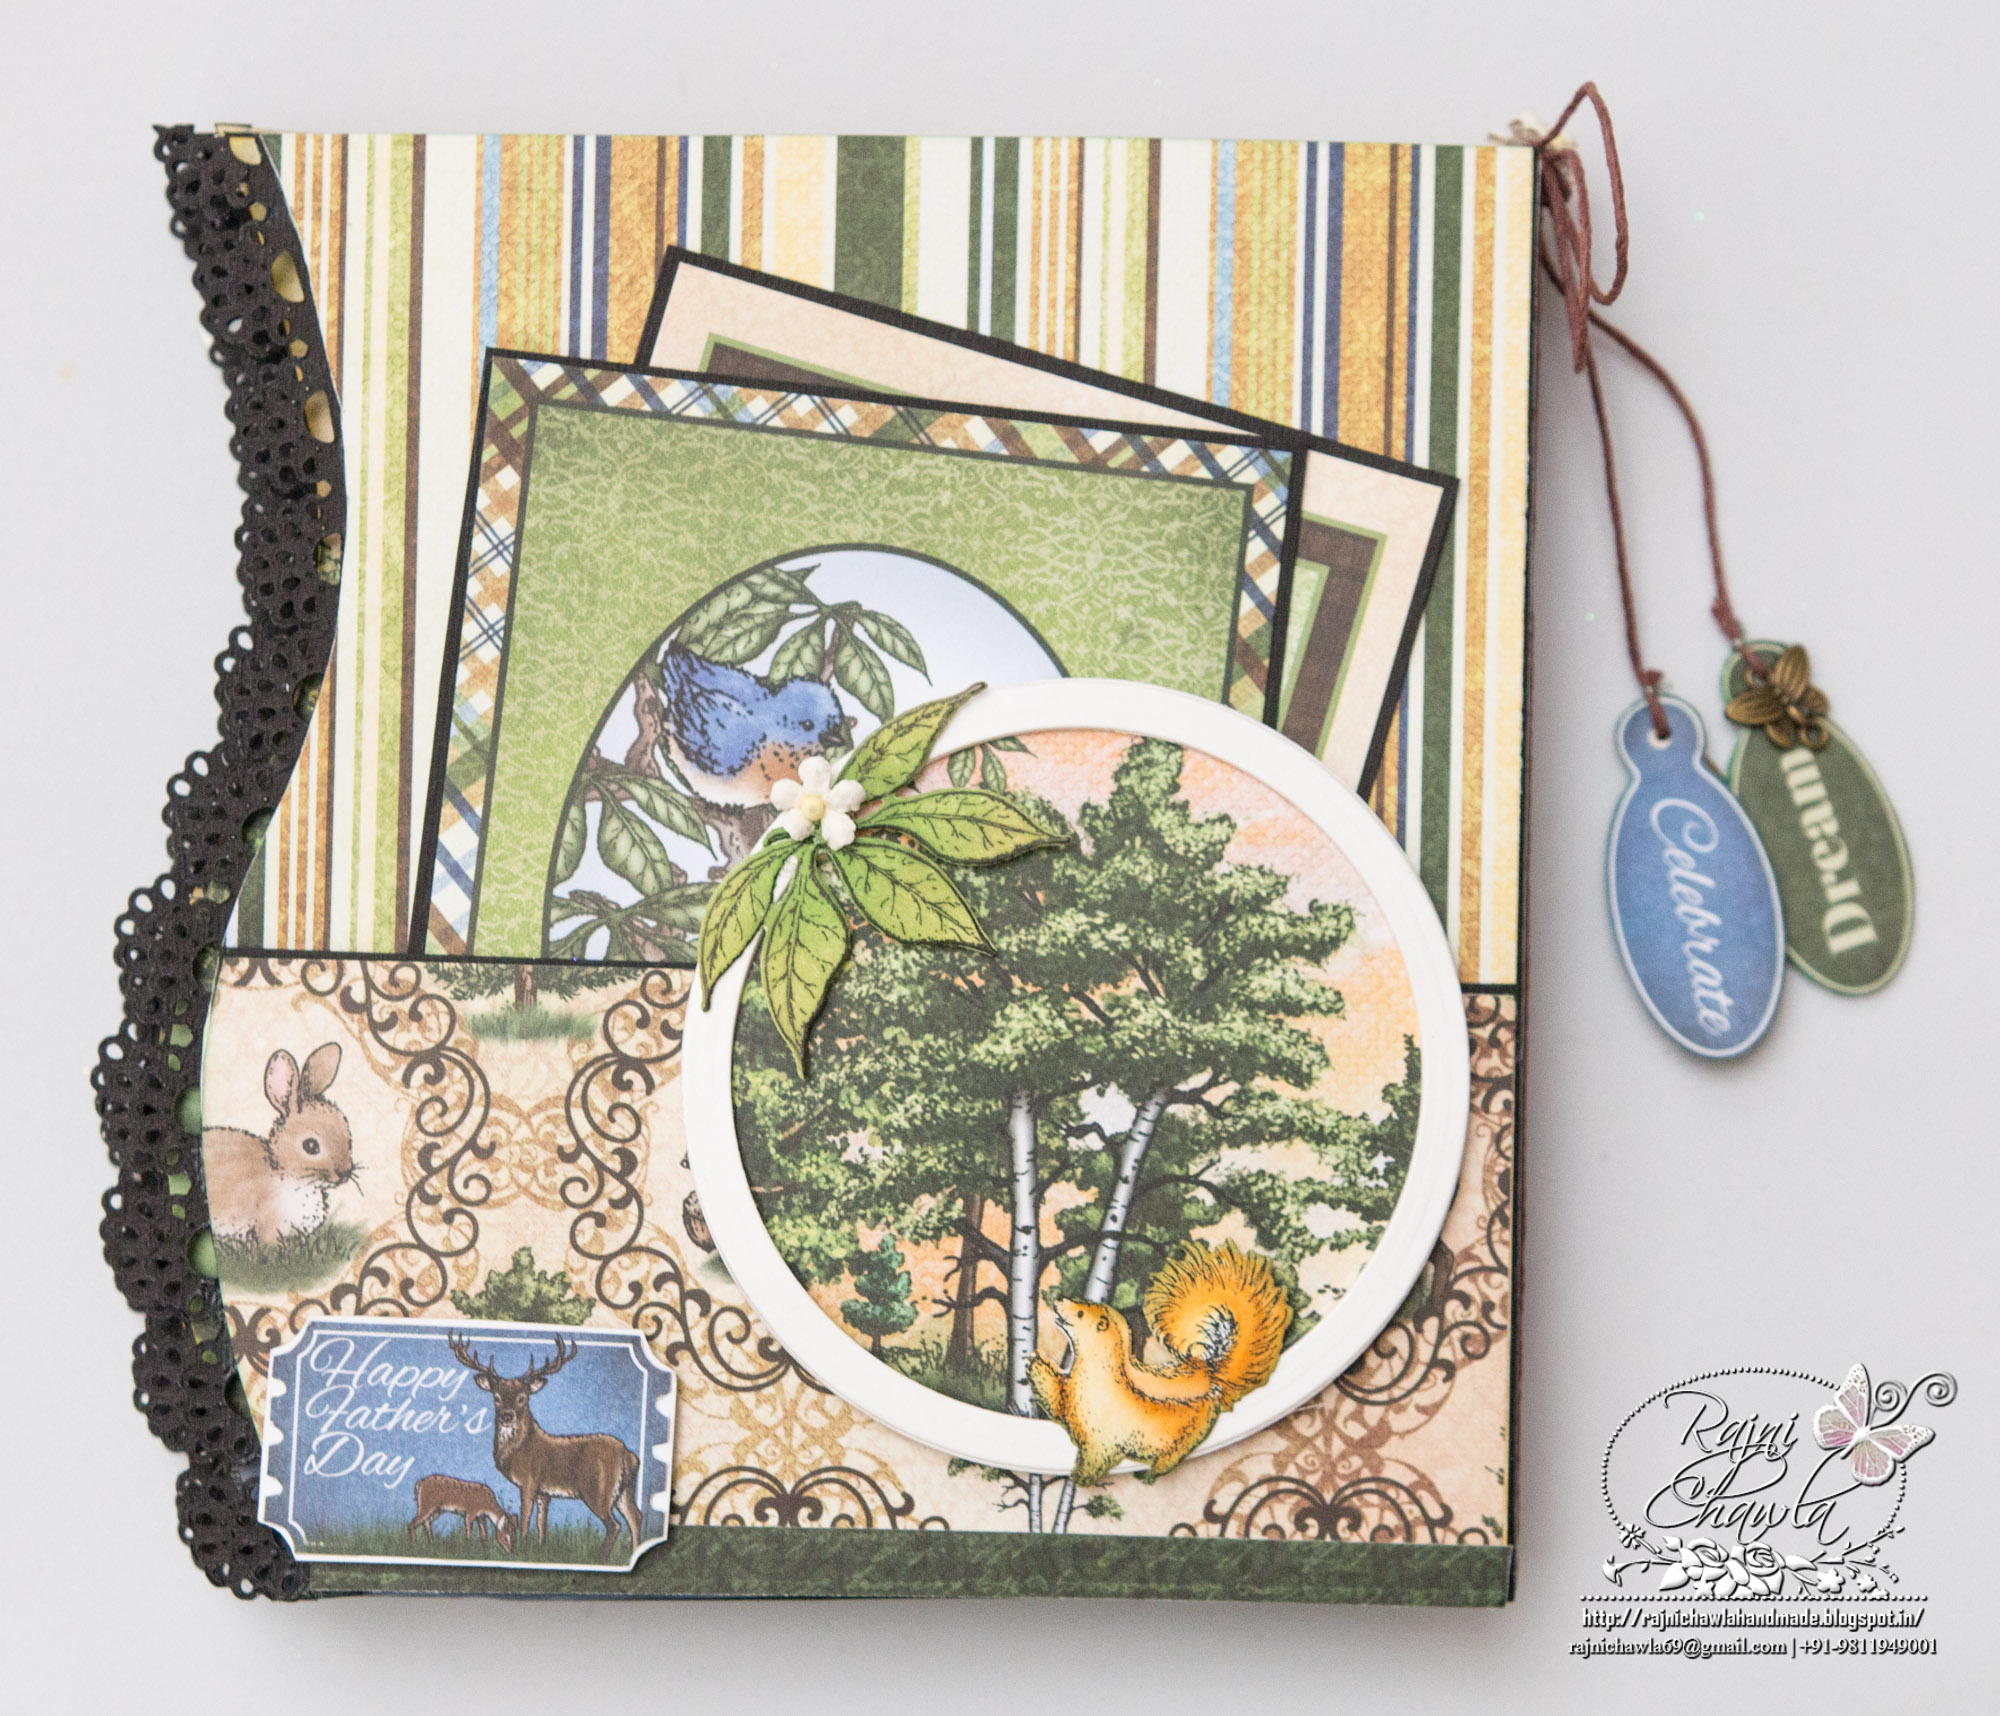
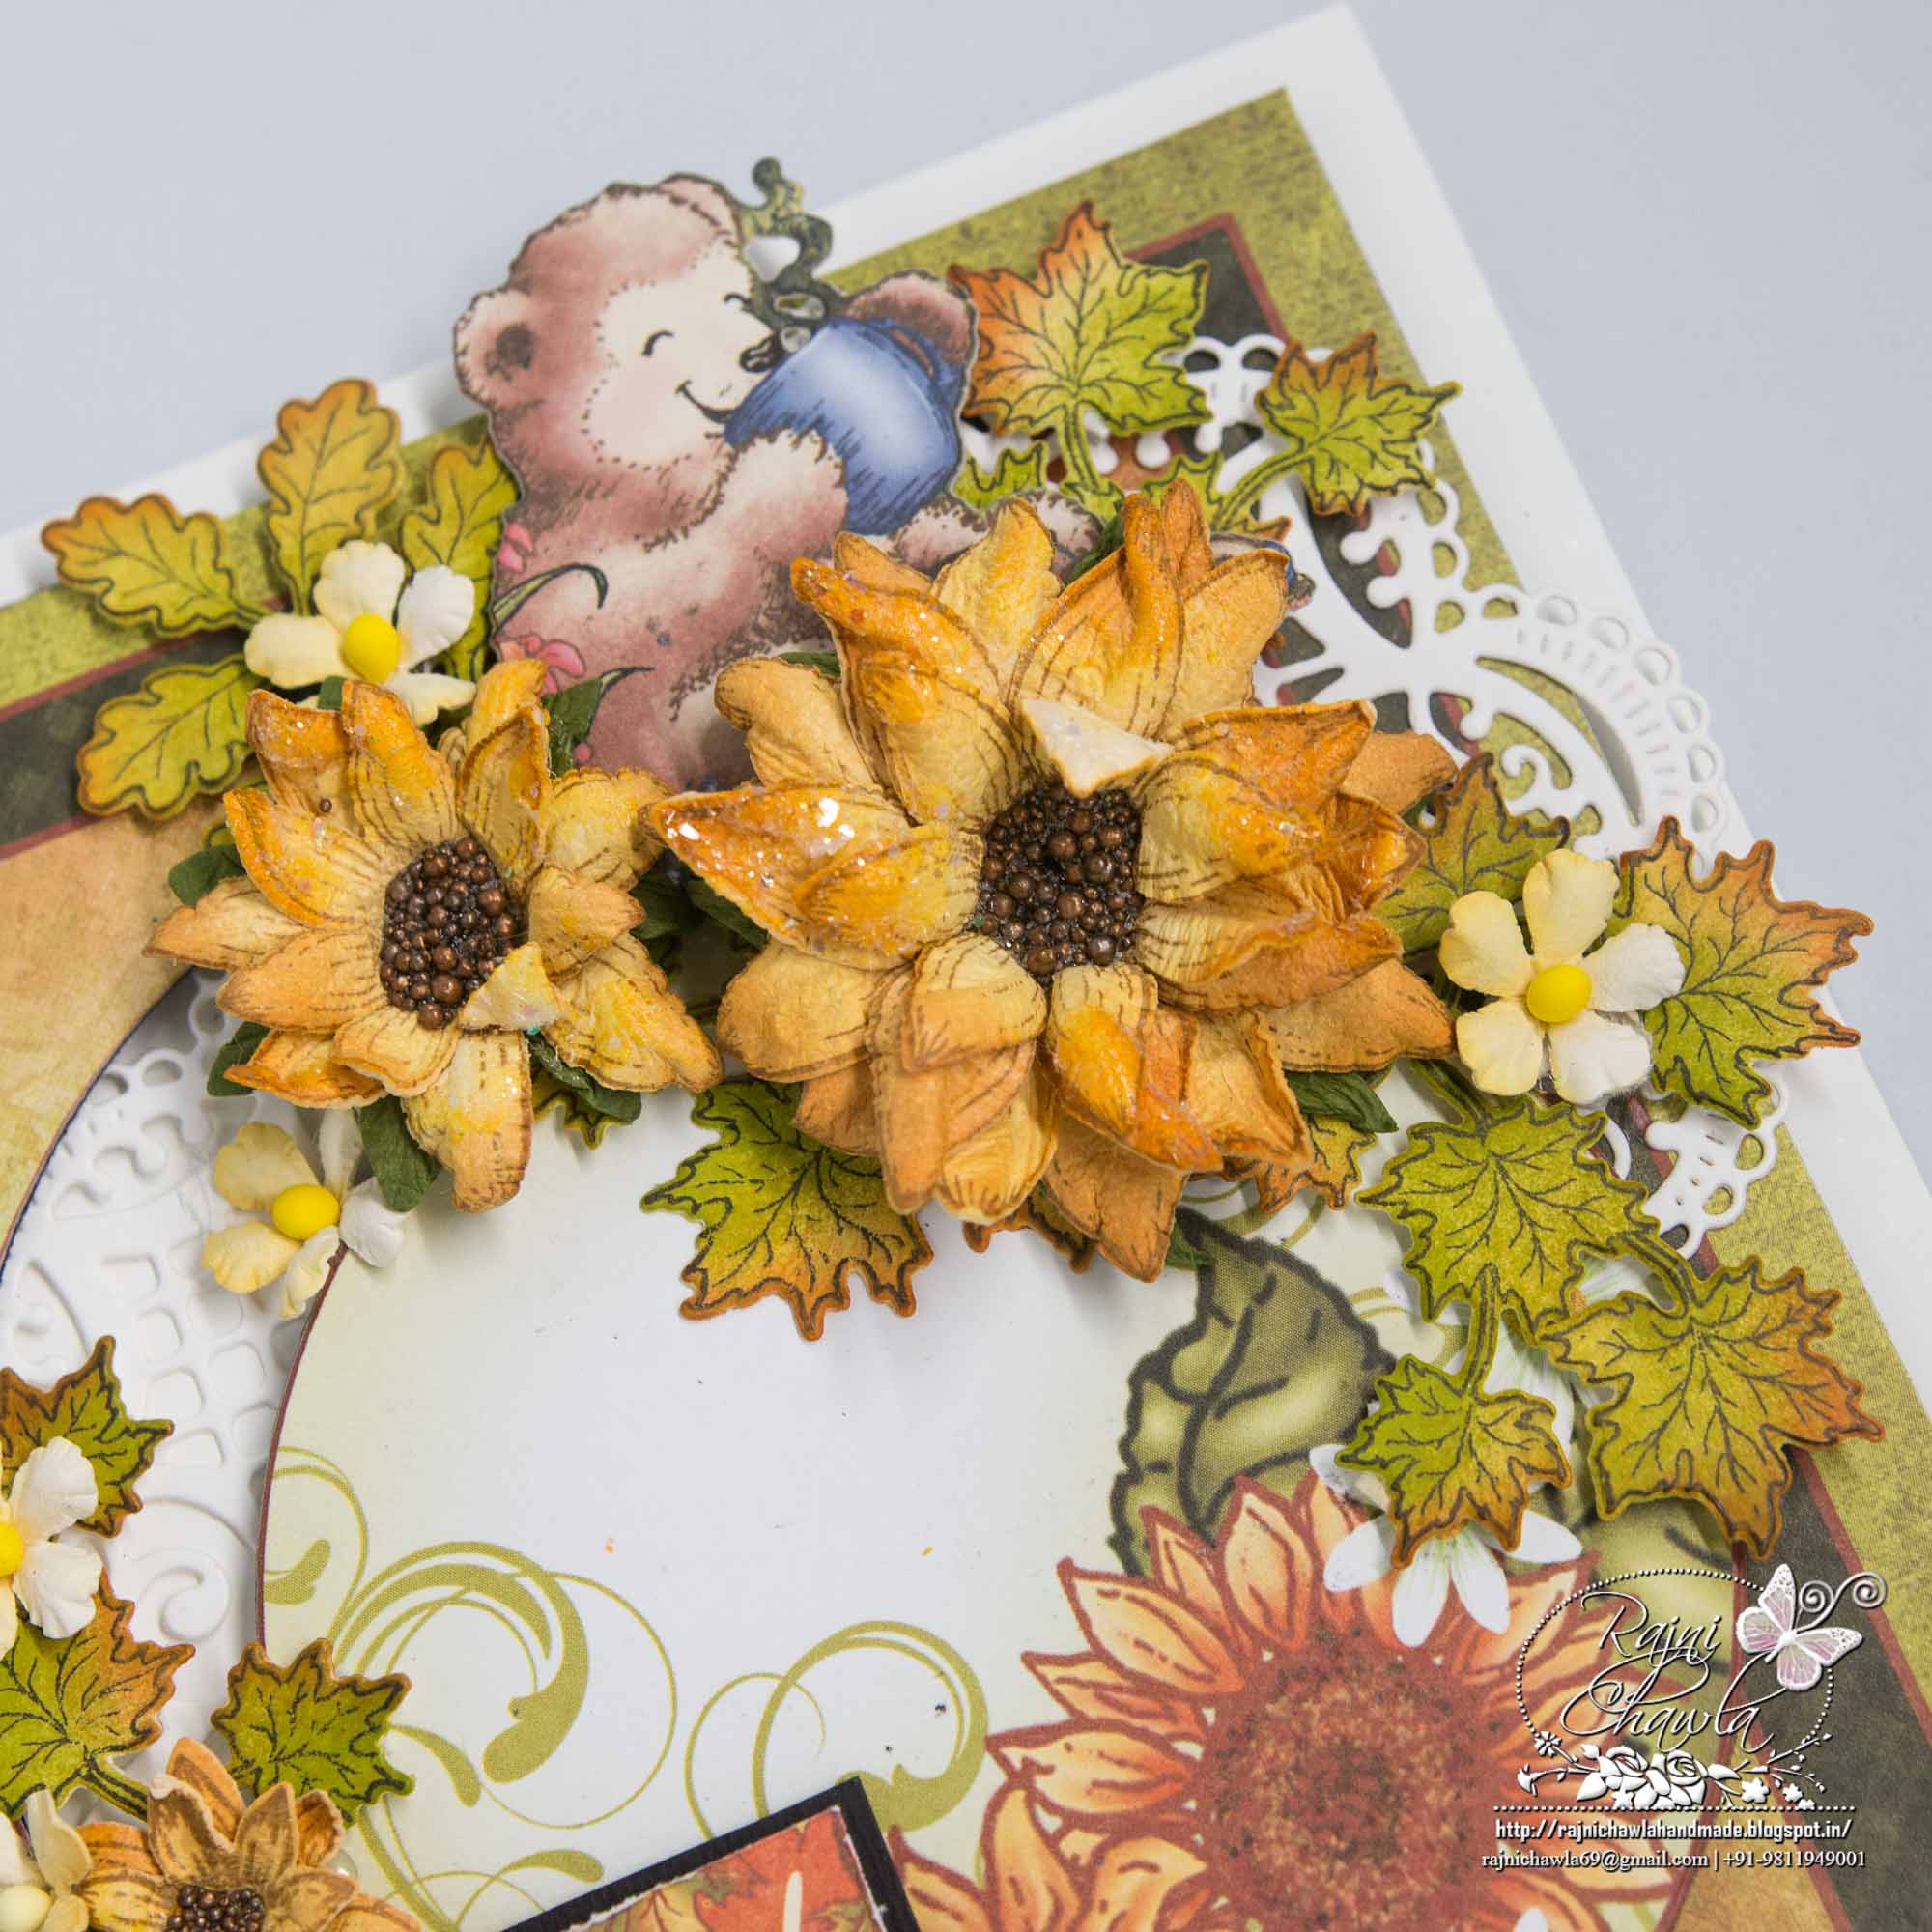
Today, I have a layered mini album to share which I created using Heartfelt Creations Woodsy Wonderland Collection and newly released Layered Cards. Layered cards are so much fun to play If you have some scenic inspiration in your mind. We can create beautiful fun story cards using these layered cards.
Here is the complete view…
Products from Heartfelt Creations:
HCLC1-455-1 5″ x 7″ Layered Ovals Card-Black
HCD1-7157 Eyelet Oval & Basics Large Die
HCD1-7156 Eyelet Oval & Basics Small Die
HCD1-7120 Fleur Border Basics Die
HCDP1-273 Woodsy Wonderland Paper Collection
HCD1-7124 Woodsy Critters Die
HCD1-7123 Woodsy Wonderland Die
HCD1-7122 Woodsy Landscape Die
HCPC-3768 Woodsy Critters Cling Stamp Set
HCPC-3767 Woodsy Wonderland Cling Stamp Set
HCPC-3766 Woodsy Treescape Cling Stamp Set
HCD1-7125 Wildwood Florals Die
HCD1-745 Luggage and Tags Die
HCD1-7155 Circle Basics Large Die
PGM15015 Rajni Chawla’s Crystal Clear
HCDA2-450 Stack and Store Daubers-Pack of 30
159723 Designer Dries Clear Adhesive
HCST1-401 Deluxe Flower Shaping Kit
Other Products used: Zig Clean Clear Brush Markers, Water Color Brush, Smooth White Cardstock, Distress Ink Vintage Photo, Mowed Lawn and Peeled Paint, Black Cardstock, Tacky Tape. Foam Tape, Archival ink, black, Olive Green, Fern Green,
Instructions: Follow Emma’s Video to construct the album( https://www.youtube.com/watch?v=DrMIKI-XTmI) Cut 12 strips of 2′ by 7′ from Black Cardstock. Align the designer edge from Fleur Border Basic Die for the edge and Eyelet Oval for the window. Adhere two pieces each, back to back using red tacky tape on the right edge of all the pages including cover and the back page.This will extend all the pages and make more space for creating scenes and holding photos. Choose the scenic pages from the designer paper collection and cut all the pages for cover. inner pages and back cover. Use the plain edge of Fluer Basic Borders to cut the right edge. Make sure that all the pages are cut back to back and the Border Basic edge is aligned at the same point each time for all the pages. To decorate the album, stamp and cut multiple images from Woodsy Wonderland stamp collection, with Coffee Archival Ink, and cut them using their coordinating dies. All the images are painted using Zig Clean Clear Markers. Choose the variety of Zig Colors according to the images to be used on the various pages. Once all the images are ready, Highlight them slightly with Crystal Clear Powder. All the trees are stamped using Fern Leaf Archival and painted using distress inks, Mowed Lawn and Peeled Paint. These are then shaped slightly from the back using Deluxe Flower Shaping Kit. The tiny Flowers used to decorate the album are from Wildwood Florals Die, Simply cut and shaped on deluxe flower shaping kit. Cross along twine from each page of the album and tie a bow on the spine of the album. Tie 2 tags on the end of the bow hanging down to add an extra accent to the album. All the images are layered using Foam tapes. The back of the album has a pocket which can hold tags and photo mats. To decorate the back, cut a frame from Eyelet Circle die and add a scenic circle panel


Another gorgeous work of art….
I never tire of visiting your blog. Always such lovely creations to wow me!
Hi….I love this album, love the colouring! Loving the eye candy.Inky hugs
Just beautiful – I love all the attention to detail and all your colouring xxx
Woww! I love this album!! So many details, dimensions, coloring!! Fantastic!!
I could look at your creative work forever!! Just gorgeous!!