Good Morning all….
Welcome to my blog!! Today, I m sharing a layered album which I created long back for designing the packaging. I have used Winking Frog Collectioon. It was so much fun creating layered album using this collection. The stamps and dies from this collection can be found under Limited edition at Heartfelt Creation’s website. Grab them if you are interested before they are all gone.
So On to the inspiration post now…
Products From Heartfelt Creations:
HCD1-790 Water Lily Die
HCD1-792 Leaping Frogs Die
HCPC-3725 Water Lily Cling Stamp Set
HCPC-3726 Fiddle’n Frog Cling Stamp Set
HCPC-3727 Flirting Frogs Cling Stamp Set
HCPC-3728 Winking Frogs Cling Stamp Set
HCPC-3729 Leaping Frogs Cling Stamp Set
HCPC-3730 Froggy Hangout Cling Stamp Set
HCD1-7157 Eyelet Oval & Basics Large Die
HCD1-7118 Delicate Border Basics Die
HCD1-780 Ornate Borders and Pockets Die
HCLC1-455-1 5″ x 7″ Layered Ovals Card-Black
Double Dots 100pc. -3D Foam Circles DDOTS
Designer Dries Clear Adhesive 159723
HCST1-401 Deluxe Flower Shaping Kit
HCDA2-450 Stack and Store Daubers-Pack of 30
PGM15015 Rajni Chawla’s Crystal Clear
ANC818 Go Man Go Prills
71053 ColorBox Fluid Chalk Ink Pad – Berrylicious
Other Products Used: Archival Black, Plum, Library Green, Smooth White Card Stock, Black Card Stock, Tacky Tape, Glossy Accent, Score Board, Peacock Feather and Peeled Paint Distressing Ink.Zig Markers, Water Color Brush,
Videos Referred: For more tips on creating with the border dies & foldout cards, watch the tutorial at https://youtu.be/wxX94X84kUo.
For more tips on creating with the layered card & shadowboxes, watch the tutorial at https://youtu.be/DrMIKI-XTmI.
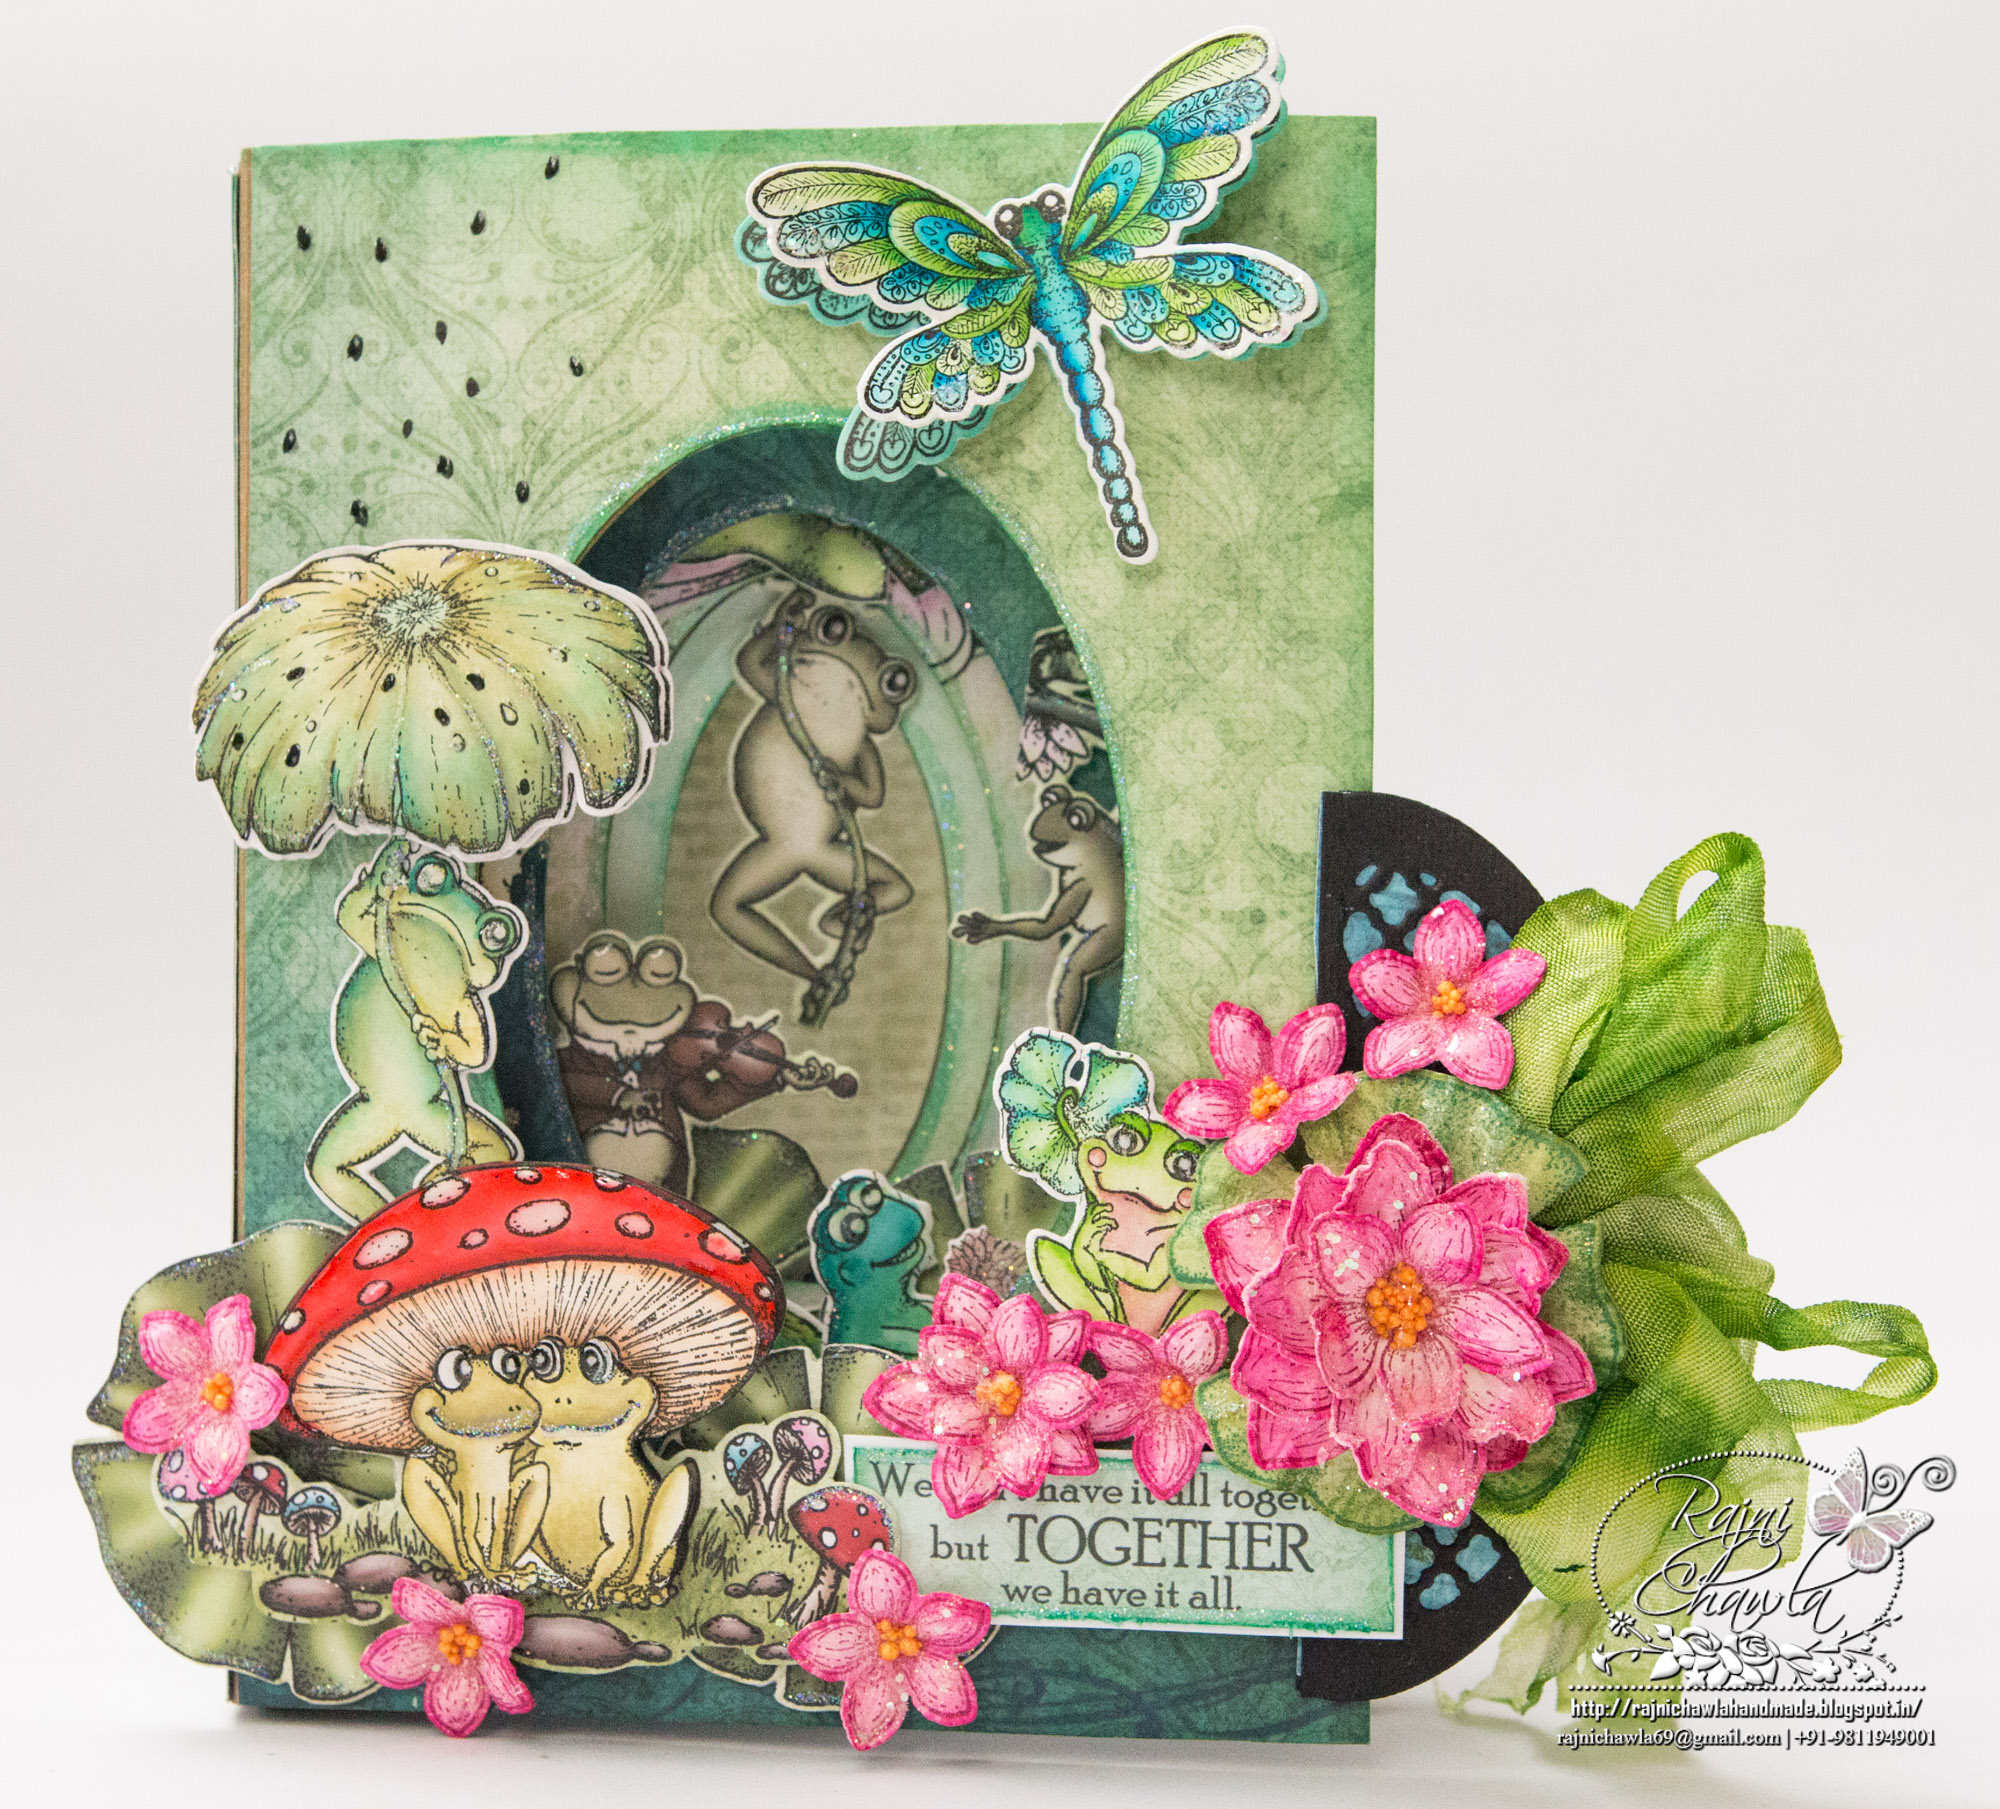
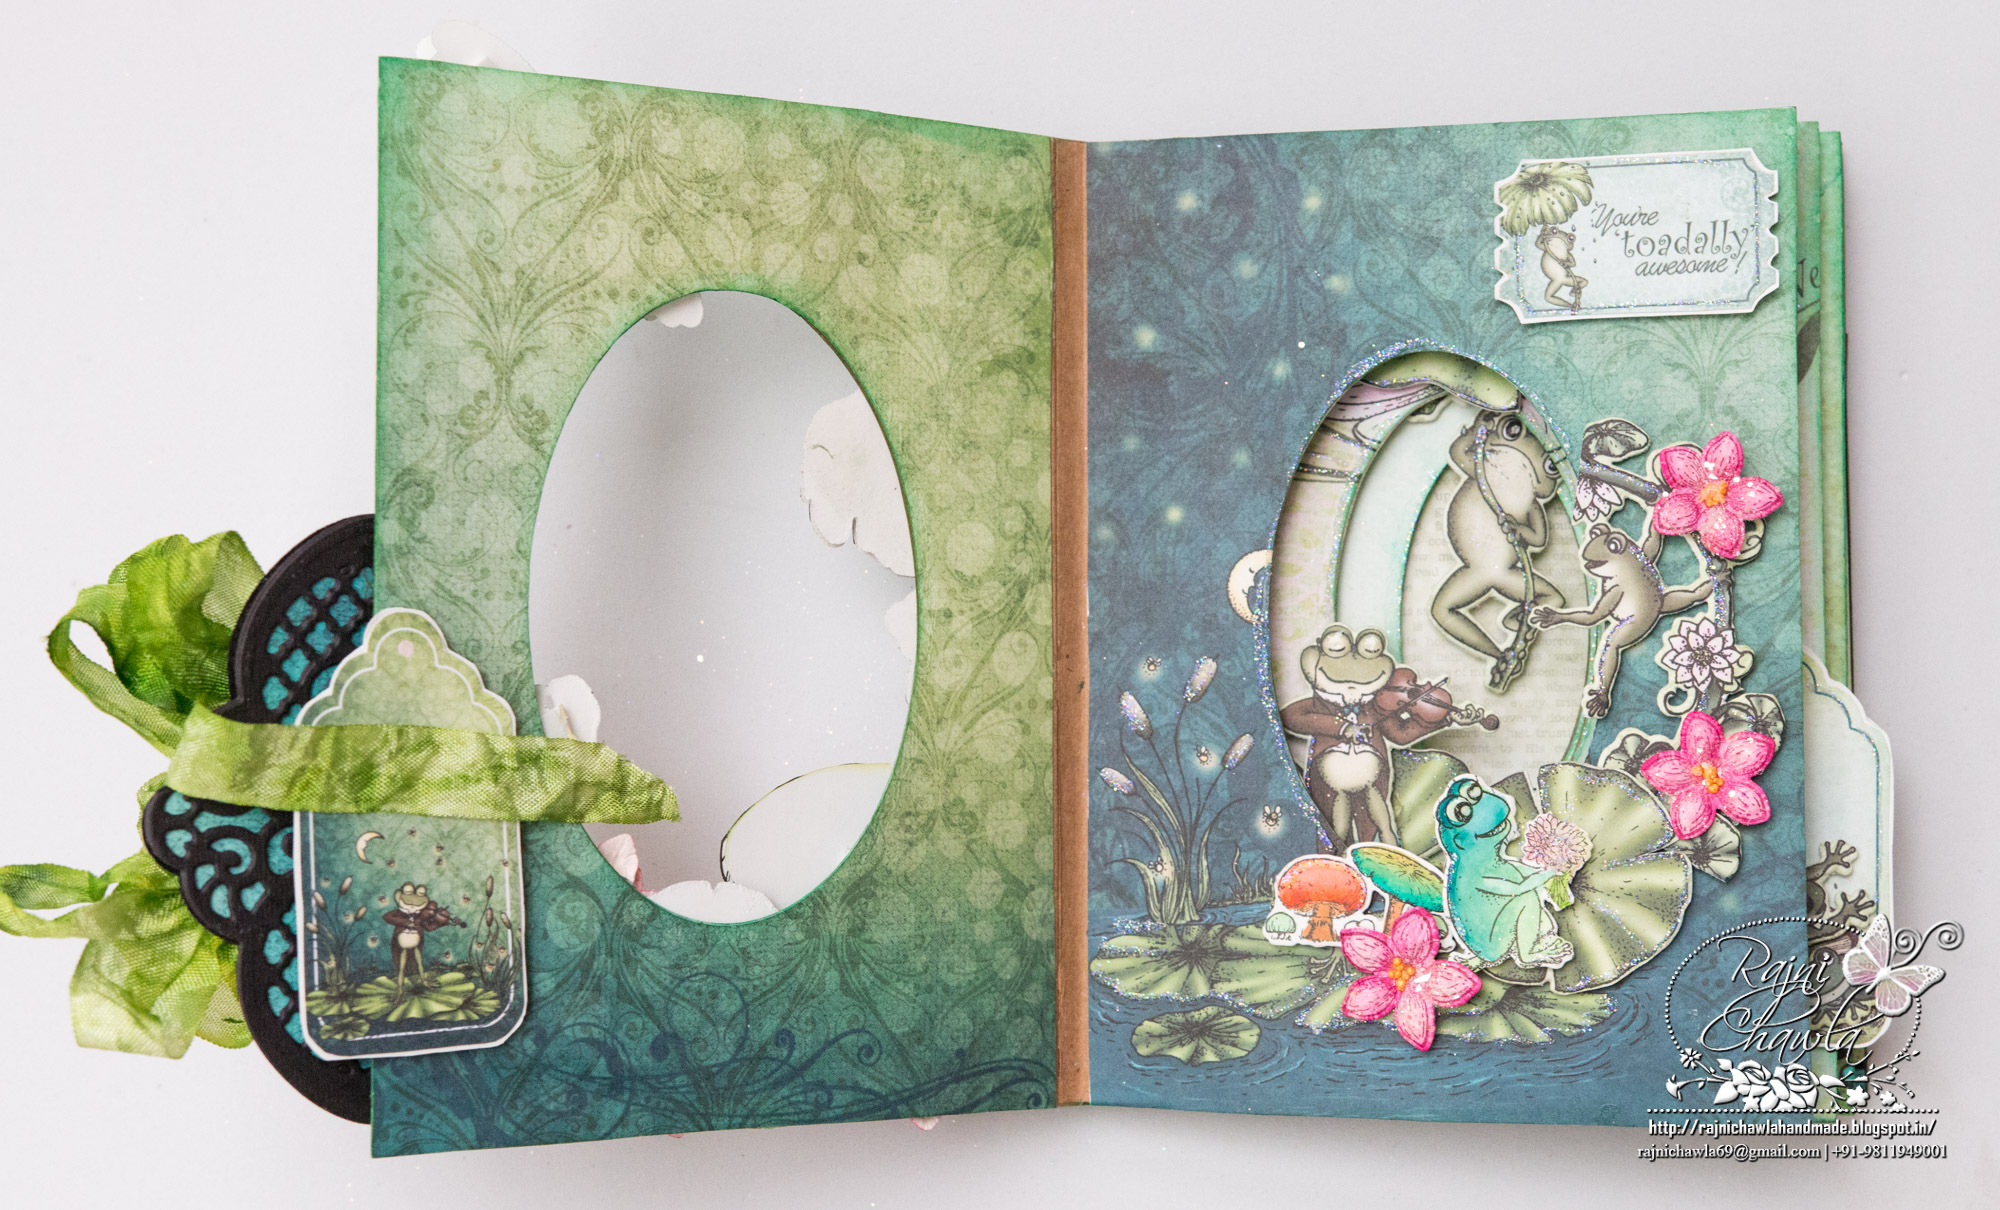
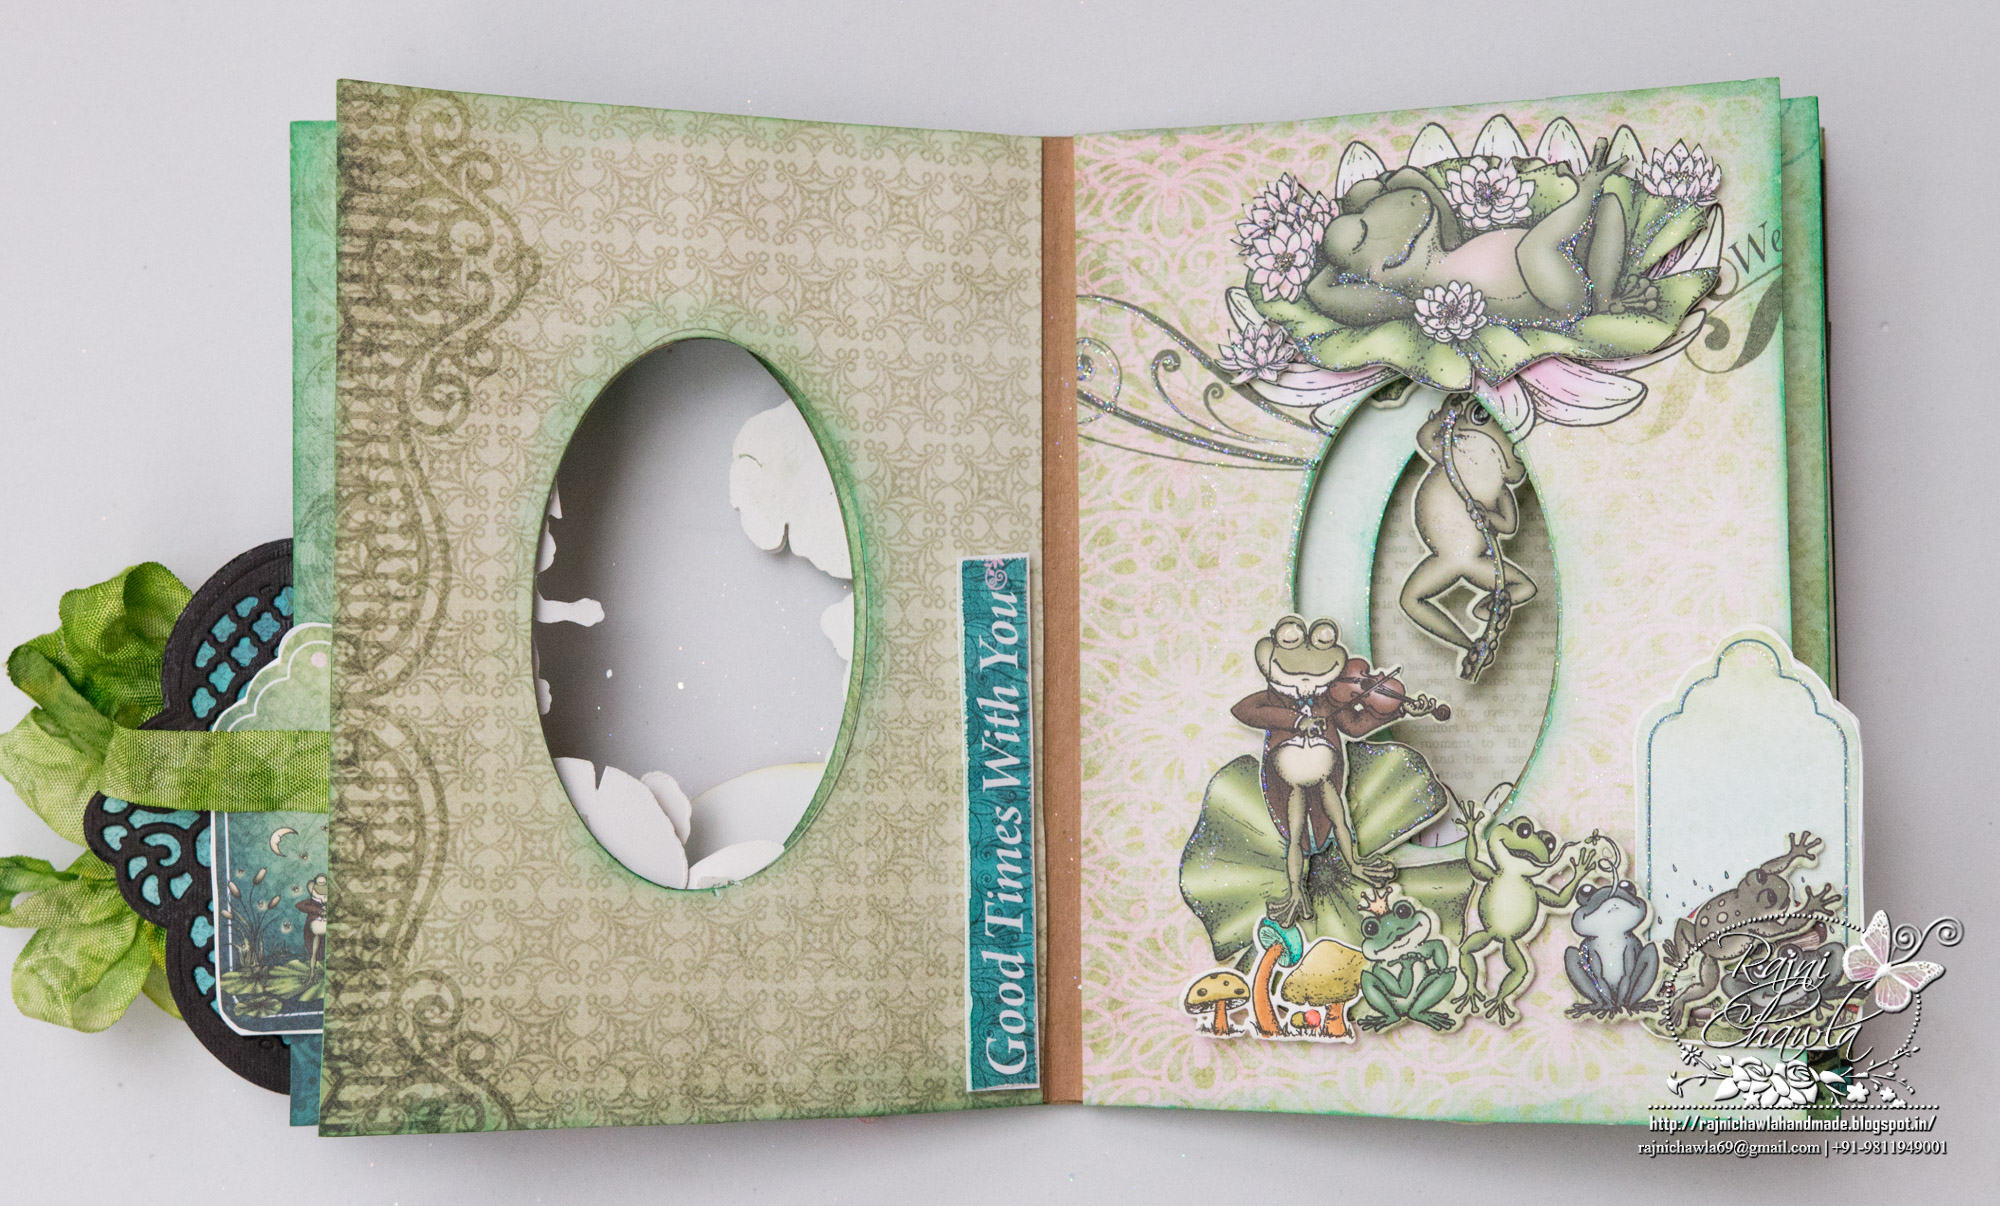
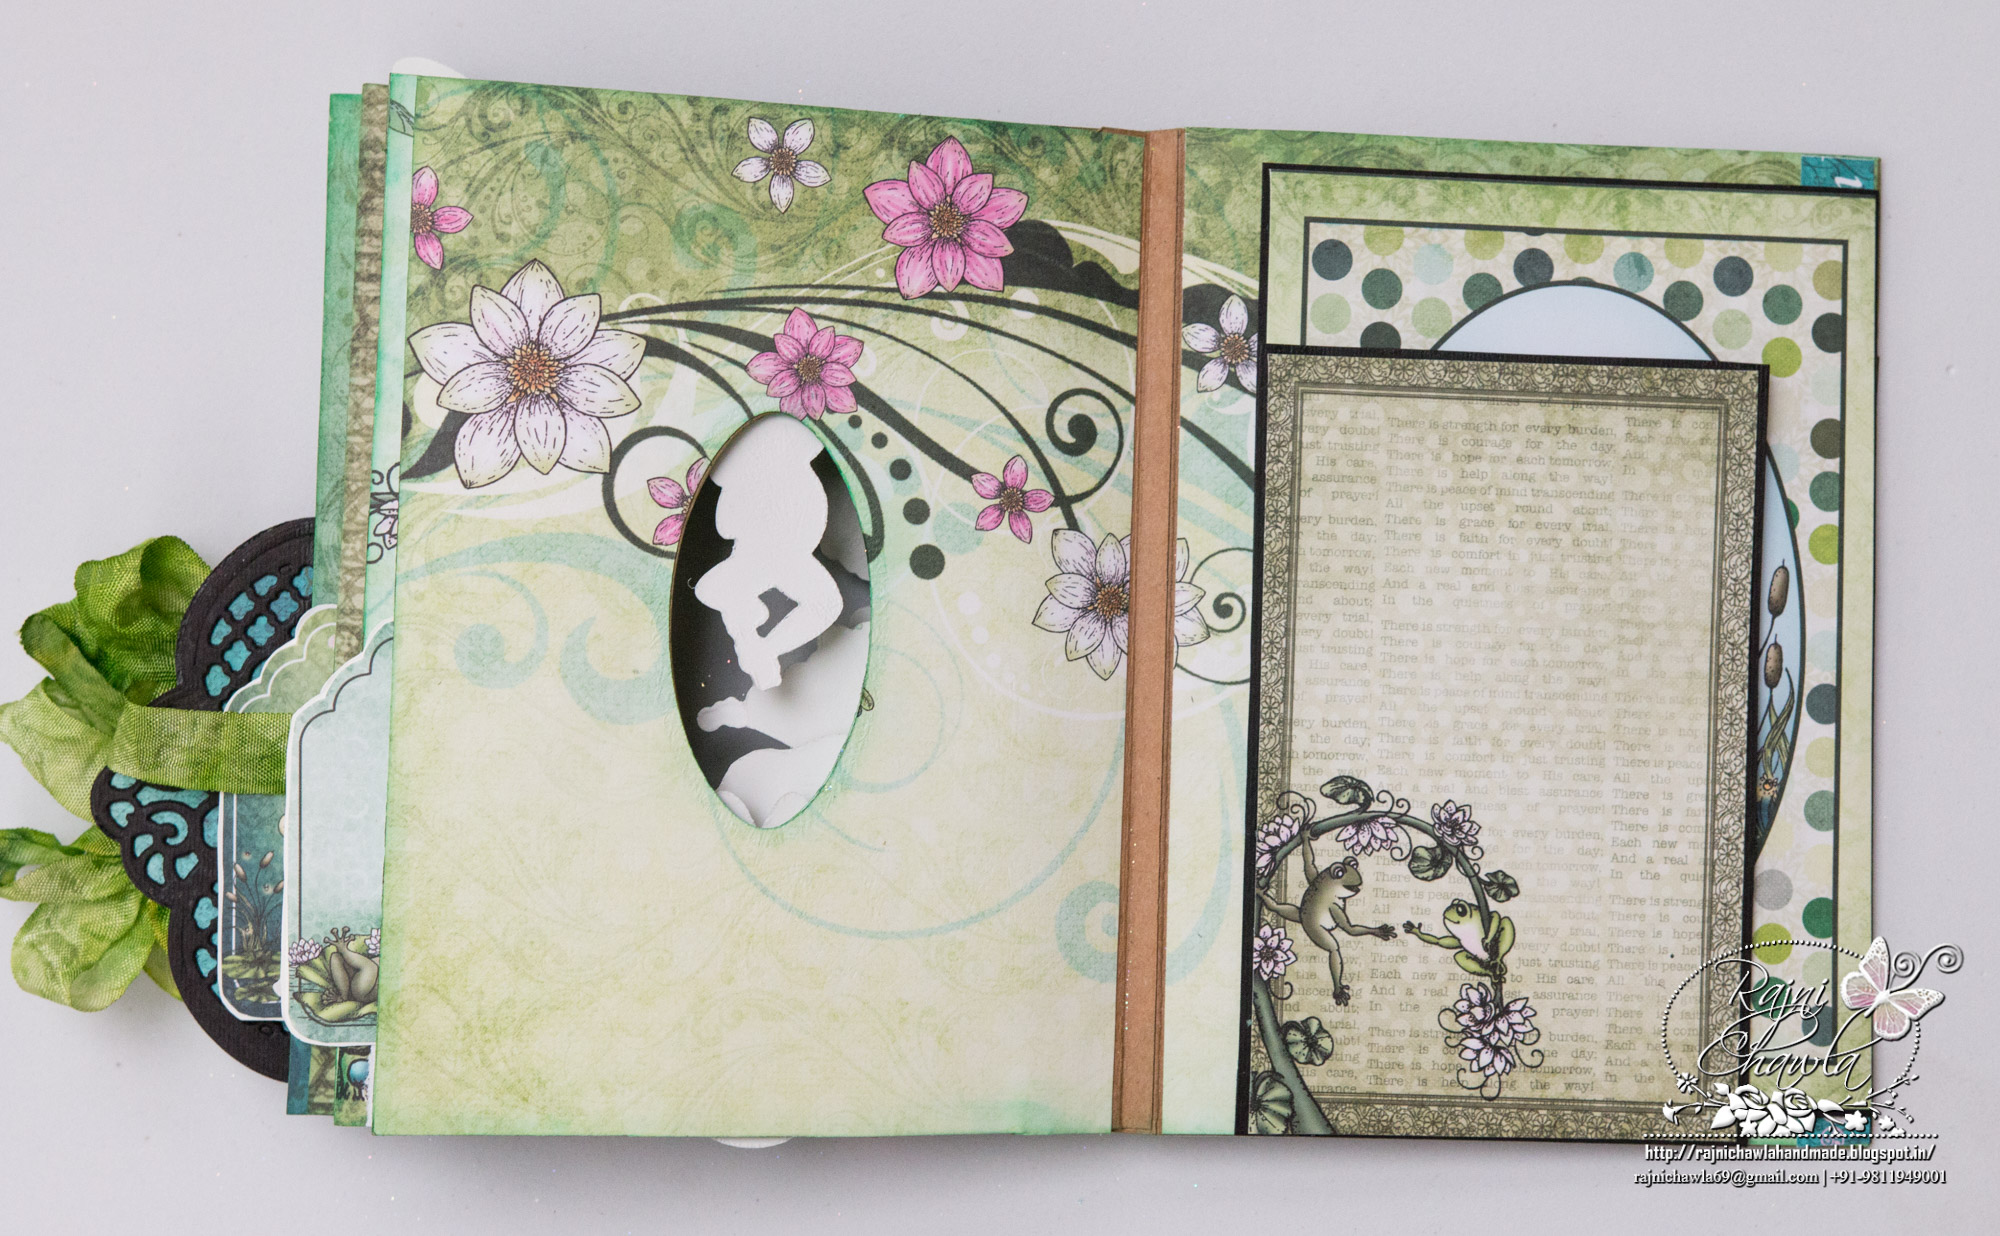
Instructions: Follow Emma’s video to first construct the layered card. Choose the papers from the Winking Frog Paper Collection for all the pages. Once you have decided the papers, stick them back to back with low tack tape and tape down the Eyelet Oval die in the center and run through the die cutting machine. Once all the papers are cut, glue them with the tacky tape or the adhesive that dries clear. Distress all the edges including the cut window with Peacock Feather Distressing Ink.
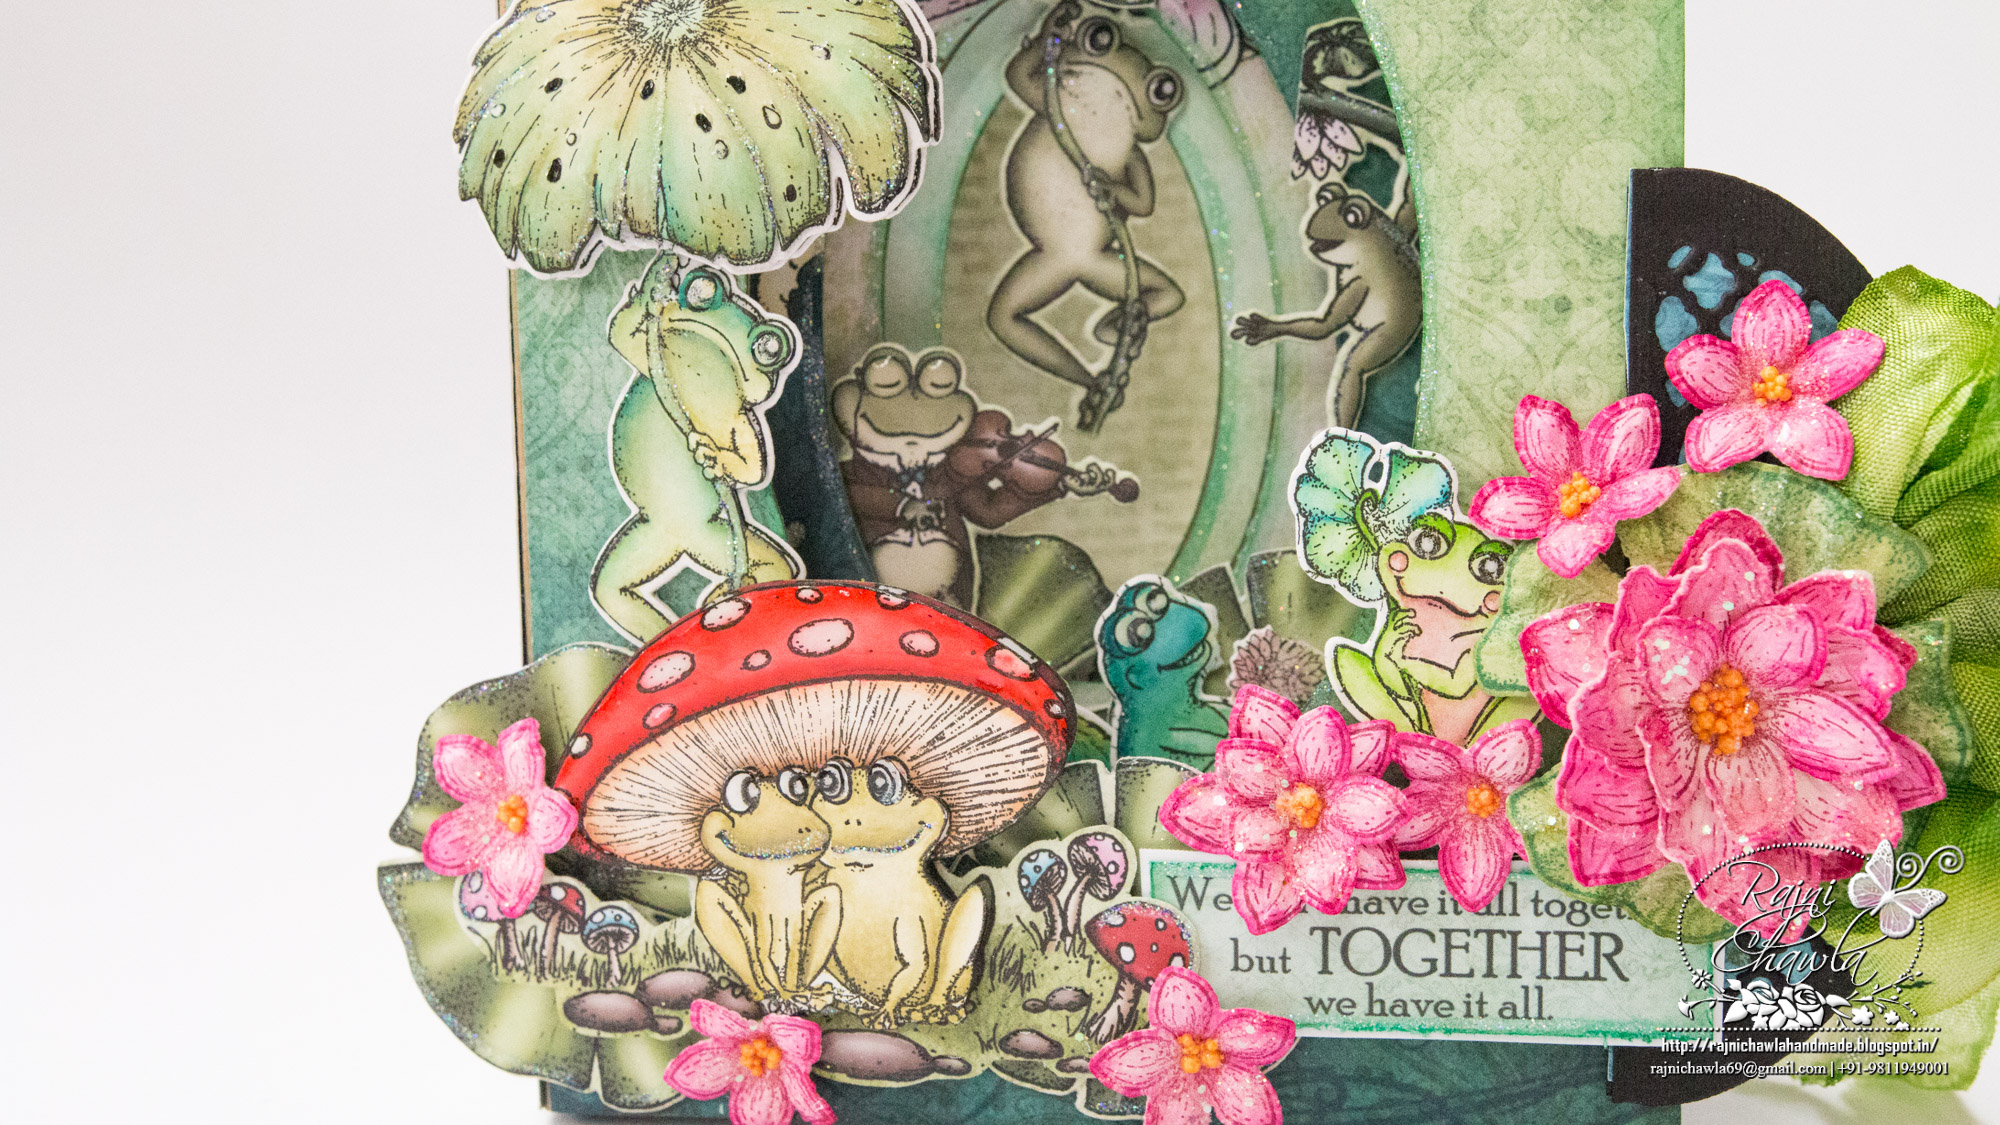
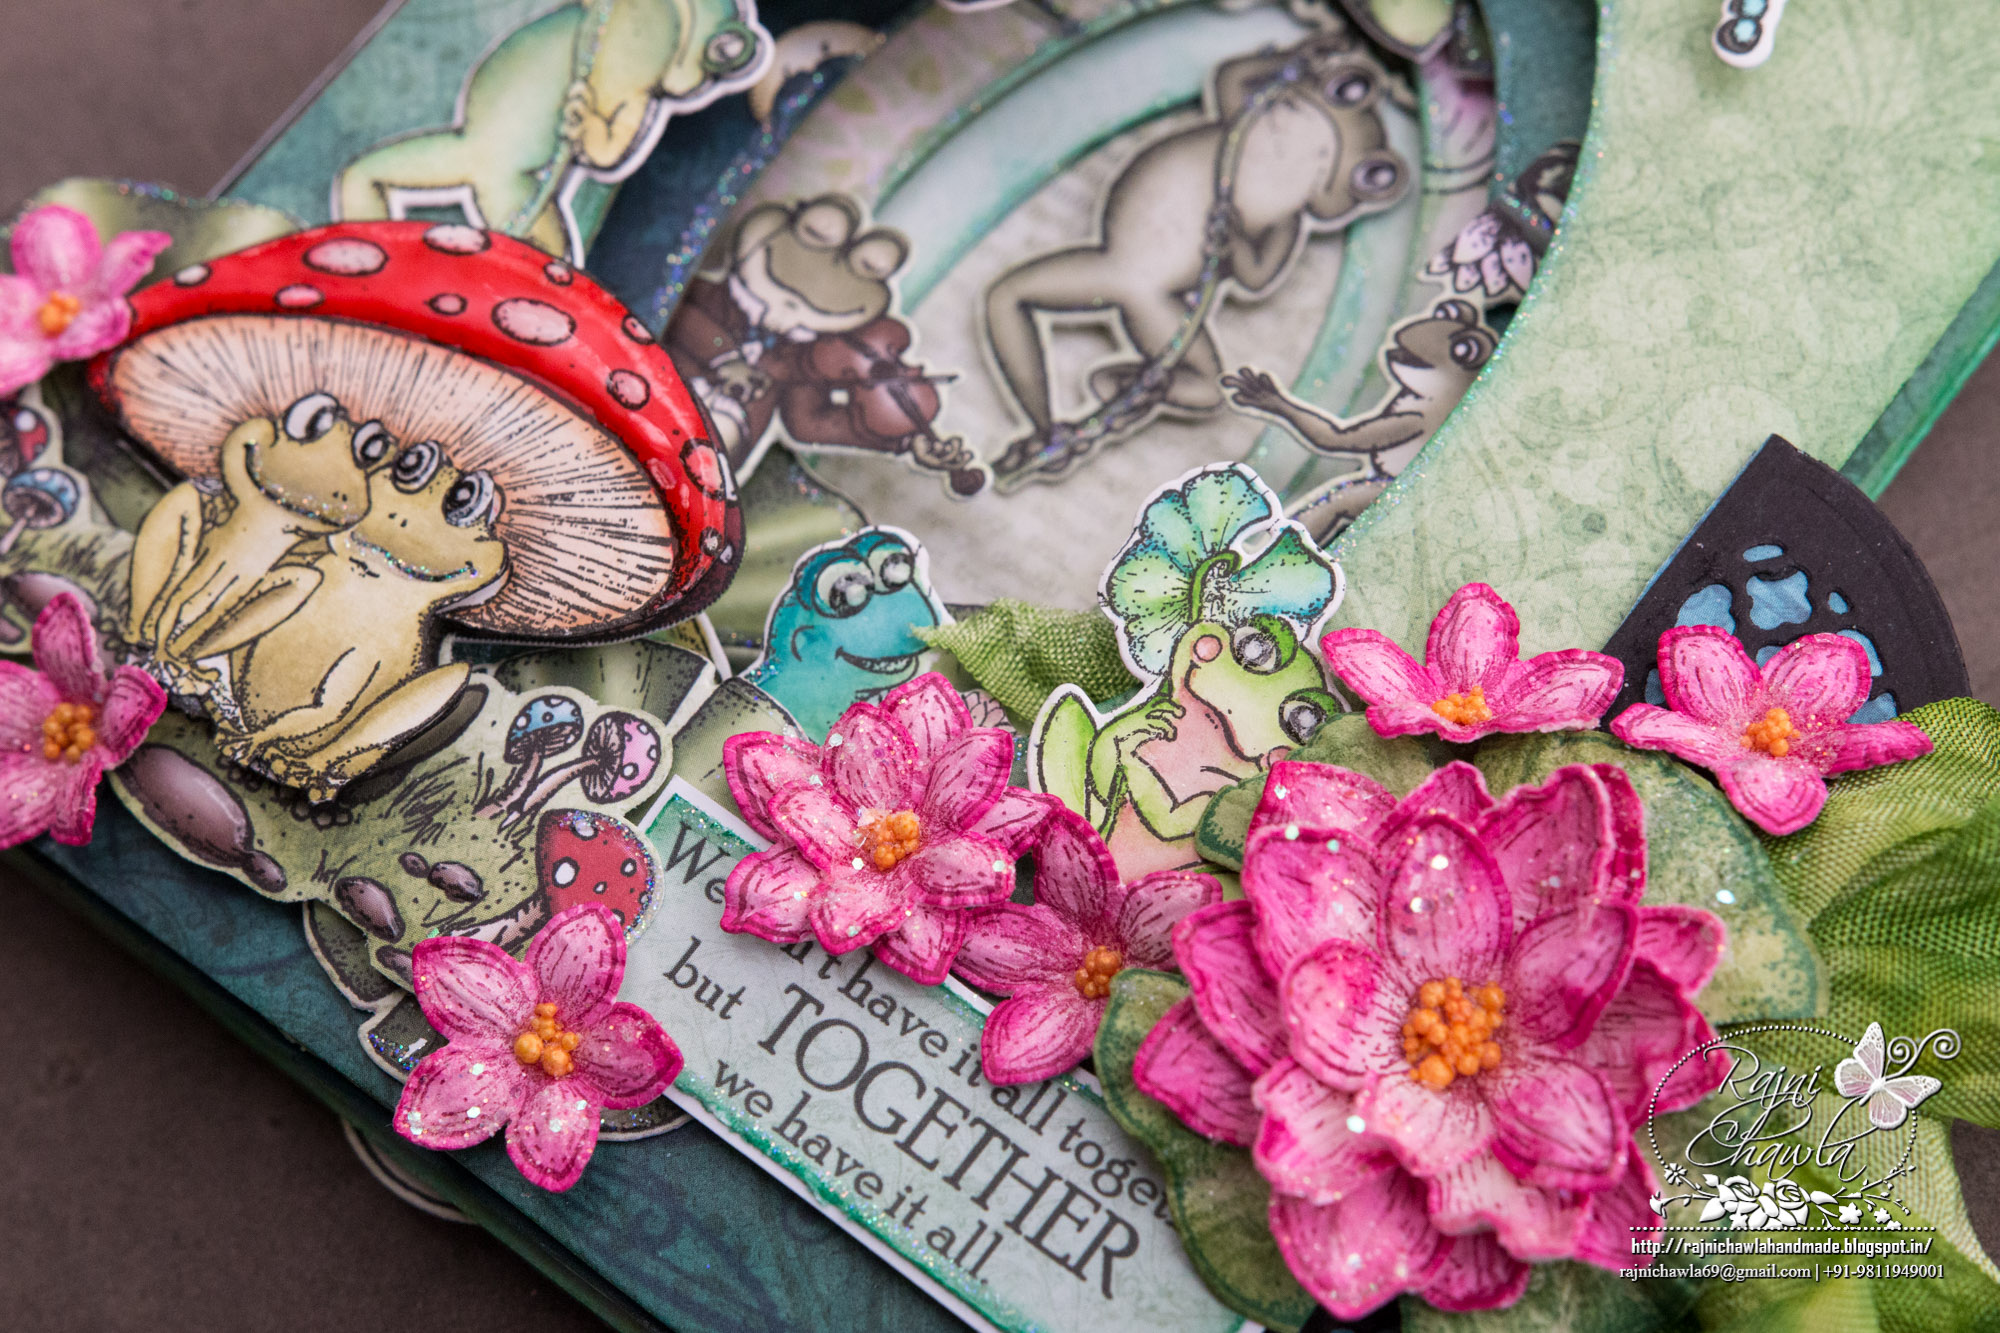
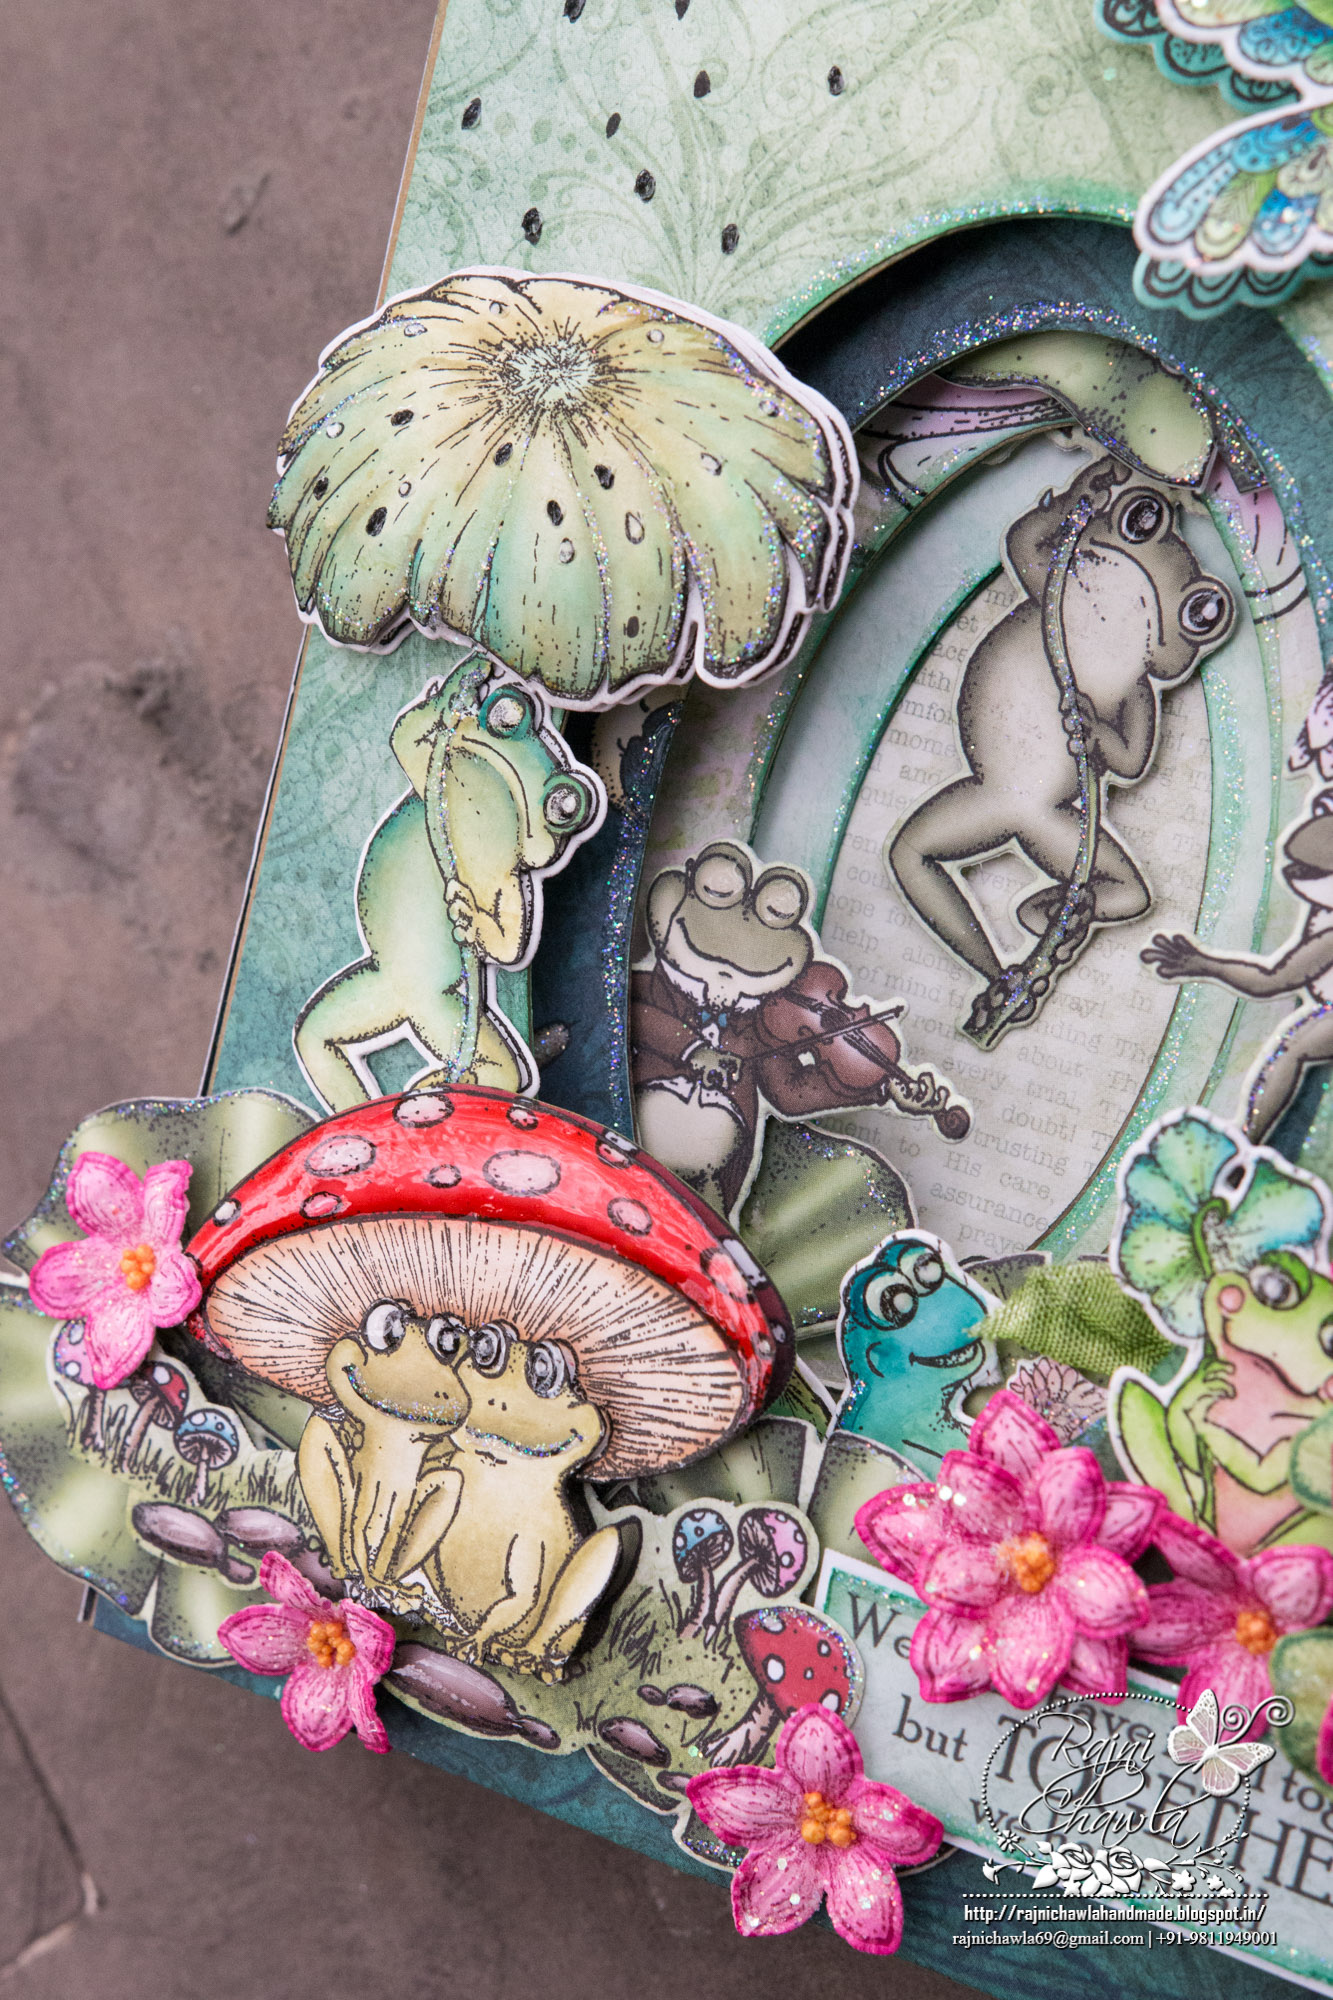
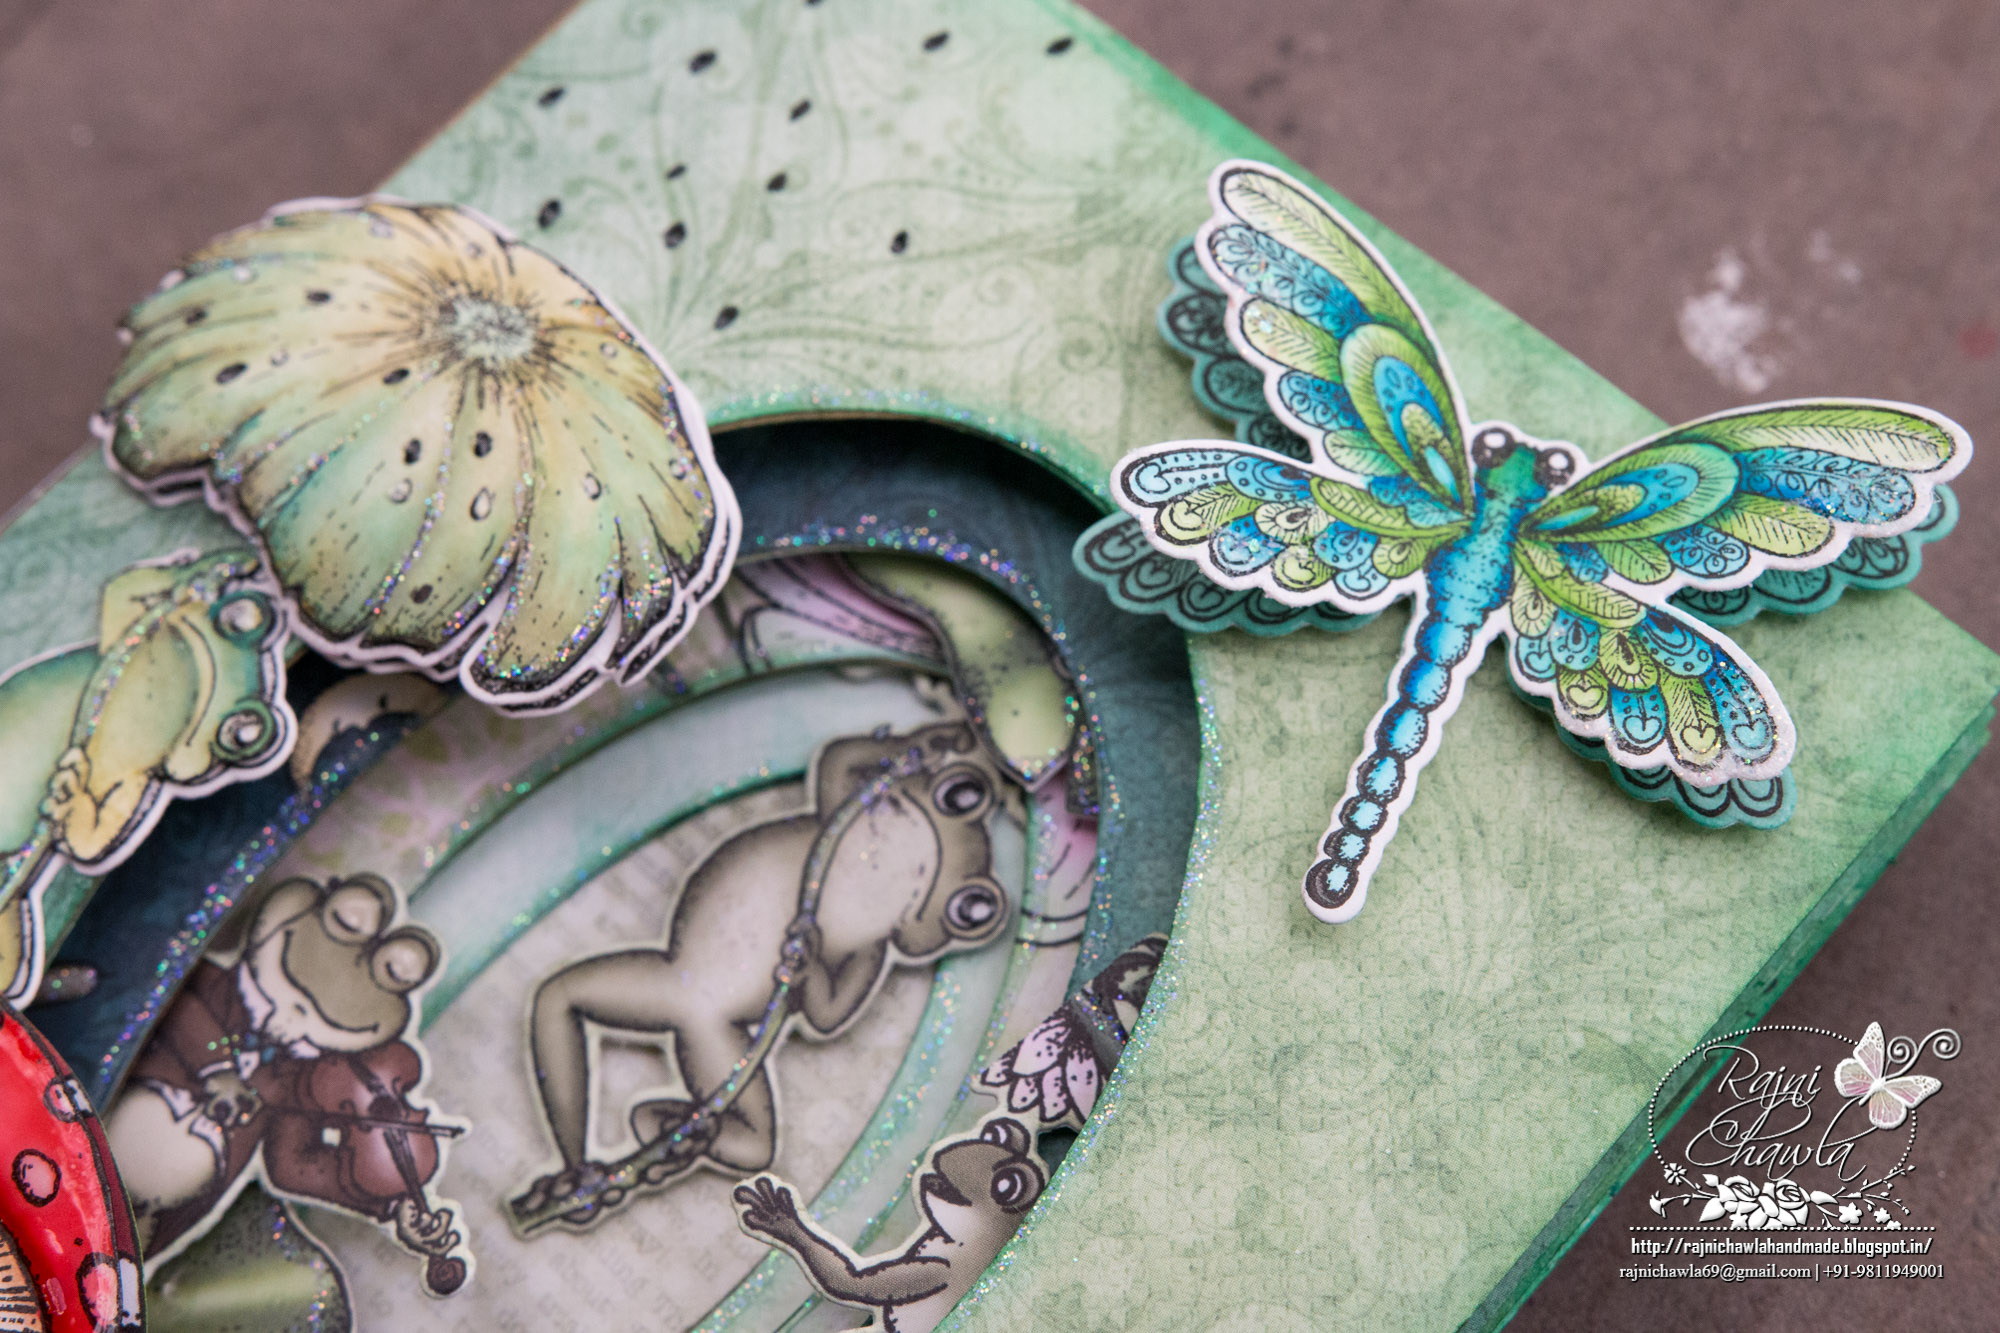
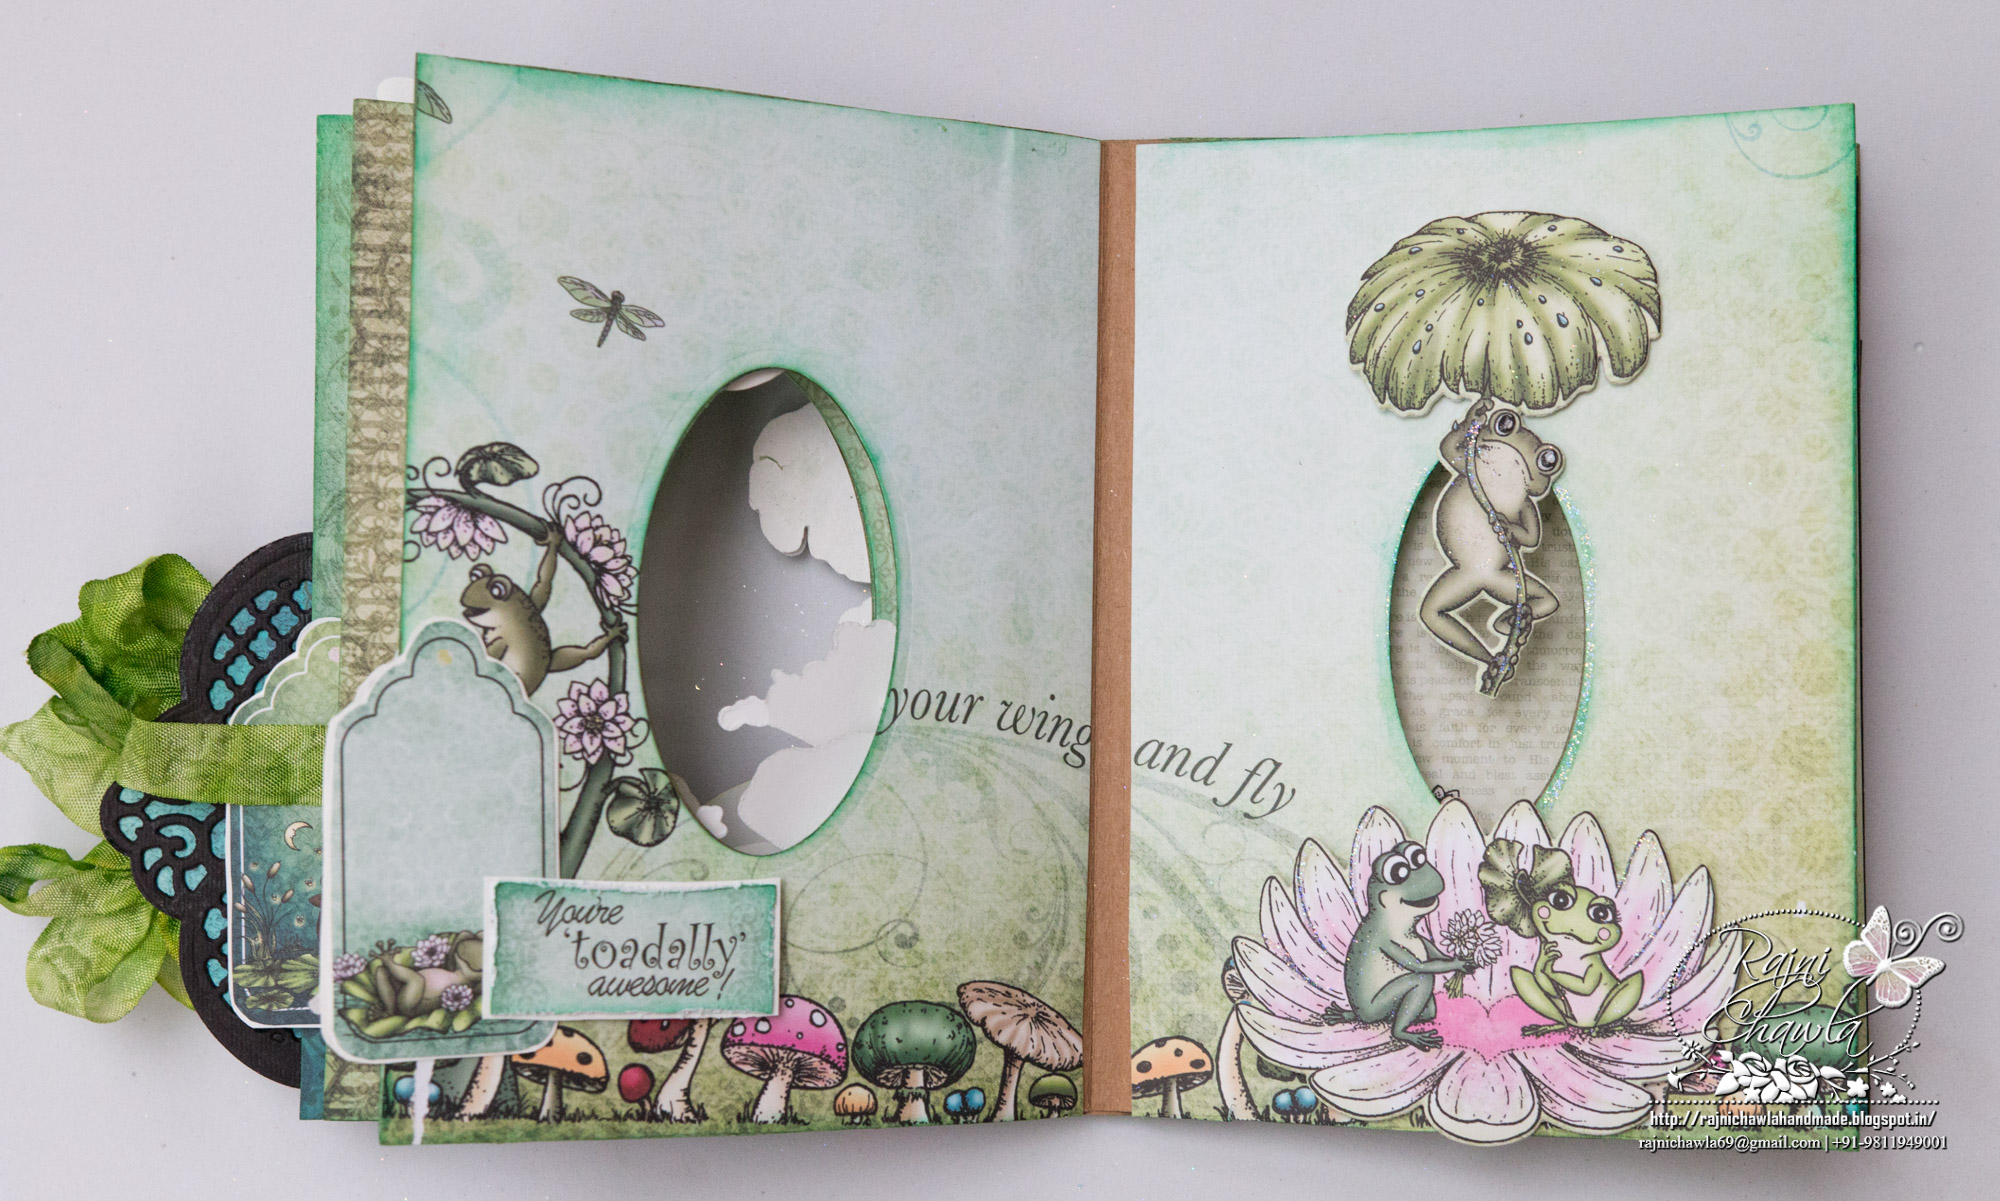
Stamp the various images from the stamp collection on smooth white cardstock with black archival ink.Cut all the images using their coordinating dies and color them using Zig Brush Markers. All the images are then dressed up with Crystal Clear Powder with the help of adhesive that dries clear.
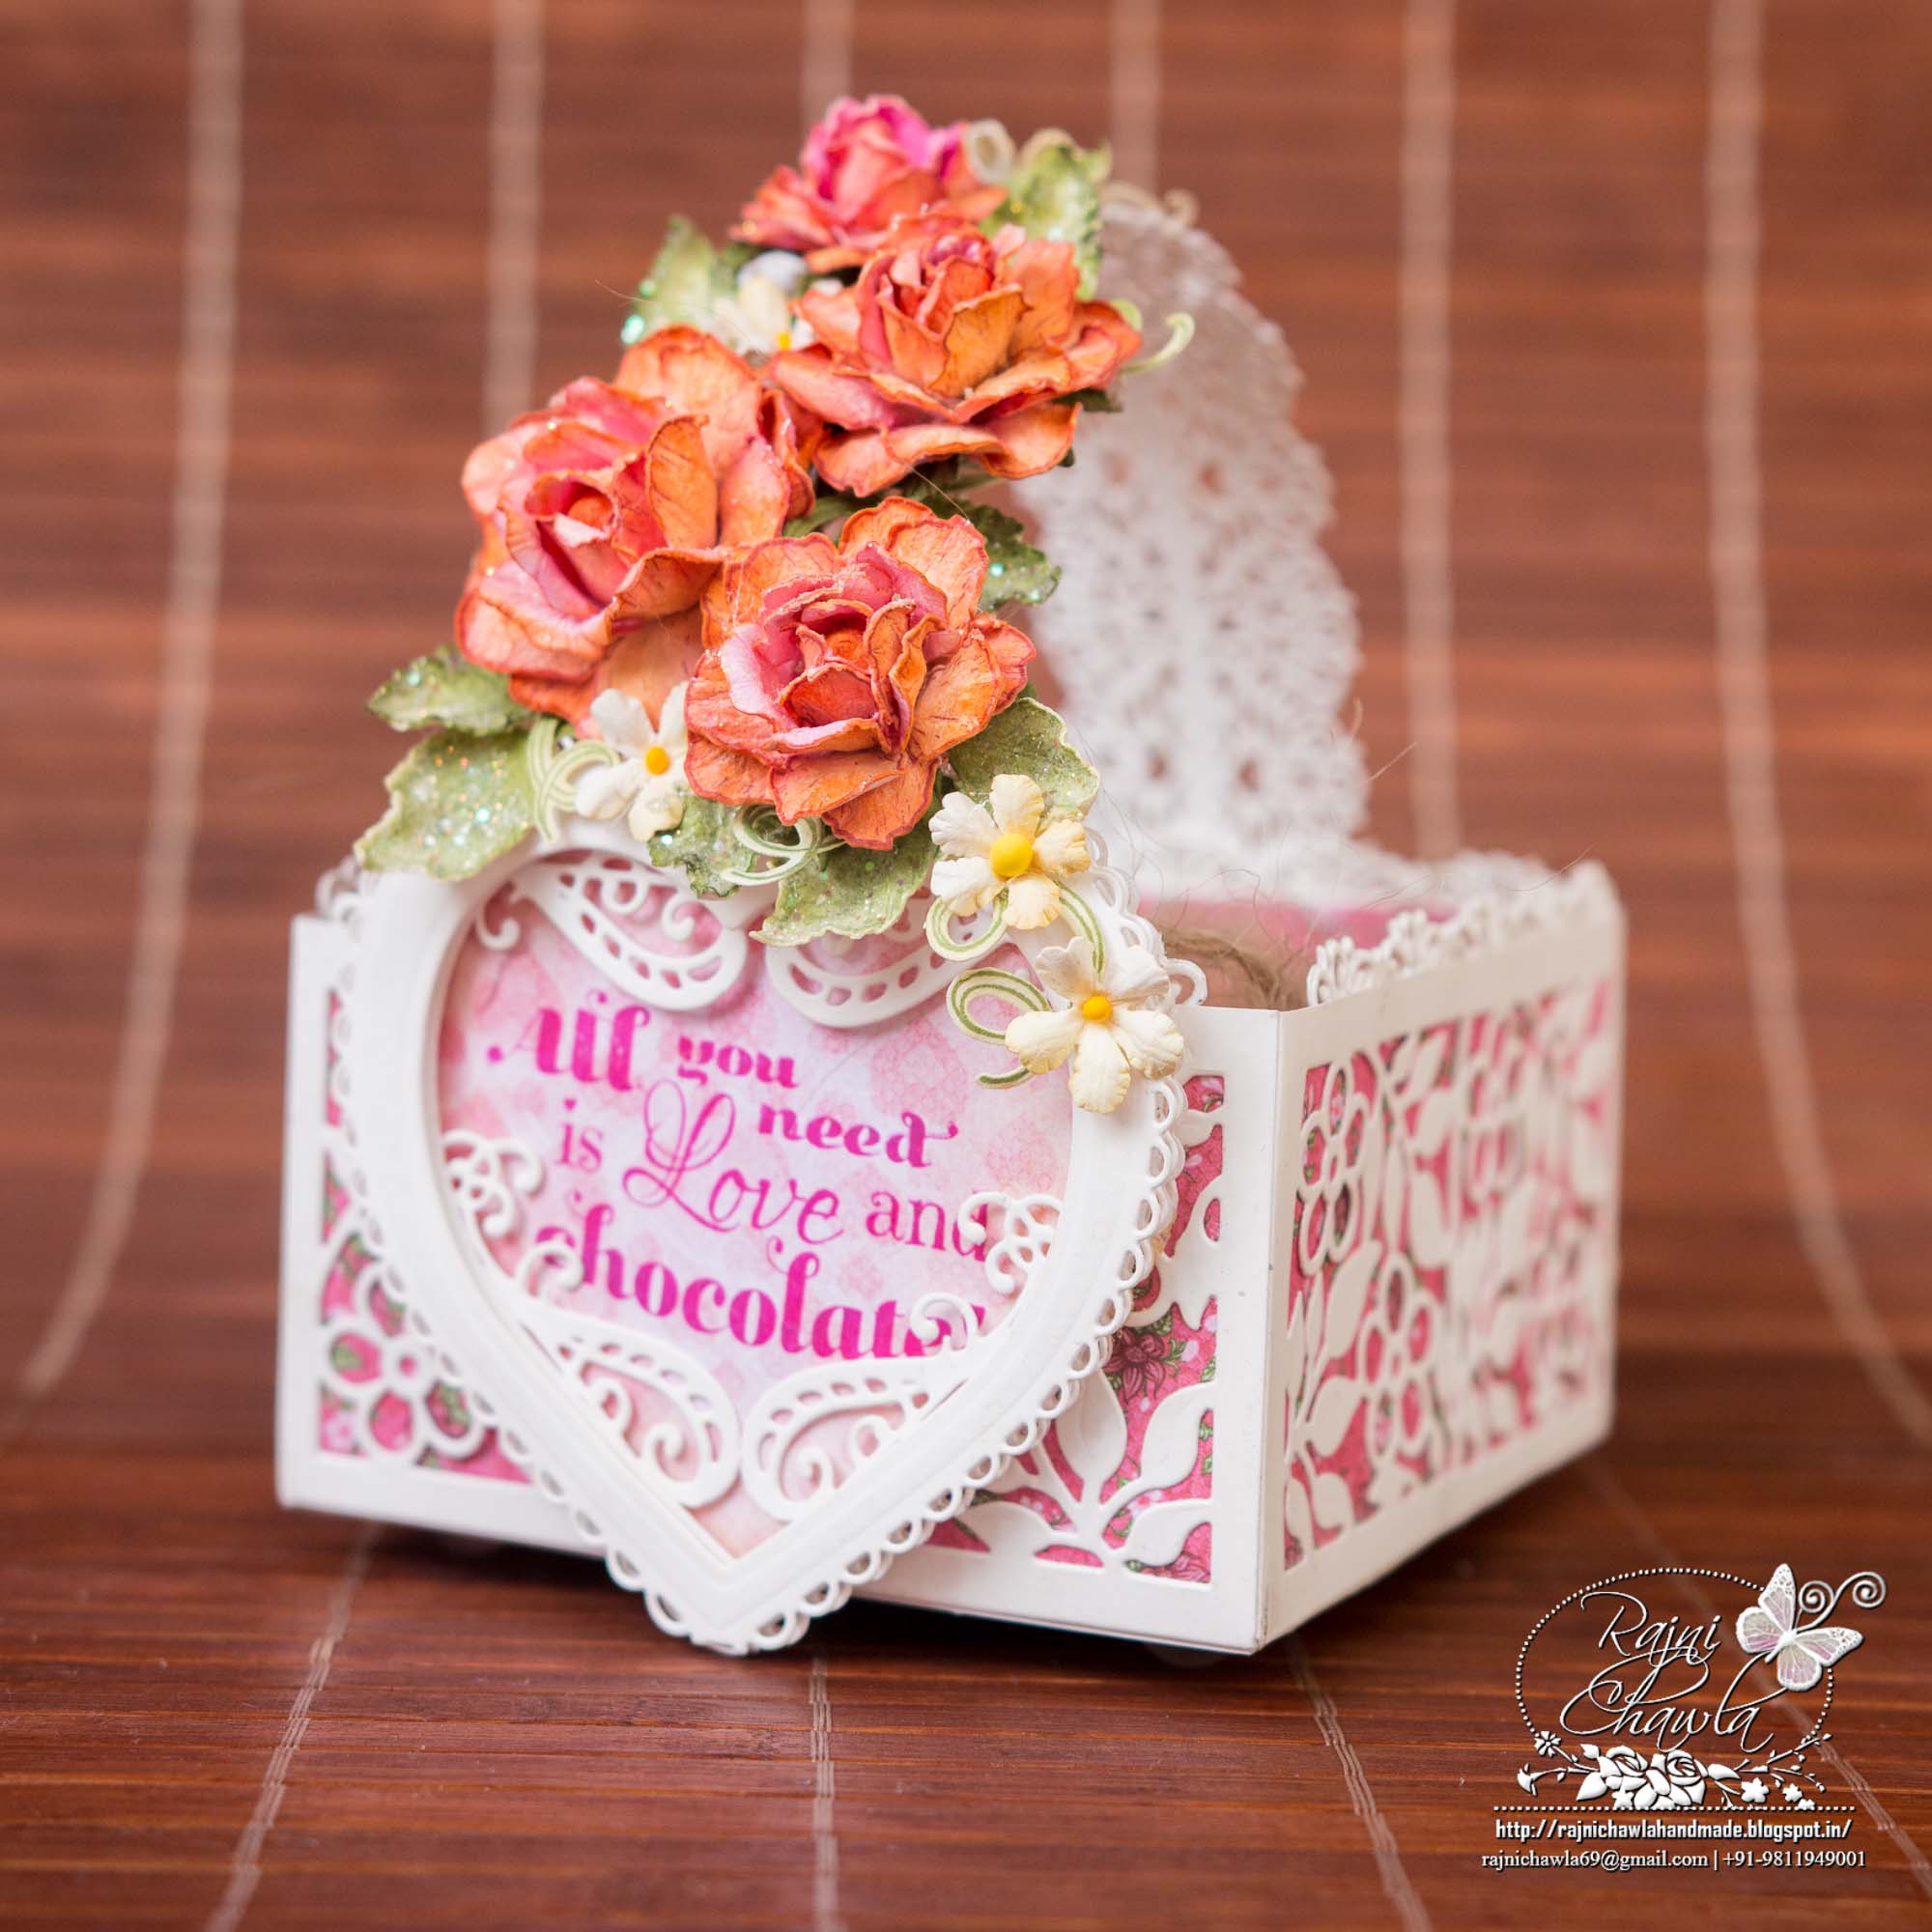
For the flowers, stamp the images from Water Lily Cling Stamp Set with Archival Plum and paint it using Colorbox Berrylicious. Cut the images with its coordinating die and shape the flowers as taught by Emma Lou. Leaves are stamped with Library Green and colored using Fern Green and Leaf Green Archival Ink.
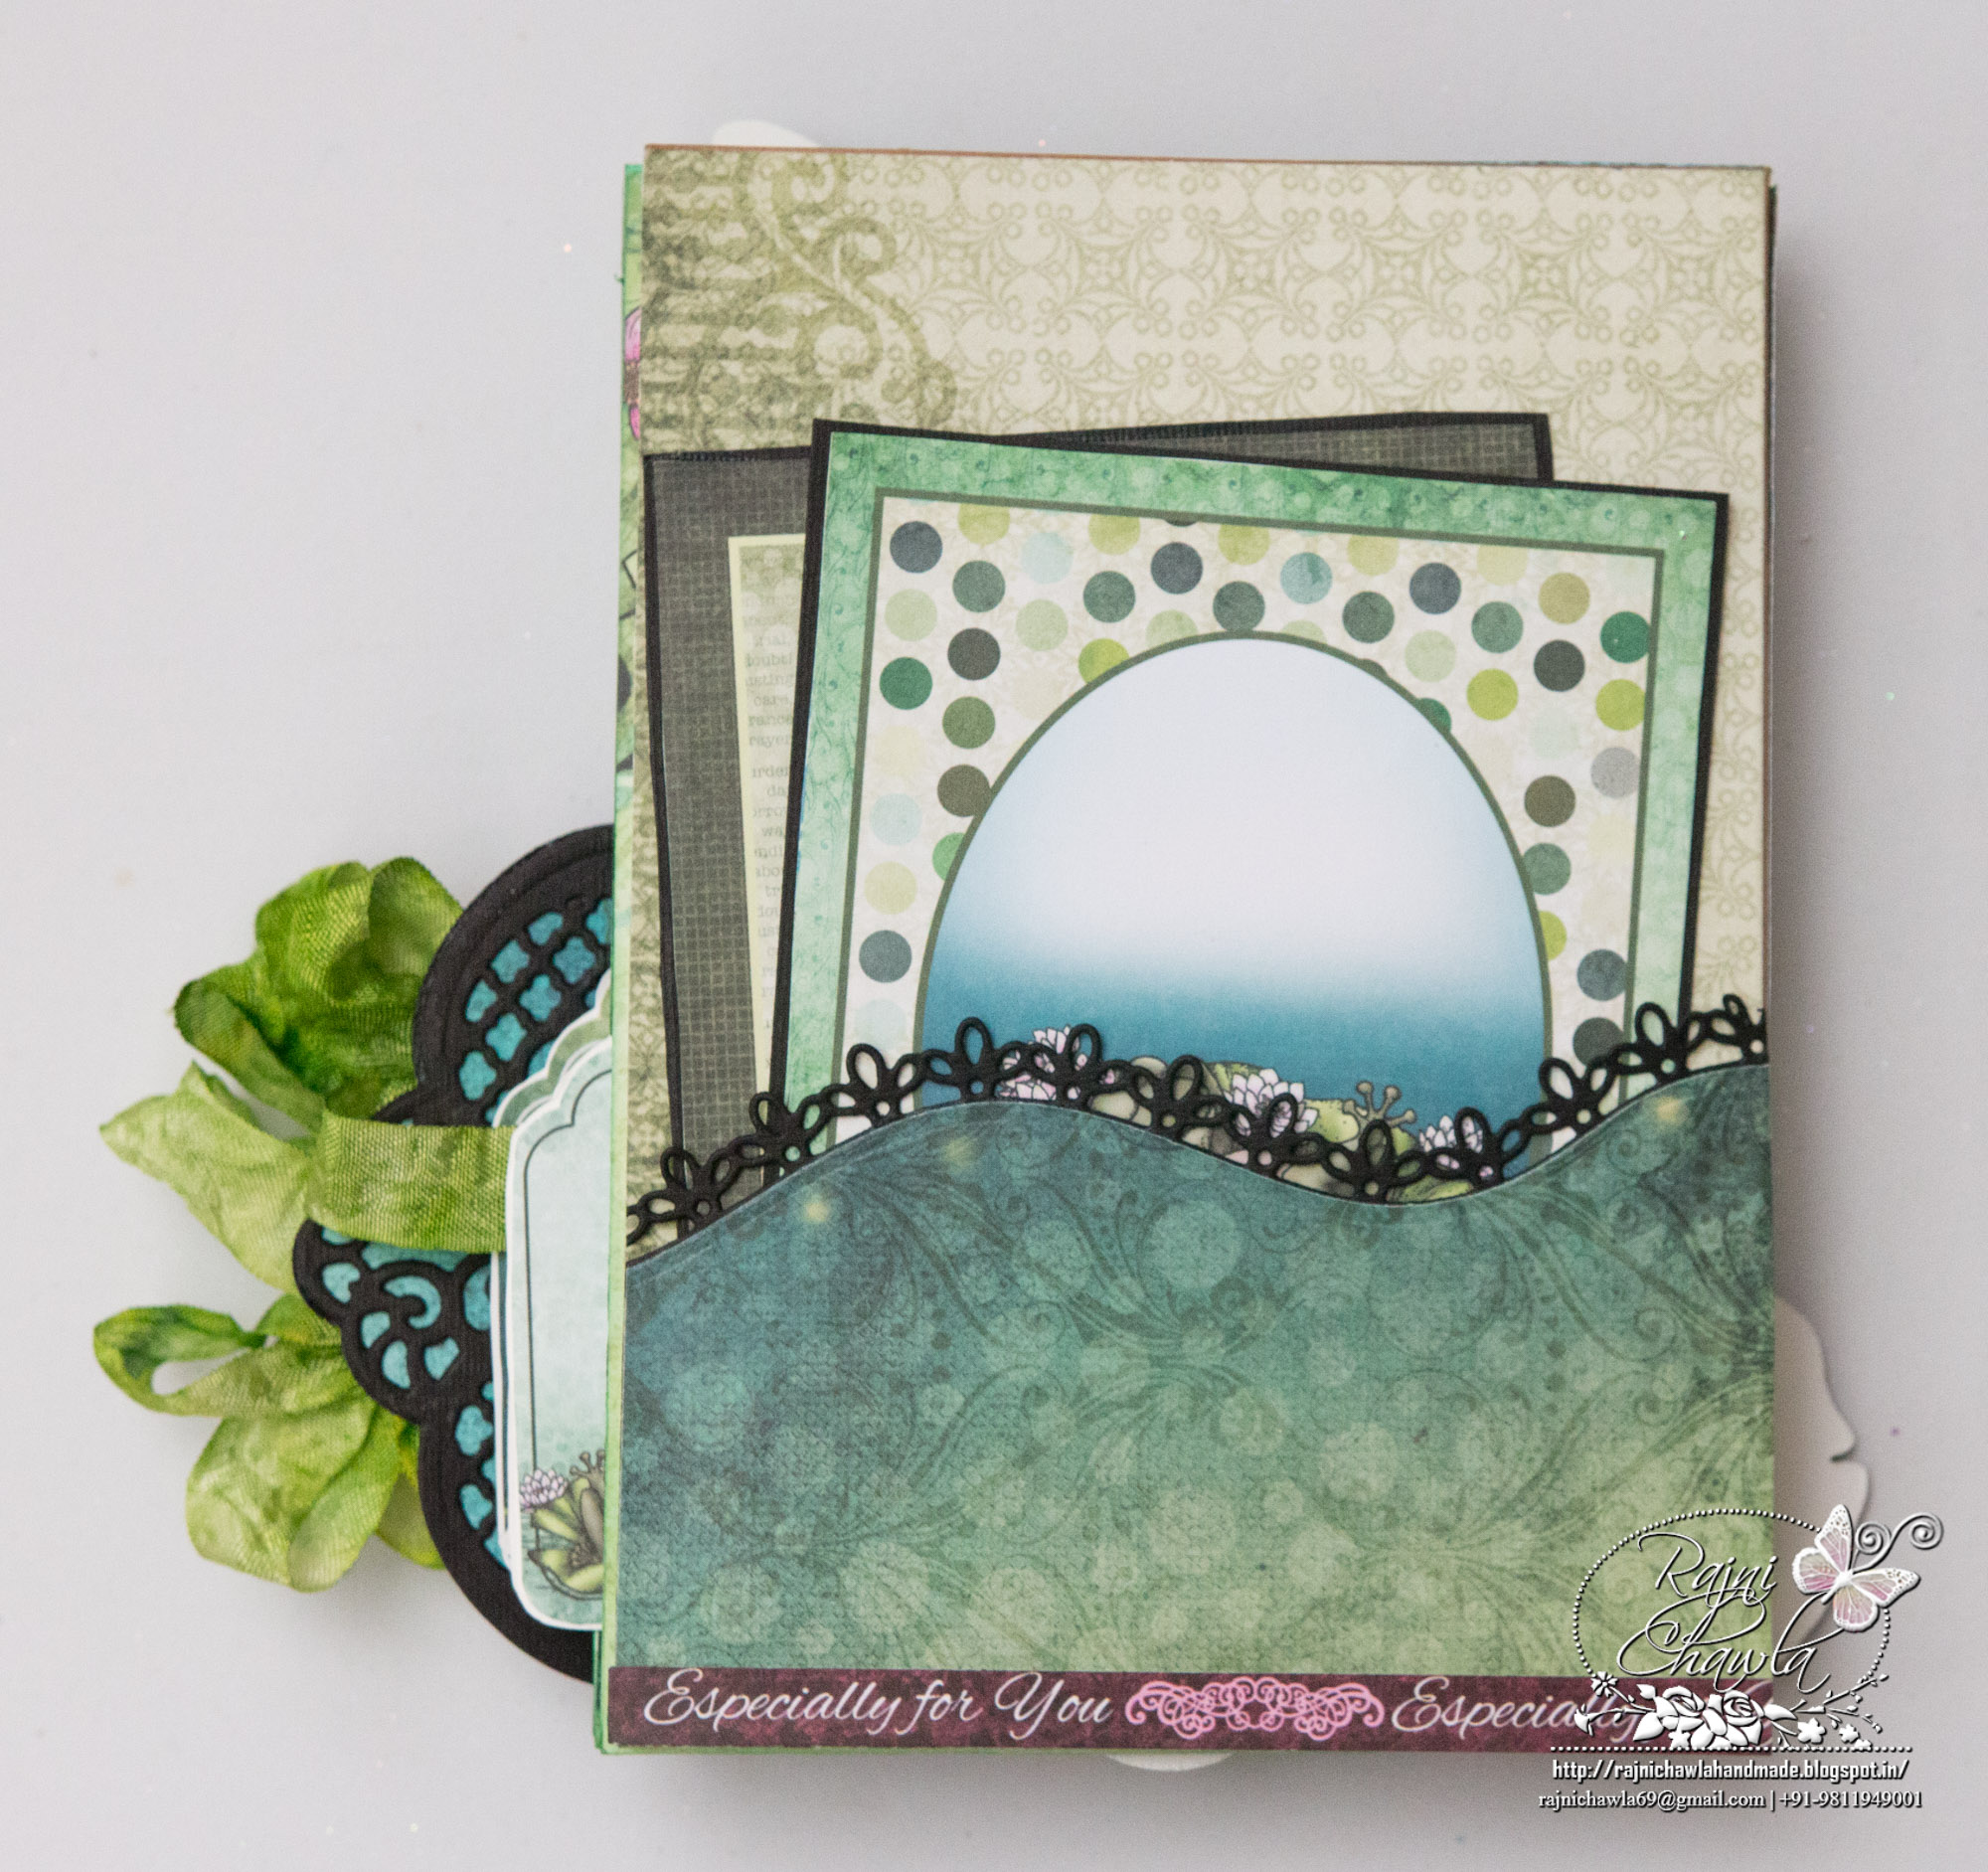
Cut 2 pieces of Ornate Borders and Pocket Die from black cardstock and sandwich a light blue pattern paper between both pieces. Glue all the three and tuck the die element as shown.
Decorate the inside of the album with cut images from the paper collection and few painted images creating a scene. For more images of the album, visit my website www.rajnichawla.com
The seam binding ribbon is used to create the closure of the album.Cut the desired length of the ribbon and rub Peeled Paint Distress ink. Sprinkle some water and heat set it.
The back page of the album has a pocket which is created using Delicate Basic Border die. For this cut a strip of 3 inches and cut the top edge with Basic Border Die. Cut the lacy border from black cardstock and glue from the back of the pocket.