


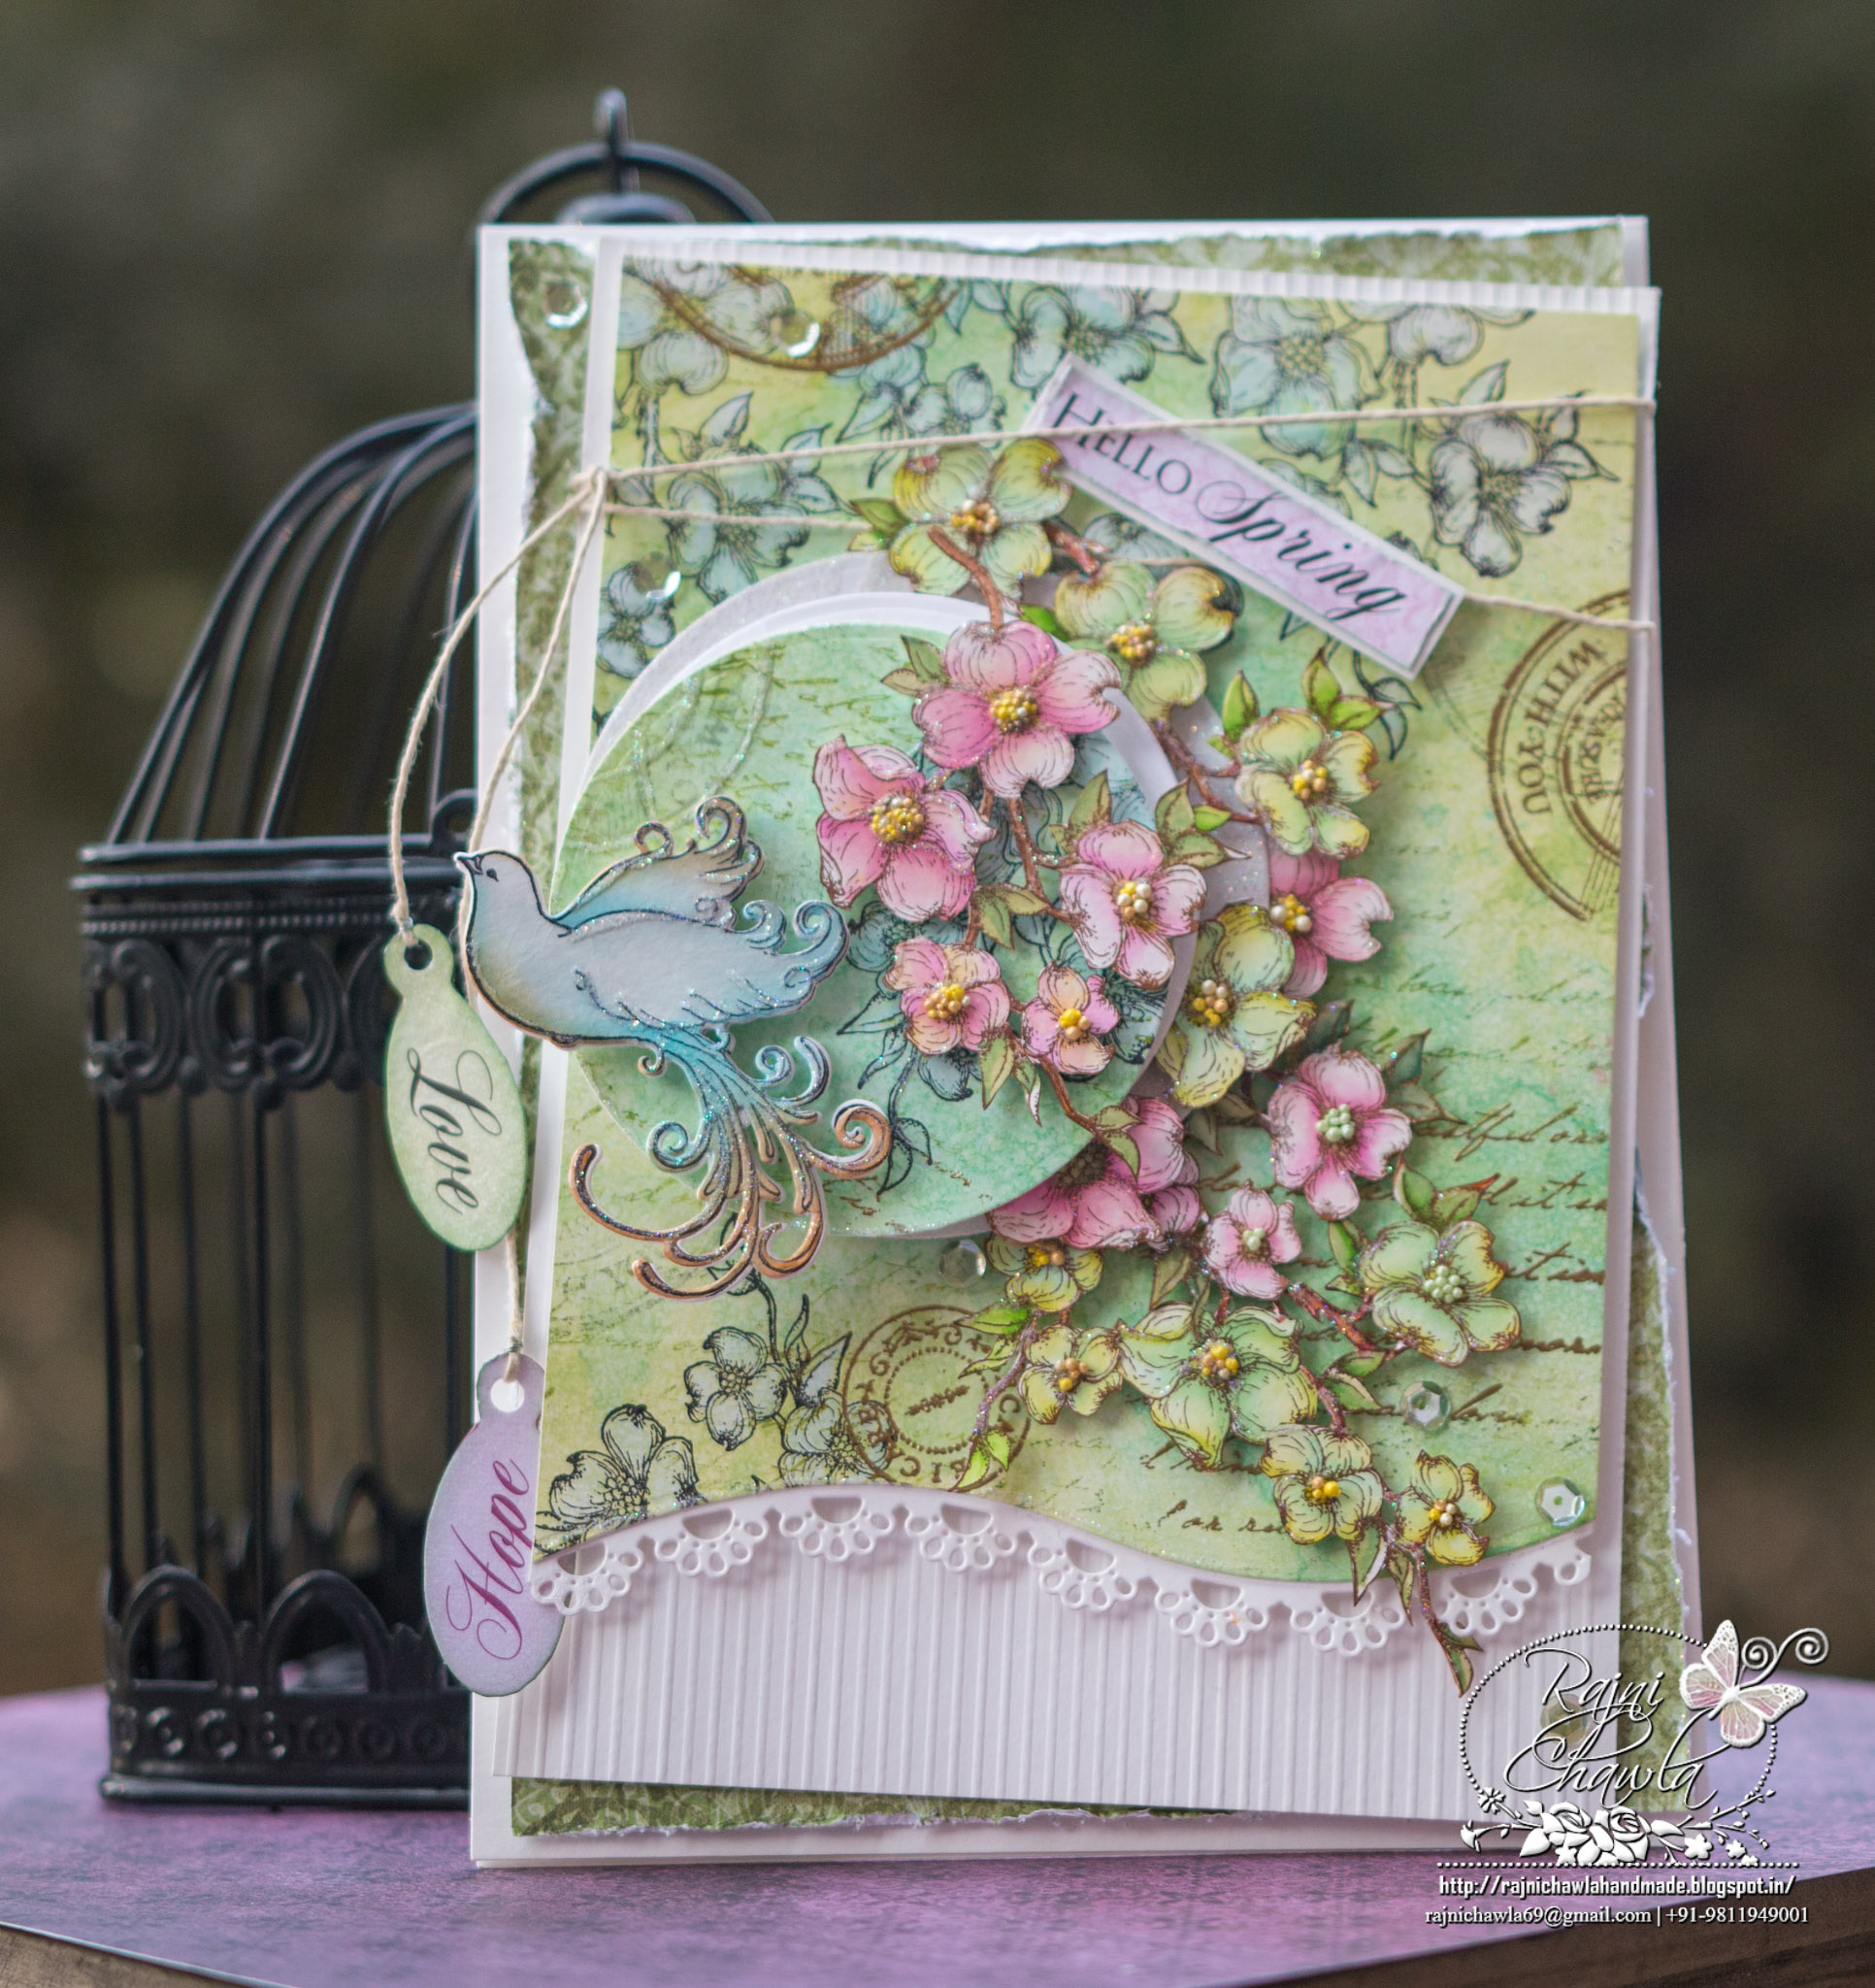
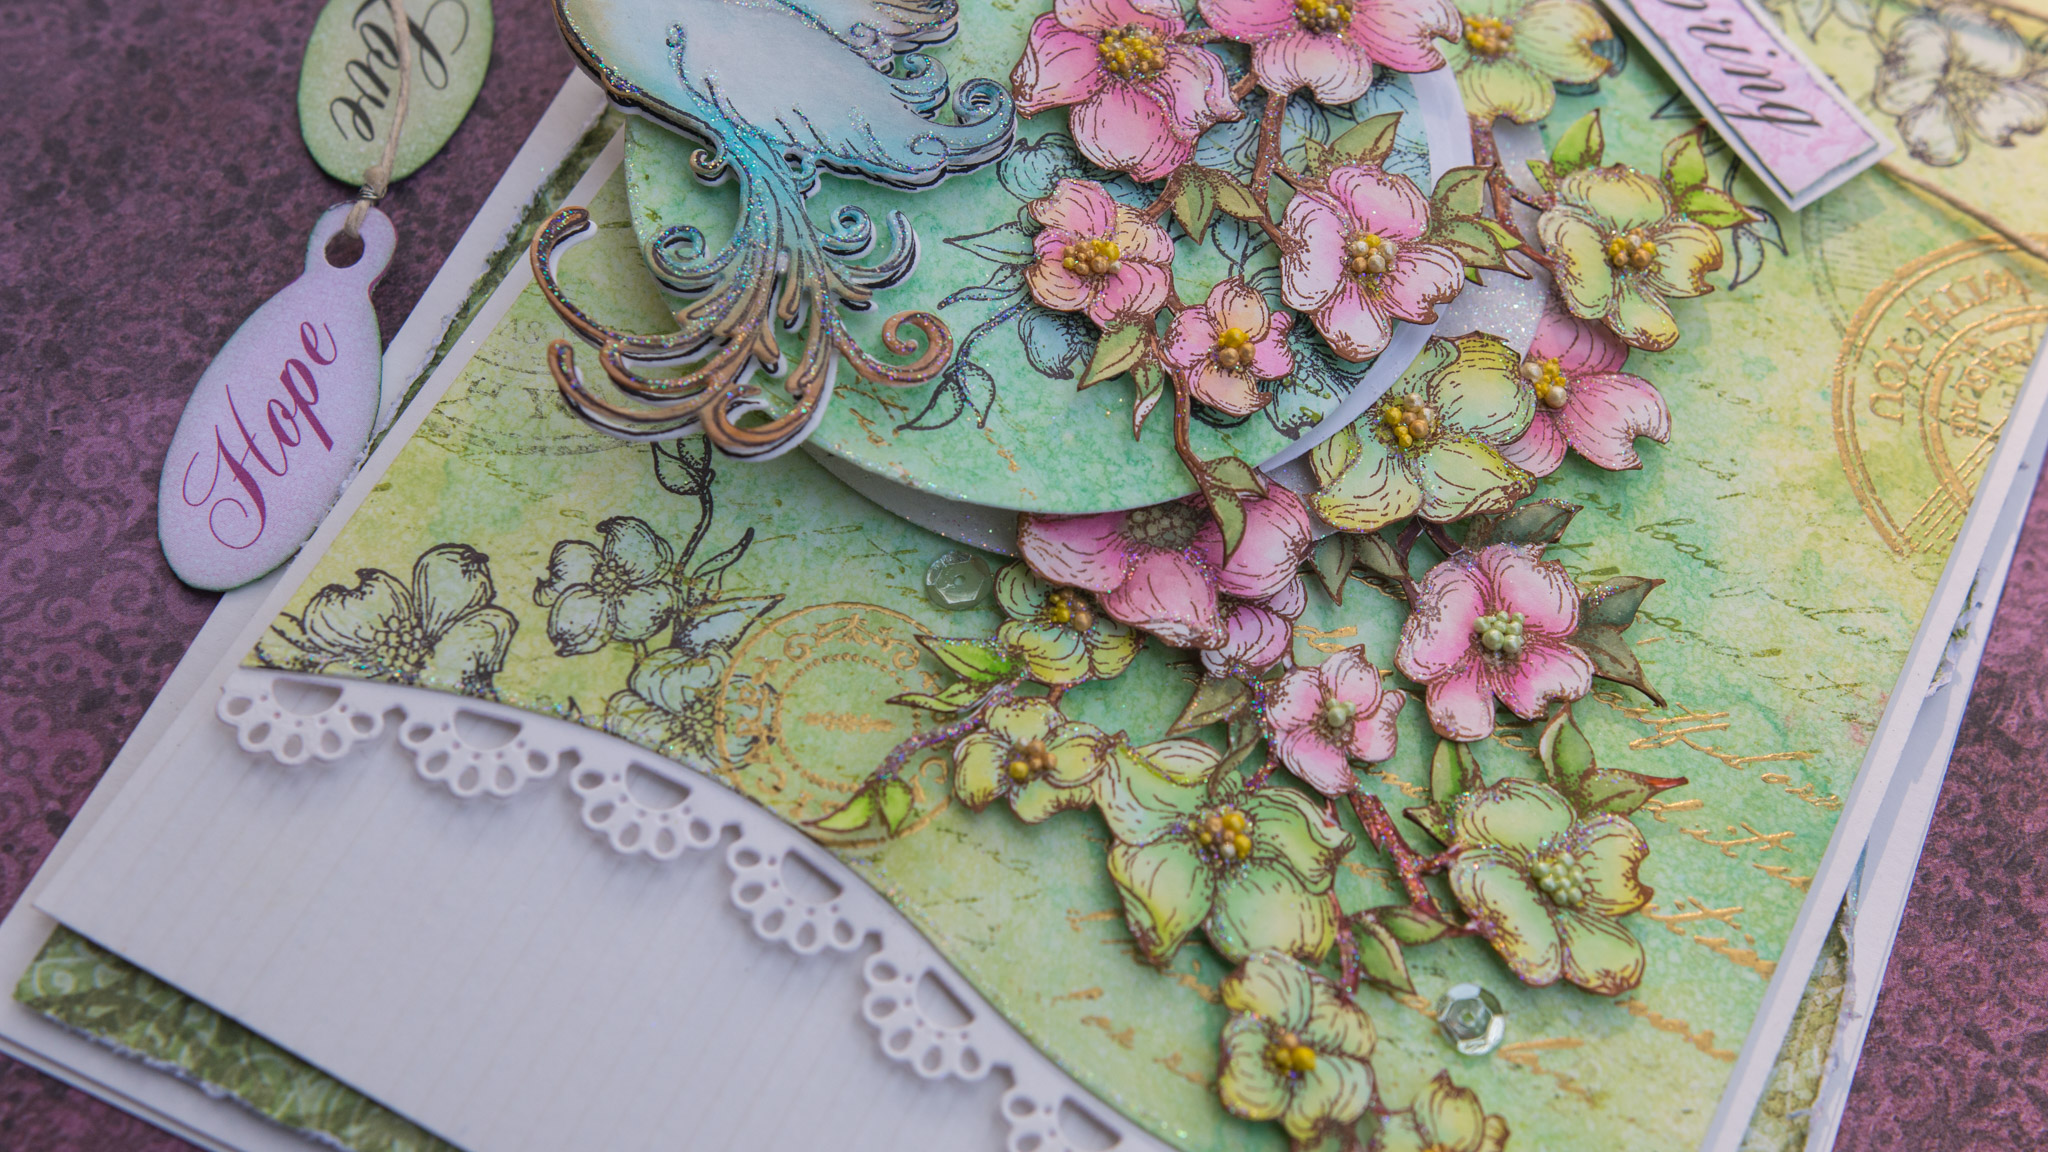
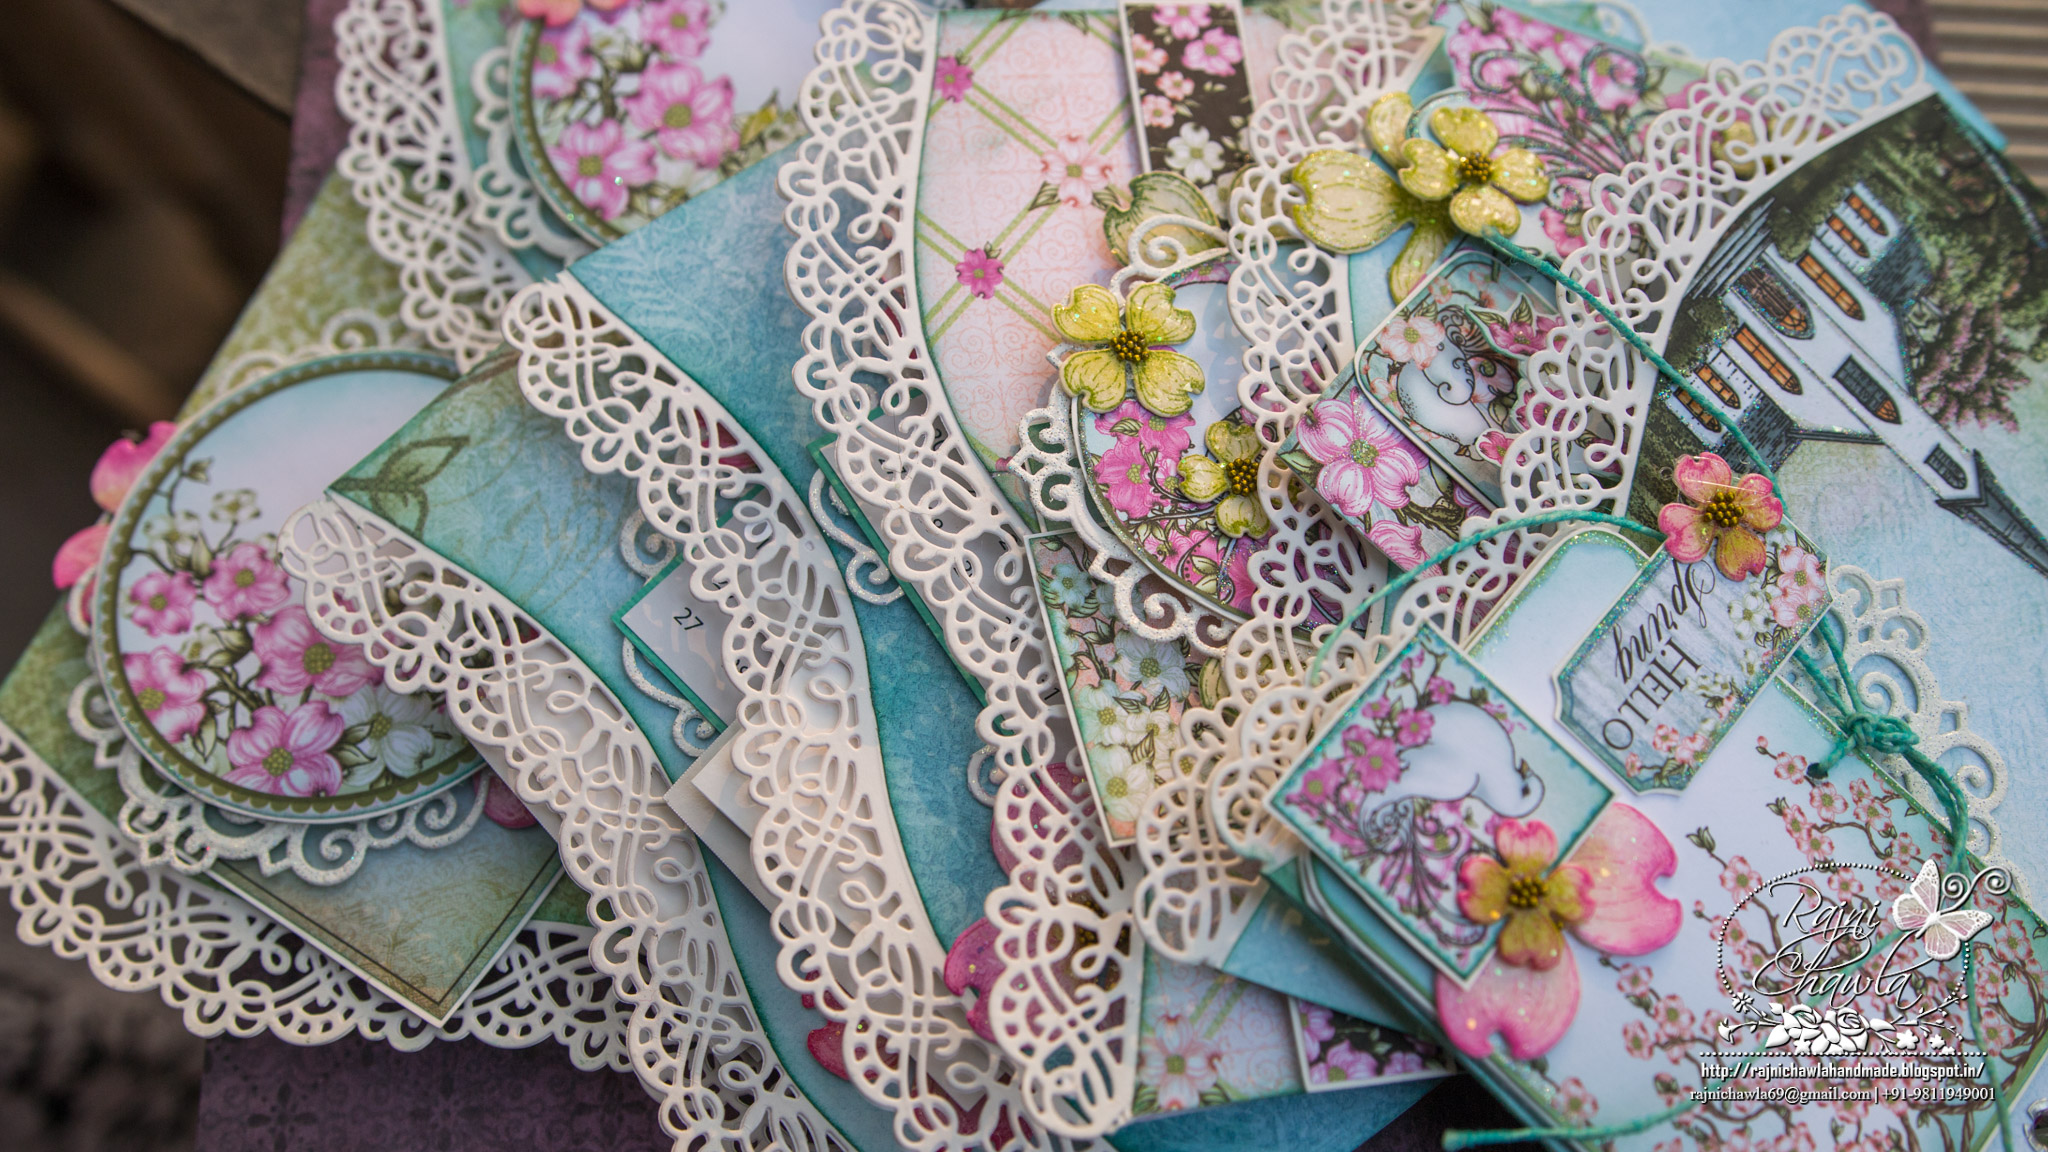
Hello friends and welcome back again to Wednesday inspiration for Heartfelt Creations. As you all know Spring is already here. The beauty of season and all around happiness makes my creative juices flow and makes me more confident to start with new projects. Continuing with Flowering Dogwood Collection, today I am sharing another Spring card with you all.
Products from Heartfelt Creations:
Flowering Dogwood Paper Collection HCDP1-275
Flowering Dogwood & Doves Die HCD1-7131
Dogwood Chapel Cling Stamp Set HCPC-3776
Flowering Dogwood & Doves Cling Stamp Set HCPC-3775
Moments With You Cling Stamp Set HCPC-3568
Large Elegant Word Background Cling Stamp Set HCPC-3323
Fleur Border Basics Die HCD1-7120
Designer Dries Clear Adhesive, 159723
Crystal Ultrafine Transparent Glitter
Other Products Used: Distress Ink Cracked Pistachio and Peacock Feather, Heat Gun, Koi Water Color Brush, Smooth White Card-Stock, Natural Twine, Score Board, Die Cutting machine, Ranger”s Golden Heat Embossing Powder, Koi Water Color Brush, Black Archival Ink, Versamark Ink, Coffee Archival Ink, Classic circle die by Spellbinders.
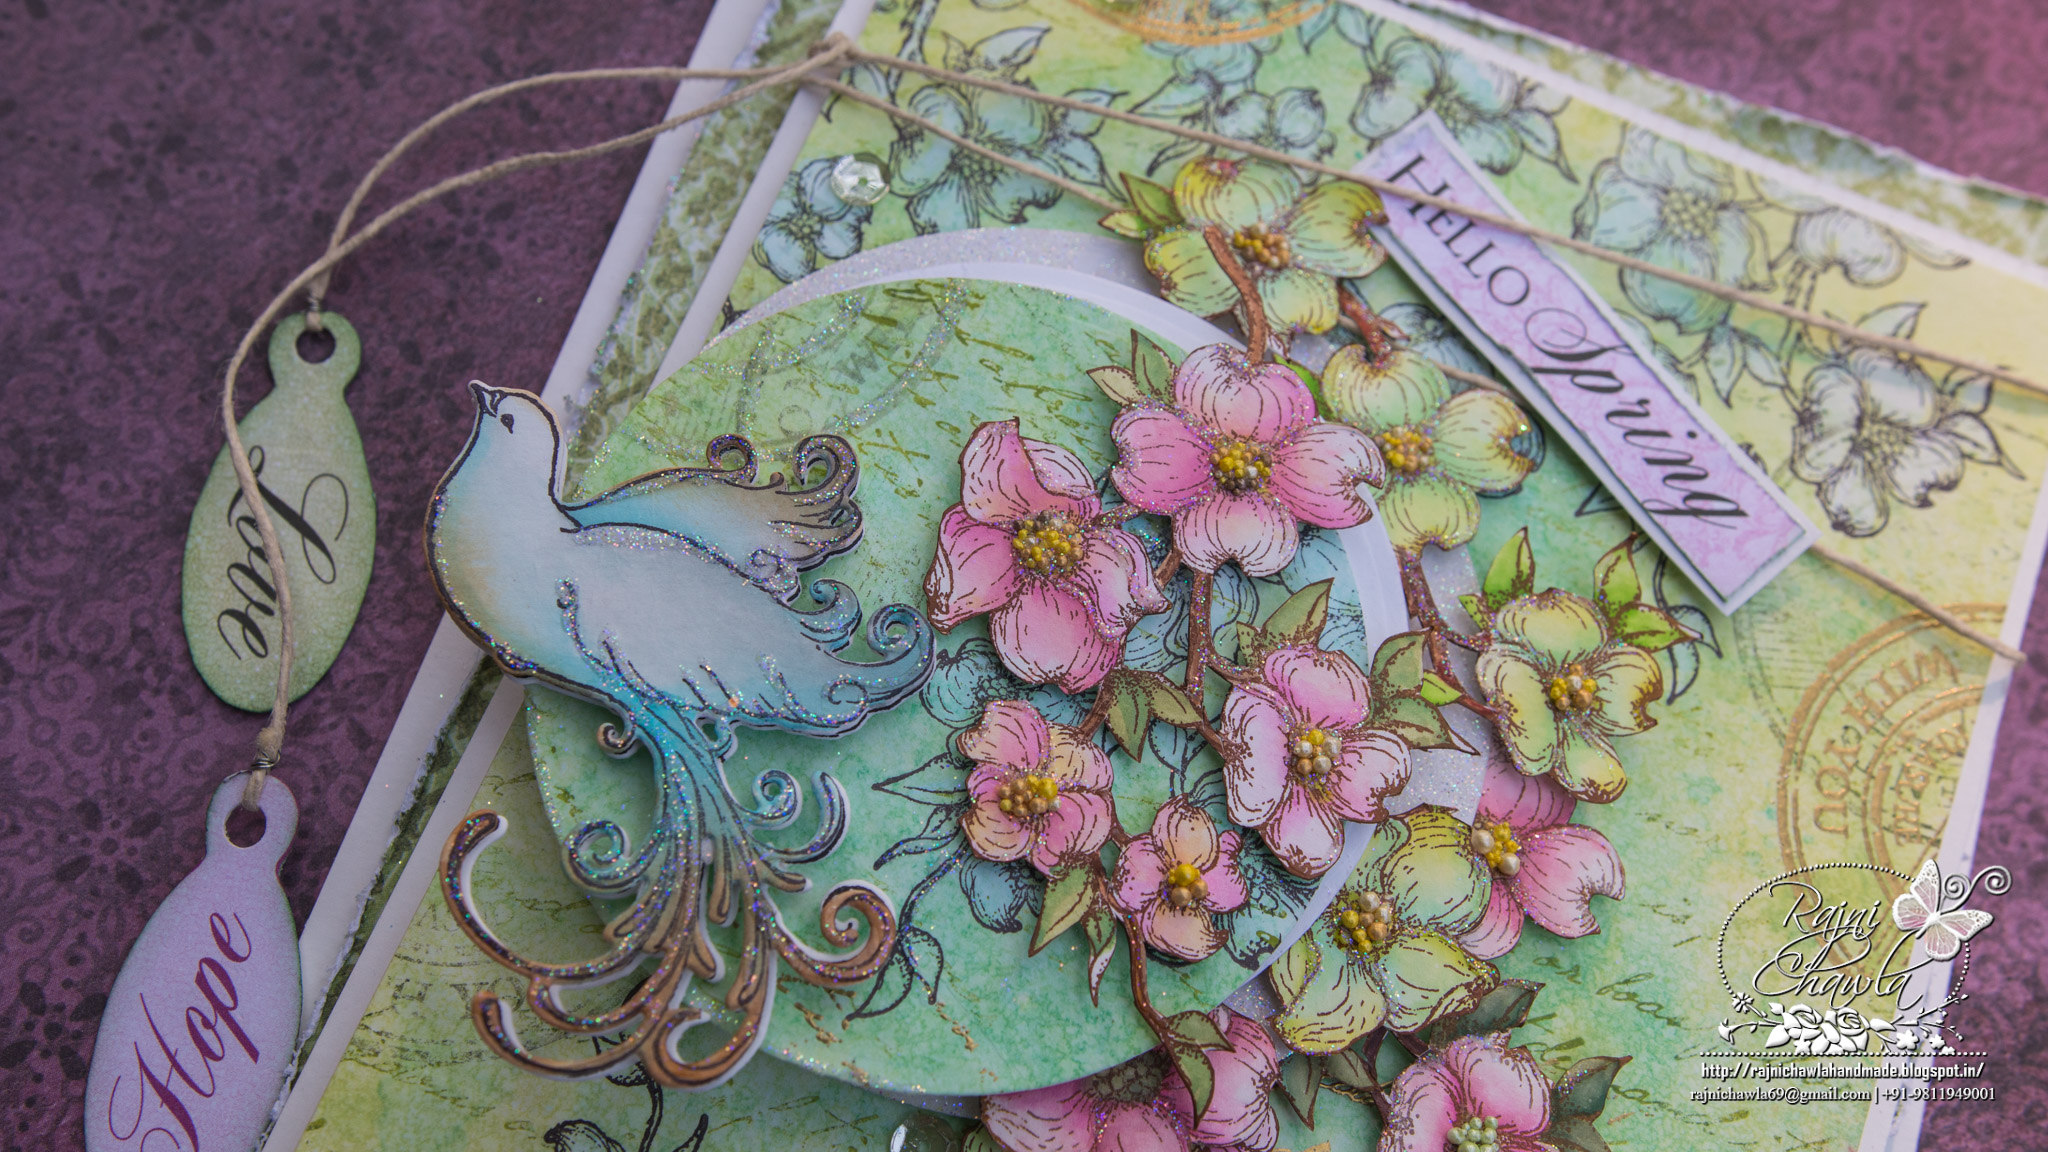
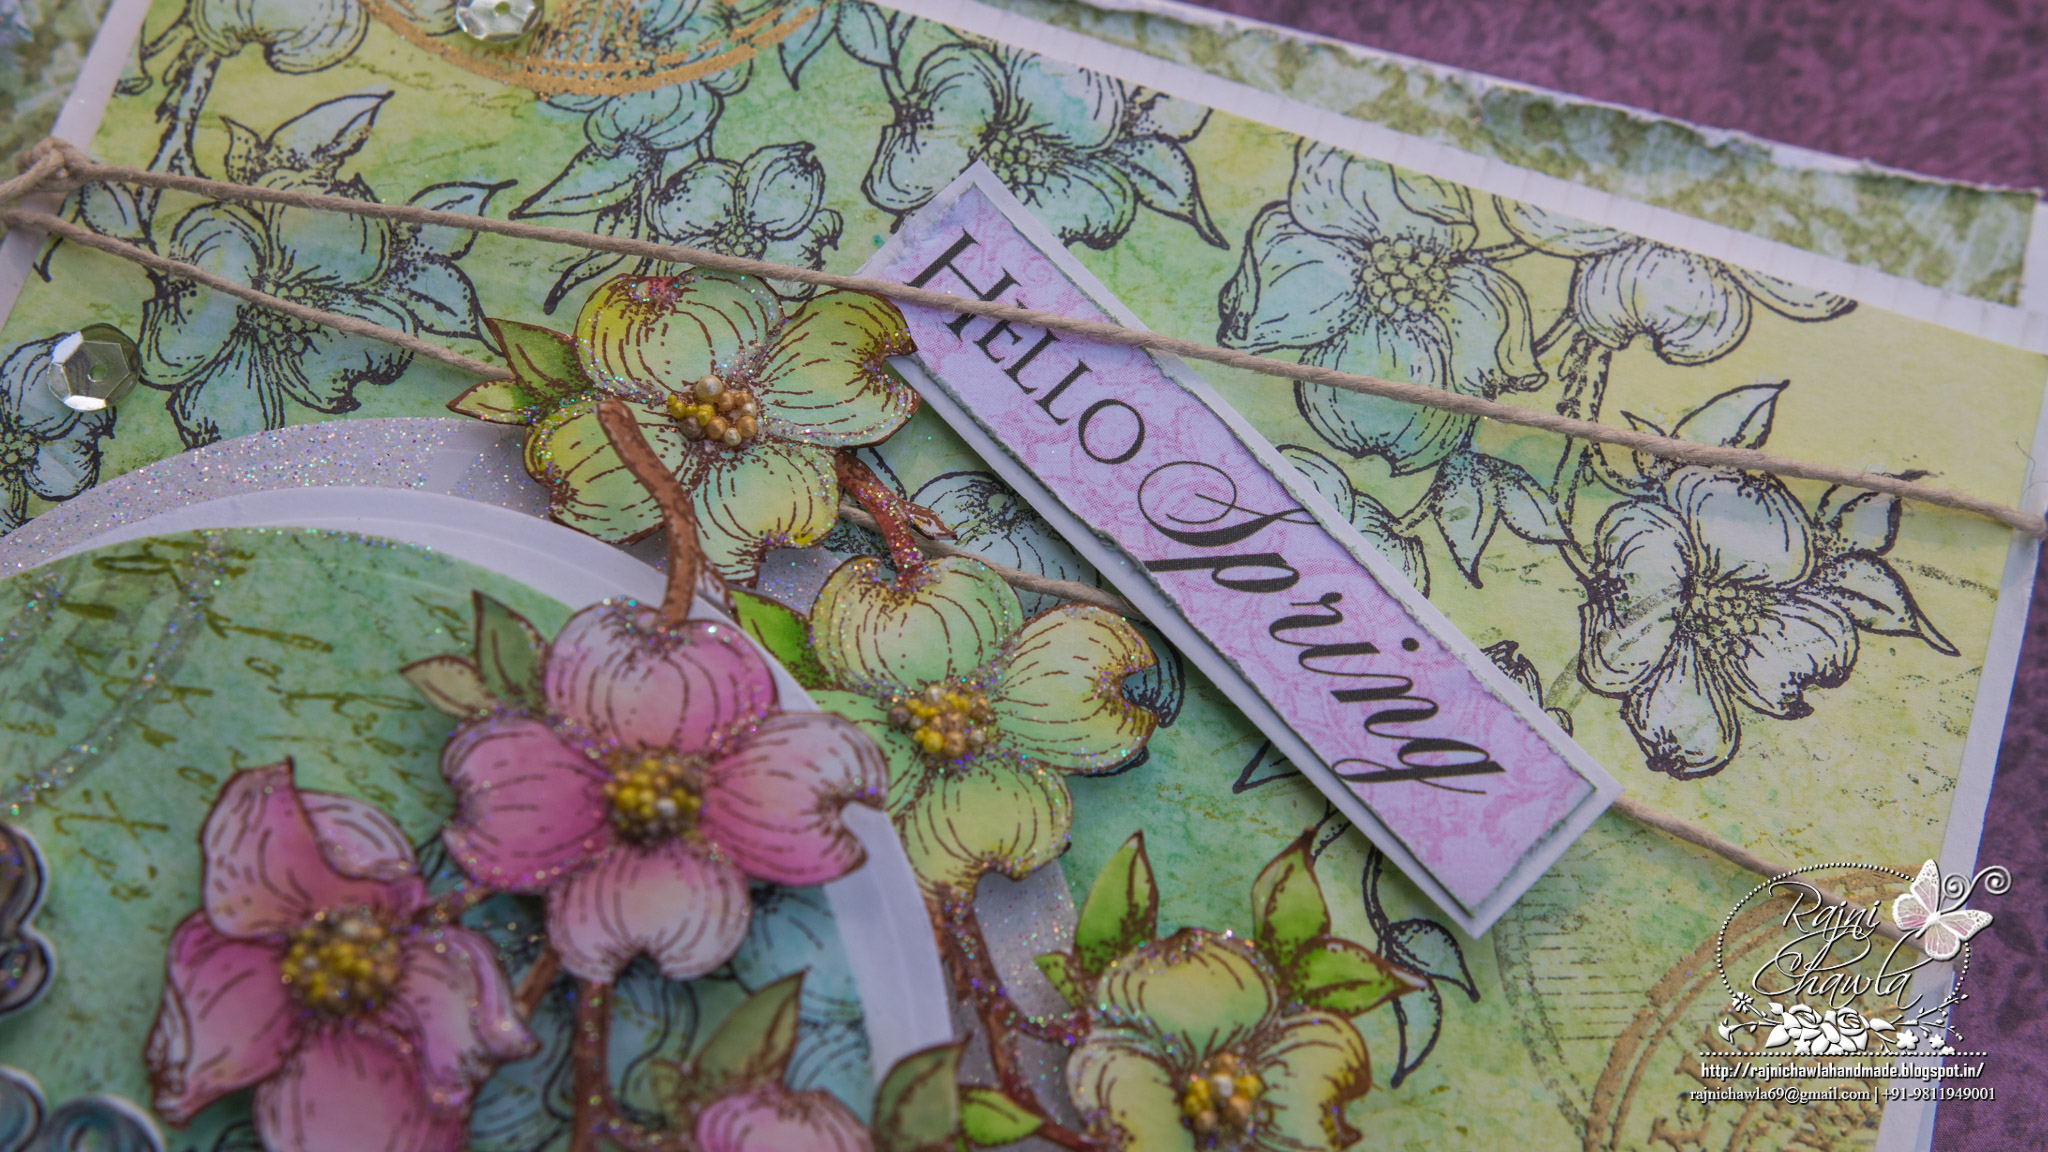
Instructions: The ready side fold card measures 7 1/2″ by 5 1/2″. Choose a piece of pattern paper from the designer paper collection and cut it 1/4th inch smaller from all sides to the card base. Distress it on all the four sides using distress tool or scissors and layer it using foam tapes. Take another piece of white cardstock measuring 7″ by 5″ and score at 1/8th of an inch each time. Keep that panel aside. Top most panel measures 6 3/4′ by 4 3/4′. For this, smush the Peacock Feathers and Cracked Pistachio distress inks on the craft sheet, spritz water and lift the color on the paper by pressing cardstock. Build few layers of colors, drying in between each layer using the heat gun. Once happy with the background, stamp a dogwood flower vine from Dogwood Chapel Cling Stamp Set, multiple times using black archival ink. In the open areas stamp little script from Large Elegant Word Background Cling Stamp Set. Randomly stamp the postcard stamp with Versa mark and heat emboss it with ranger’s golden heat embossing powder. Now pull the color from the flower images with water using Koi Water Color Brush. Once all the background is ready, cut the base of the prepared pattern paper using Fleur Border Basics Die. Adhere a fancy die cut underneath the prepared pattern paper panel. Cut a circle from the prepared pattern paper using the Classic Circle Die. Cut an extra circle from white cardstock and layer in betweeen the created pattern paper as shown. Now layer whole panel on the already scored white card stock base.Tie a natural twine around the panel and stick to card base. On another sheet of white cardstock, stamp the floral vine multiple times and color it using Zig Clear Brush Markers. The shades used are 045, 041, 200, 220, 067. Cut the images with it’s coordinating die. For the bird, image is stamped with archival and painted using , 045, 036 and 047 Zig clen clear brush markers. Once all the elements are ready, assemble the card as shown. To finish the card, hang 2 small tags at the end of the twines and add sentiment form the paper collection.
Shut the front door, this is way over the gorgeous top! So many beautiful details!!!!
Beautiful card mam 🙂 Love the colors!
Thank you for sharing! They say that it’s all in the deatils and you’ve got those covered!!!
Undefinable beauty.. Its superb