


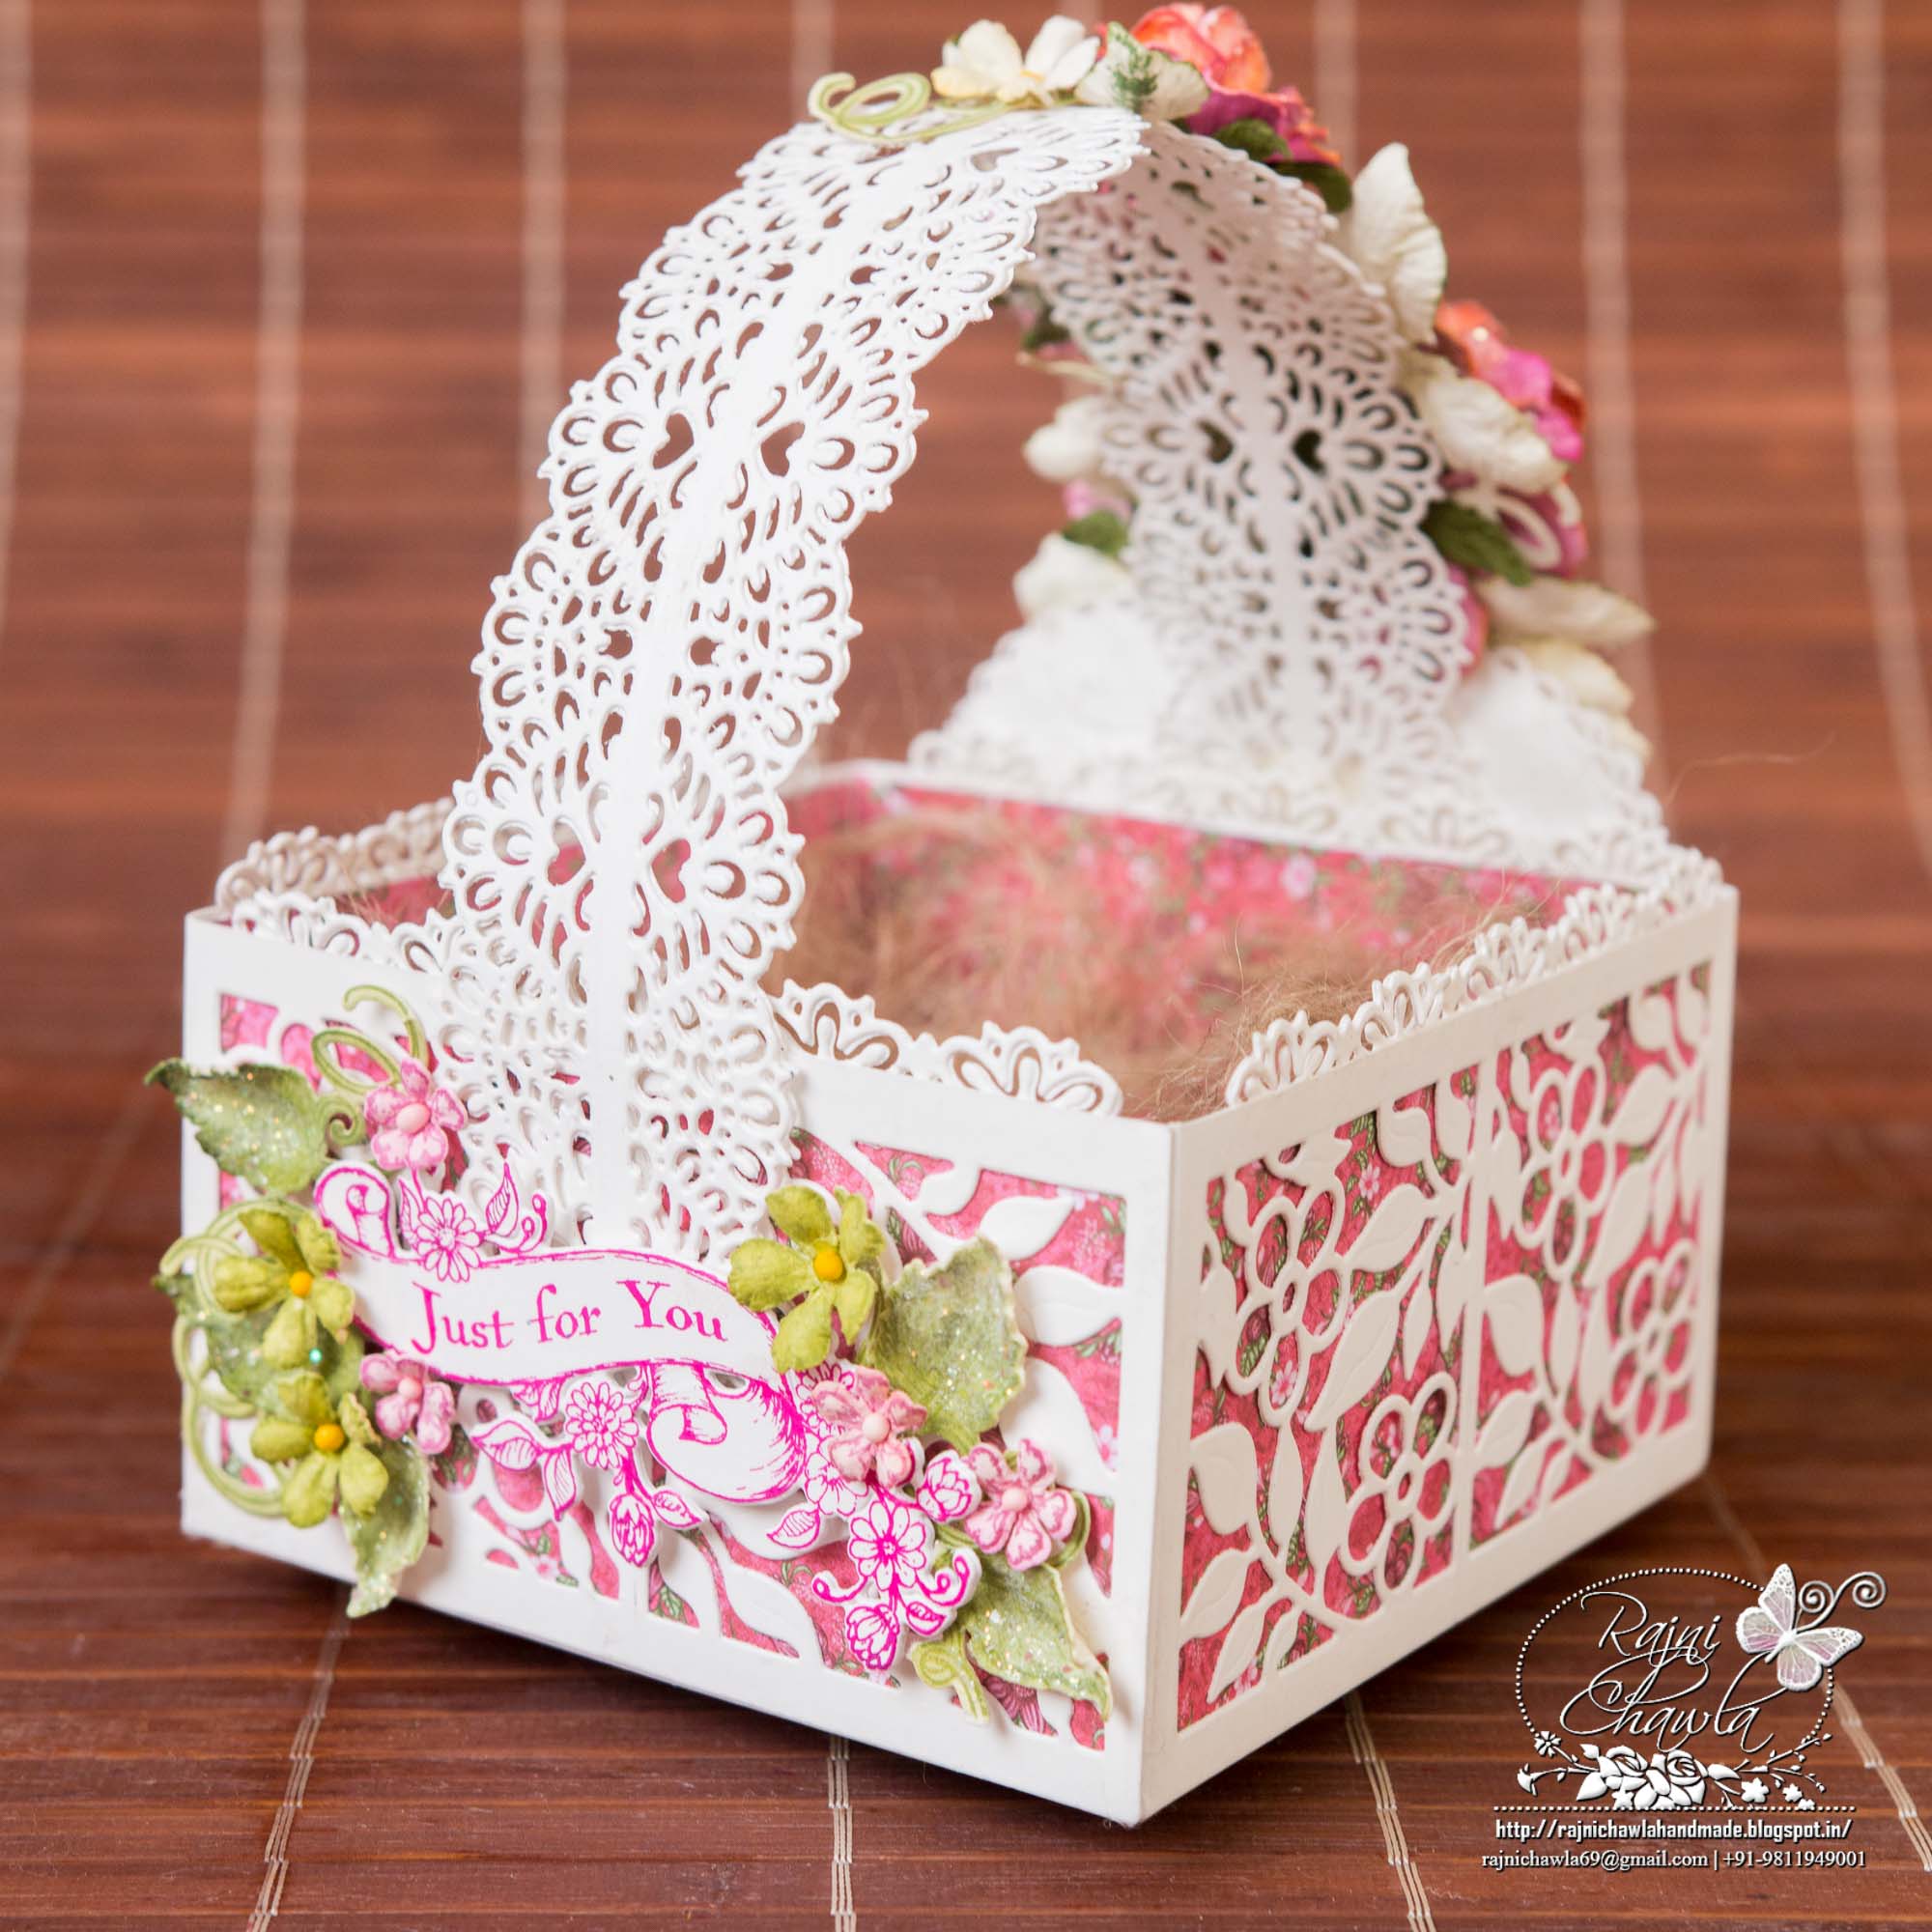
Good Morning and welcome back to inspiration Wednesday with Heartfelt Creations. Today I have a treat basket to share which I created using Gift Box Die from their recent launch, Heartfelt Love Collection. The die is so versatile that you can use it in so many other variations. The design team has shared so many inspirational projects using the same.
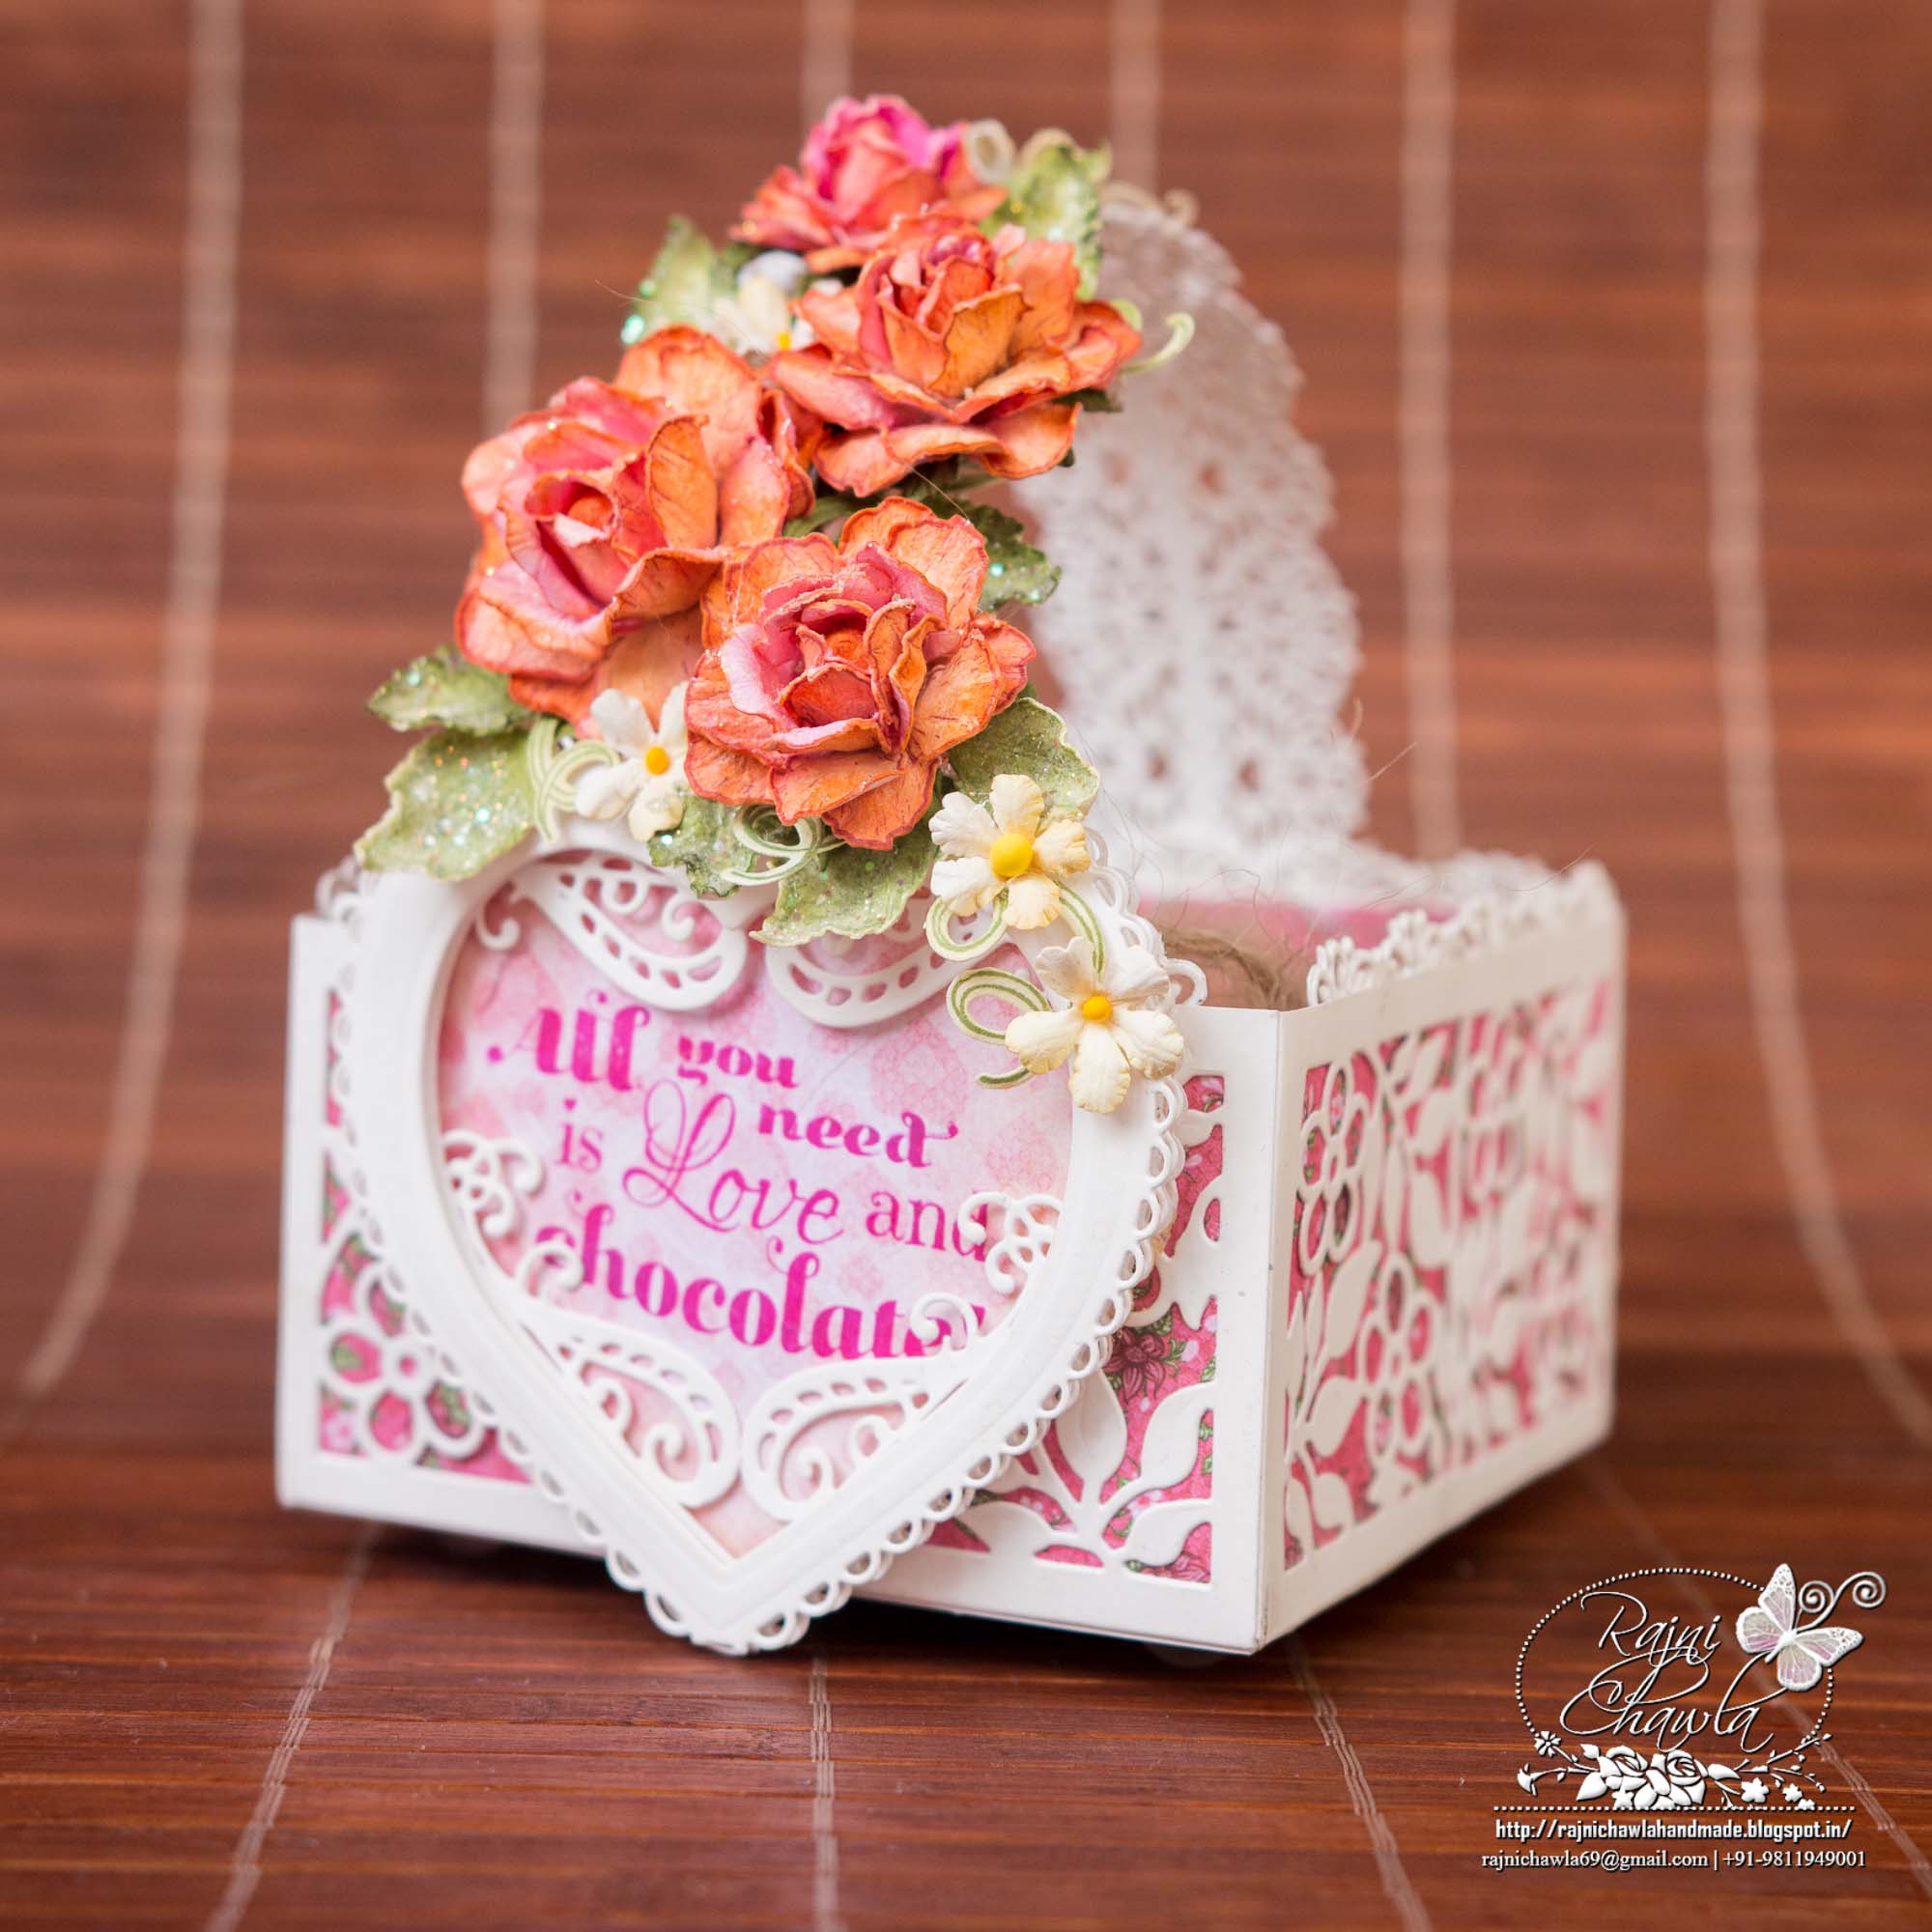
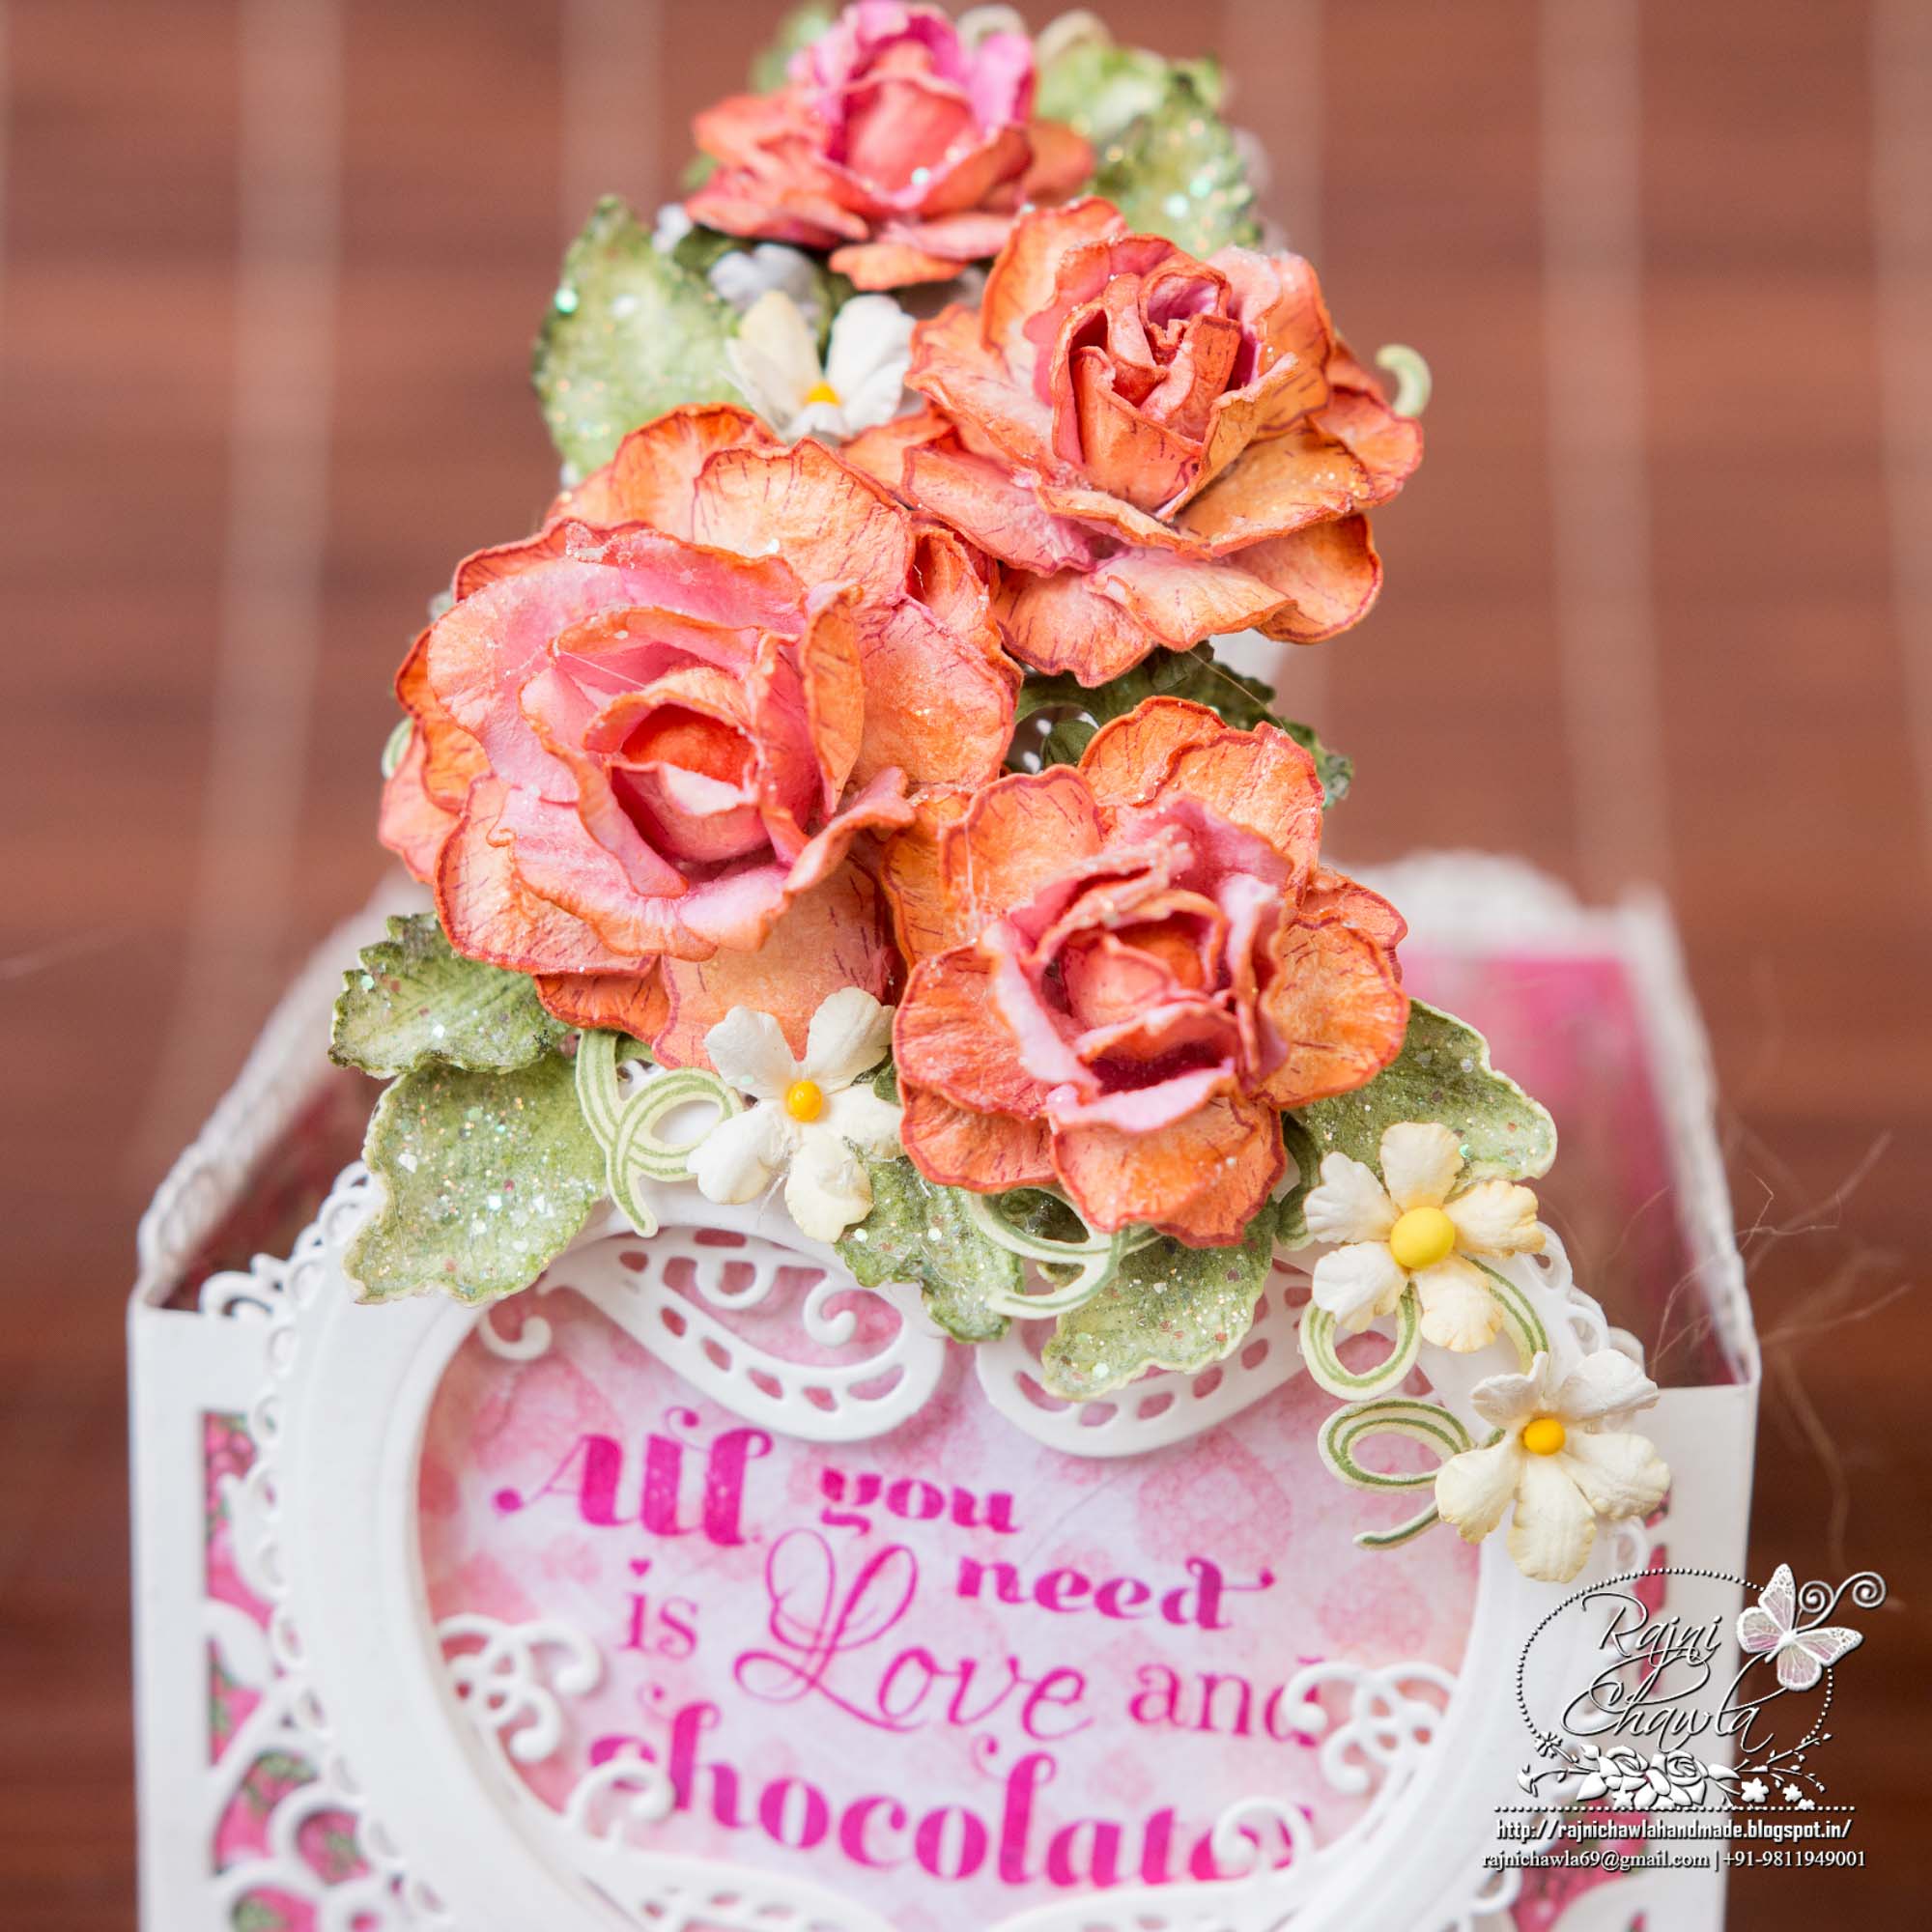
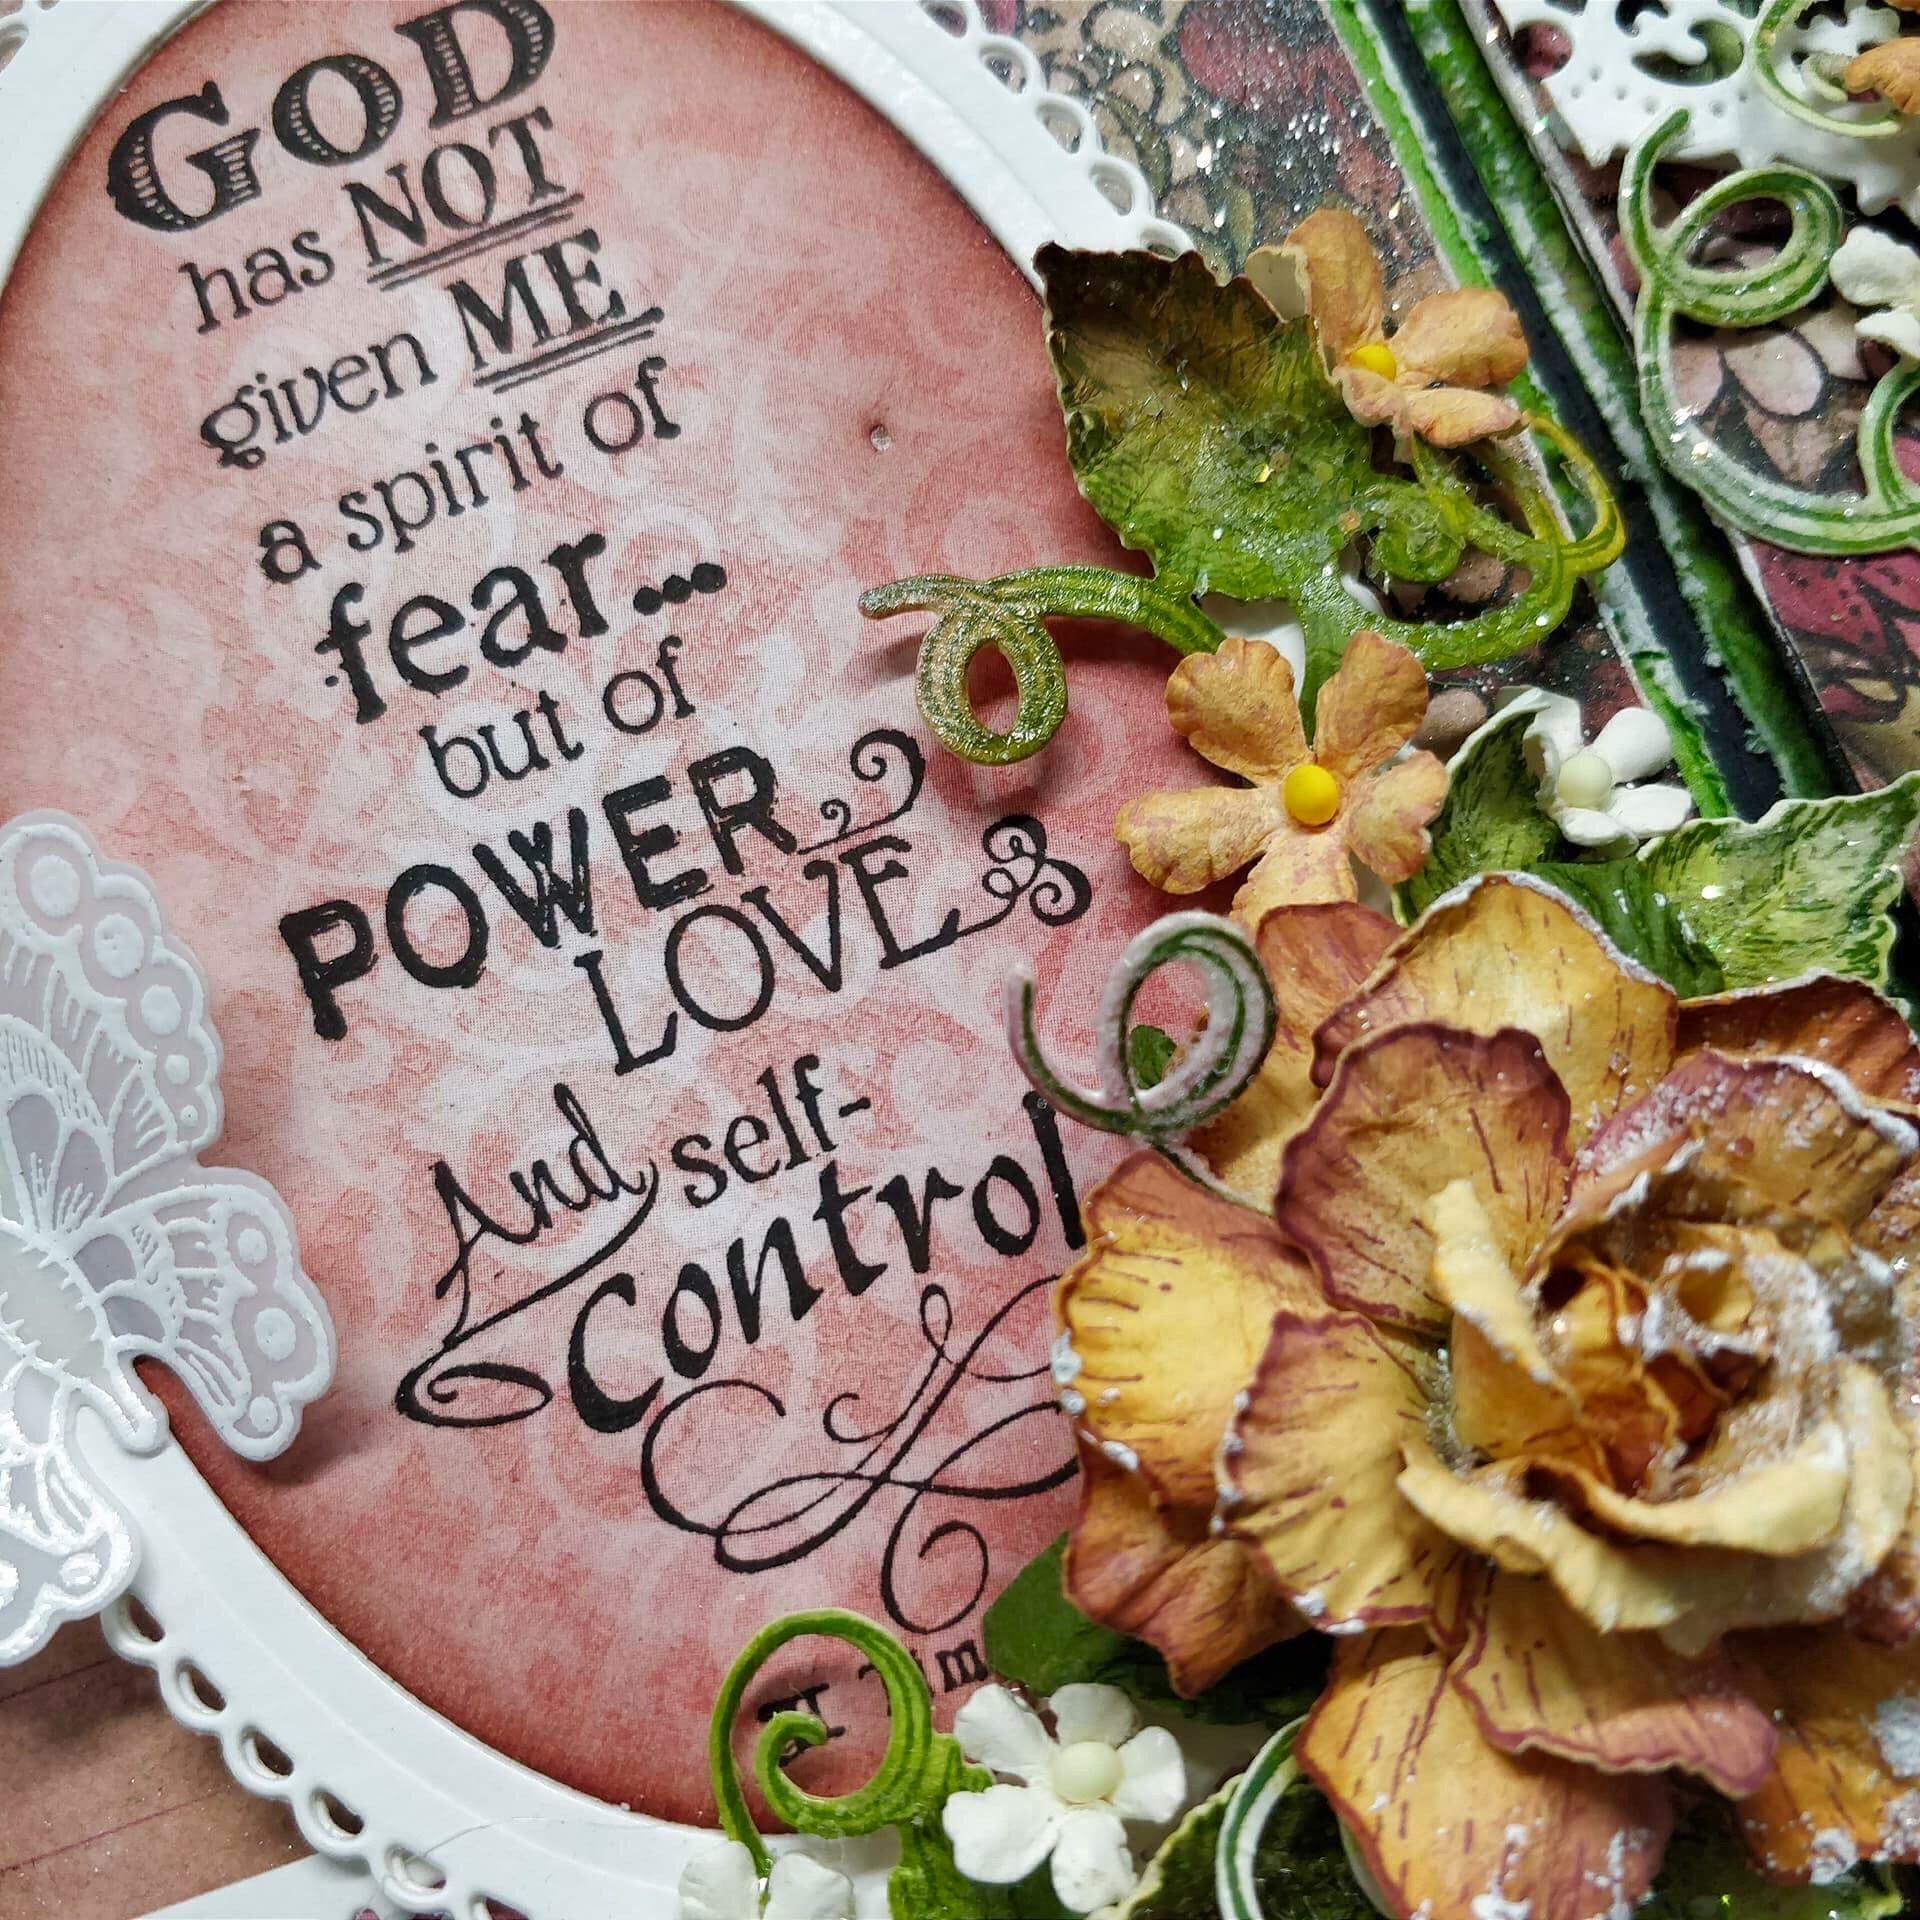
The front side of the basket has a beautiful rose cluster which I created using Classic Rose stamp and die set. The sentiment is full of love wrapped behind the lacy heart.
If you see the close up, I have stick another set od die cuts to make the handle little more sturdy.
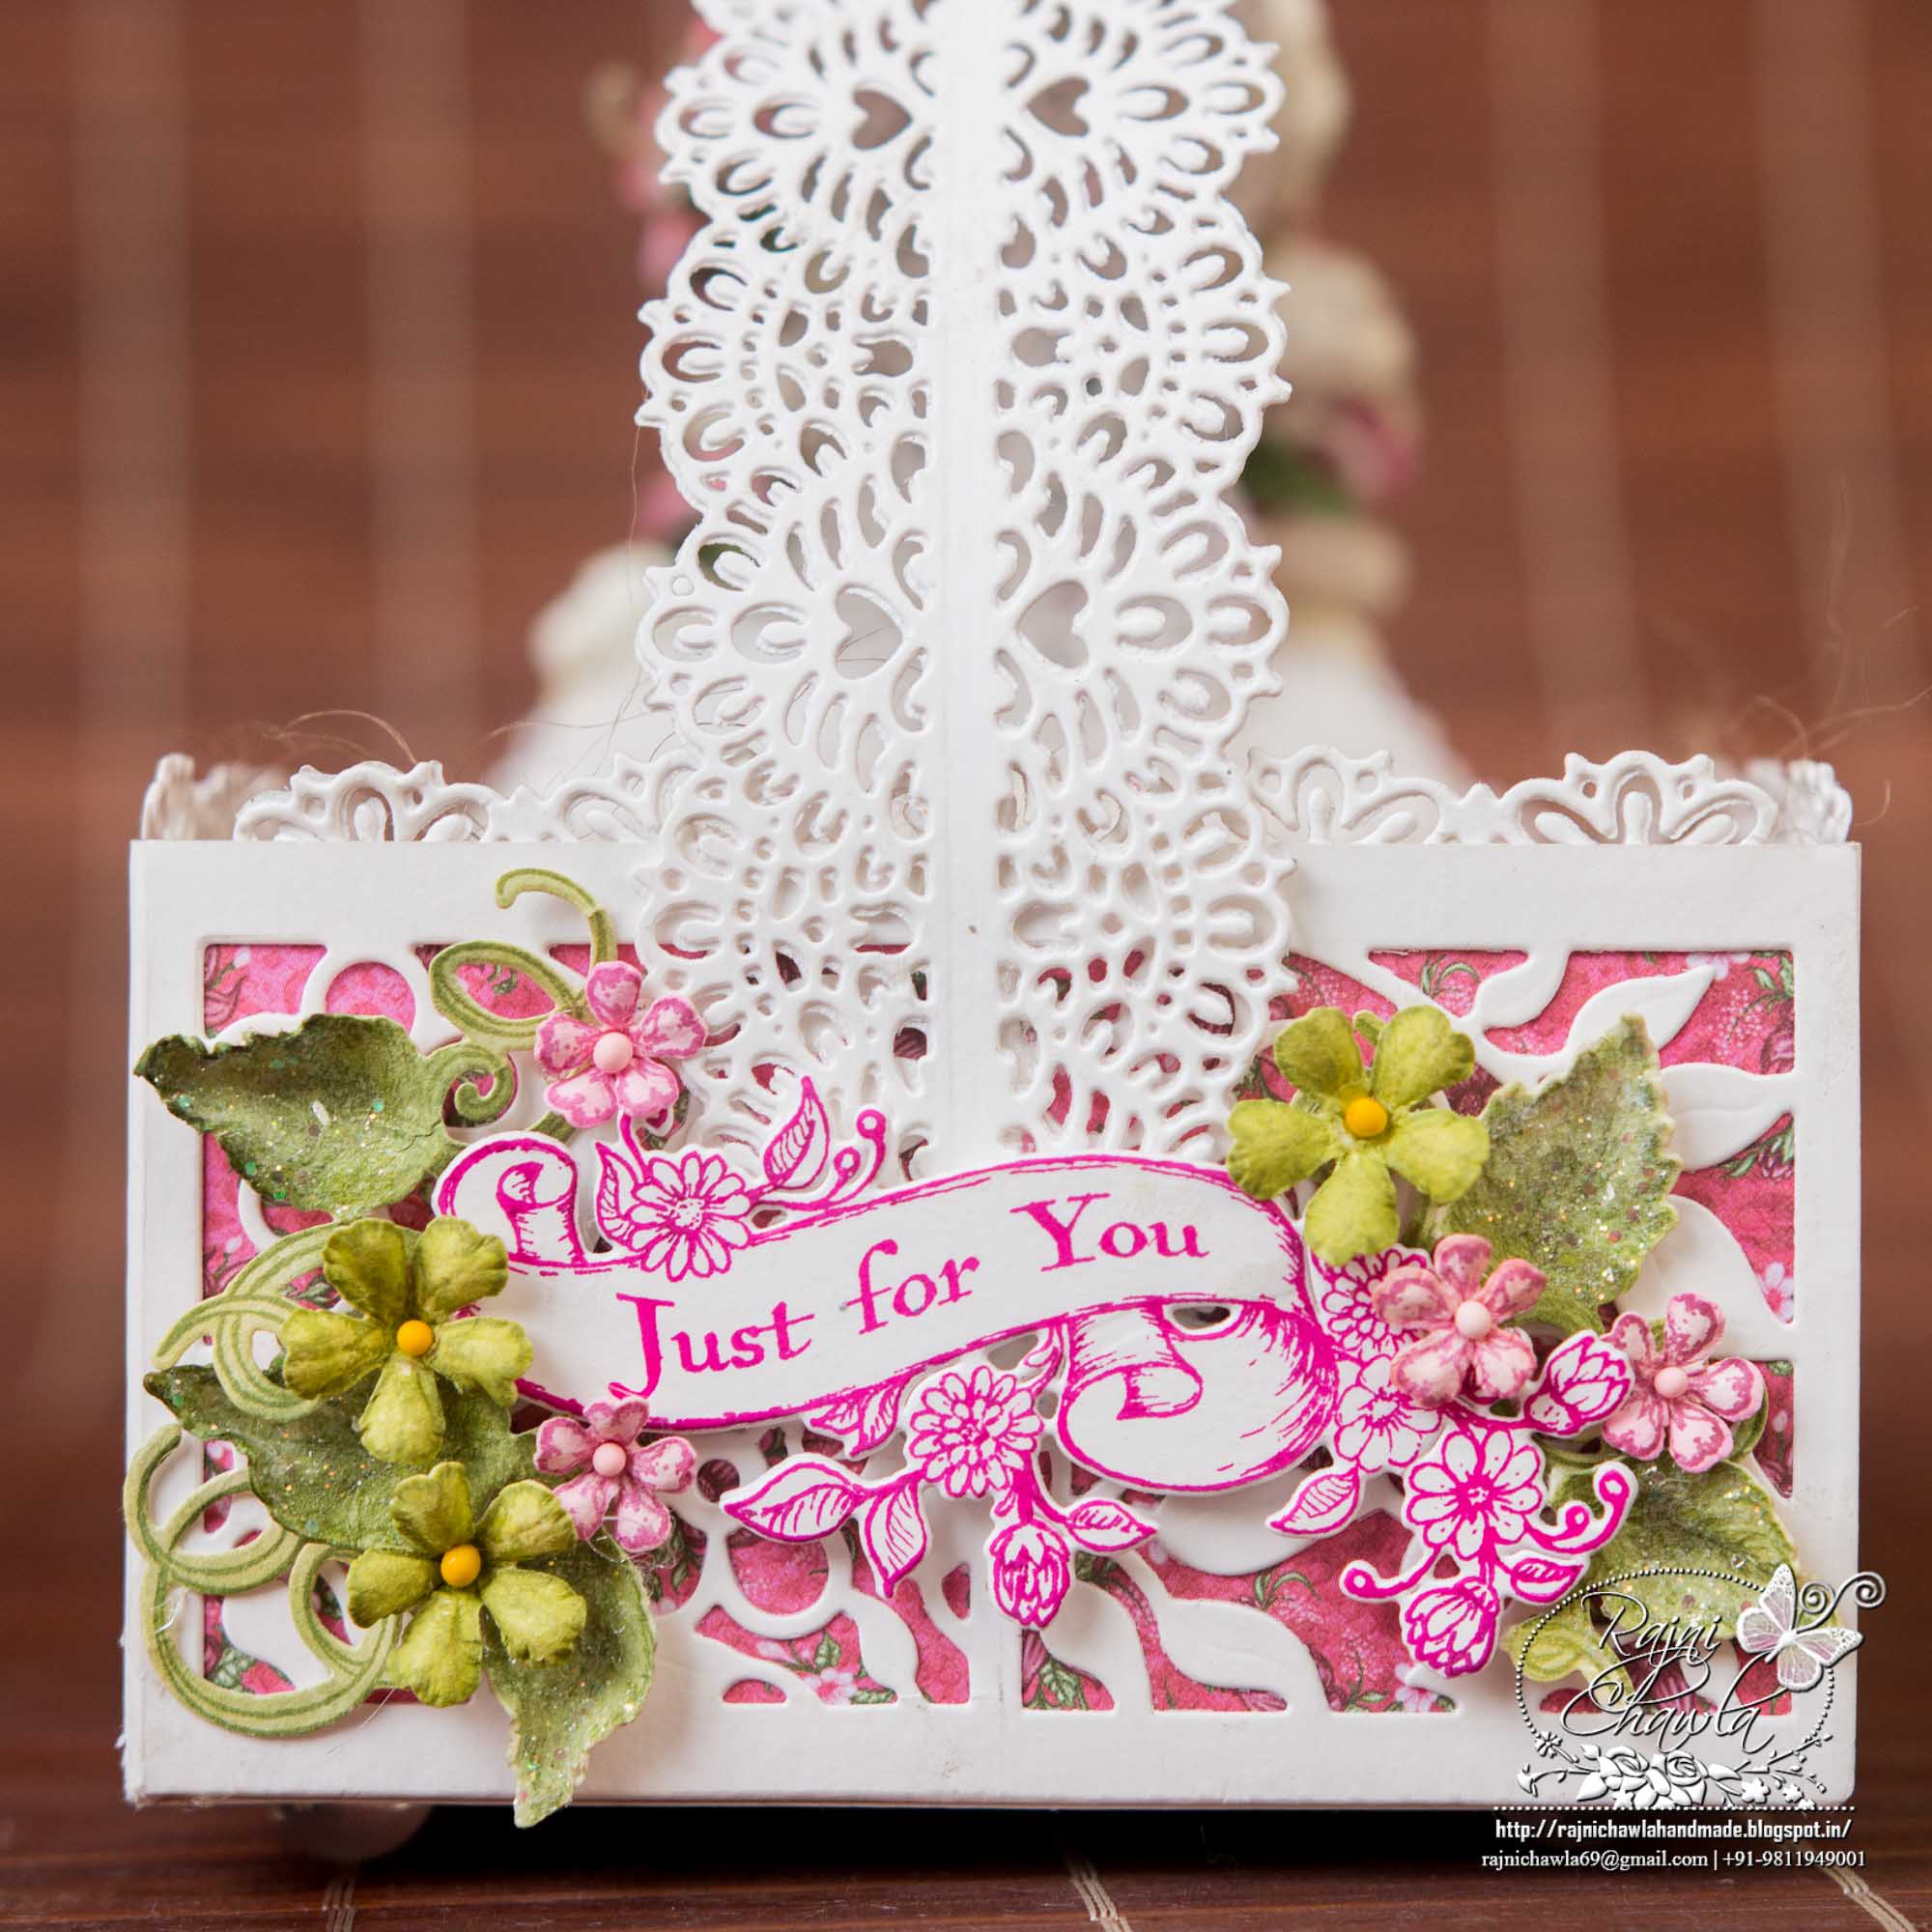
The sentiment on the other side is simply stamped with colored Stazon and then decorated with small filler flowers from Wildwood Floral Collection.
Products from Heartfelt Creations:
HCD1-7160 Banners Of Love Die
HCD1-7161 Sweetheart Borders Die
HCD1-7162 Eyelet Hearts Die
HCD1-7163 Gift Of Love Box Die
HCPC-3803 Banners Of Love Stamp Set
HCPC-3804 Heartfelt Love Sentiments Stamp Set
HCDP1-284 Heartfelt Love Paper Collection
HCD1-7110 Classic Rose Die
HCPC-3752 Classic Rose Cling Stamp Set
HCD1-7125 Wildwood Florals Die
HCPC-3769 Wildwood Florals Cling Stamp Set
HCD1-7150 Window Box Elements Die
159723 Designer Dries Clear Adhesive
71032 ColorBox Fluid Chalk Ink Pad – Dark Peony
71082 ColorBox Fluid Chalk Ink Pad – Harvest
TSSZ82 StazOn Ink Pad – Fuchsia Pink
HCST1-401 Deluxe Flower Shaping Kit
HCDA2-450 Stack and Store Daubers-Pack of 30
PGM15015 Rajni Chawla’s Crystal Clear
Other Products Used: Archival Plum, Leaf Green, Library Green, Olive Green, Smooth white cardstock, Score Pal
Videos Suggested: To see how to shape the roses, watch the video at https://youtu.be/Z8P070kC3oo.
For more tips on creating with the Heartfelt Love collection, watch the tutorial at https://youtu.be/AePSIkkwaCE.
Instructions:
For the rose bouquet, stamp couple of images from Classic Rose Die with Archival Plum and cut them using its coordinating die. Use Color Box Harvest and Dark Peony to color the roses using the Stack and Store Daubers. The leaves are stamped with Library Green and colored using Fern Green and Olive Green. The flowers and leaves are then shaped using Deluxe flower shaping kit and dressed up using Frosting Powder and Crystal Clear. The filler flowers used here are from Wildwood Floral stamp and cut using its coordinating die. Shape them and keep them aside.
For the treat basket, cut 2 strips of smooth white cardstock measuring 9 1/2″ by 2 7/8″., score at 3/8” and 5″ on the longer side, and 3/8”on the shorter side. Stick the flower panel of Gift of Love Box Die with low tacky tape twice on all the four scored panels and run them through die cutting machine. Choose the pattern paper and glue a strip measuring the same size, to the inside of the window. Score all the four sides and glue all the hinges. Cut a piece of 4 7/8″ by 4 7?8″ square from white cardstock and glue it on the base. Also, cut only the fancy edge from the larger die from larger die of Sweetheart Border Die set and glue on the edges of the basket.
For the handle, cut 2 strips of 6″ by 2″ and cut the border on both the sides. Glue both the fancy strips together on long sides and attach it to the basket to make the handle.
Arrange a small bouquet of roses on one side as shown in the picture. Further, decorate the bouquet using a couple of filler flowers from Wilwood Floral Collection.
to display the sentiment, Cut a frame by nesting outer Eyelet die and the plain die and adhere a die cut from Window Box Element Die. Cut one base and stamp the sentiment using StazOn Ink Pad – Fuchsia Pink. Layer both the pieces using foam dots.
On the other side of the basket, stamp the sentiment from Banners of love sentiment using Fuschia Pink StazOn and cut it using its coordinating die. Layer it on the treat box using foam dots and decorate it a little with filler flowers.
As always a visit to your blog is a feast for my eyes! Your creations this morning is simply gorgeous and your roses are outstanding!
Gorgeous and so clever!!
Wow…what a gorgeous creation Rajni. Love, love, love your flowers!