


Good Morning Friends….
Welcome to my blog again!!
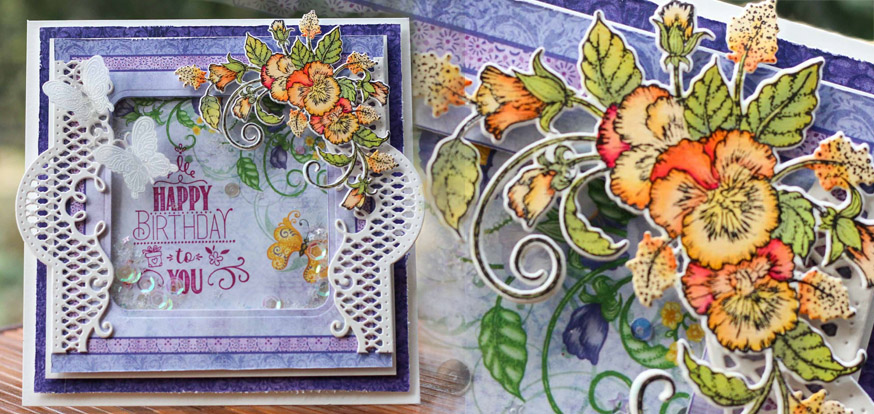
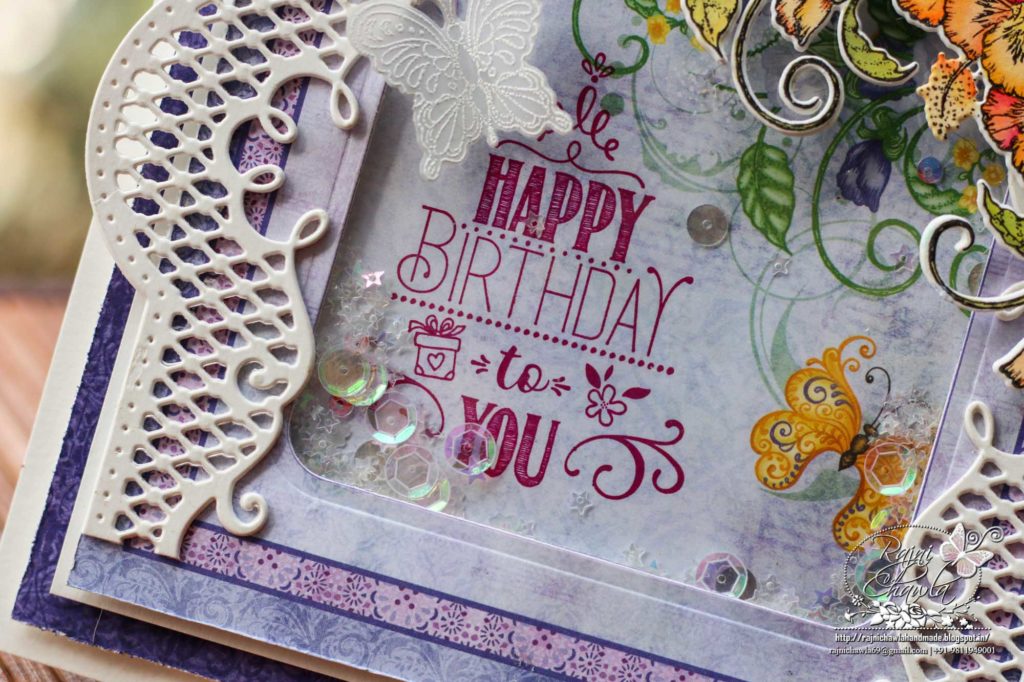
I am back again with inspiration for Heartfelt Creations. Continuing with Burst of Spring Collection, I have a birthday shaker card to share, today. It’s so much fun to create with card panels.
Supplies From Heartfelt Creations:
HCD1-7224 Delicate Pansy Spray Die
HCPC-3864 Delicate Pansy Spray Cling Stamp Set
HCDP1-299 Burst of Spring Paper Collection
HCD1-7212 Petite Pocket Accents Die
HCD2-751 Cut Mat Create 2A Die
HCD1-7177 Butterfly Dreams Border Die
HCPC-3823 Butterfly Dreams Border Cling Stamp
Set
HCPC-3843 Special Birthday Sentiments Cling
Stamp Set
18002 Rajni Chawla’s Vellum Flowerite – 10 Sheets
409311 Color In Watercolor Brush – Fine
478455 Zig Clean Color Real Brush Markers – 36
Pack
RACP468 Ranger Archival Ink Pad – Jet Black
RAHT Heat It Craft Tool
TSSZ82 StazOn Ink Pad – Fuchsia Pink
HCDA2-450 Stack and Store Daubers-Pack of 30
CB80 ColorBox Pigment Ink Pad – Frost White
RPEJ685 Embossing Powder – White
159723 Designer Dries Clear Adhesive
Other Supplies Used: Smooth white cardstock, Die cutting machine, Scoreboard, red tacky tape, Transparent sheet, and foam tape.
Videos Referred:
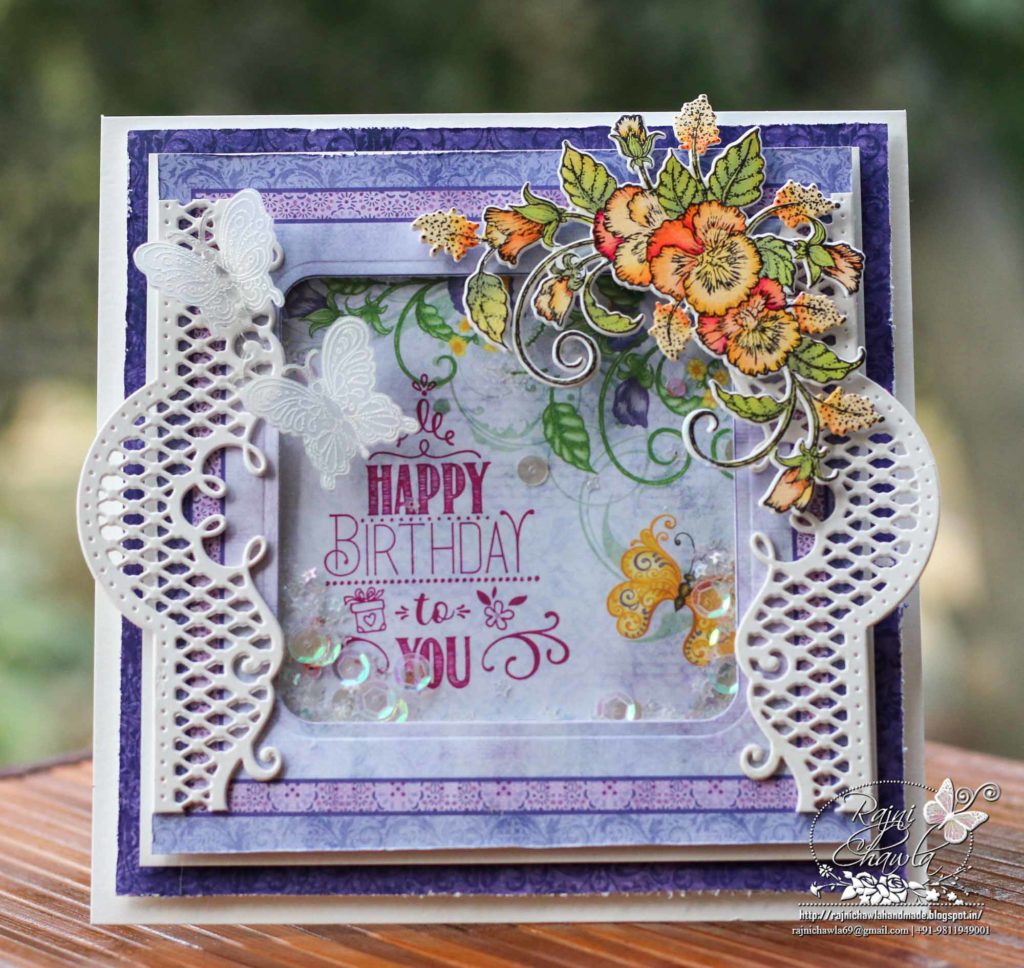
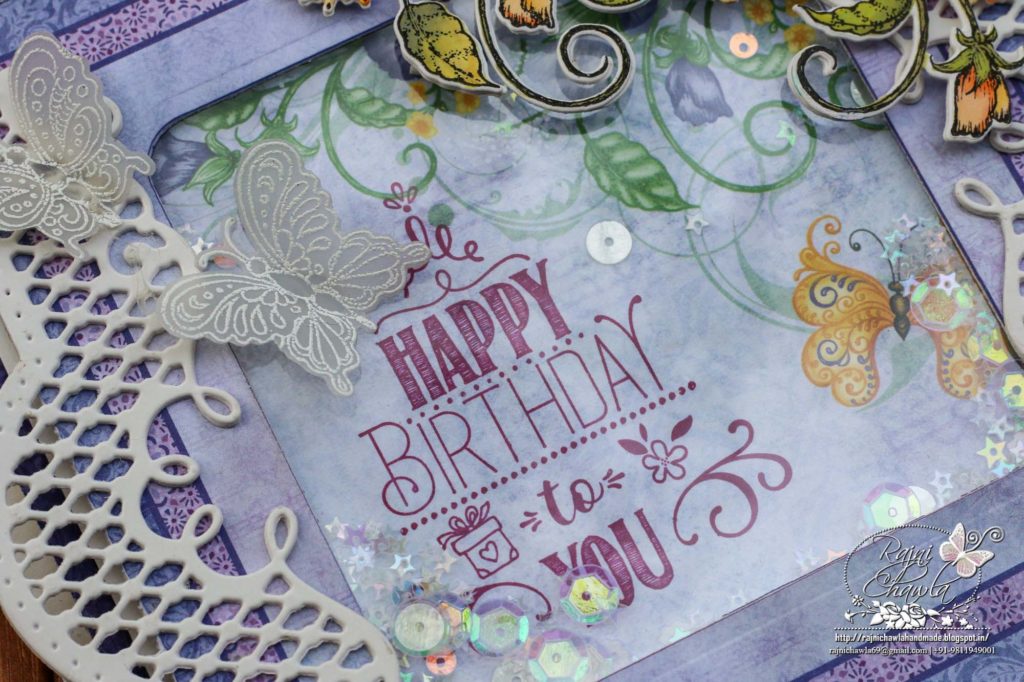
Instuctions: The ready top-fold card from white card stock measures 7″ by 7″. To create the top panel, choose the paper from designer paper collection and cut the window as shown using Cut Mat Create 2A Die Set. Adhere the transparent sheet behind the window using red tacky tape and layer the window on white cardstock creating a white border all around measuring 1/16″ on all the four sides. Before closing the window, do stamp the sentiment and add some shaker elements. Layer the shaker card on purple paper and finally layer the card on the ready card base.
Cut white die cuts from white cardstock using Petite Pocket Accents Die and adhere them as shown on the card panel.
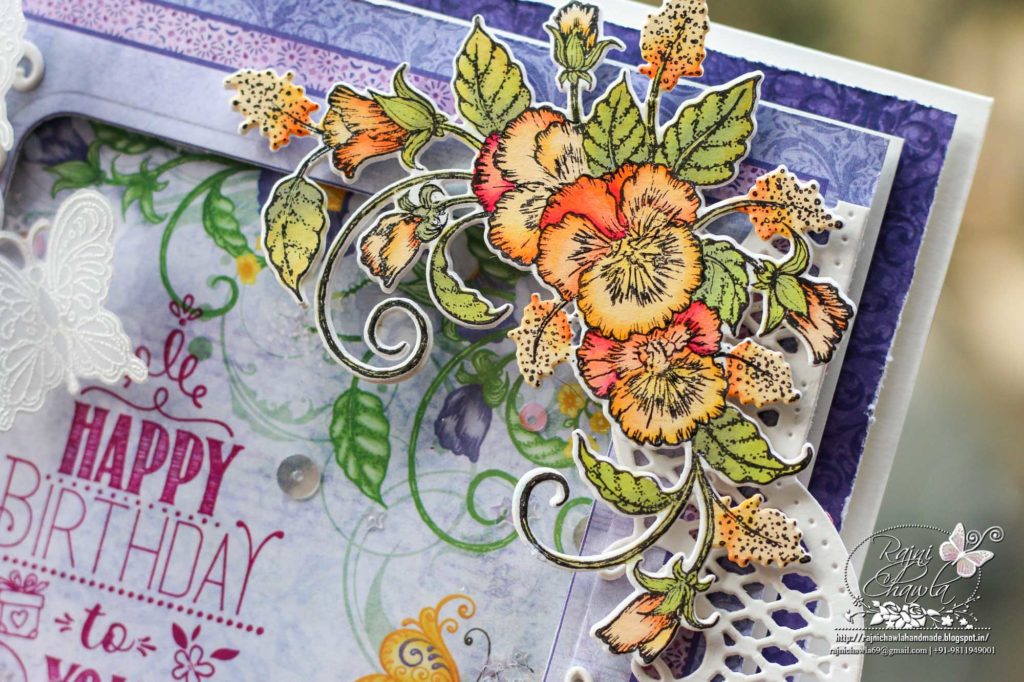
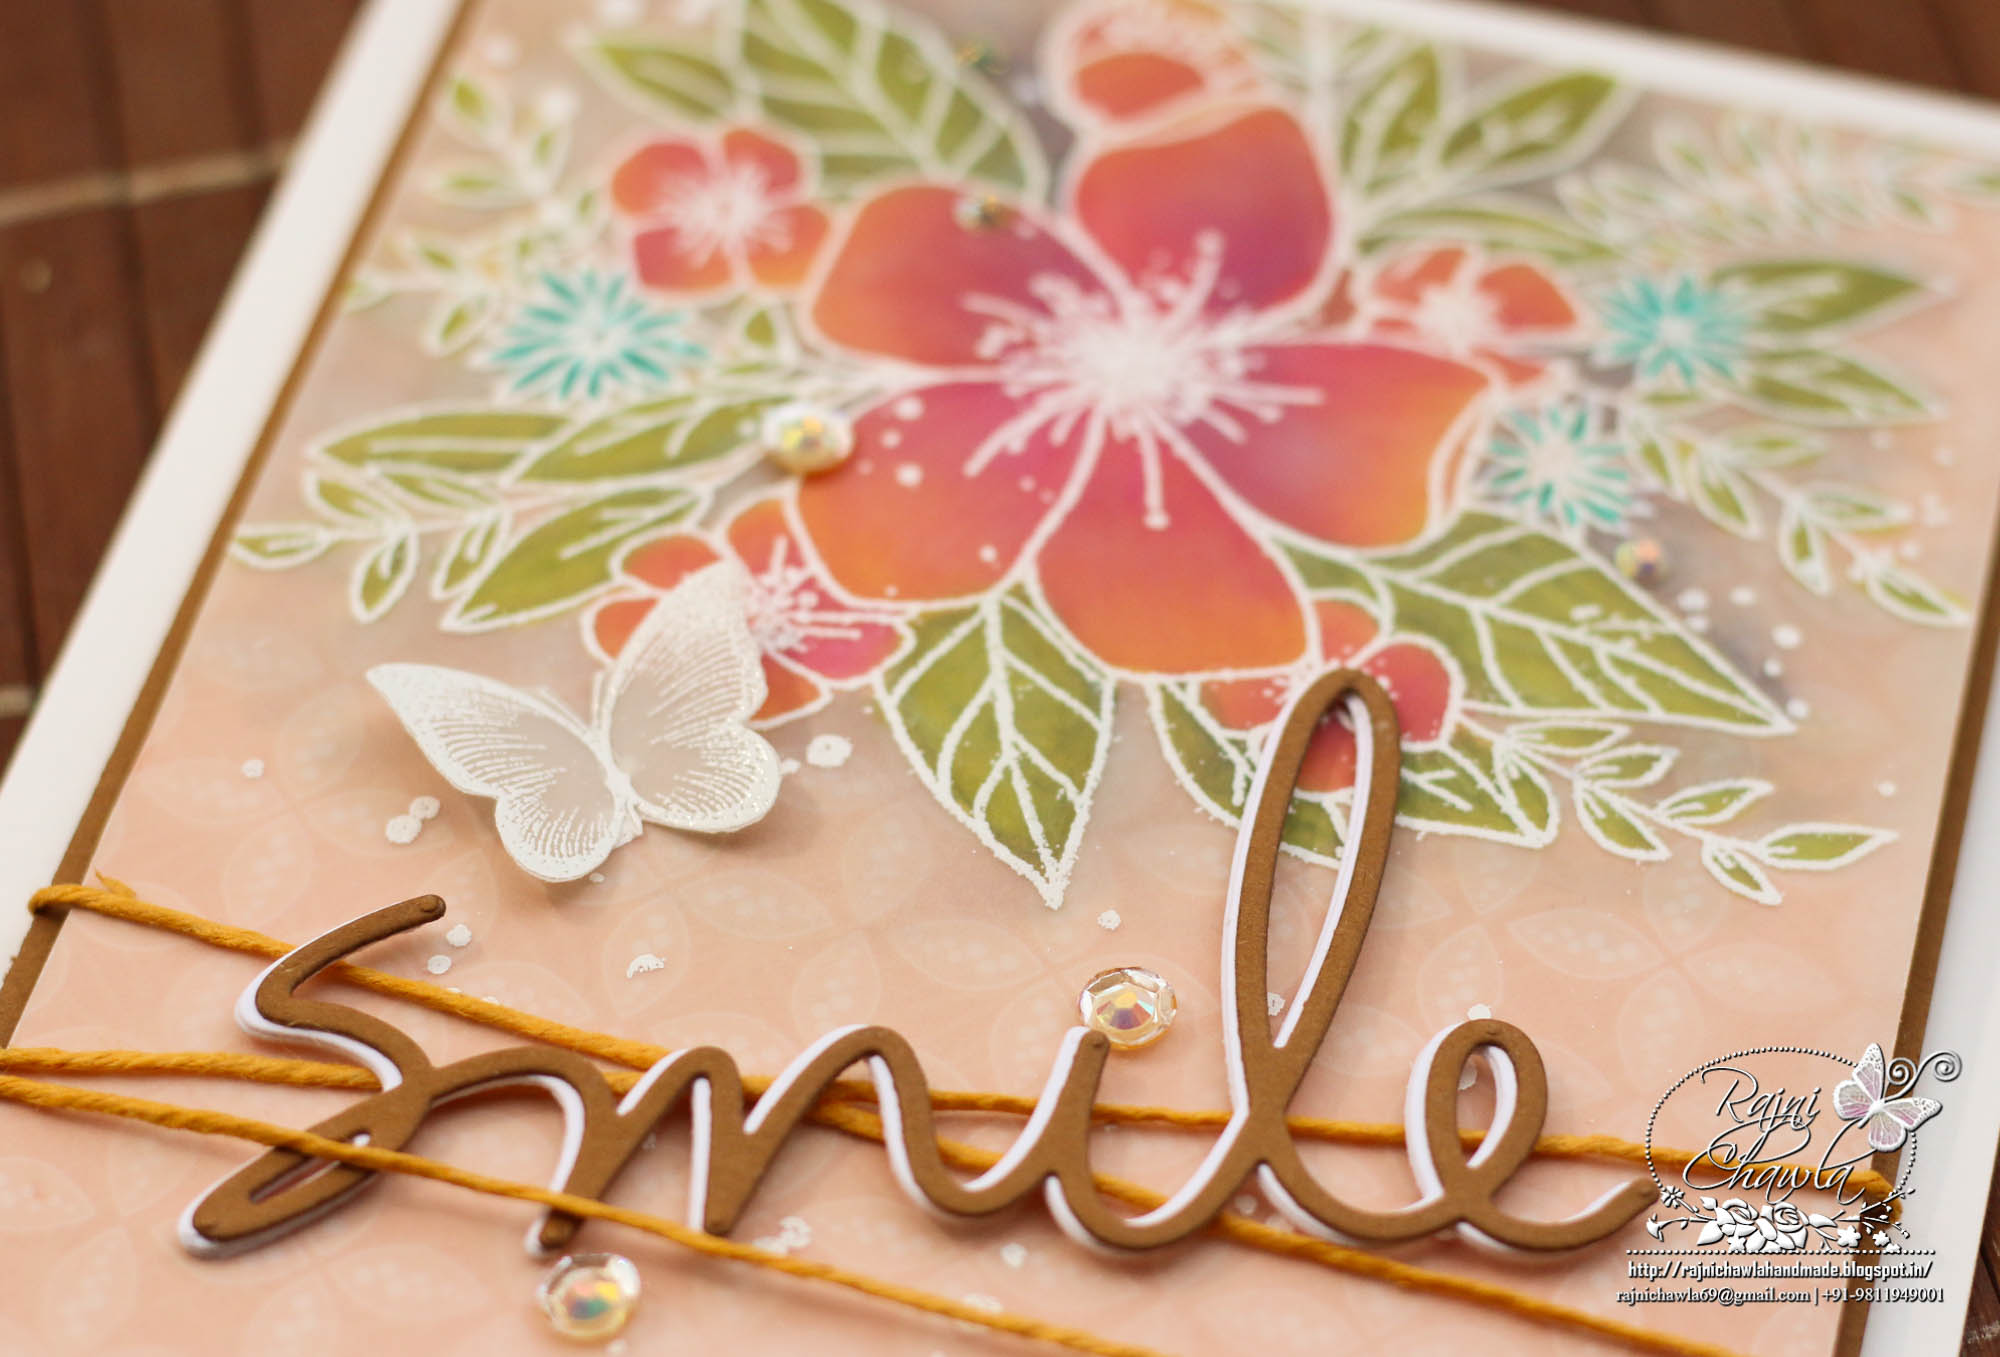
Stamp the image from Delicate Pansy Spray Cling Stamp Set using black archival ink and paint it using Zig Clean Clear Brush Markers. Die cut the painted image using its coordinating die. Stack 2-3 extra dies to the image to make it sturdy and then adhere it on the top right-hand corner.
Stamp the butterfly border from Butterfly Dreams Border stamp set using frost white Color Box ink on vellum cardstock and sprinkle white heat embossing powder. Dust extras and heat set the image using the heating tool. Die cut the image using it’s coordinating die and separate the butterflies. Add 2 butterflies as an extra accent to the card.
Another gorgeous creation Rajni! I just love your shaker cards!