


Good Morning Friends…
Thanks for joining me today. i am on Heartfelt Creation’s Blog today with an EZ Gift Card Tutorial.
We often get lots of occasions which calls for gifting. We all really love, love, love giving gifts.and super love receiving them too!! And what if the gift is nicely presented with all our love in a handcrafted envelope…..Awww that is a cherry on top. Let’s have some creative fun together creating a super easy and an elegant envelope using Border Basic Dies, which can be used for gifting small jewelry items, gift cards, Pictures, and much more. So sit back and relax with a huge cup of coffee and enjoy the step by step tutorial of the same.
Let’s gather some supplies first!!
Supplies from Heartfelt Creations: Classic Sunflower Paper Collection, Delicate Border Basic Die, Classic Border Die, Fleur Basic Border Die, Elegant Border Basic Die, Raindrop on Roses Die. Classic Circle die by Spellbinders, Crystal Clear Glitter, Classic Sunflower Die, Classic Sunflower Cling Stamp, Adhesive that Dries Clear, Deluxe Flower Shaping tools, Color Box Dark Brown, Harvest, Pumpkin Spice and Red Barn

Here is the step by step picture tutorial for the same.
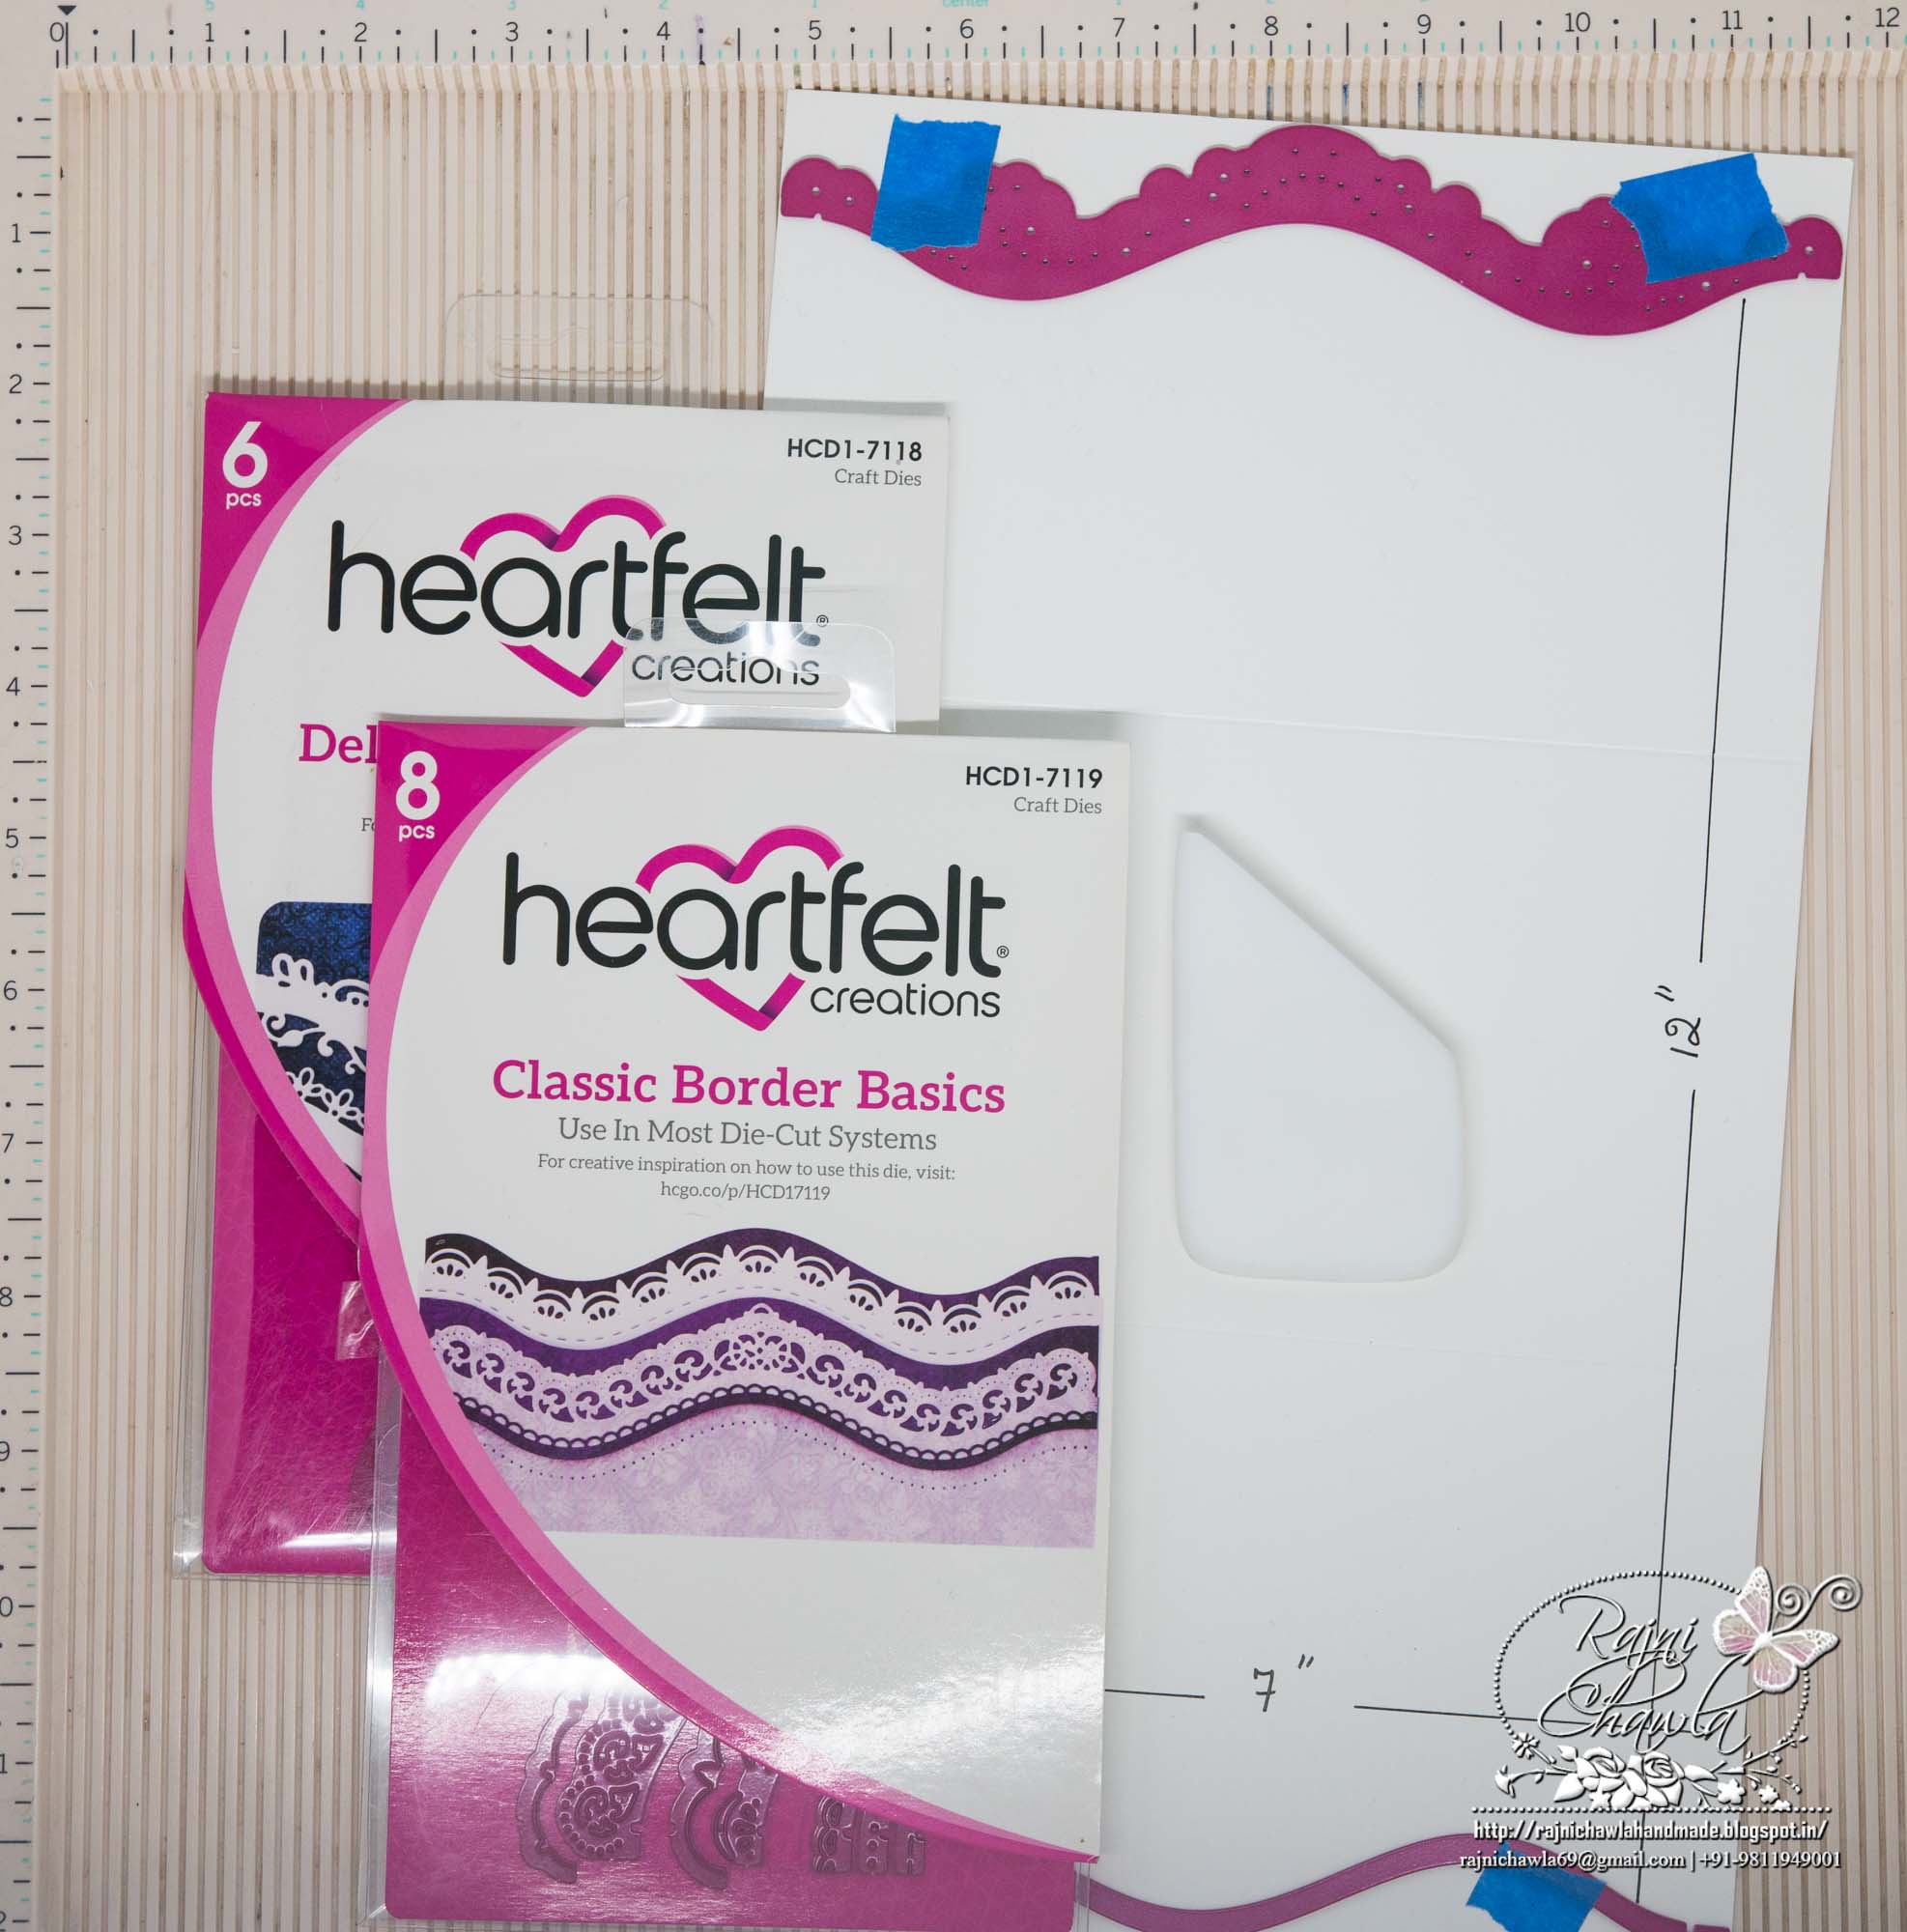
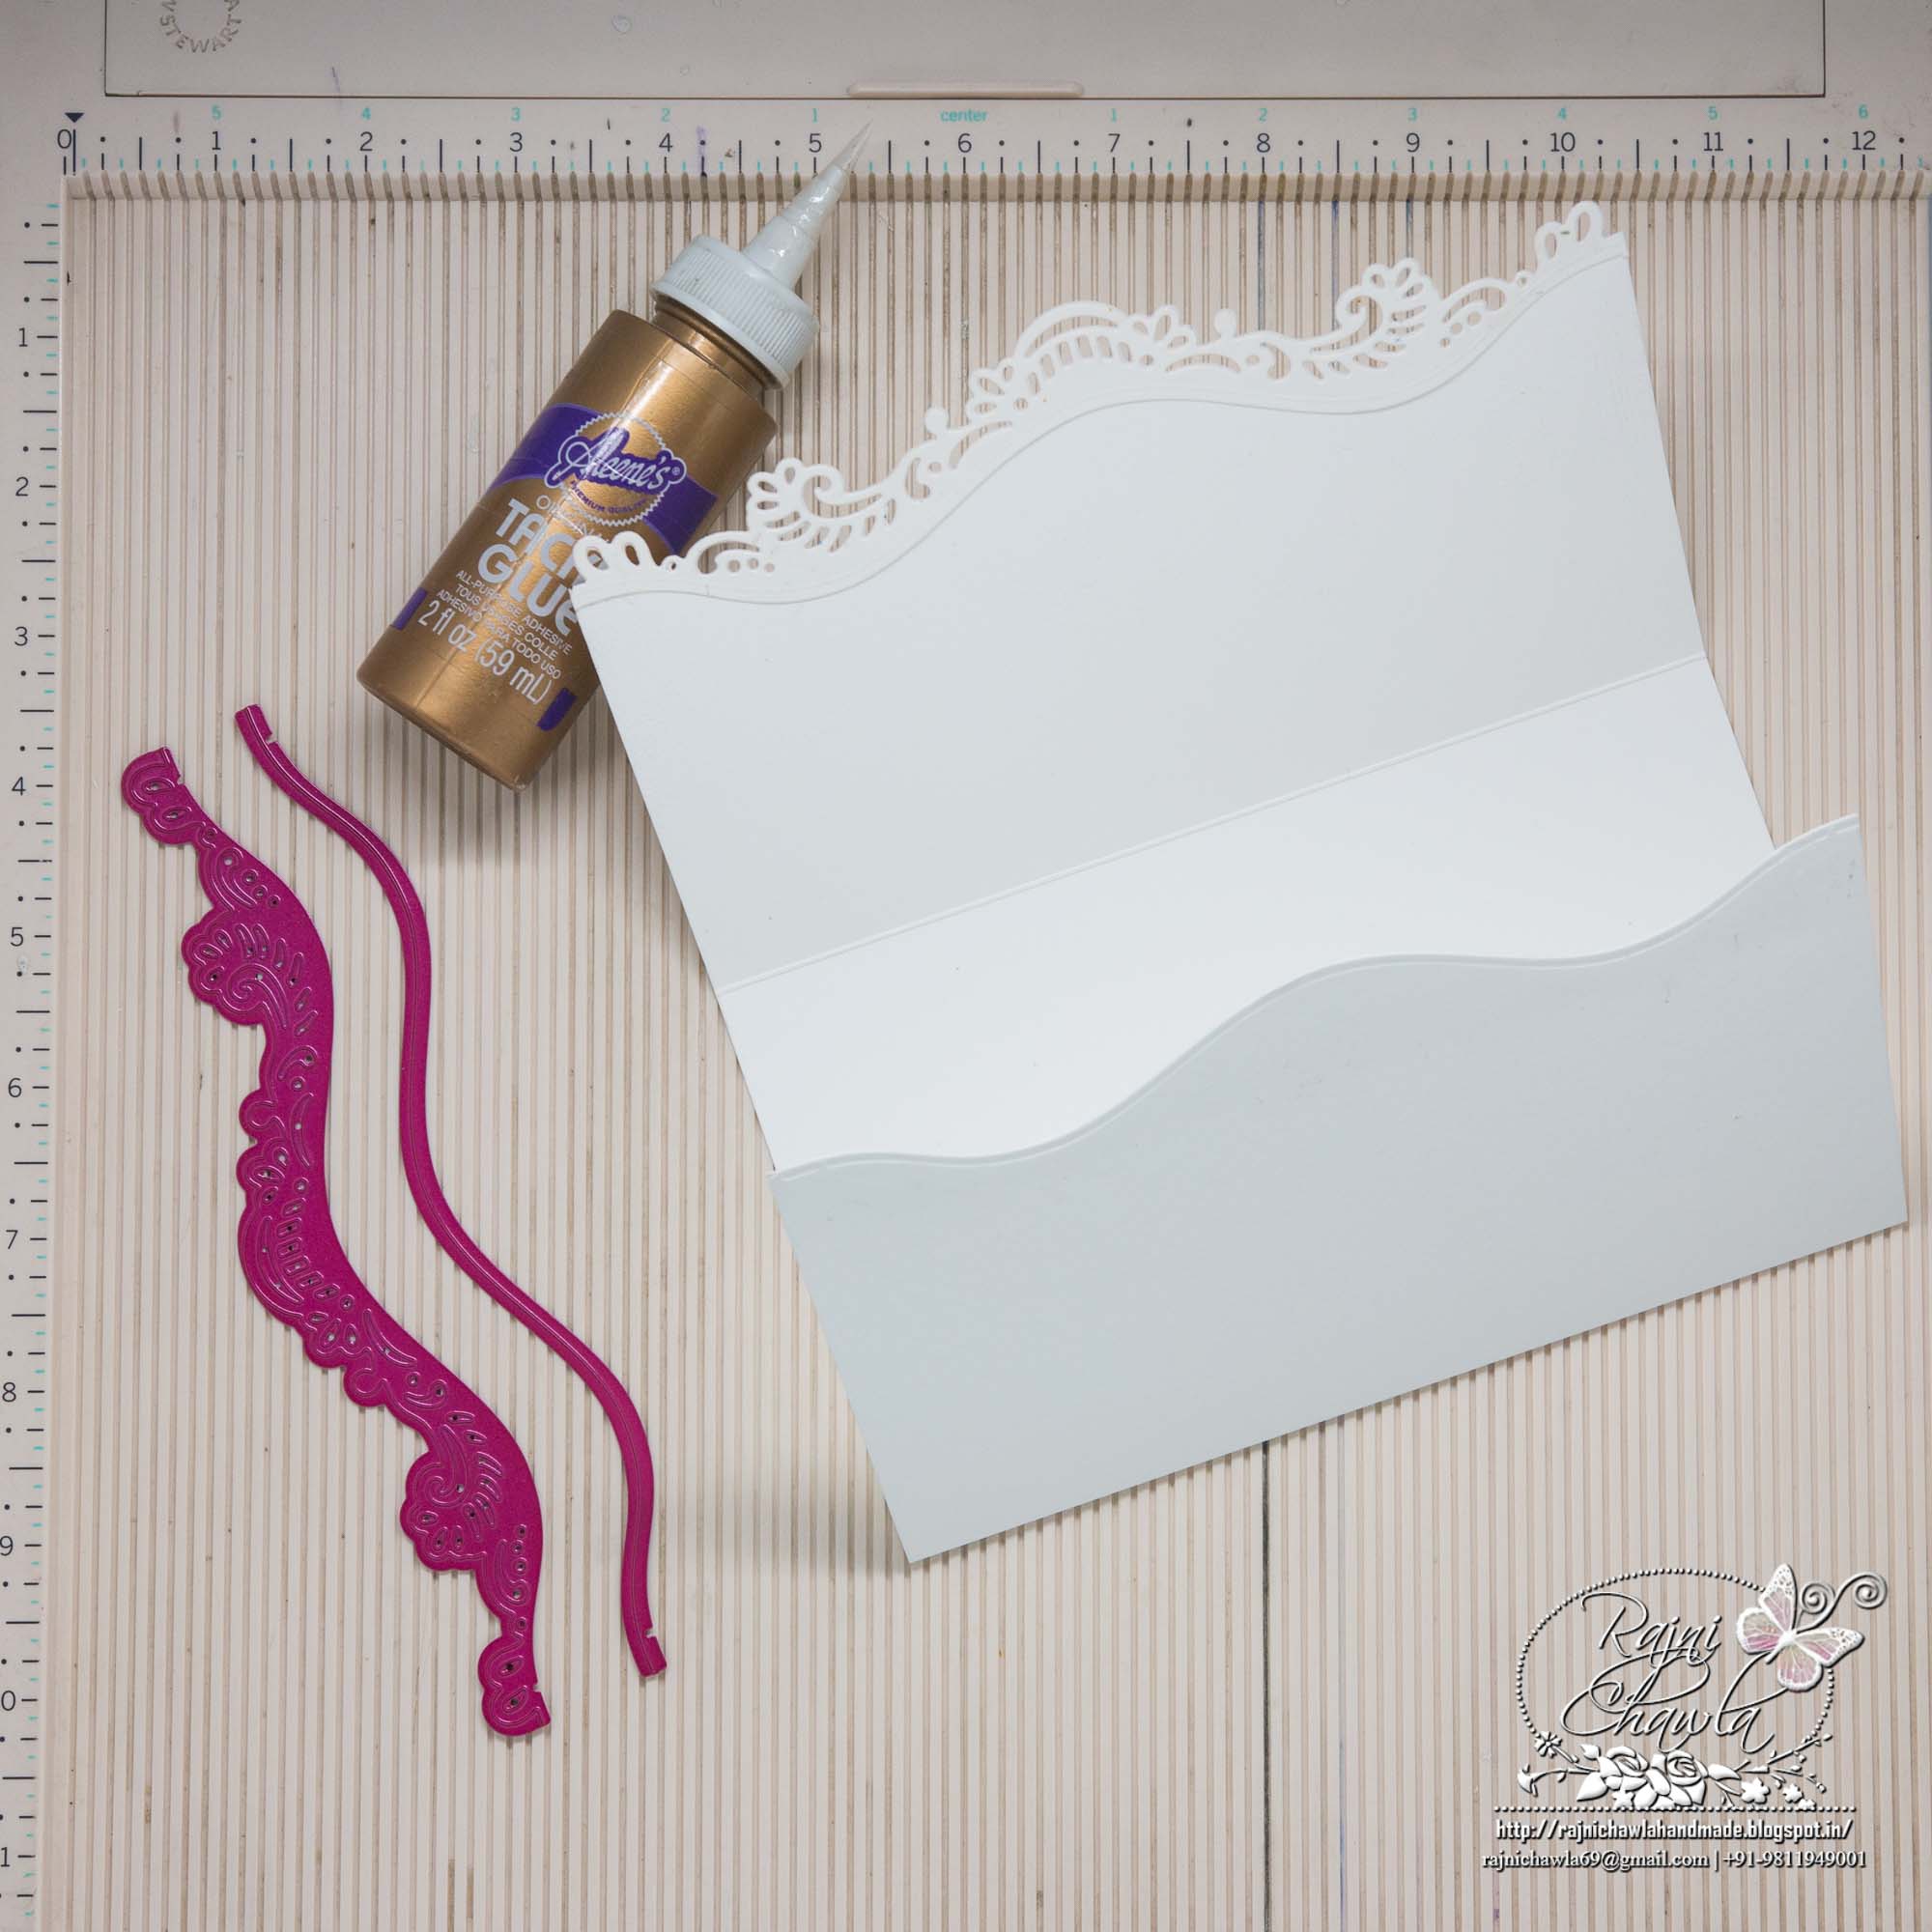
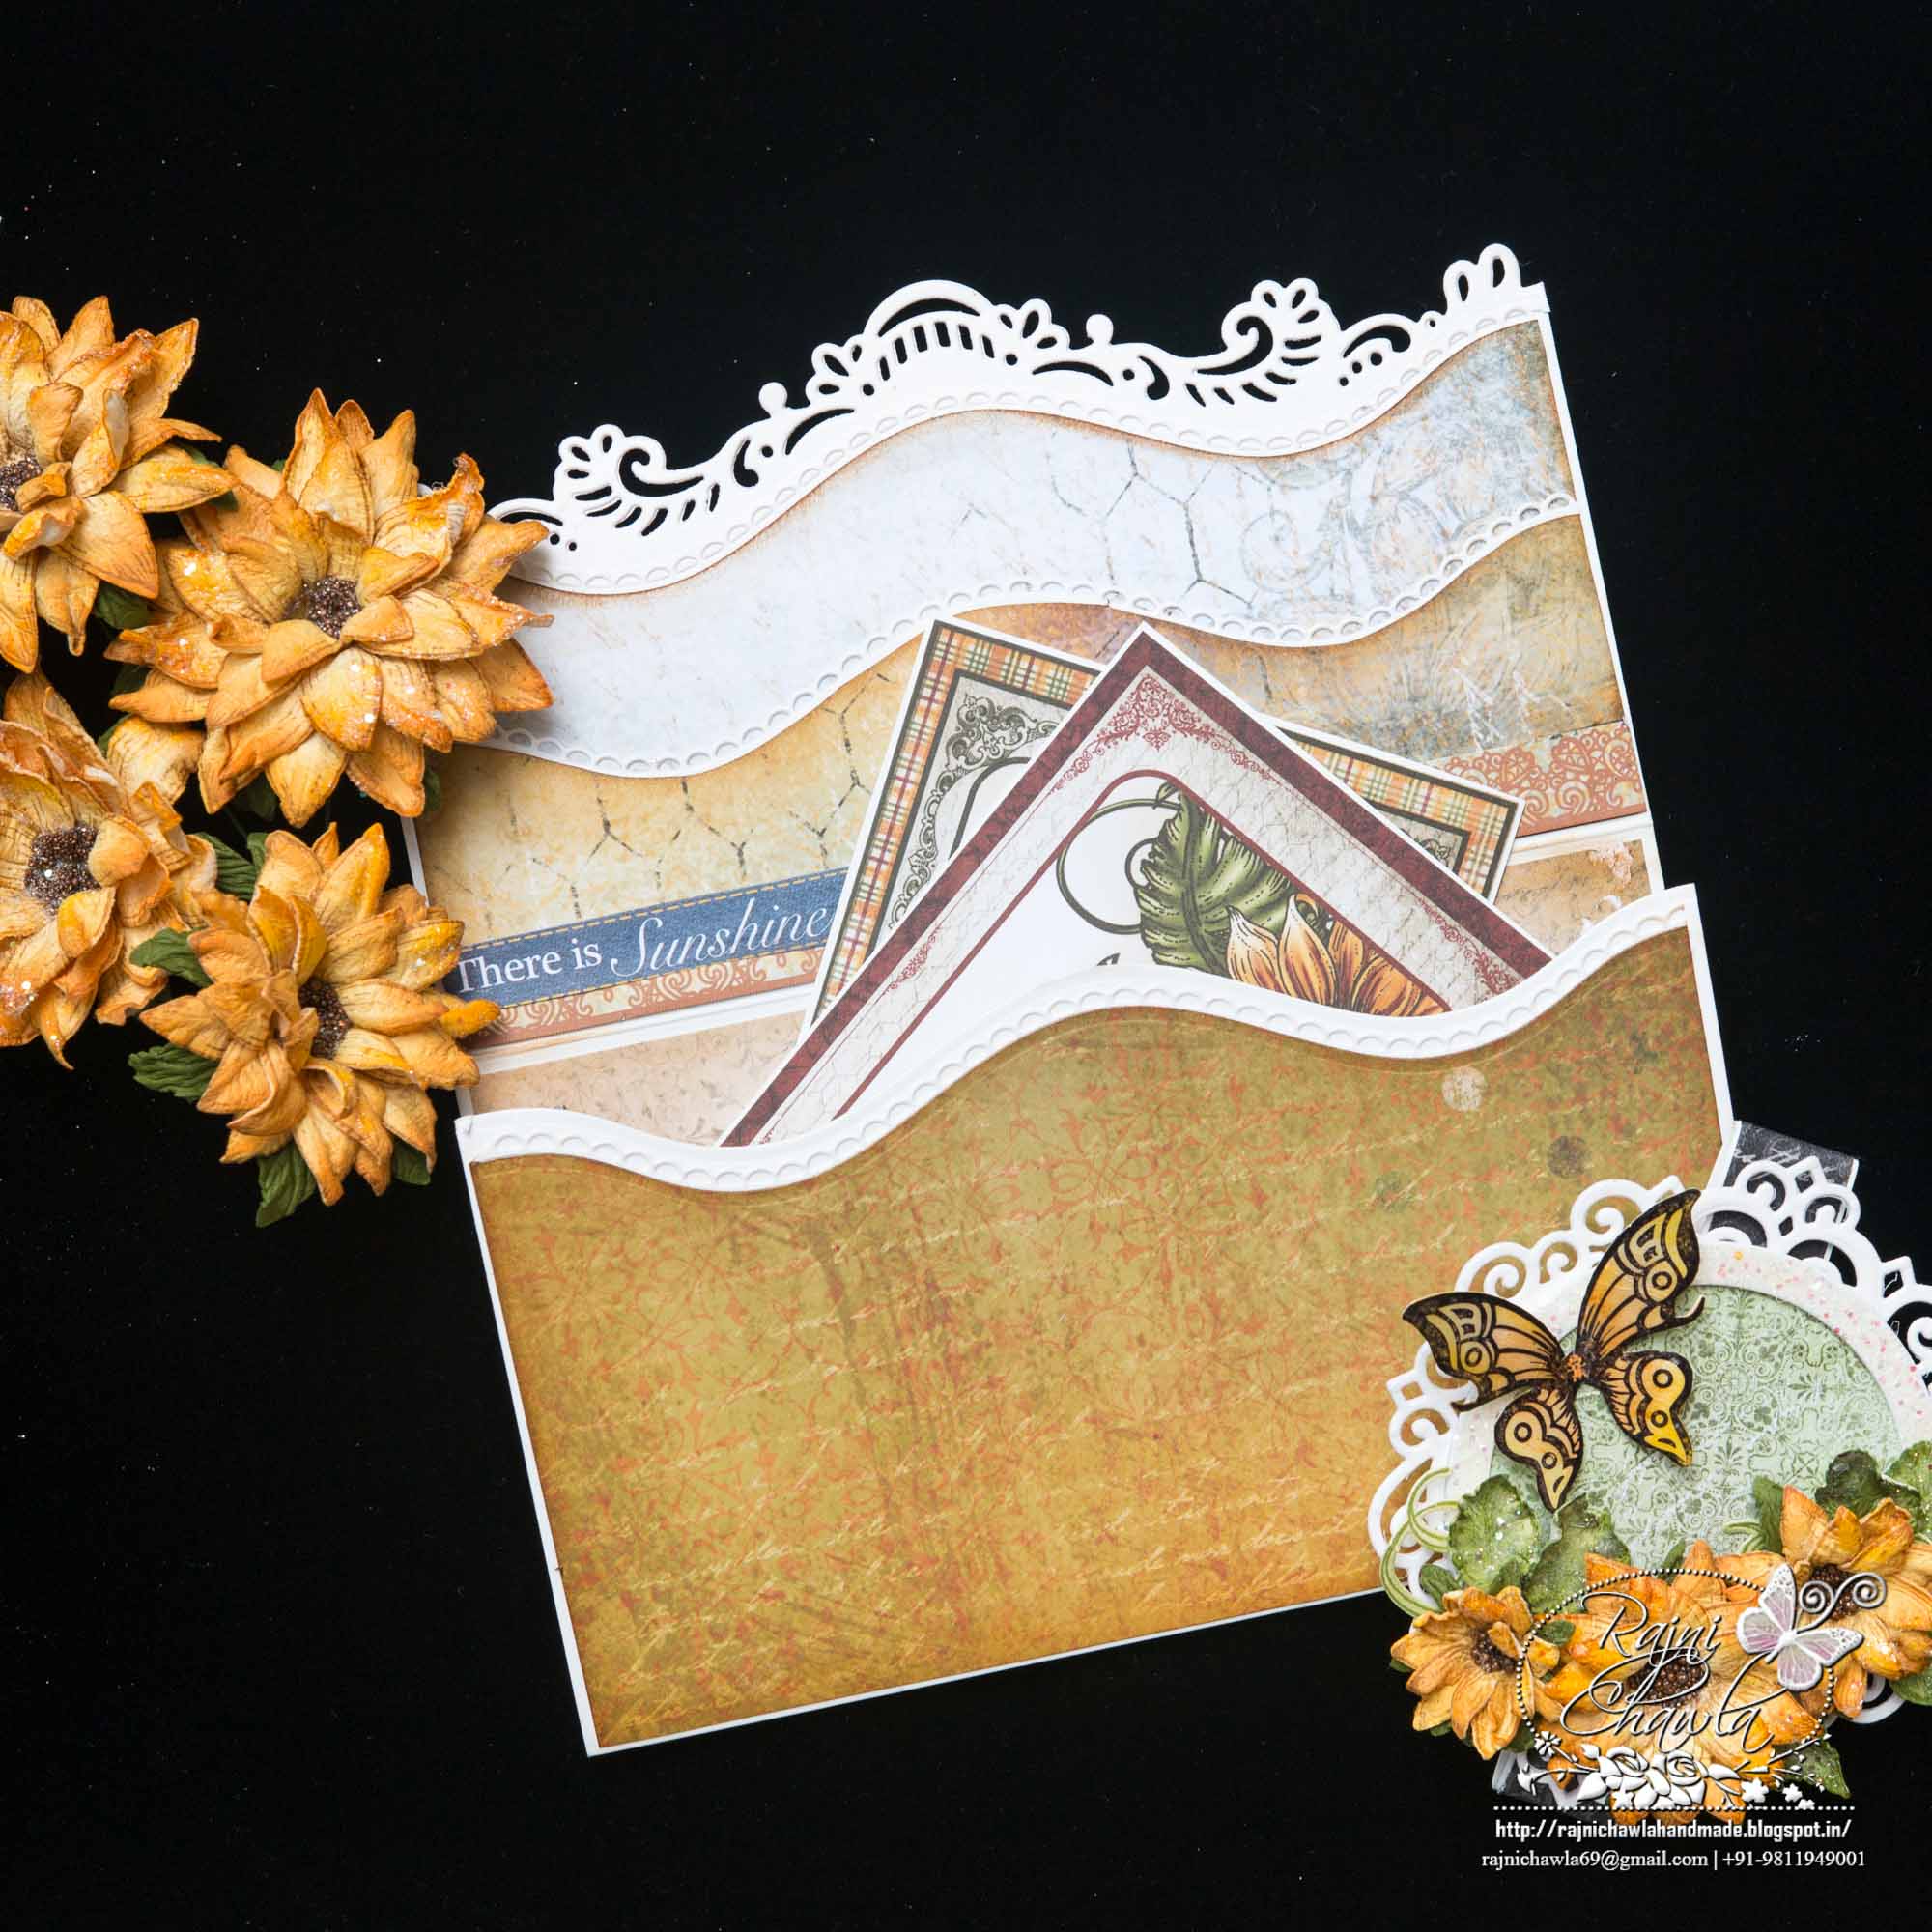
Step 1: Envelope Base: Cut a smooth white card stock measuring 7” by 12”.Score at 4” and 8” on the longer side. On one end place, decorative border from Delicate Border die and place the coordinating die on the other end. Save both the dies with the help of painters tape or washi tape. Cut one extra die cut as shown in next picture.
Tips to remember here:
Tip1. Since the paper is wider than the platform of die cutting machine, the pressure will not be even in the center. To get crisp and neat cut, heat set the paper a little with your heat gun. That will remove the moisture of the paper if any and it will help give a crisp cut. Also, use an extra shim to build extra pressure on rollers.
Tip2. Always remove extra stickiness form printers tape by sticking and removing it a couple of times on your hand.
Tip3: Stick the dies with the tape in such a way that painters tape relaxes on the paper which has to be discarded after the cut. Check the picture for reference.

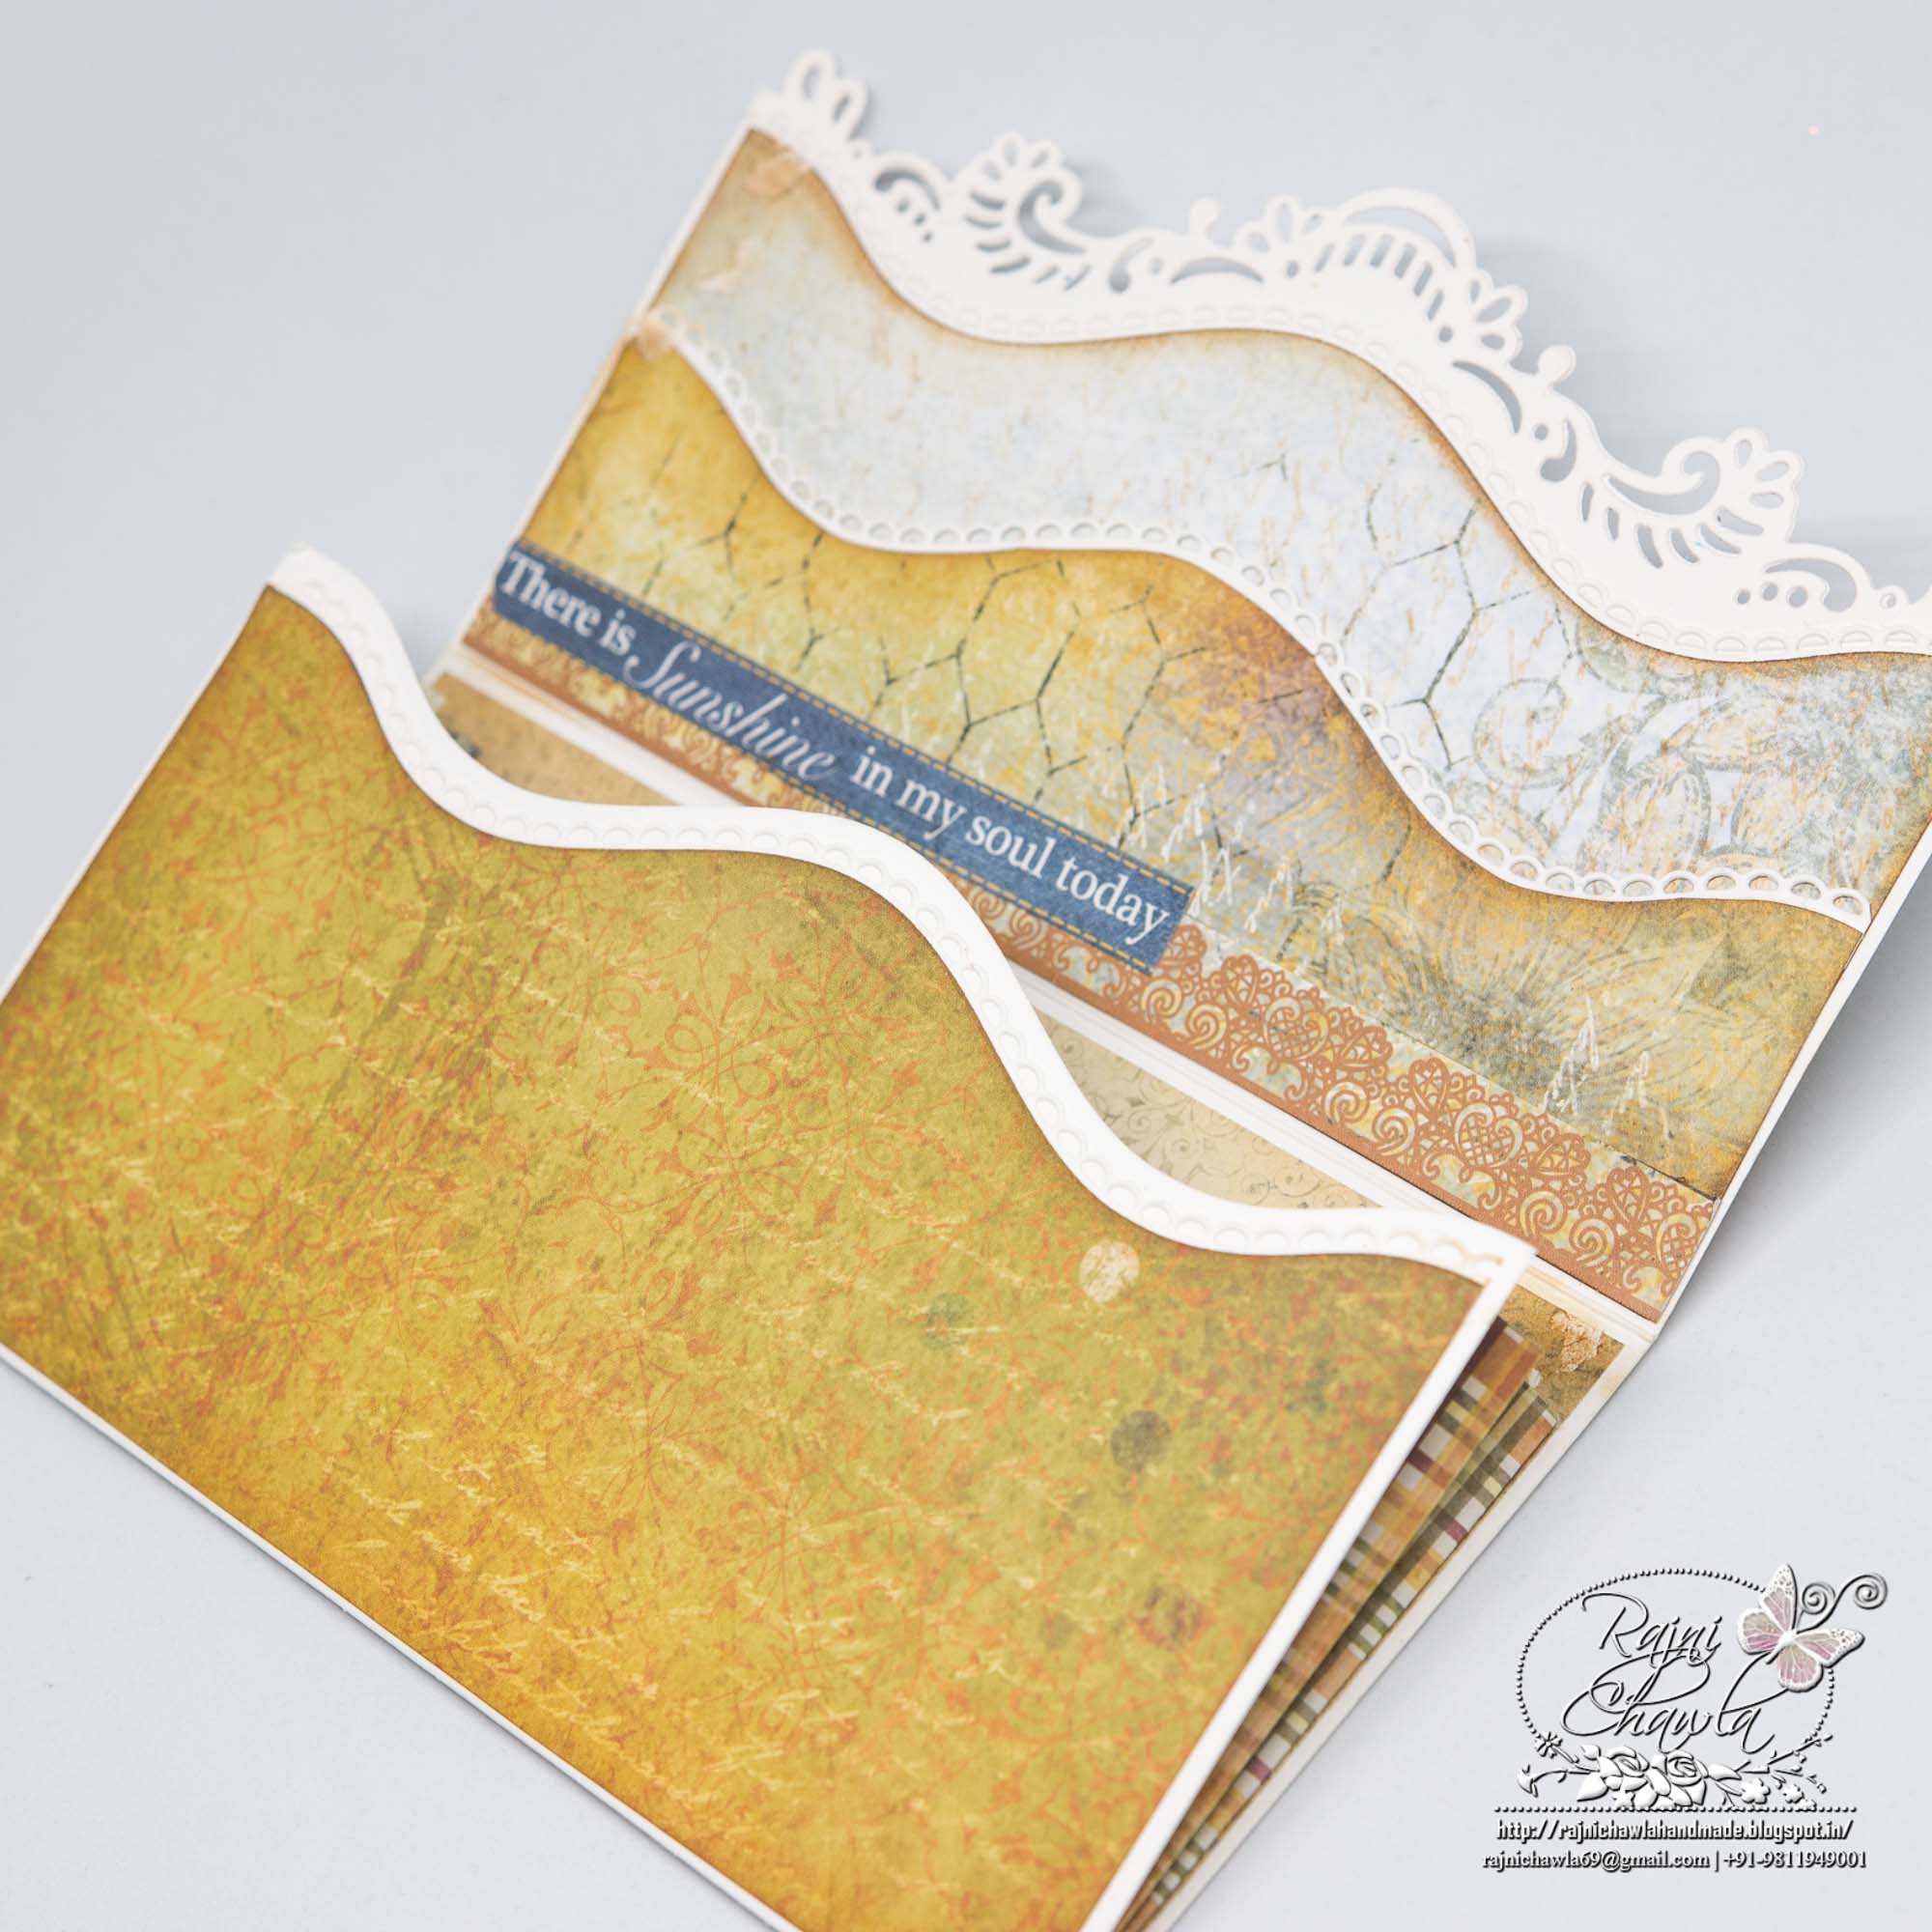
Step 2: Crease the envelope base on score lines and glue another white die cut on the inside of the fold as well.
Tip4. Gluing a same die cut on the back side will add an extra beauty to your project besides making it sturdier. Though adding an extra die cut also adds to extra hard work but it’s worth all our efforts when it gives extra life to our projects.
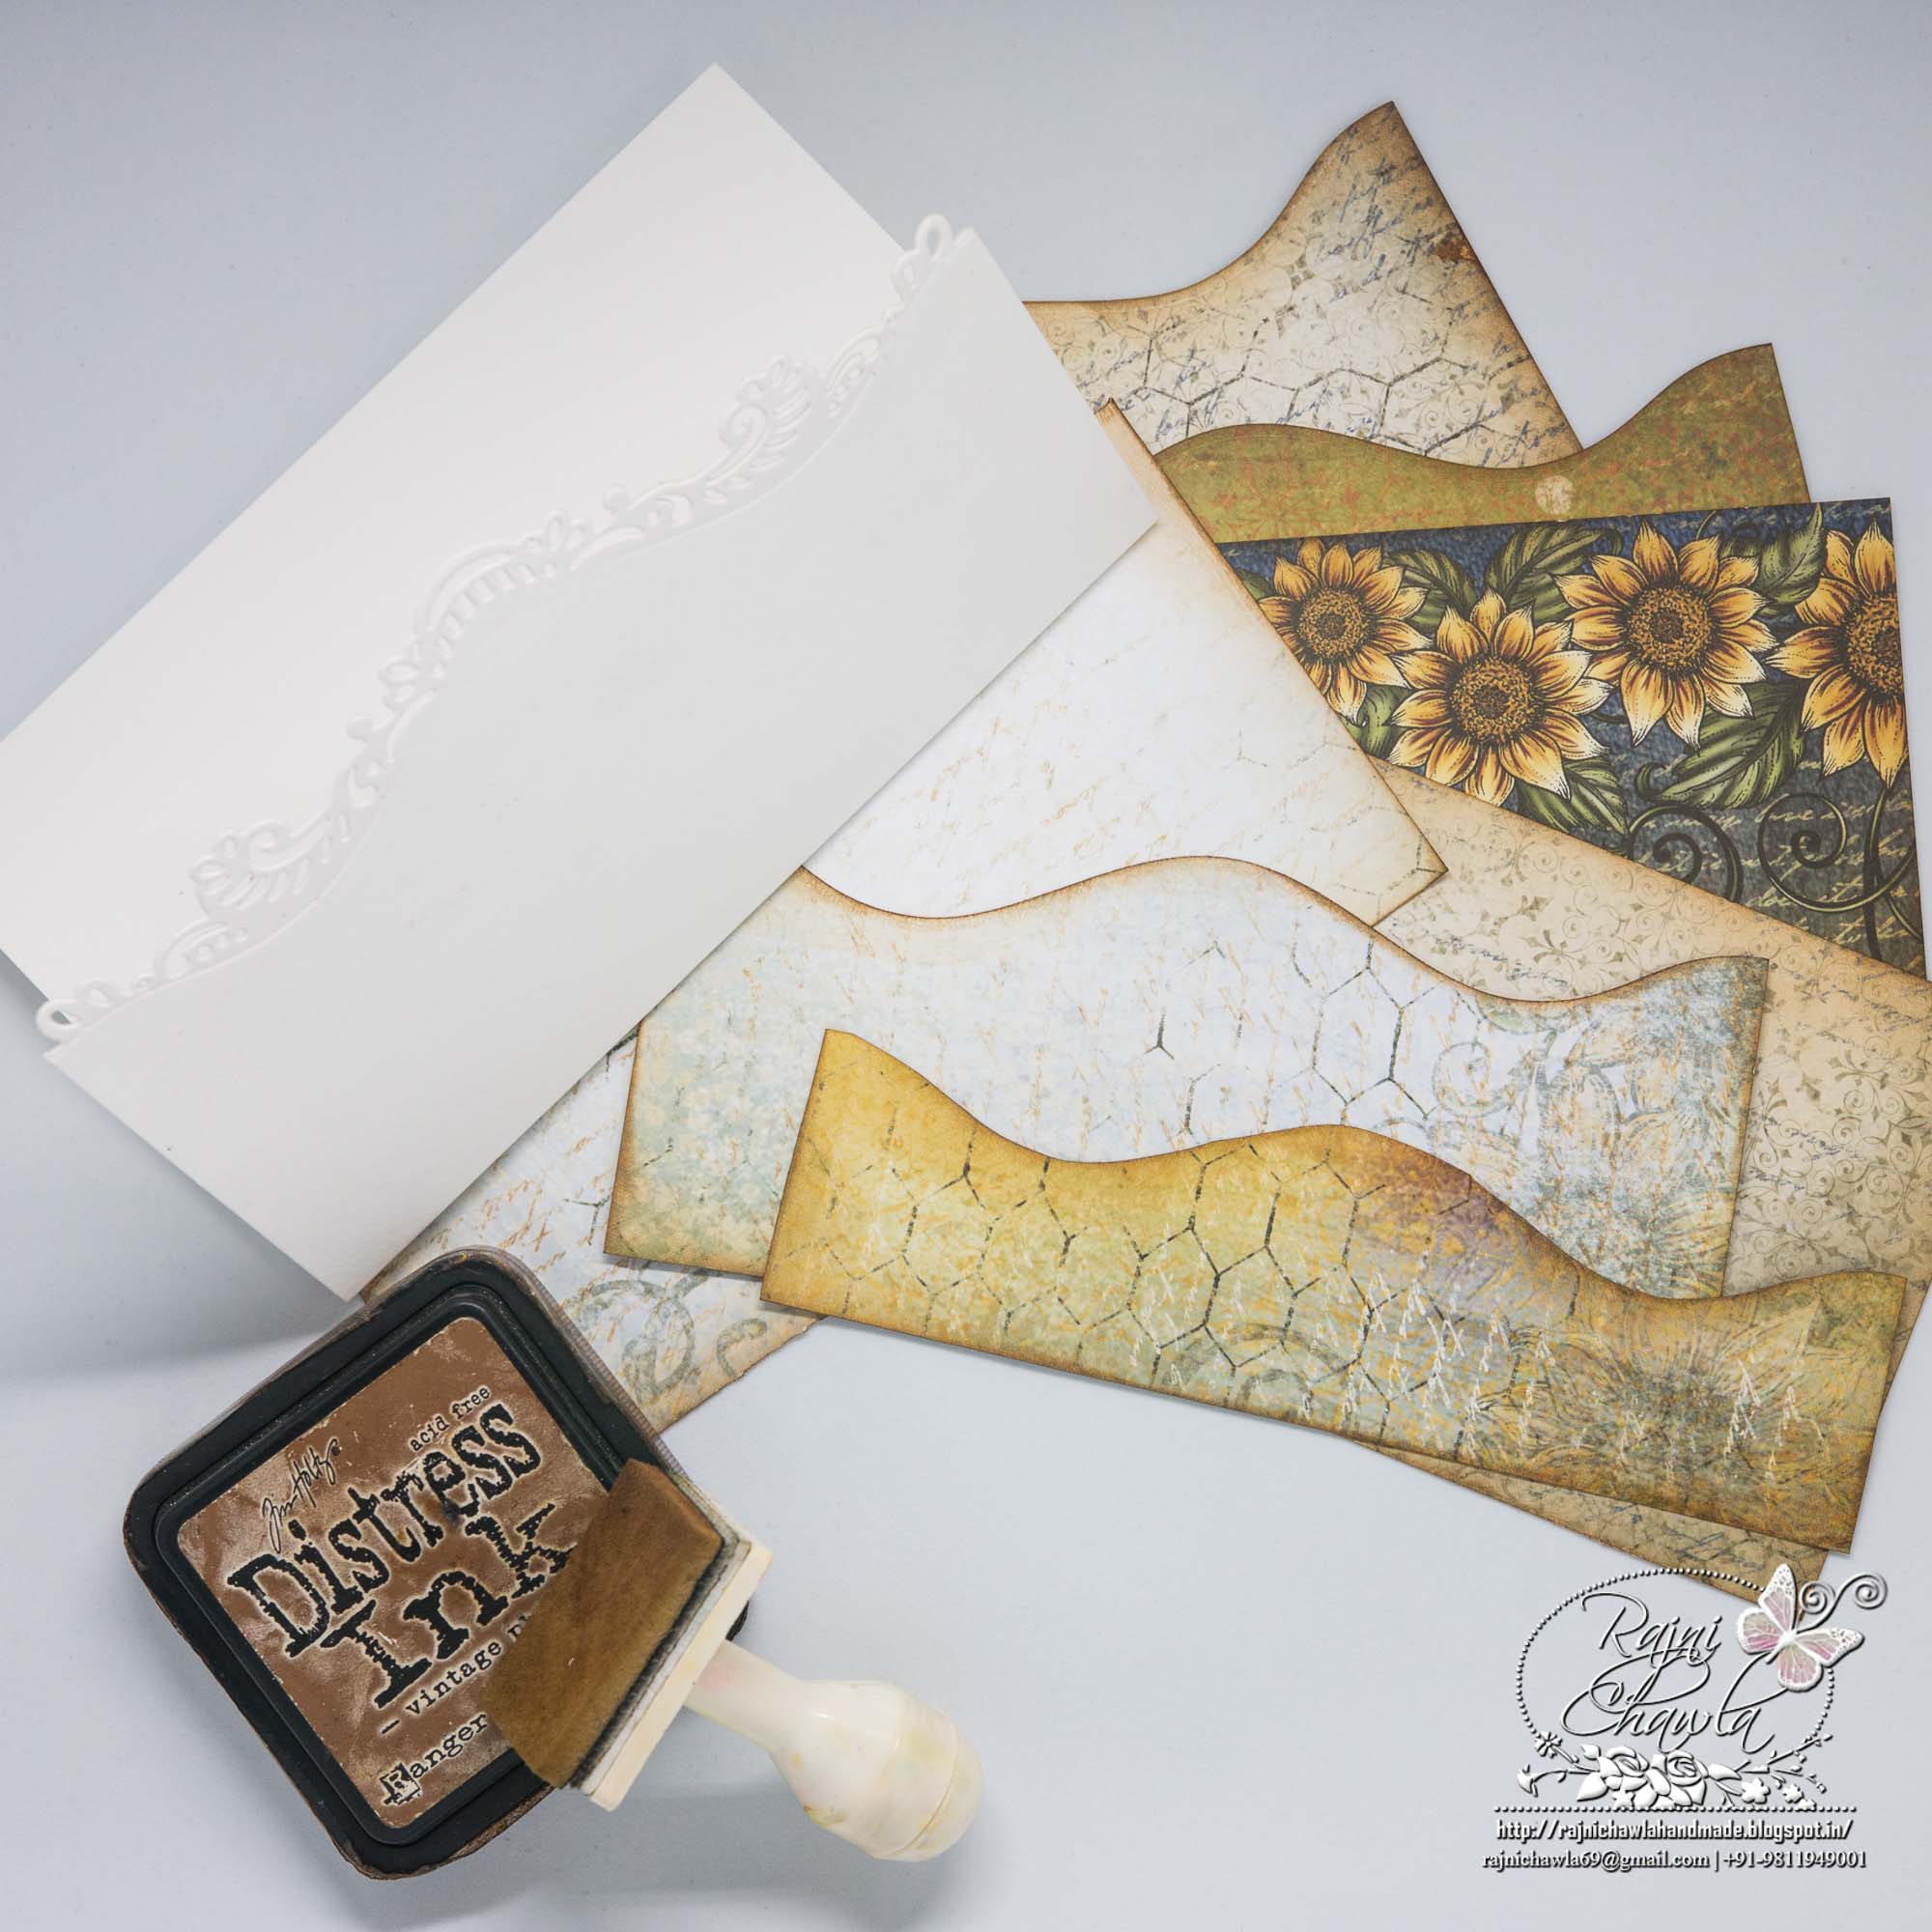


Here is how it looks from out side when covered with designer paper.
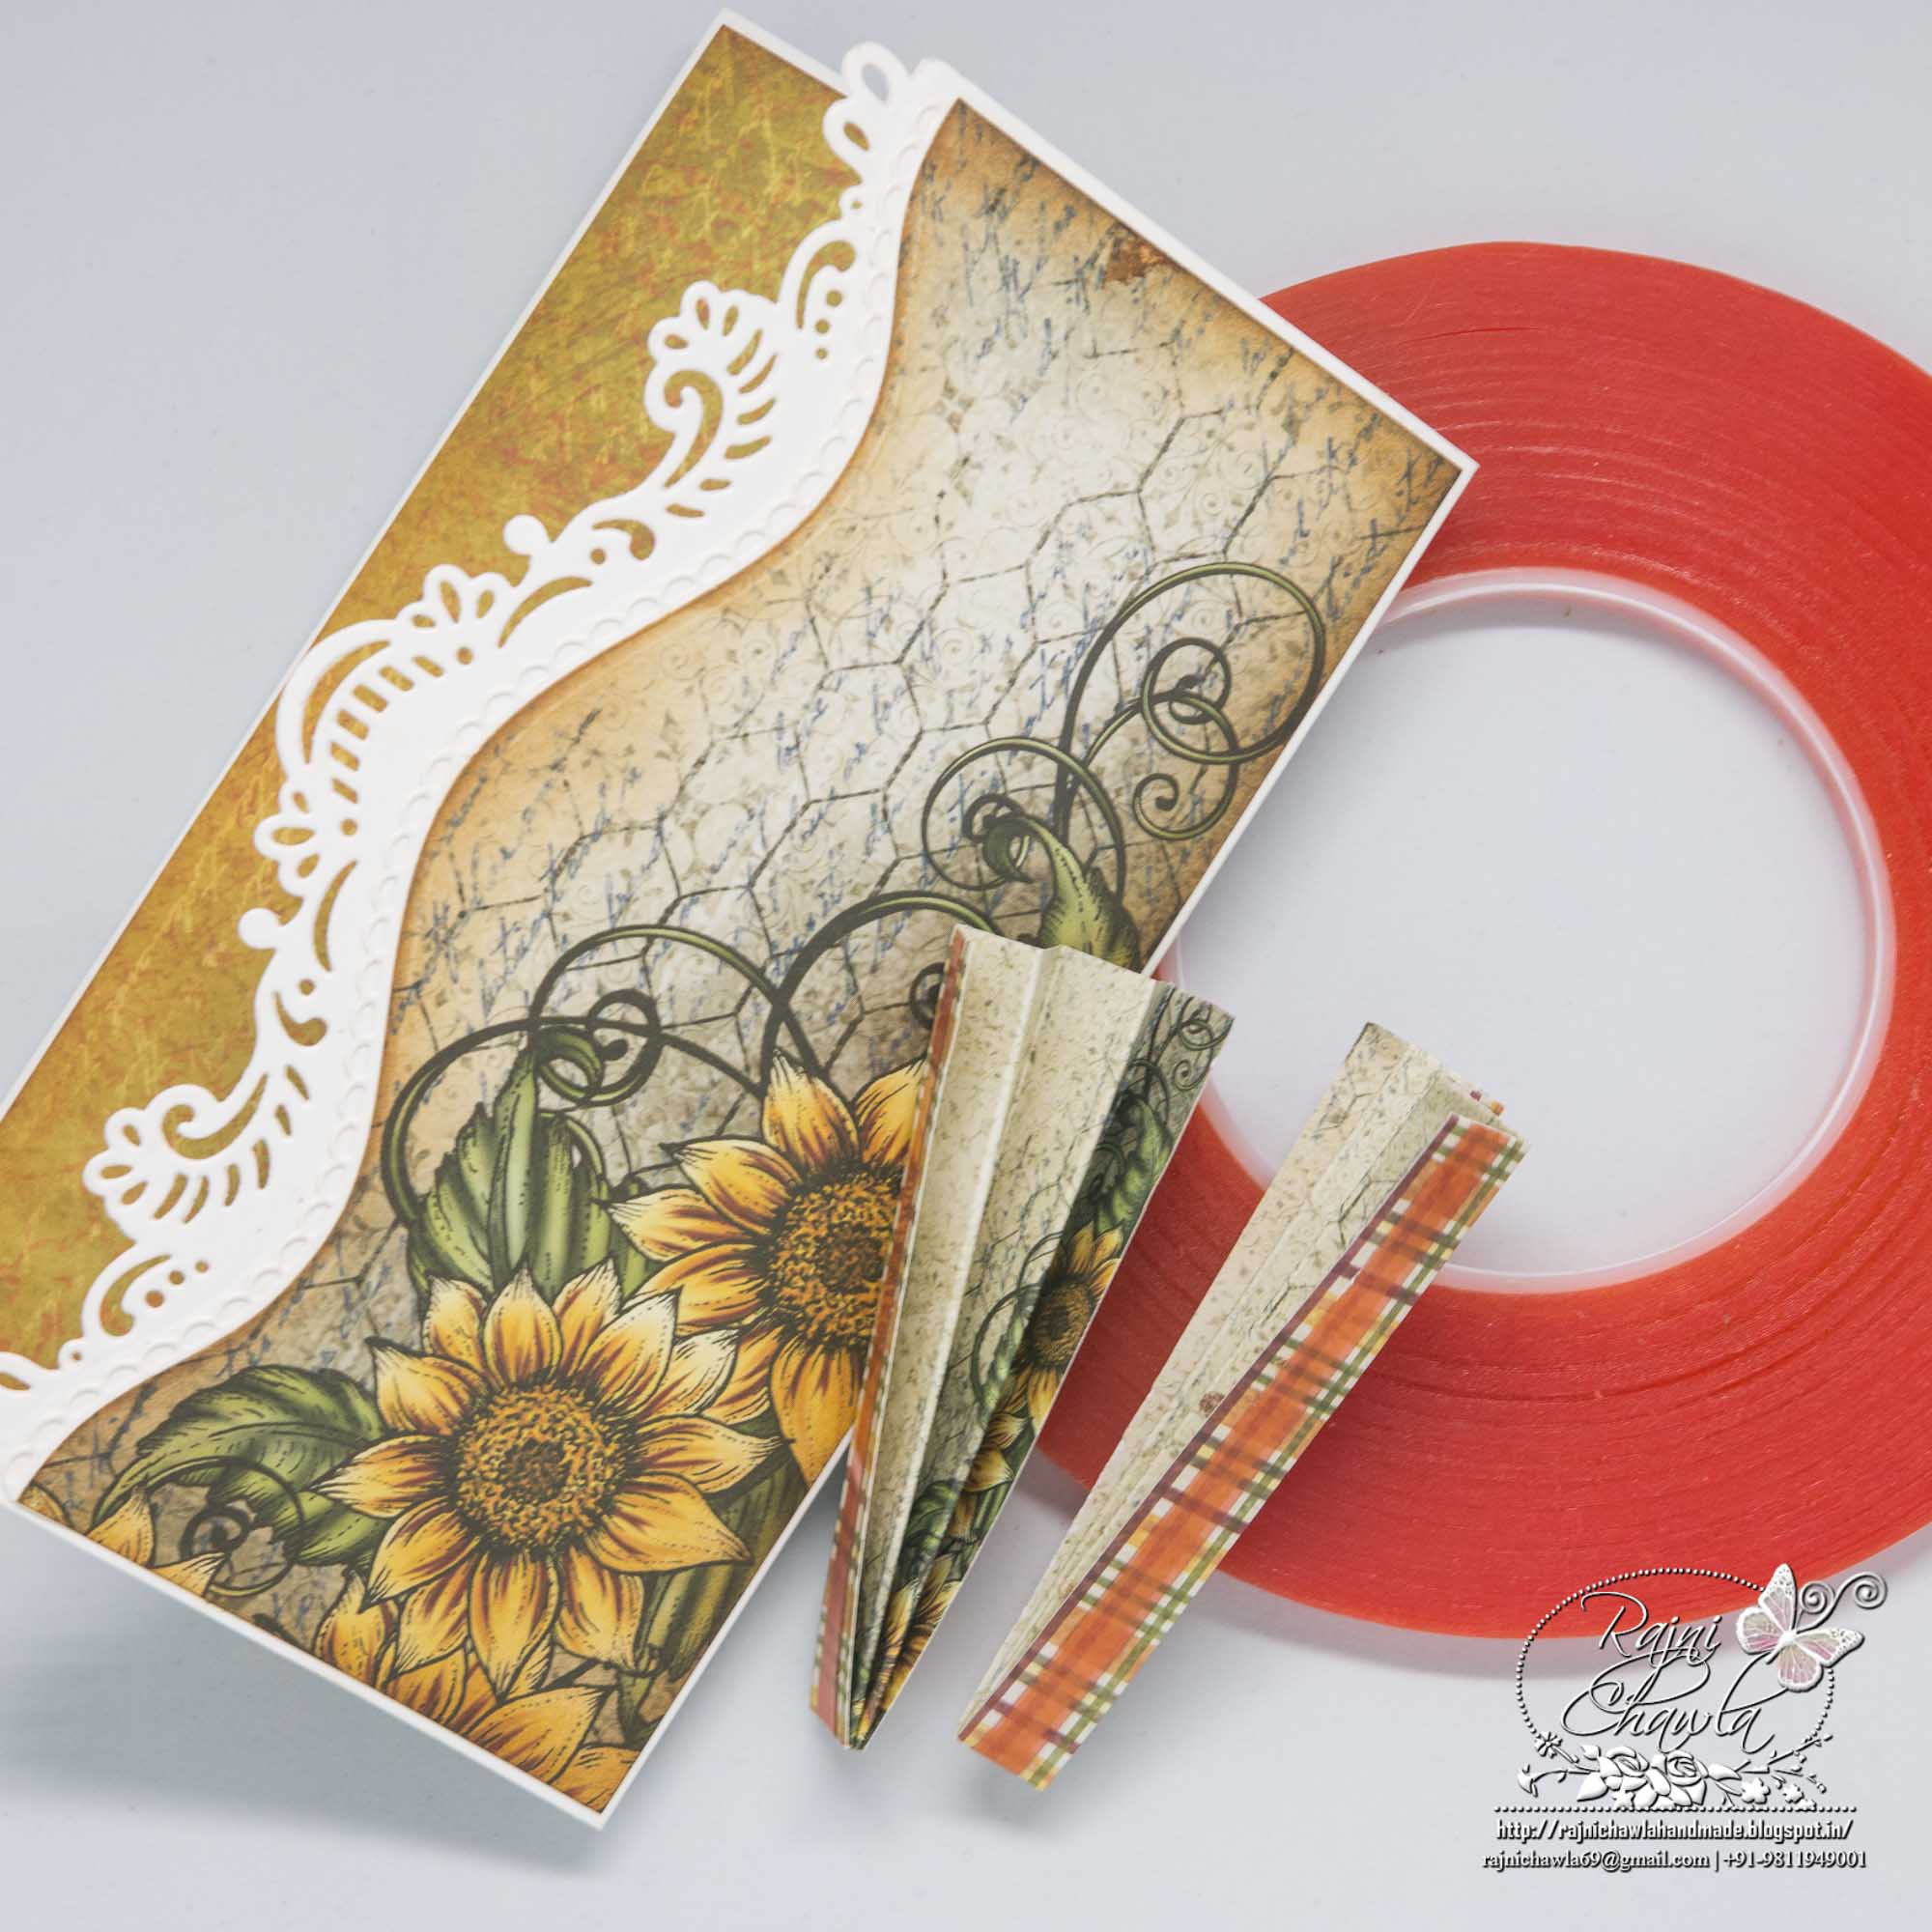
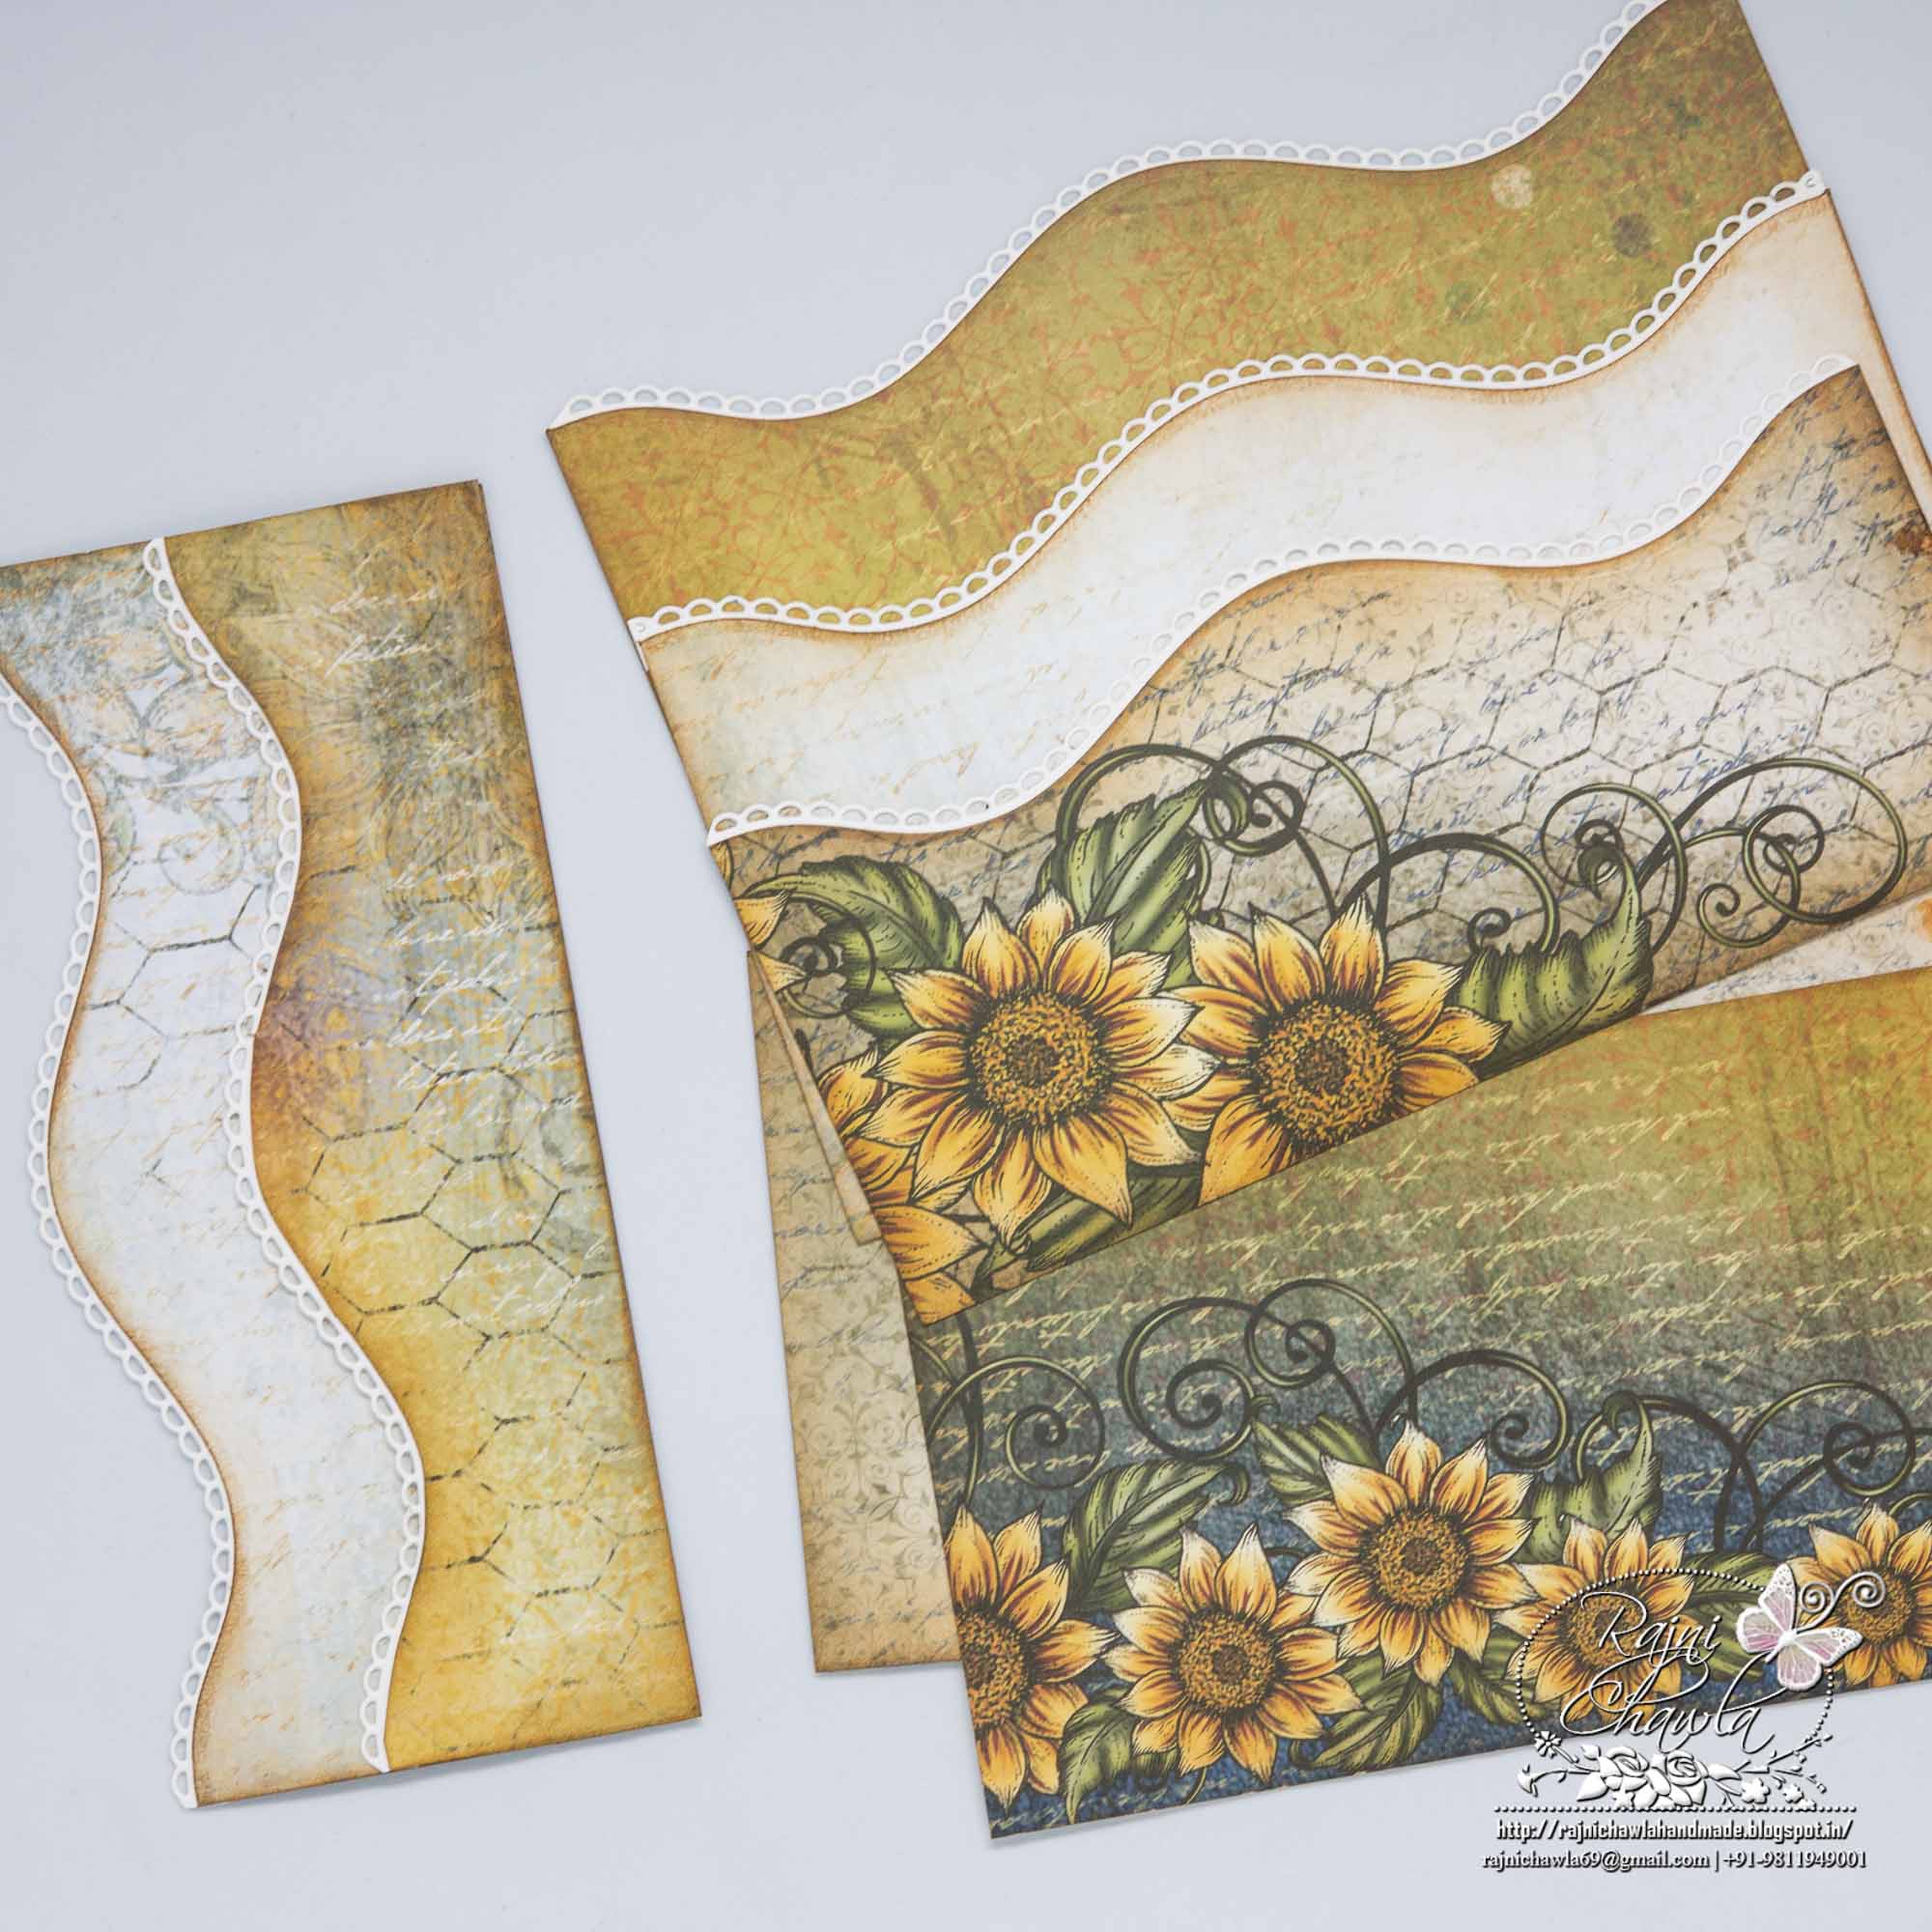
Step6: For the side hinges, cut the paper measuring 3’ by 3 ½ “and score each time at ½” on the shorter side. Add red tacky tape and add the hinges to the envelope as shown.
The envelope has good enough space to hold 4-5 photo mats, small jewelry, gift tags etc.
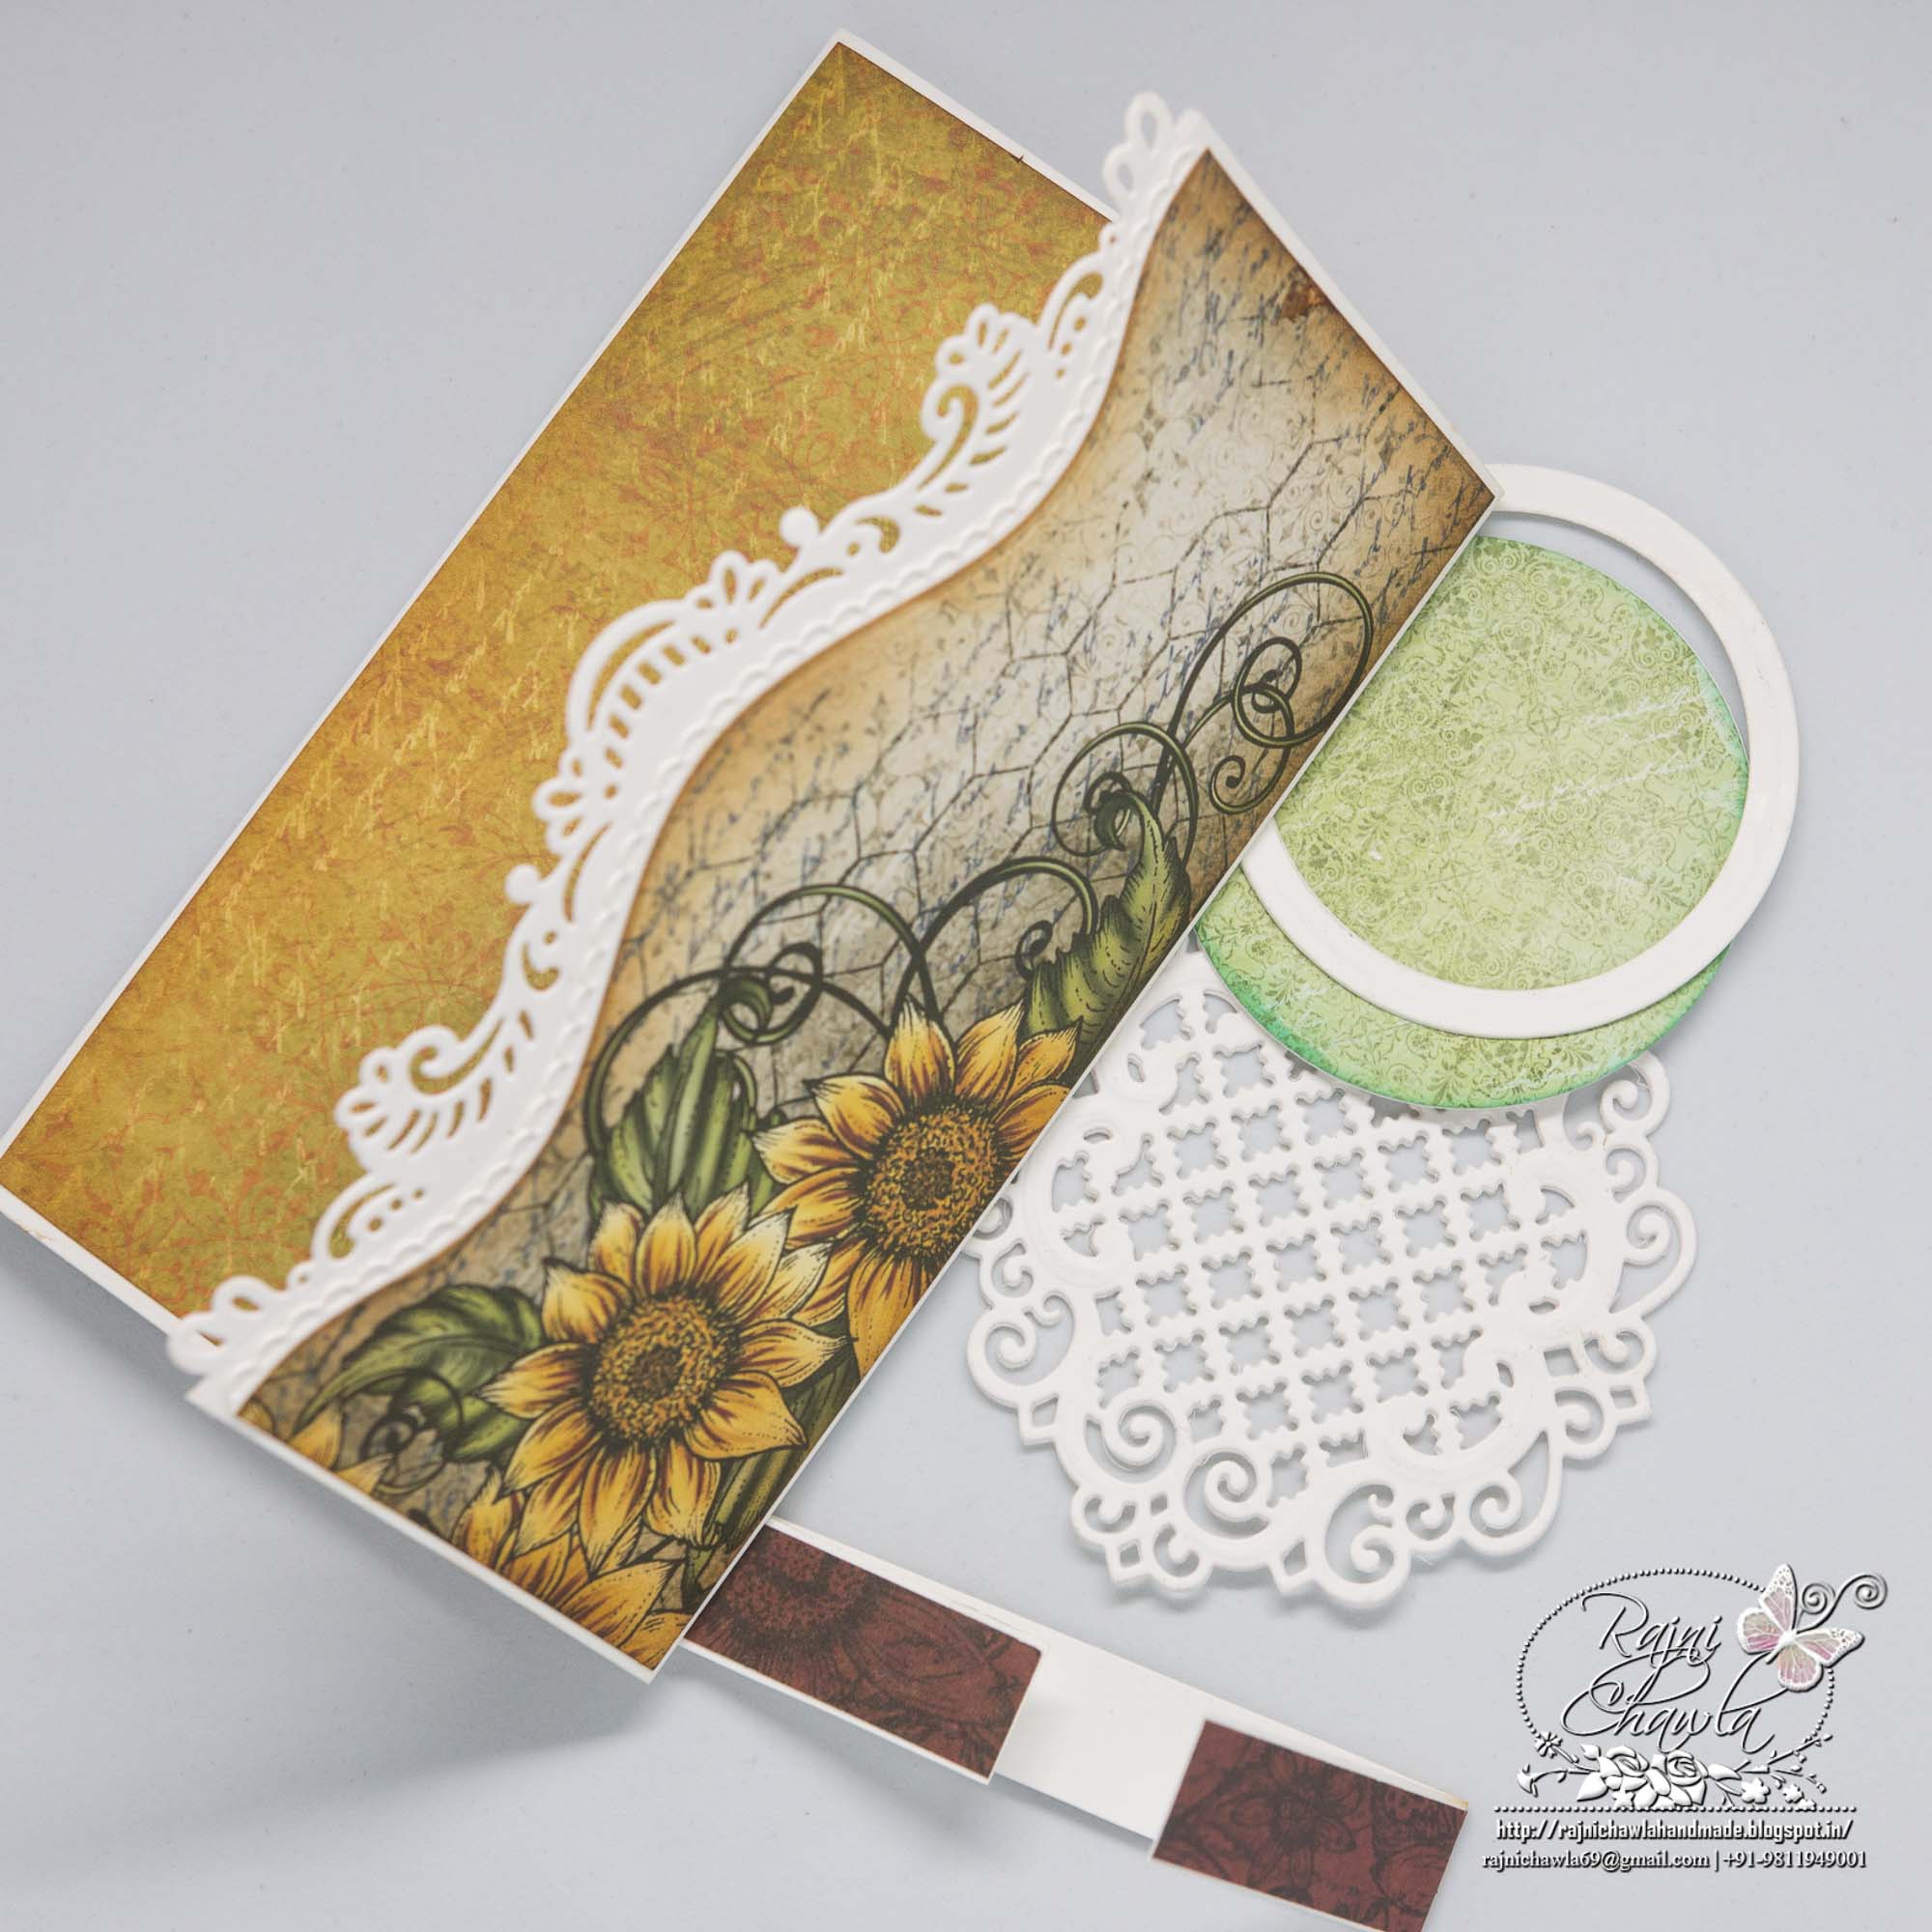
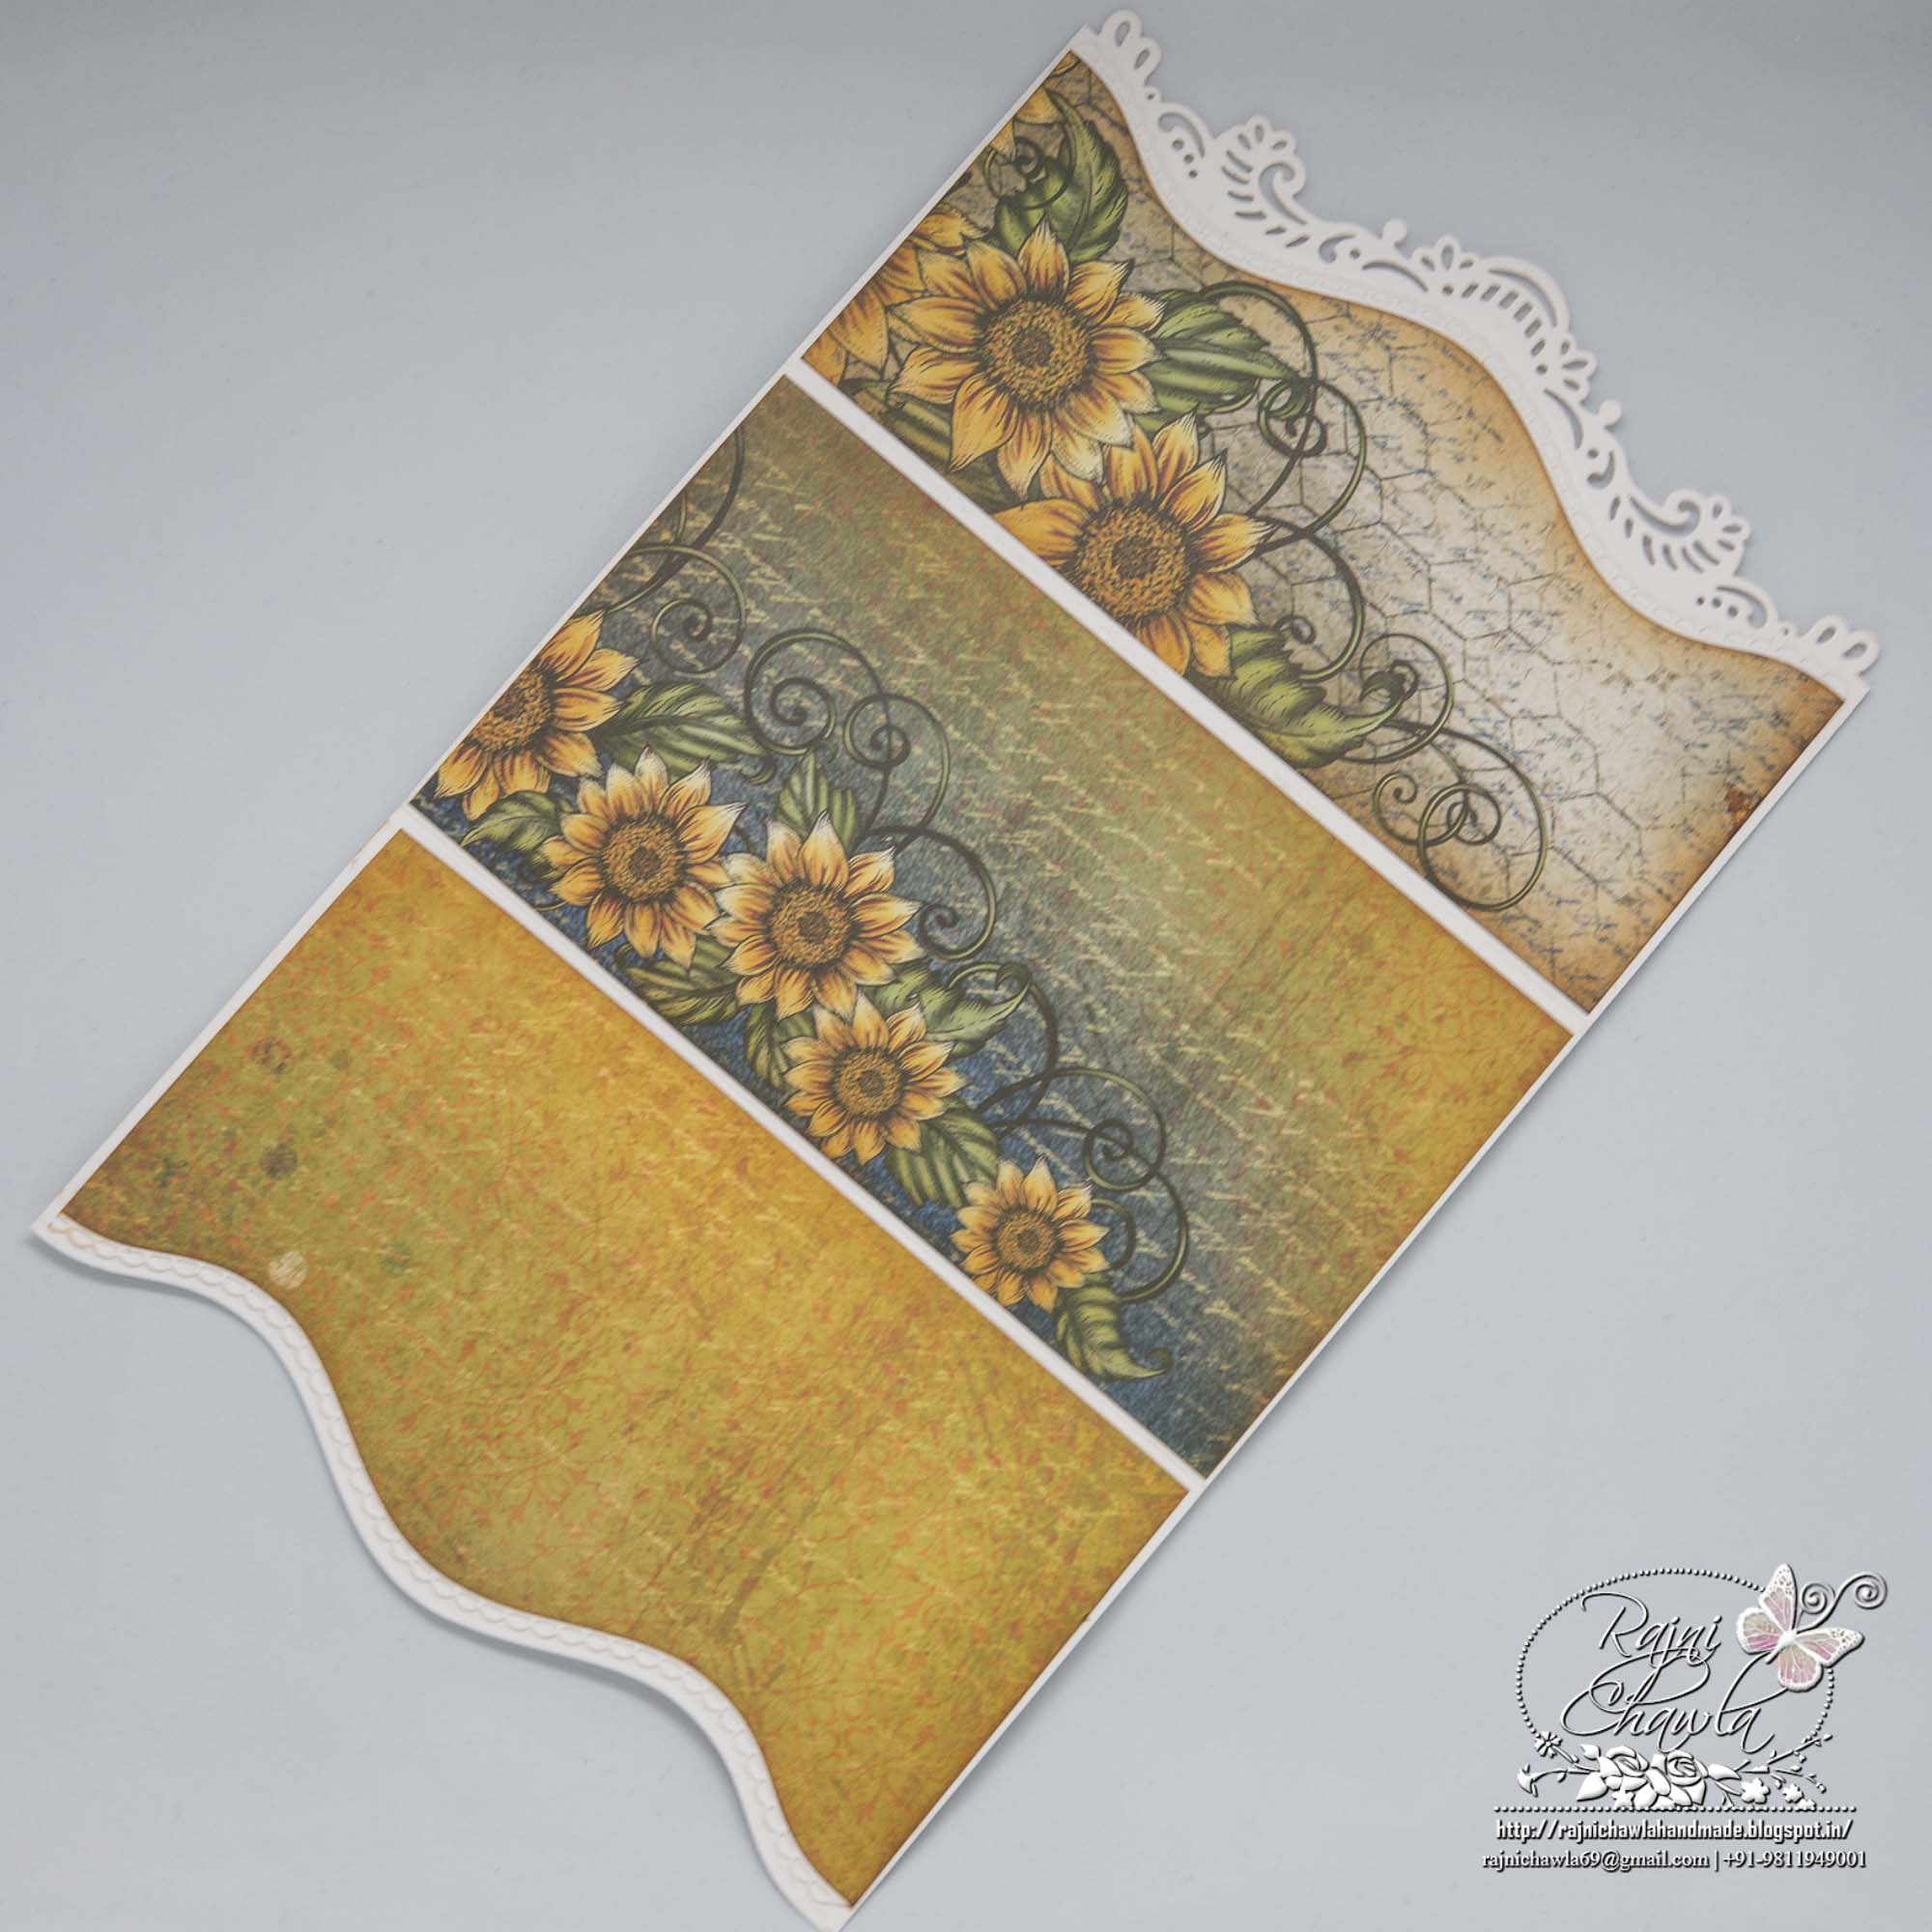
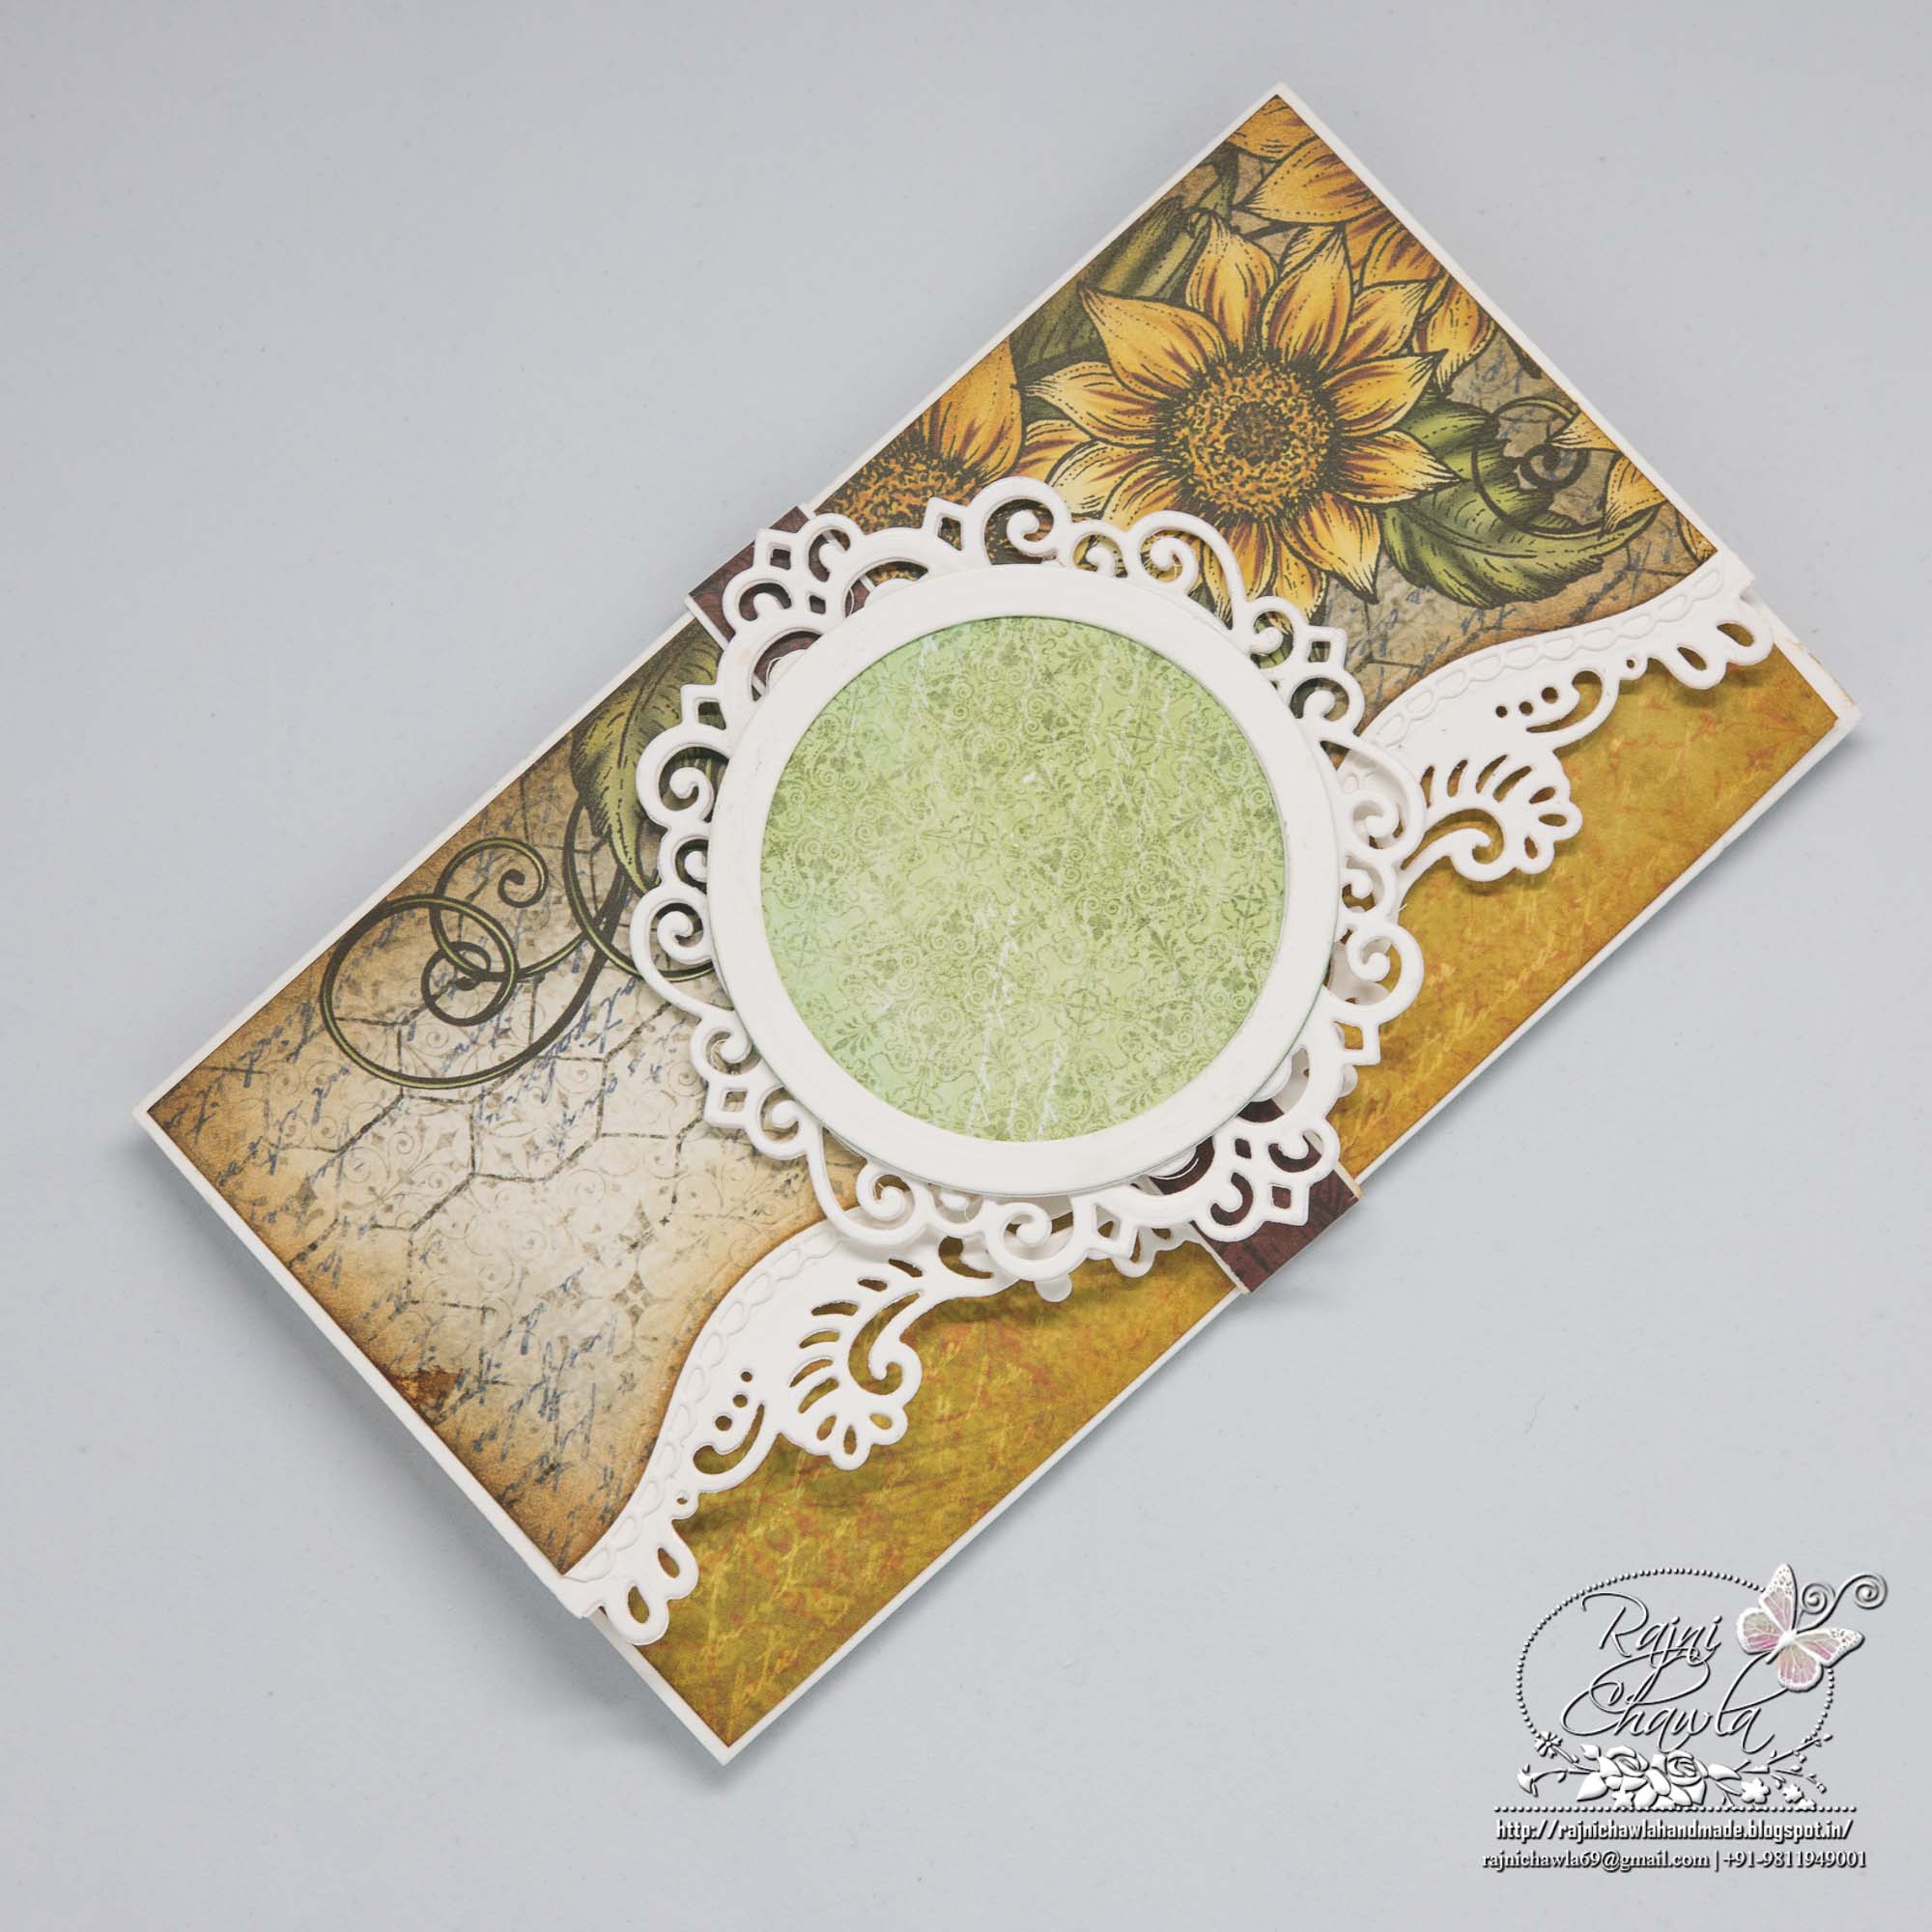
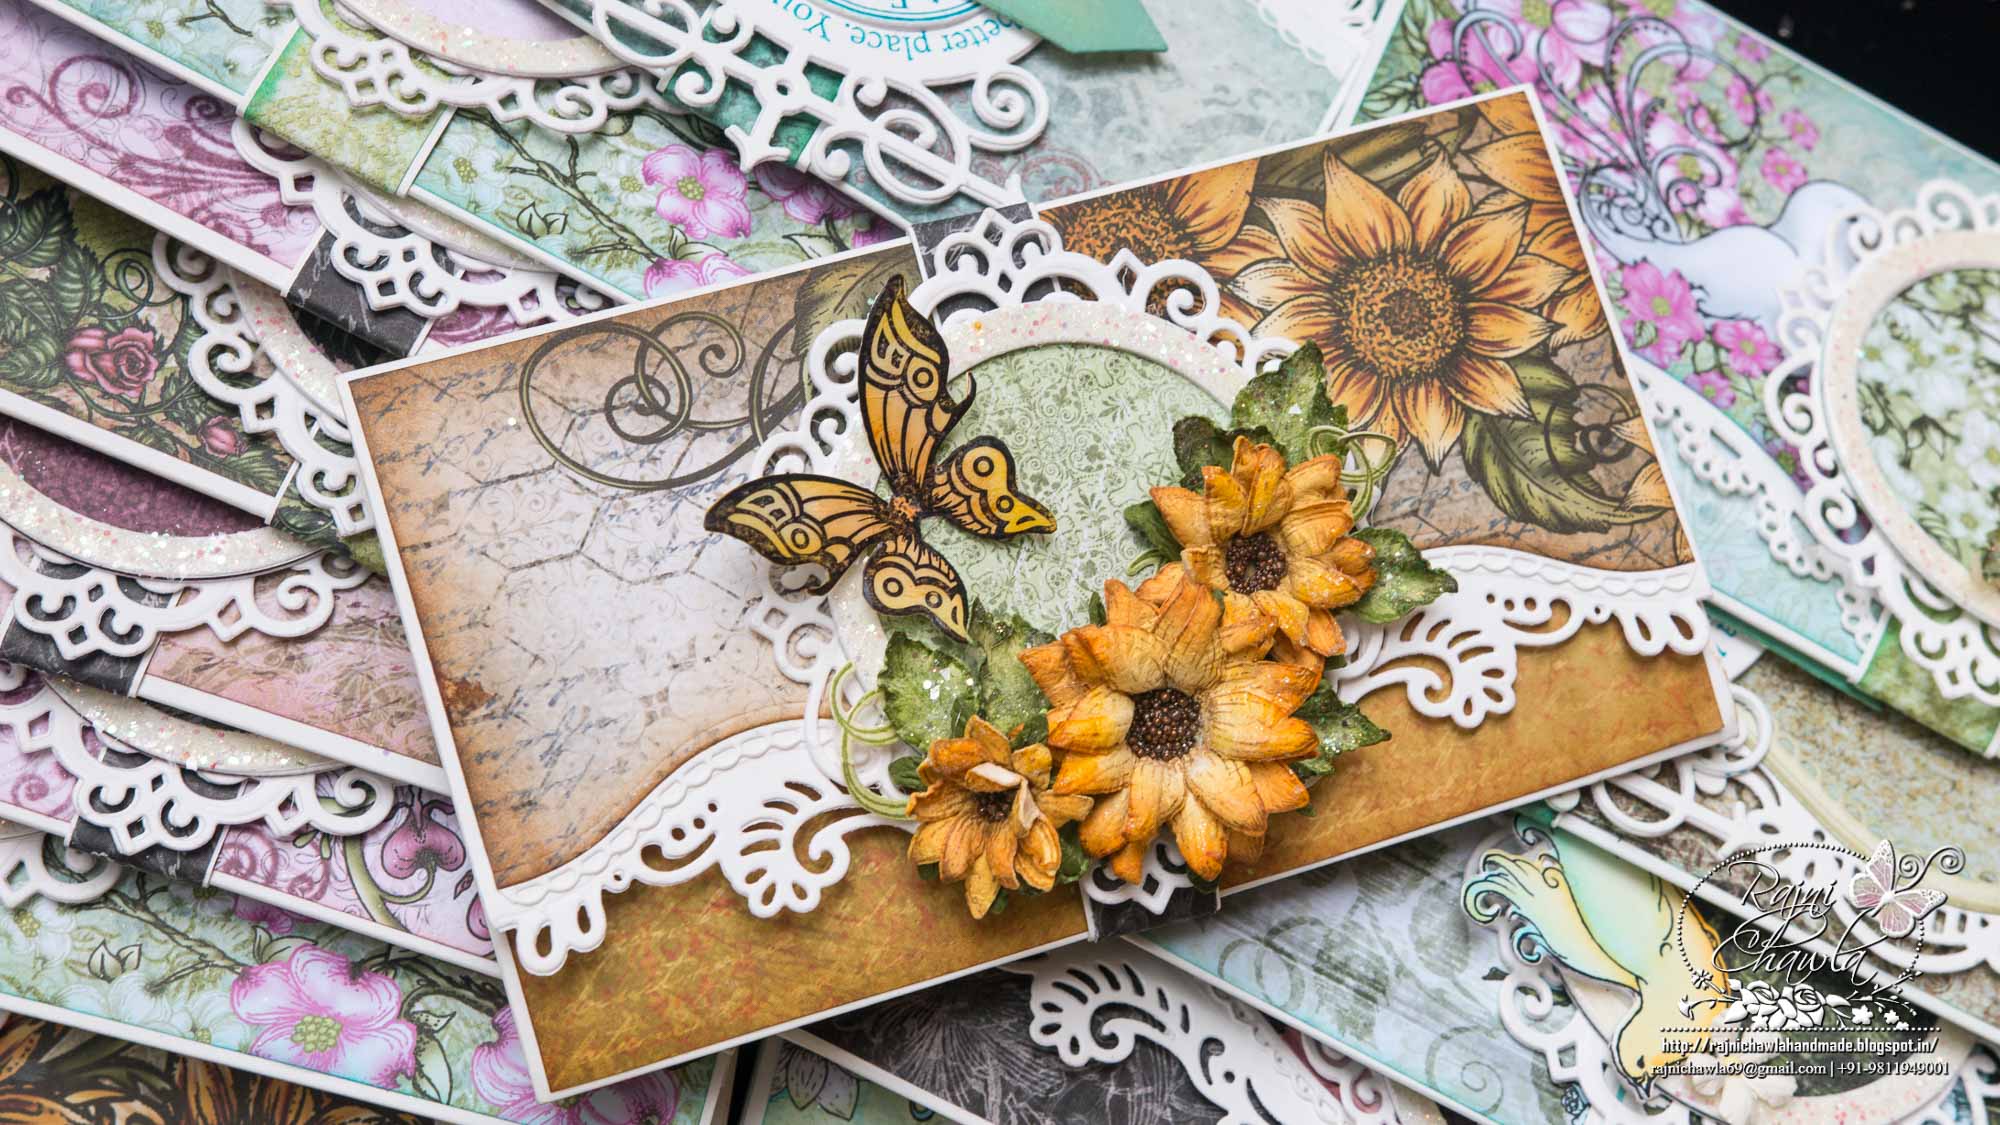
Step7: Belly Band: Cut a strip measuring 1” by 8” from white cardstock, designer paper 7/8” by 8”, one circle frame by nesting 2nd and 3rd outer dies of classic circle die, one circle base from pattern paper and a die cut of Raindrop and Roses die. Glue both the strips and score at 2” and 6” as shown.
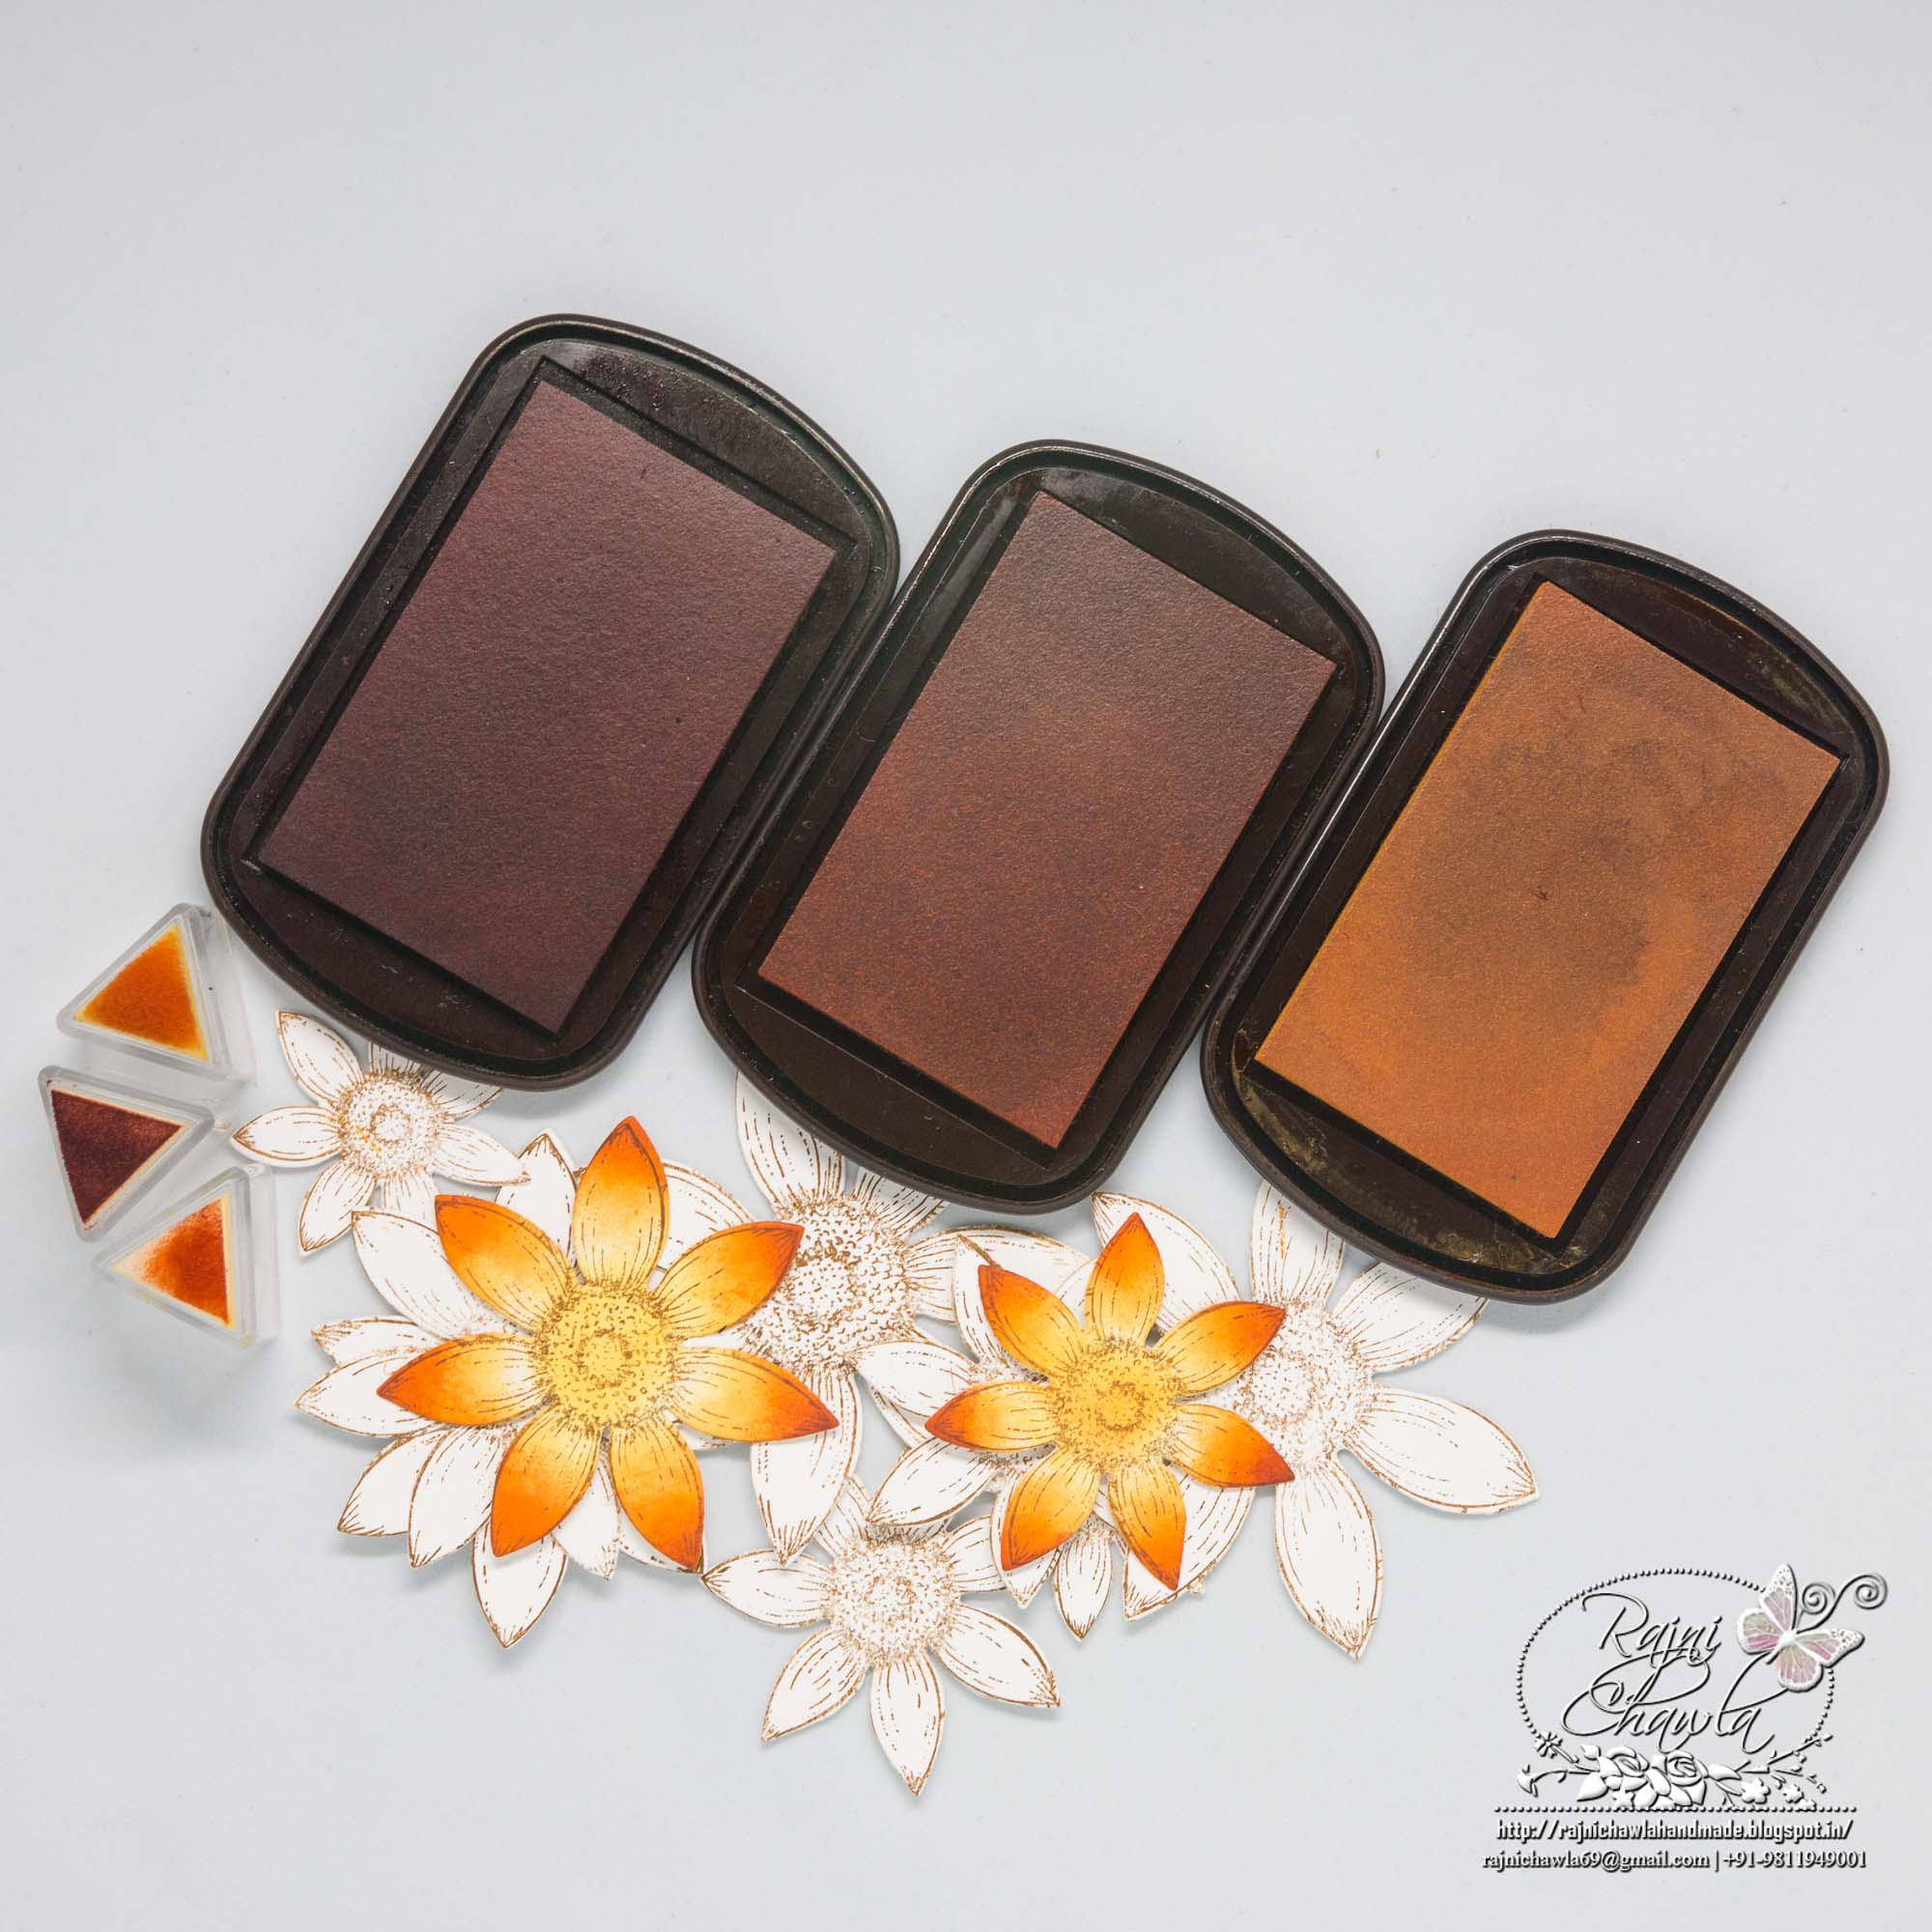
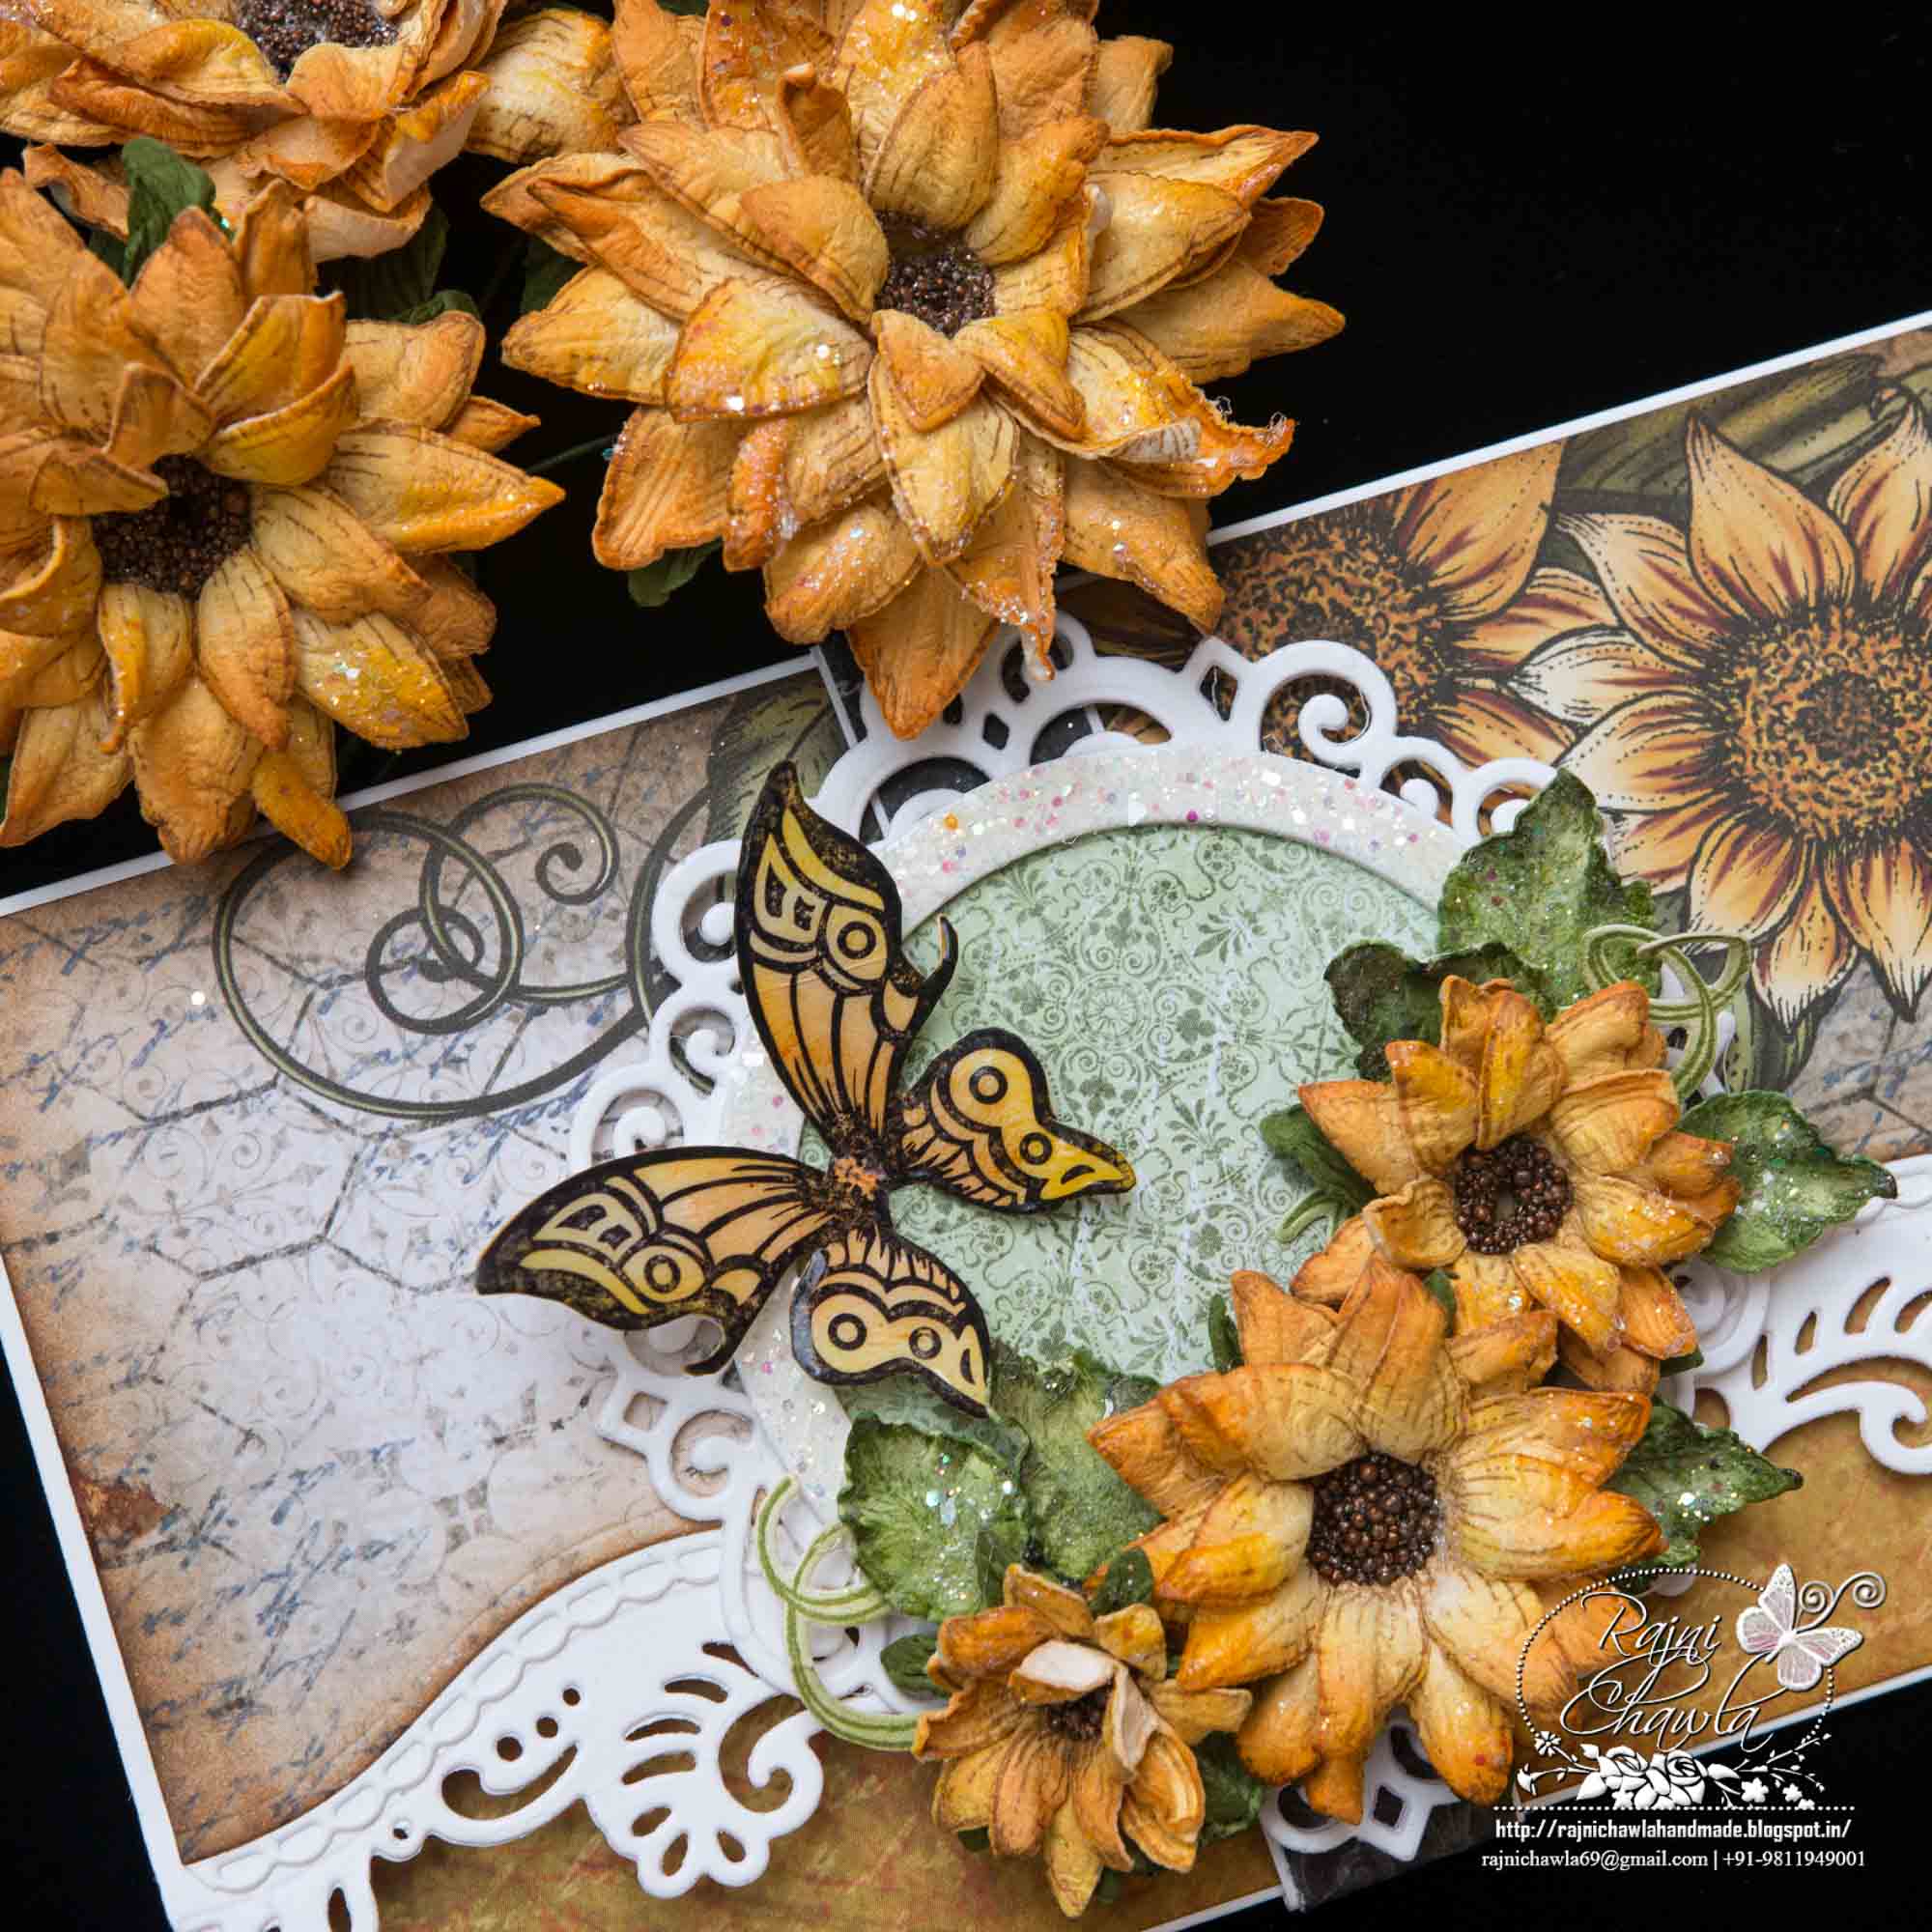
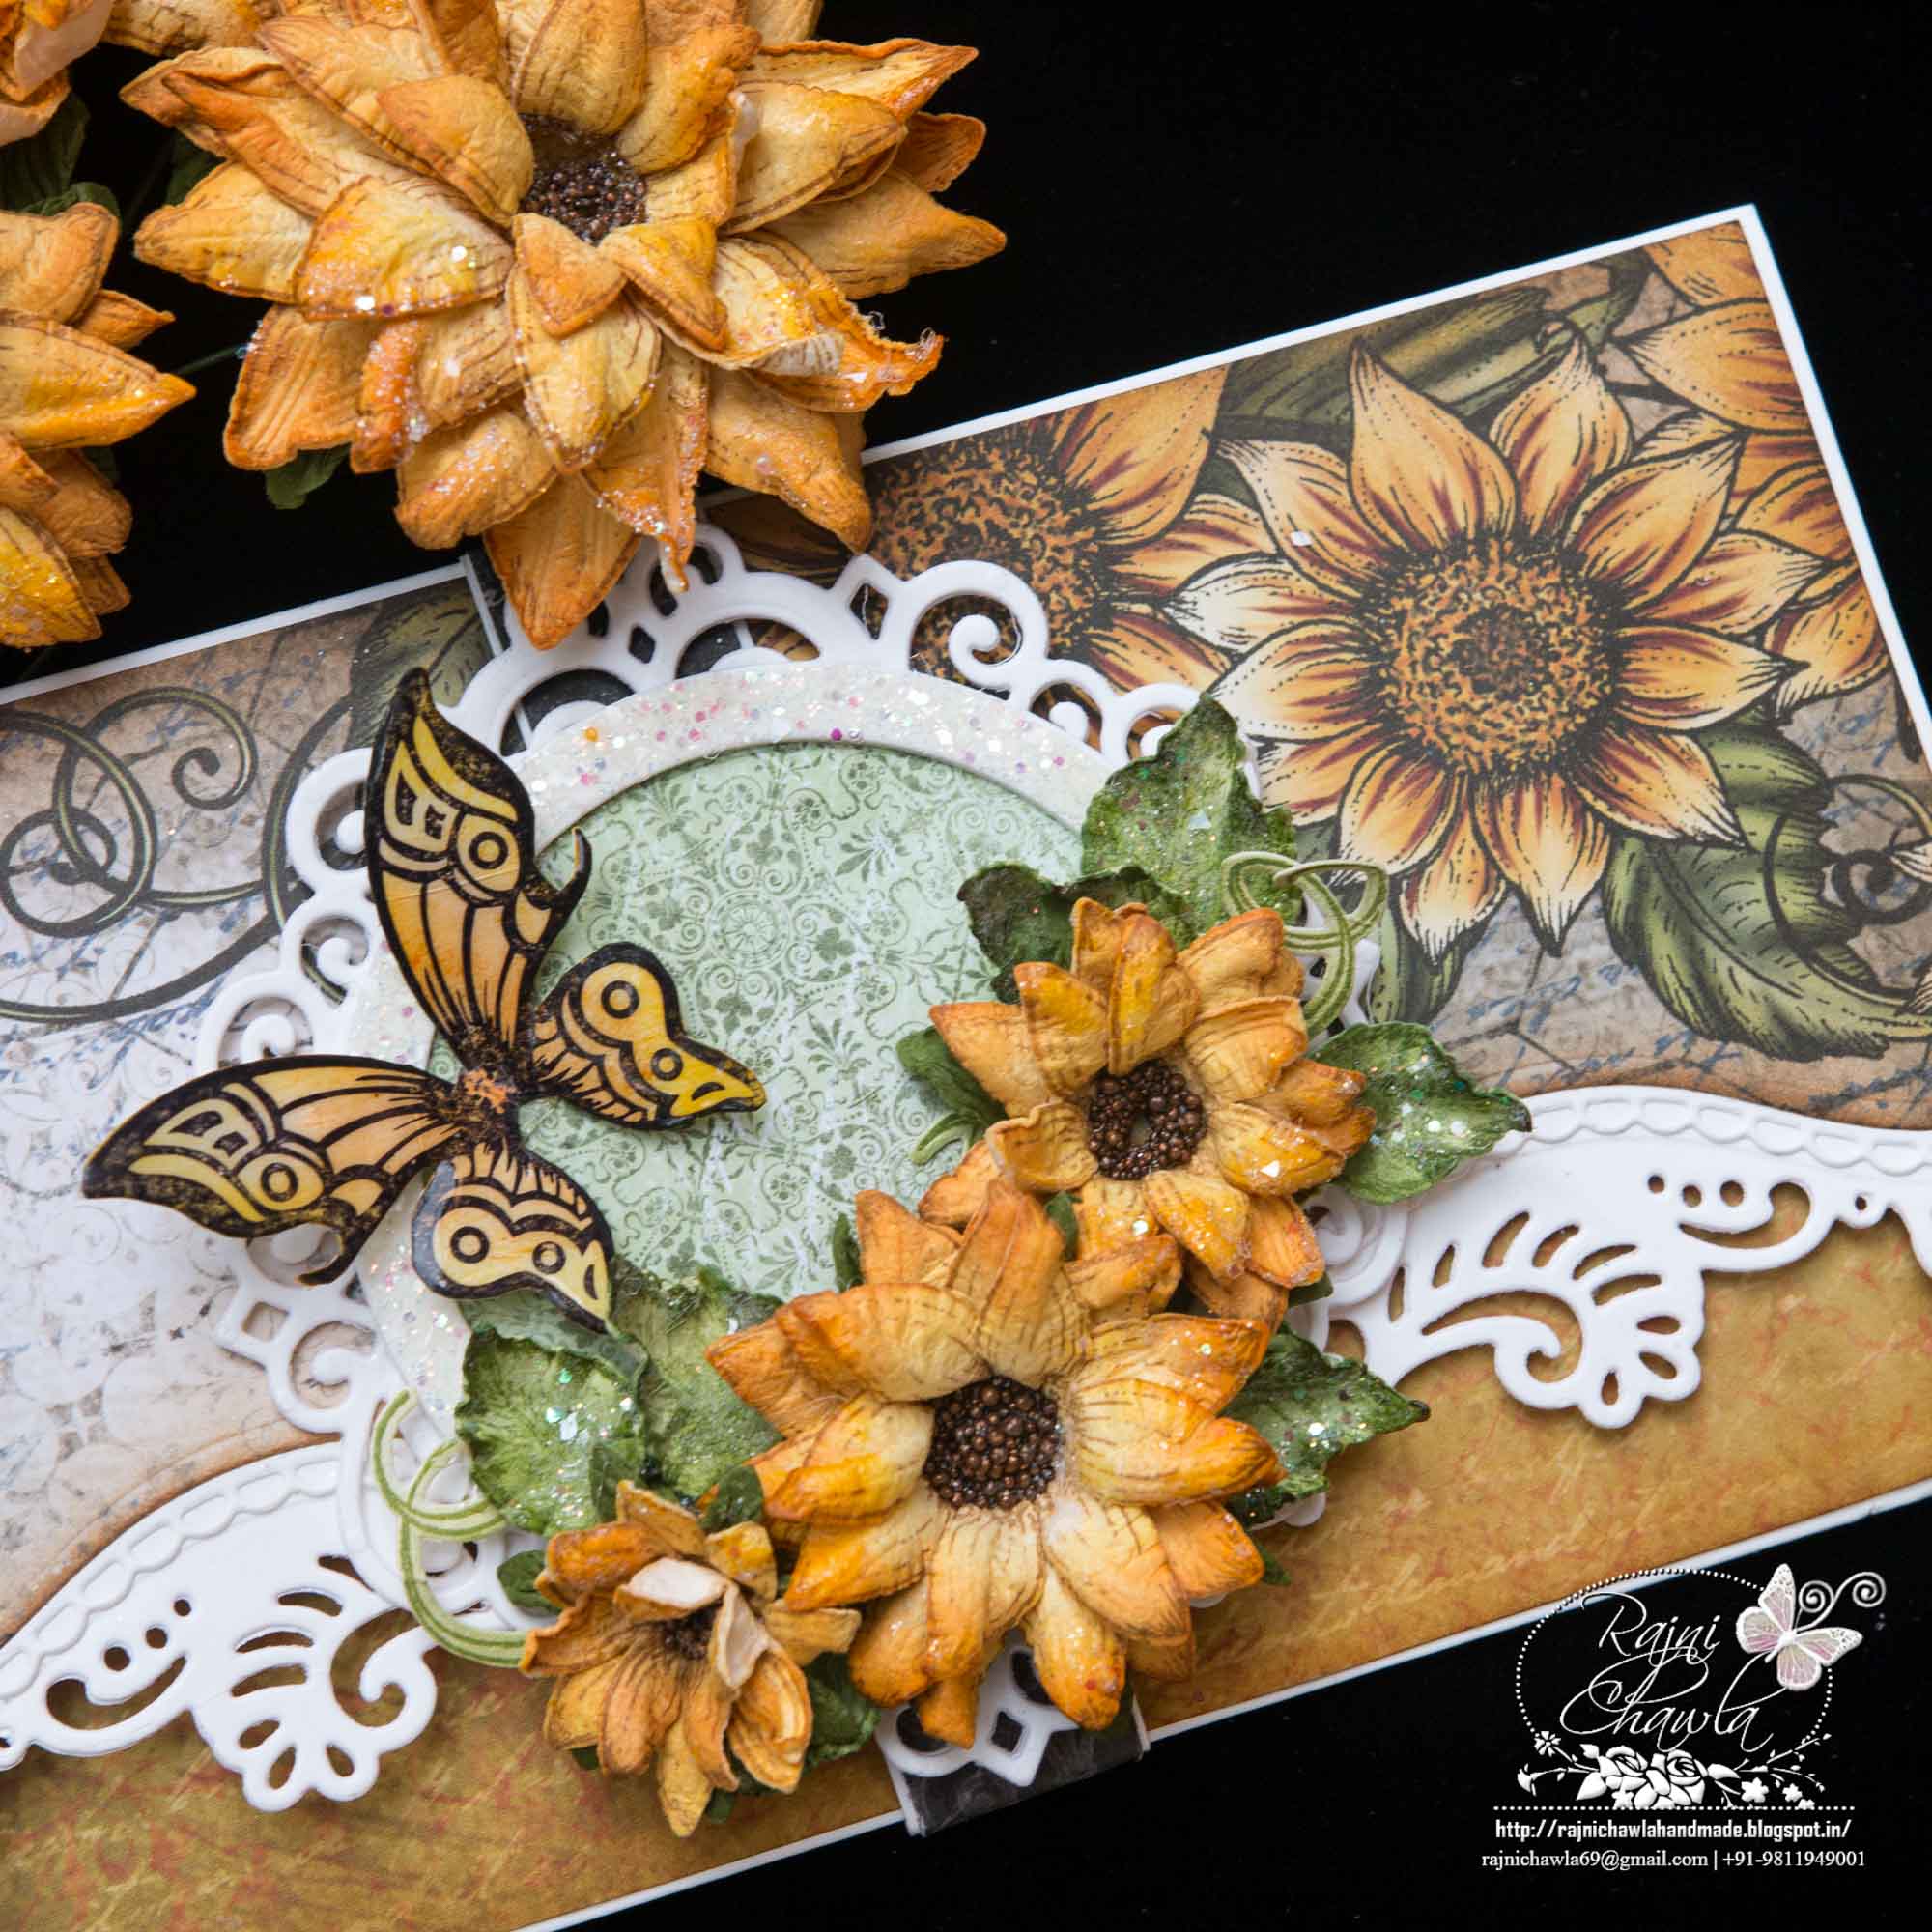
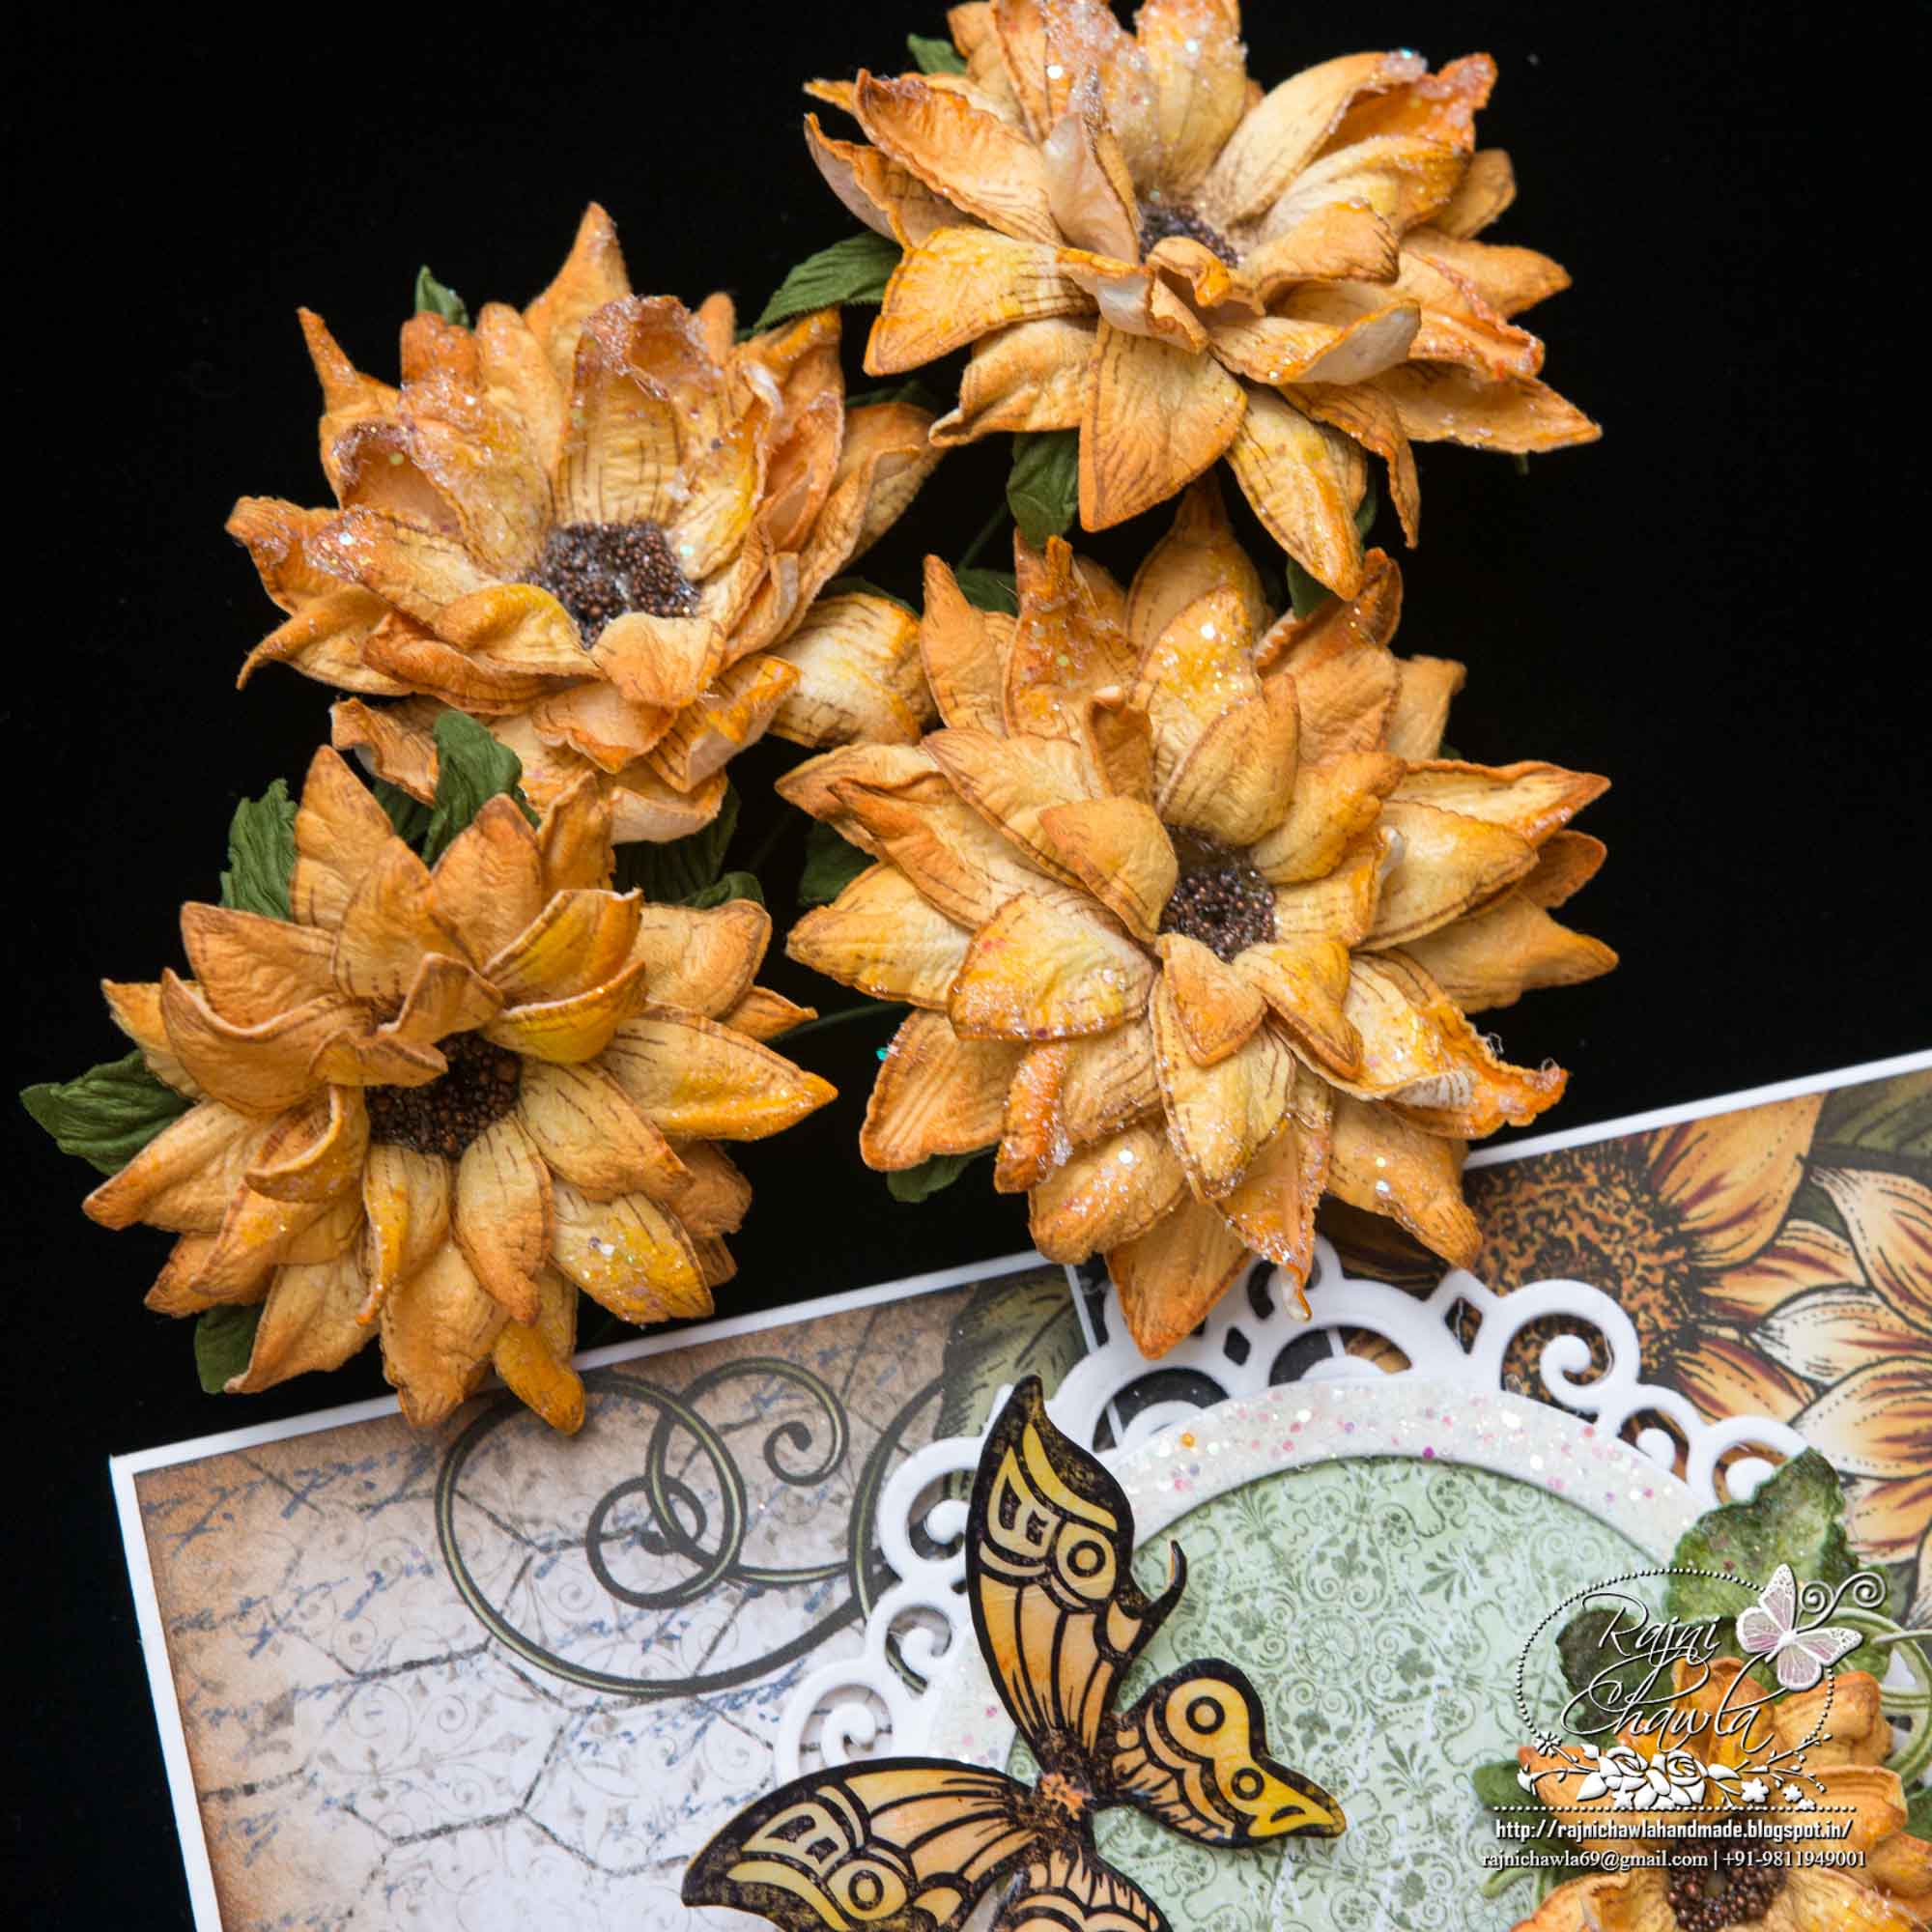
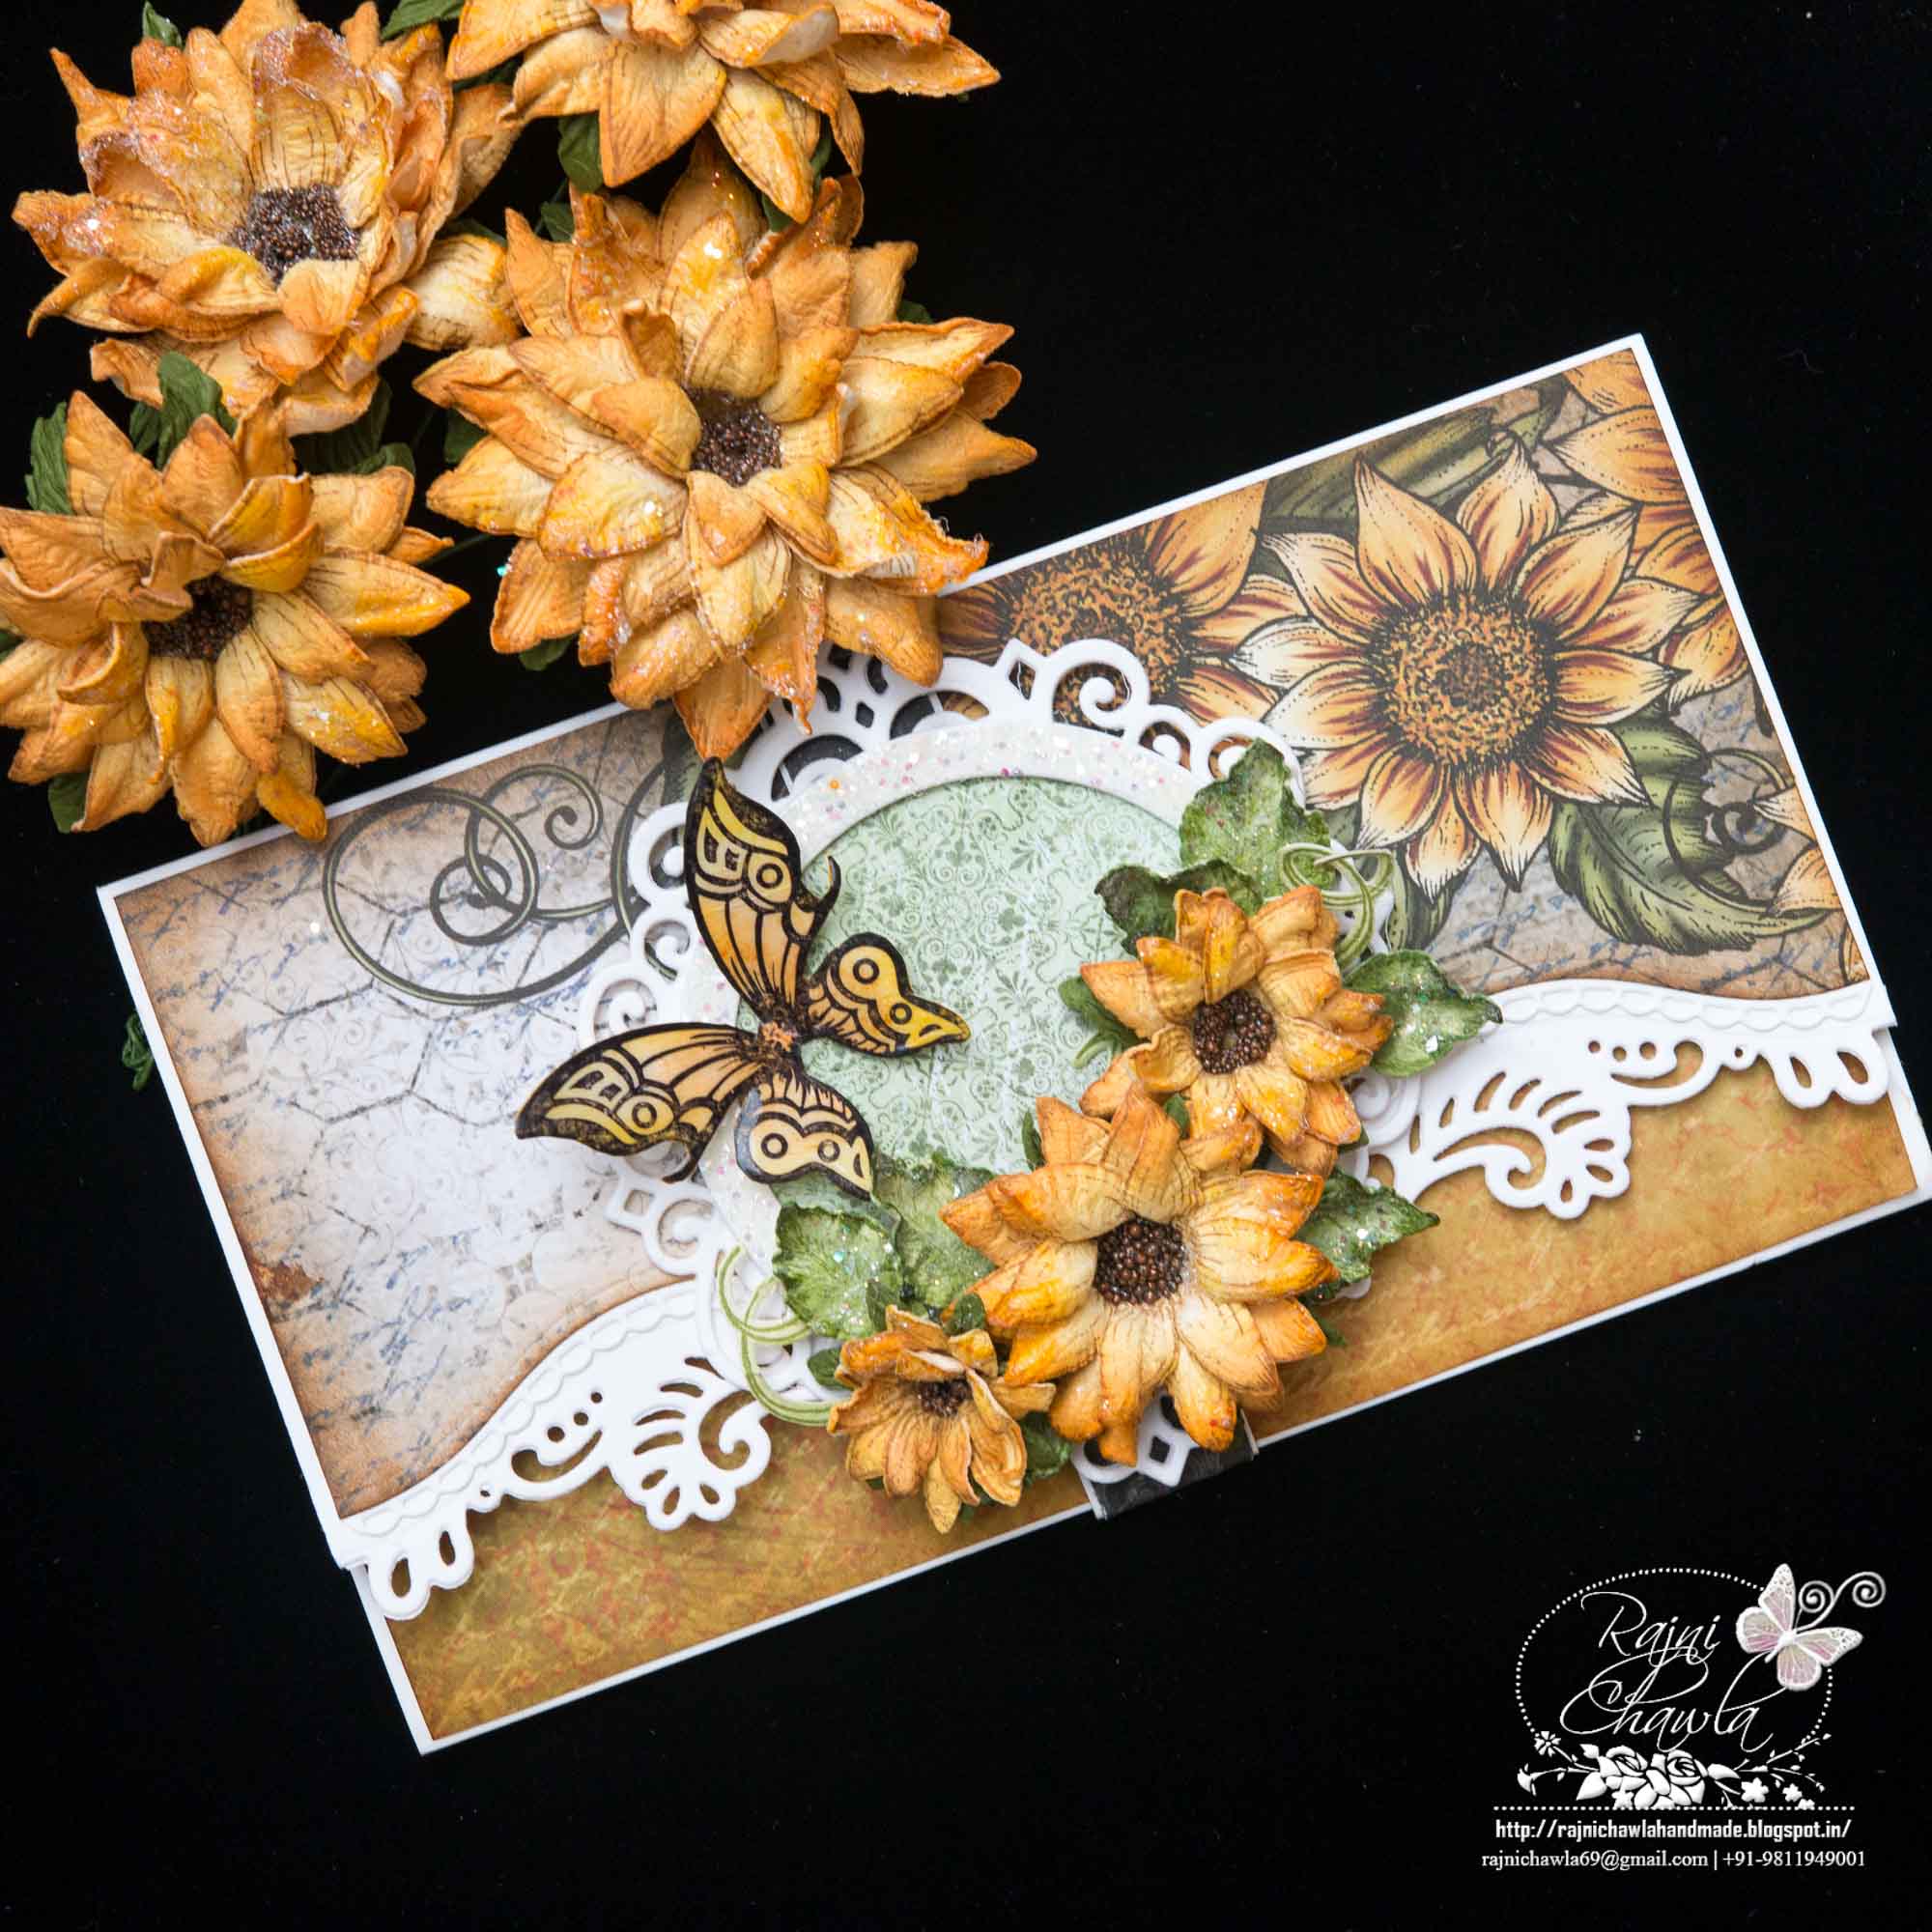
Step8: Stamp and cut Sunflowers using color box dark brown ink. Color the flowers with Harvest, Pumpkin Spice, and Red Barn, with the help of Stack and Store Daubers. Shape the flowers using Deluxe Flower Shaping Kit. Follow Emma’s video for easy shaping of Sunflowers. Add details to flowers by adding Crystal Clear Glitters and Frosting Powder. Also, add prills in the center using an adhesive that dries clear.
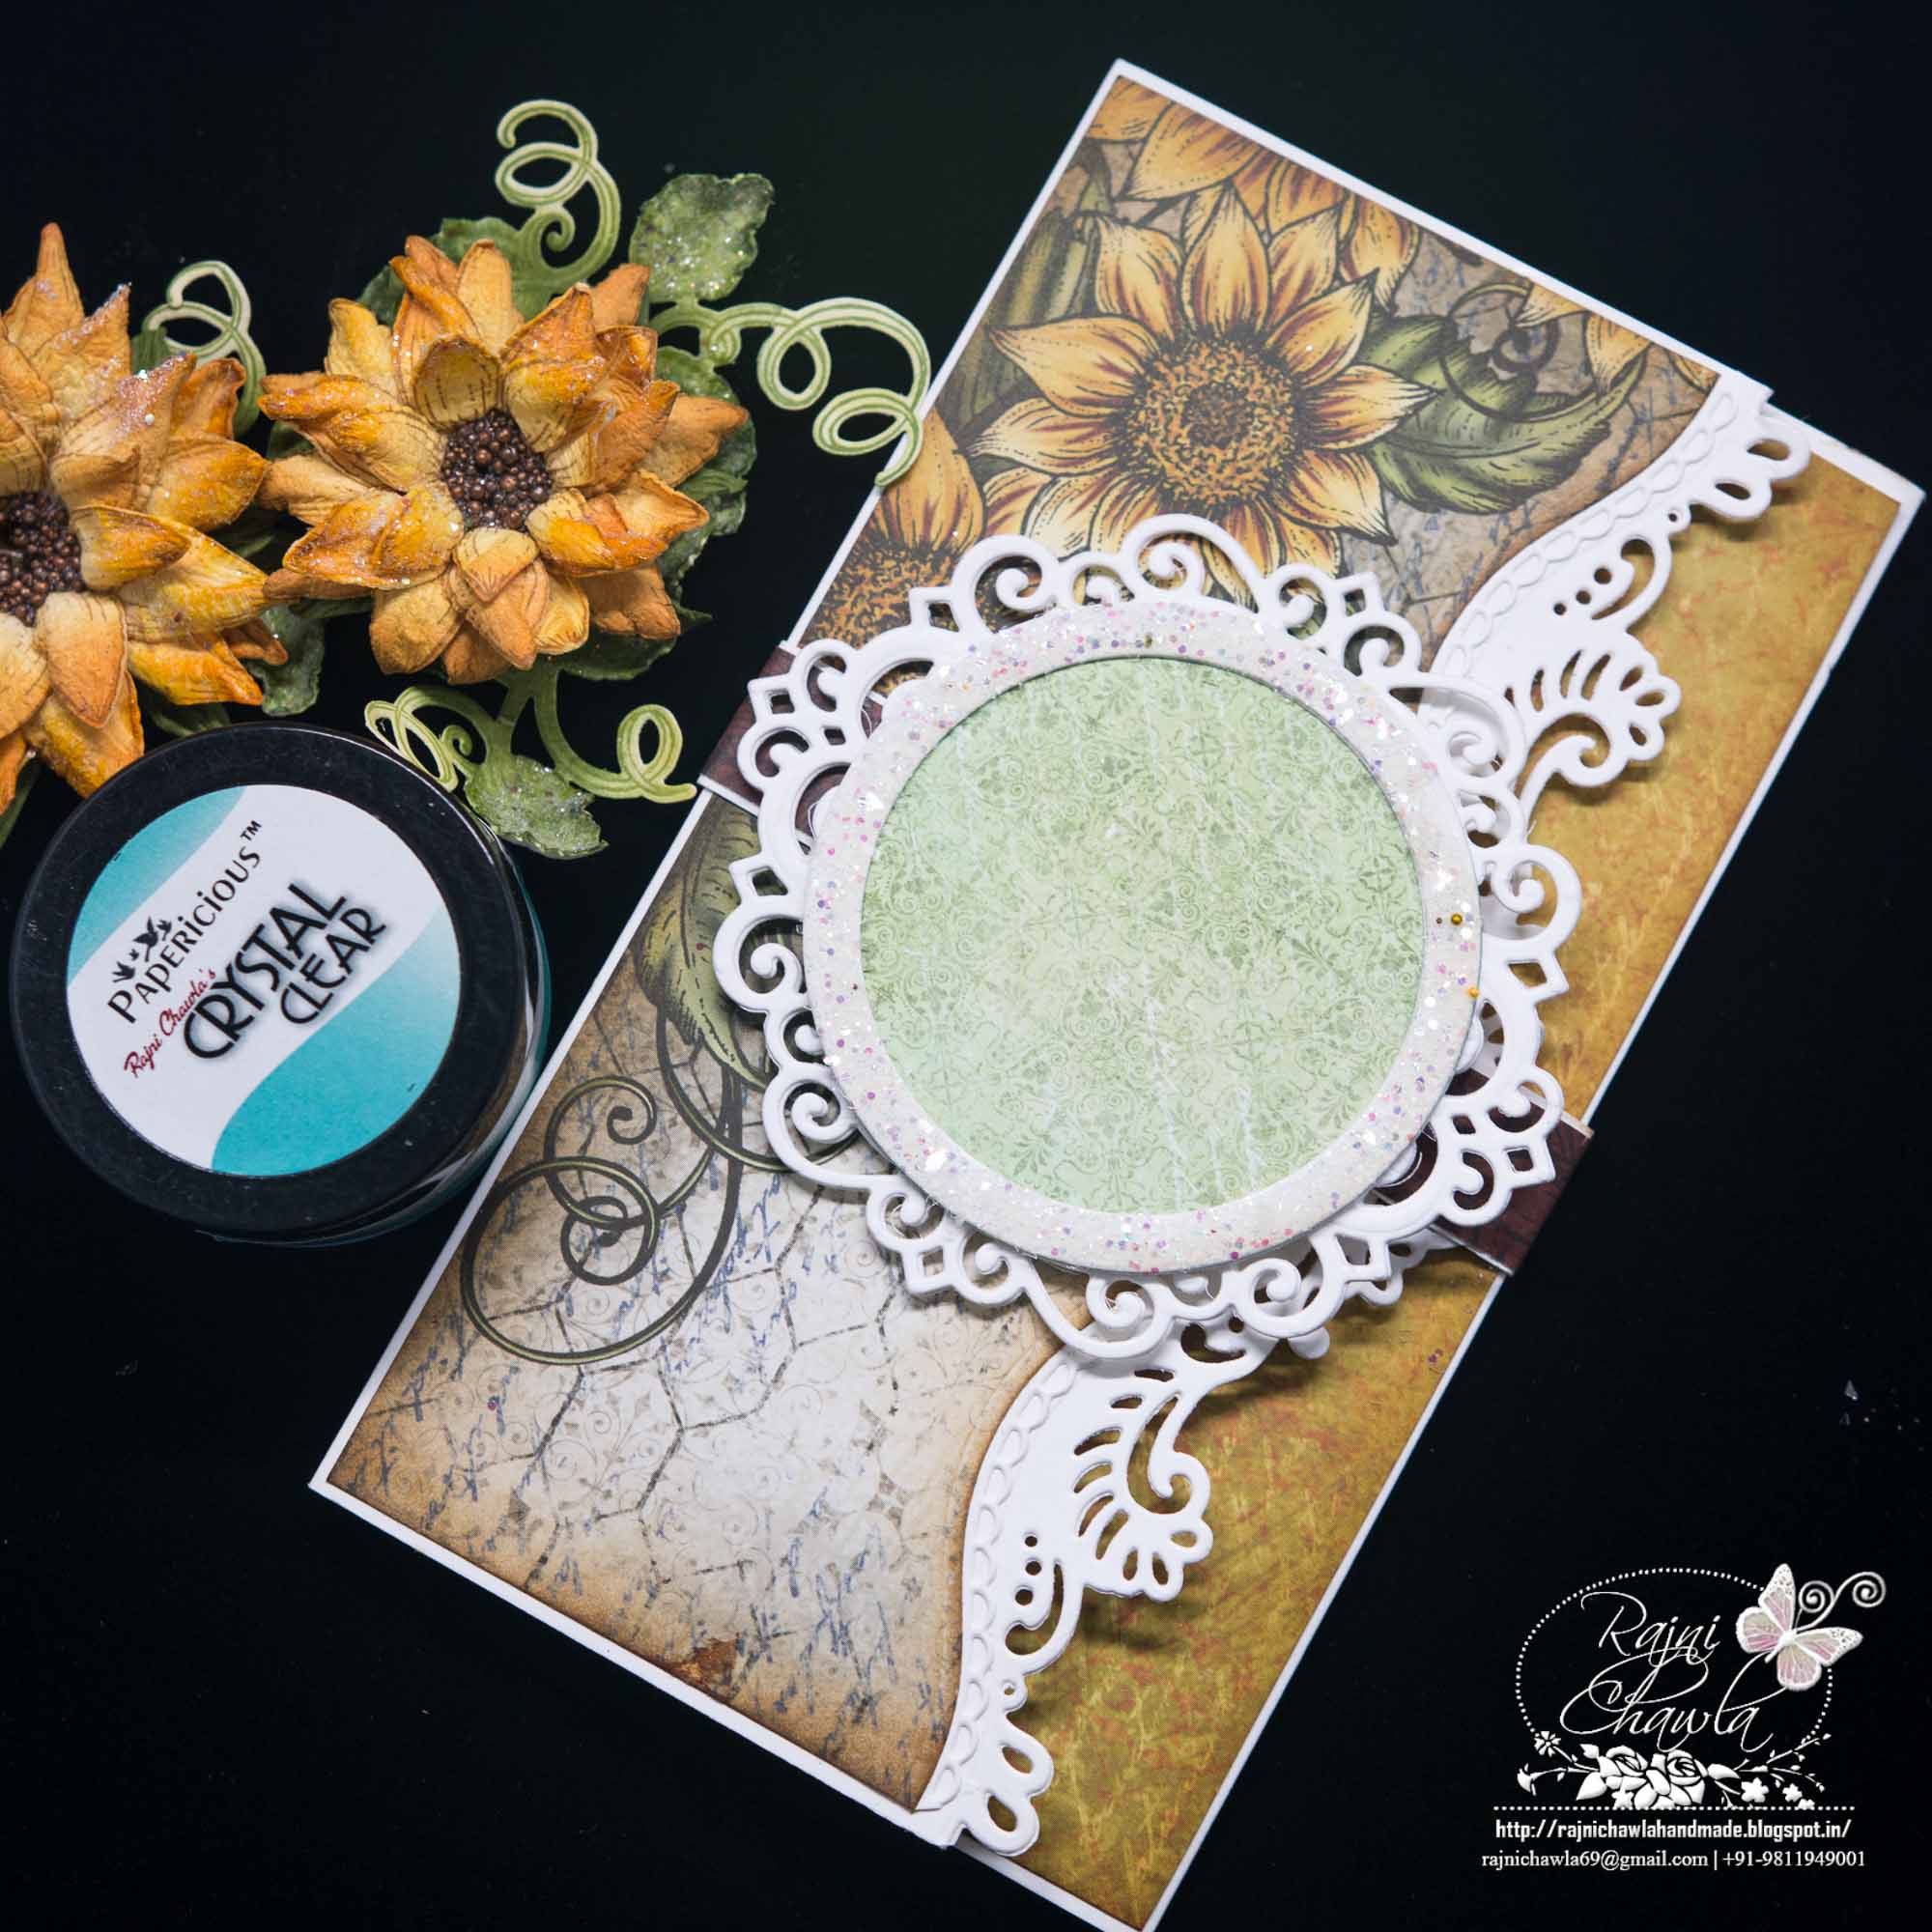
Adhere all the elements and form a belly band around the envelope. Add Crystal Clear to the frame using Glossy Accent.

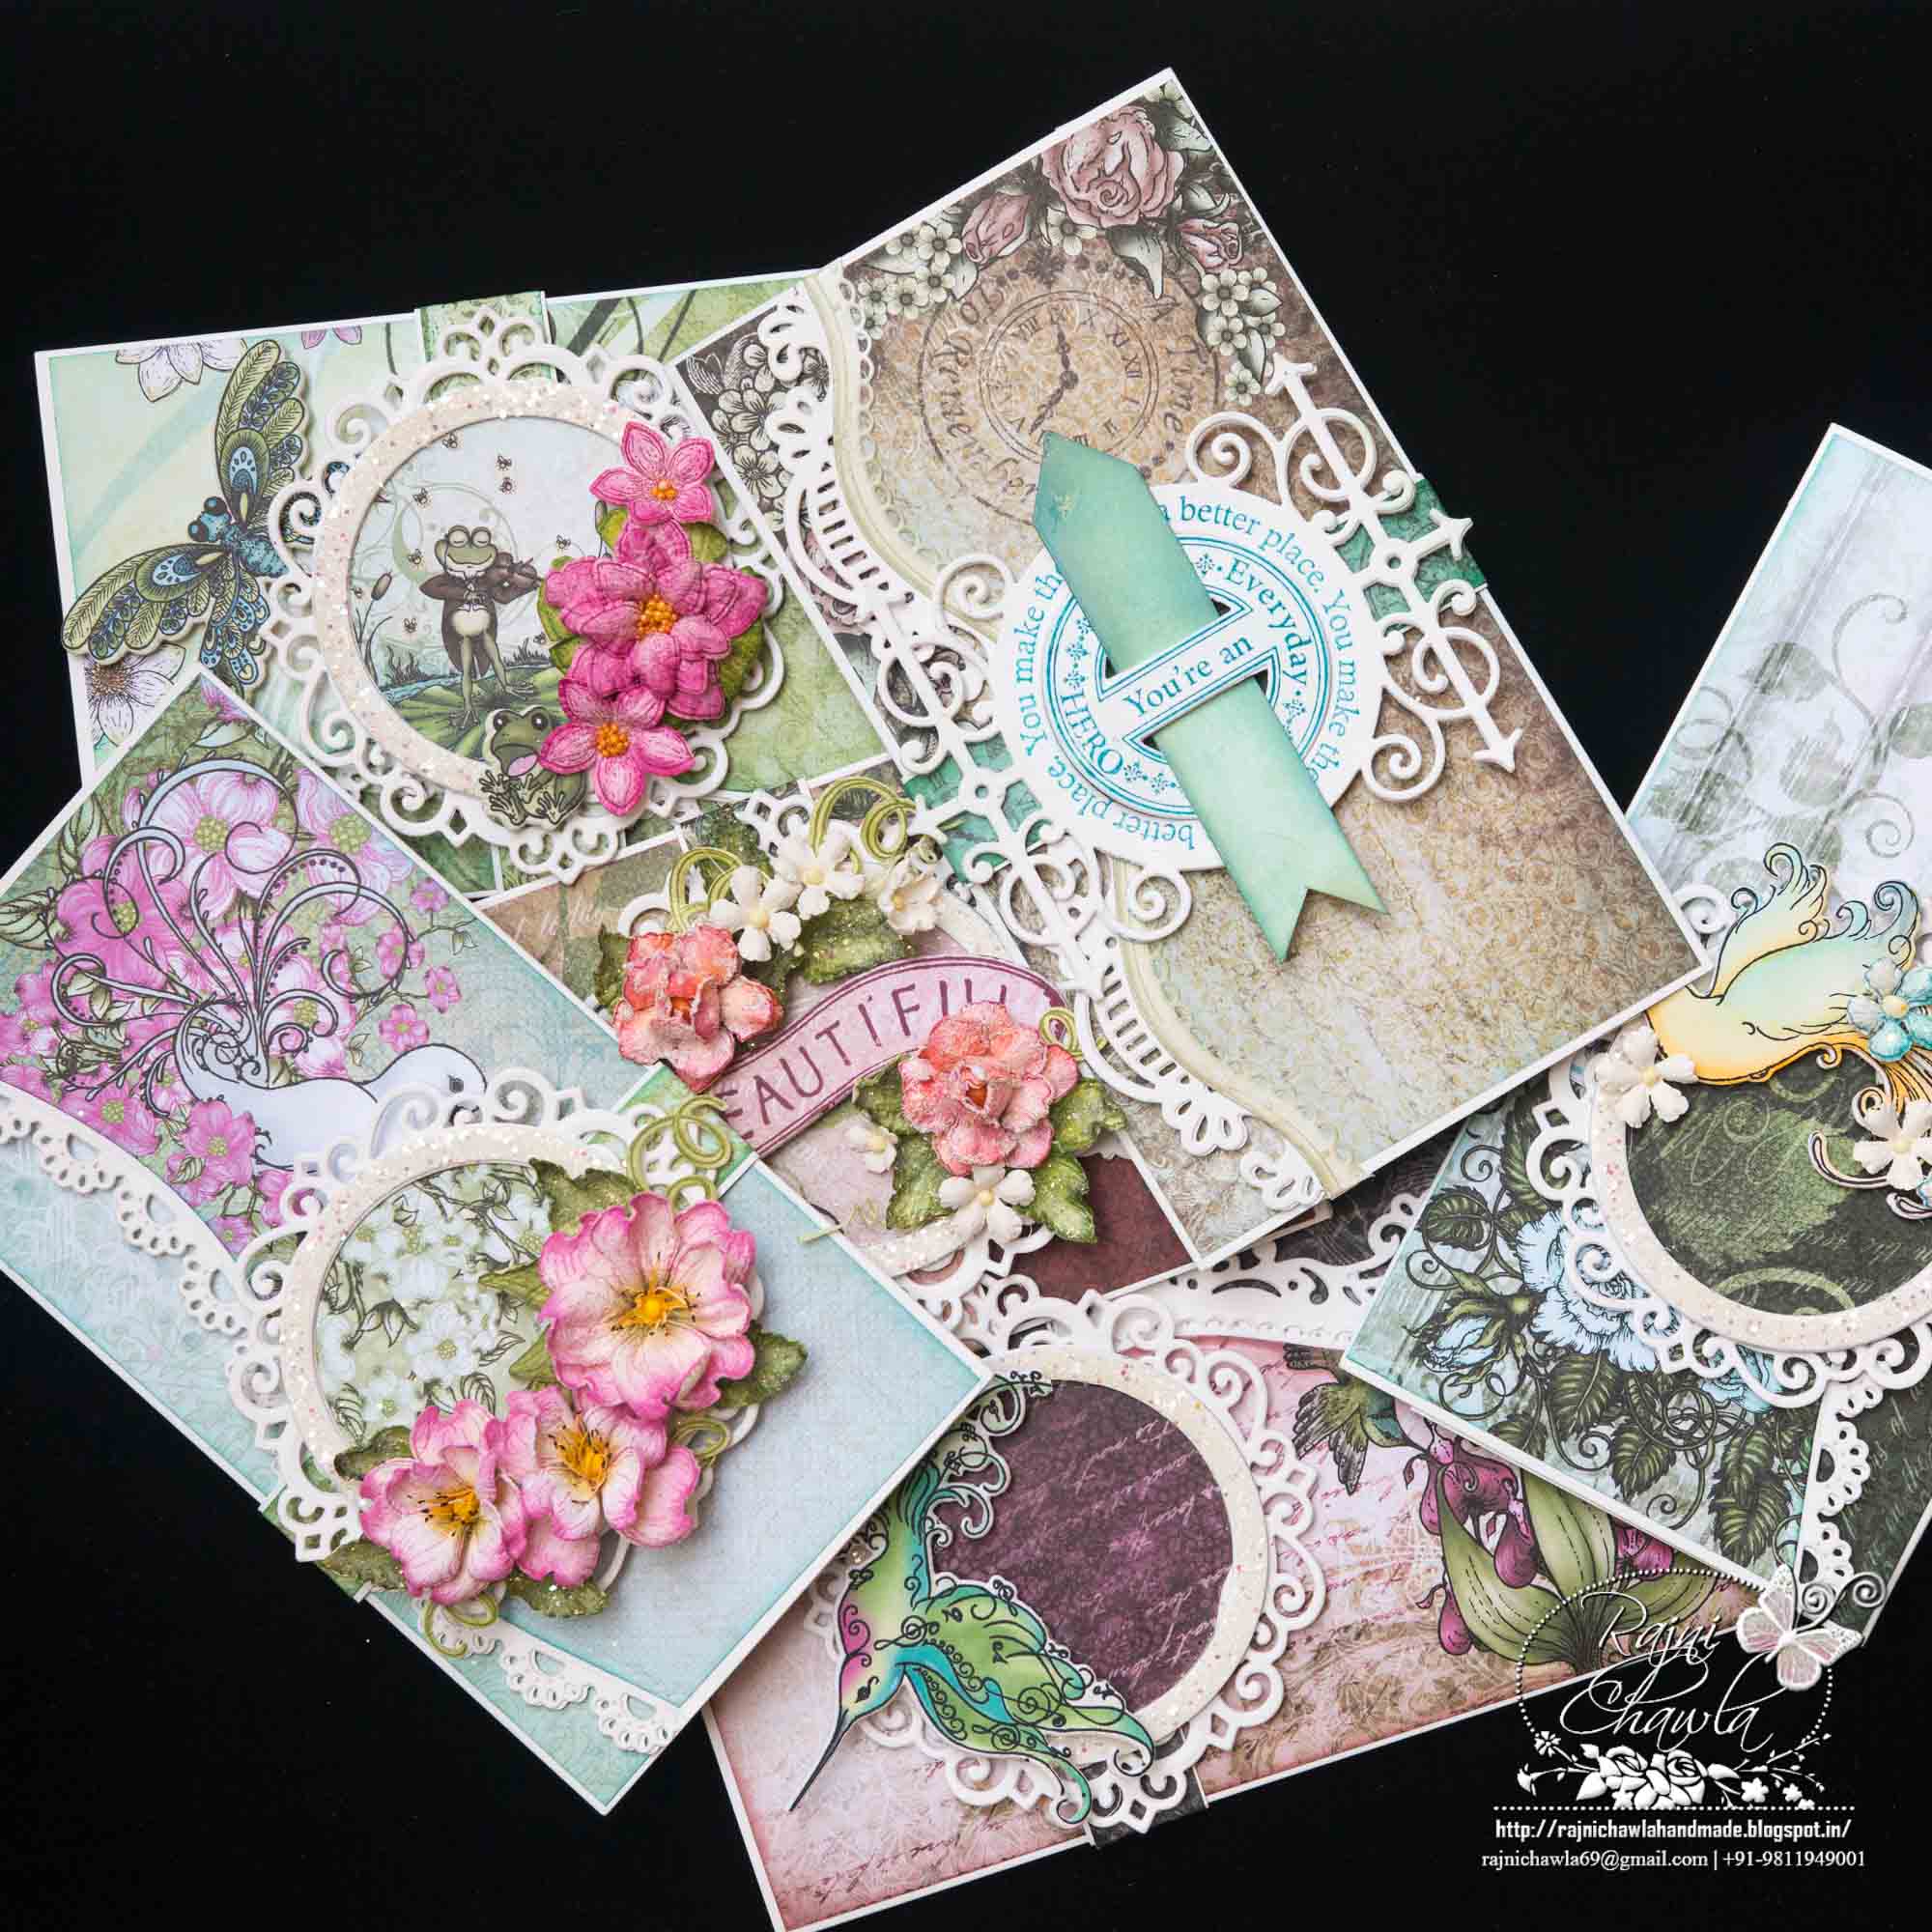
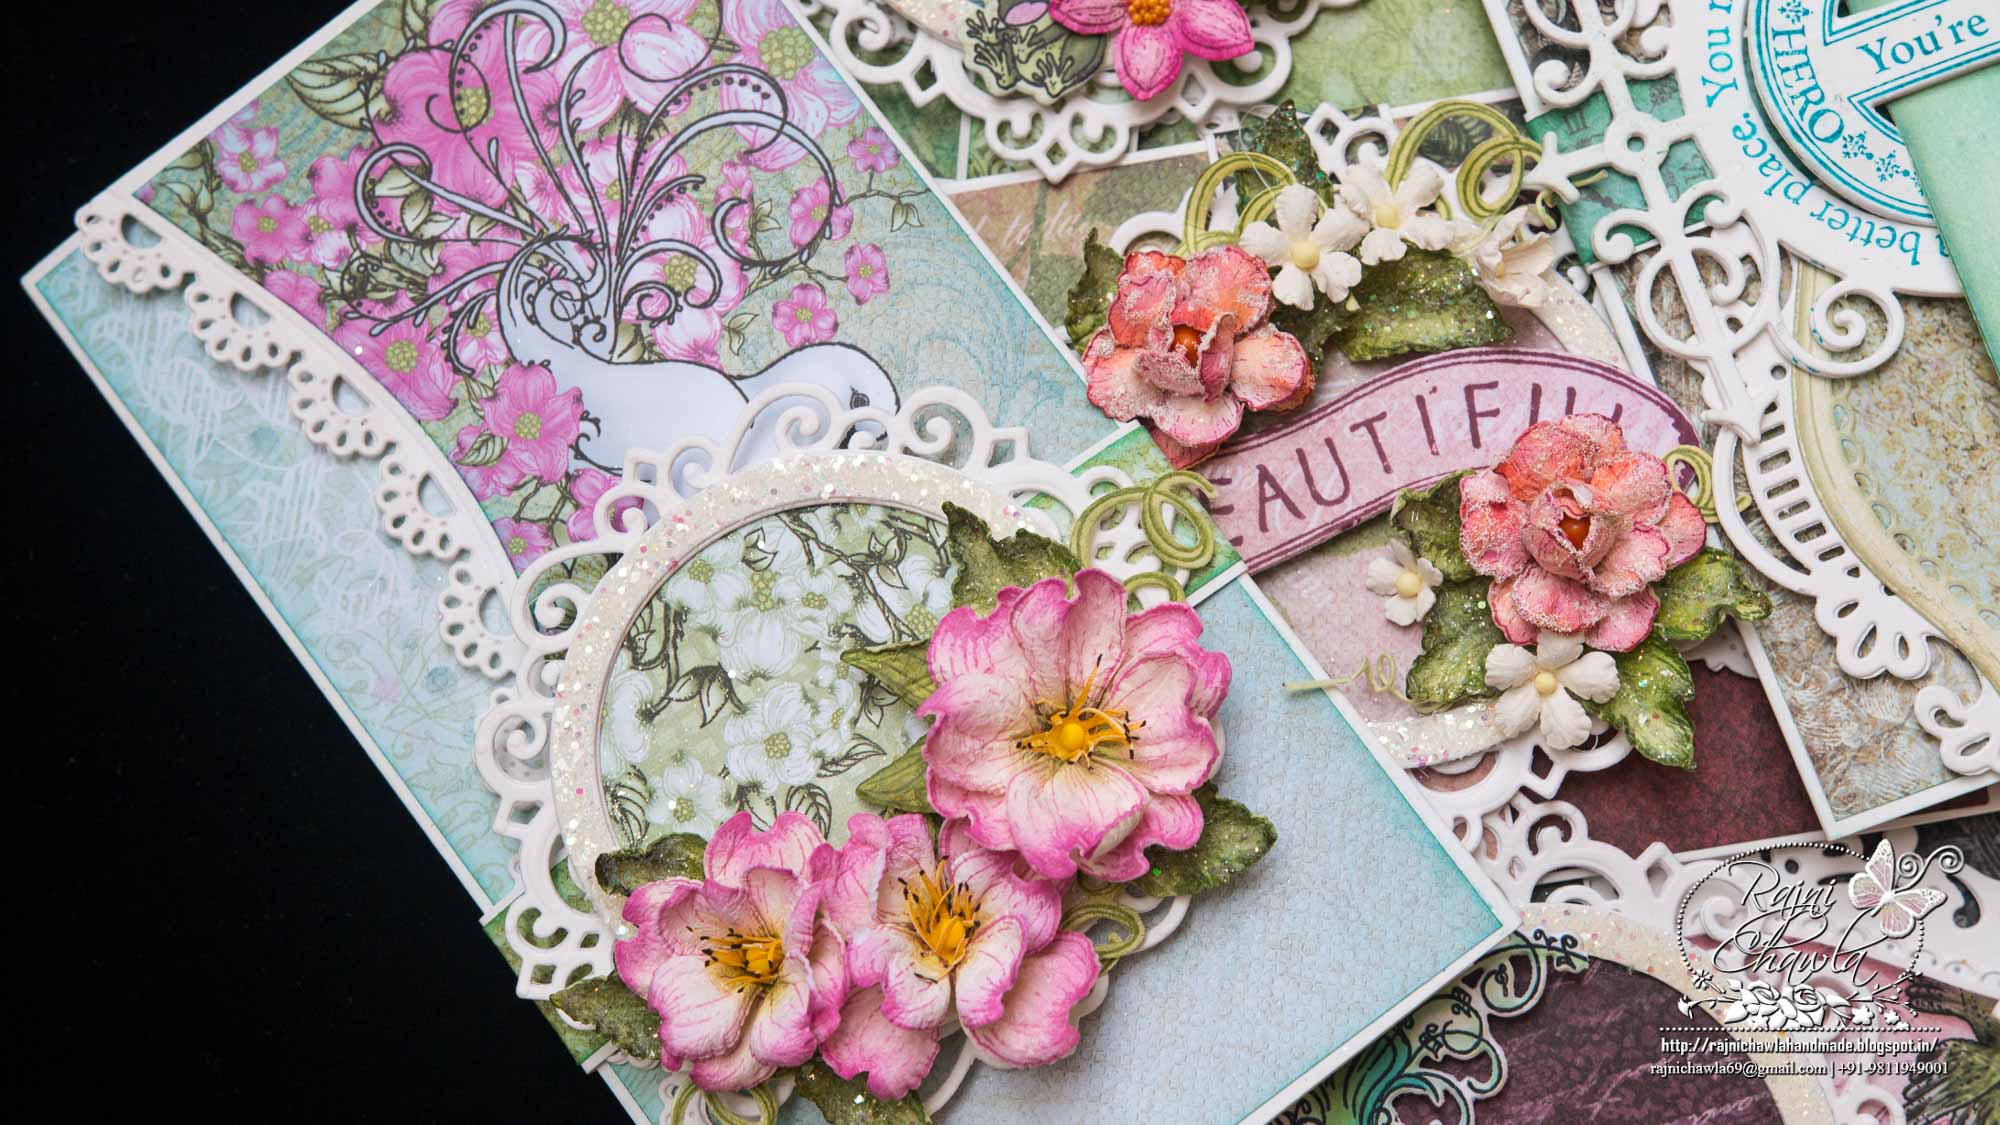
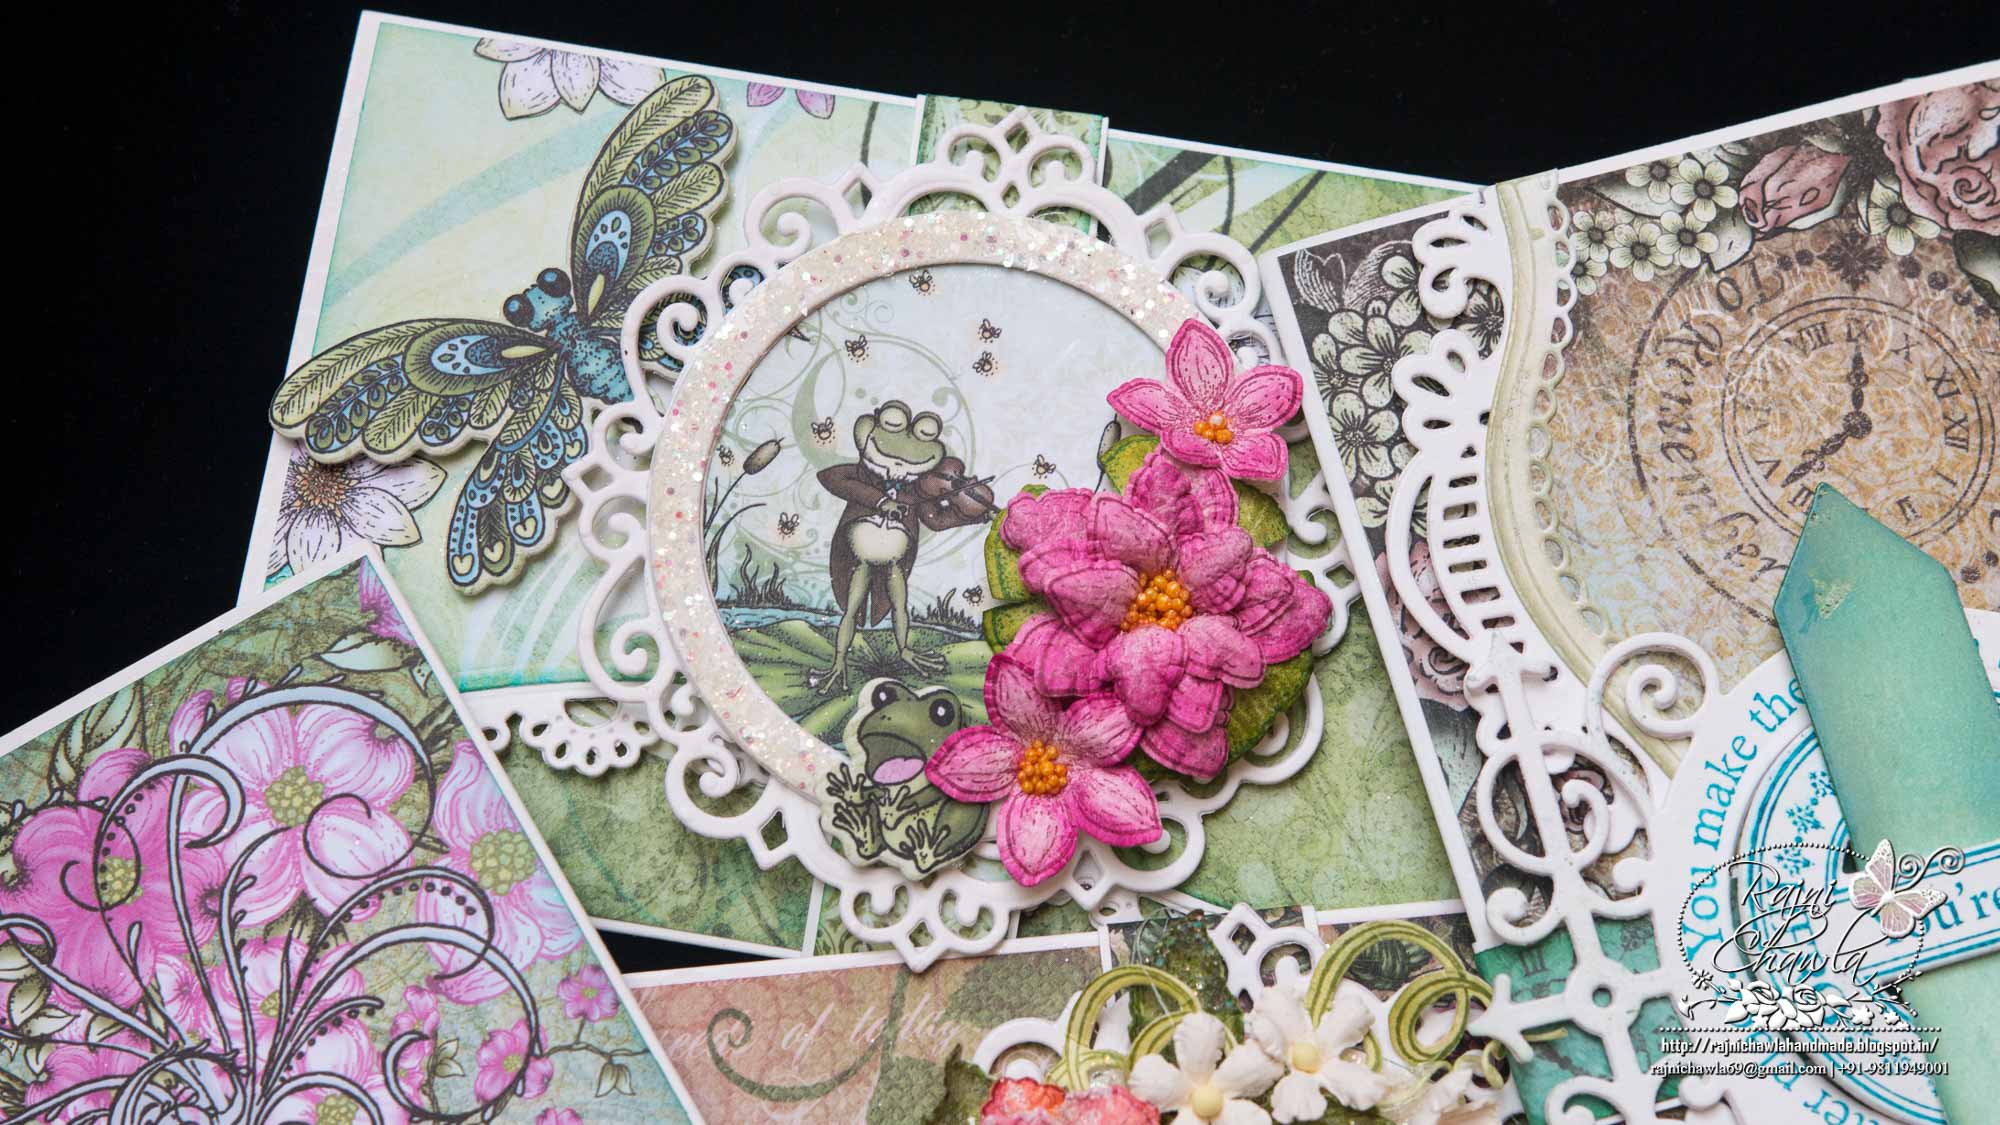
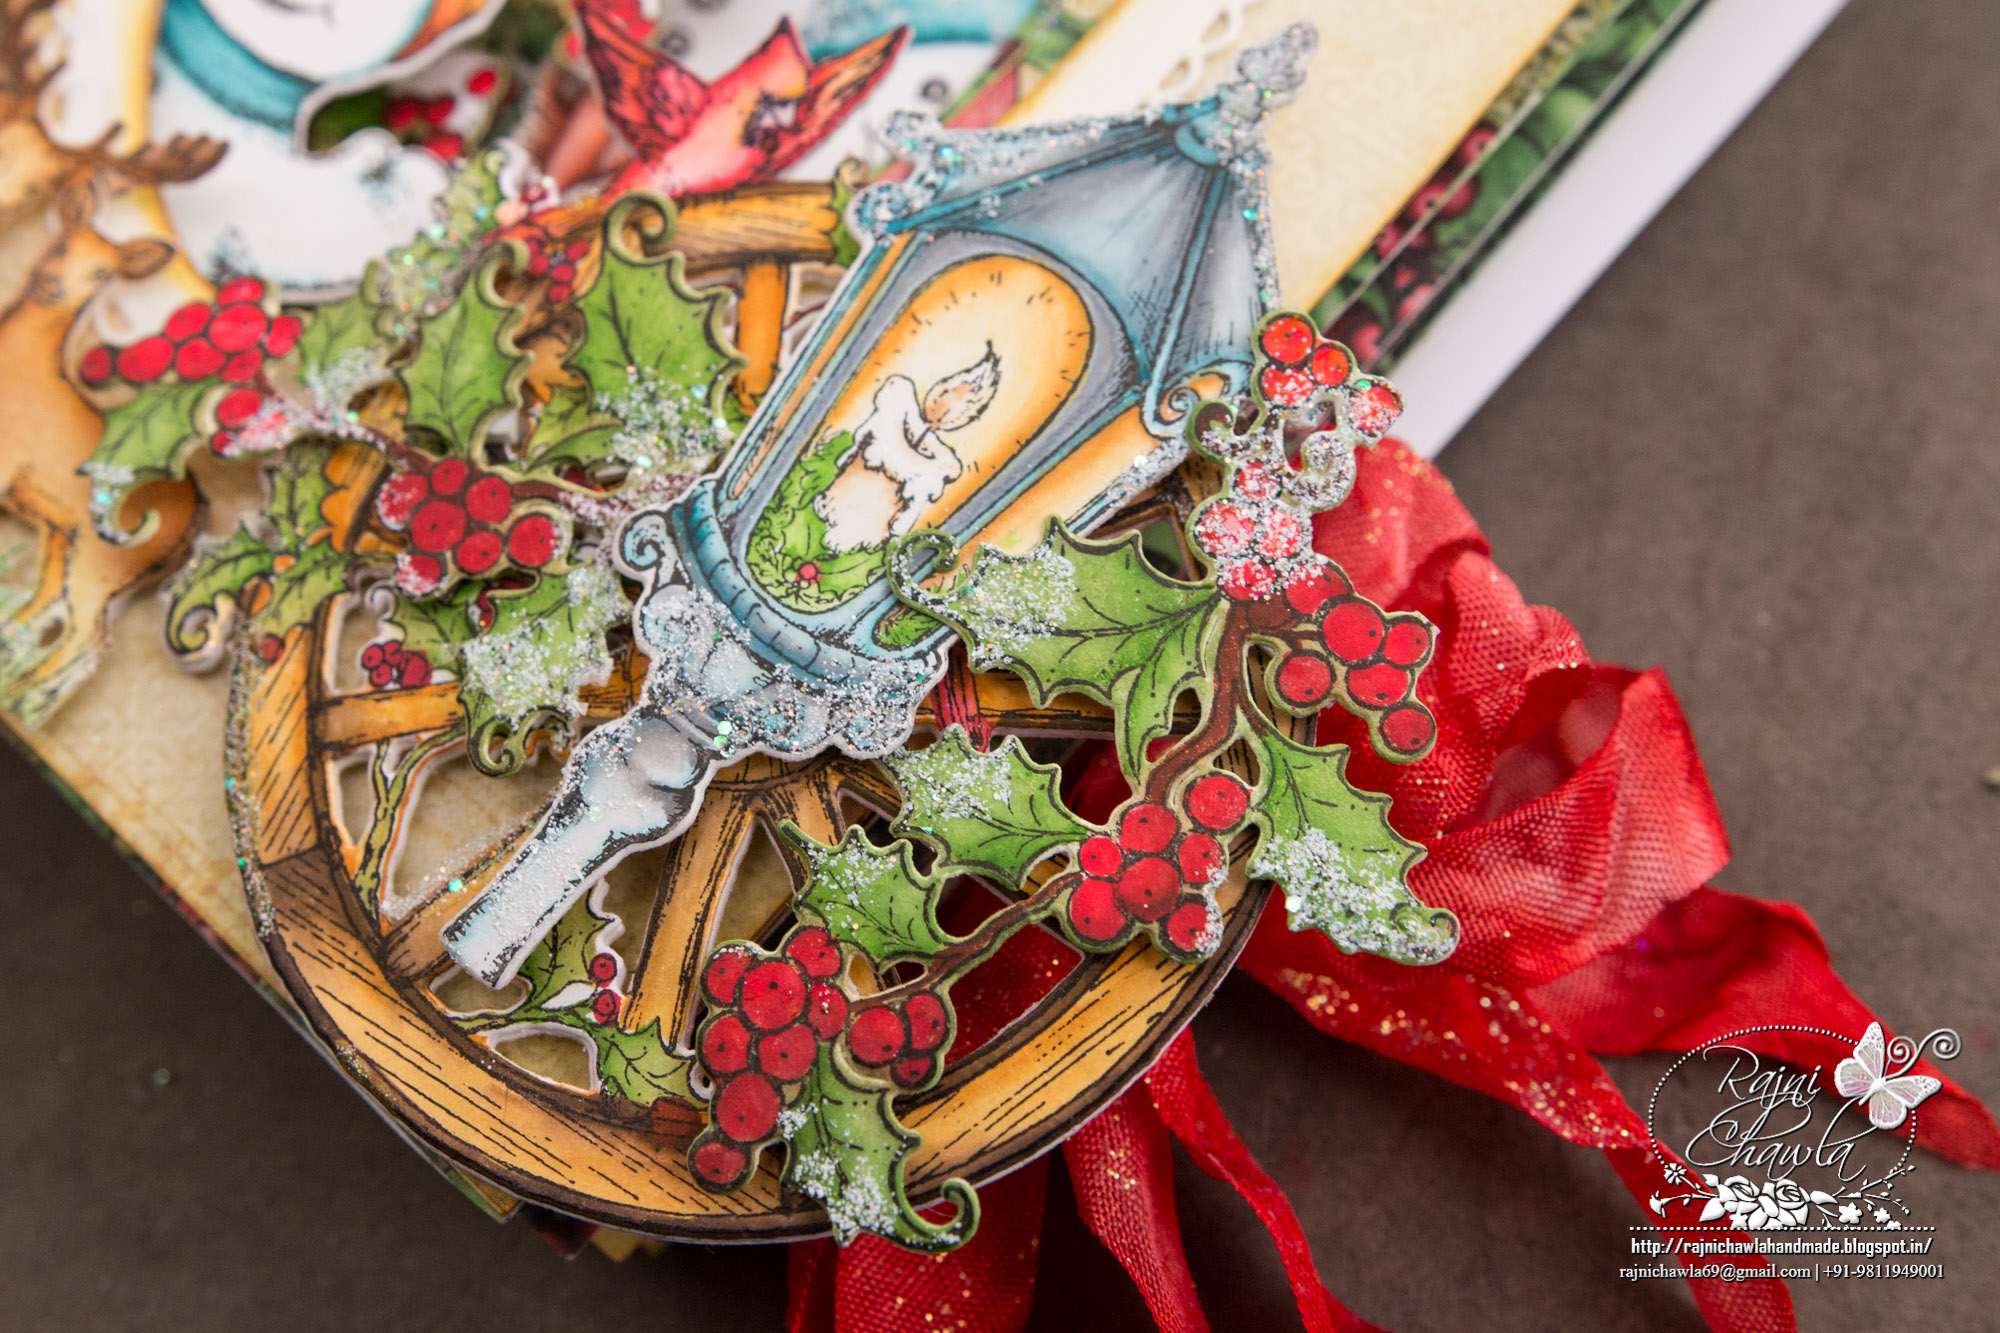
I know the tutorial post is already too long and it took your long time here but I could not resist myself from sharing few more projects which I created earlier using the Border dies. These are too addictive and have now become one big must have in most of all my projects. I am sure you will love using them too.

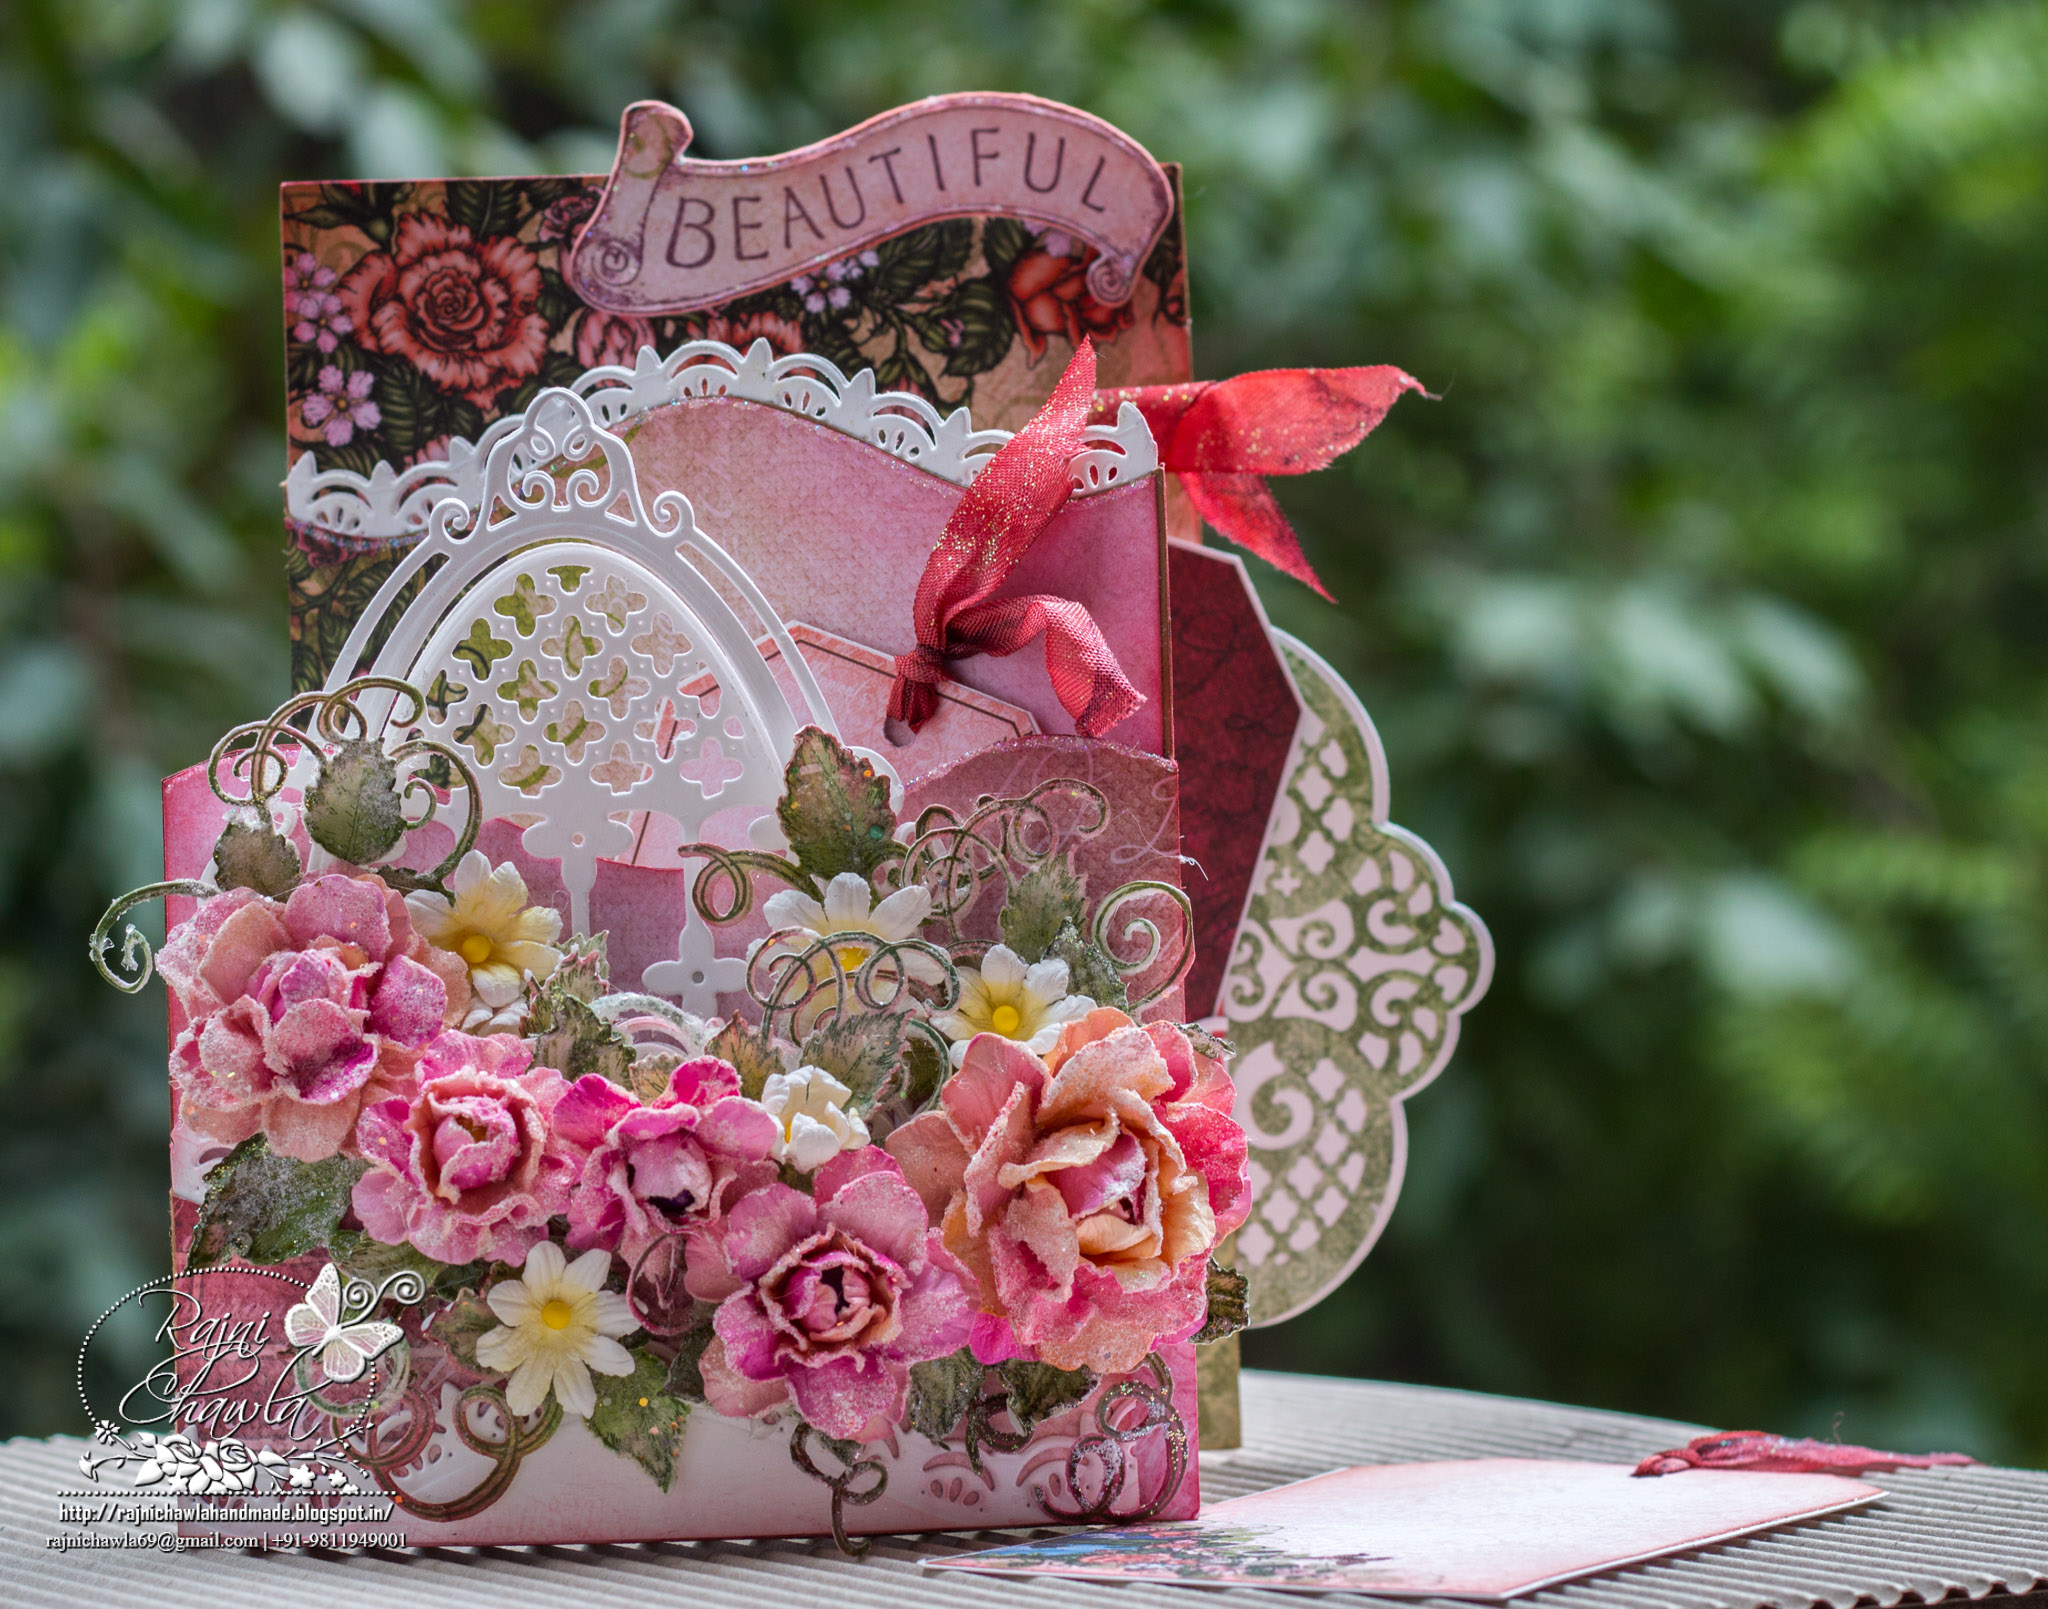
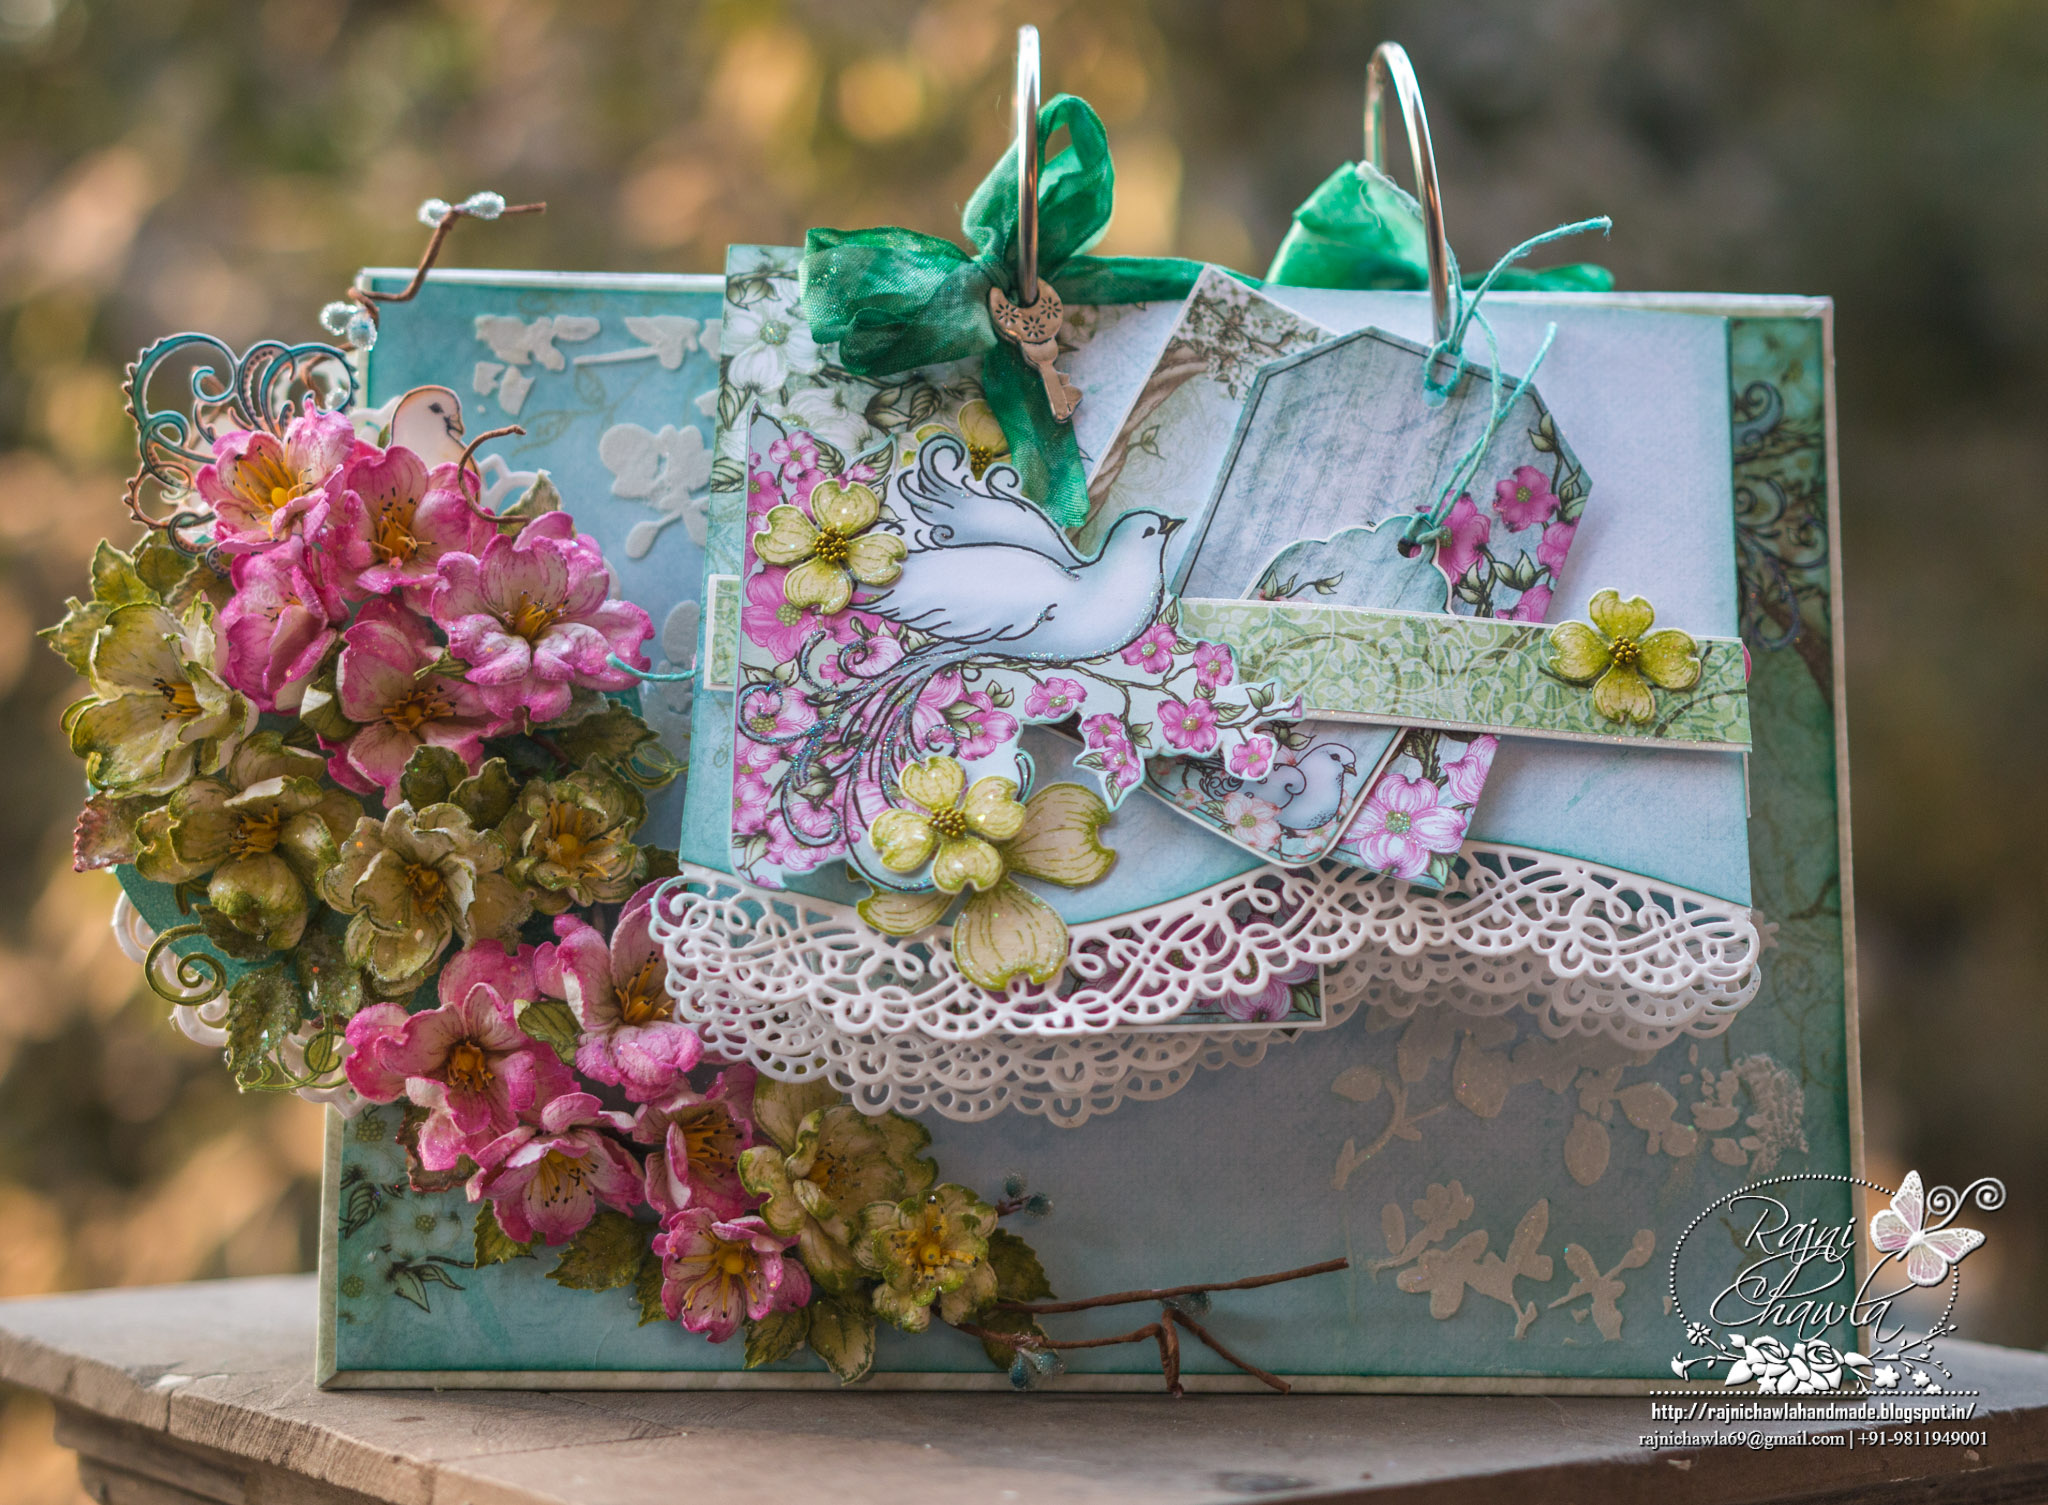
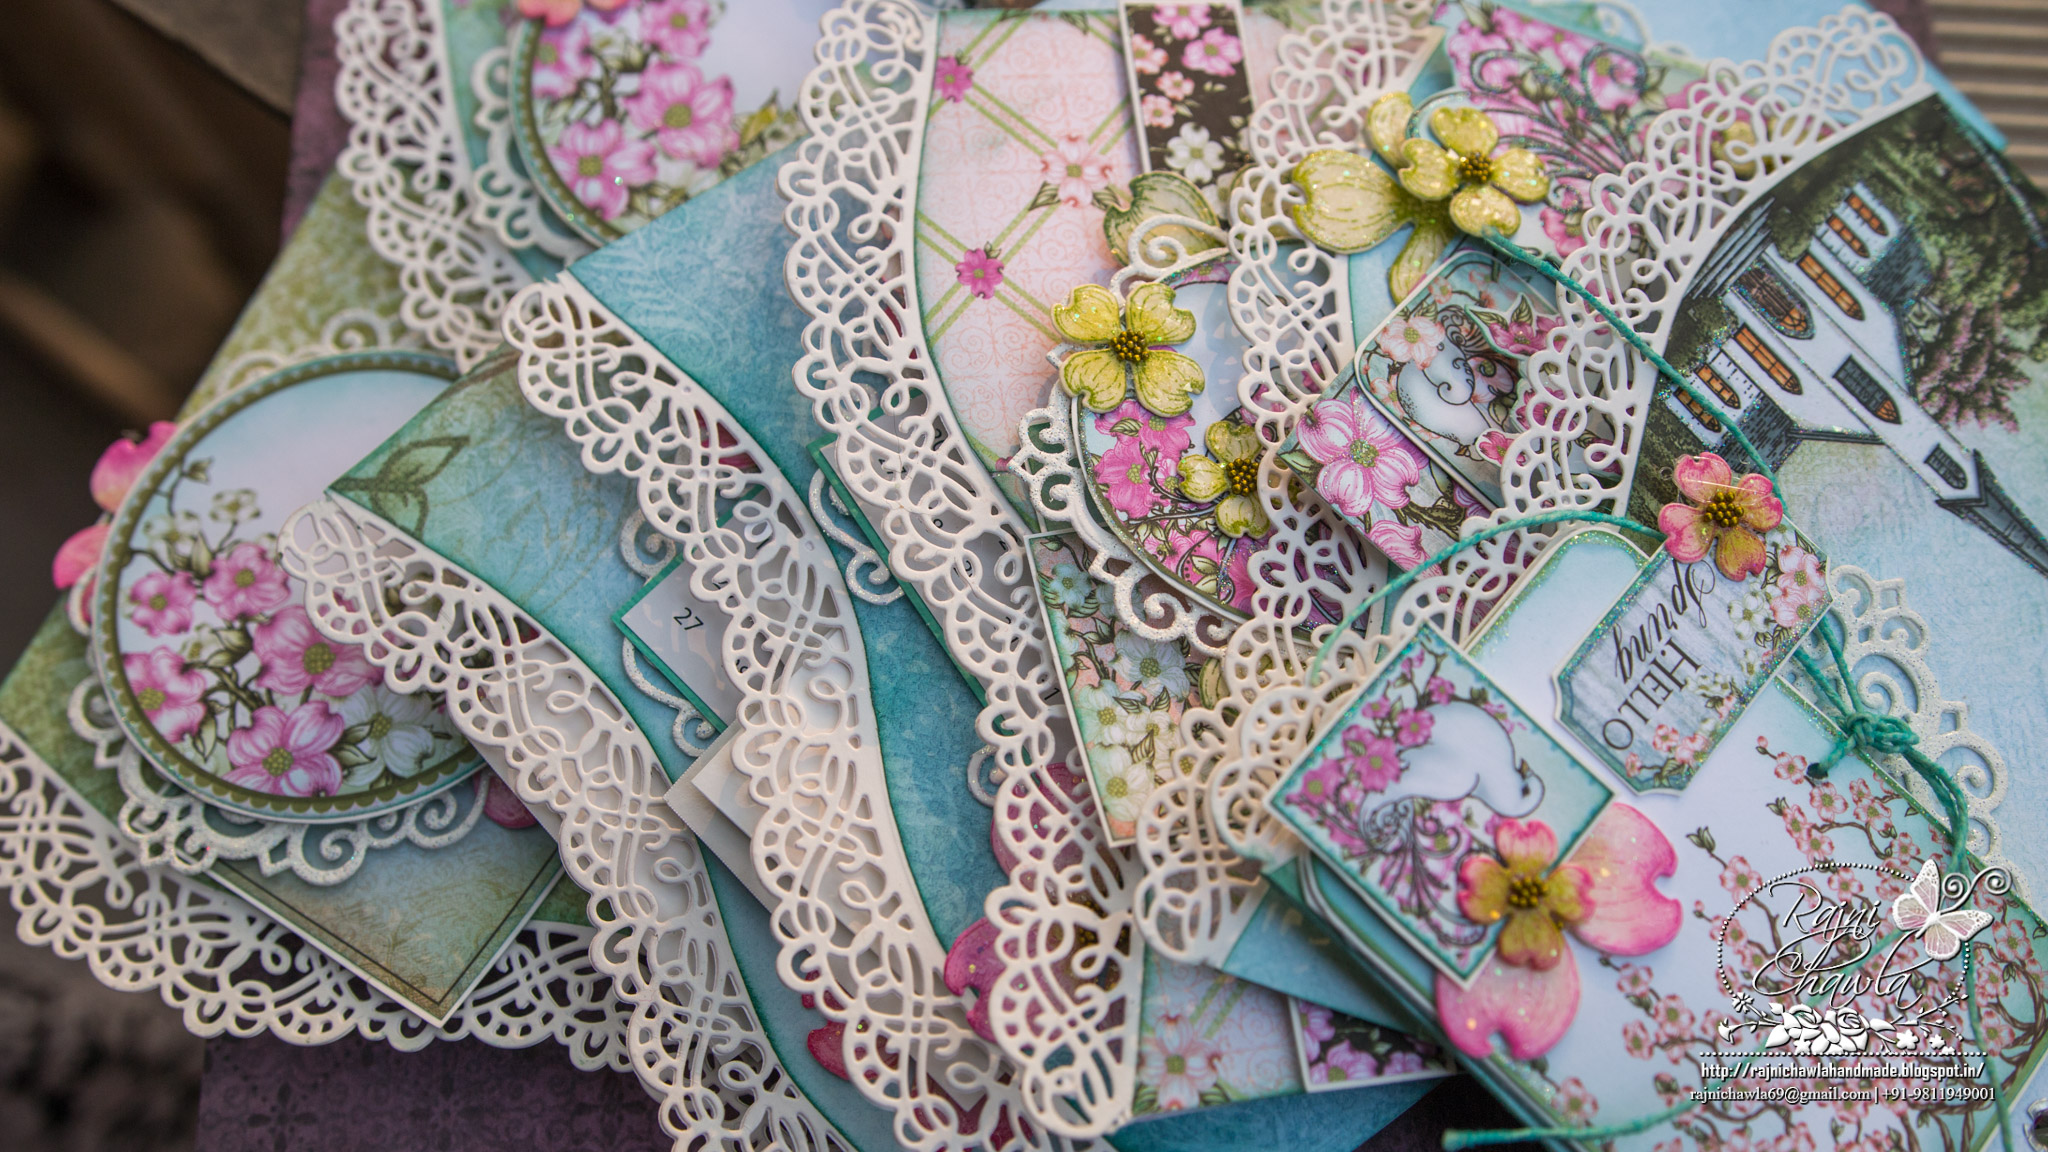
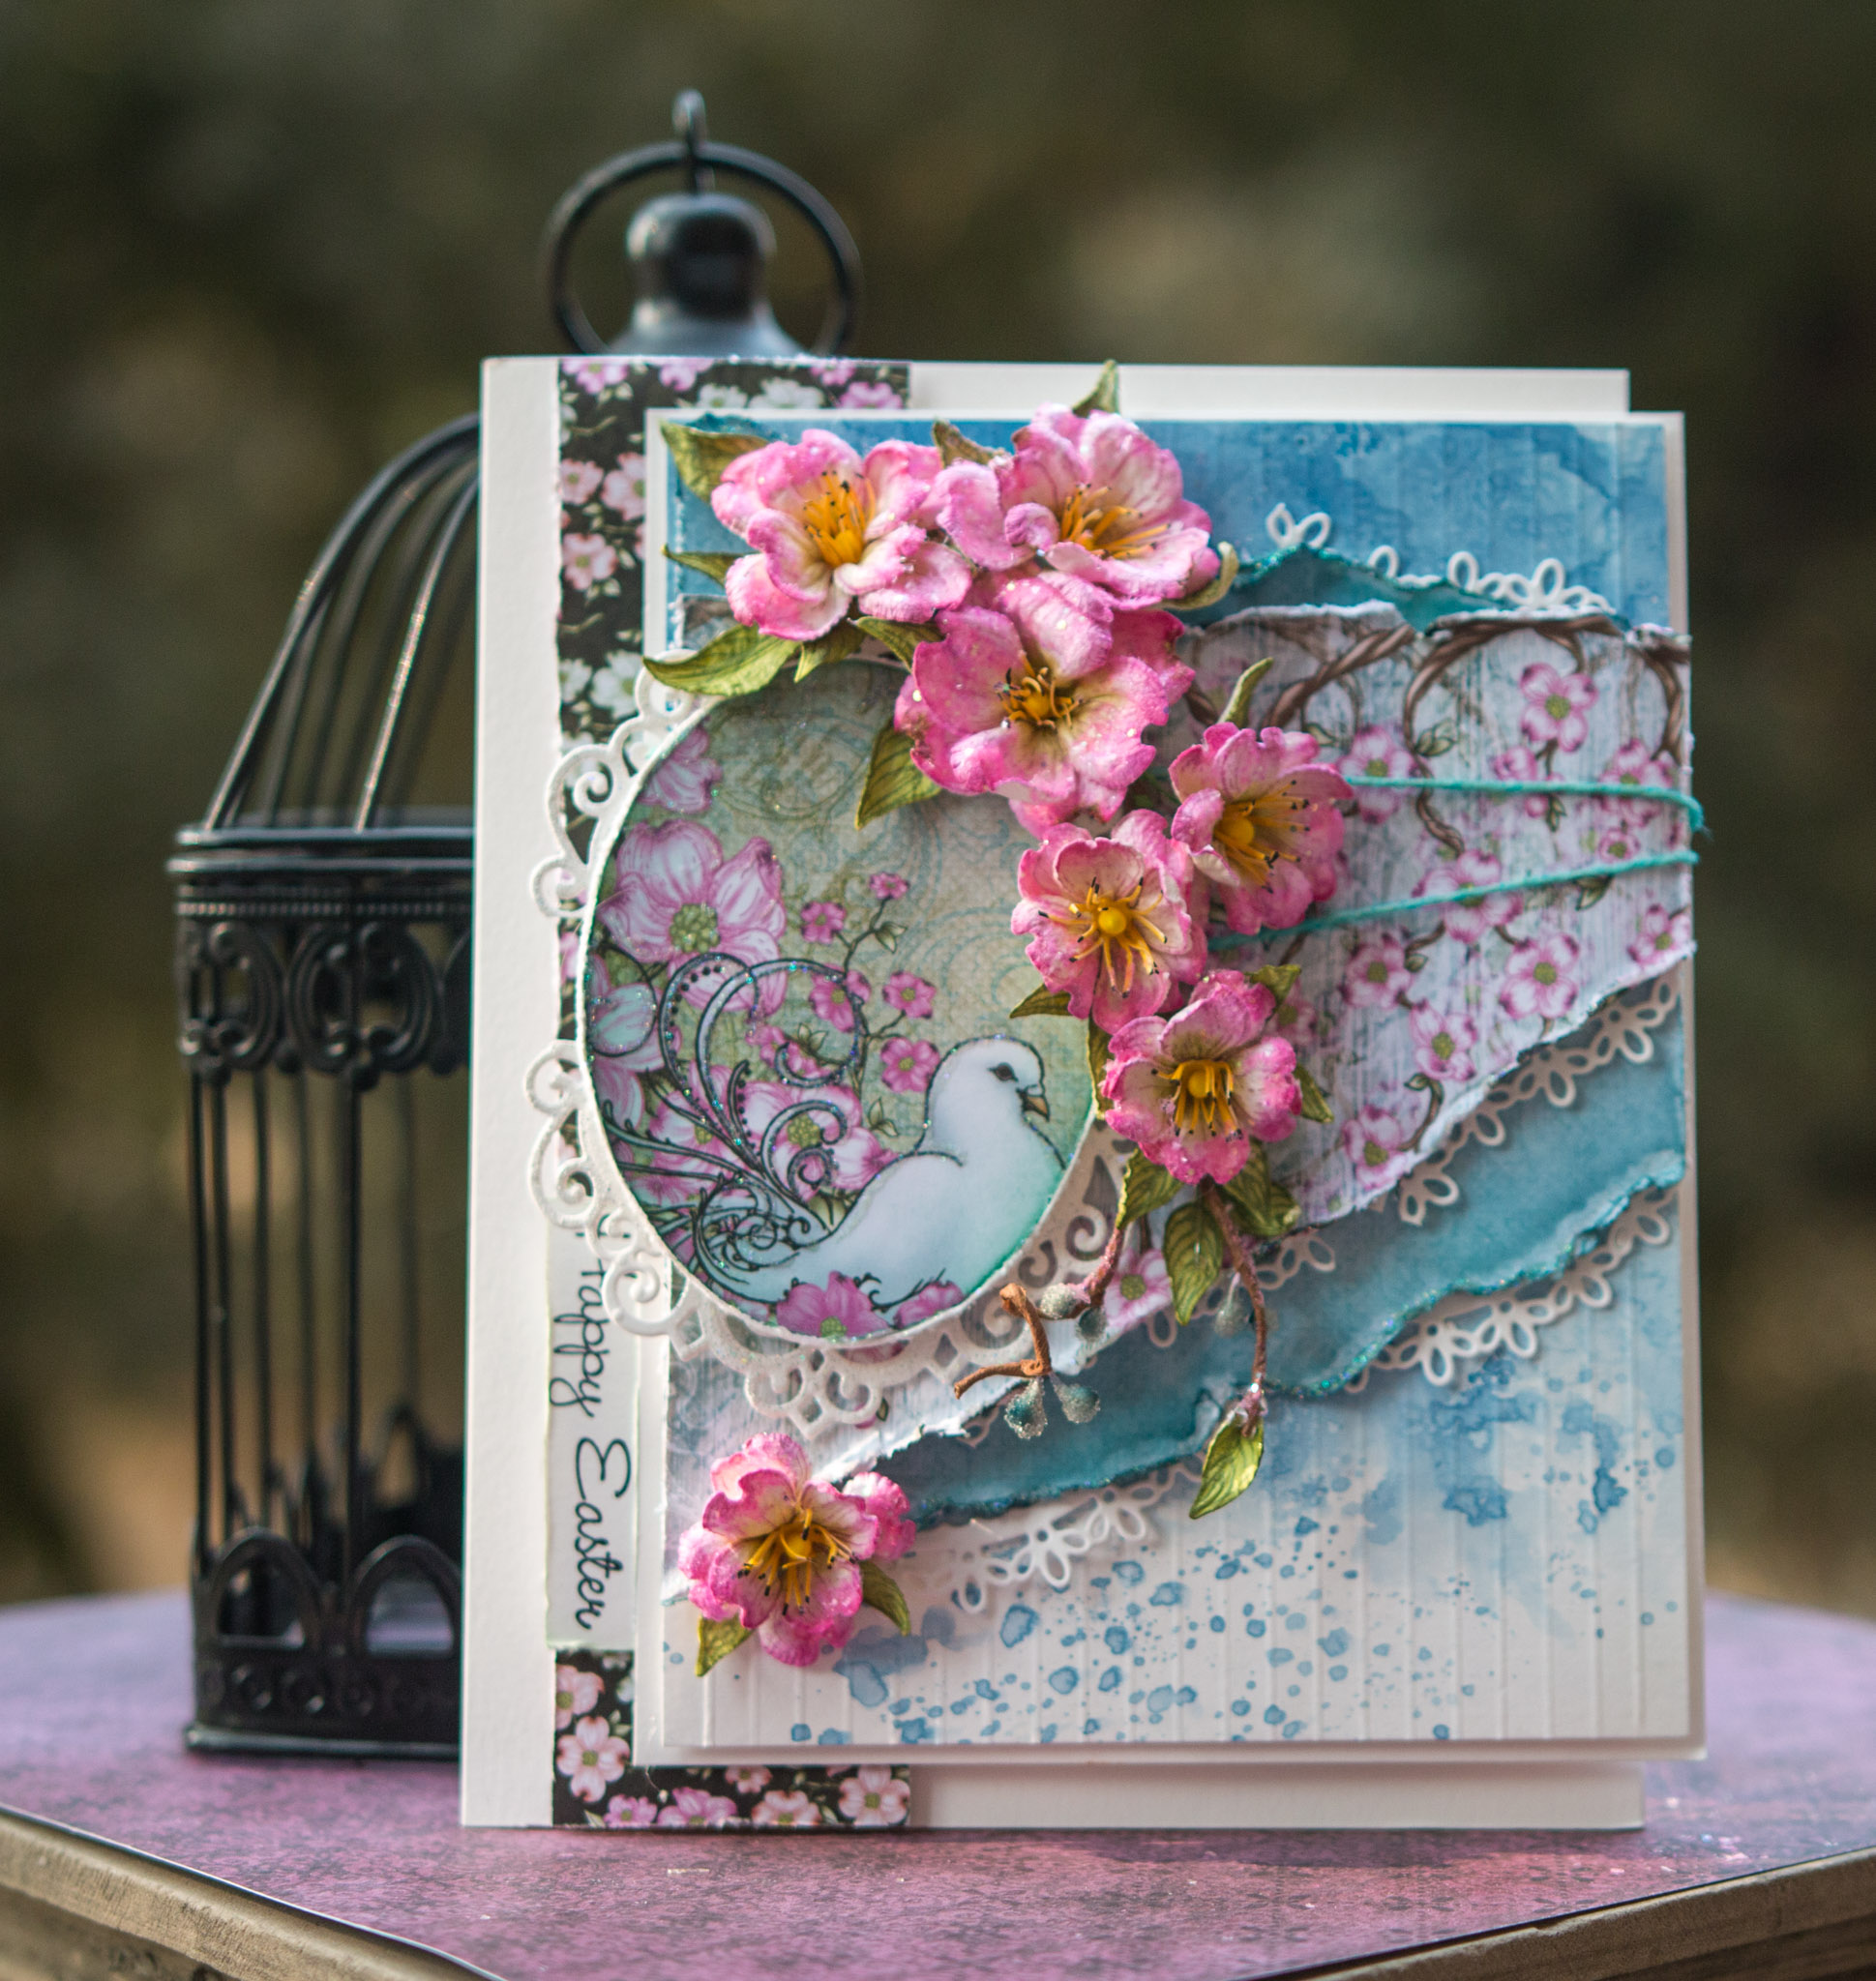
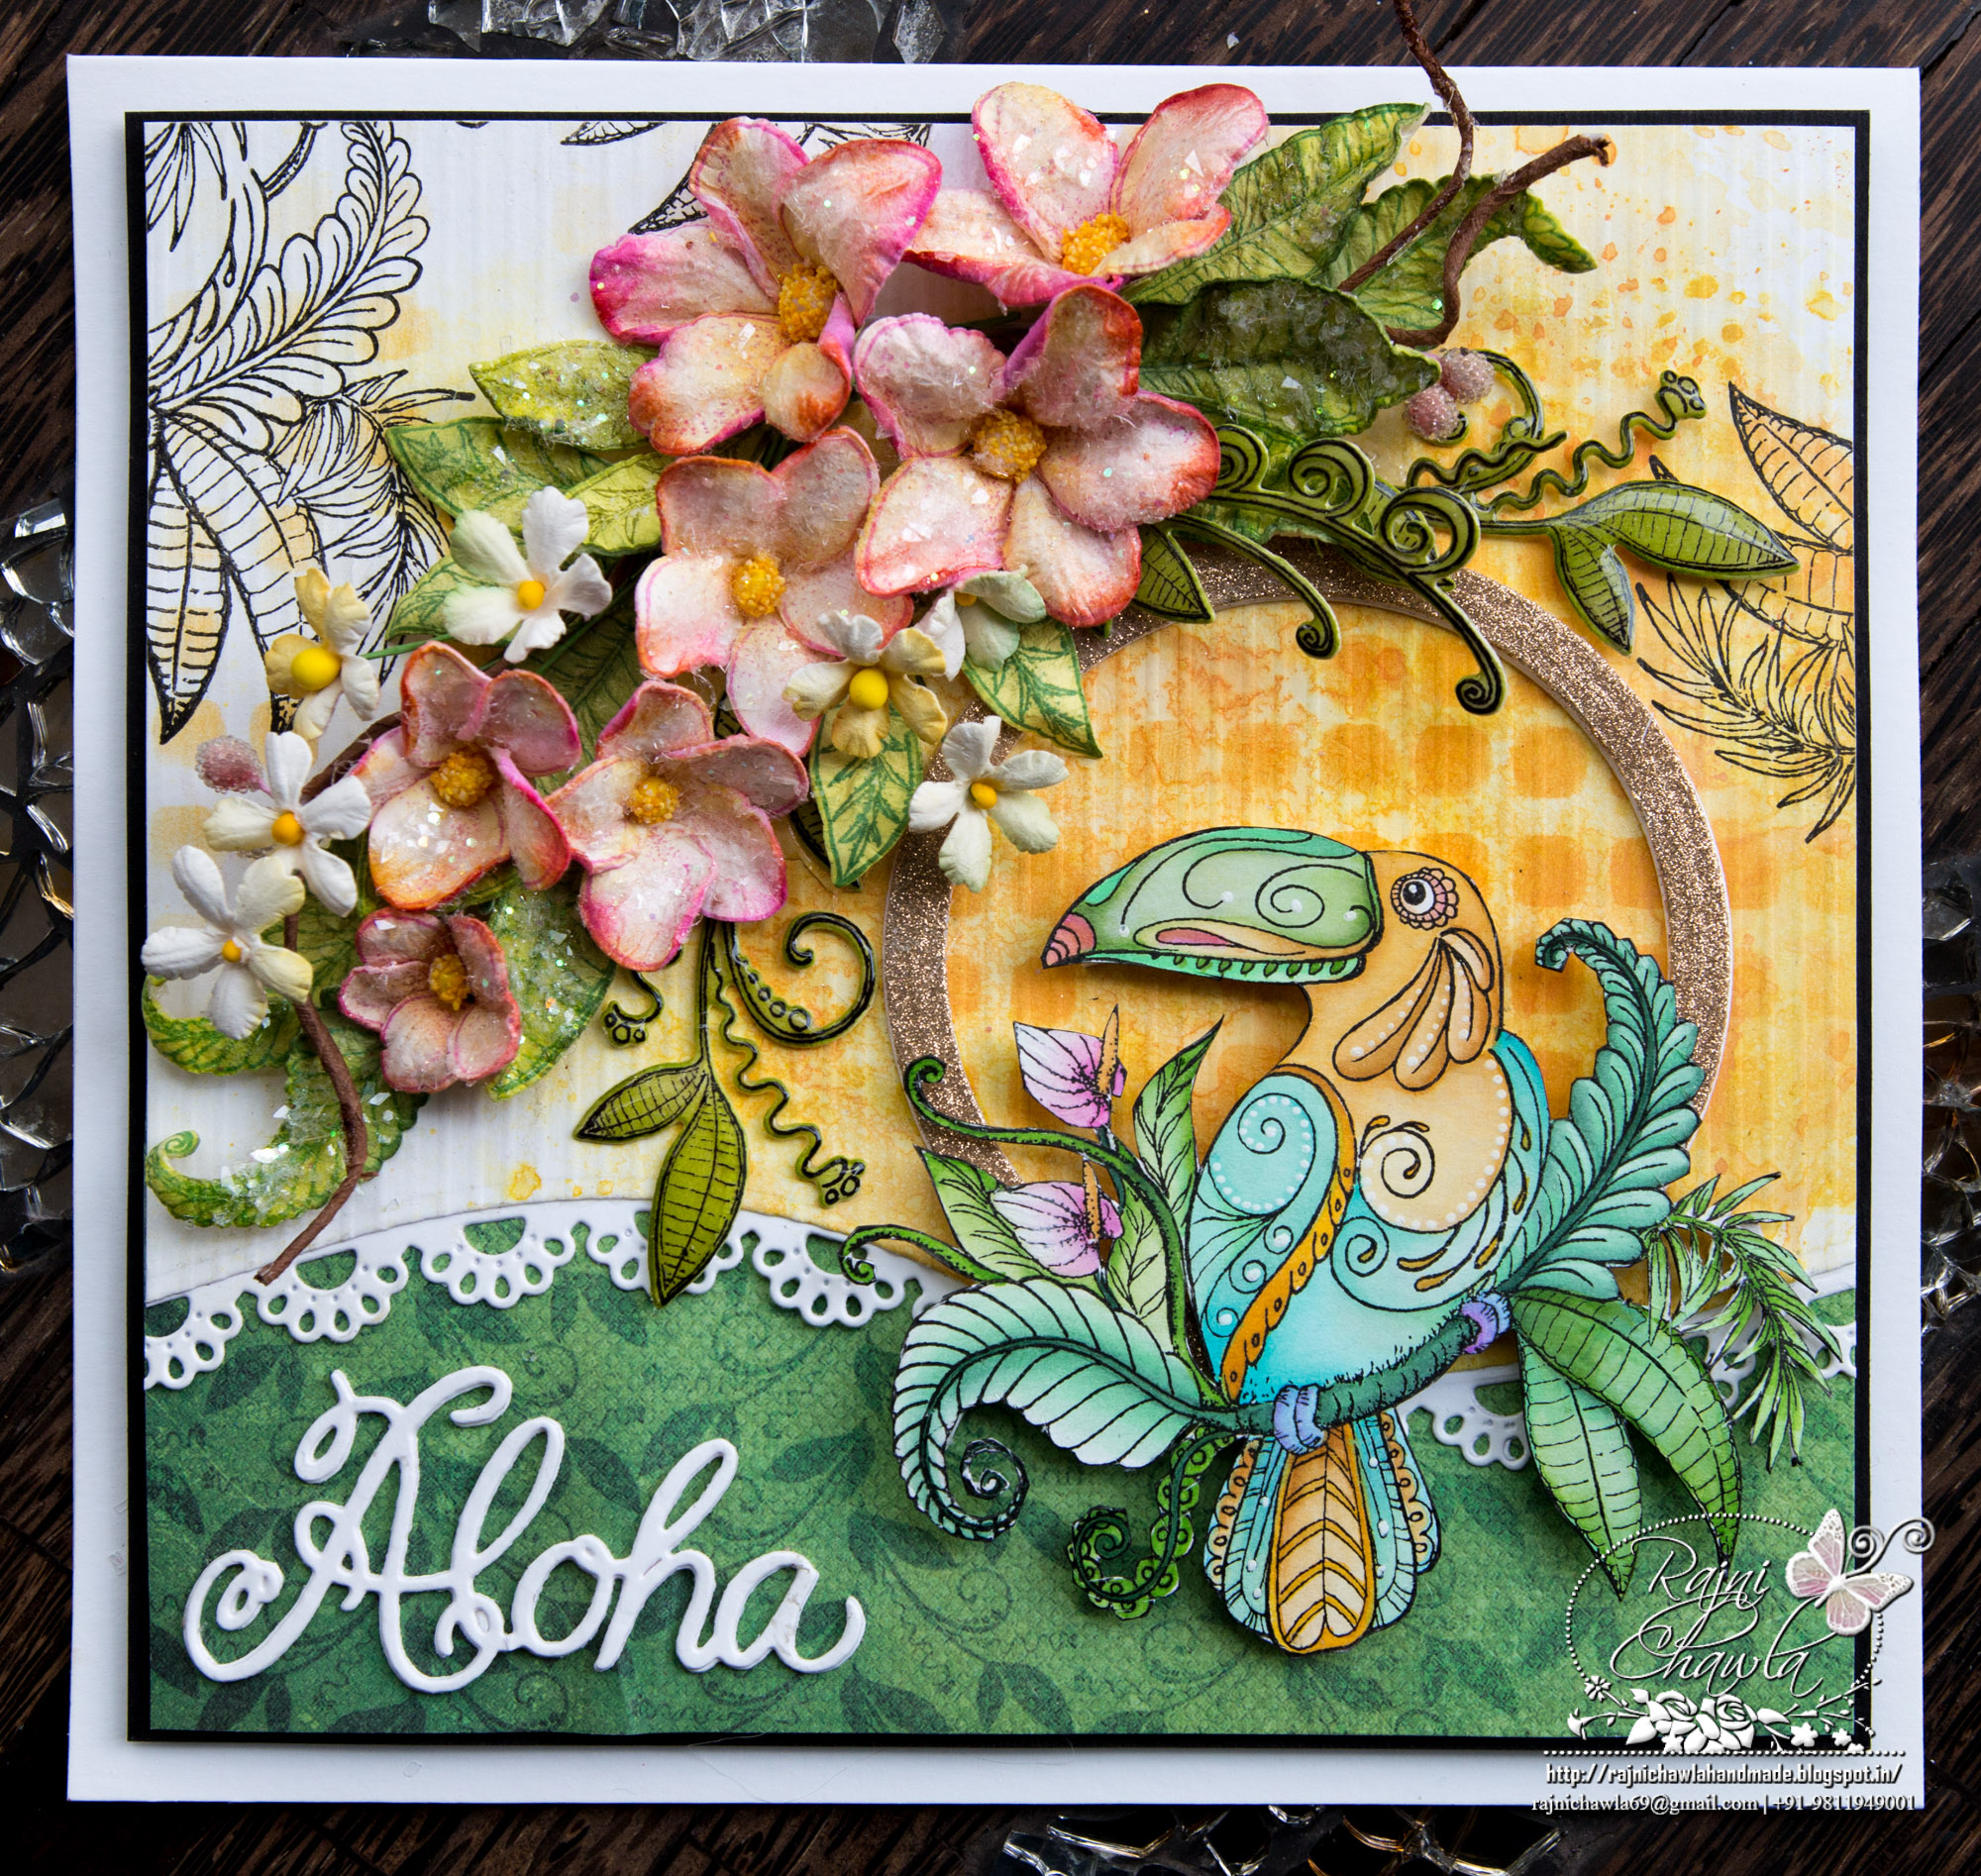
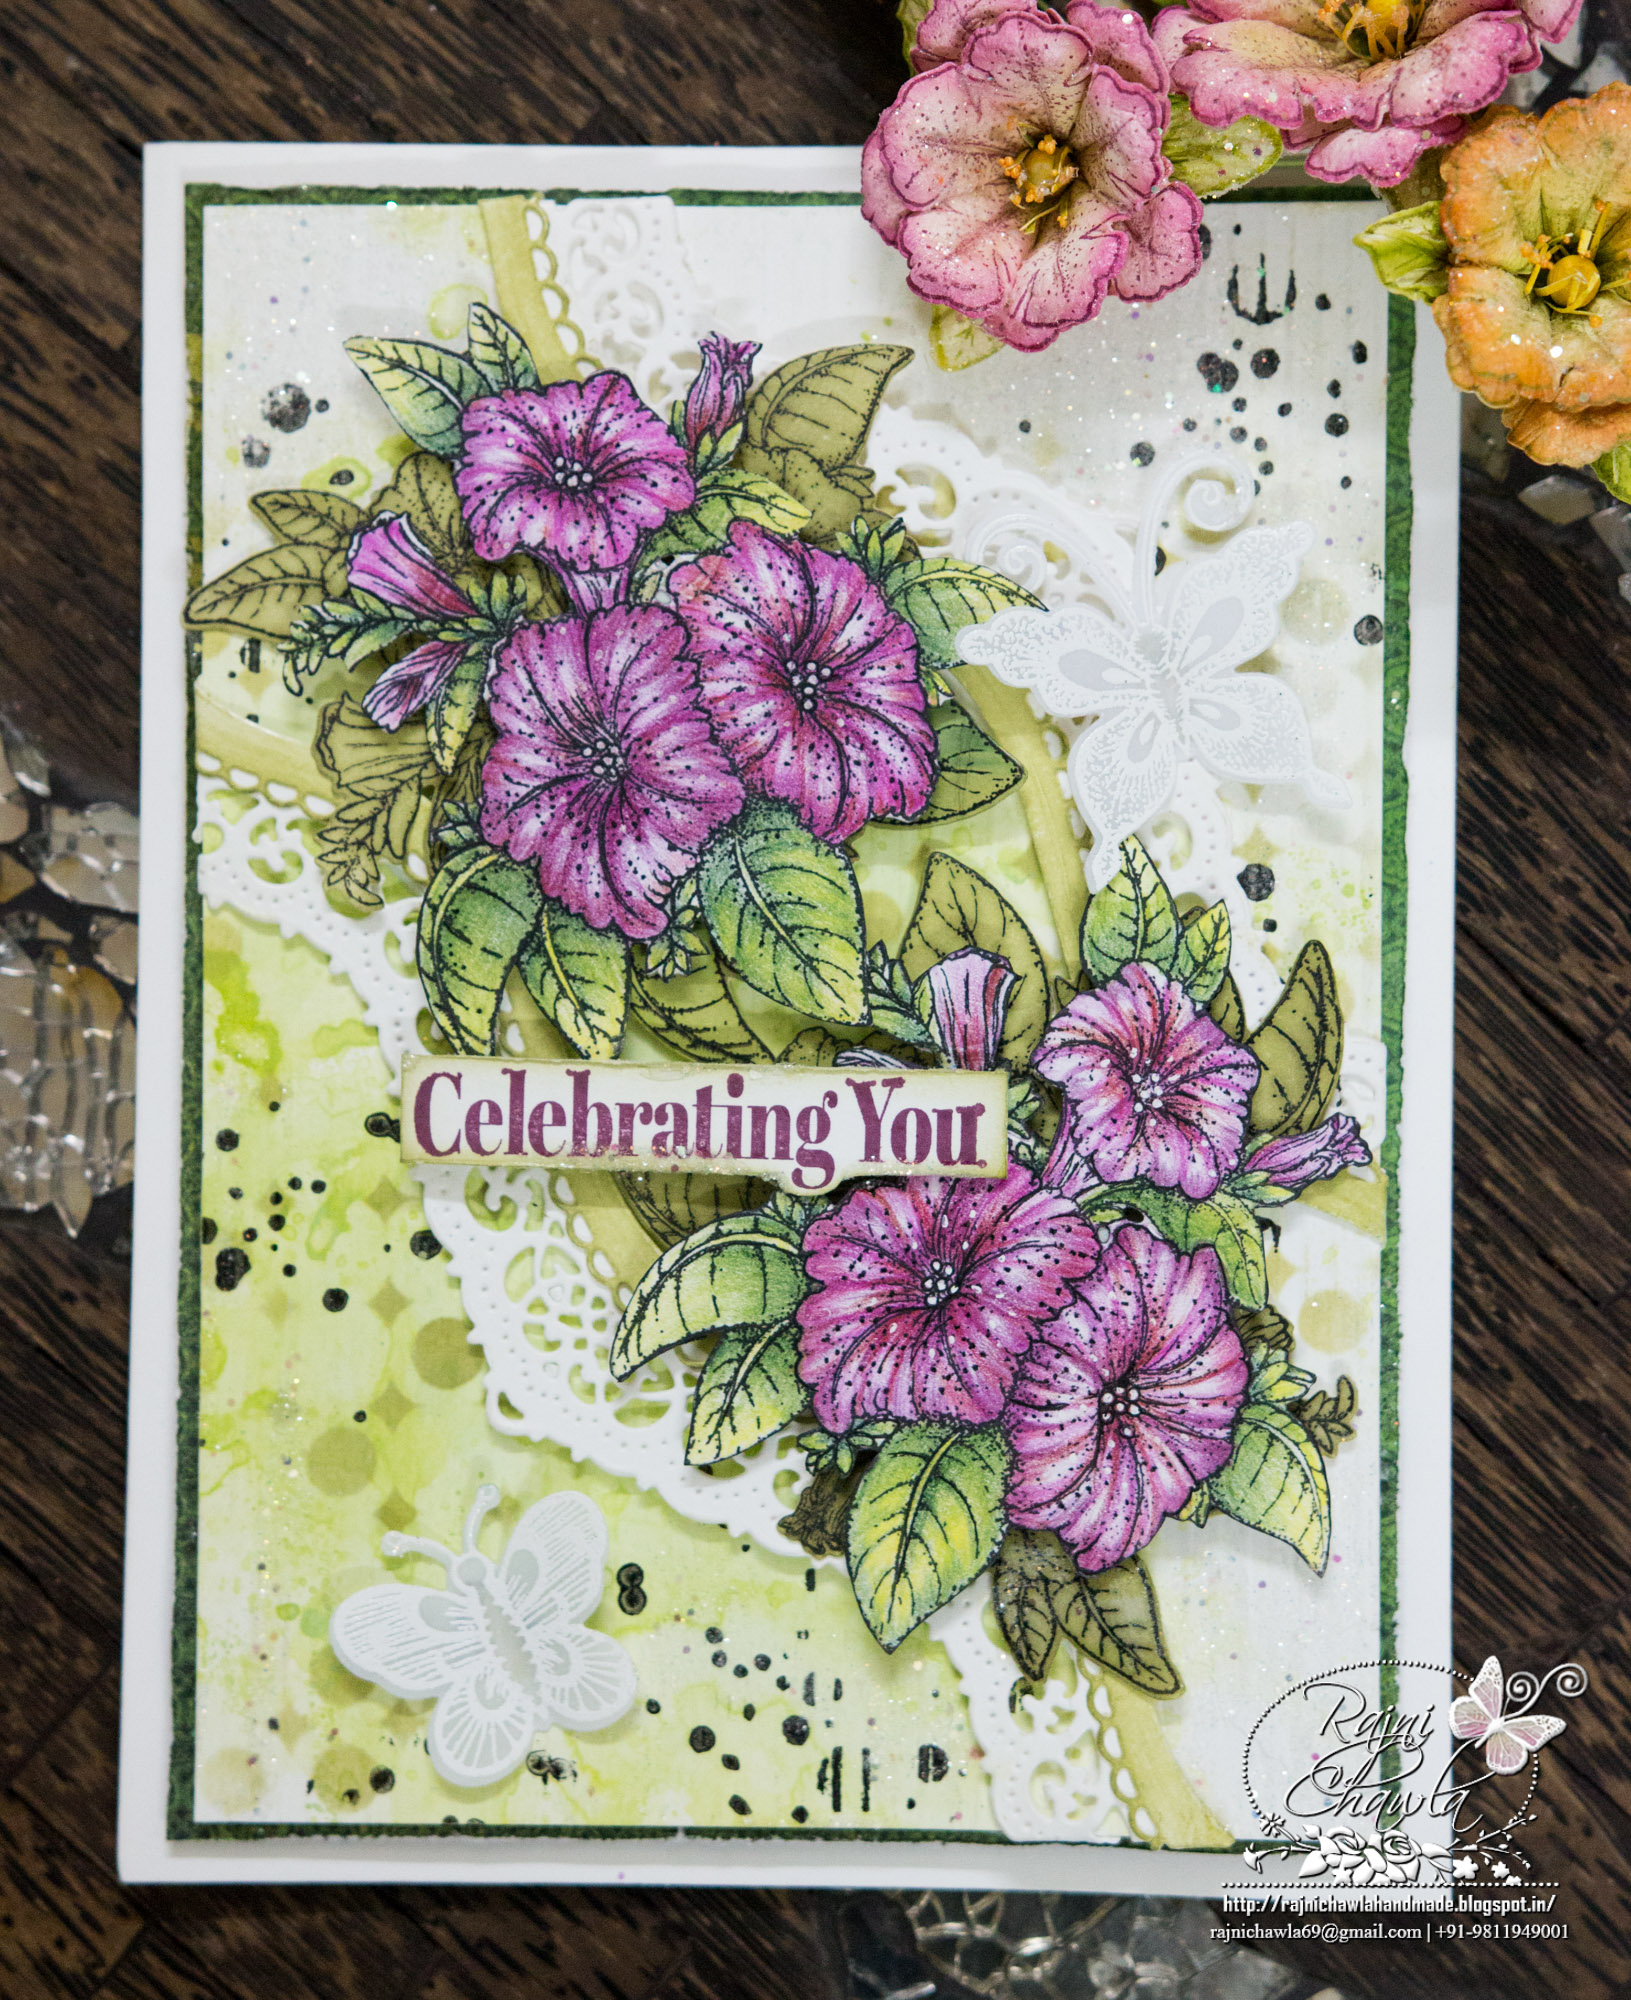
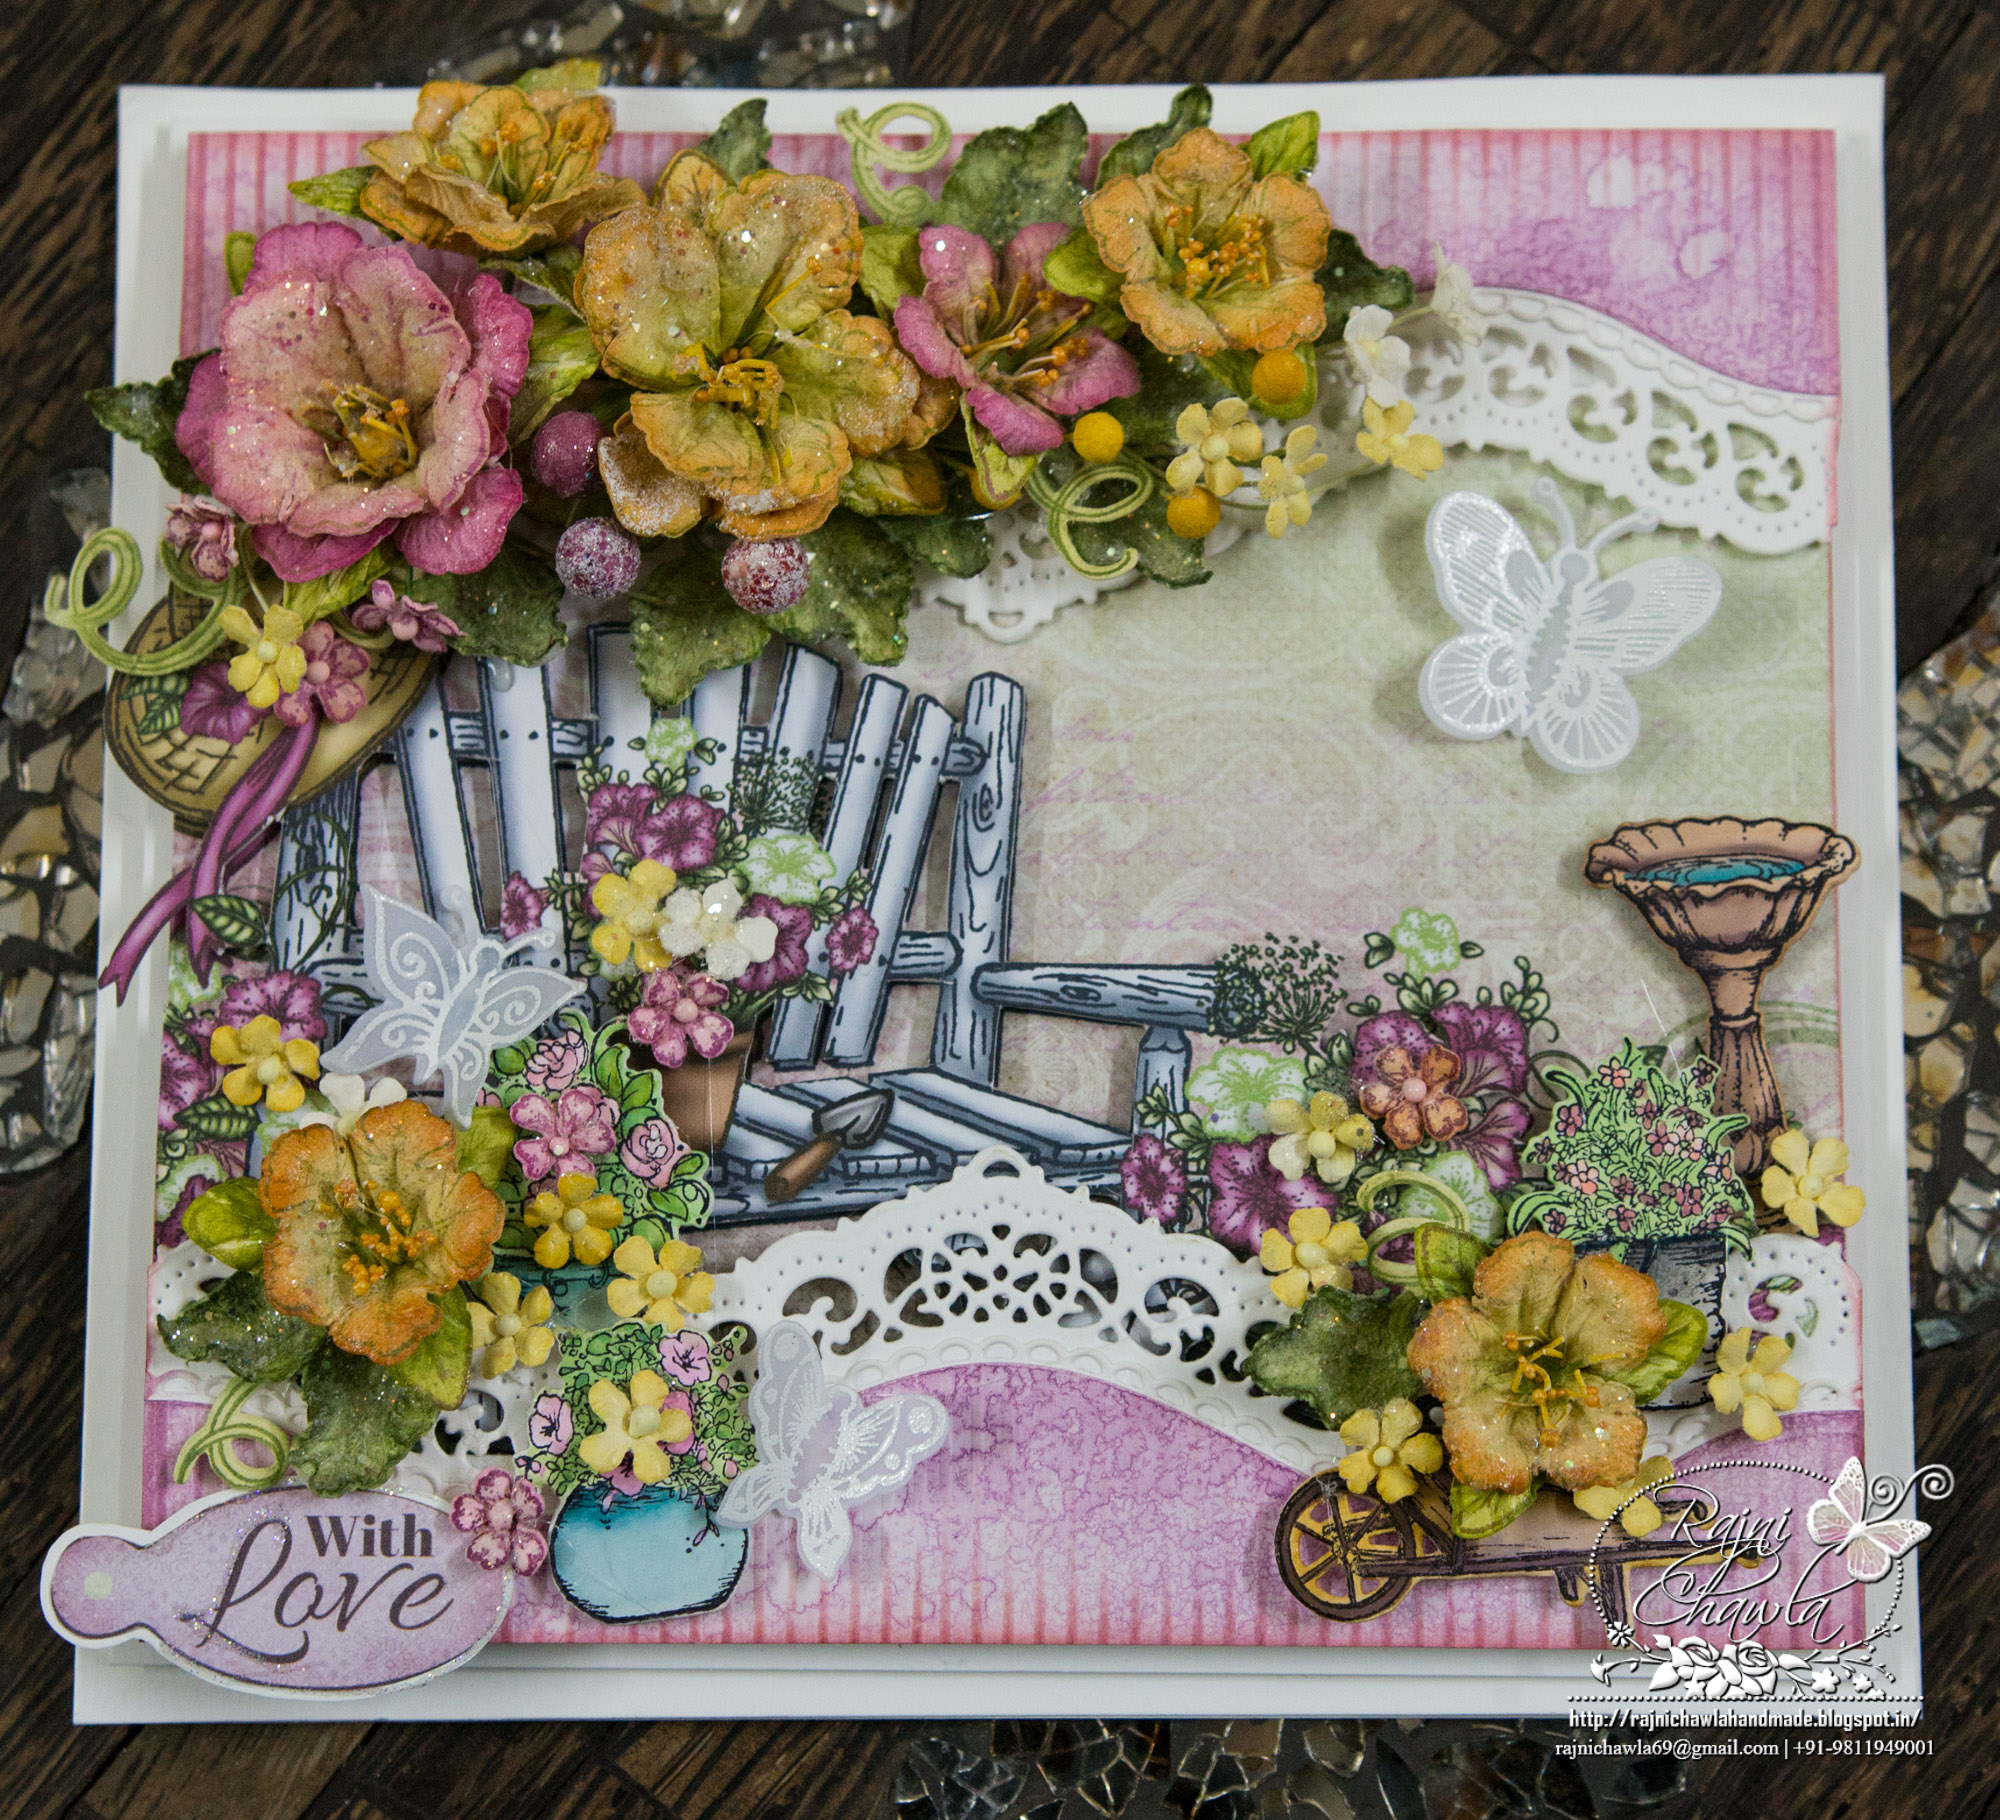
Get inspired and have lots of fun creating some projects using the Border dies. Add some messages, gift tags, photos, money or small jewelry items and of course some love and make your friends feel special,
Super gorgeous creations! Not to forget, your amazing flowerssss <3 <3 <3