


Good Morning and welcome to Heartfelt Creation’s Black Friday Release. Behind the scenes, we designers were working hard creating inspiration projects using their new Black Friday Release Products. Easy to use 3D Flower Molds, 3 Ring Binder Journals Aand Pages, and a Stamp Bundle.
For today’s inspiration, I have 2 set of tags to share which I created using their Stamp Bundle, Journal Pages, and 3D Flower Molds.
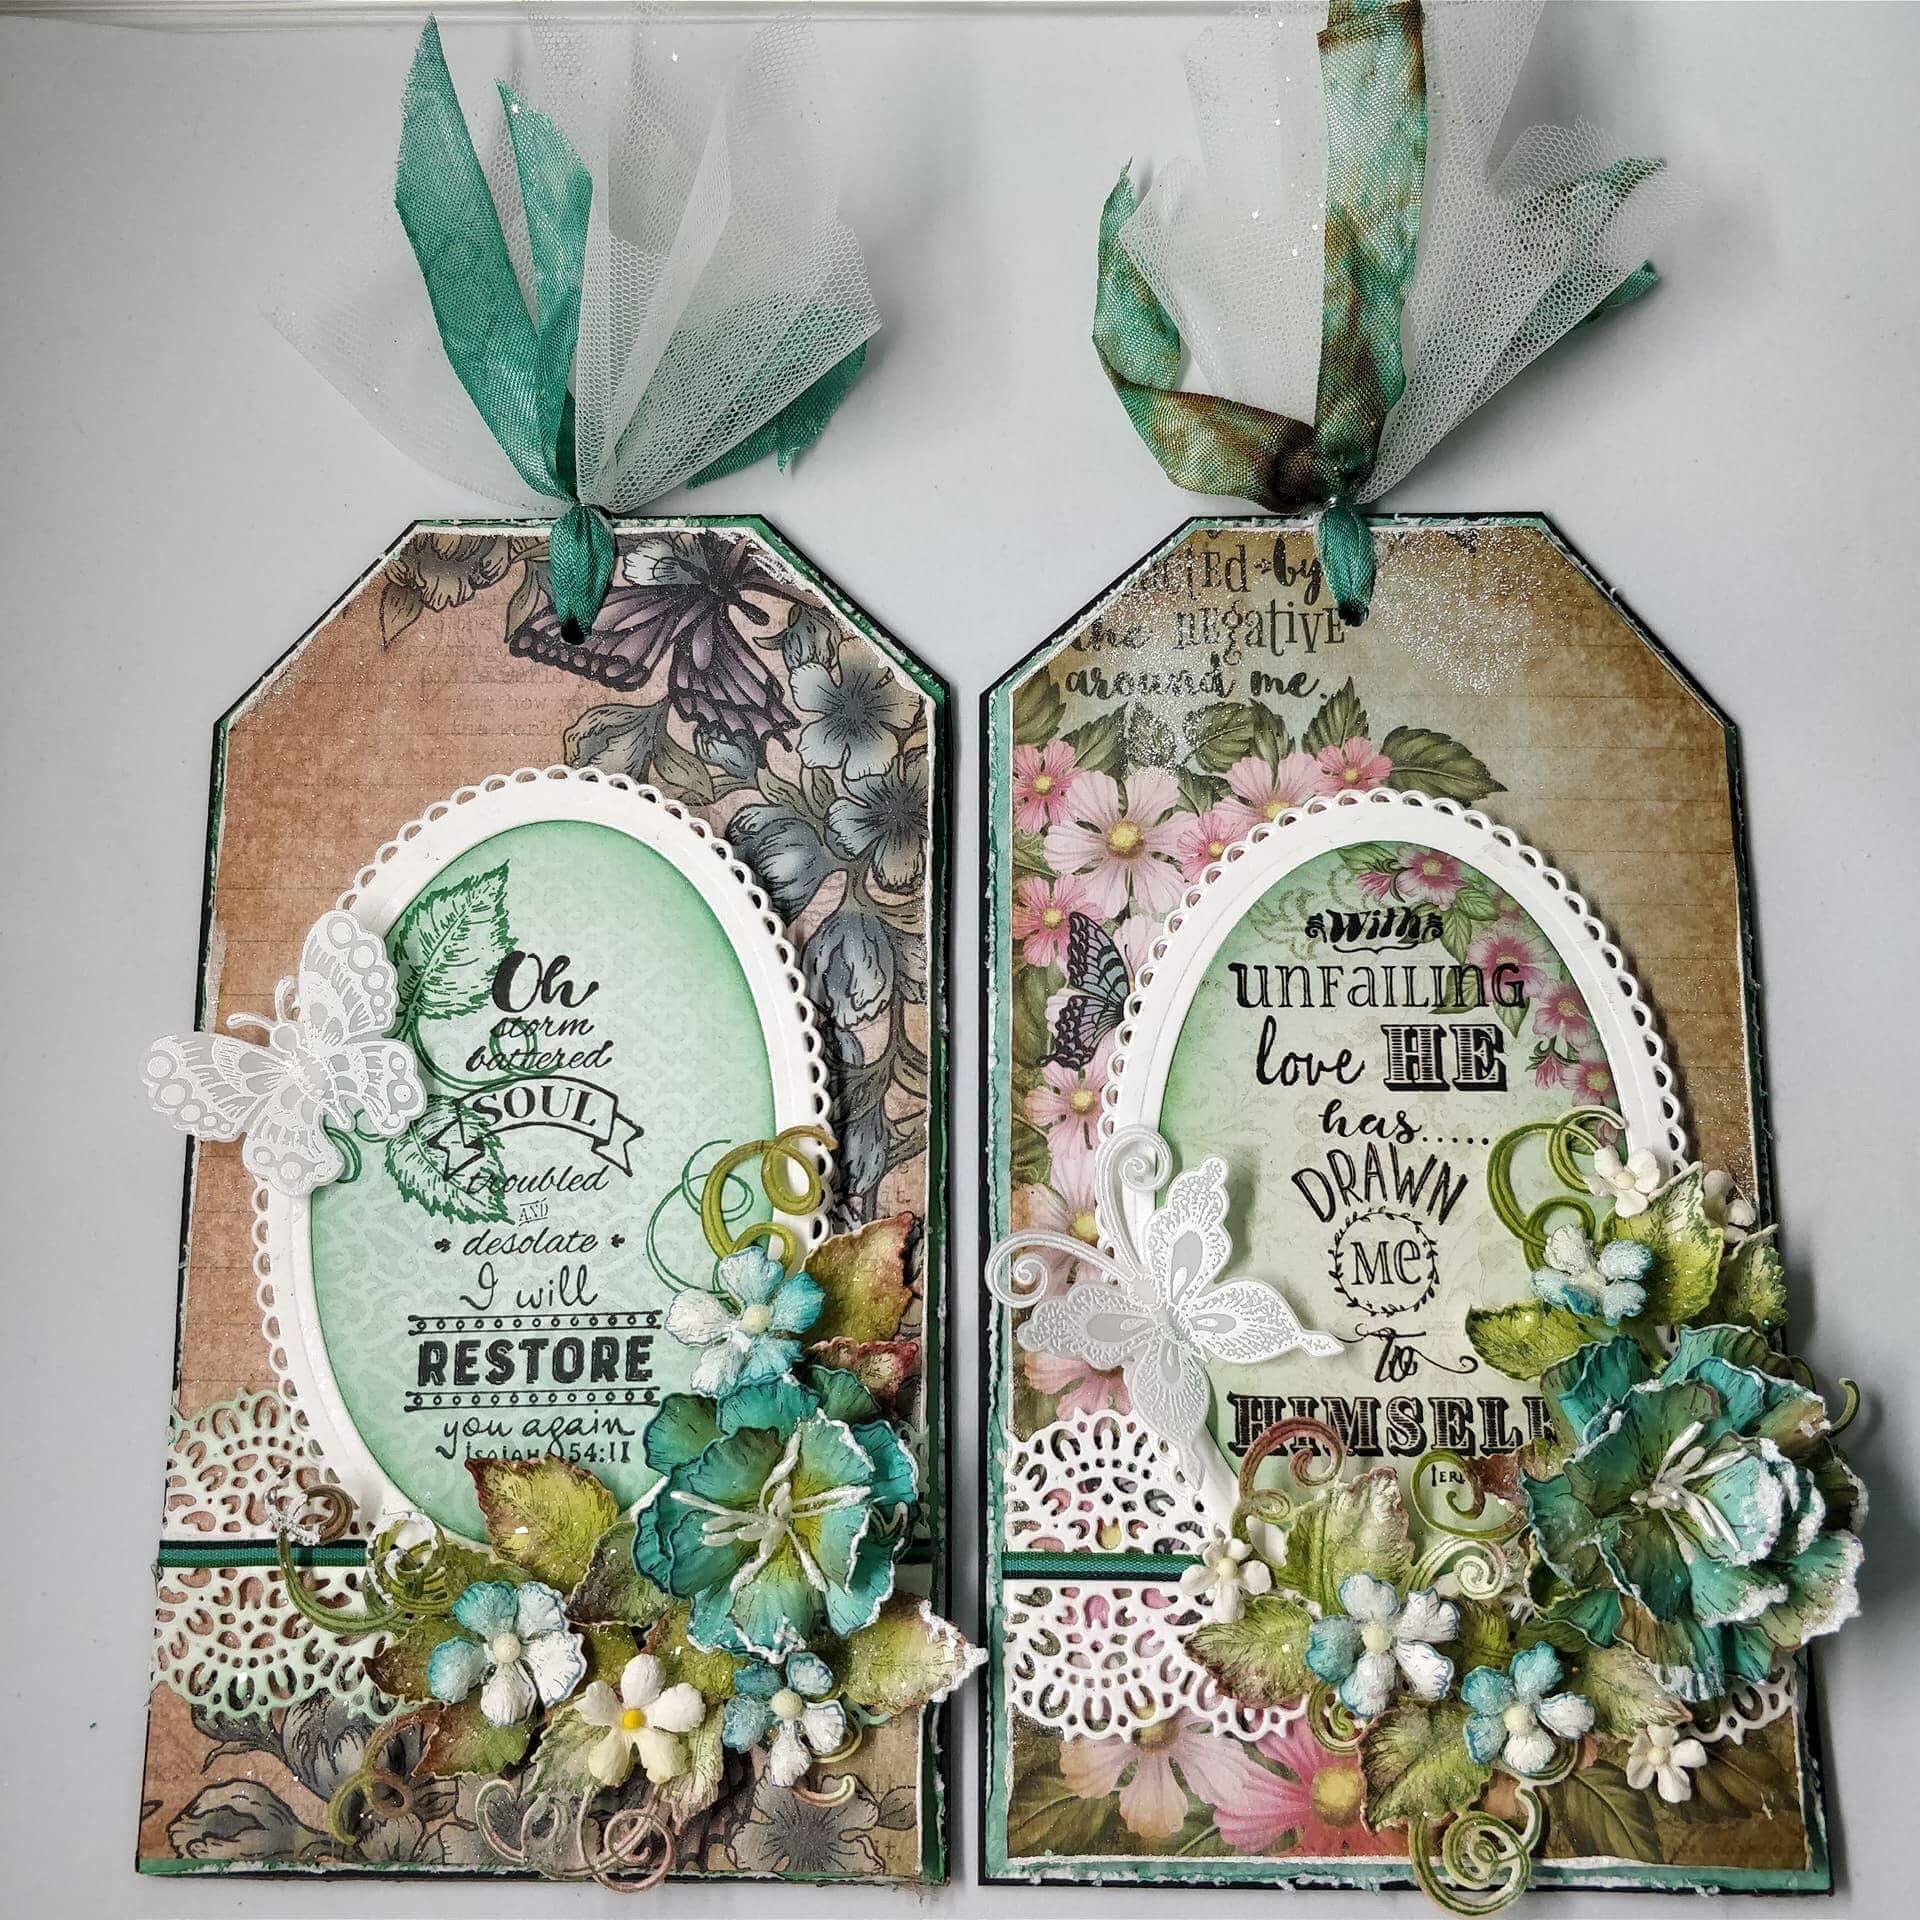
Set 1: This Too Shall Pass
Products from Heartfelt Creations:
HCPC-3814 Words Of Encouragement Stamp Set
HCFB1-464 3D Floral Basics Shaping Mold
HCJB1-5002 Words to Live By Journal Pages
HCD1-7156 Eyelet Oval & Basics Small Die
HCD1-7161 Sweetheart Borders Die
HCD1-759 Butterfly Medley Die
HCPC-3650 Butterfly Medley Cling Stamp Set
HCD1-7110 Classic Rose Die
HCPC-3752 Classic Rose Cling Stamp Set
Double Dots 100pc. -3D Foam Circles DDOTS
Designer Dries Clear Adhesive 159723
359503 Funnel Tray
RPEJ685 Embossing Powder – White
242174 Vellum Paper – 10 Sheets
RAHT Heat It Craft Tool
Other Products Used: Thick black cardstock, White cardstock, Paper distressing tool/ scissors, Versafine Black, Archival Leaf Green, Archival Library Green, Archival Fern Green, Archival Plum, Distress Ink Vintage Photo and Peacock Feather, Mini Mister, Seam binding ribbon, a piece of net, thin wire,
Suggested Videos:
For more tips on creating with the flower shaping molds, watch the tutorial at https://youtu.be/FSdPL7nXvQE.
For more tips on creating with the border dies & foldout cards, watch the tutorial at https://youtu.be/wxX94X84kUo.
Instructions: Cut a tag measuring 41/2″ by 71/2″ from a thick black cardstock. The top two angles are cut at 3/4″ on both sides. Choose the pattern paper from the Words to Live by Journal pages and cut 1/4″ smaller to the tag. Distress the edges with Peacock Feather distress ink and distress them further using the distressing tool. Sparkle the edges randomly with Crystal Clear Powder using an adhesive that dries clear. Cut another tag from the pattern paper 1/8″ smaller to the base tag. Layer all the tags using foam dots.
Take a strip 2″ wide from a white cardstock and cut a border on both the sides using Sweetheart Border Die. Layer on the base of the tag as shown.
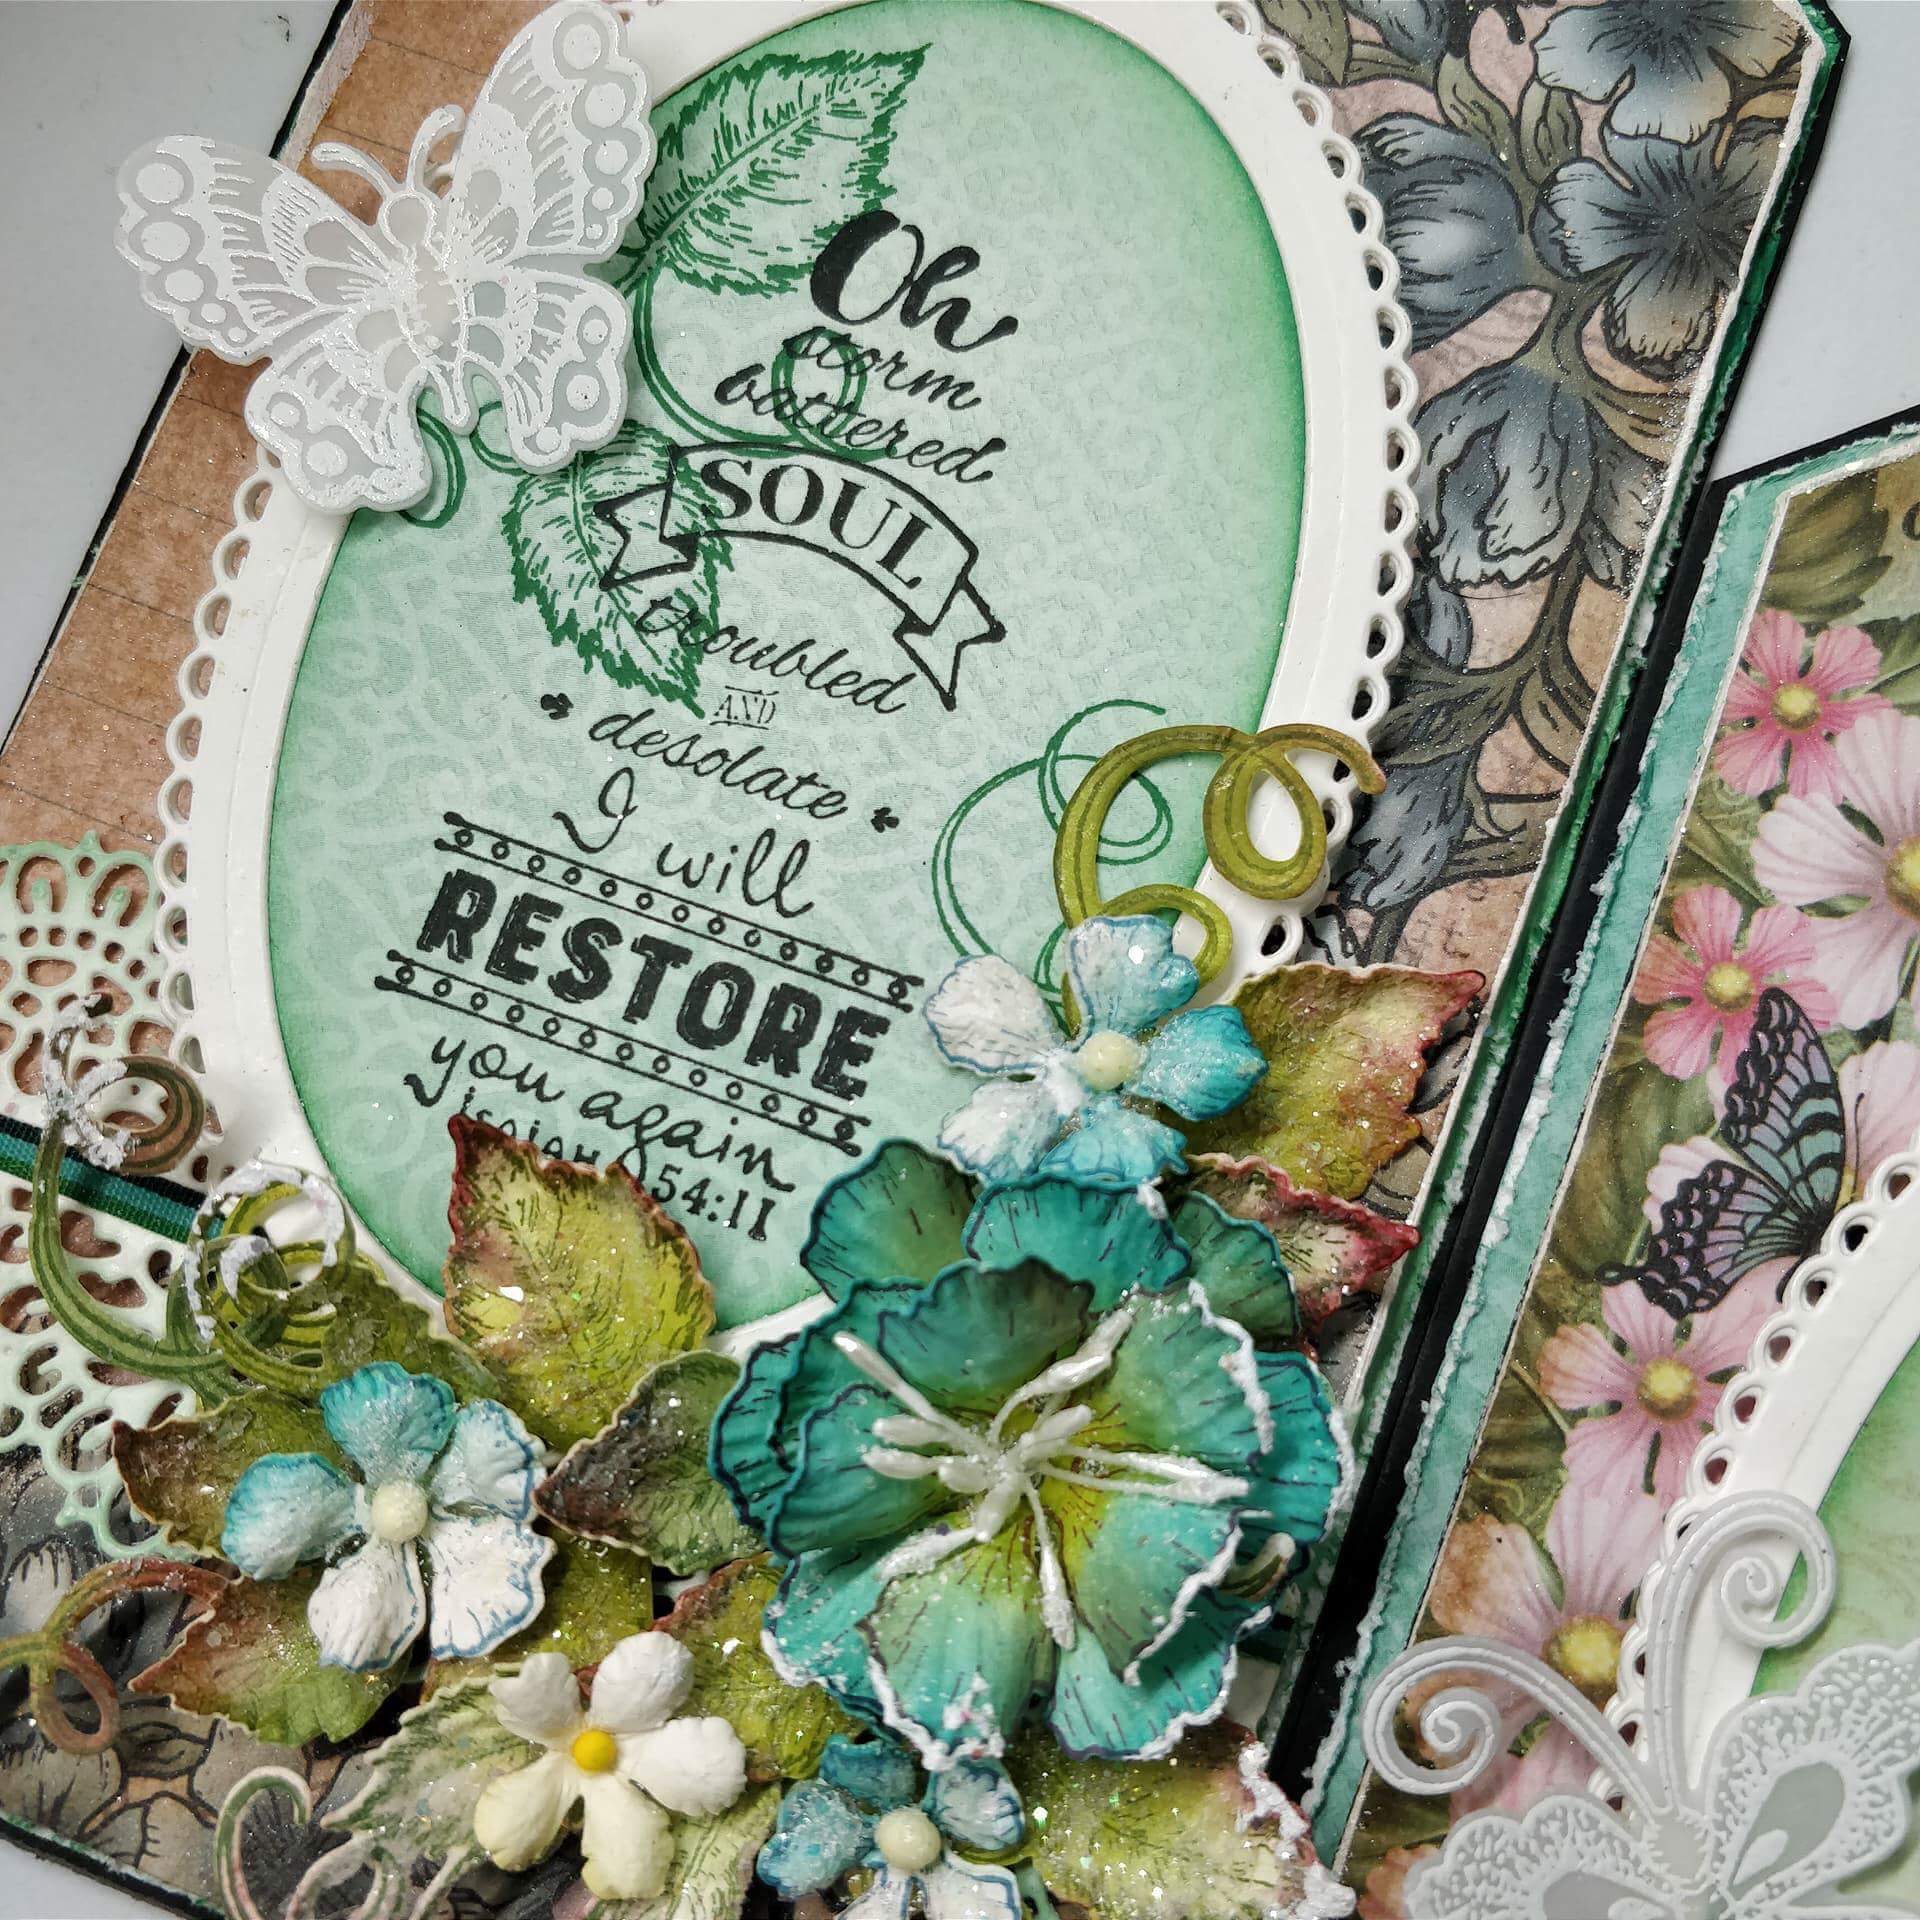
Cut a frame from white cardstock nesting 2 outer dies of Eyelet Basic Small. Also cut a piece of one oval eyelet using only the outer die of the same set. Now cut a piece of the oval from pattern paper using the second largest die of same set and distress the edges with Peacock Feather distress ink. Stamp the sentiment in the center using Versafine black and glue the piece in the already prepared frame.
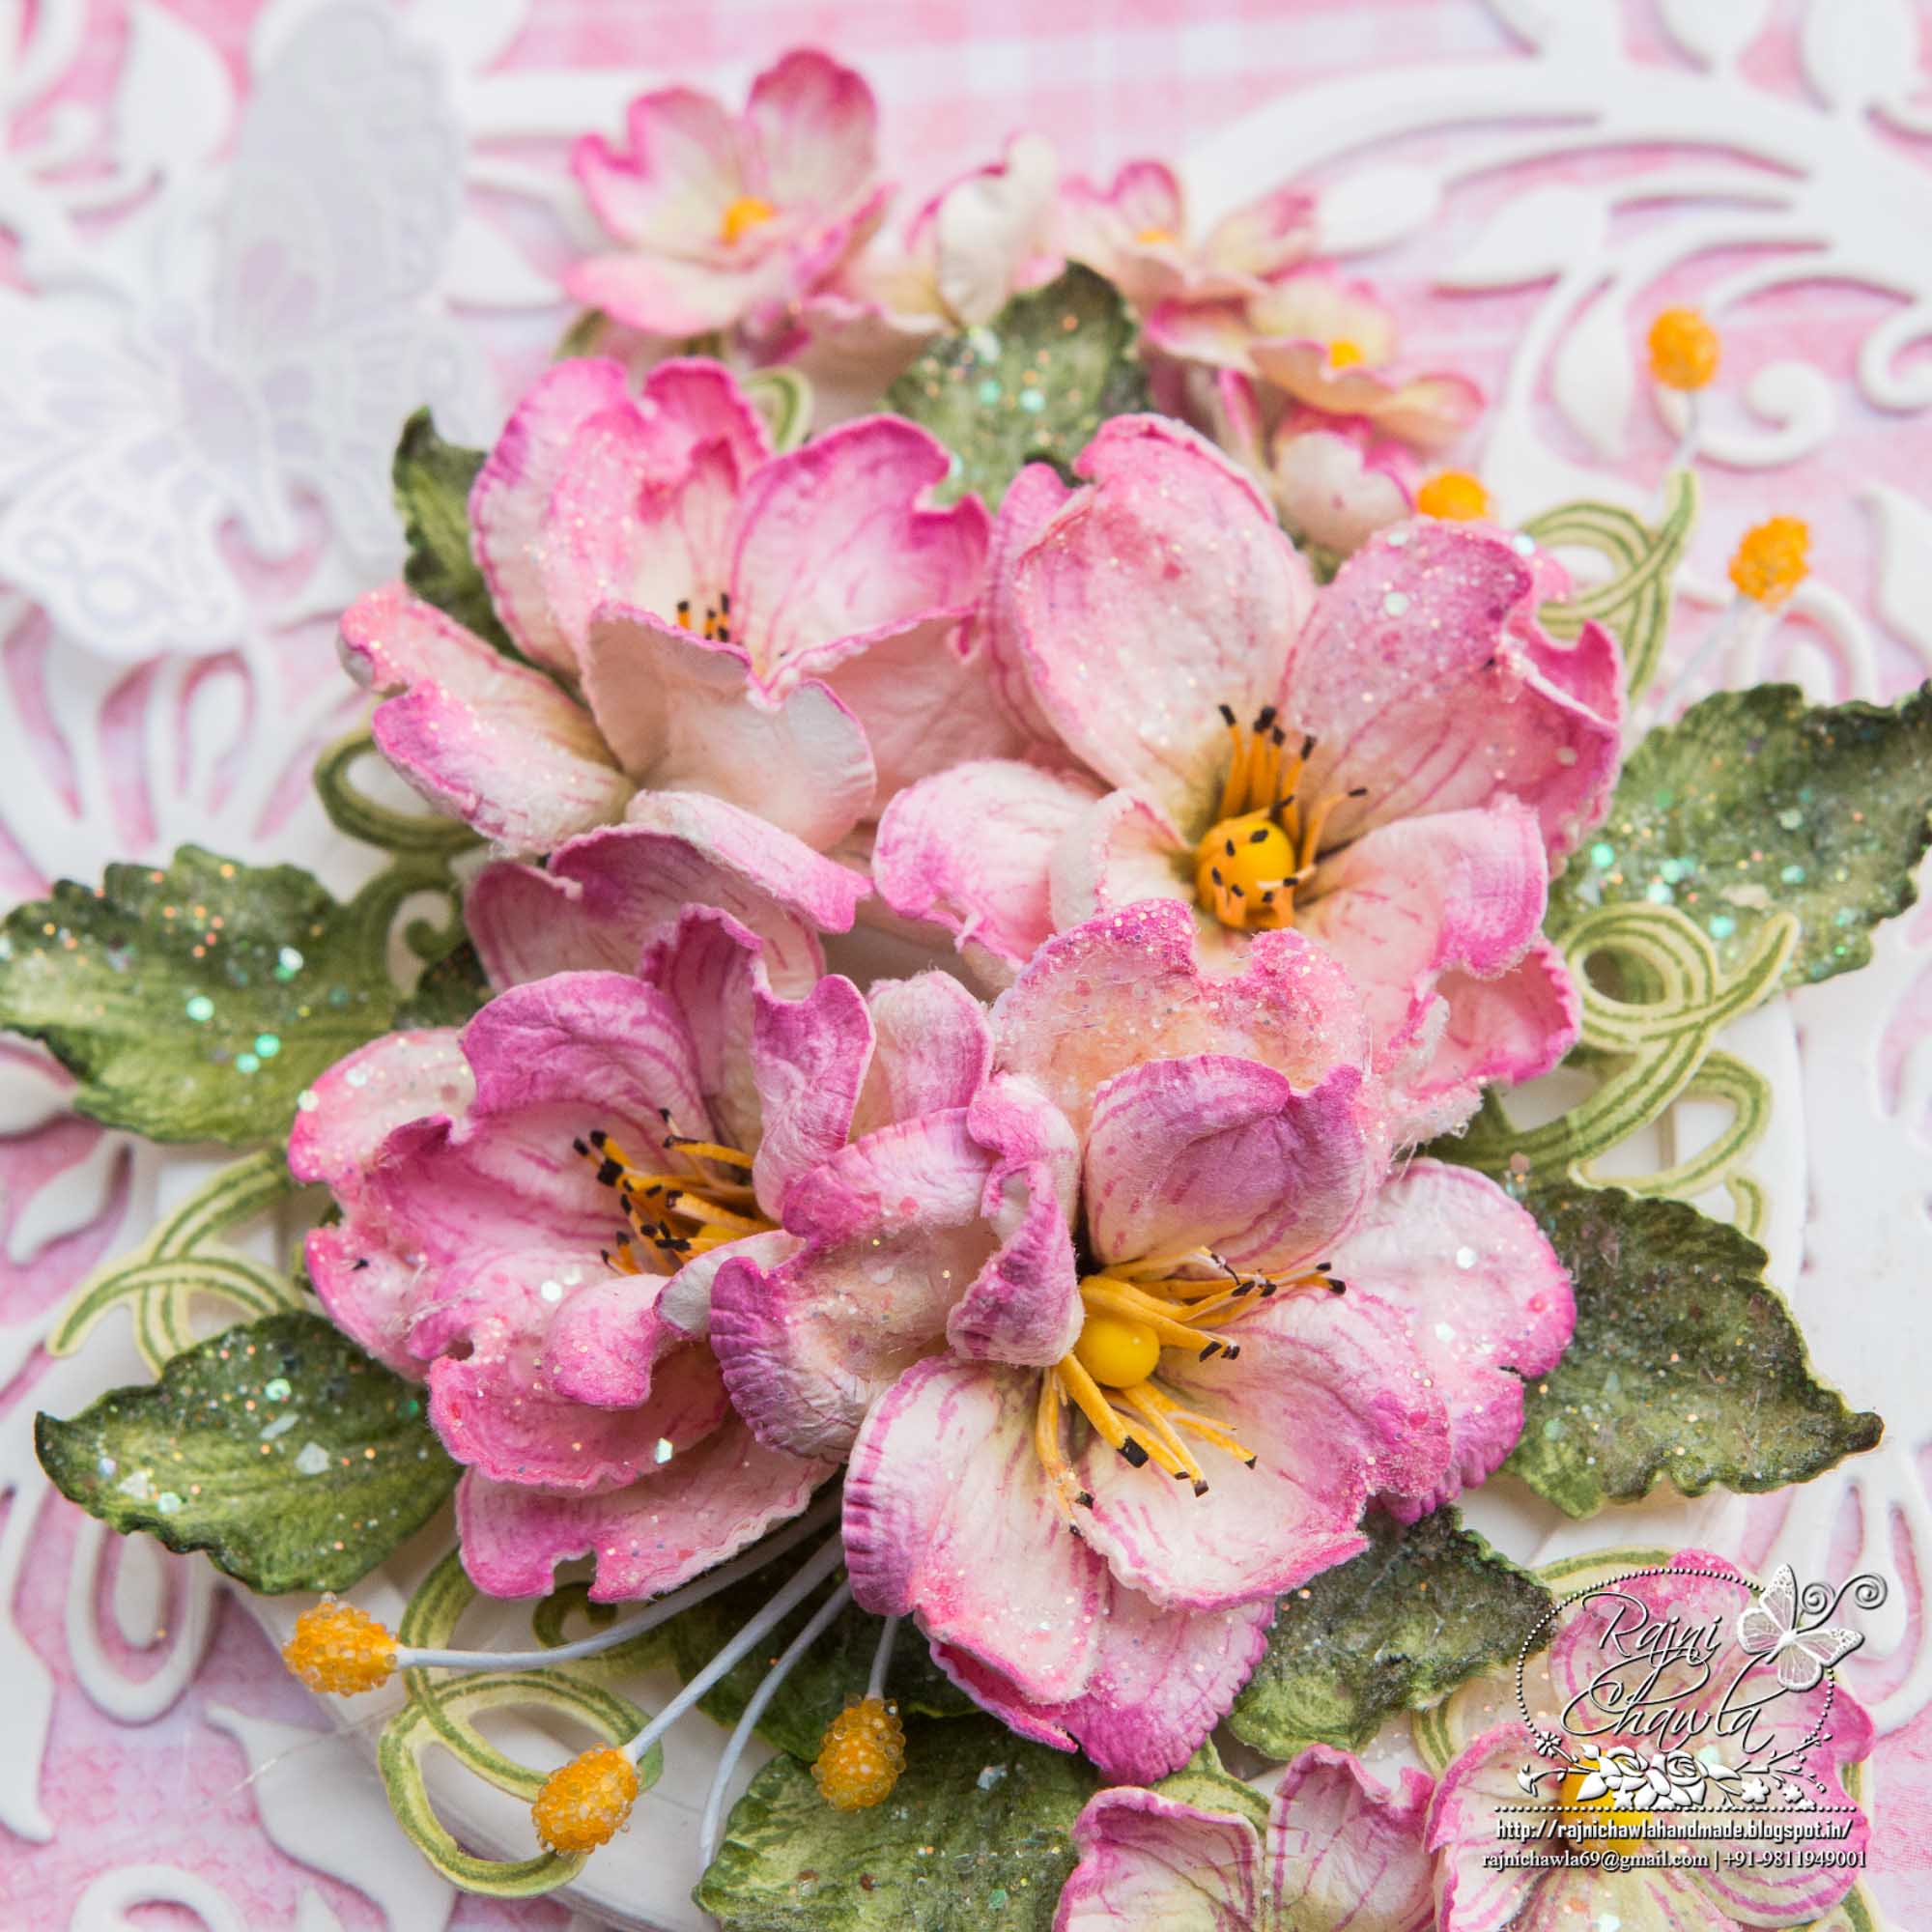
For flower molding, watch Emma’s Video. Stamp the flower petals using Archival Plum and paint them using Archival Aquamarine and Leaf Green. Mold the flowers using Floral Basics Shaping Mold. Leaves are stamped using Library Green archival and painted using Leaf Green and Fern Green.
Add a little sparkle to flowers and leaves using Frosting Powder and adhesive that dries clear and assemble the tag as shown.
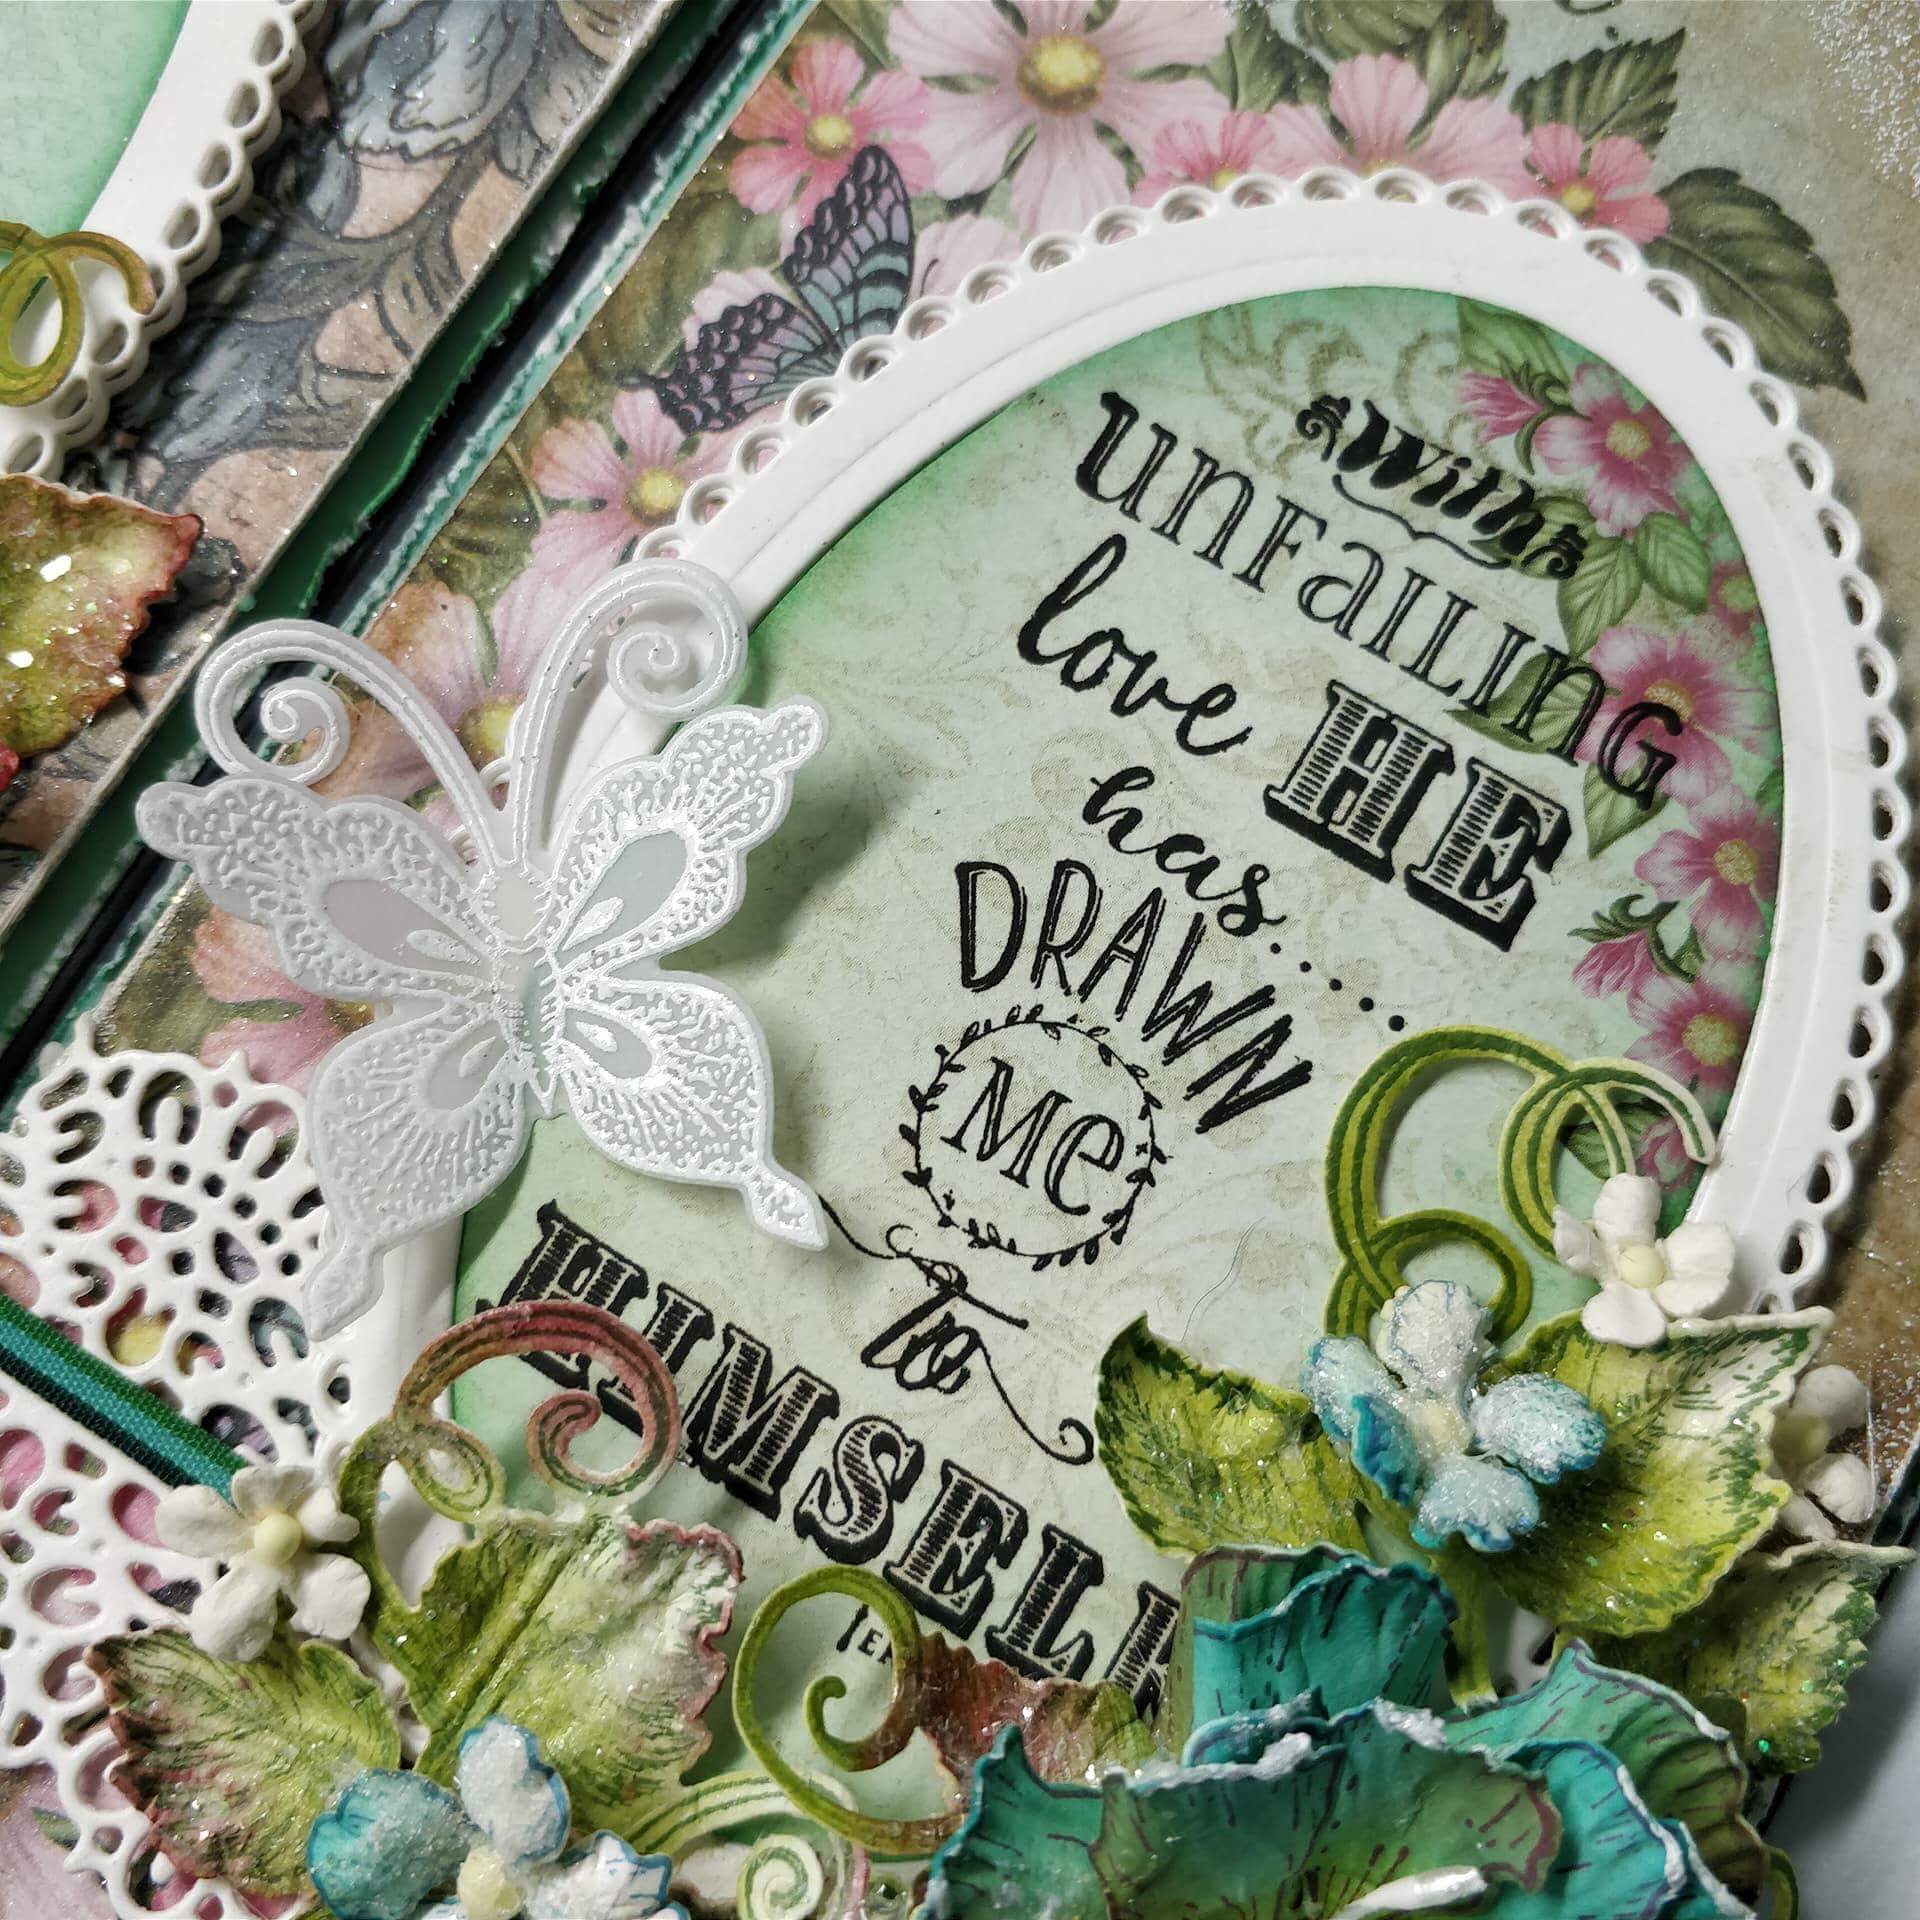
For butterflies, For Butterflies, stamp the butterfly image on Vellum sheet using Versafine ink, sprinkle white heat embossing powder, dust extra powder in funnel tray and heat set it using the heating tool. Cut the image with it’s coordinating die.
To finish the tag, make a hole on the tag using Crop a Dile and tie a seam binding ribbon along with a small tule of the net.
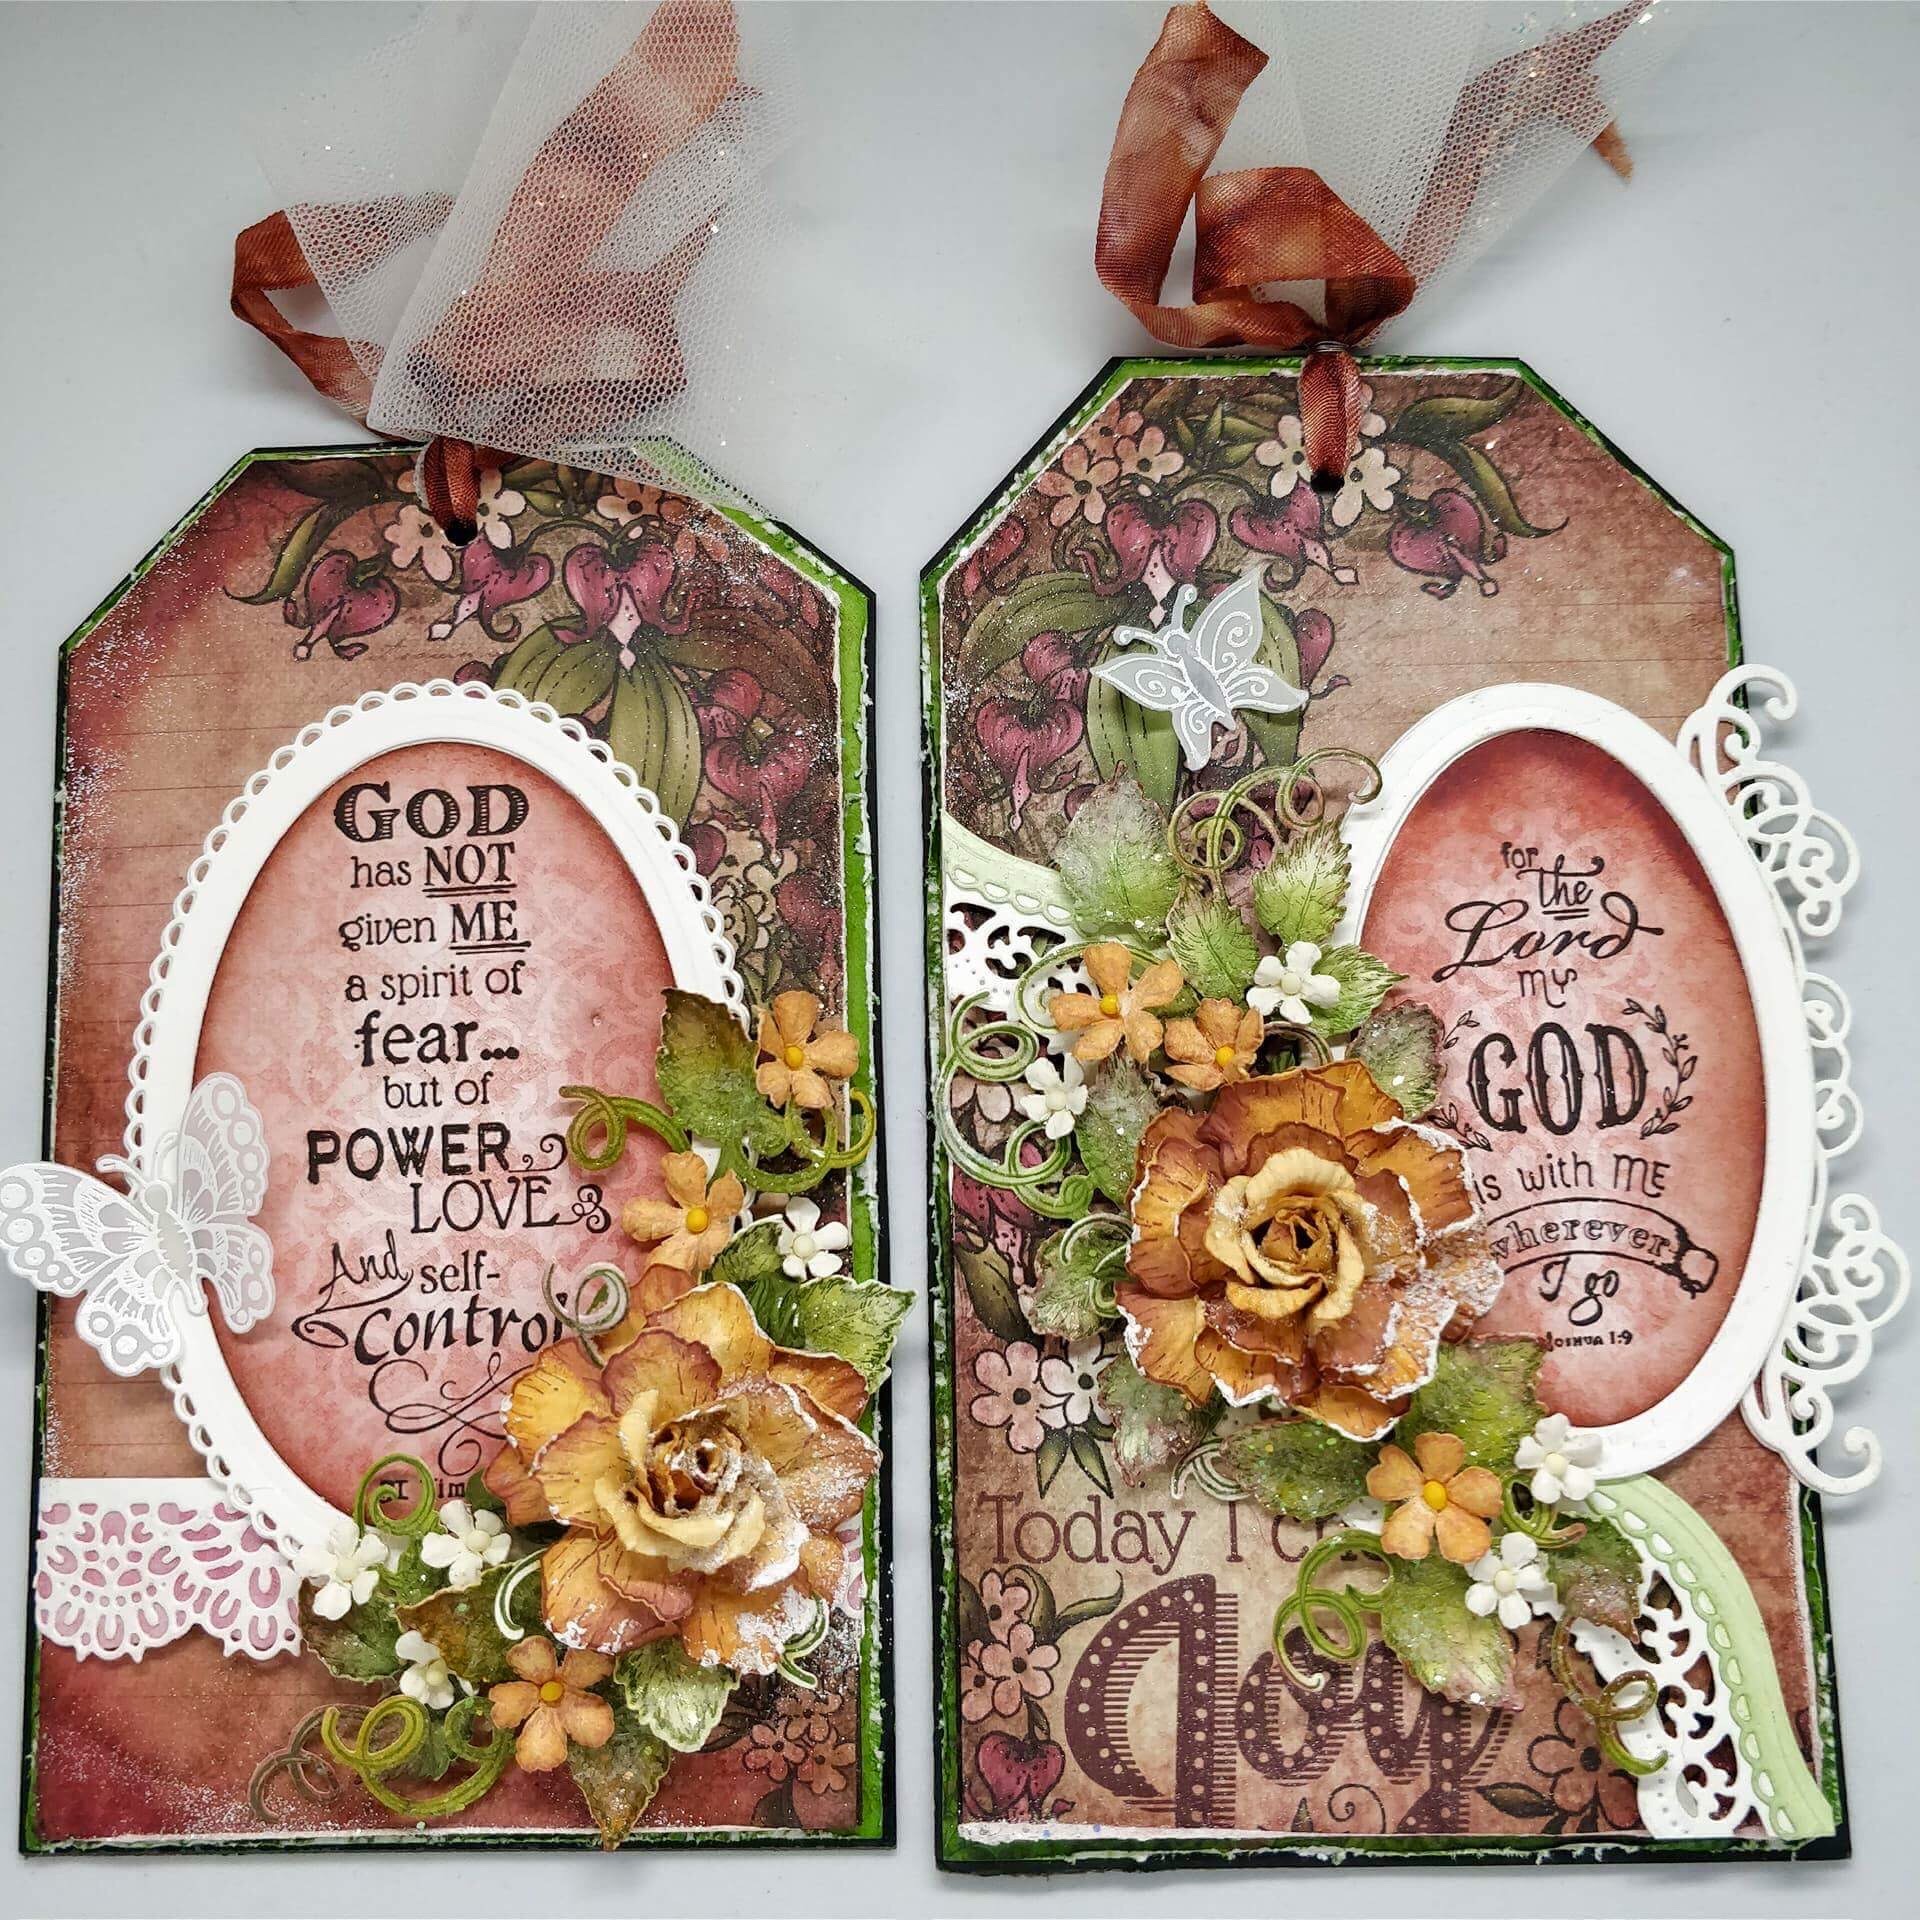
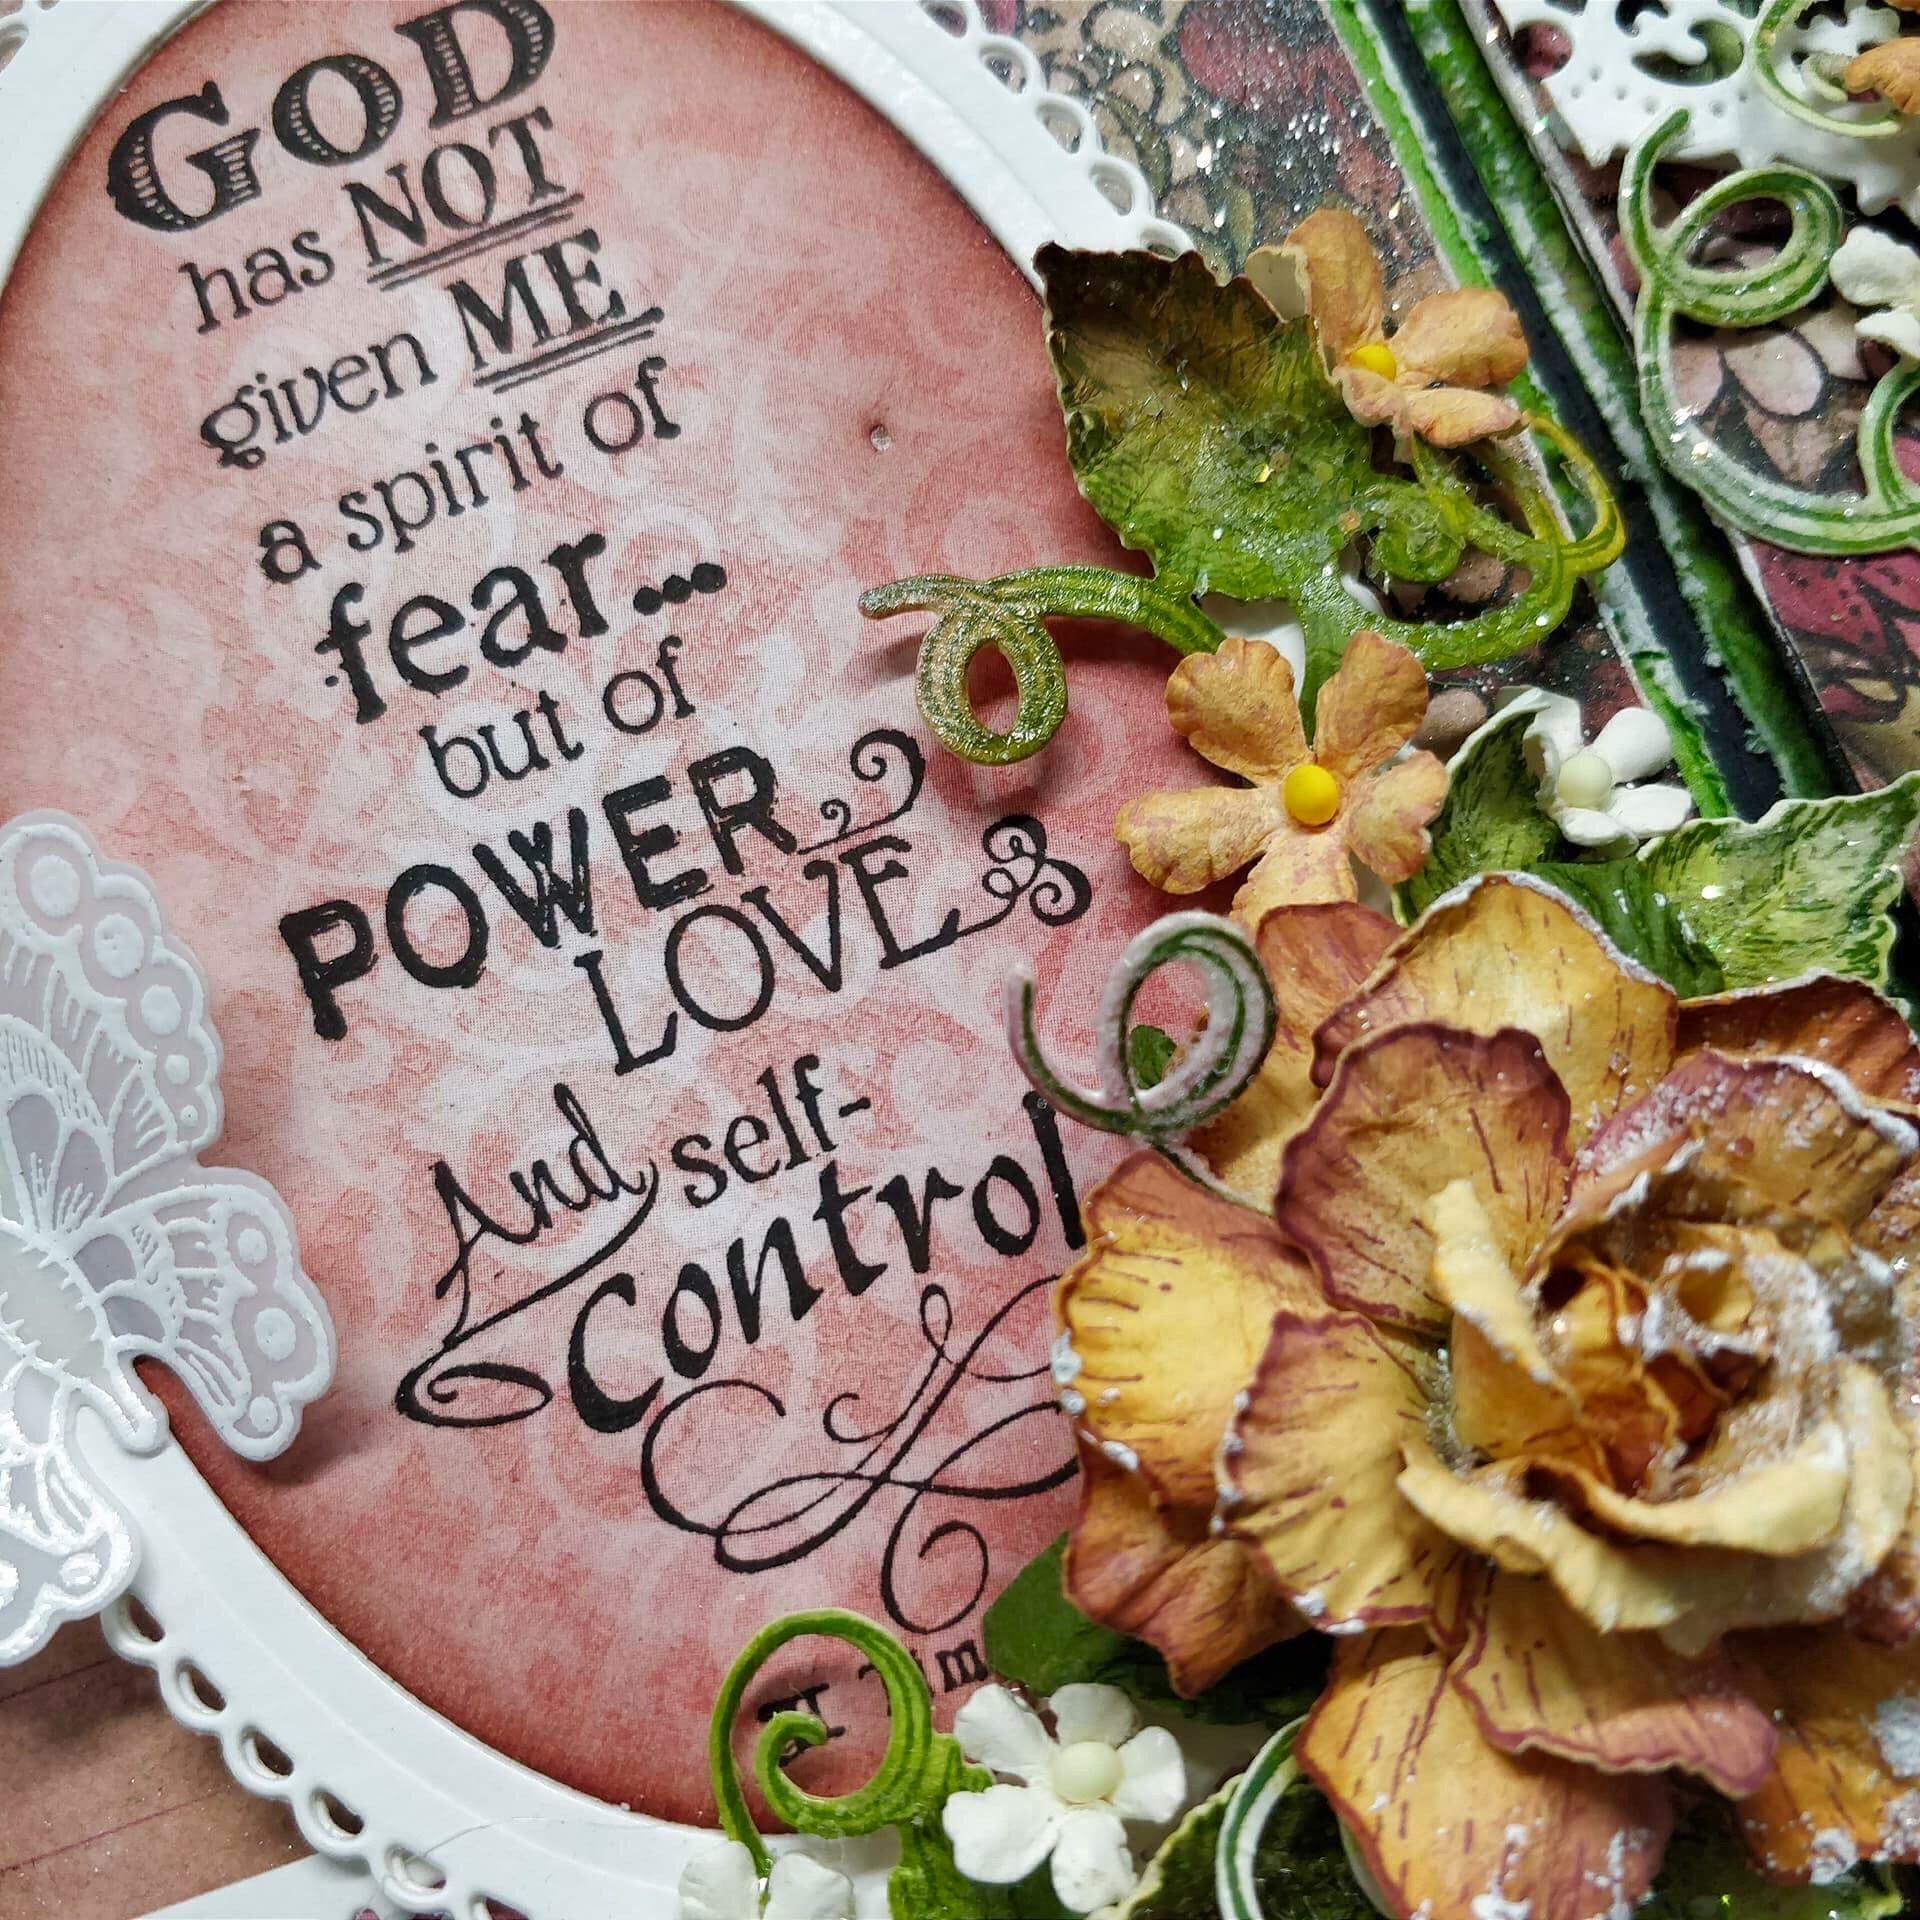
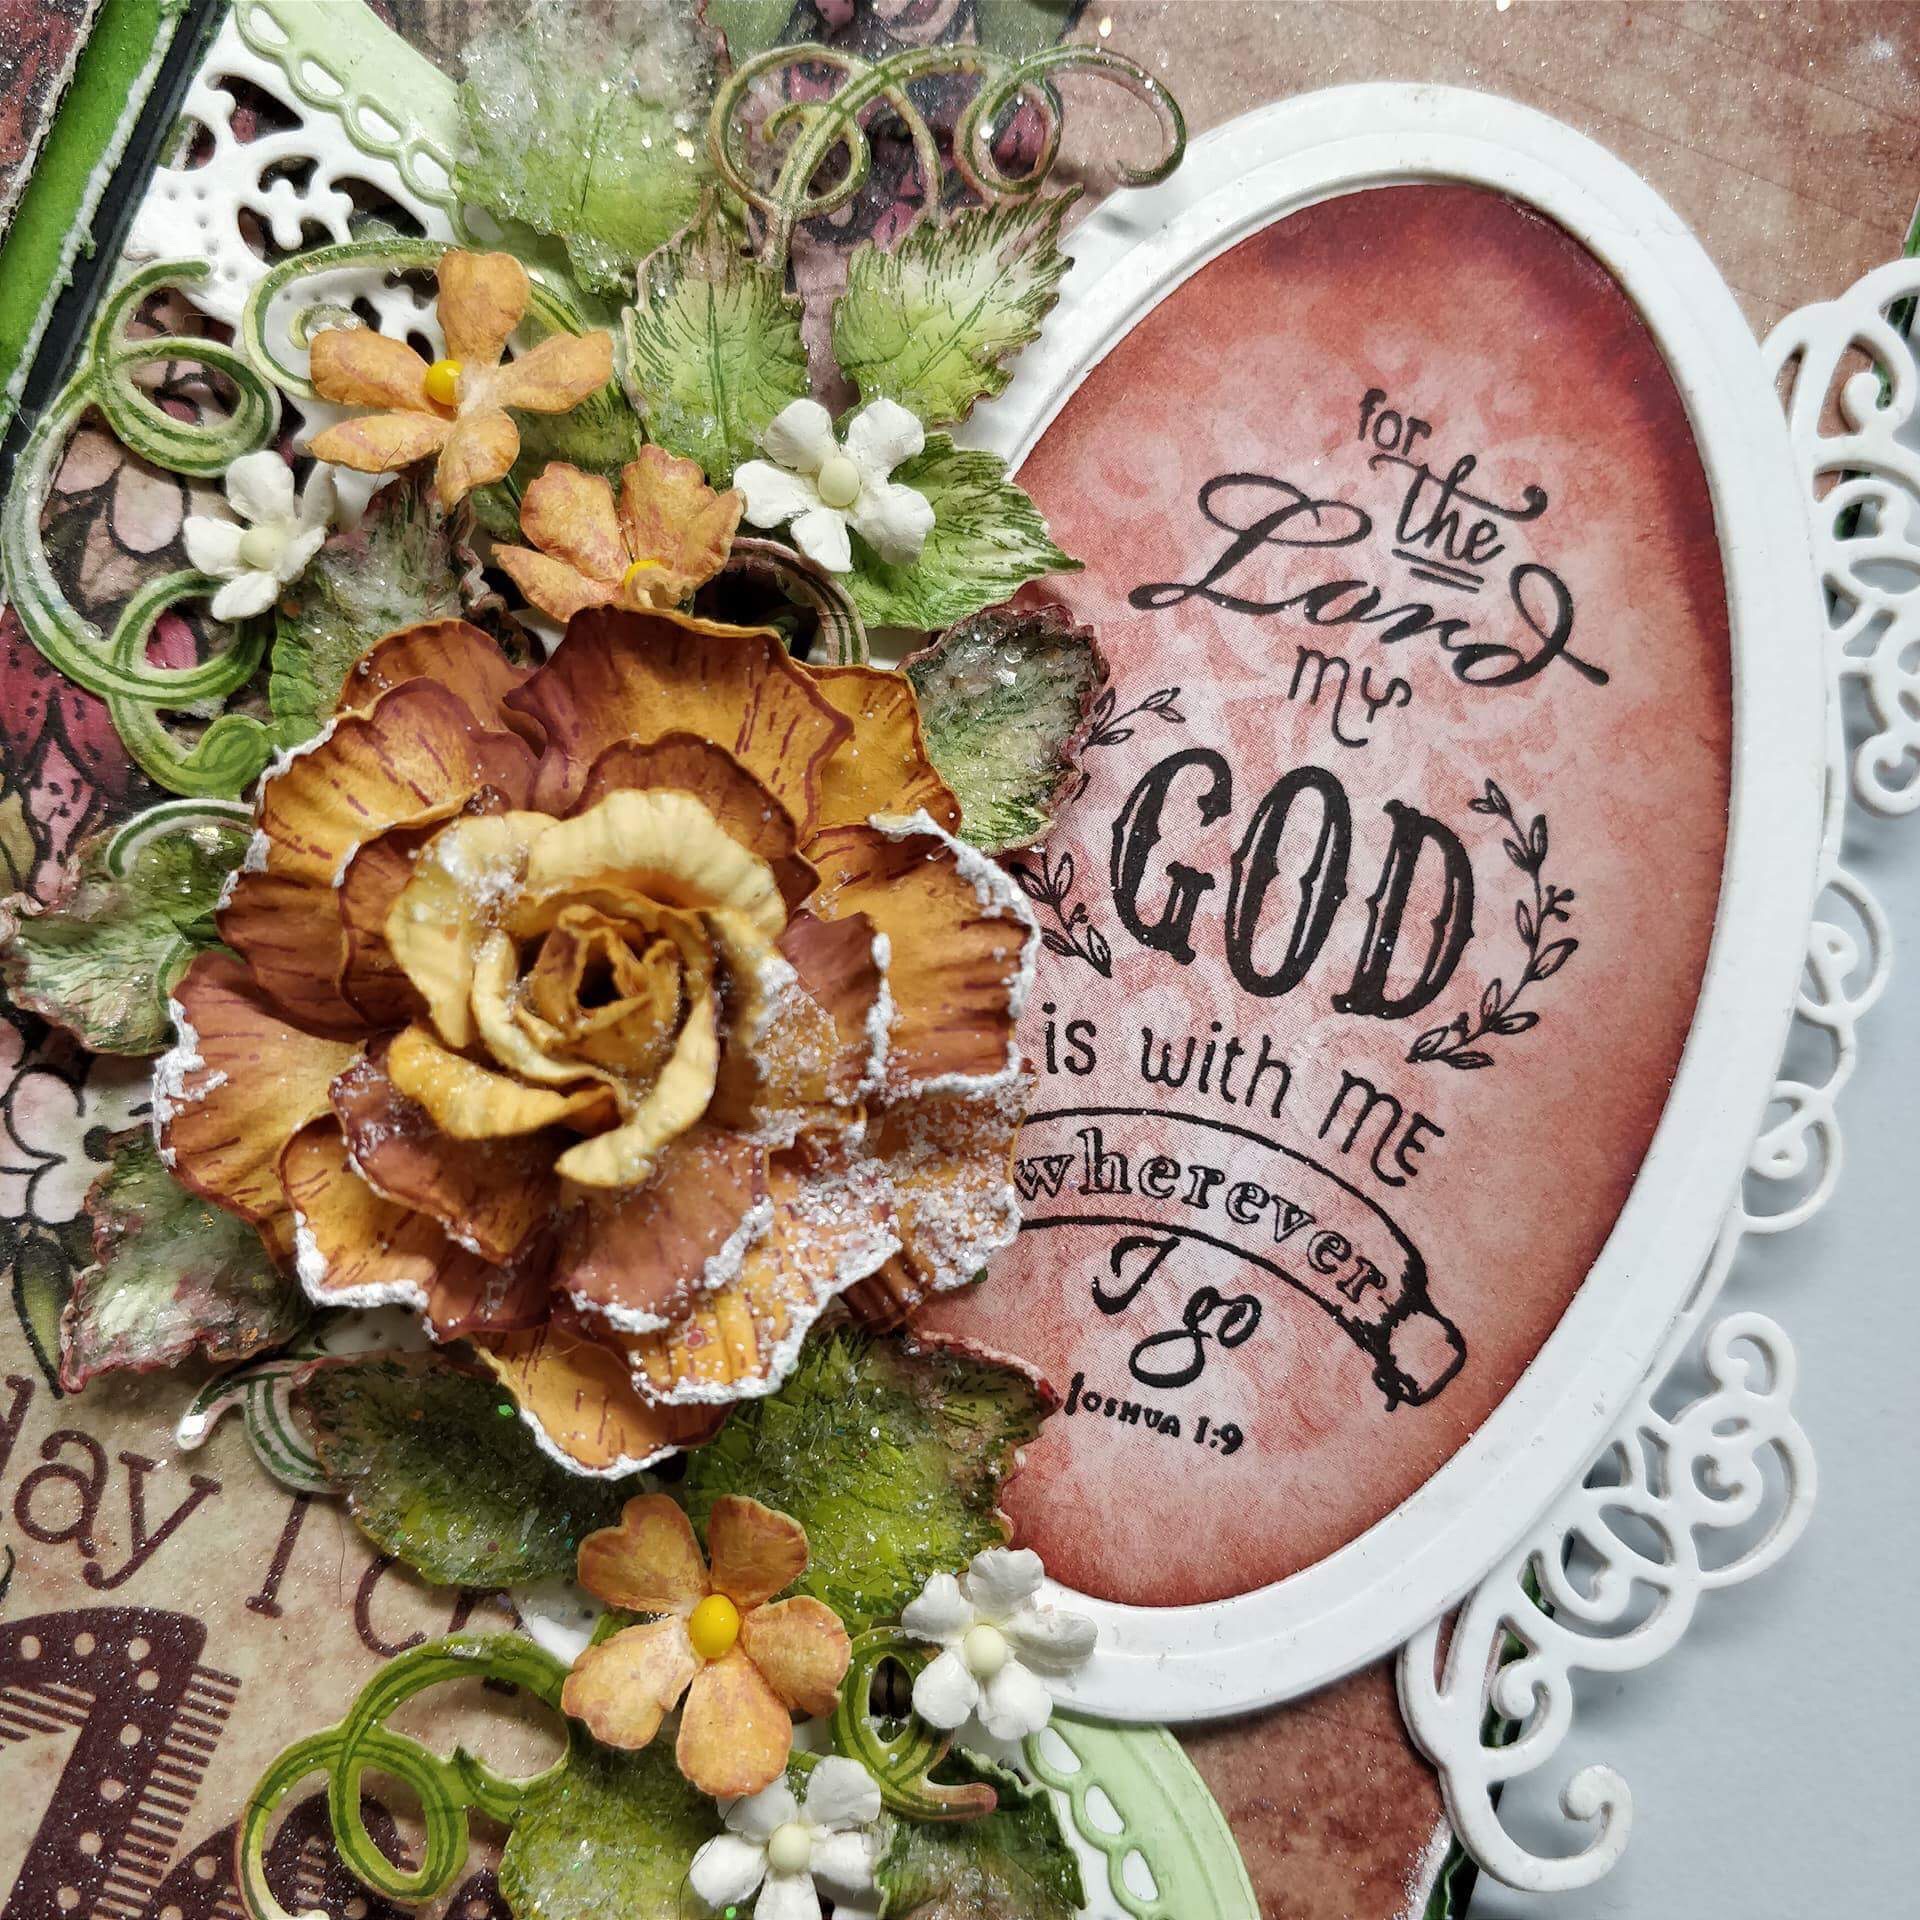
Set 2 : God’s Power Of Love
Products from Heartfelt Creations
HCPC-3814 Words Of Encouragement Stamp Set
HCFB1-464 3D Floral Basics Shaping Mold
HCJB1-5002 Words to Live By Journal Pages
HCD1-7156 Eyelet Oval & Basics Small Die
HCD1-7161 Sweetheart Borders Die
HCD1-7118 Delicate Border Basics Die
HCD2-751 Cut Mat Create 2A Die
HCD1-759 Butterfly Medley Die
HCPC-3650 Butterfly Medley Cling Stamp Set
HCD1-7110 Classic Rose Die
HCPC-3752 Classic Rose Cling Stamp Set
Double Dots 100pc. -3D Foam Circles DDOTS
Designer Dries Clear Adhesive 159723
359503 Funnel Tray
RPEJ685 Embossing Powder – White
242174 Vellum Paper – 10 Sheets
RAHT Heat It Craft Tool
Other Products Used: Thick black cardstock, White cardstock, Paper distressing tool/ scissors, Versafine Black, Archival Leaf Green, Archival Library Green, Fern Green, Plum, Orange Blossom Distress Ink Aged Mahogany Mini Mister, Seam binding ribbon, a piece of net, thin wire,
Suggested Videos: For more tips on creating with the flower shaping molds, watch the tutorial at https://youtu.be/FSdPL7nXvQE.
For more tips on creating with the border dies & foldout cards, watch the tutorial at https://youtu.be/wxX94X84kUo.
To see how to shape the roses, watch the video at https://youtu.be/Z8P070kC3oo.
Instructions: For the first tag, take a strip 1” wide from a white cardstock and cut a border on both using Sweetheart Border Die. Adhere a pink color pattern paper from the back and neatly fussy cut. Layer on the base of the tag as shown.
For the second tag cut a border from Border basic die and layer it on the tag as shown. Another delicate border is cut and painted with peeled paint and then adhered on the top of white border.
Cut a frame from white cardstock nesting 2 outer dies of Eyelet Basic Small. Also cut a piece of one oval eyelet using only the outer die of the same set. Now cut a piece of the oval from pattern paper using the second largest die of same set and distress the edges with Aged Mahogany distress ink. Stamp the sentiment in the center using Versafine black and glue the piece in the already prepared frame.
For the second tag, simply cut an oval frame by nesting second and third die and stamping the sentiment on the oval base and place a die cut from Cut Mat Create 2A Die under its right edge.
For flower molding, watch Emma’s Video. Stamp the flower petals using Archival Plum and paint them using Orange Blossom. Add little highlights on edges using archival plum. Mold the flowers using Floral Basics Shaping Mold. Leaves are stamped using Library Green archival and painted using Leaf Green and Fern Green and then shaped using Deluxe Flower shaping kit.
Add a little sparkle to flowers and leaves using Frosting Powder and adhesive that dries clear and assemble the tag as shown
For butterflies, For Butterflies, stamp the butterfly image on Vellum sheet using Versafine ink, sprinkle white heat embossing powder, dust extra powder in funnel tray and heat set it using the heating tool. Cut the image with it’s coordinating die
To finish the tag, make a hole on the tag using Crop a Dile and tie a seam binding ribbon along with a small tule of the net.
So incredibly beautiful Rajni!
These tags are beautiful!!! I love everything about them!!
Absolutely breathtaking!!!!