


Good morning friends…
Once again it’s a new release day at Heartfelt Creations. The adorable September release is up on shelves for sales.
Come along as we head deep into the woodlands to explore the world of Oakberry Lane…the newest collection from Heartfelt Creations! Filled with delightful illustrations of lively, high spirited and lovable squirrels, this collection is one to capture your heart and creative imagination, and will appeal to both the young and the young at heart! Create irresistible outdoor themed scrapbook layouts preserving those precious moments experienced in the great outdoors, as well as charming handmade greeting cards ready to deliver good wishes and sentimental thoughts to friends and loved ones! Darling illustrations of squirrels at play on teeter-totters and tire swings, gathering nuts, and bounding about in beautiful floral gardens with their tails held high, remind us that taking time to play, enjoying the company of others and banding together to make light work of the tasks at hand are important to a well-balanced life! A stunning autumn themed color palette of acorn browns, woodland greens, sunset oranges, autumn leaf reds, along with deep plums and dark pinks, lay the foundation for decorative papers displaying delicate lace-like patterns, vintage style barn wood patchwork backgrounds, as well as fascinating outdoor garden settings! Create your very own Oakberry Lane scenes with three cute and entertaining cling stamp sets and coordinating dies featuring a substantially sized acorn homestead, an assembling of lovable squirrels at play, and of course Oakberry Lane’s own signature wildflower blossom ready to be stamped, colored and assembled into a realistic 3D floral embellishment to accent all of your Oakberry Lane creations! So take a cue from our furry friends and make time to join in on the merriment! A creative adventure awaits you…we promise!
Products from Heartfelt Creations
HCD1-7197 Furry-tailed Frolic Die
HCD1-7200 Oakberry Lane Blossoms Die
HCPC-3839 Furry-tailed Frolic Cling Stamp Set
HCPC-3842 Oakberry Lane Blossoms Cling Stamp Set
HCFB1-469 3D Blossoms Shaping Mold
HCDP1-294 Oakberry Lane Paper Collection
HCD1-7110 Classic Rose Die
HCPC-3752 Classic Rose Cling Stamp Set
HCD1-7154 Eyelet Circle & Basics Small Die
HCD1-7144 Decorative Medallion Die
RACP468 Ranger Archival Ink Pad – Jet Black
HCDA2-450 Stack and Store Daubers-Pack of 30
159723 Designer Dries Clear Adhesive
HCST1-401 Deluxe Flower Shaping Kit
RACP985 Ranger Archival Ink Pad – Cactus Flower
RACP436 Ranger Archival Ink Pad – Leaf Green
RACP614 Ranger Archival Ink Pad – Magenta Hue
RACP482 Ranger Archival Ink Pad – Olive
Other Products Used: Smooth white cardstock, Zig Clean Clear Brush Markers, Distress Inks Peacock Feather, Vintage Photo, Mini Mister, Golden metallic cardstock
Videos Referred: For more tips on creating with the flower shaping molds, watch the tutorial at https://youtu.be/FSdPL7nXvQE.
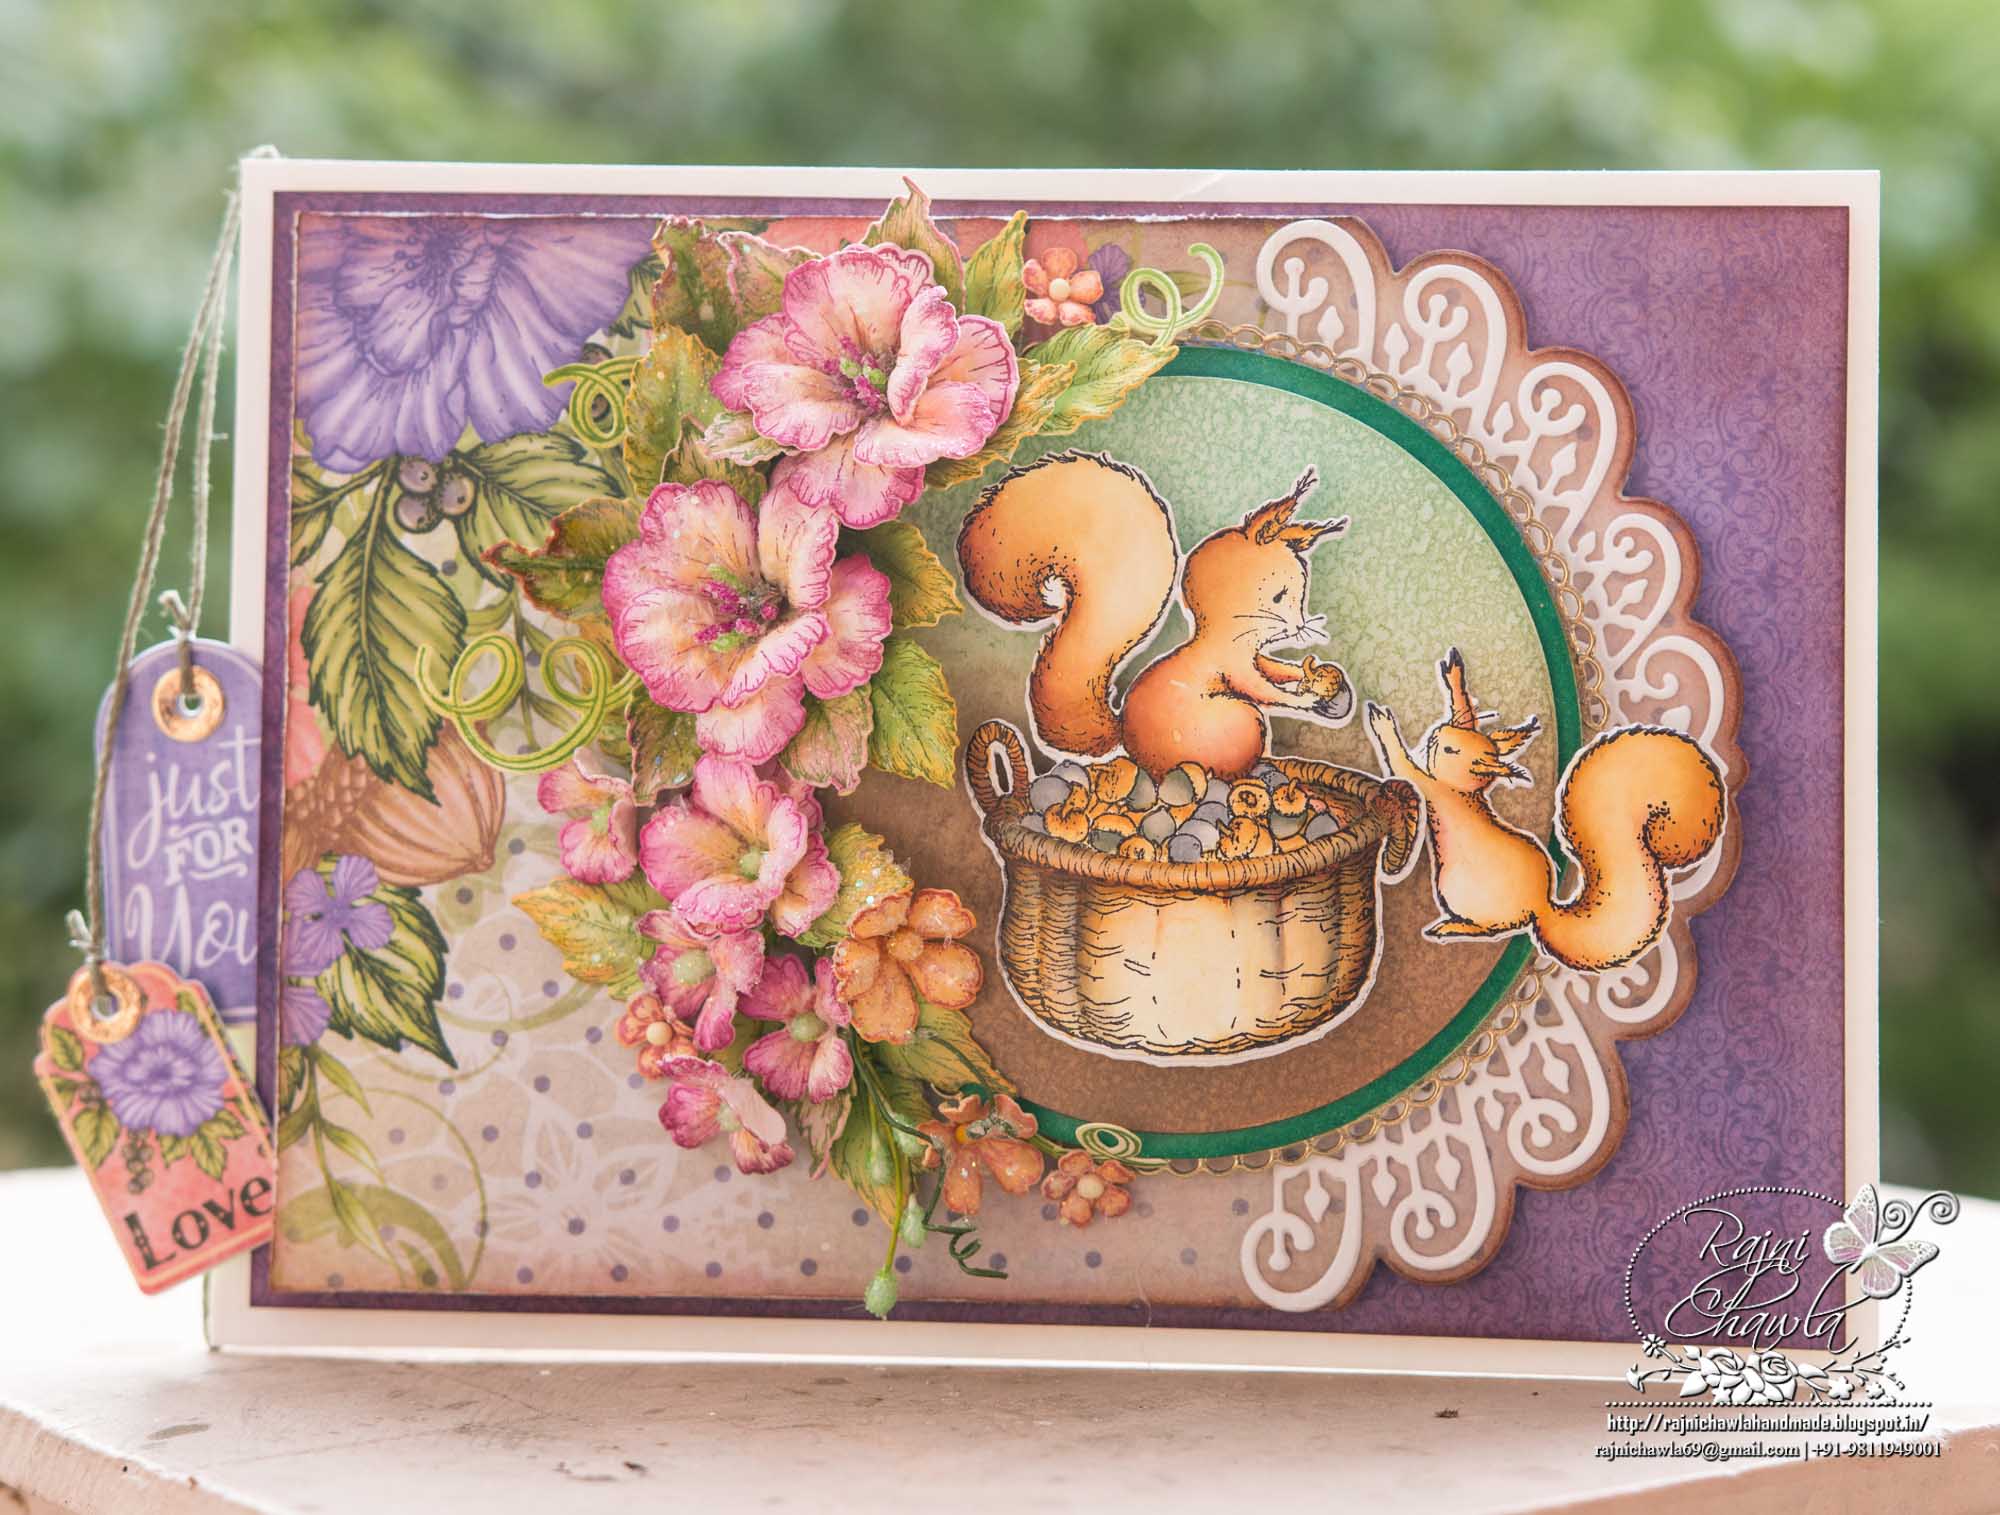
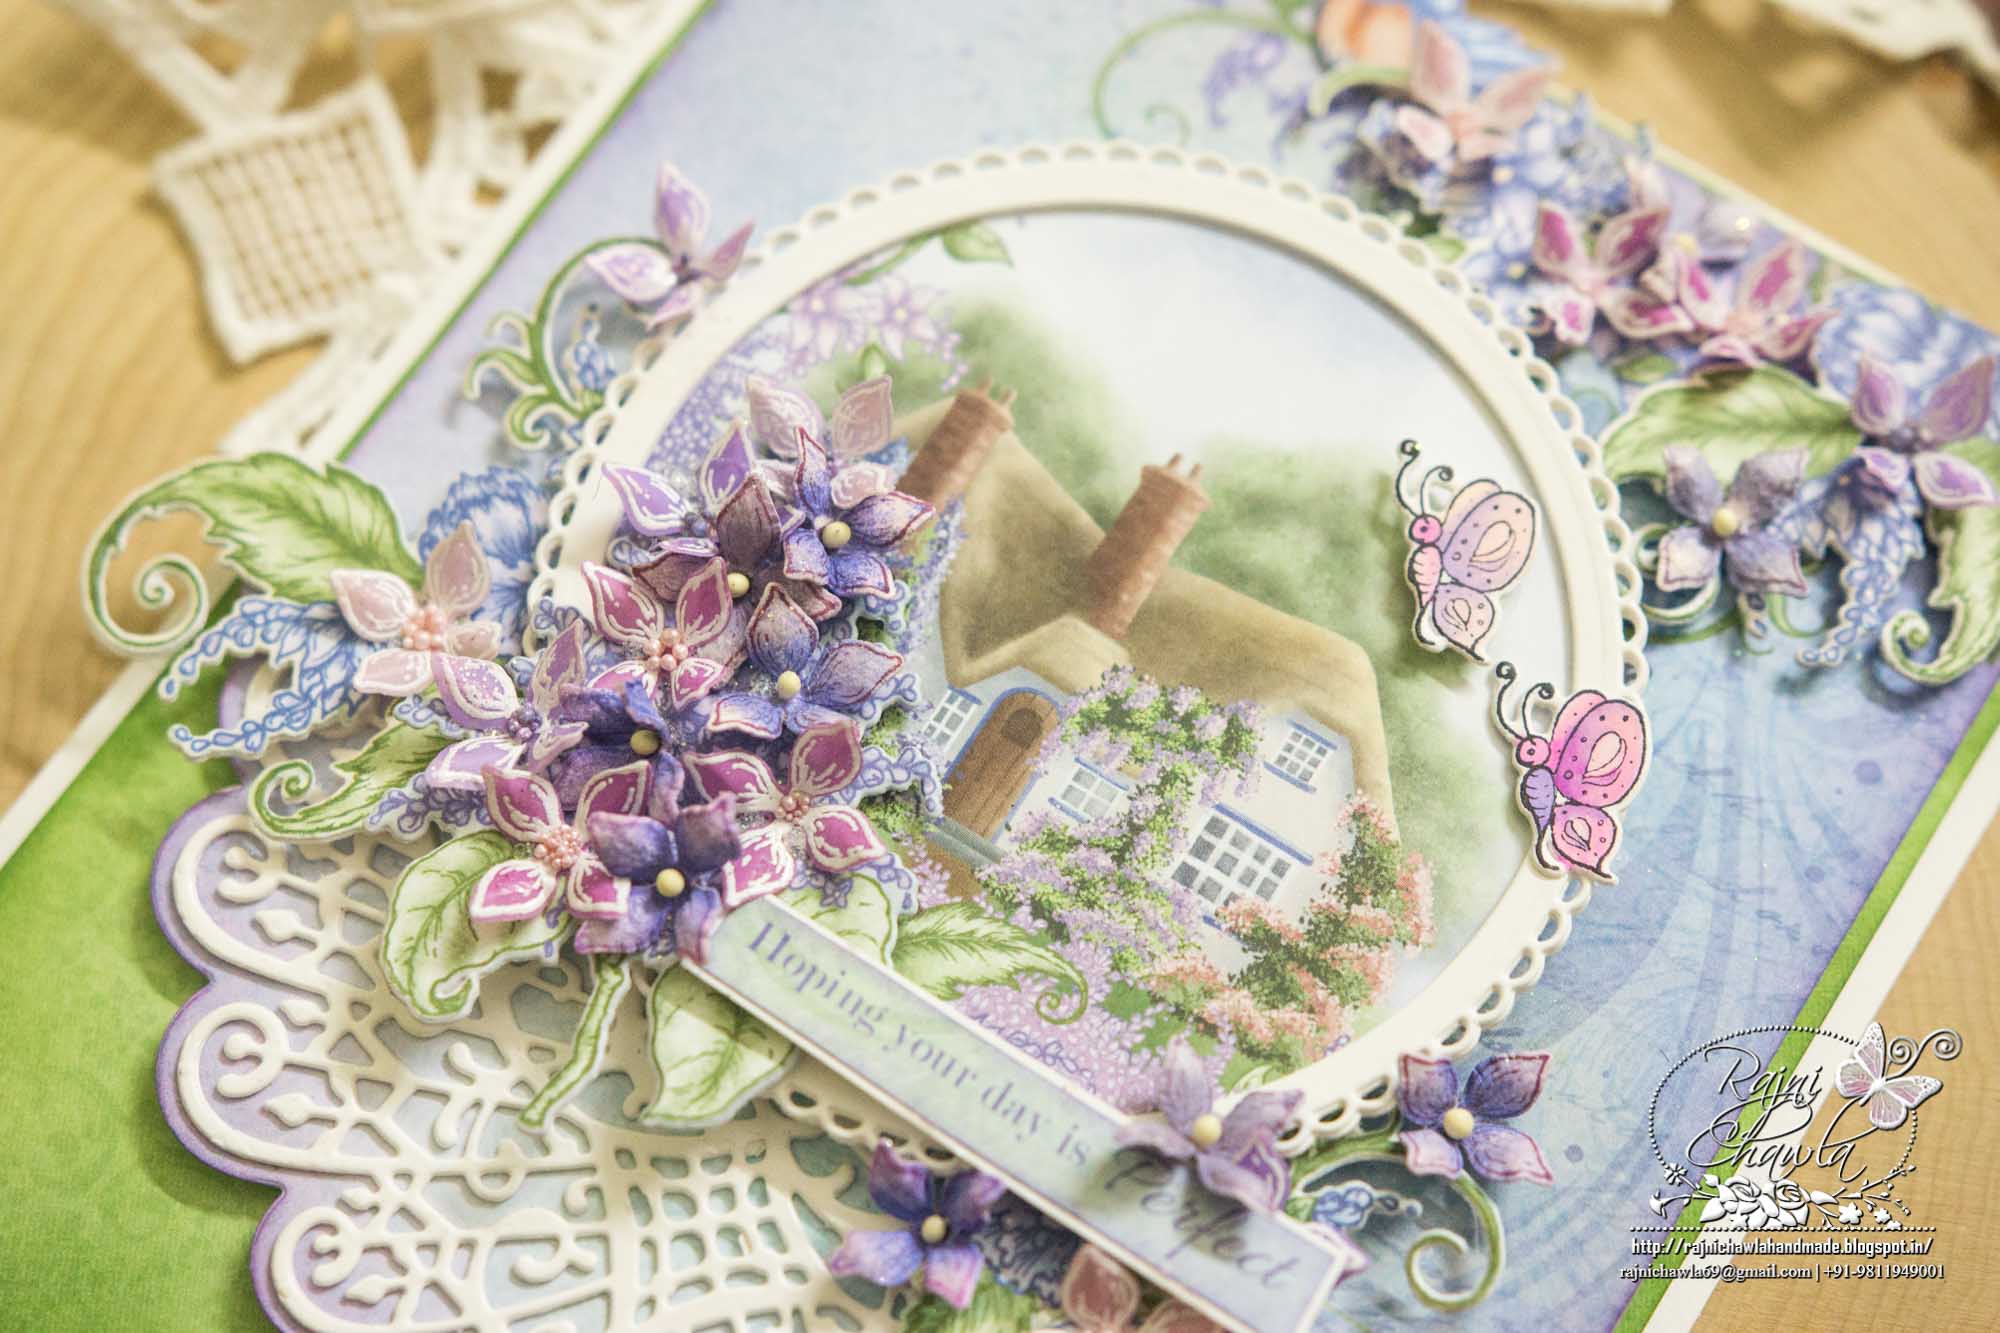
Instructions: The ready side-fold card measures 6″ by 8″. For the first layer, choose a deep purple paper from the designer paper collection and cut a piece measuring 5 1/2′ by 7 1/2′. Distress all the edges with Seedless Preserves distress ink.
For the second layer, choose a floral paper from the designer paper collection and cut 5 1/2″ by 7″. Distress the edges lightly with Seedless Preserves and partial cut the lower edge using a solid die from Decorative Medallion Die. Also, cut the decorative Medallion from white cardstock and glue on the cut base. Layer the panel on the prepared purple base and further layer it on the ready card base using glue dots.
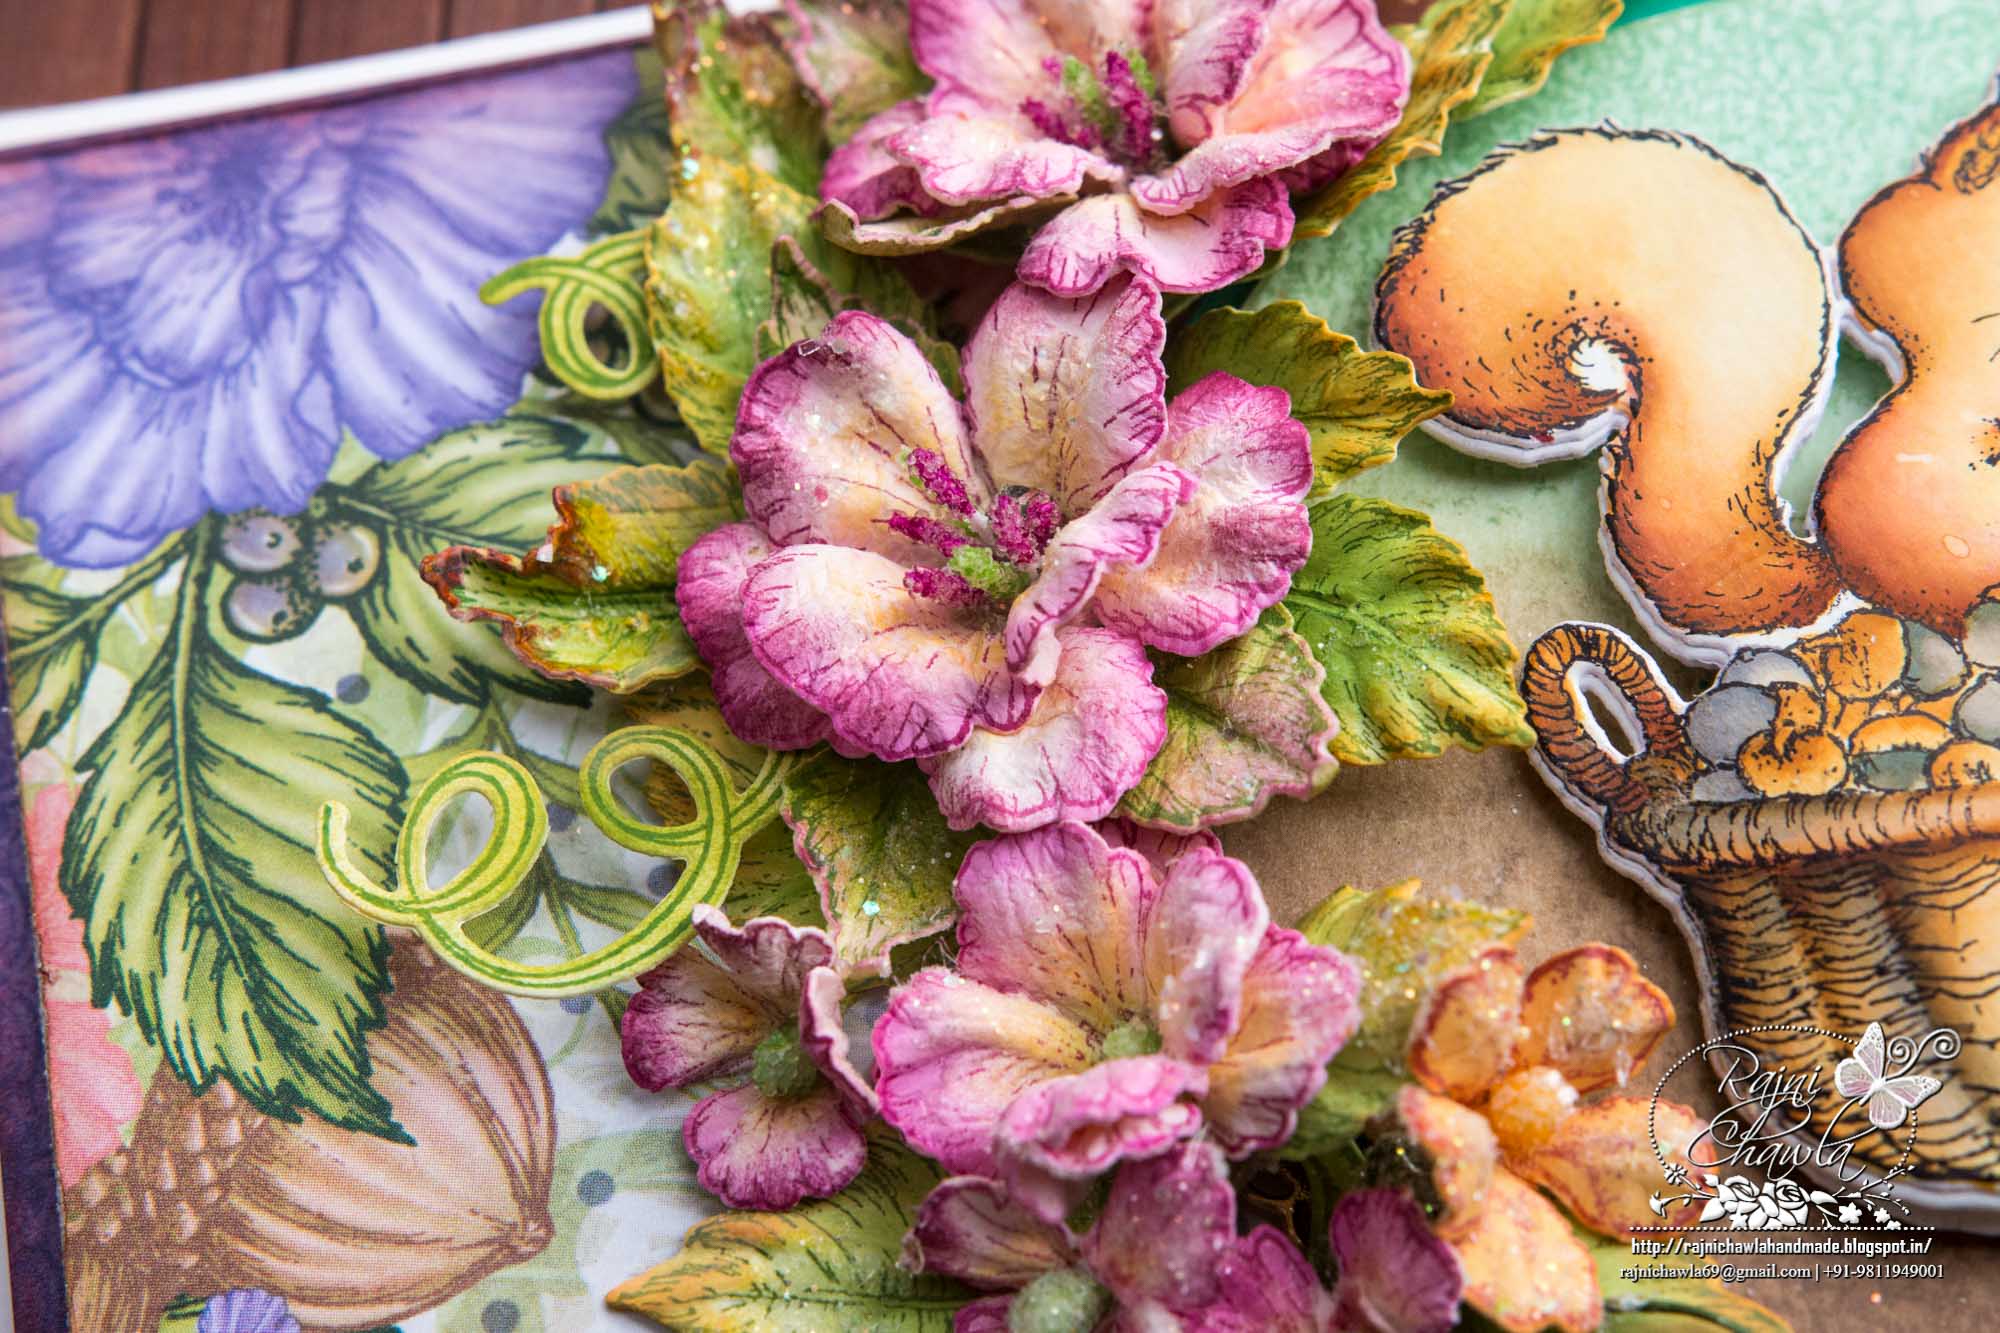
For flowers, stamp the flower images from Oakberry Lane Blossoms Cling Stamp Set using Magenta Hue Archival ink, paint them using Archival Ink Pad – Cactus Flower and cut them using it’s coordinating die. Shape them using 3D Blossoms Shaping Mold and add Rock Candy Stamens.
For leaves, stamp the leaves from Classic rose stamp set with Library ink archival ink, paint them using leaf green and Fern Green archival inks and cut them using it’s coordinating die. Shape them using deluxe Flower Shaping Kit and add Crystal Clear Glitter.
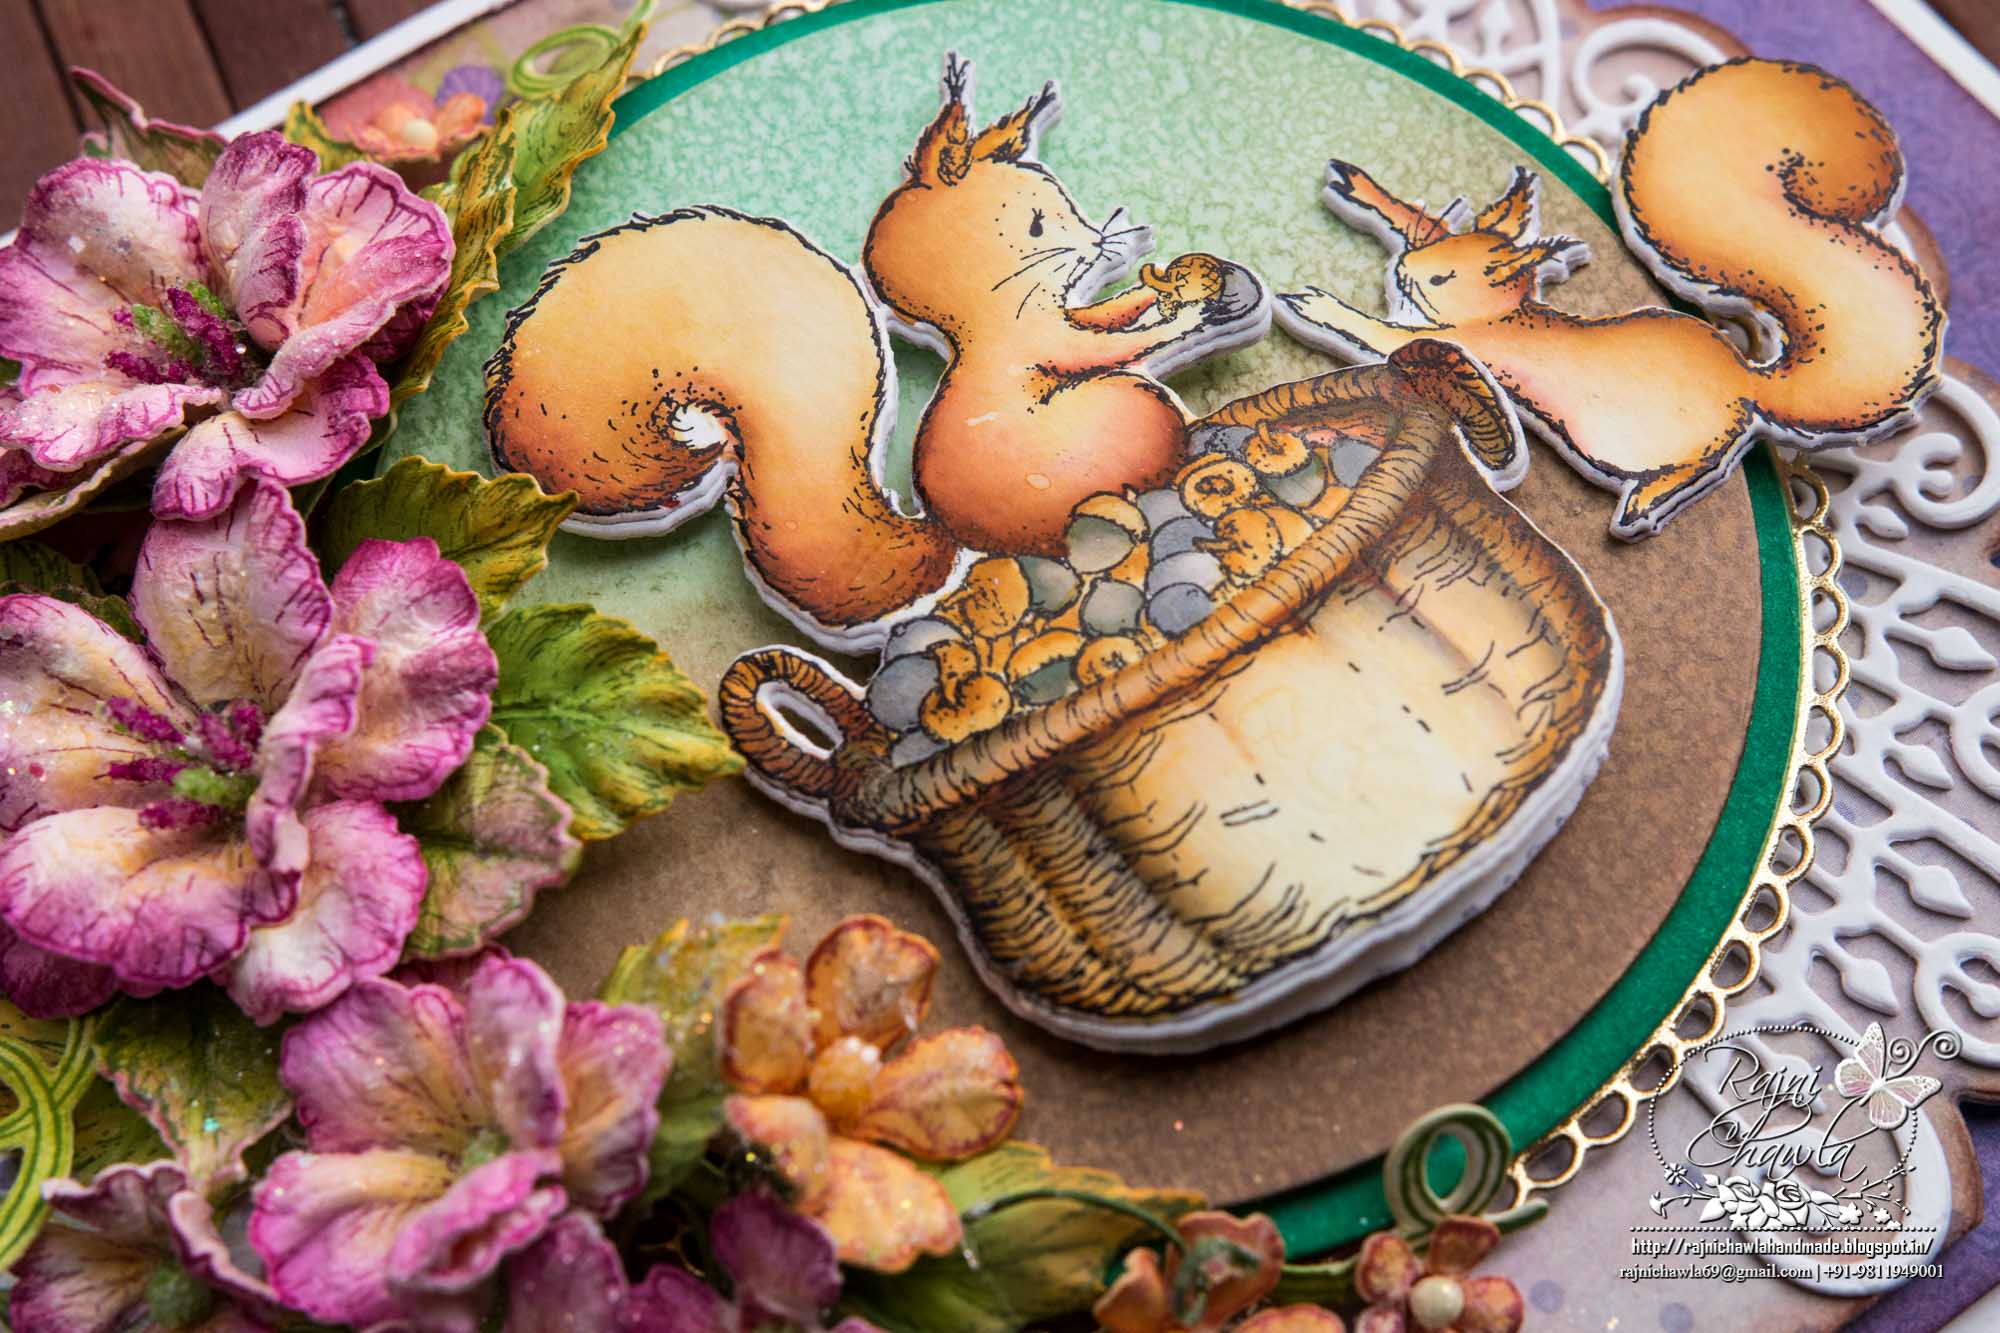
Stamp the images from Furry-tailed Frolic Cling Stamp Set with black archival ink and cut them using their coordinating dies. Color the images using Zig Clean Clear Brush Markers. Shape them a little with hand and stack few extra die cuts for dimensions.
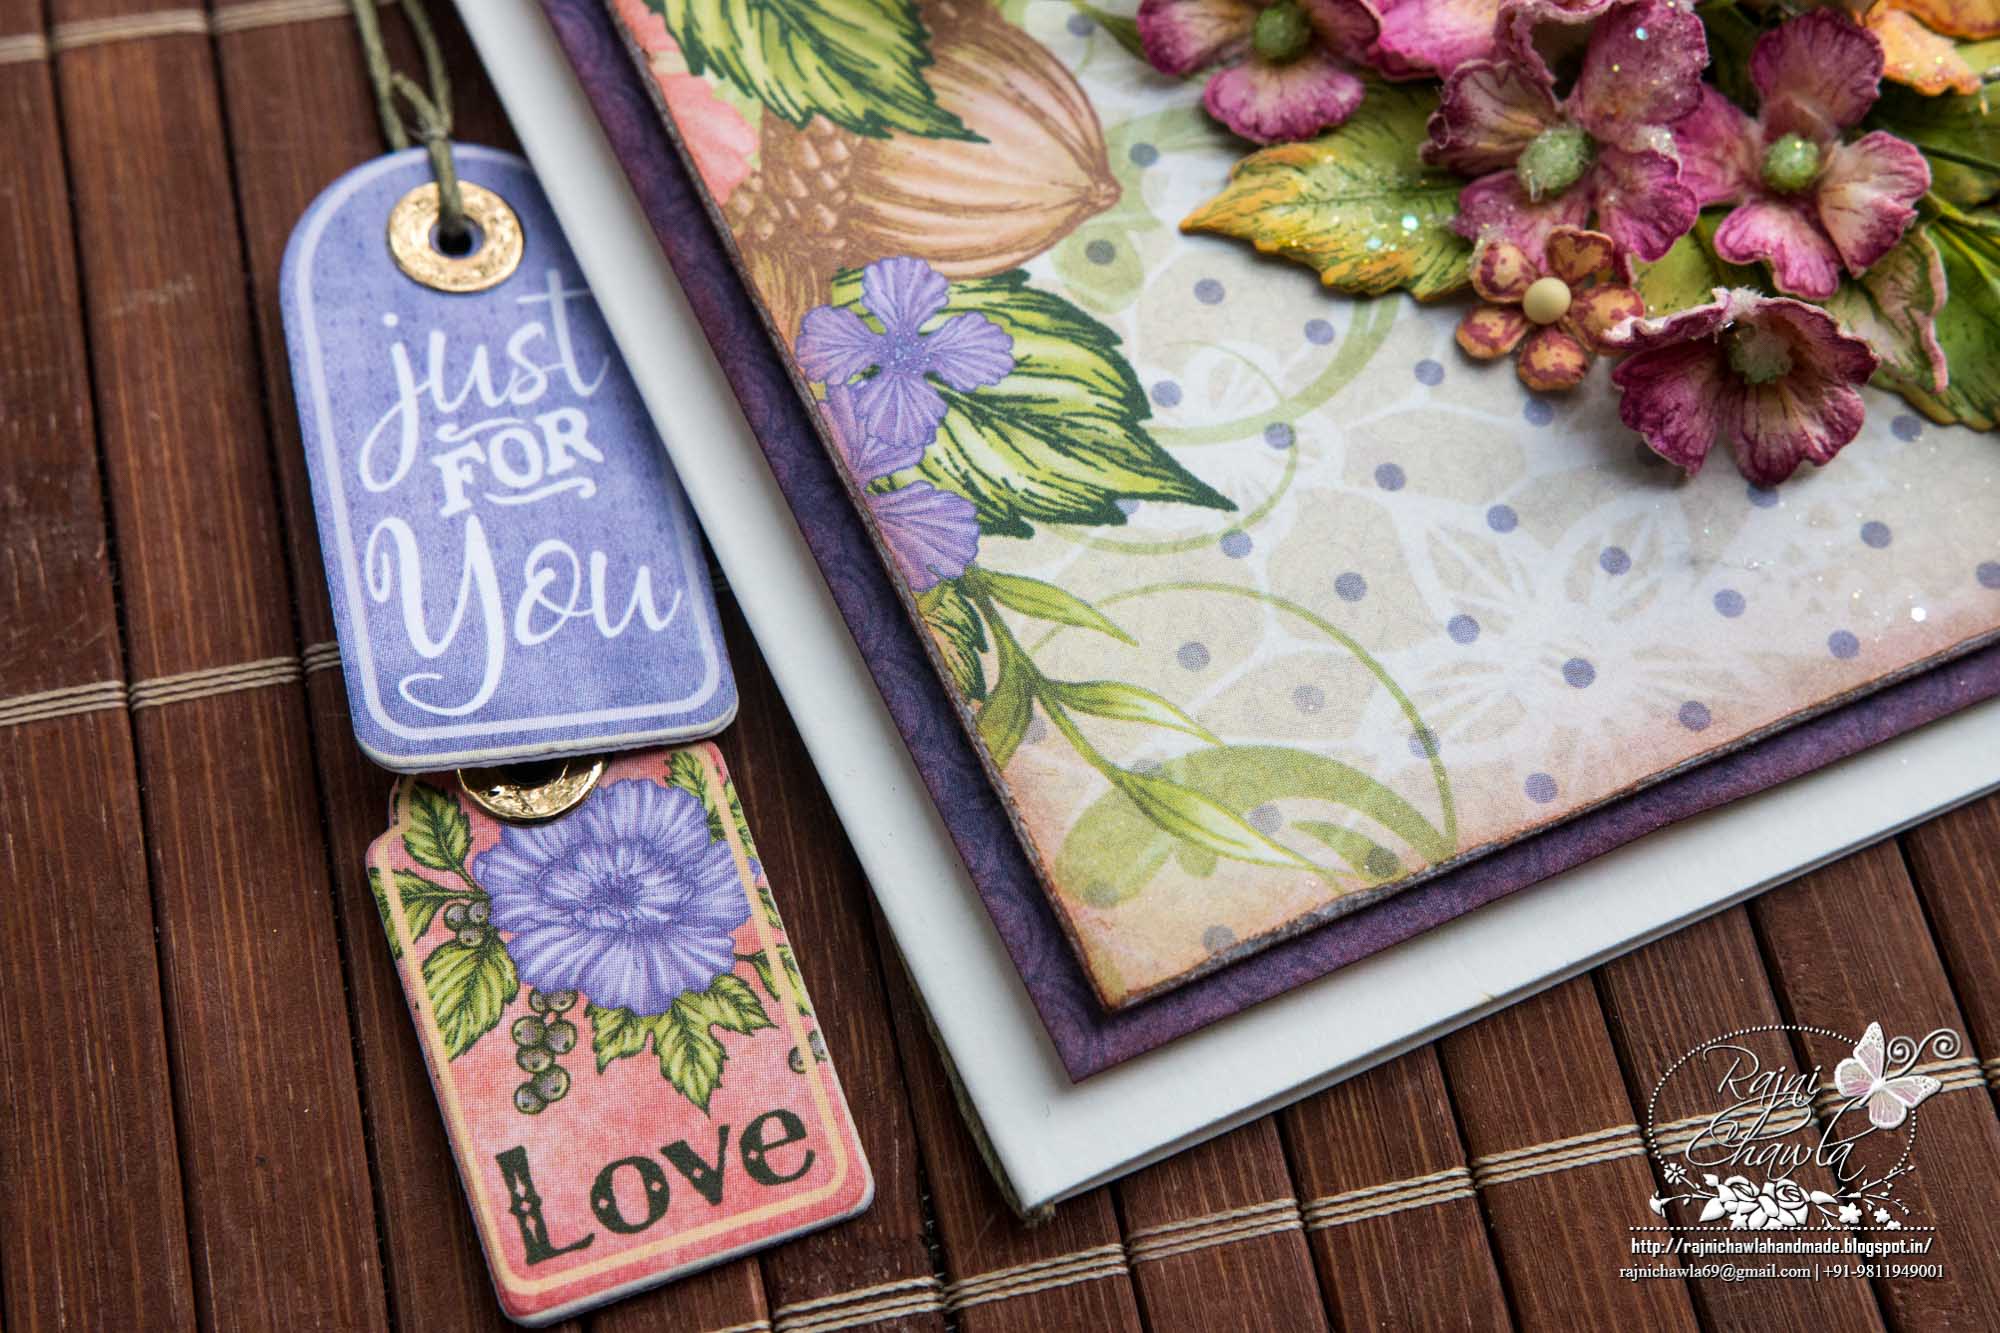
Die cut 2 circles from the Eyelet Circle and Basics Small Die and color them as shown with distress inks Peacock Feather and Vintage Photo. Layer them together with glue dots and adhere a golden eyelet die behind them. Once all the elements are ready, assemble the card as shown and finish the card by hanging die cut tags from the paper collection, using twine.
Absolutely gorgeous!!
You’ve done it again Rajni…this is absolutely gorgeous!