


Good Morning Friends…
Today is a special day as we designers at Heartfelt Creation’s are debuting another series of their new Layered Cards and Shadow Boxes. I am so happy that one of my creations has inspired the company to launch the layered cards for crafters around the world. I created a Tunnel Album using their Monkeying Around Collection way back in March. Another fabulous release is Shadow Boxes. I always loved and got inspired by the shadow box cards that my friend Karan Gerber created using Heartfelt Creations supplies. I am so happy for my friend that her idea of shadow box cards too got recognized and manufactured by the company.
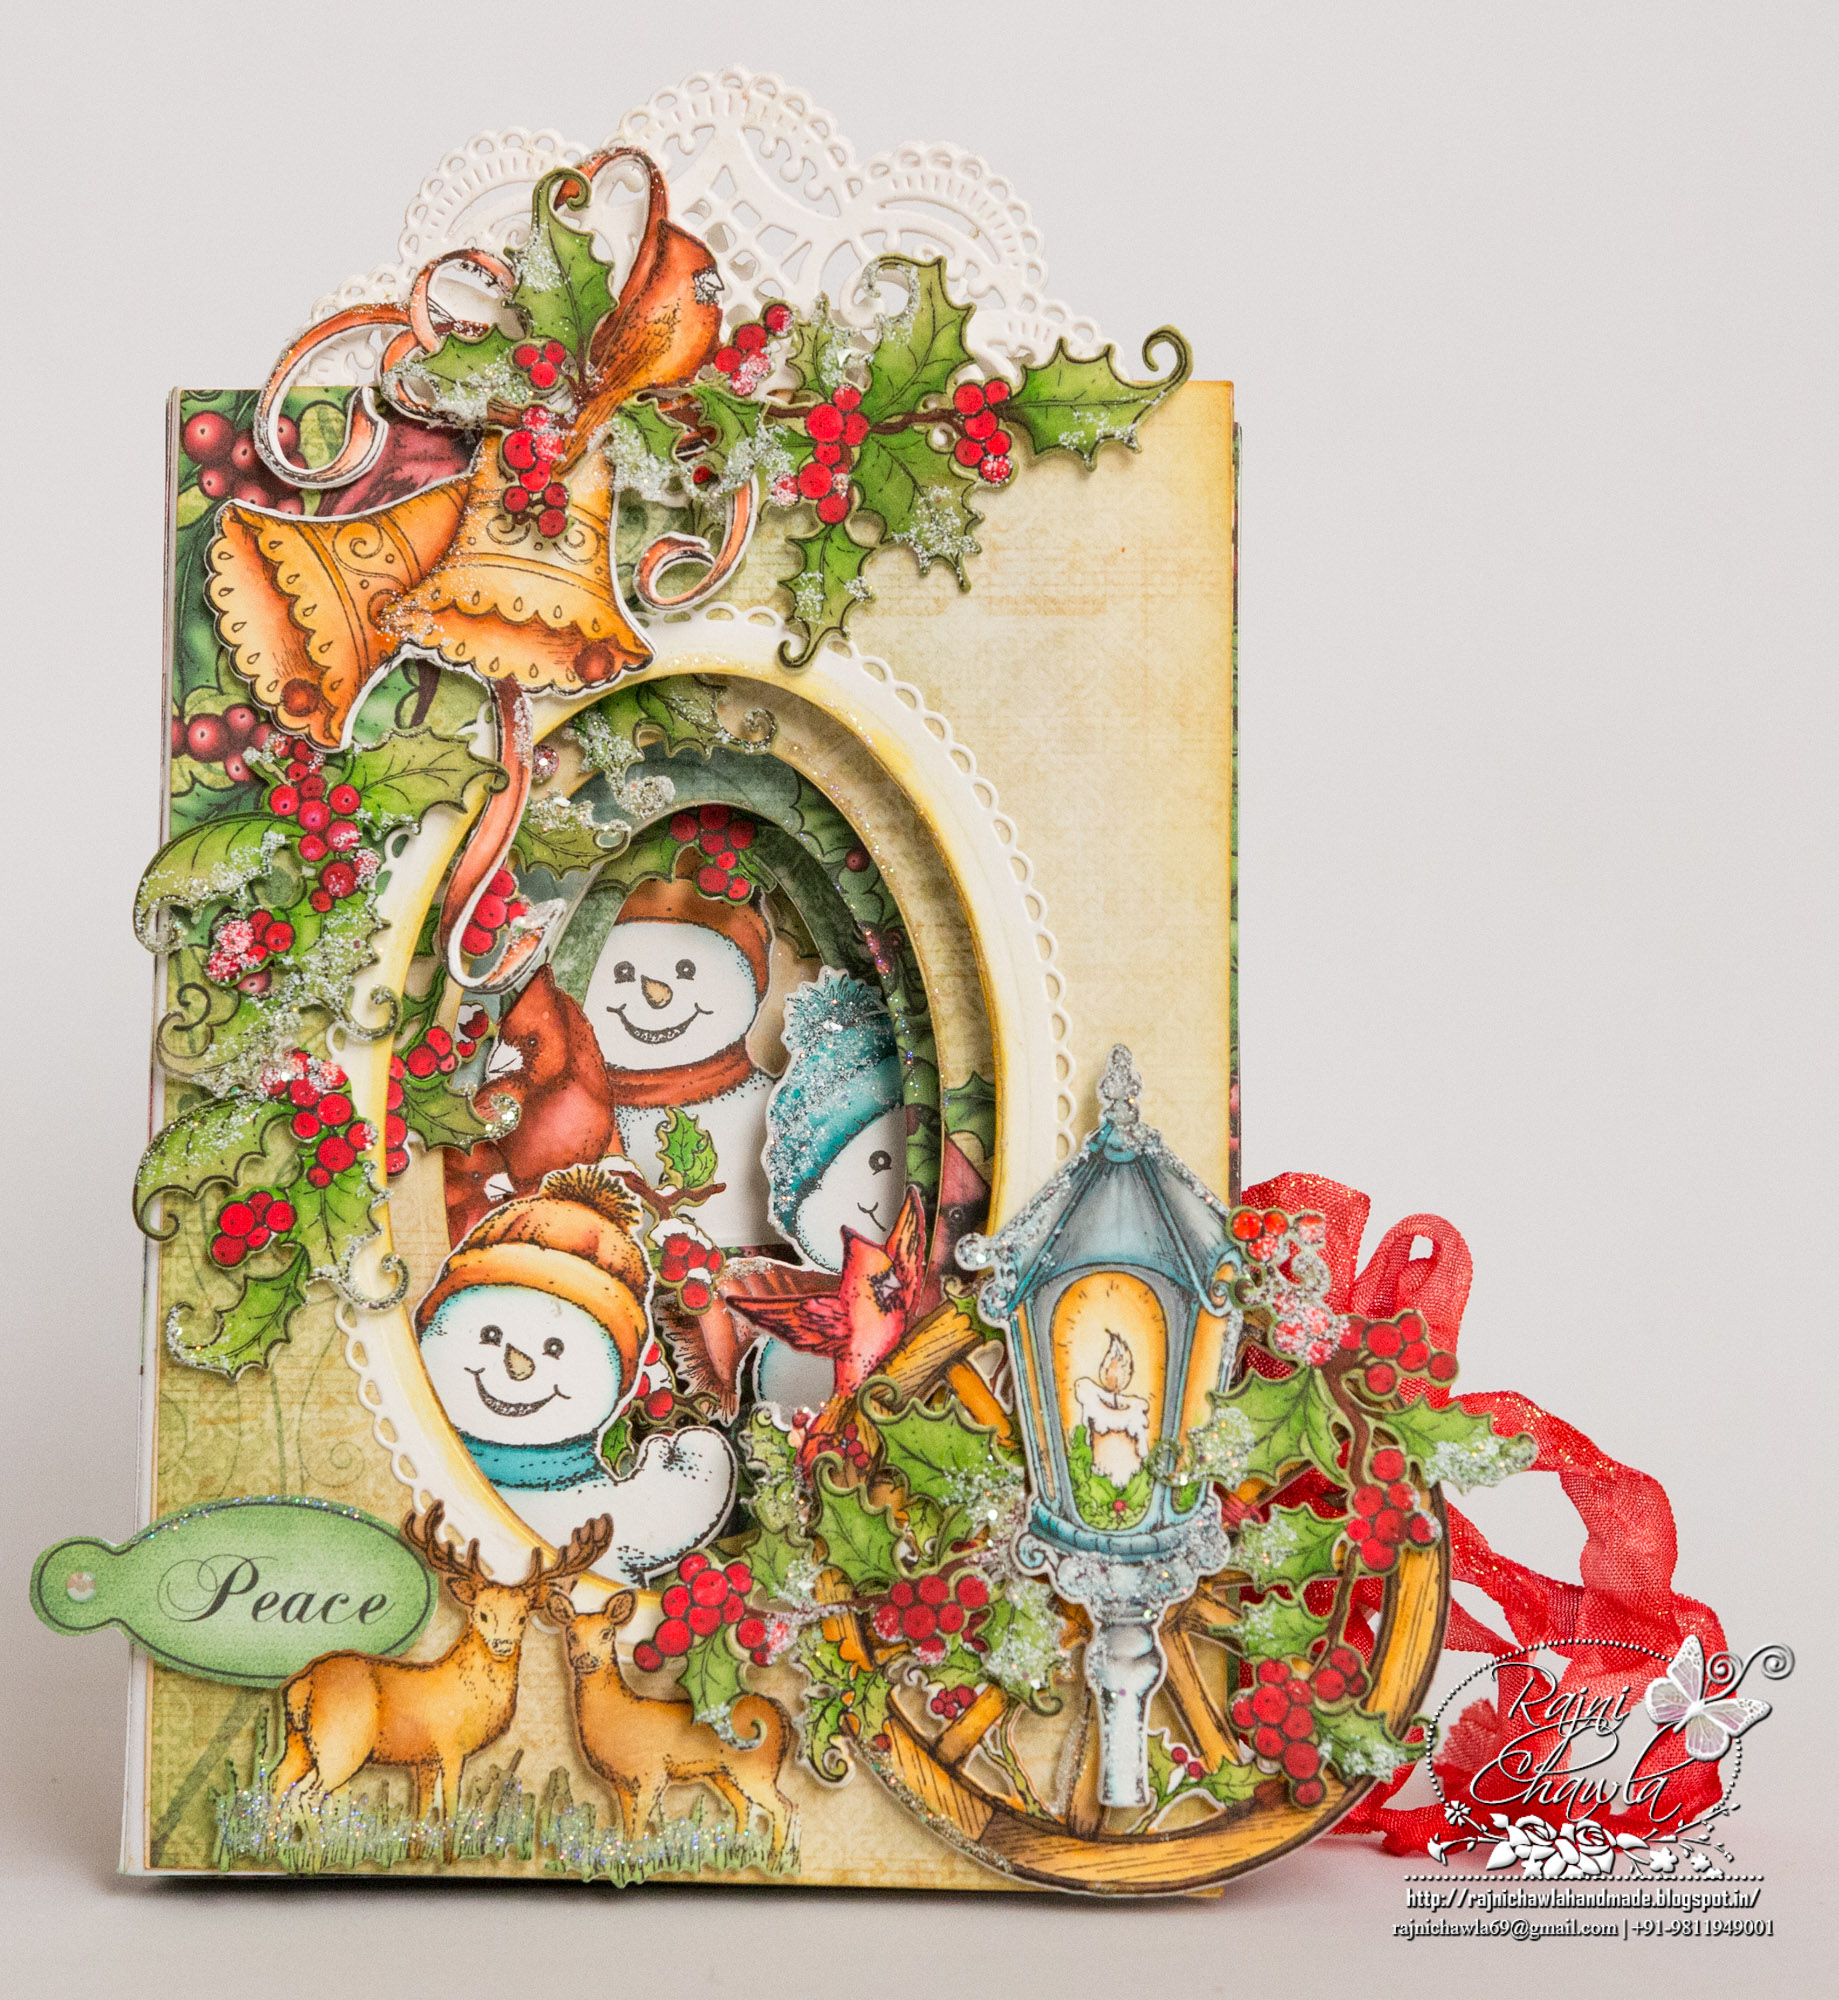
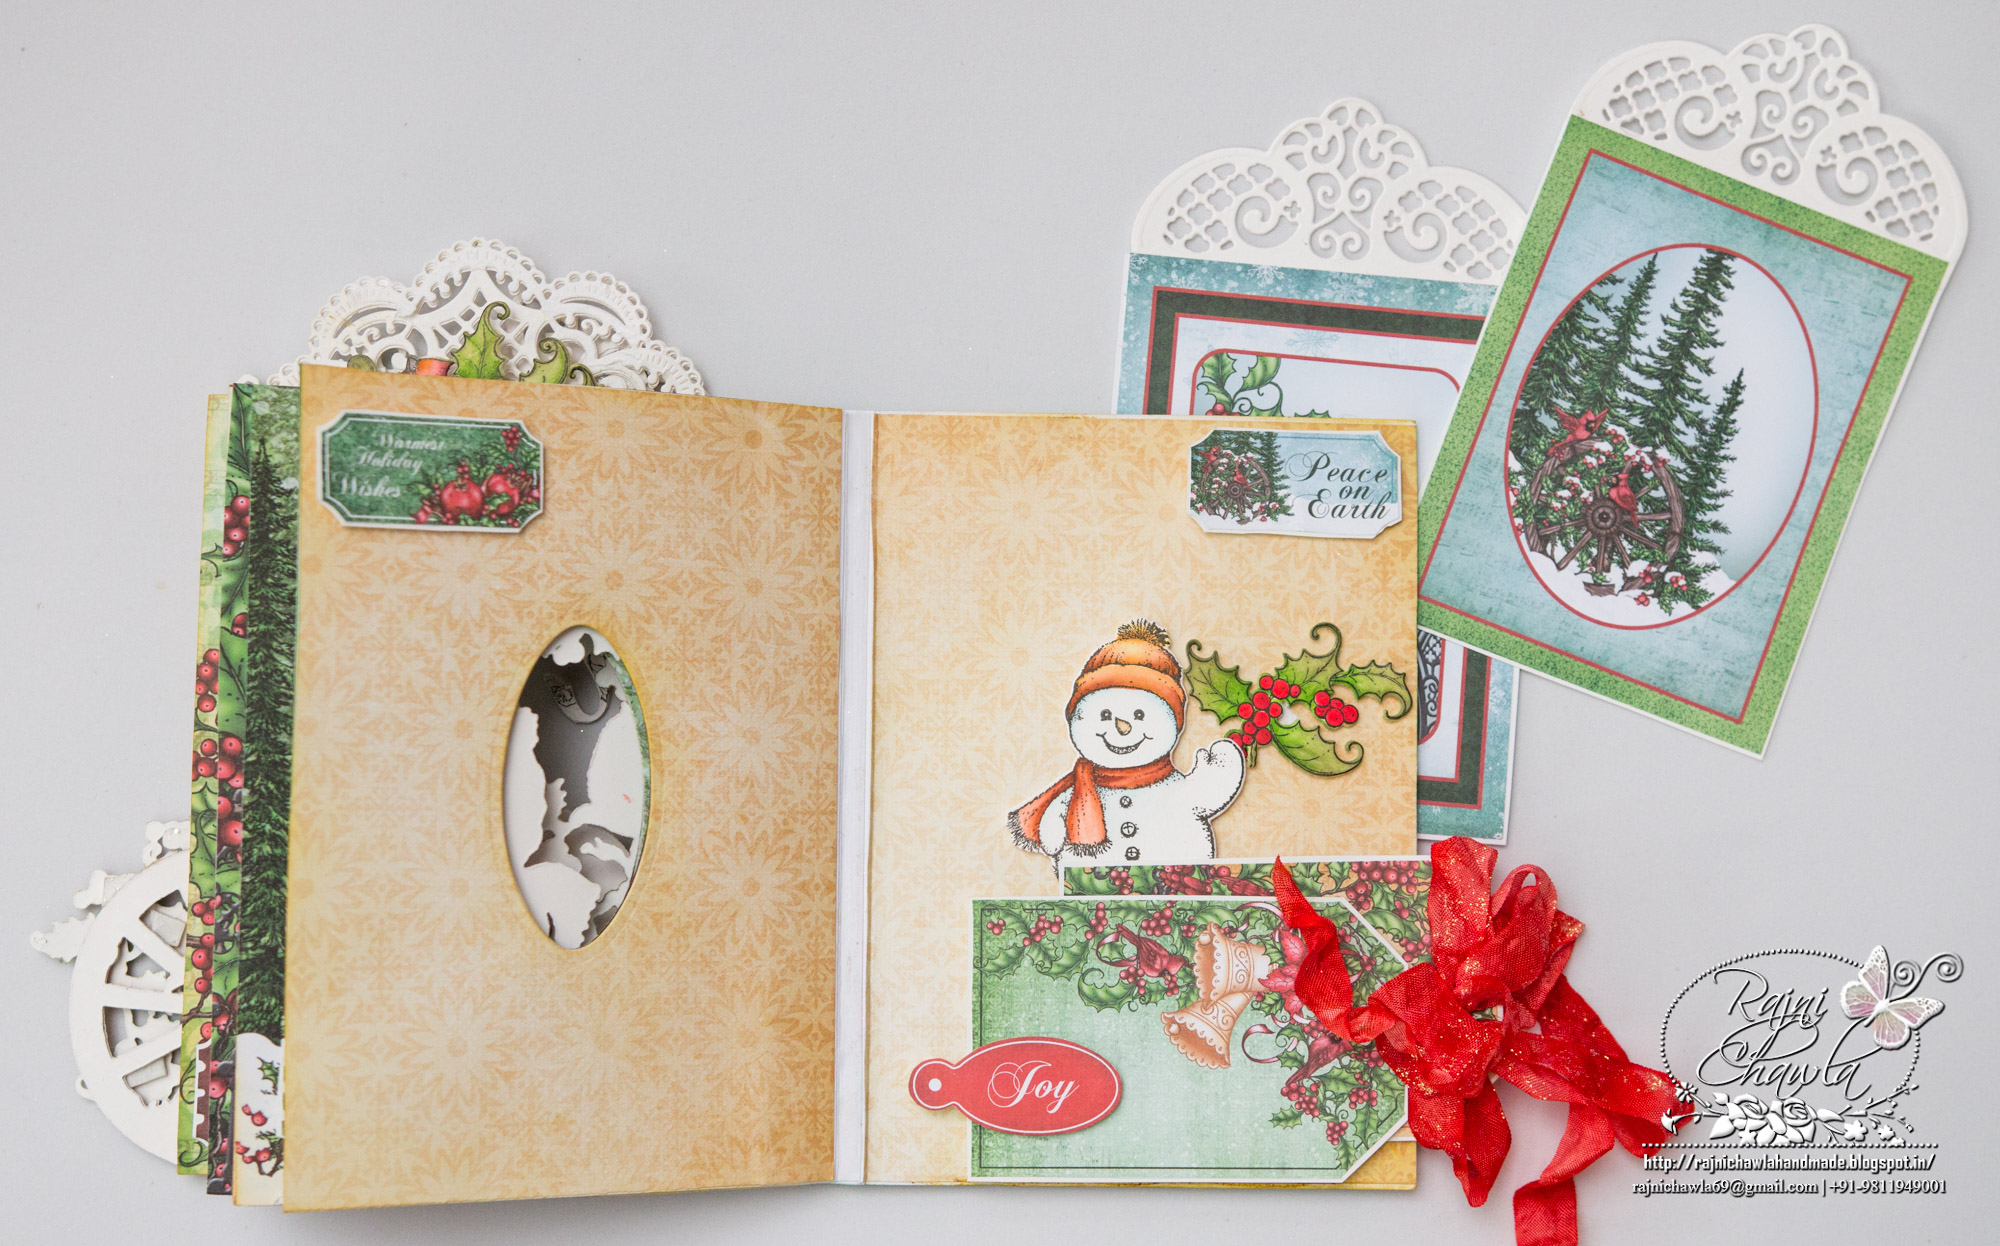
For today’s inspiration, I have a Christmas mini album to share. Don’t forget to see what rest of the design team members have created using this fabulous new release, on Heartfelt Creation’s Blog.
Products from Heartfelt Creations;
5 x 7 Layered Ovals Card – White HCLC1-455-2
Eyelet Oval and Basics Small Dies HCD1-756
Eyelet Oval and Basics Large Dies HCD1-757
Classic Wedding Bells Die HCD1-7143
Classic Wedding Bells Cling Stamp Set HCPC-3789
Festive Holiday Die HCD1-7146
Festive Holly & Cardinals Die HCD1-7145
Festive Holly & Cardinals Cling Stamp Set HCPC-3791
Festive Holly Paper Collection HCDP1-280
Festive Holiday Cling Stamp Set HCPC-3792
Holly Berry Jingle Cling Stamp Set HCPC-3793
Holly Berry Jingle Die HCD1-7147
Frolicking Frosty Cling Stamp Set HCPC-3750
Frolicking Frosty and Spruce Die HCD1-7107
Fleur Border Basics Die HCD1-7120
Gift Box and Mini Snowflakes Die HCD1-7109
Ornate Borders and Pockets Die HCD1-780
Stack and Store Daubers-Pack of 30, HCDA2-450
Rajni Chawla’s Crystal Clear, PGM15015
Rajni Chawla’s Frosting Powder, PGM15016
Other Supplies Used: White Cardstock, Festive BerrIes, Peeled Paint and Brushed Corduroy Distress Ink, Archival Black, Zig Clean Clear Markers, Foam tape, Red tacky tape, Seemed Binding Ribbon, Adhesive that dries clear.
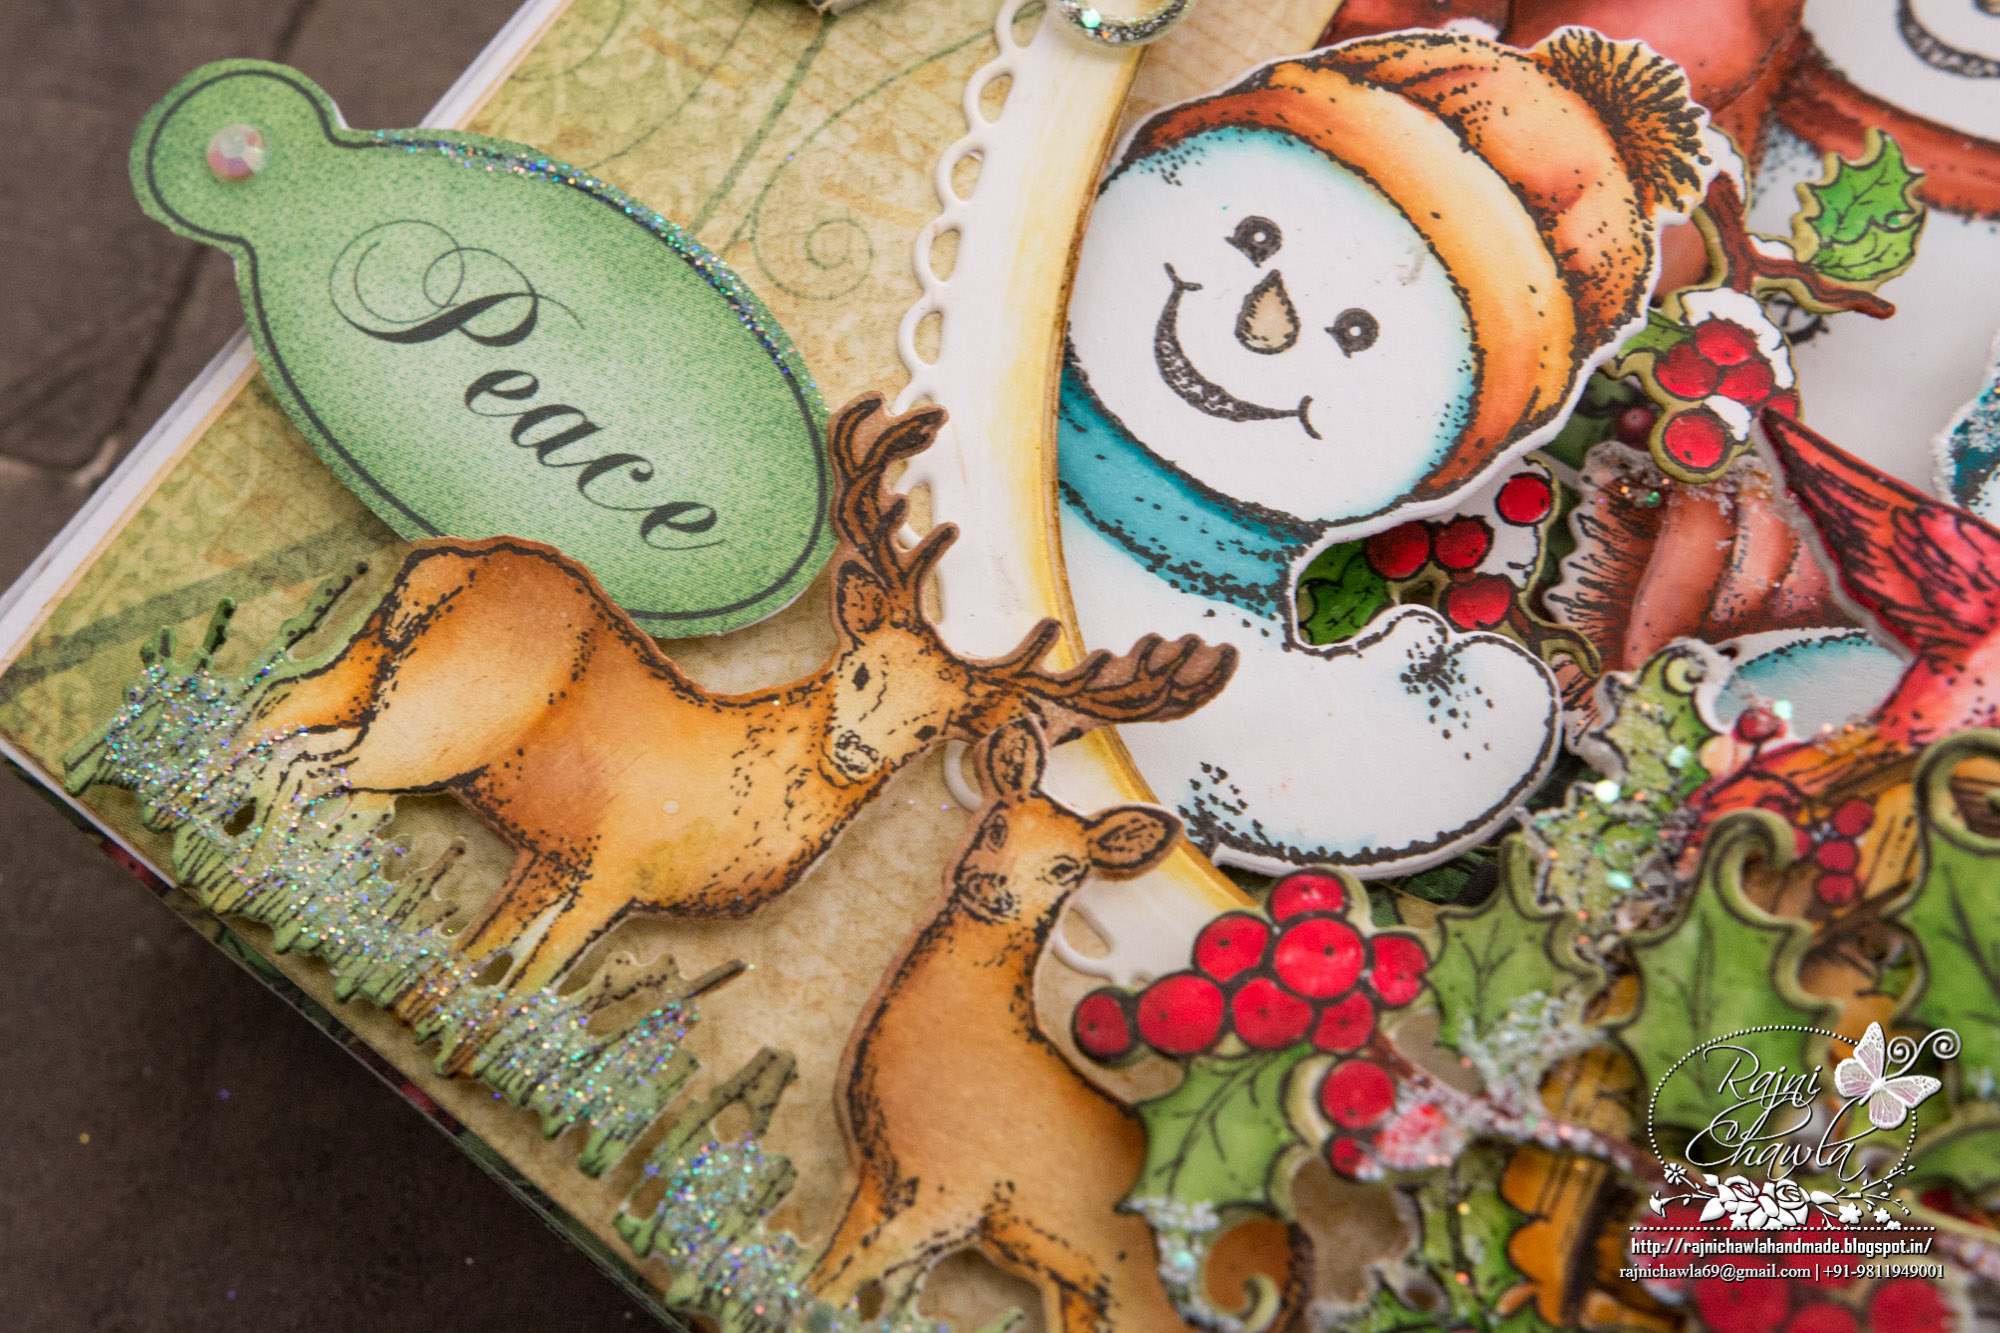
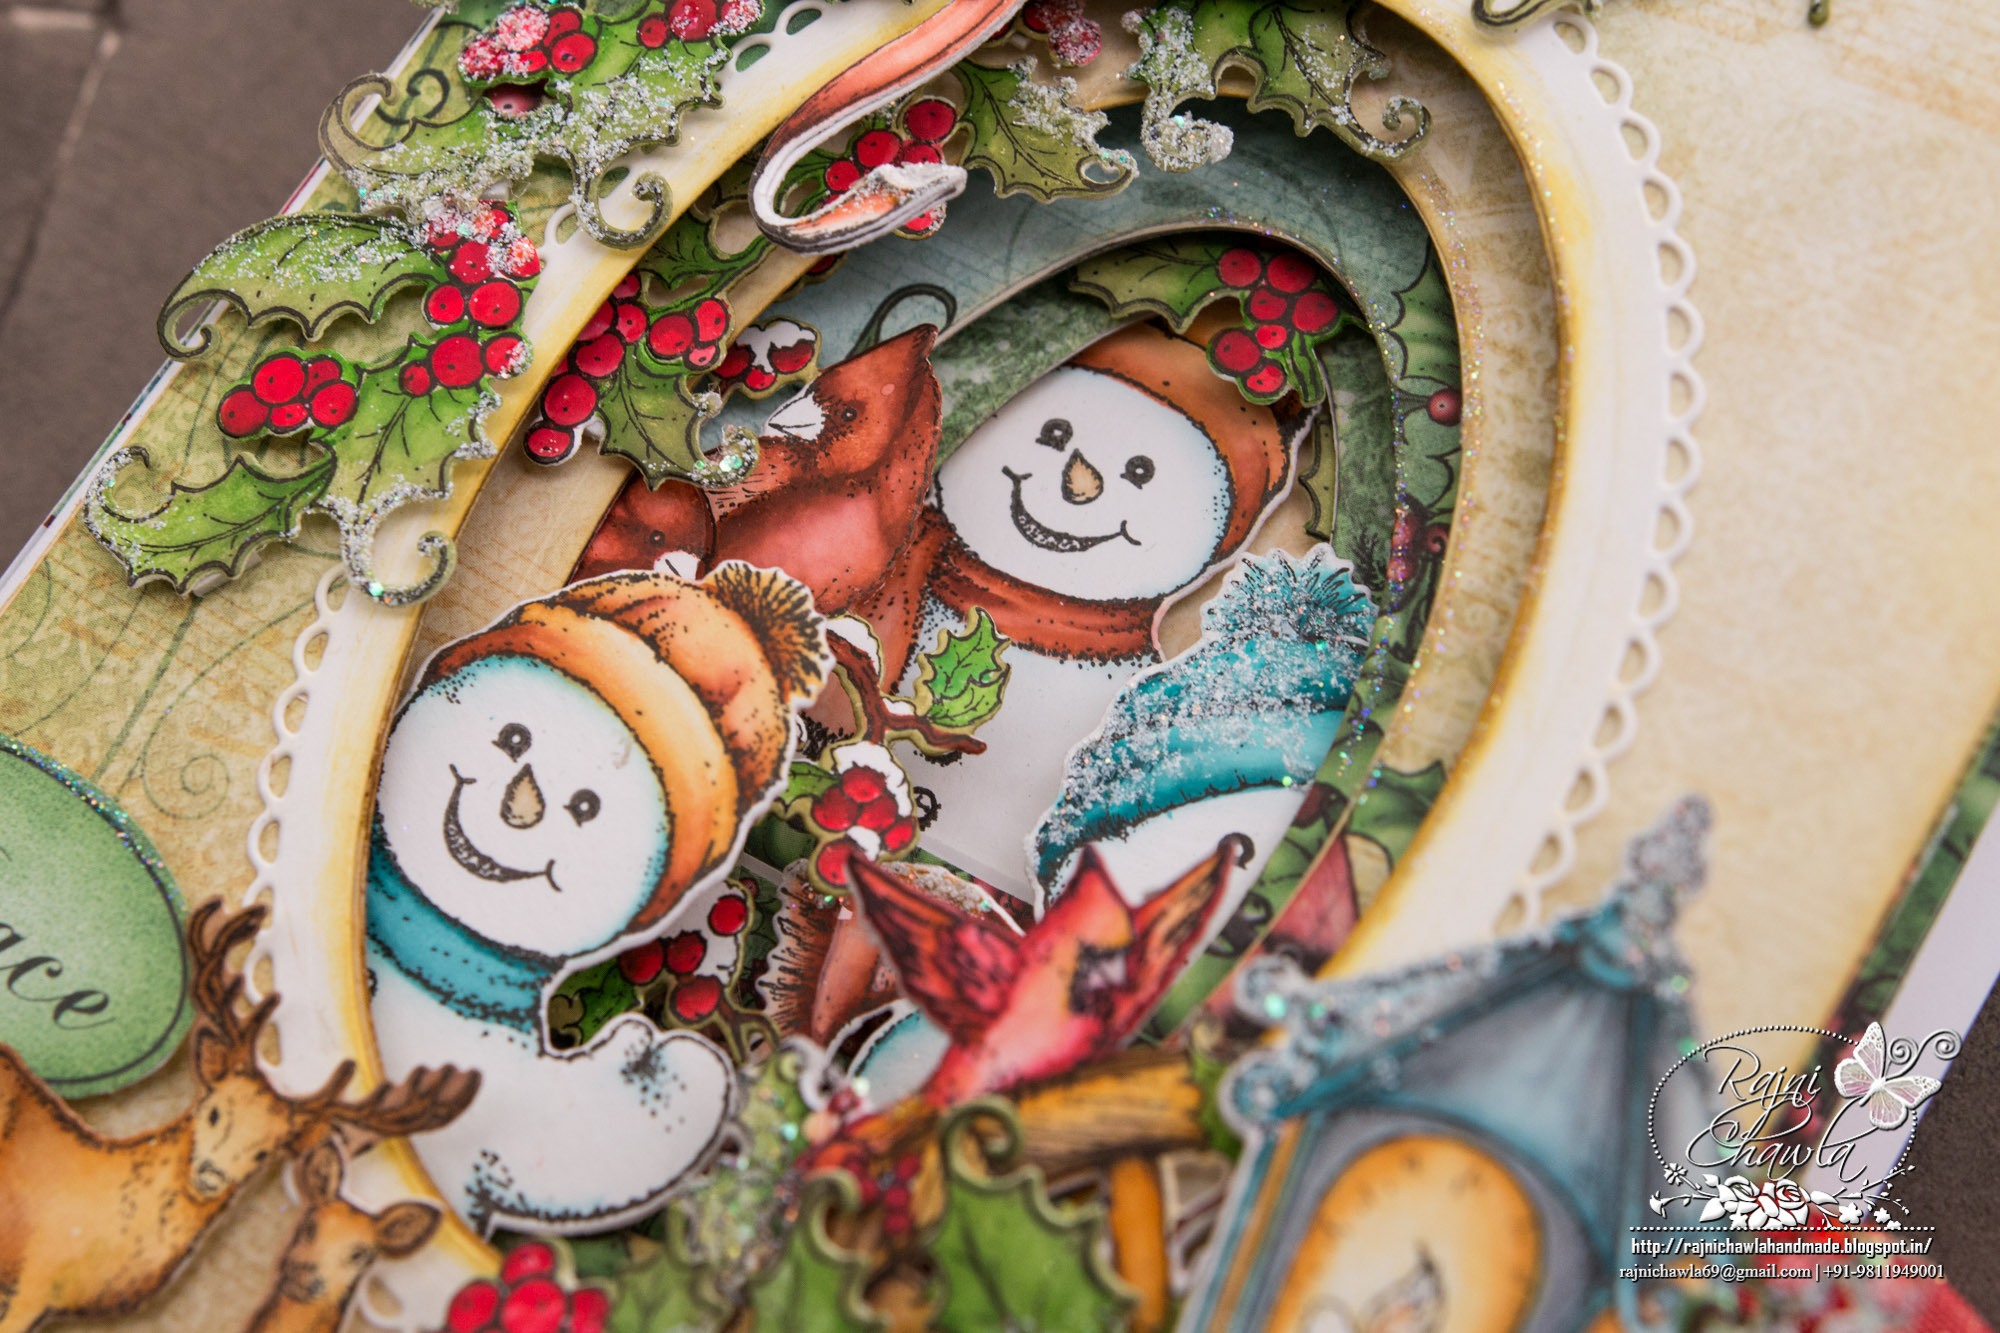
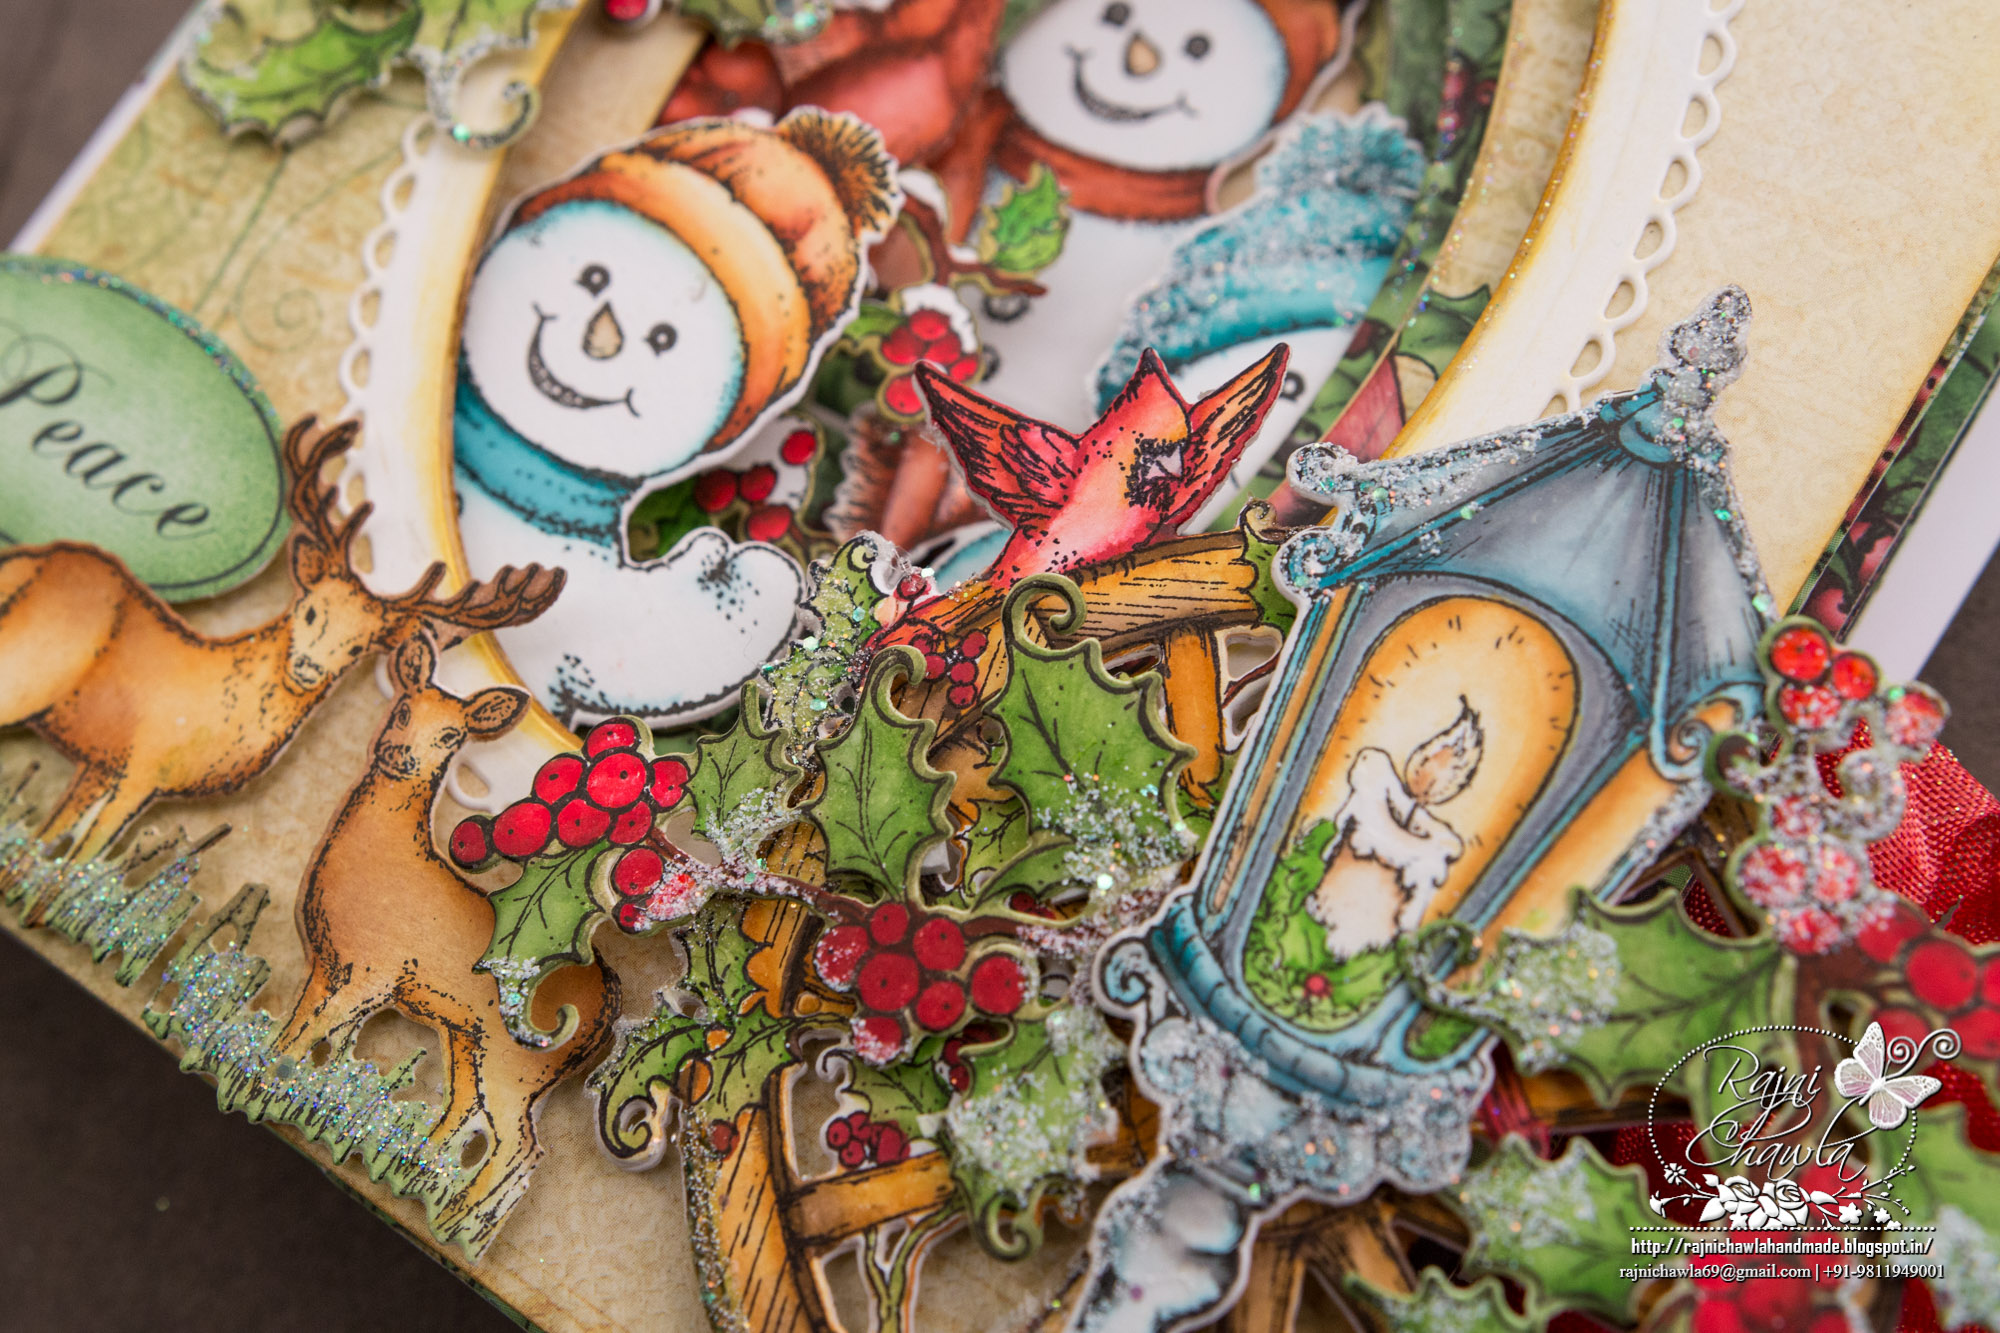
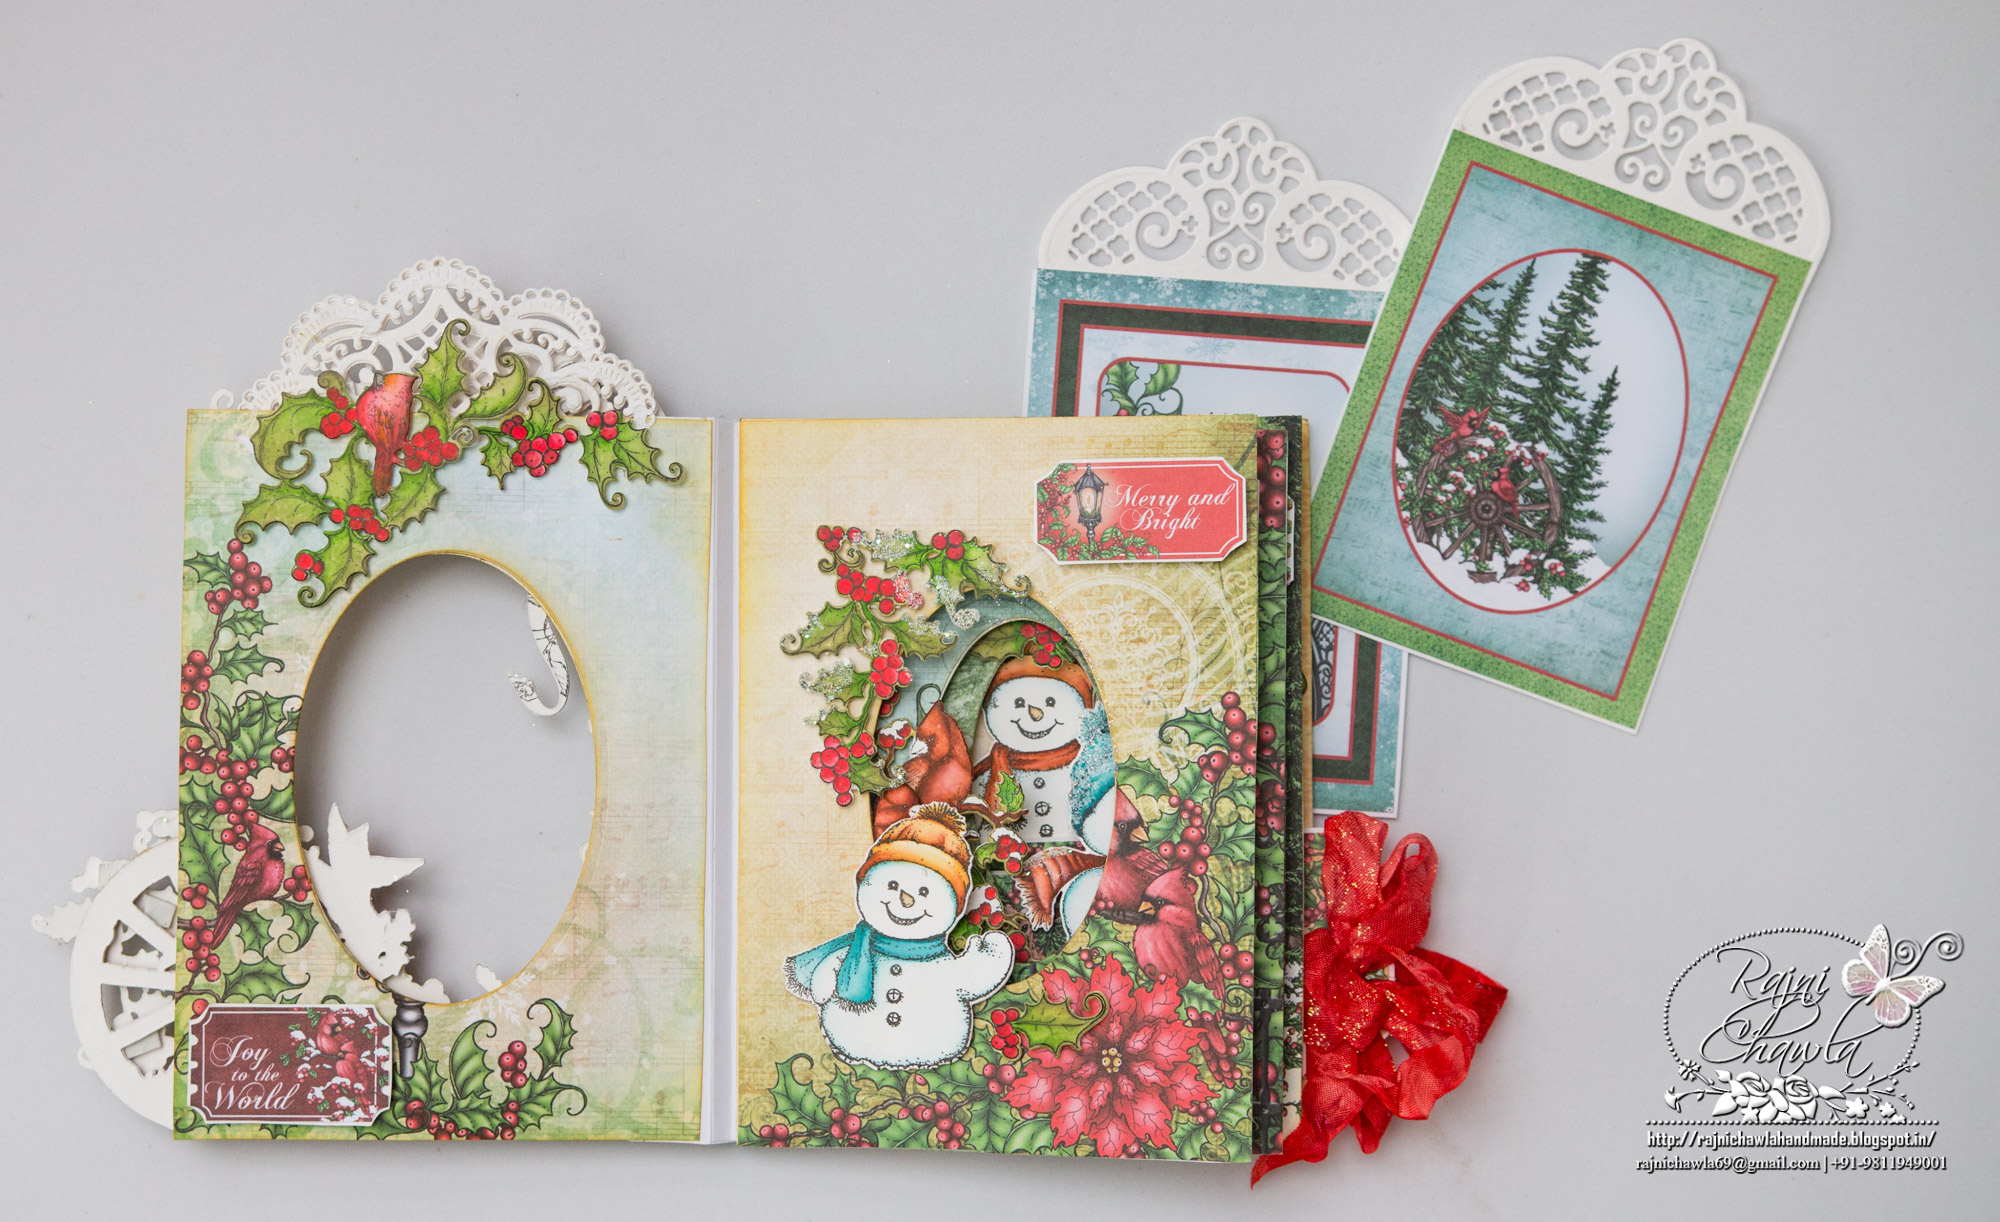
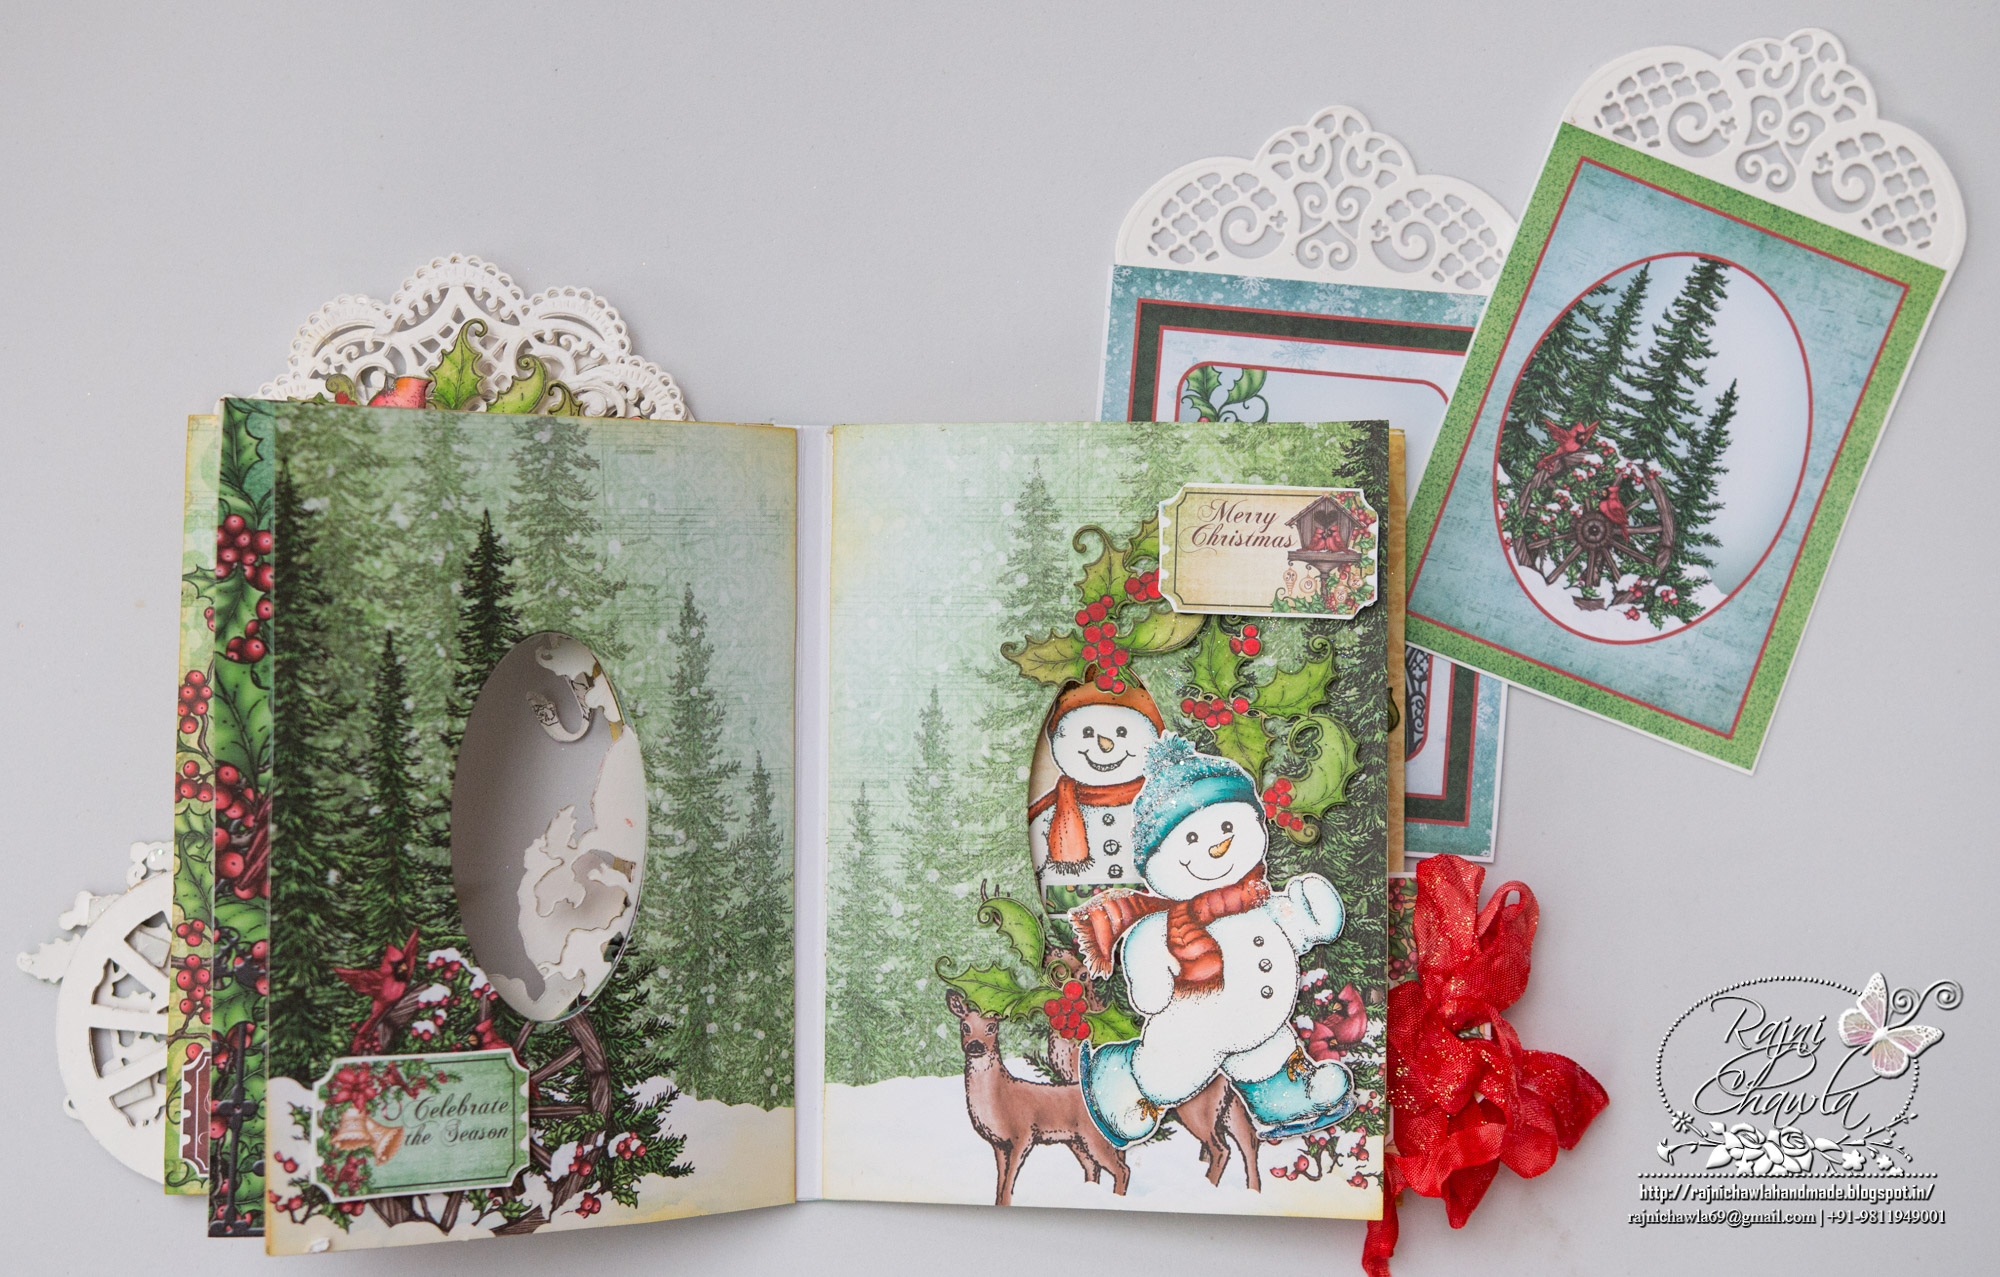
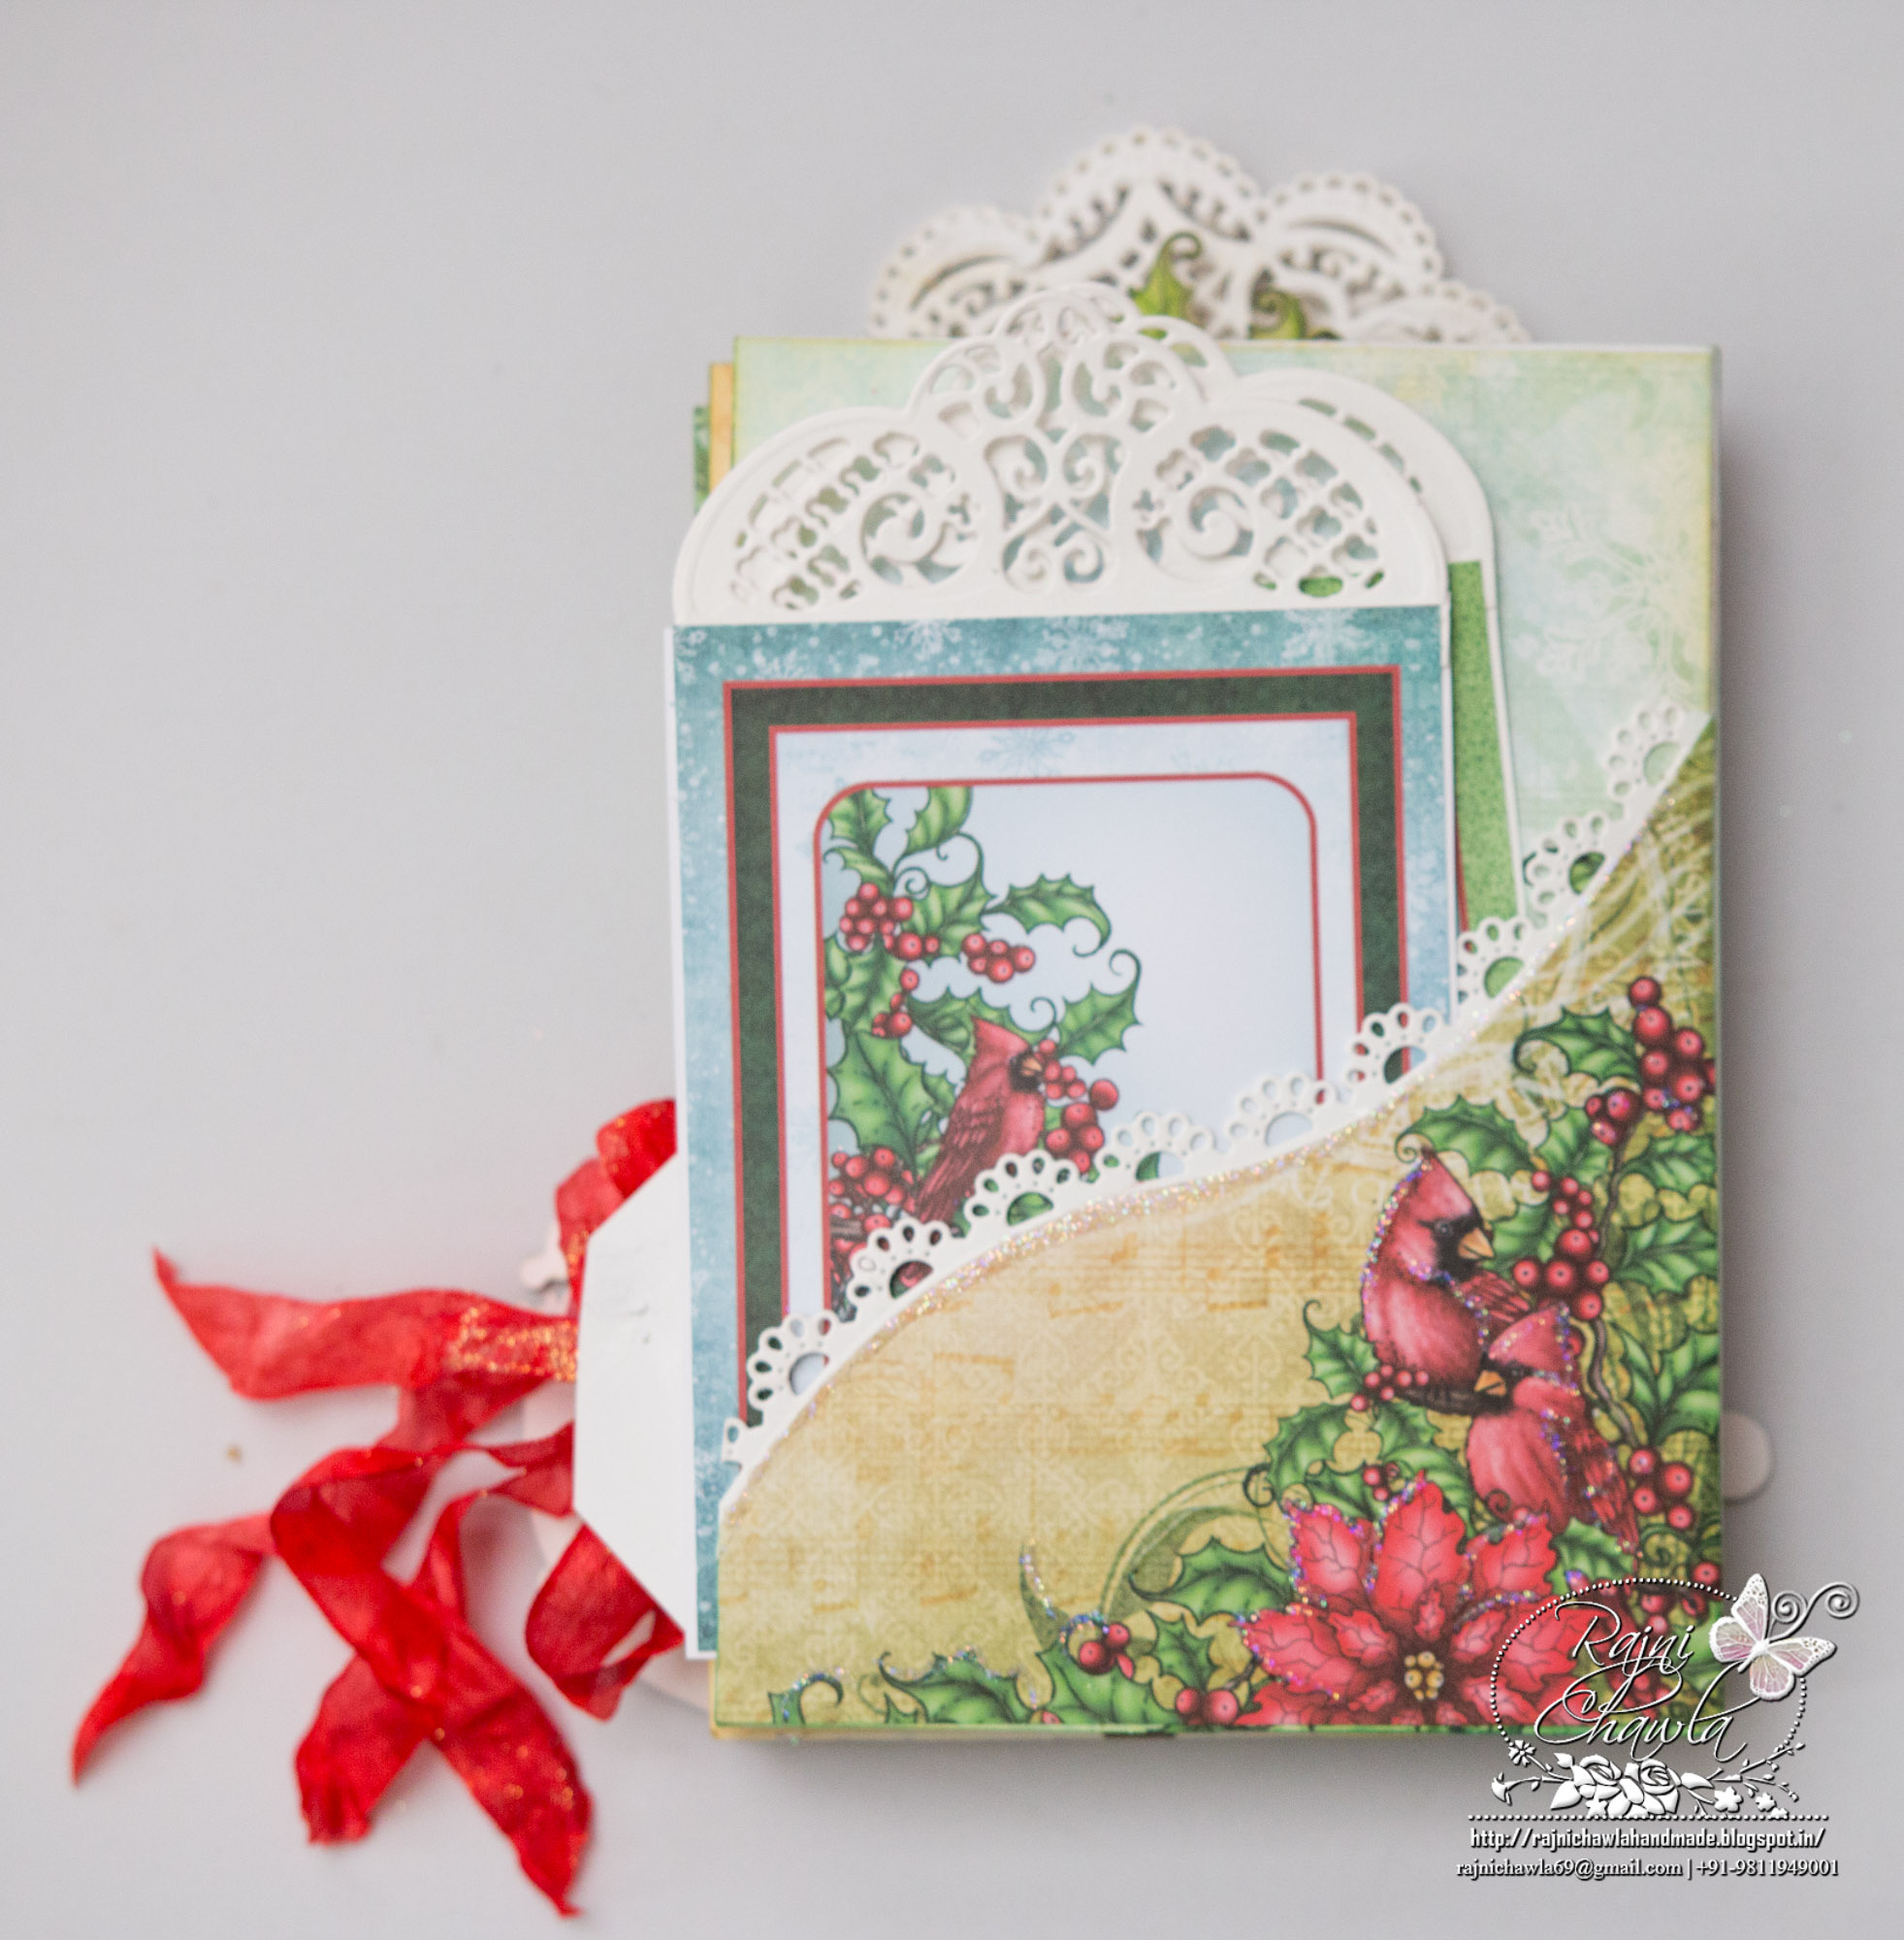
Instructions: Construct 5 X 7 layered card (White) then cut designer paper for each side of each page. Distress all the edges of all pages. Sort the panels with the largest oval on top and nesting to the smallest oval. Select the papers from Festive Holly Collection that you want to use on each panel. You may want to coordinate the panels that face each other when each page is opened. To create the windows, tape down the selected designer papers back to back, align the Basic Oval Die and run through the die cutting machine. The papers were glued to all the pages on all the sides using appropriate nesting oval die, except the last page which is solid. The back side of the album has a pocket which can hold tags for journaling and photo mats. A decorative border was cut from a smooth white card stock which is then glued on the top of the tags and photo mats. On the second last page, cut some tags, layer them outwards as shown and tie a seam binding ribbon( painted using Festive Berry) to add an extra accent to the project.
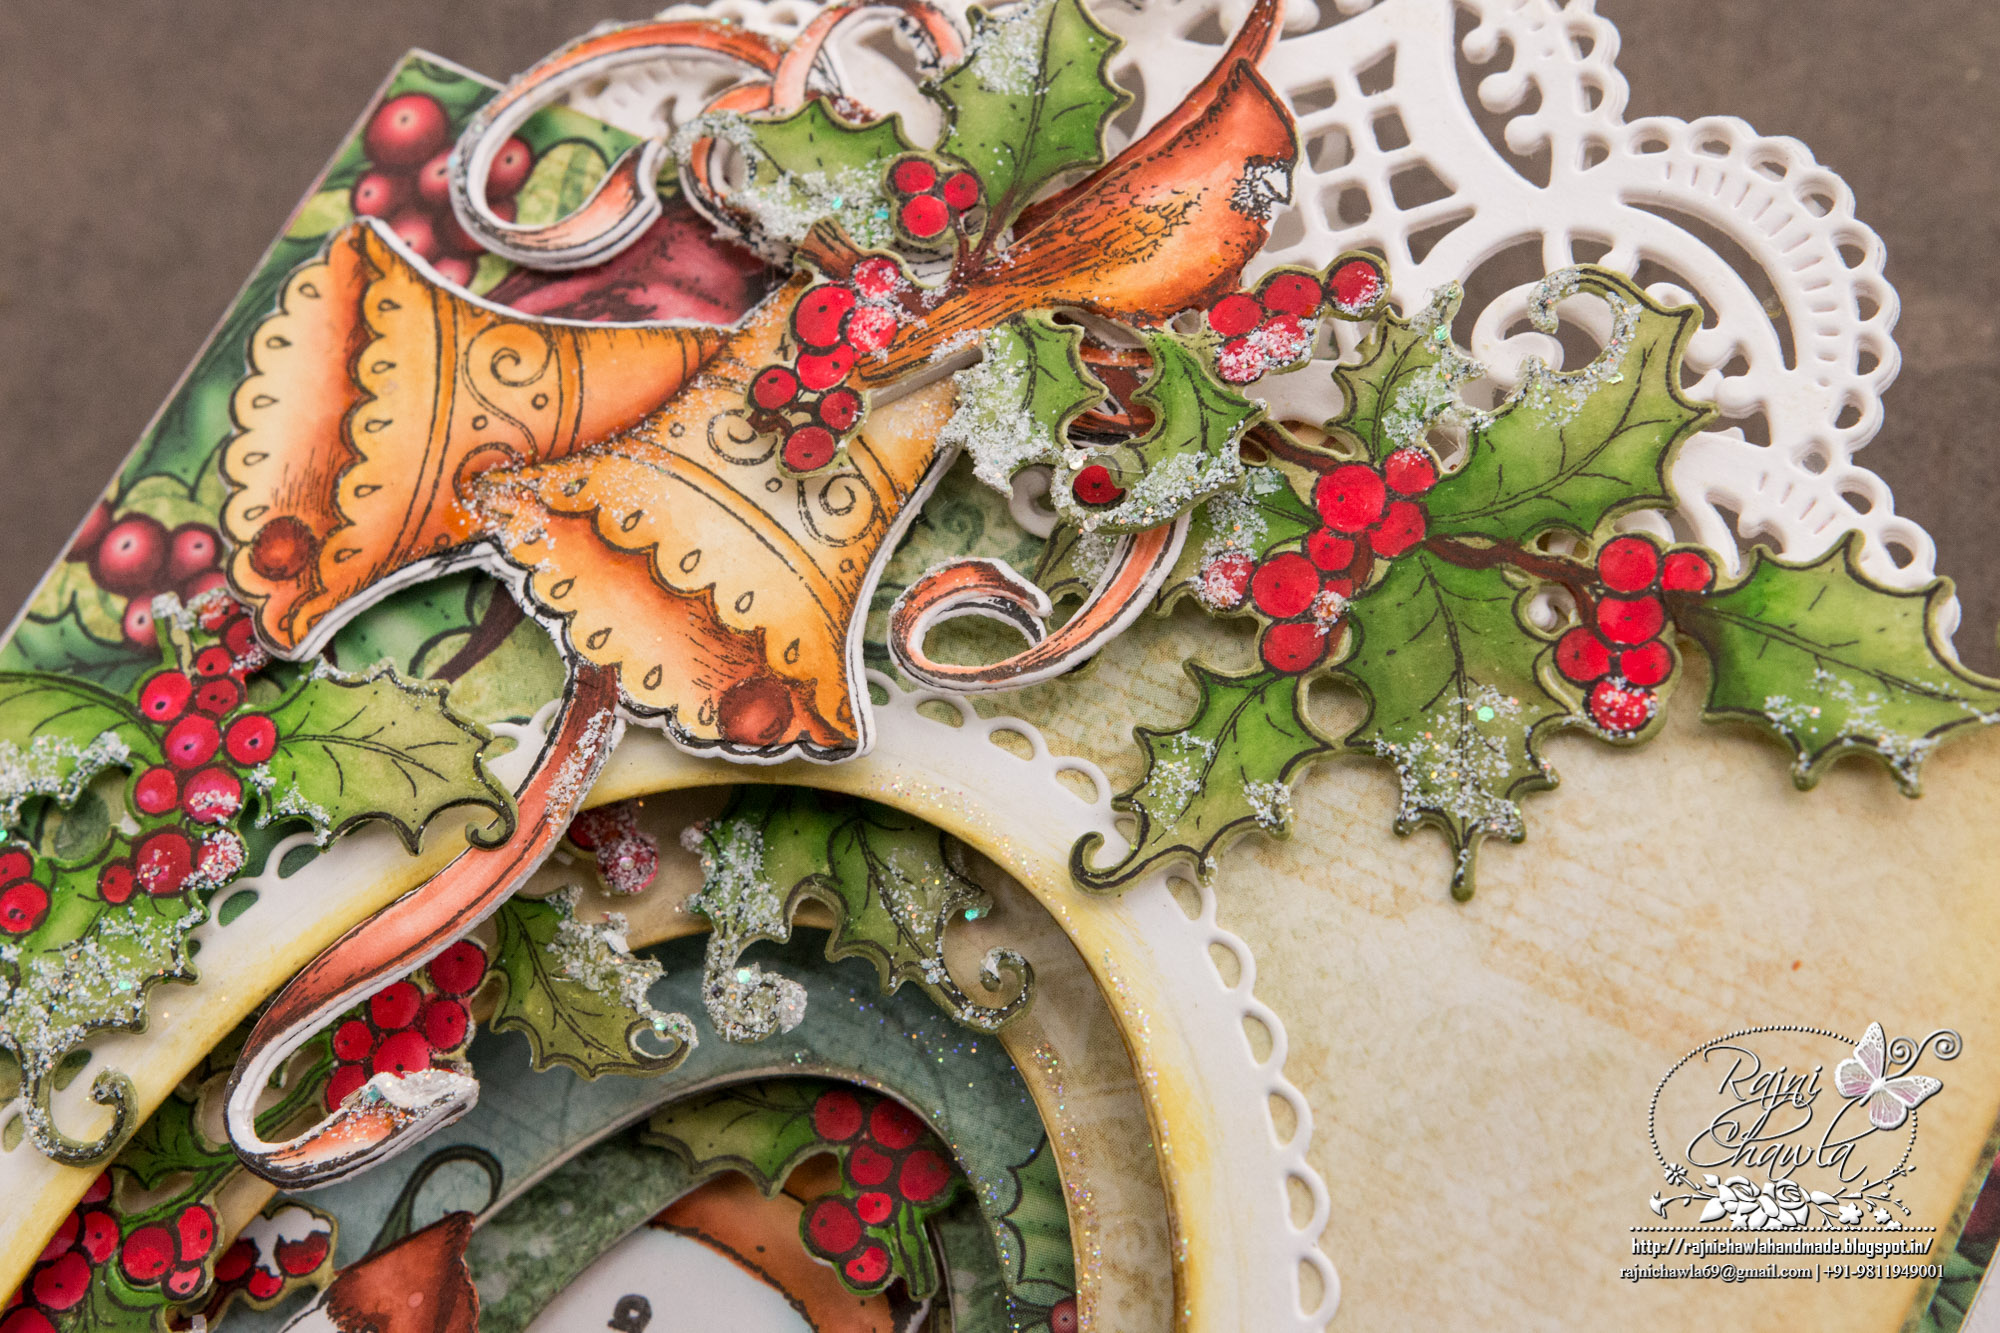
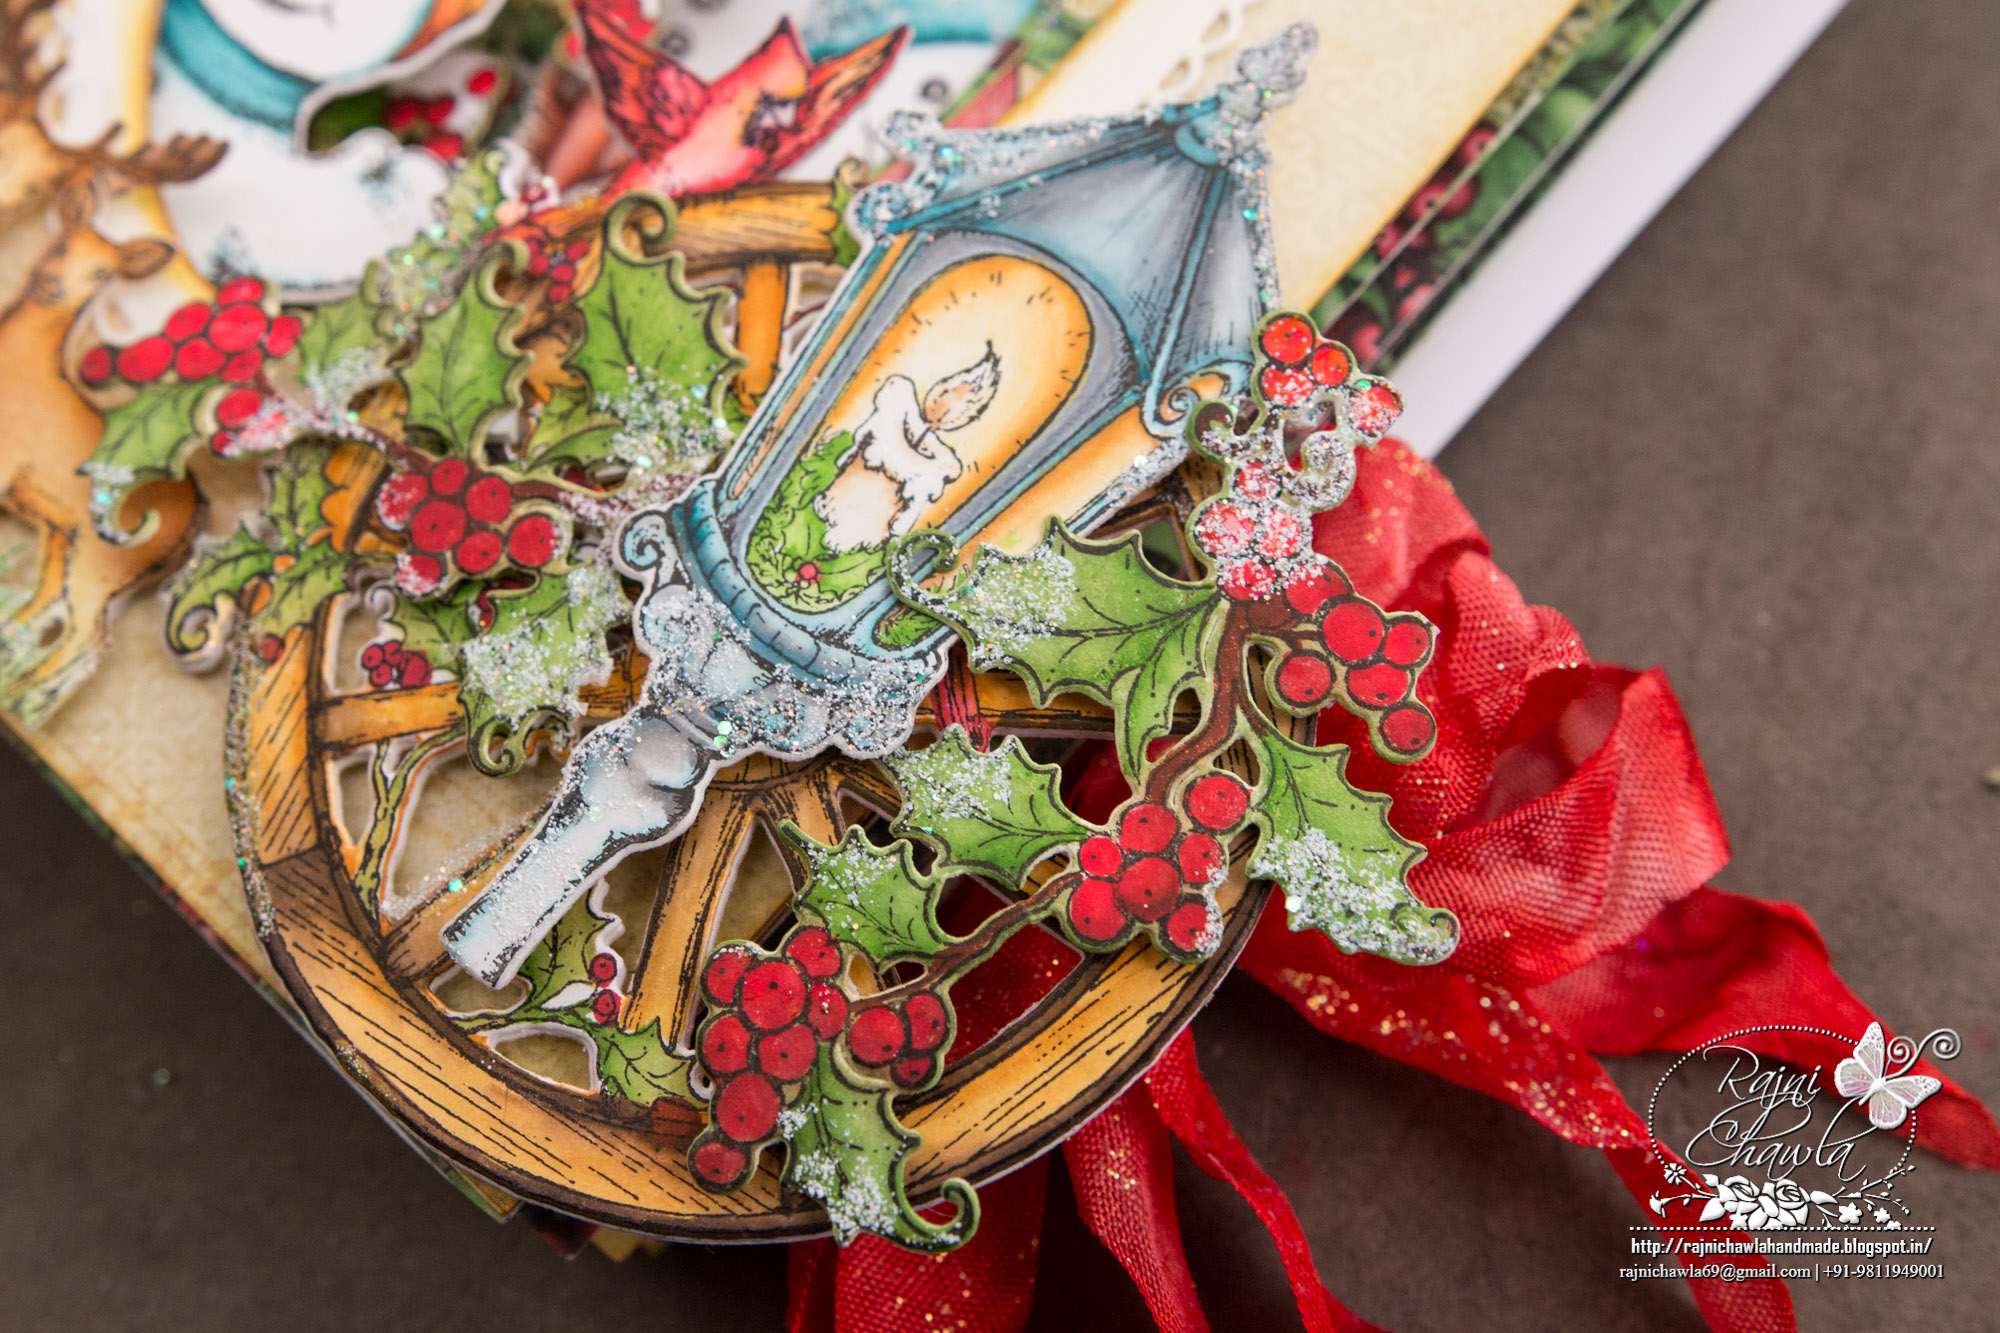
An image from Festive Holiday Cling Stamp Set and Classic Wedding Bells Cling Stamp Set is stamped with black archival and colored using Zig Clean Clear Markers. Cut the images using their coordinating dies. Also, the images from Festive Holly & Cardinals Cling Stamp Set are stamped with black archival ink and colored using Zig markers. The images are cut using Festive Holly Cardinals Die. Stamp the images from Frolicking Frosty Spruce using black Archival and paint with Zig Clean Clear Markers. Color body and shoes with 030 and 034, scarf with 031 and 033, cap with 060, 065, 061. Die cut the images using its coordinating die.
Absolutely Gorgeous!!!
You always take everything to the next level Rajni! This is absolutely gorgeous!
As always this is stunning. You always make me feel like I need to step it up!
This is just gorgeous – love all the details that you put into your cards!
Love your adorable snowmen Rajni! The front cover and back cover are totally amazing as well! Beautiful my friend!
Woowwww!! This is fabulous!! <3