


Good morning all..
Happy Wednesday!!
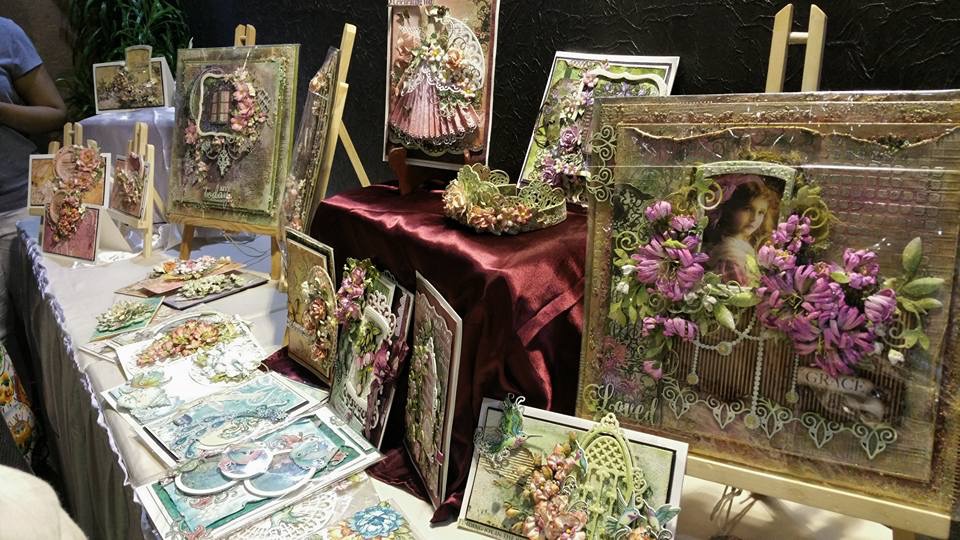
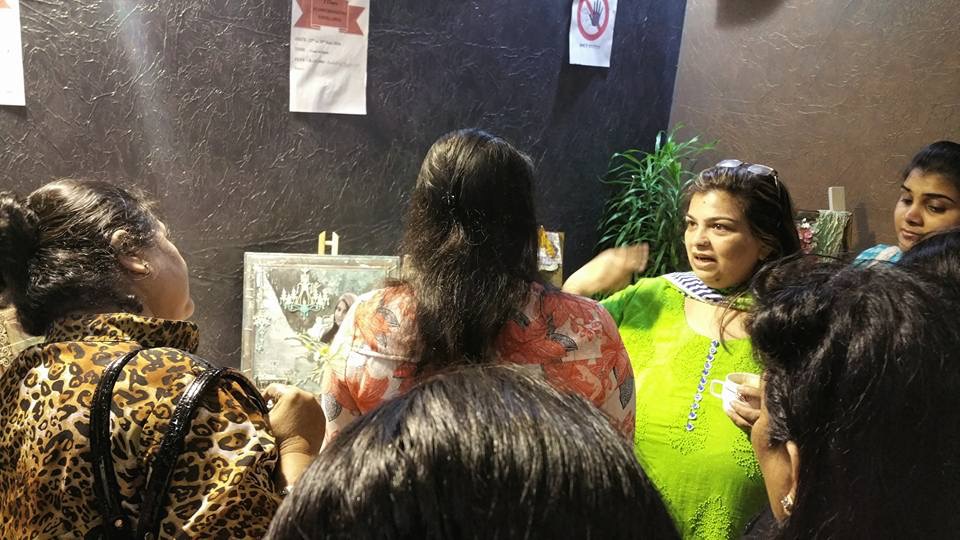
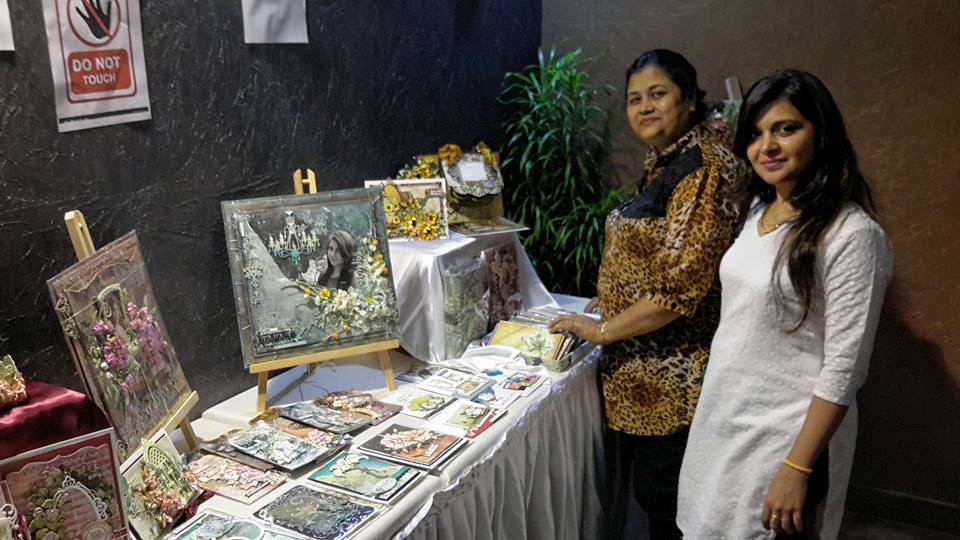
Thanks for visiting again. I hope you are all having fun creating with Heartfelt’s new Classic Rose Collection. I am in Mumbai now a days and having loads of crafty fun. Crafting and teaching fresh new minds is making me confident everyday. Last week I had a fabulous experience sharing my work in Crafter’s meet that I organised for Mumbai Crafters. Sharing few clicks from the meet…
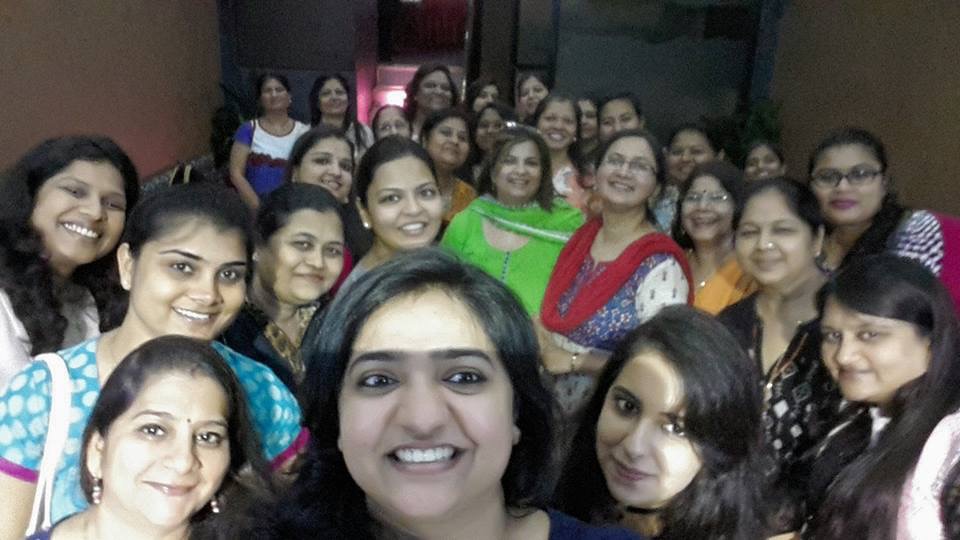
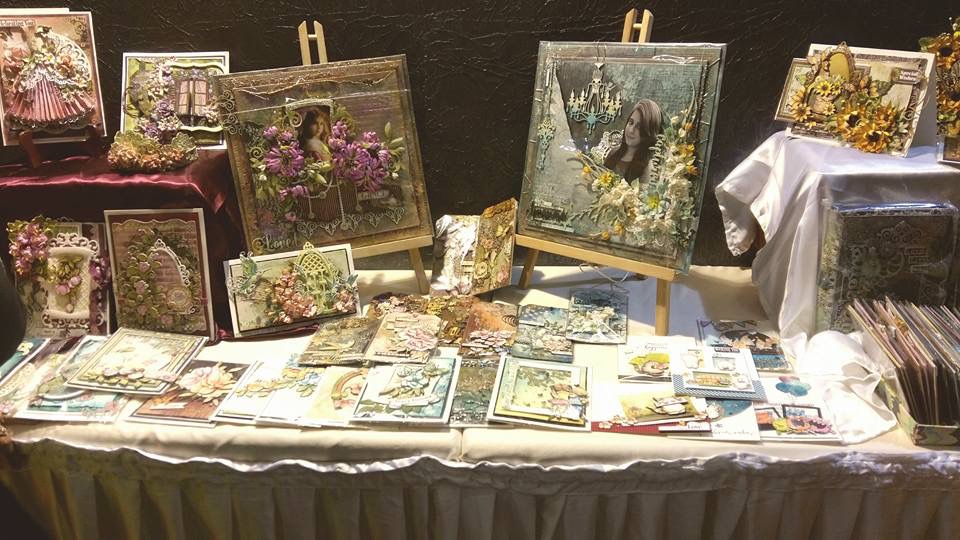
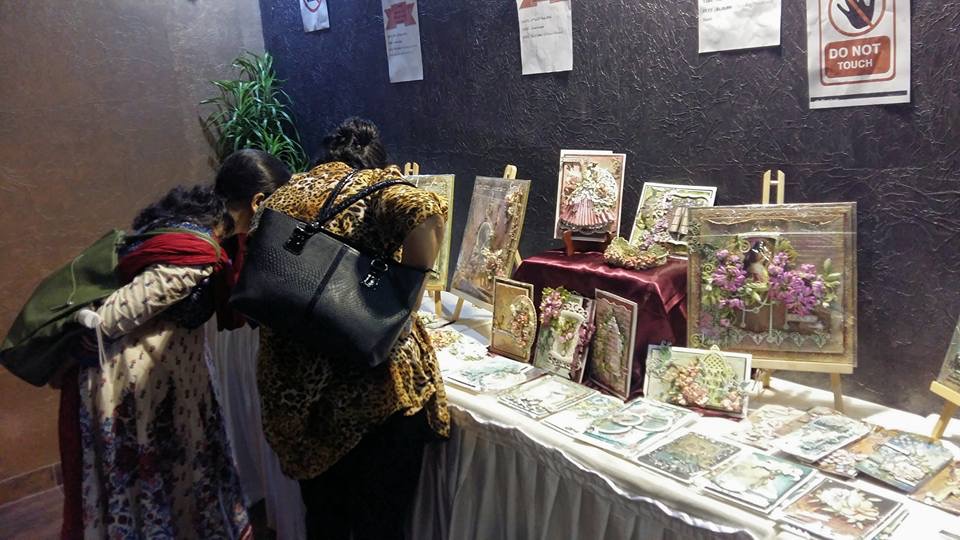
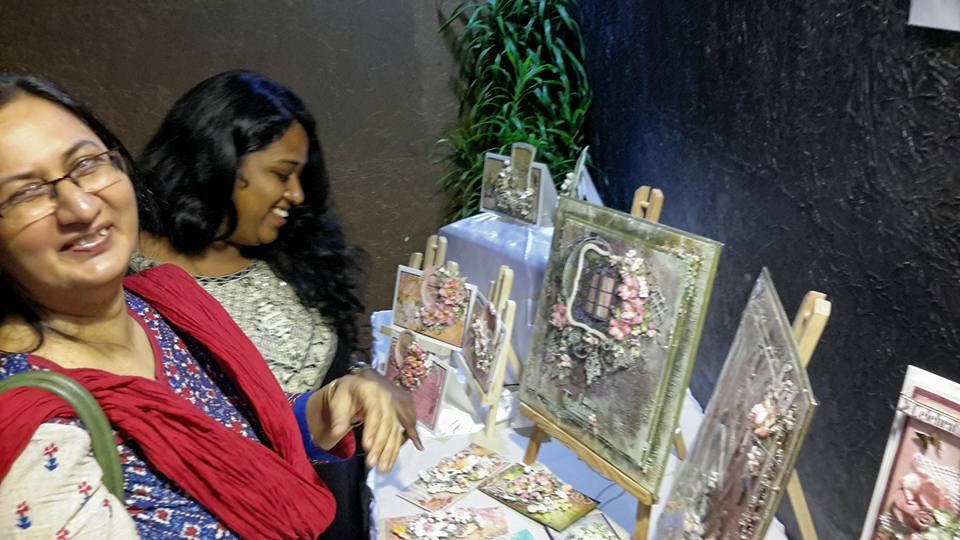

I have loads more to share….will definately do once I get time inbetween my classes.
Now on to fresh new Wednesday inspiration…
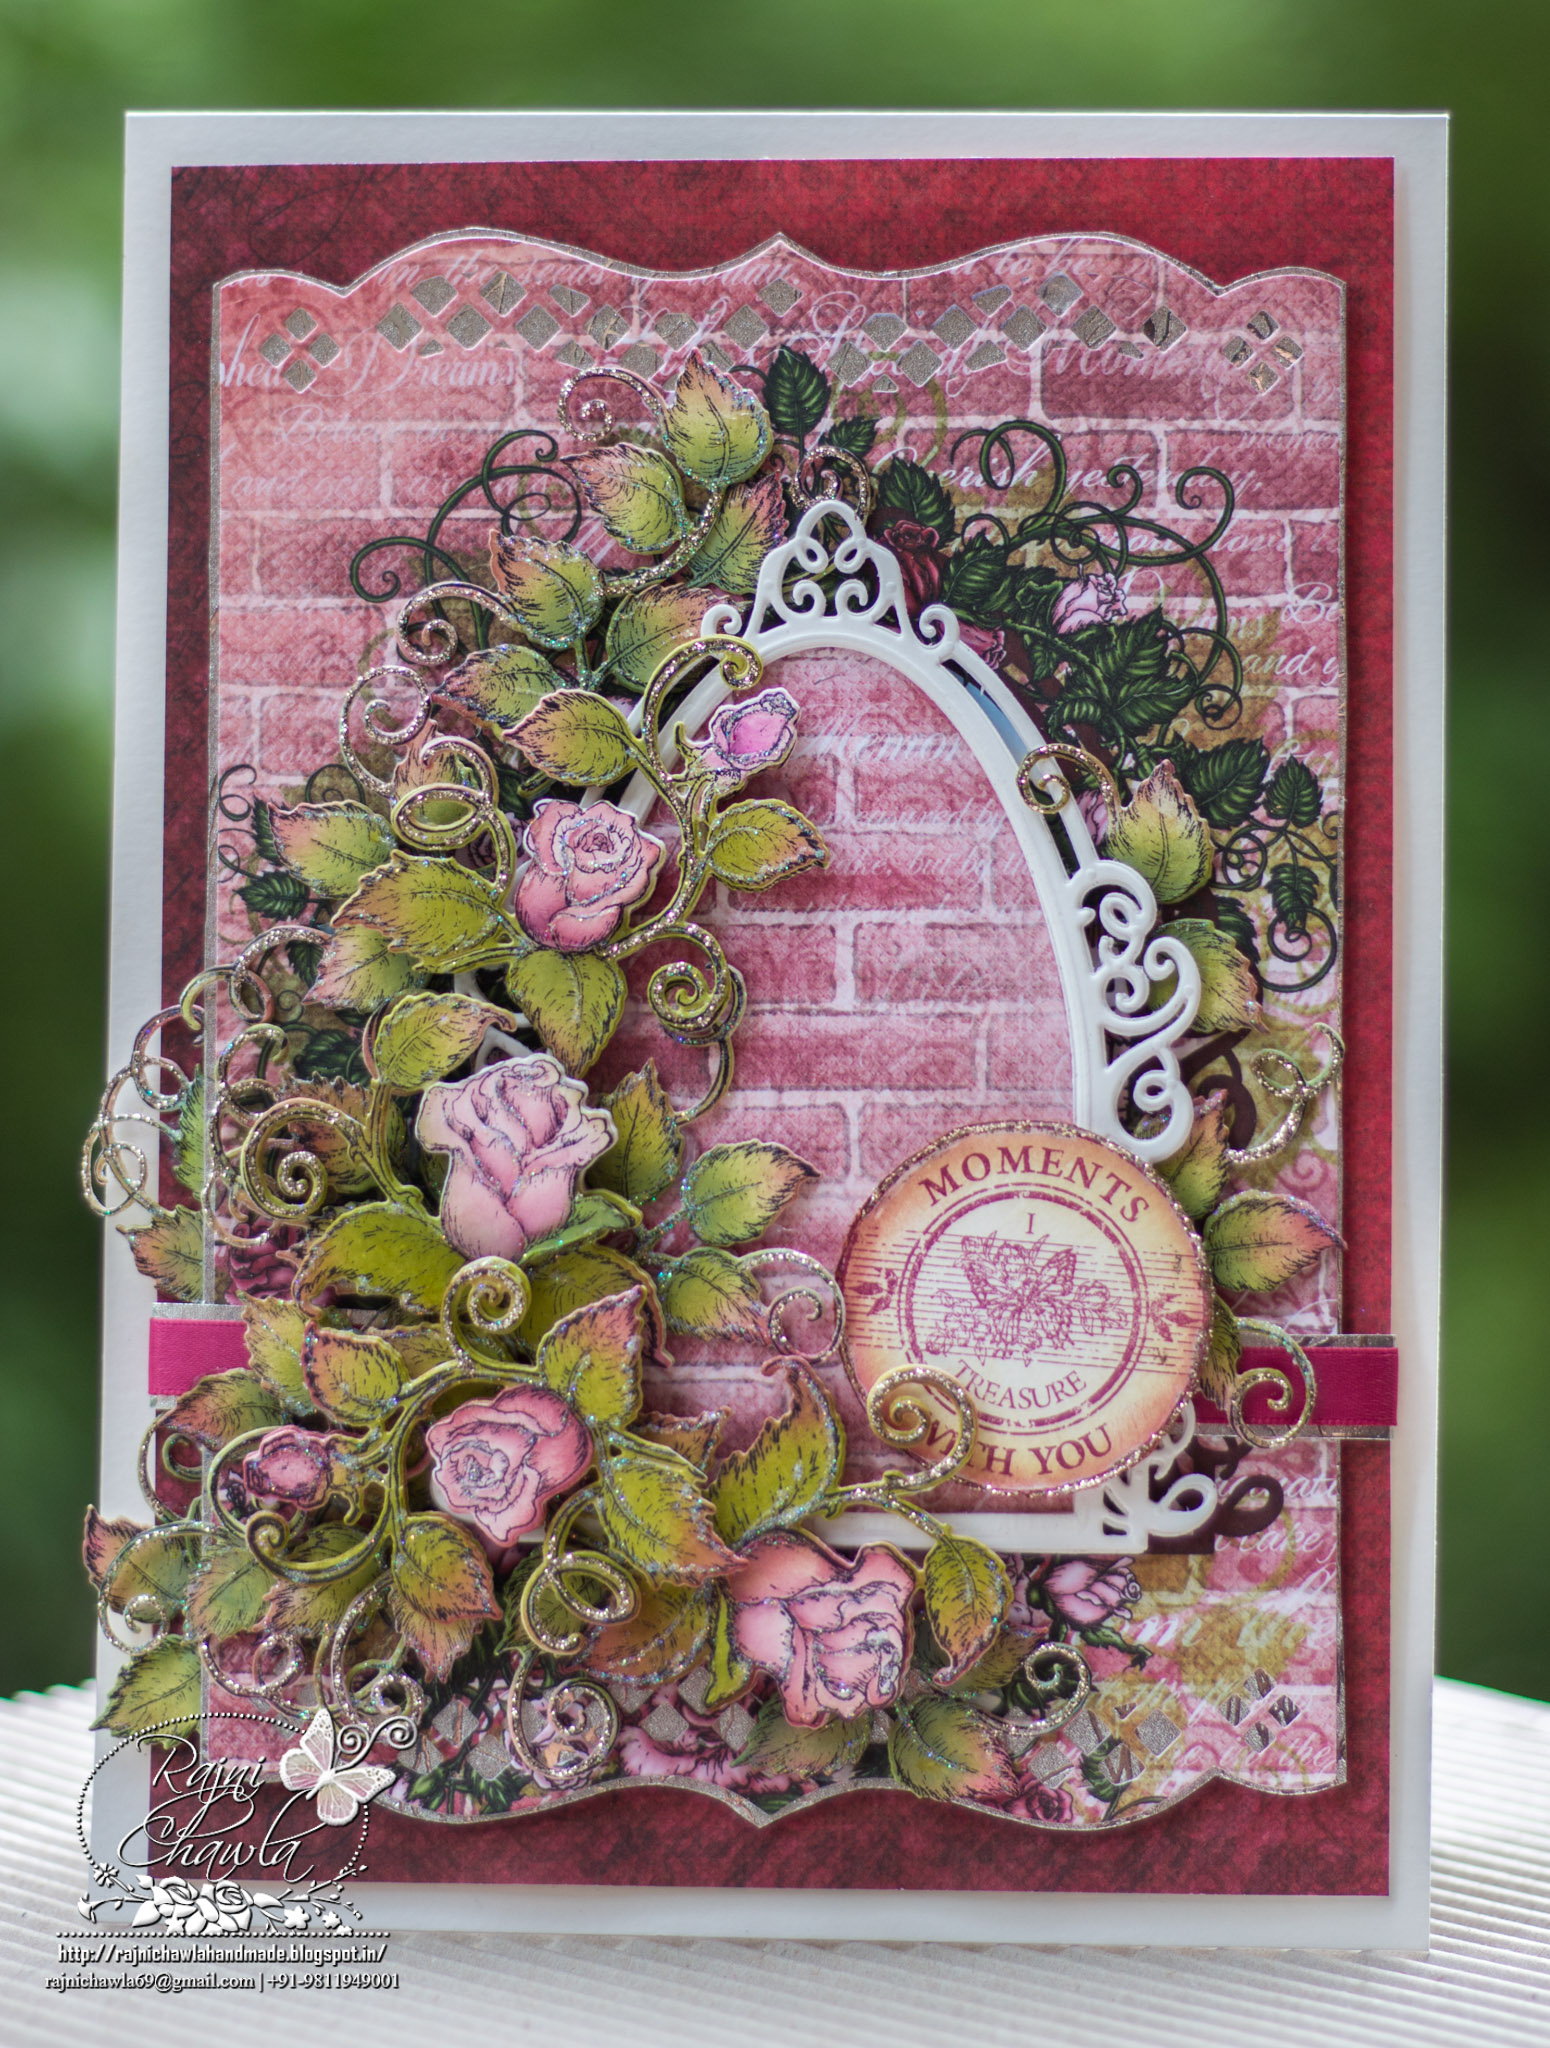
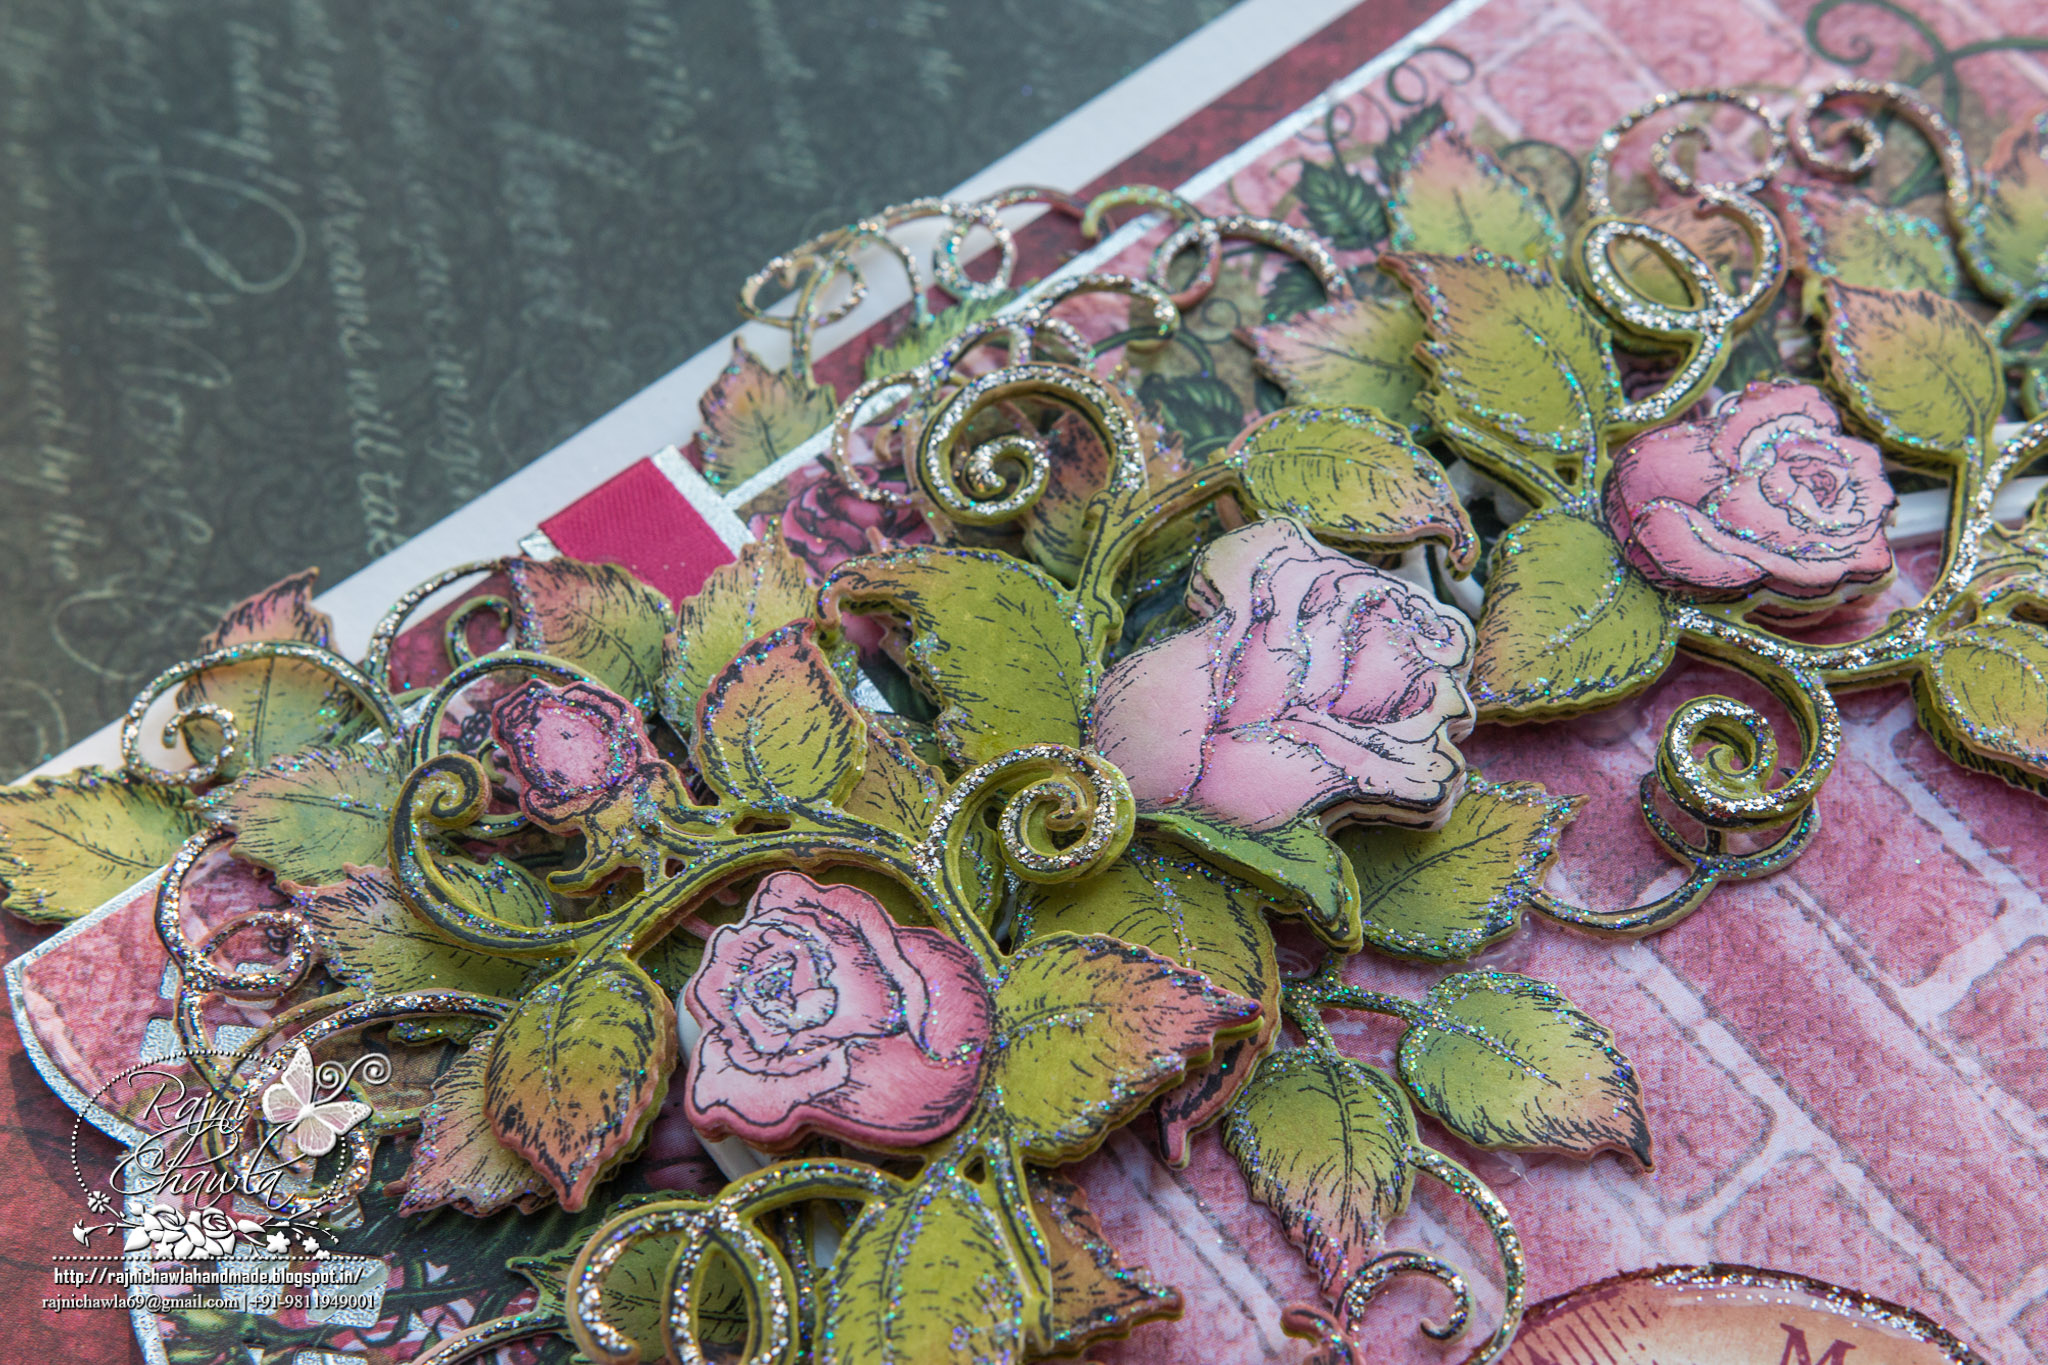
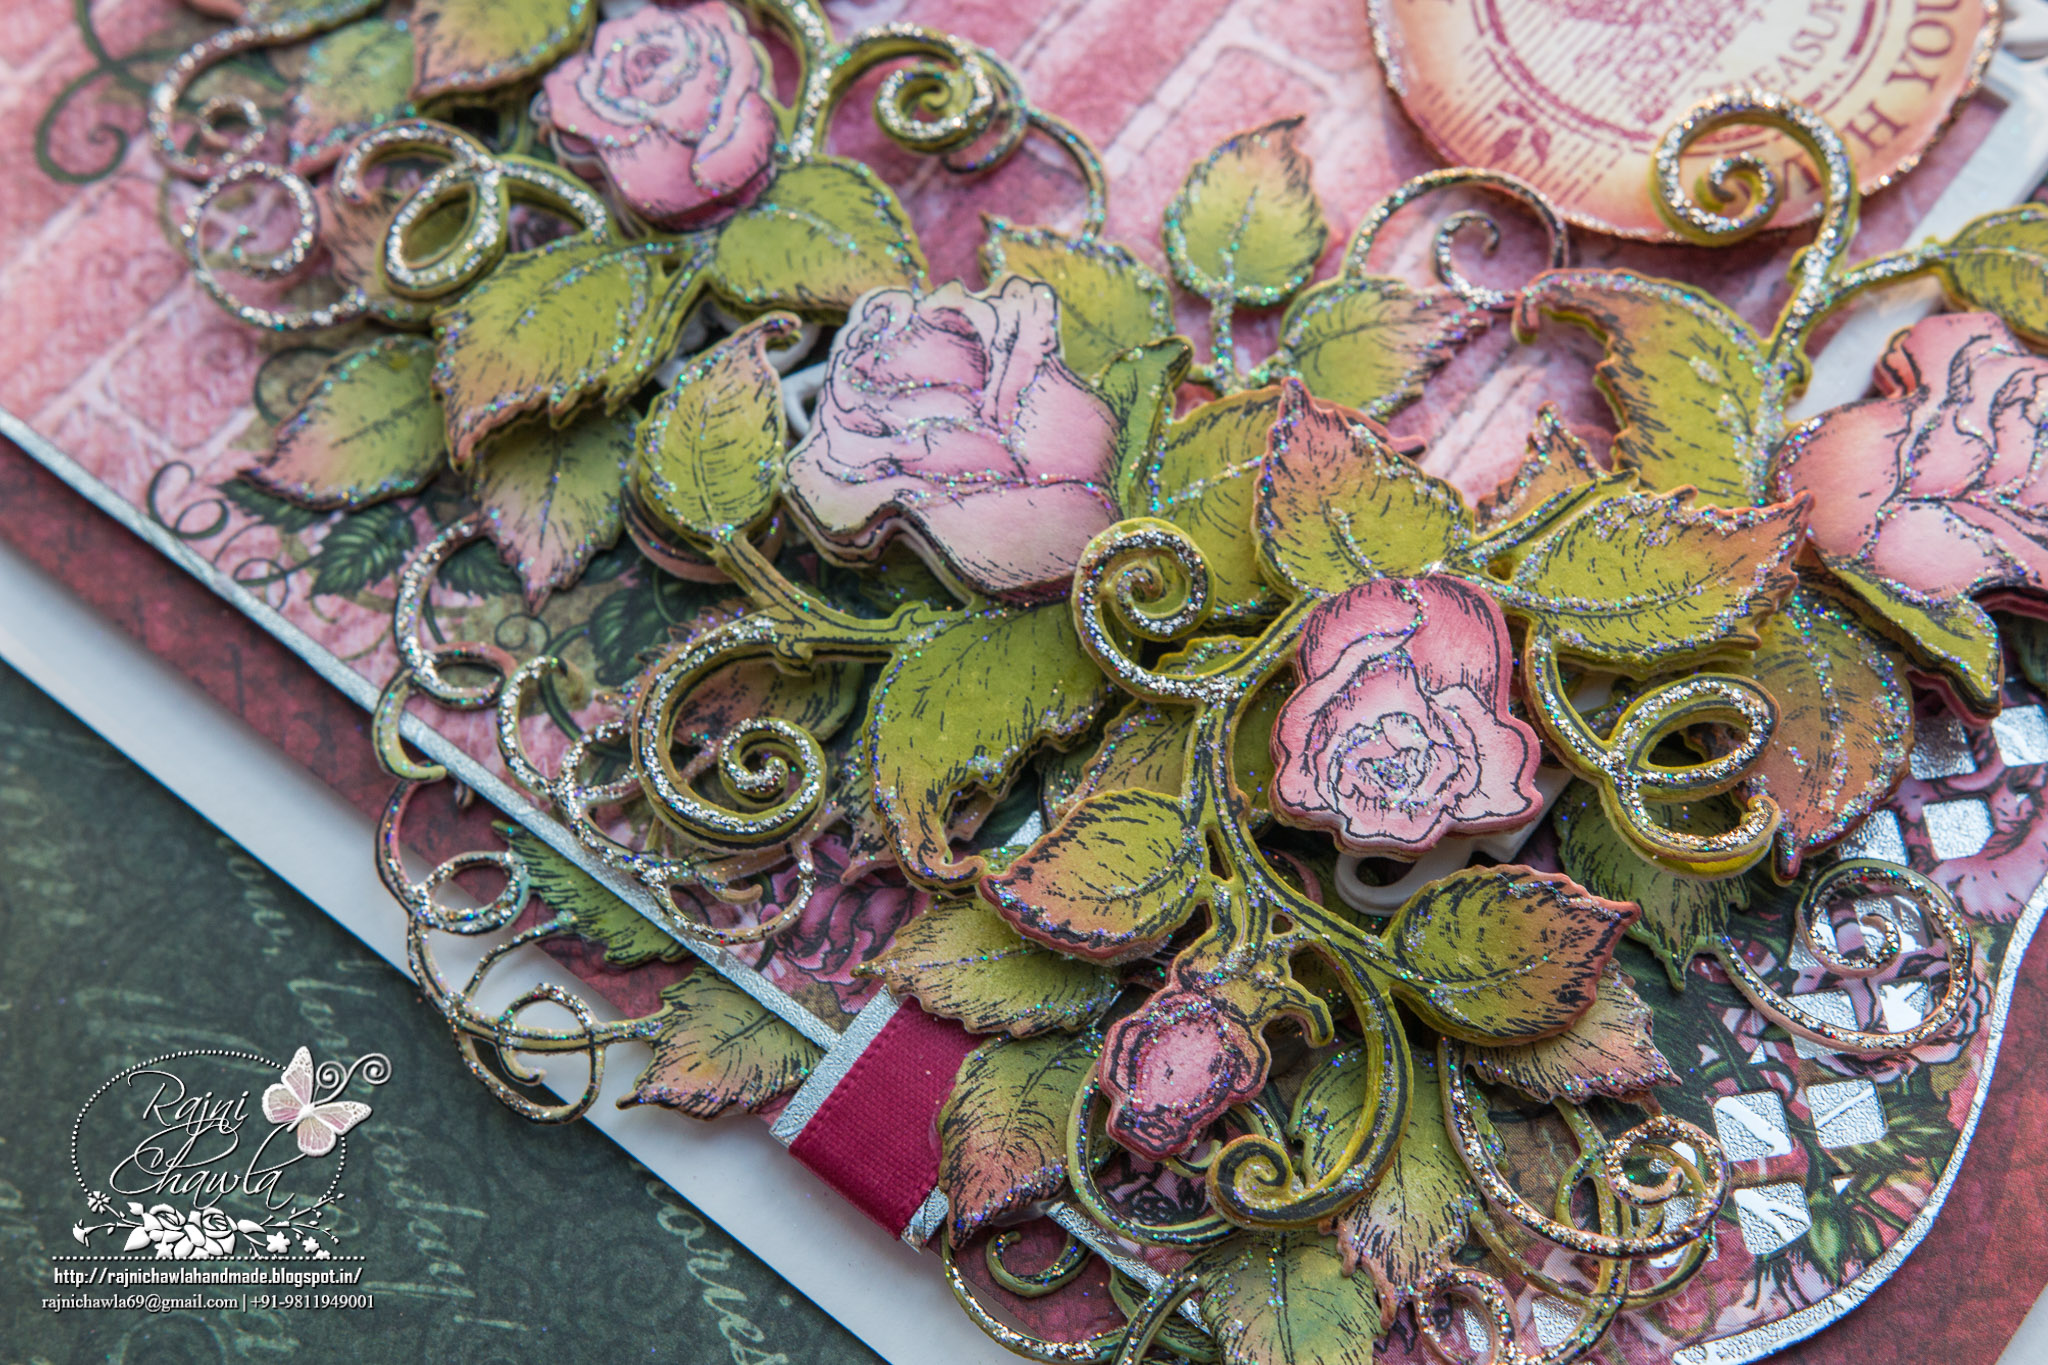
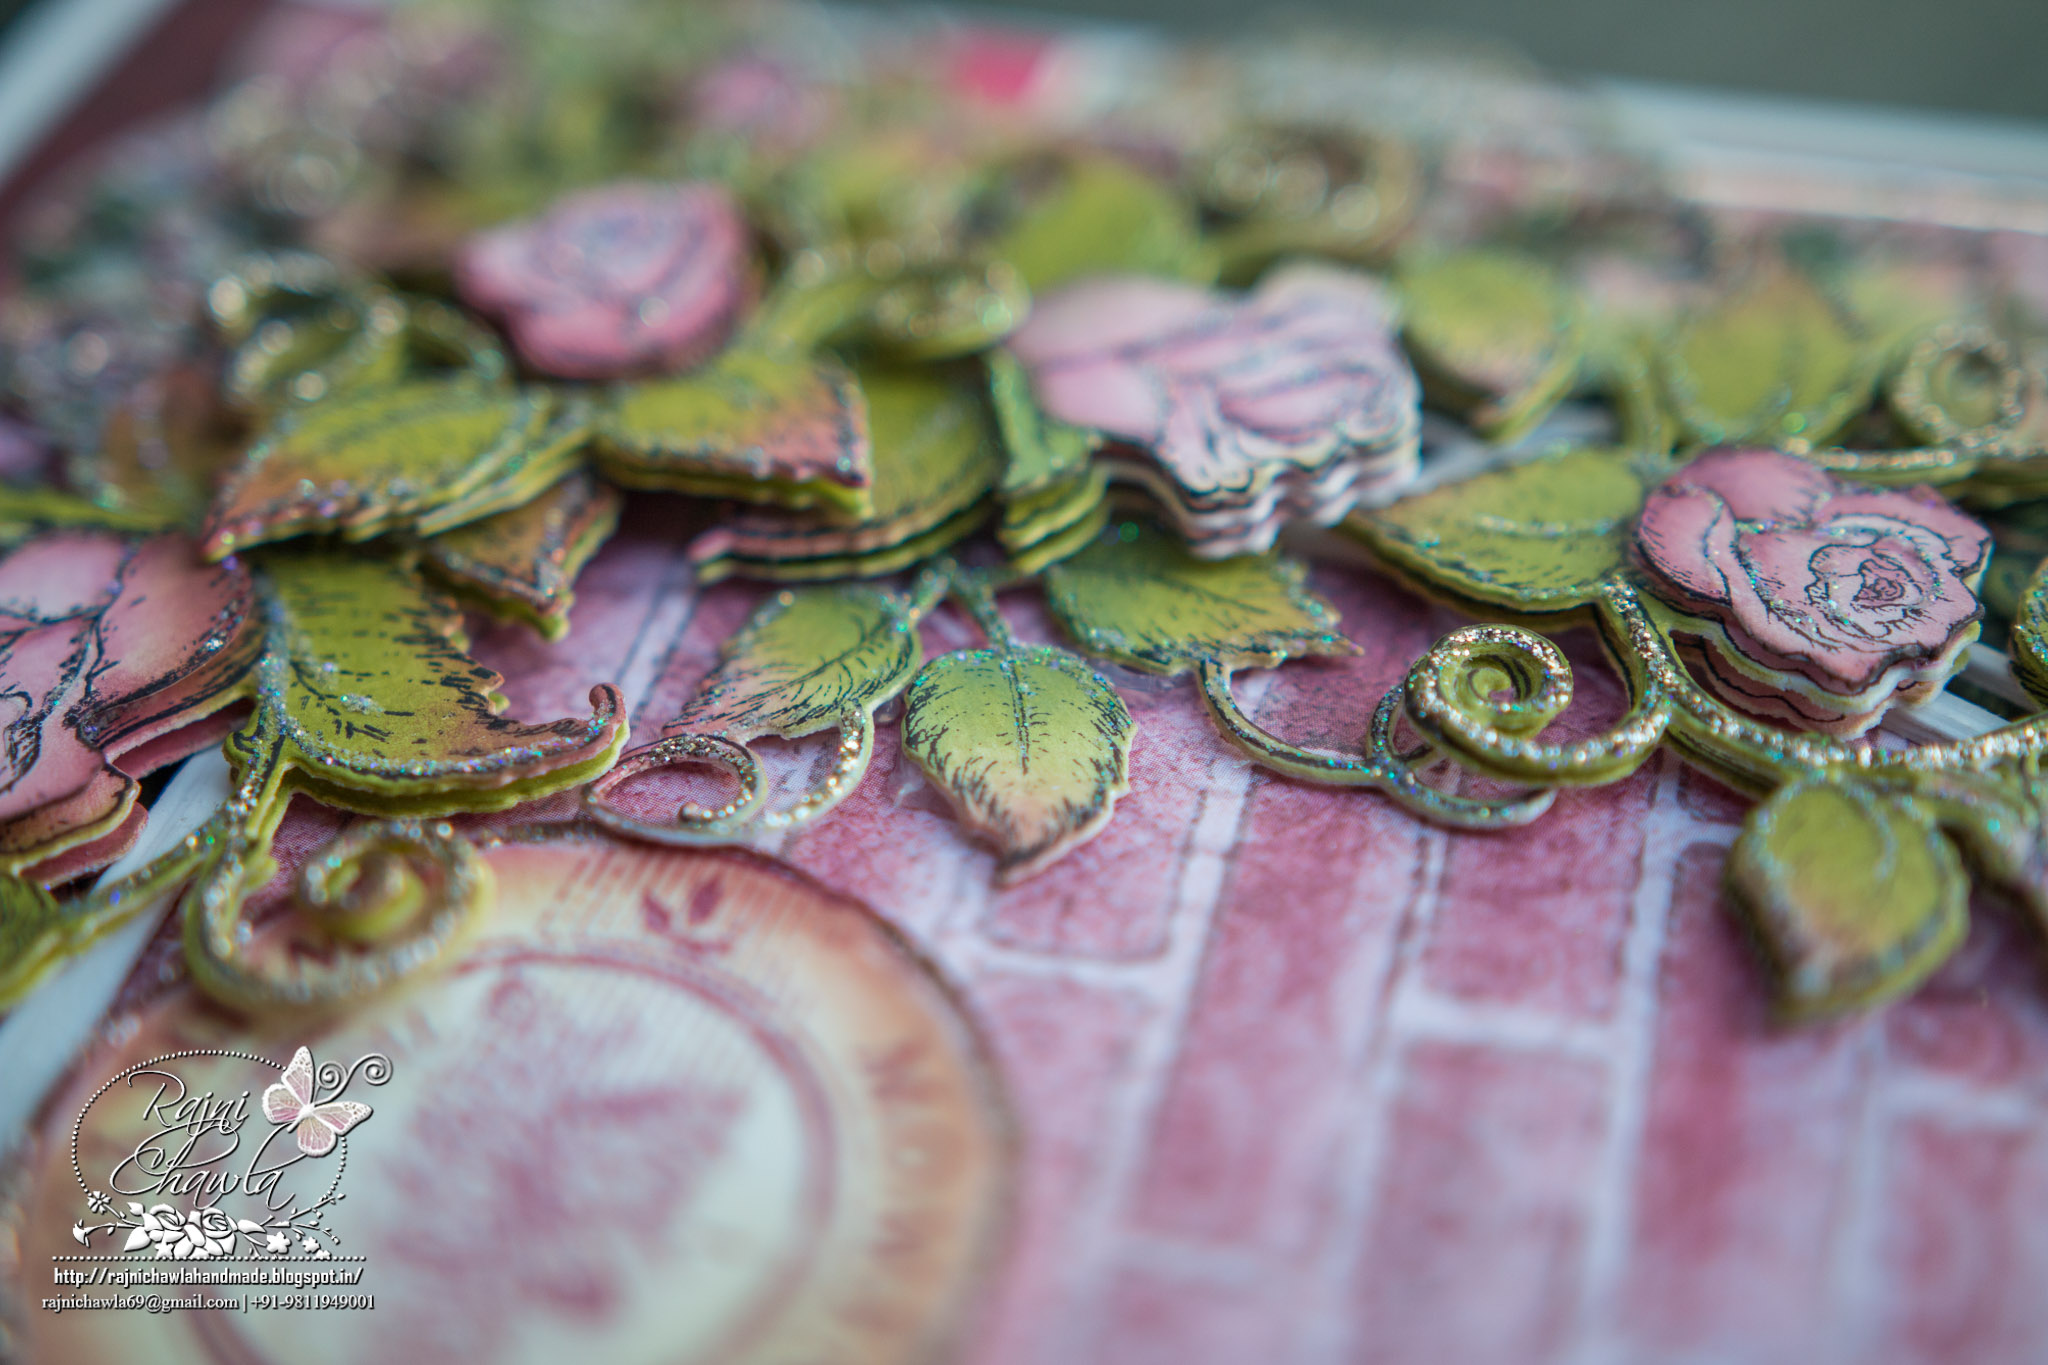
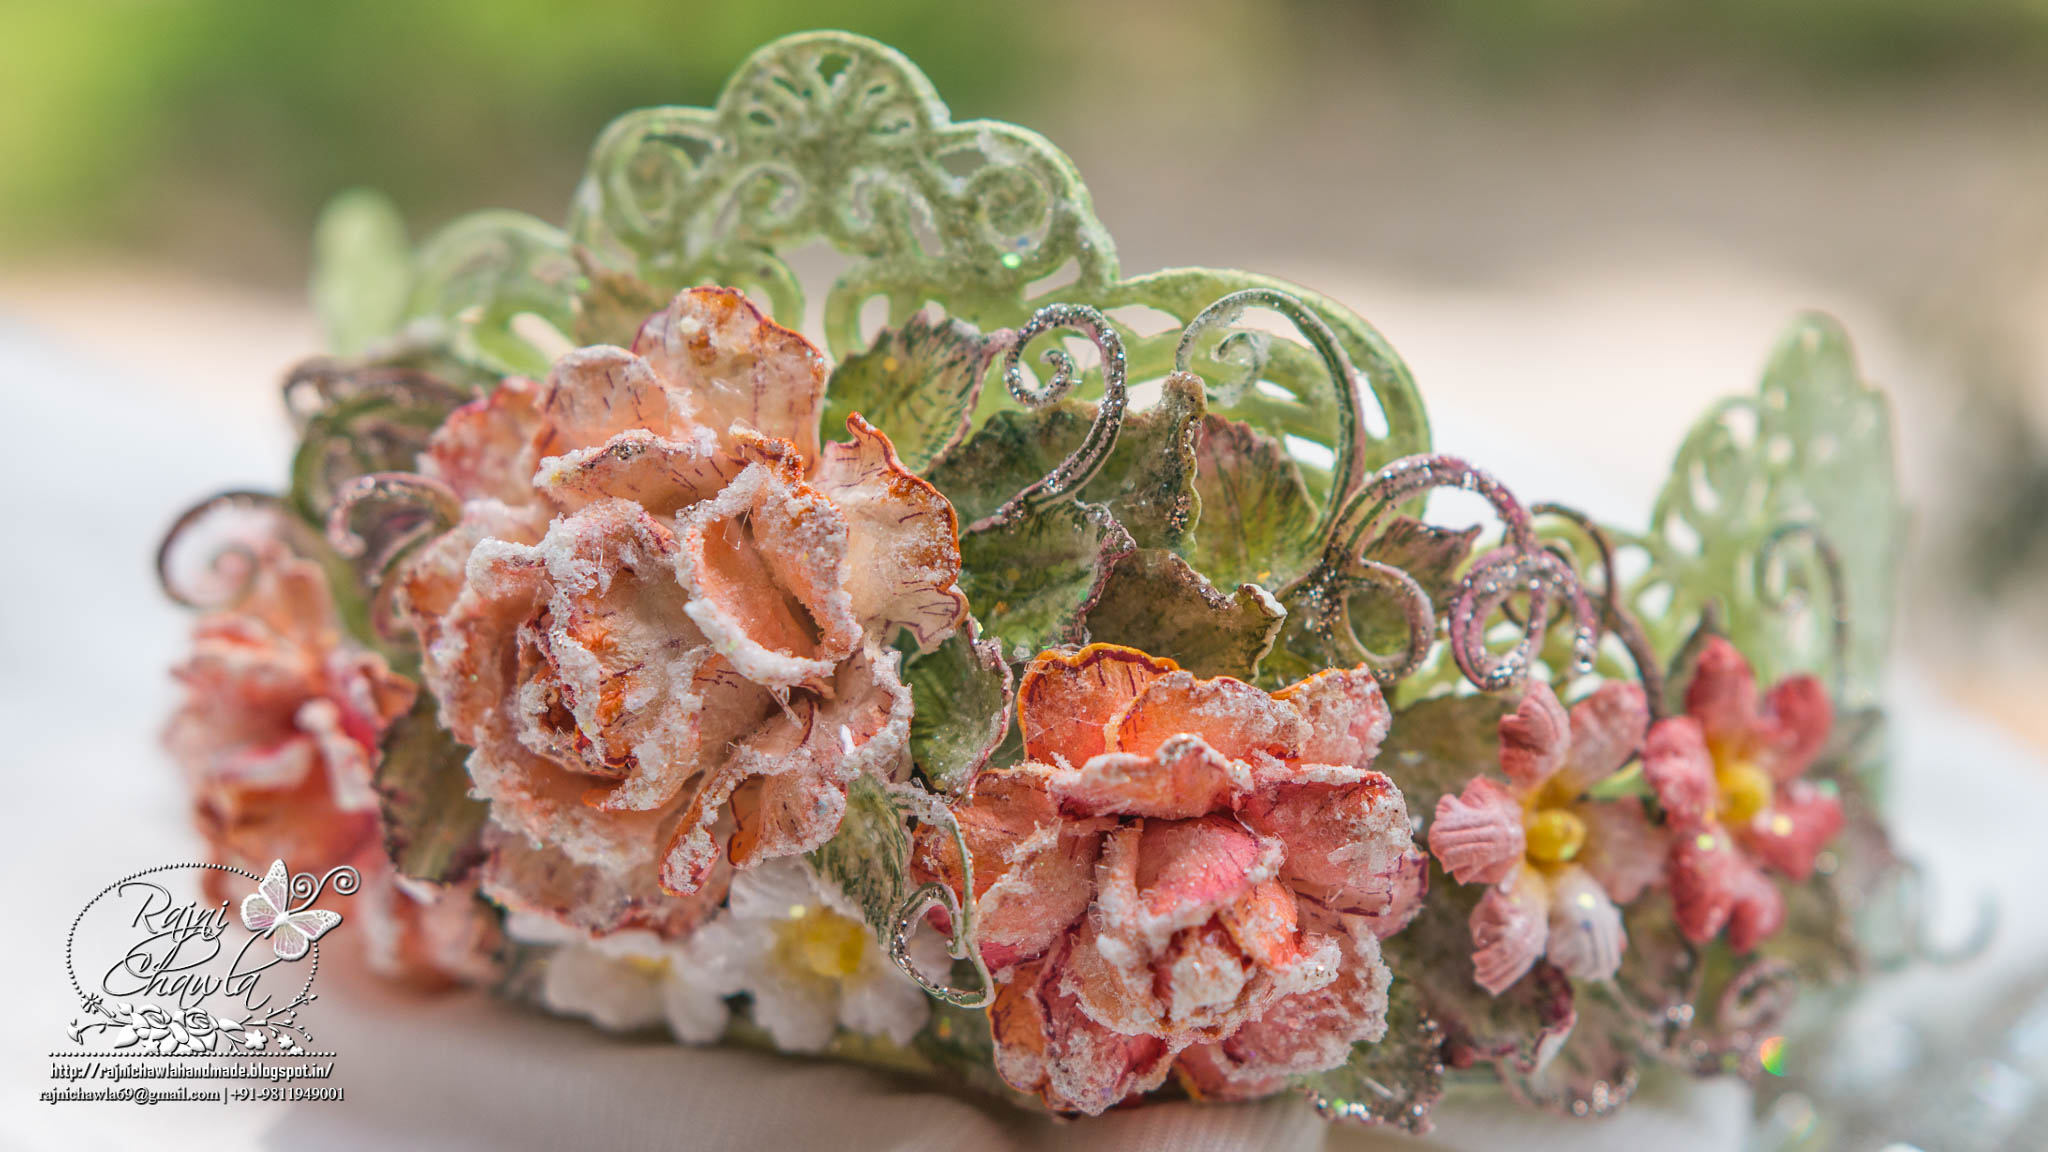
Here is my card using the same collection and Botanic Orchid Window.
Products from Heartfelt Creation:
HCDP1-270 Classic Rose Paper Collection
HCD1-7111 Classic Rose Vines Die
HCD1-7111 Classic Rose Vines Die
HCPC-3752 Classic Rose Cling Stamp Set
HCPC-3753 Classic Rose Vines Cling Stamp Set
HCD1-7110 Classic Rose Die
HCPC-3752 Classic Rose Cling Stamp Set
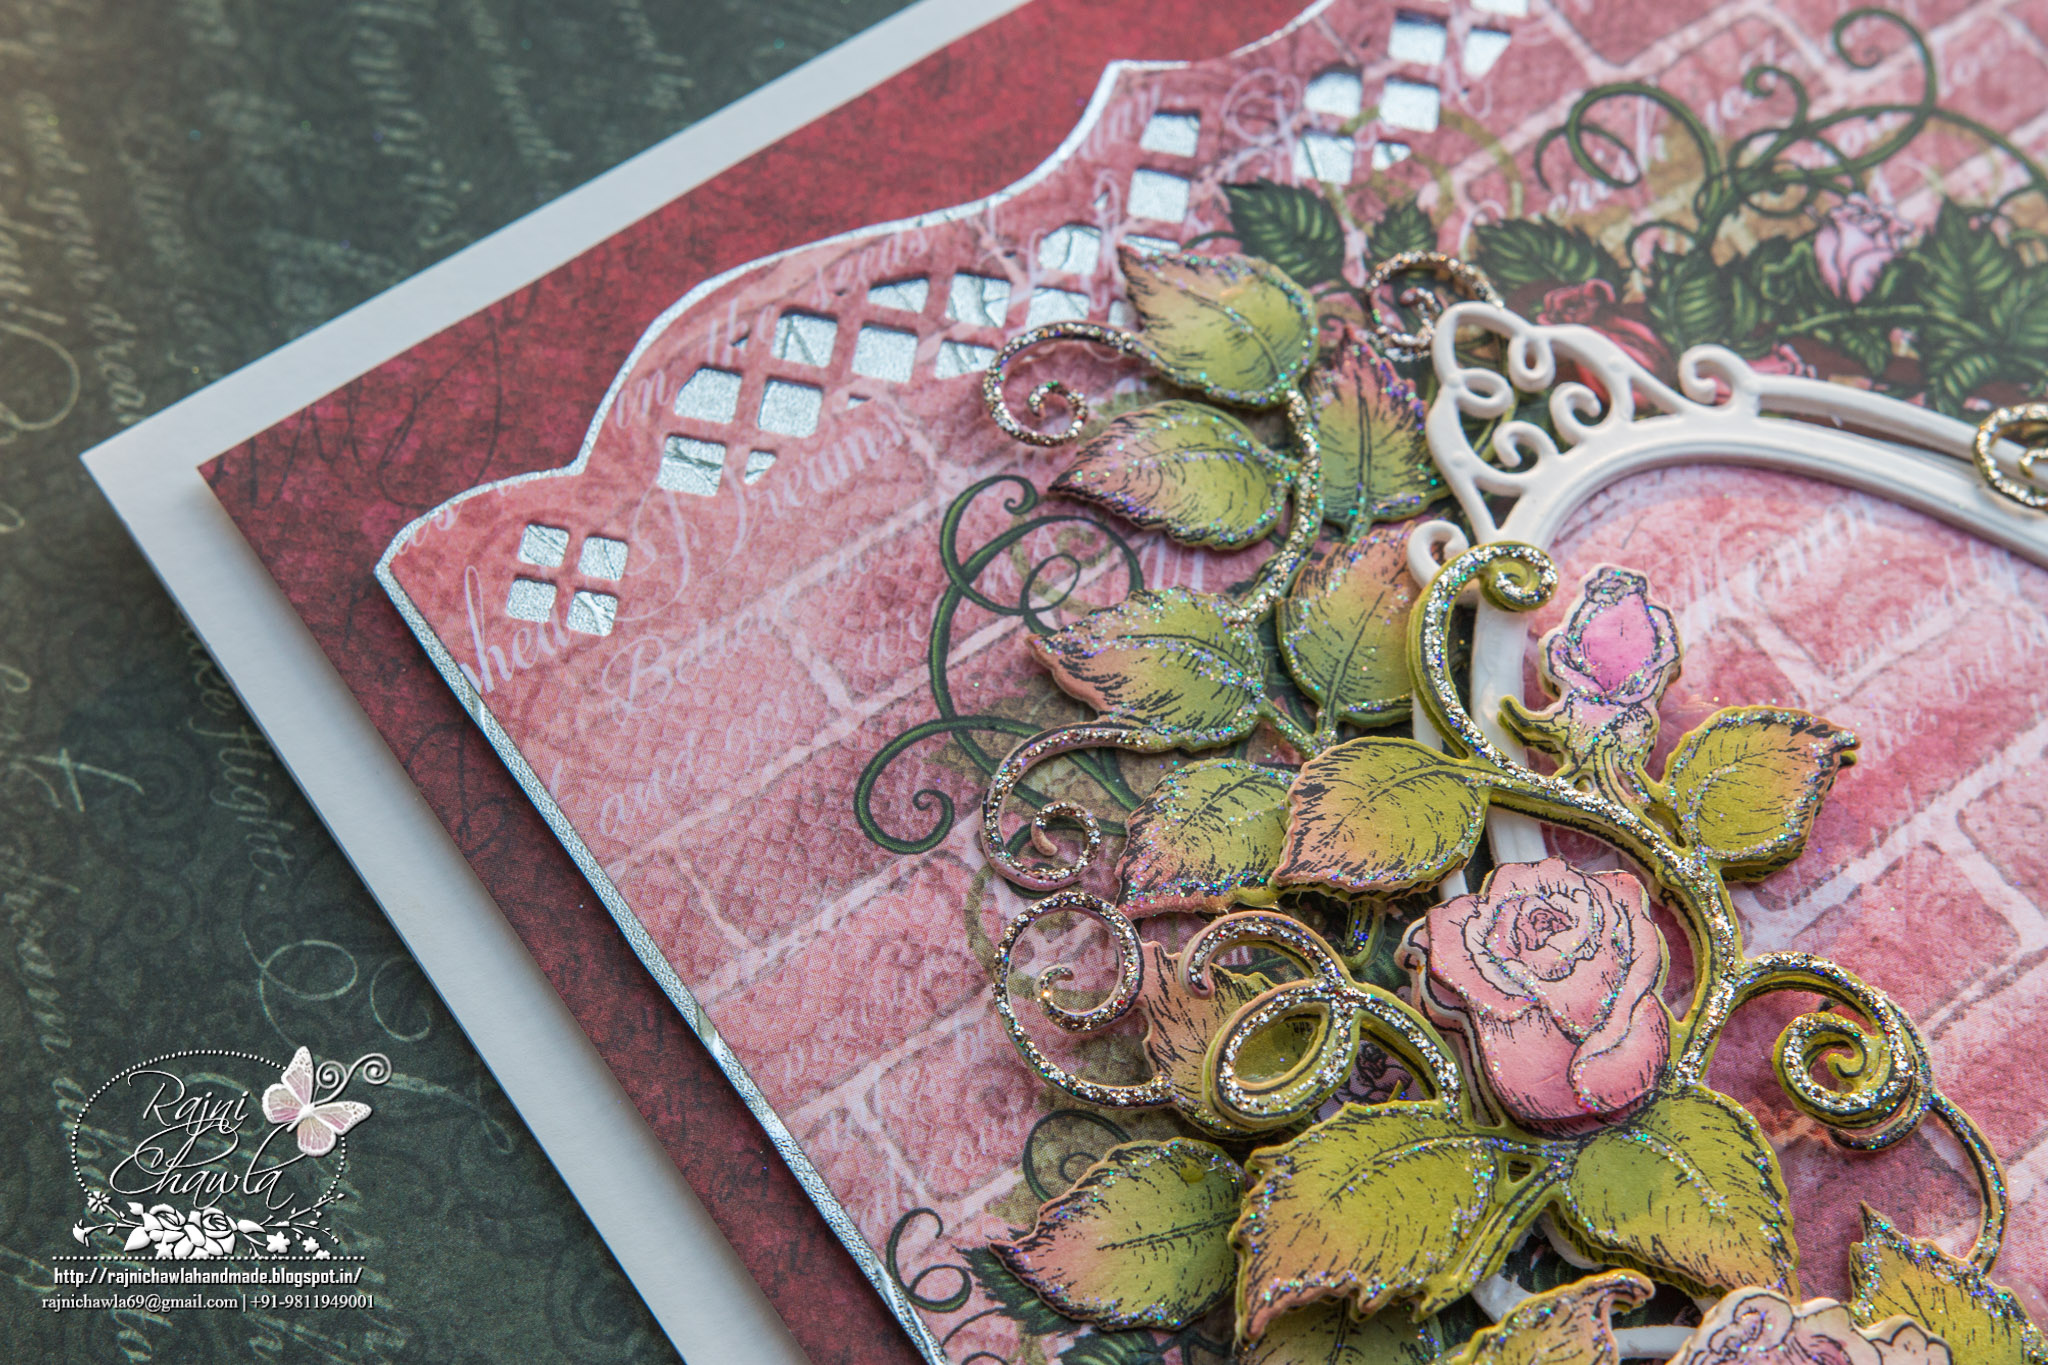
HCD1-7100 Botanic Window Die
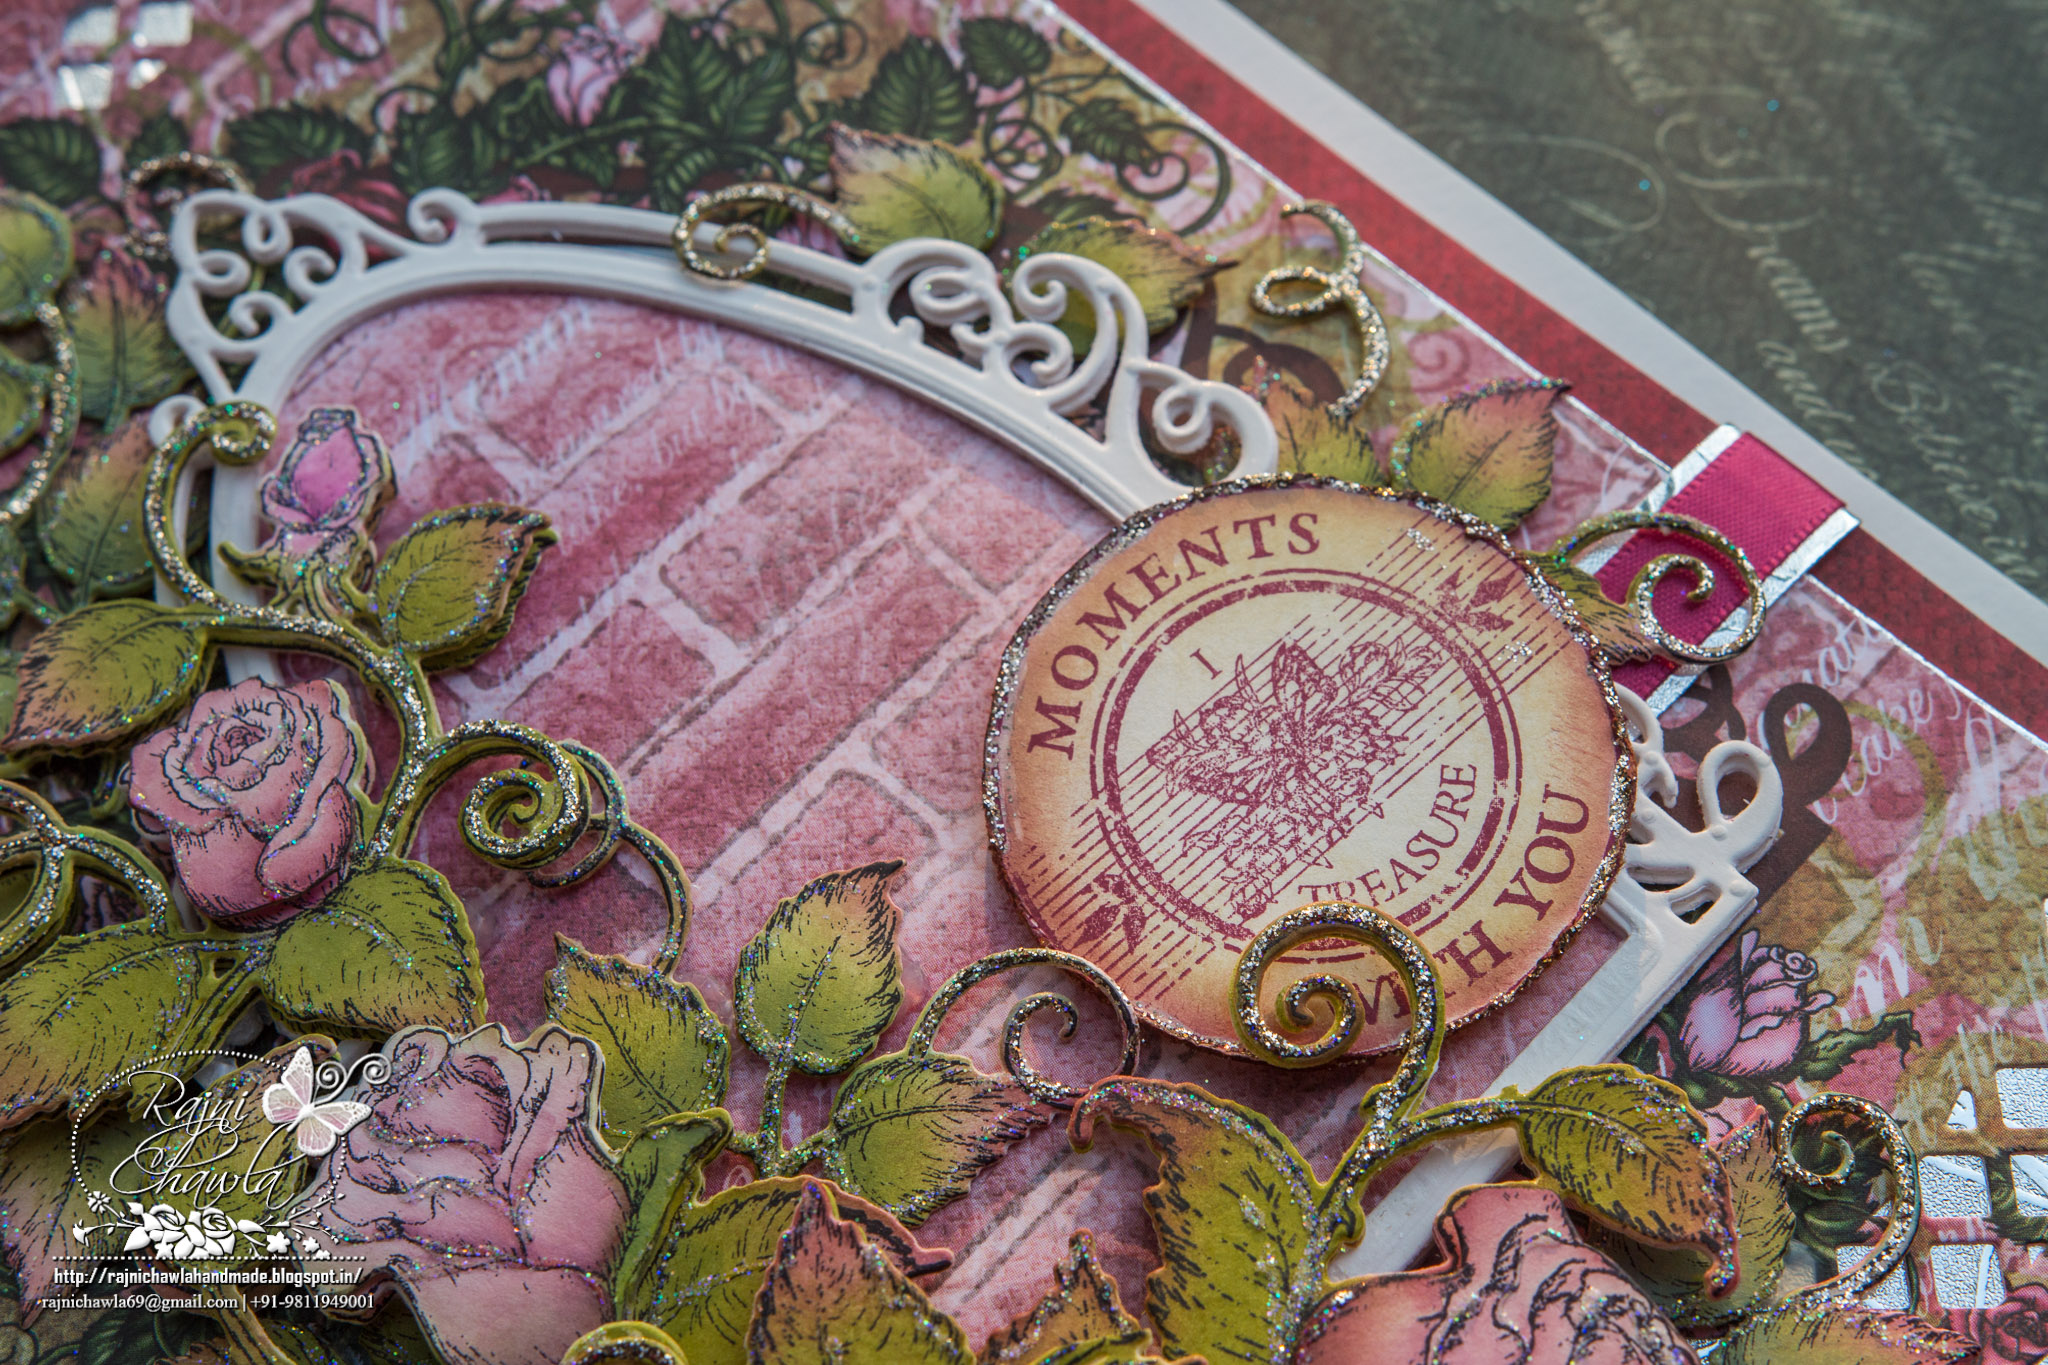
HCPC-3568 Moments With You Cling Stamp Set
Other products used: Archival inks- Library Green, Leaf Green , Chameleon pens PK3, YG3, Spellbinder’s A2 Bracket Die, Classic circle die, Silver mirror sheet, Smooth white card stock, double sided tapes, ribbon, and stickles.
Instructions: The ready side opened card measures 6 1/2″ by 8 1/2″. the front panel is from the designer paper of the same collection. It measures 6′ by 8 ‘. Cut the top panel measuring 5 1/4 ” by 7 1/4 ‘. Cut the top and the bottom edge of the top panel using A2 Bracket die and mat it using silver mirror sheet. For the window, cut a botanic window from white card stock nd mat it with designer papers. For the flowers’ the image from Classic Rose Vines stamp set is stamped with black Memento ink multiple times and painted using Chameleon Pens , YG3 and PK3. Cut all the images using its coordinating dies. Layer them and give them dimensions using double sided tape. The sentiment is from Moments with you stamp set and stamped with Archival Plum. Once all the elements are ready, assemble the card as shown. Add little more detailing with glitter to enhance the card.

Just stunning… Only word STUNNING…
Gorgeous creation!!!!
What beauty can be found here! Your flowers are beyond words!